ScaleBirds

ScaleBirds, Home of the 63% Scale Hellcat replica kitplane project.

Local Airport Now Has Two Radial Powered Avenger Aircraft Over Its Skies

So after a long time working on the transition of the Avenger from VW power to Verner power, the aircraft has managed to take flight:

Westerly State Airport may be one of the few today that can say it has two Avengers flying out of it that have radial engines, though one is much, much bigger!

This video was very impromptu as was the flight itself, coming (as happens somewhat often with these homebuilts) as the inevitable result of a full-power taxi test. From what I understand though the full-power portion was not to be, the engine never got above 50% the whole flight.  
We'll be back under the cowl to check how everything is holding up after these test runs over the last few weeks and make whatever adjustments we need, then plan out a more official 'first' flight very soon.

The Important Things

Hey everyone.  Its been too long since we blog'd.  A lot has transpired - some good, some bad.  The bad is we missed Oshkosh 17.  I'm so sorry to all the RFA members who came to hear about Verner Motor and their engines. I had planned to be there and had a house reserved and everything.  Was going to give two forums during the week.  I just cannot miss an engagement like that!  However, I could not make it due to personal issues - my wife was away on business for a month, and our daughter needed me in a tough time. It took the family's full efforts to help, and all is now well.  That is all that matters to me.  But the other side of that is that as a working man, I had to spend all available hours of leave, which I had been saving for the Oshkosh trip.  

When my wife did get back, it was a huge relief, but it was too late for us to get back on track of making it to AirVenture.  I appreciate all the support and prayers I've received from the RFA group and all my aviation friends. Well I've learned the important things -  family - comes first and I know that all of you will understand and appreciate that!  

Now for the good!  I've finished the Avenger R - radial install.  First flight was today!  Jenni and Scott and my good friends helped me install all the cowlings and access covers as well as the weight and balance.  The plane was 50 pounds lighter than my VW installation!  My CG is good too.  It was nose heavy.  Scott recorded the taxi testing and flight.  Thanks to my whole crew and to Verner Motor!  I learned a lot about all the system and installation issues one can have.  I had them all!  Worked thru them and can now help others to avoid them.  Oh ya, the flight!  It was awesome!  The Verner purred in the normal fashion of a radial during the taxi testing and run-ups.  Then roared to life on the climb-out.  Wow!  The more throttle I put in - the better it ran!  I have open exhaust stacks which give you the full radial rumble sounds, the smell and warm puffs in your face!  Love it! 

On the LiteFighter side, we made the composite firewall transition ring and fitted it.  All the fwd skins are done now.  Ready for paint.  I've been contemplating making a new tail wheel arrangement to fit the P-40 look.  As I said, the shop was mostly locked-up for June and part of July.  So I'm happy to get back into it on a regular basis and get something going.  I will write much more shortly - You deserve it!   Thanks everyone! 

Ultralight Flyer Interview By Dan Johnson

At Oshkosh AirVenture 2016 we met a great many pilots and aviation enthusiasts while sharing tent space with fellow Verner dealer Frank Johnson in his Performance Propellers USA booth.

One of those who stopped by was Dan Johnson, who fielded the following interview which was just posted today. Check it out:

Memorable Memorial Day

Hey everyone!  We finally finished the Verner radial installation on my Fisher Avenger "R"!  We ran it today for the first time and a second time.  There are a few minor issues and we will get those fixed this week.  Our team is very excited to see it running and to hear it!  Awesome sound!  Can't wait to take it up and see how it climbs!  We still have to do a weight and balance and inform the FAA FSDO office in Windsor Locks, CT and get their direction on the reinstating of phase 1 test period and perimeter for the testing.  I'm expecting something like 5 hrs and 25 miles radius of Westerly State airport.

Some issues we resolved are embarrasing - like my hoses to the fuel filter were swapped.  Didn't know that till we tried to run it and no fuel was getting to the throttle body injectors.  The supply line and the return line were swapped so was pumping fuel back into the tank instead of the engine.  Easy fix but took time to rip out the fuel tank and put it all back together.  Thing is, when I installed it the first time, I studied the diagram and should have done it correctly.  

Well, it is a real radial engine!  Drips oil from the exhaust when parked.  It also smokes a little on start-up.  You still have to hand turn the prop through a few times to prevent oil from causing compression lock.  The Warp Drive prop seems to be huge!  But the blades have a narrow cord and the pitch isn't too heavy.  Should work-out.  In fact, Warp Drive is waiting to hear how this works out and what pitch we finally use.  

For Memorial Day,  I want to say how honored I have been to meet the many veterans I have and how we can't thank them enough.   

Carb Heat!

ScaleBirds has been a dealer for Verner Motor for a good part of a year now.  We have been finishing up our install on my Fisher Aero Avenger V which I am renaming the Avenger R.  We will be running this engine shortly and will video the whole thing.  This has taken a very long time – me bad.  First the winter got in the way – the hanger gets very cold and I do not like cold!   The propane heater worked pretty-good for a lot of the evenings and weekend work sessions.  But I didn’t go when it was real cold.  I know – whimp.  A long time ago I spent two winters in North Dakota when I was in the Air Force – it ruined me.  I don’t care to see another snowflake – ever!  Then, my helpers all had too much going on and we split our time between the engine install, designing/modeling and making airplane parts.  So both projects moved forward, just not quickly for either.  Then, just as the weather is finally getting awesome, I got a wicked chest cold that would not go away for almost a month.  Just getting over it.  I could piddle around on stuff sometimes but mostly sat on my couch coughing after work.  I took the worst days off but had to go in to work.  So some good drugs and lots of caffeine kept me going.  Anyway, progress is being made and here is a photo of the Avenger R install. 

Getting closer to running the Scarlett 5Si

Getting closer to running the Scarlett 5Si

We have finally gotten some images of customer installations!  Thanks Melvin Reed!  Melvin is from PA and he is installing a Scarlett 5Si on his Kitfox III.  It originally had a Rotax 582 and it flew well.  Then, to go 4 stroke, Melvin built a Subaru and installed that.  Not as impressive as he was hoping.  Weight was way up and going with direct drive the hp was not very good.  He had a couple hundred hours flying on that and then jumped on the Verner when it was available.  He guessed he is a whole lot lighter with more power – It will be a serious machine!  We are very excited to see his images and progress!  Keep at it!  I’m looking forward to getting a ride in that Kitfox R!

The P40/36 is progressing and we have finished the Horizontal stab.  I painted the front of the frame the interior green we are looking for and painted the inside surfaces of all the fuselage skins.  Didn’t help my cold one-bit!  Scott is putting the finishing touches on the redesigned gun-deck and cowling models so we can make the front-end look like the P36 with the Verner.  I will make those pieces and make a new canopy bow and front end – the P-36 and early P-40 had a slightly raked-back canopy bow and totally different shape to the windscreen and forward bracing.  We decided to make it an early model even though I had made a late model canopy frame earlier.  So that is next and then the fuselage will start to get buttoned-up.  The wing modeling is done and being checked.  That will allow us to start building the spars and center-section.  The goal is to have it up on gear for showing in the rough at the Replica Fighters Association area at Air Venture 2017 in a few months.  Tall order but we intend to “get ‘er done!”.

Verner 9 cylinder in developement

Great news!   Verner Motors has informed us that they are starting development of a 9 cylinder engine!  This one is projected to be 150 to 160 horespower at 2300 rpm.  Weight about 232 pounds.  Displacement of 372 cubic inches and direct drive.  Diameter will be 34.6".  It will be based on the 7Si, but will be a larger case to handle the additional cylinders.

Available in August, but they are taking 40% deposits on the first 10 units at a very big discount.  Call me if you want to get in on it - going fast!  I've already taken two deposits!  This deposit money will fund the development cycle and pay for castings and such.  

Can't wait to see this in some awesome replicas!  It will also be the perfect engine for our 63% Hellcat!  

Rudder U Doing?

This post has been sitting in the wings awhile, waiting for pictures. Finally dug in and pulled these out.

Before getting into the rudder build, here's a few images showing the completion of the vertical:

But, that's already old hat. Onto the rudder:

We are just about complete with the rudder - the metal parts of it.  The Top and bottom compound curved parts will be fiberglass that we will jump on when the elevator is built.  The front counter weight bar is also not made yet but we will get that installed shortly.  It went together nicely.  Even though we have it modeled in detail in CAD, it still took a few iterations of fitting up the parts before riveting it all together.  We had to invent the sequence for installation/assembly.  For instance, the steel parts had to be drilled for rivets while in the fixture, then removed, de-burred and the holes primed.  Re-installed and not riveted until the delrin bushings and hinge brackets were installed and fitted.   This meant several iterations of putting it together, working on a part and pulling it all apart again.  It was all fun and interesting work and we are very happy with the way it turned-out.  We are going to be repeating this build twice more to make the elevator.  The elevator design is going to be very similar to the rudder except for the inboard pass-thru and center-line hinge.  Will likely jump onto working on the Horizontal stabilizer next and then do the elevators.  


Also, making good progress on the Verner 5Si installation.  Scott used the 3D router to actually cut foam in 3D to make the cowling ring.  We sanded it up and glassed it.  Its coming out great and we are looking forward to firing up the beast!  Plumbing is done, except for installing the fuel tank - waiting on that until we finish the electrical connections.  I ordered new oil pressure and temp gauges from Verner and they should be here any day now.  Their tachometer is 3 inch diameter gauge and does not fit my panel space so I'm keeping with my Tiny Tach digital for now.  The throttle quadrant needs to be re-installed and throttle cable cut to length.  Then install the prop and fluids.  Won't be long now!

Vertically Challenged

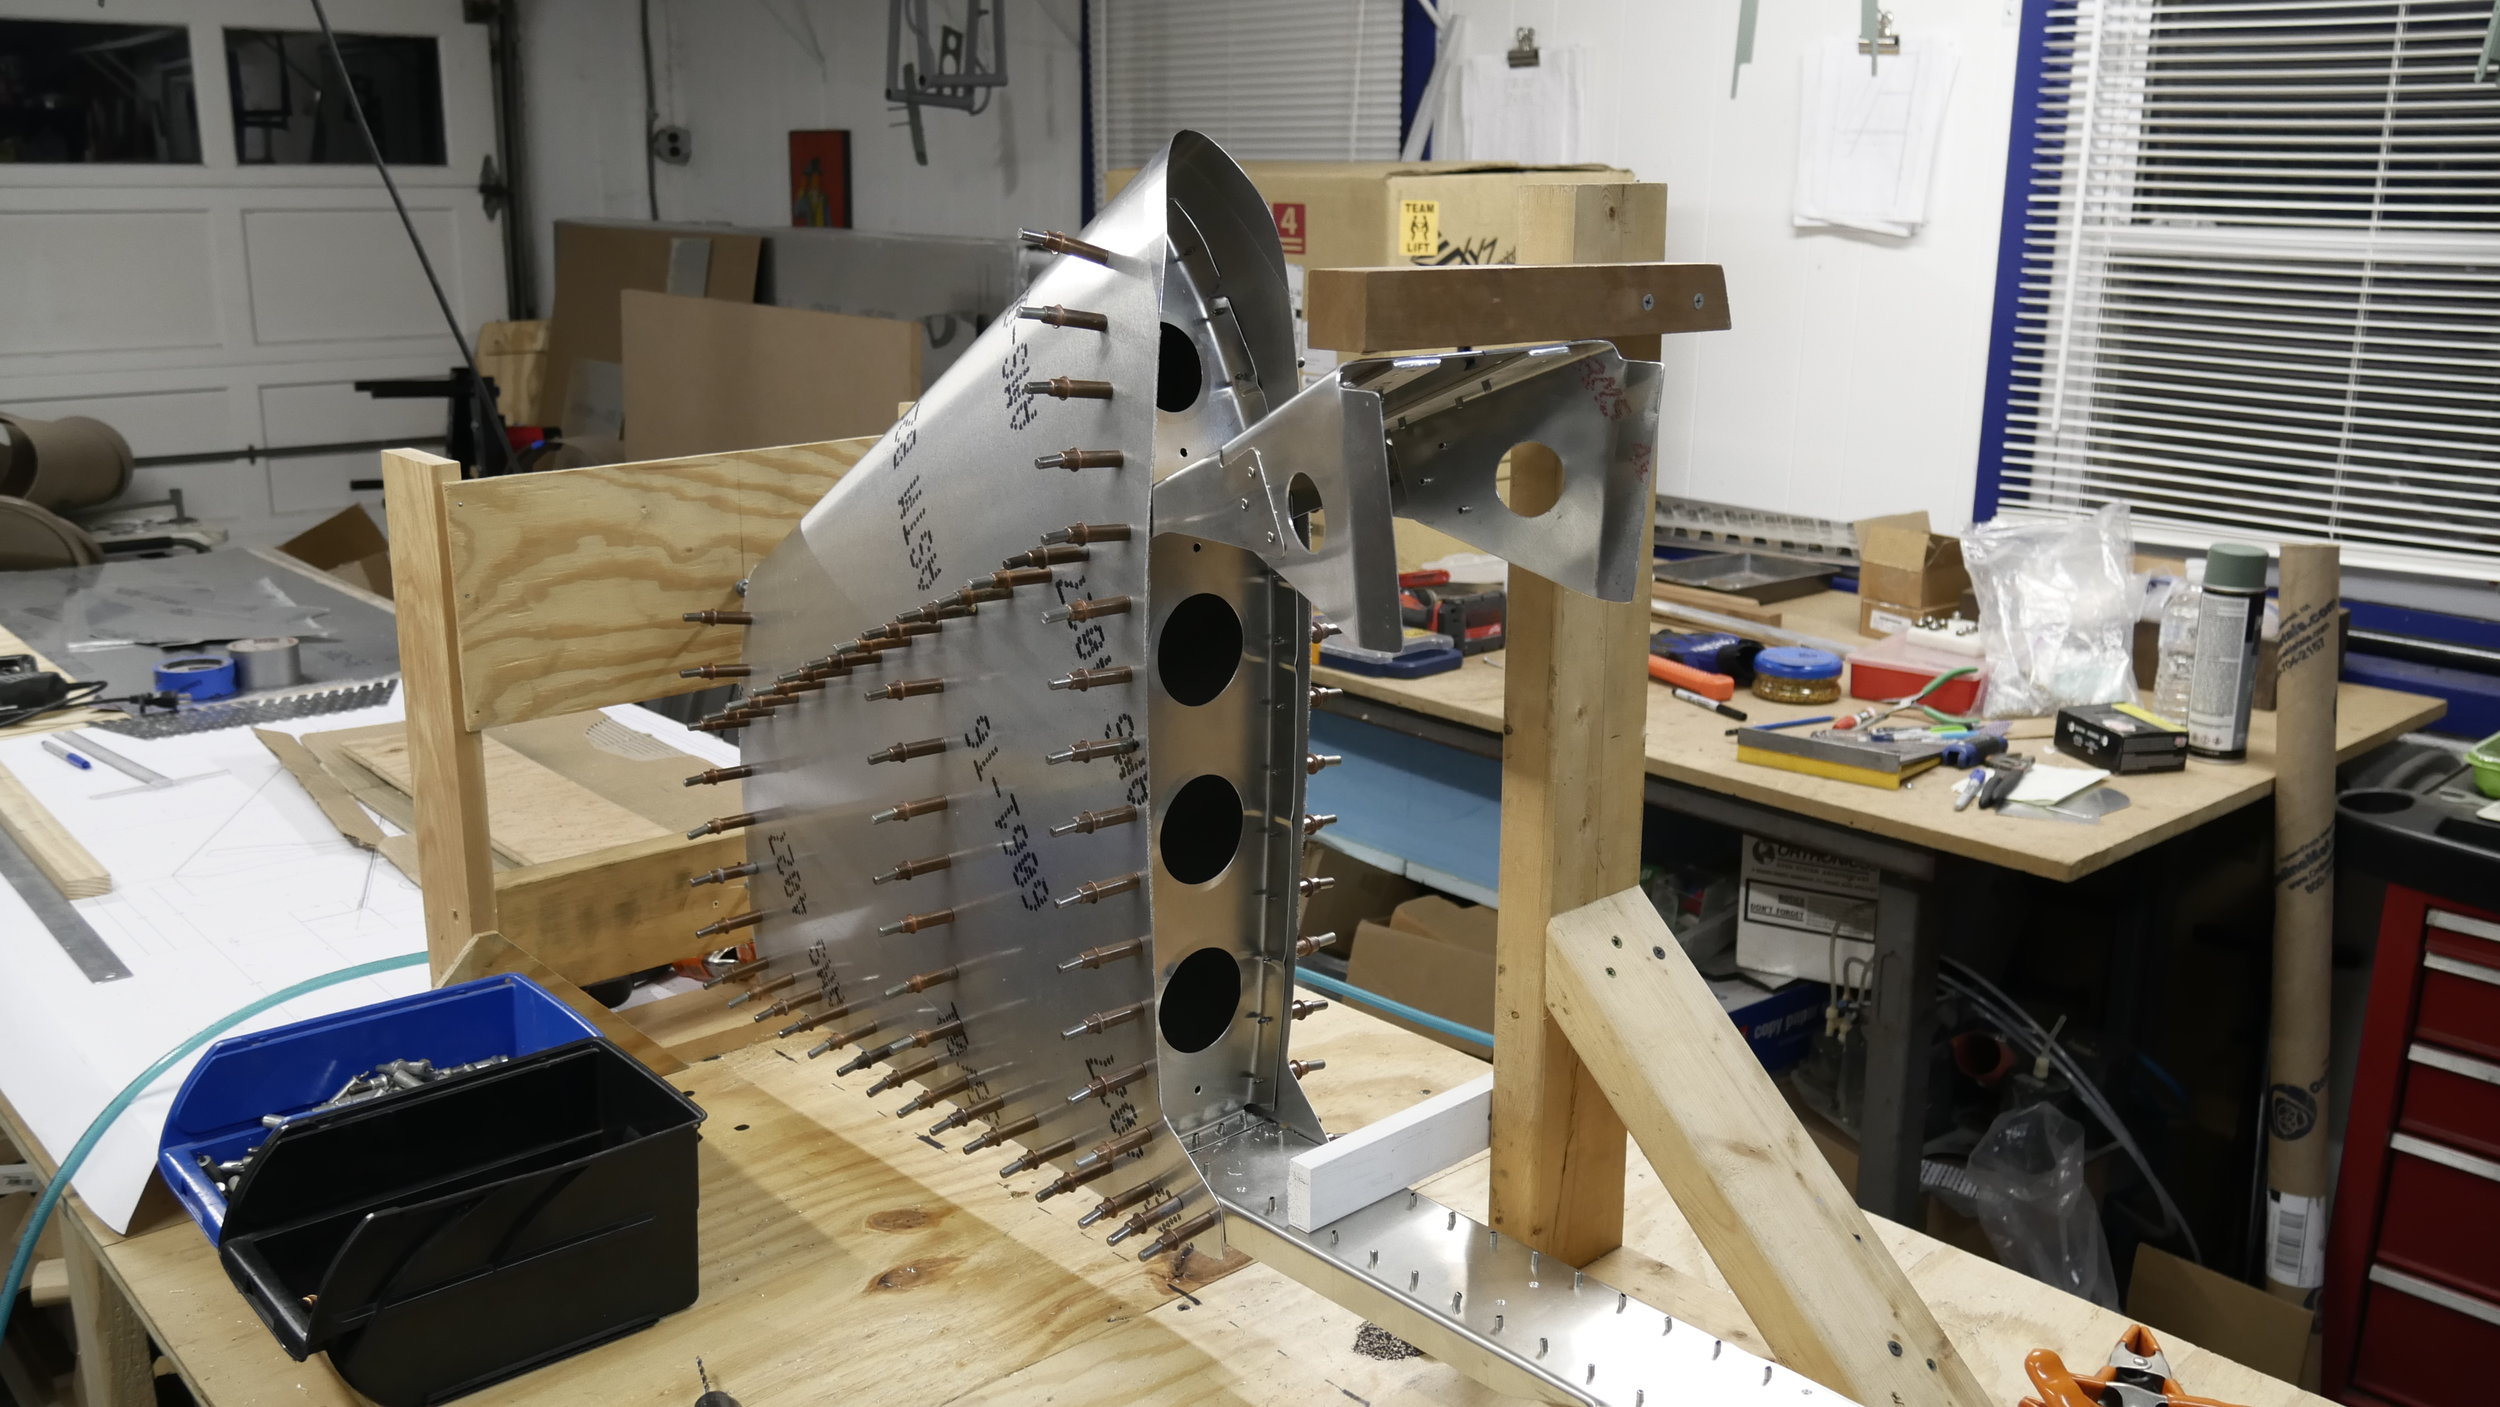
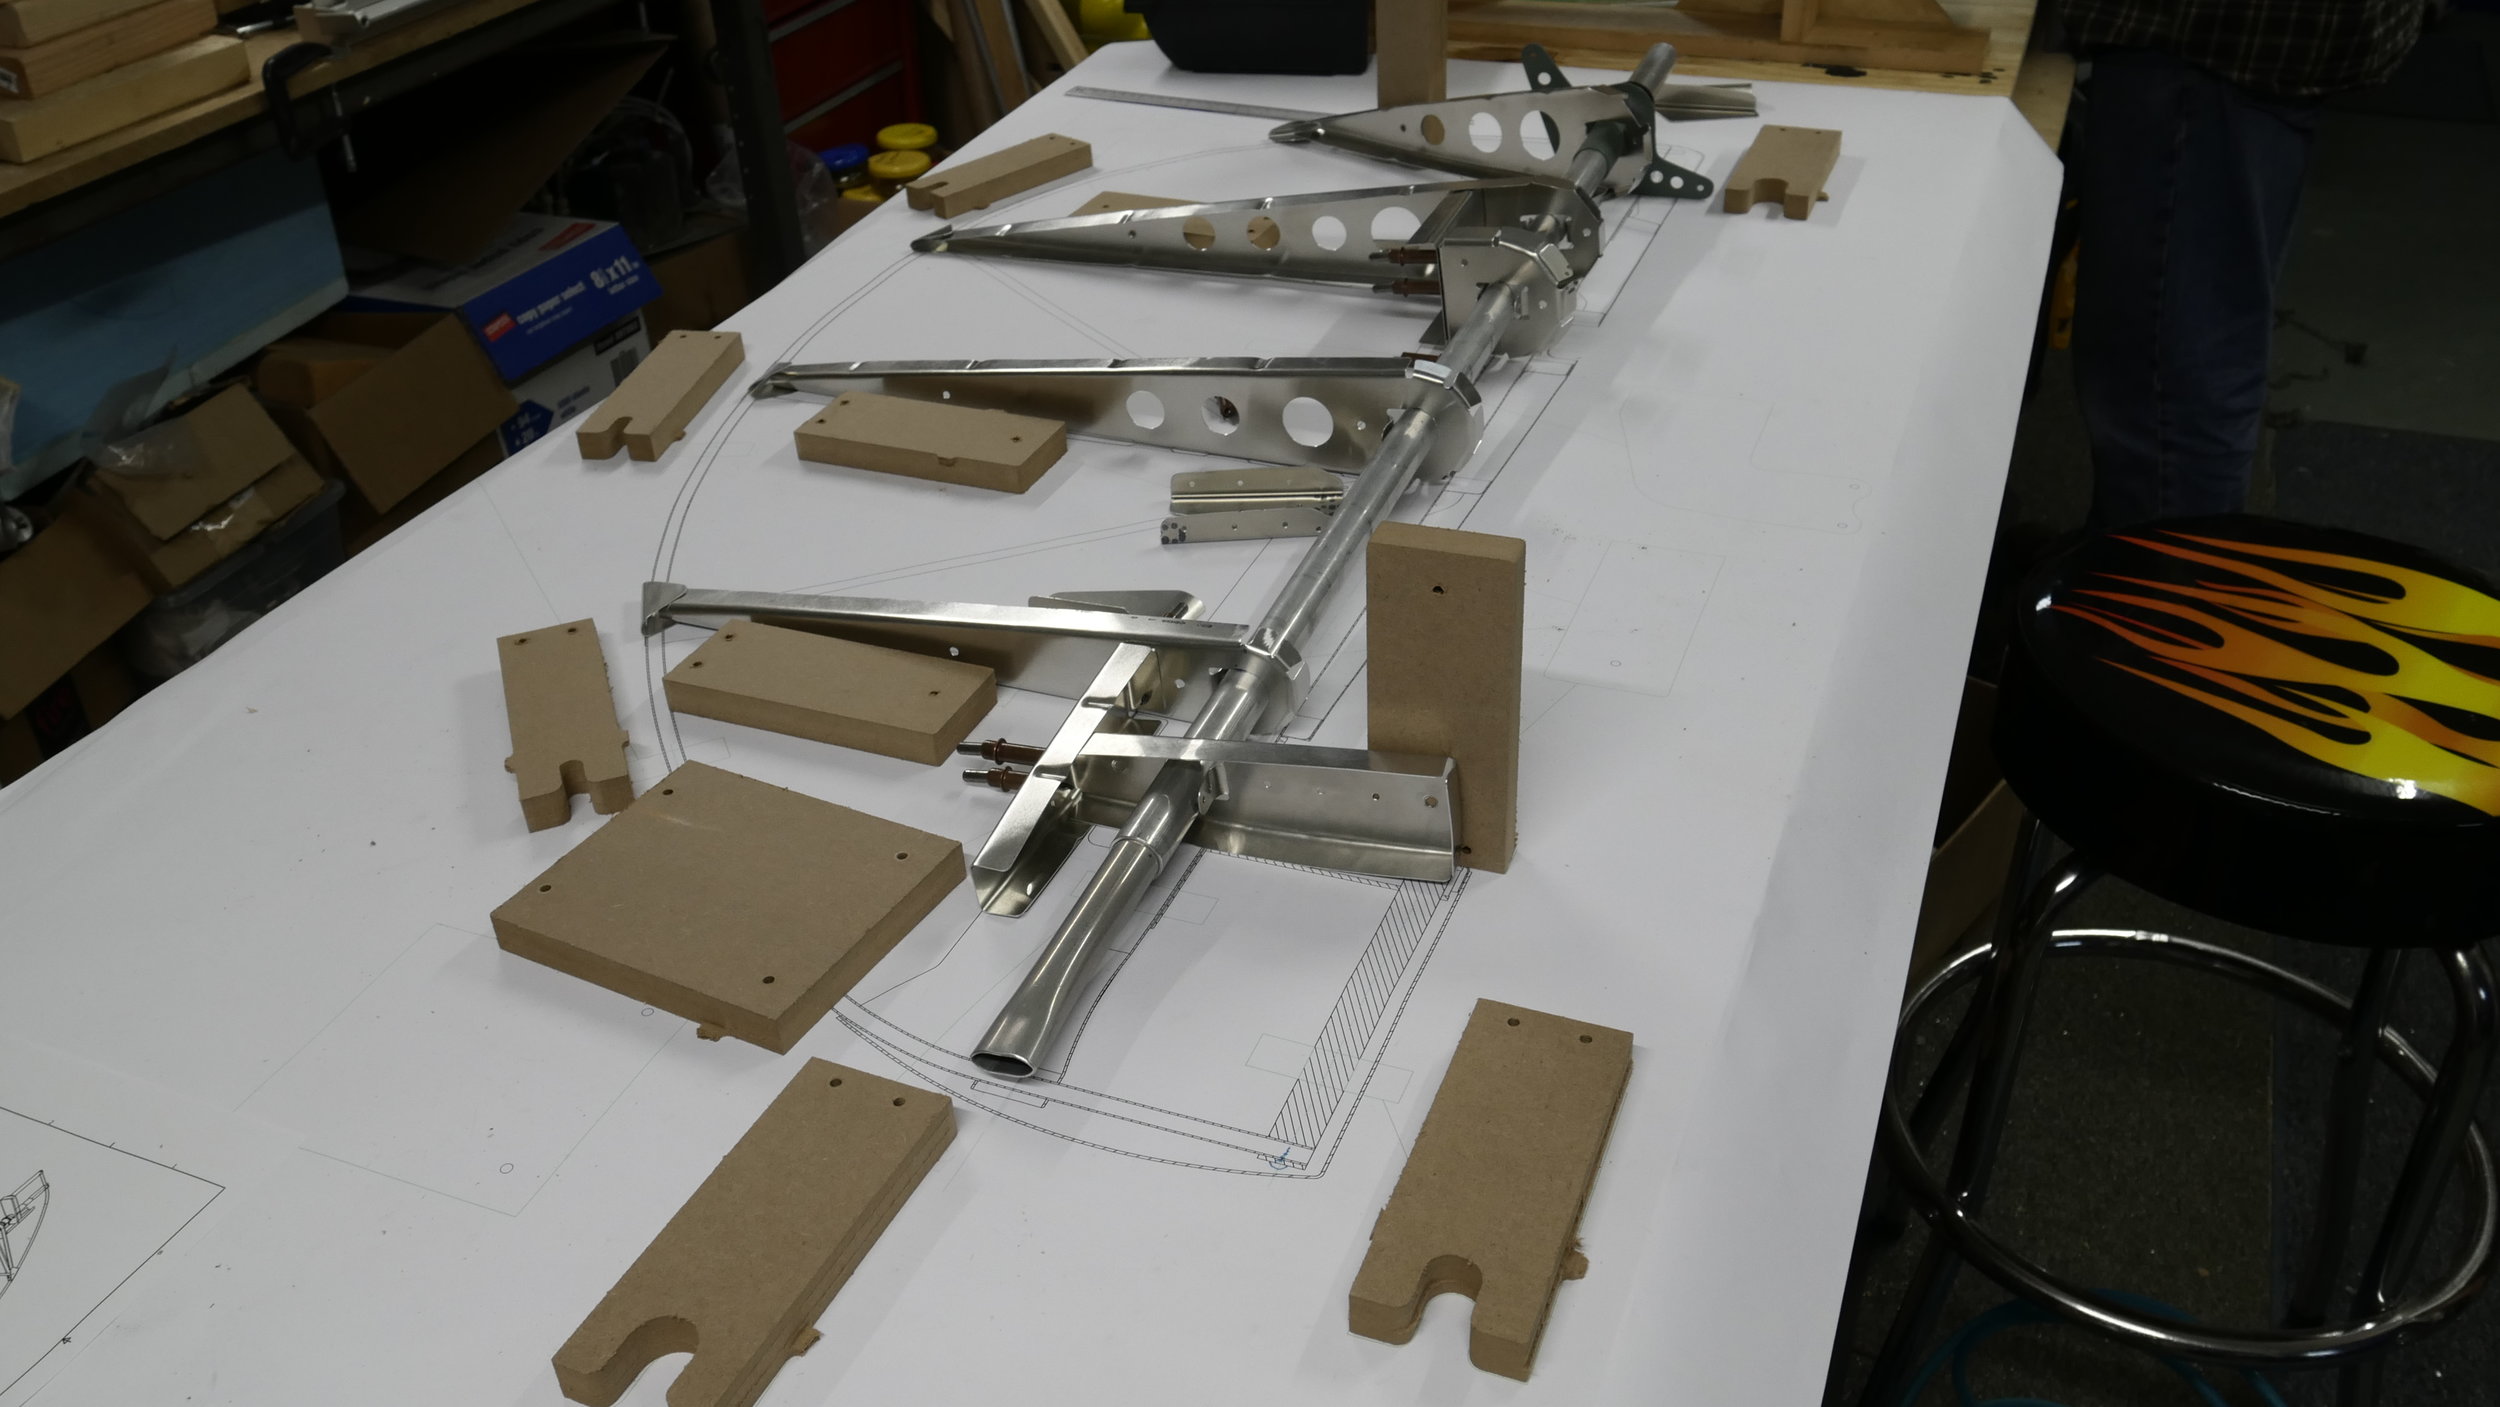
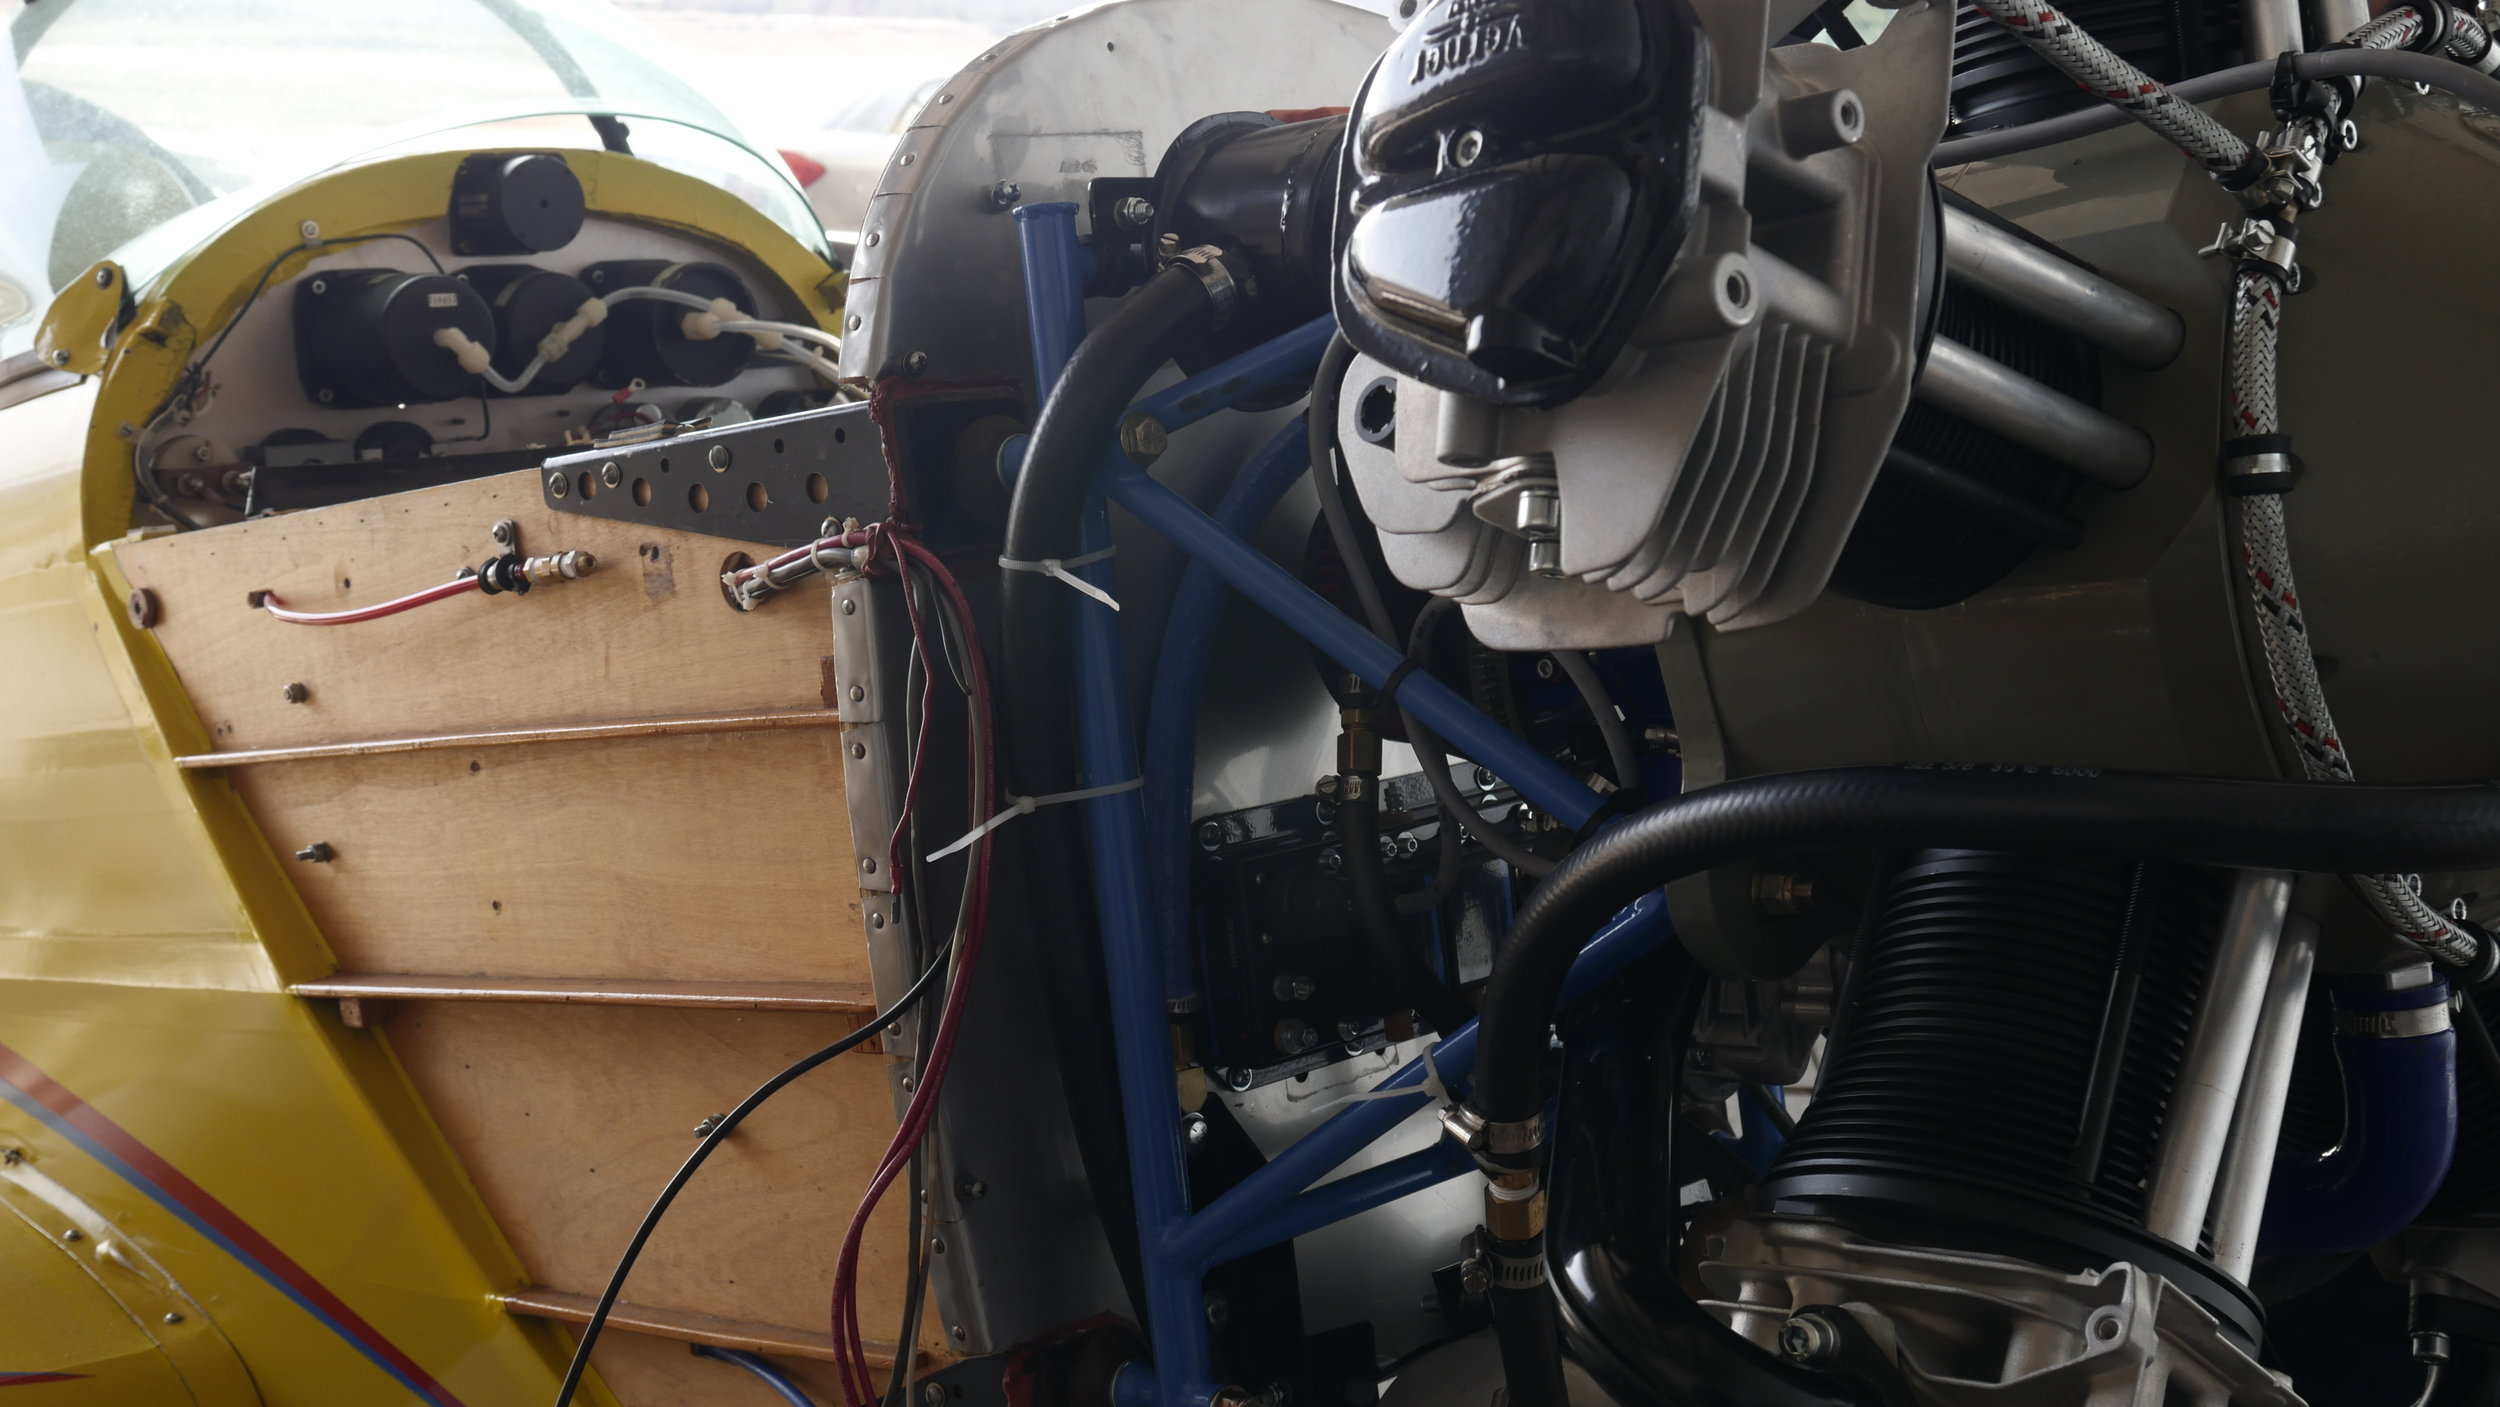
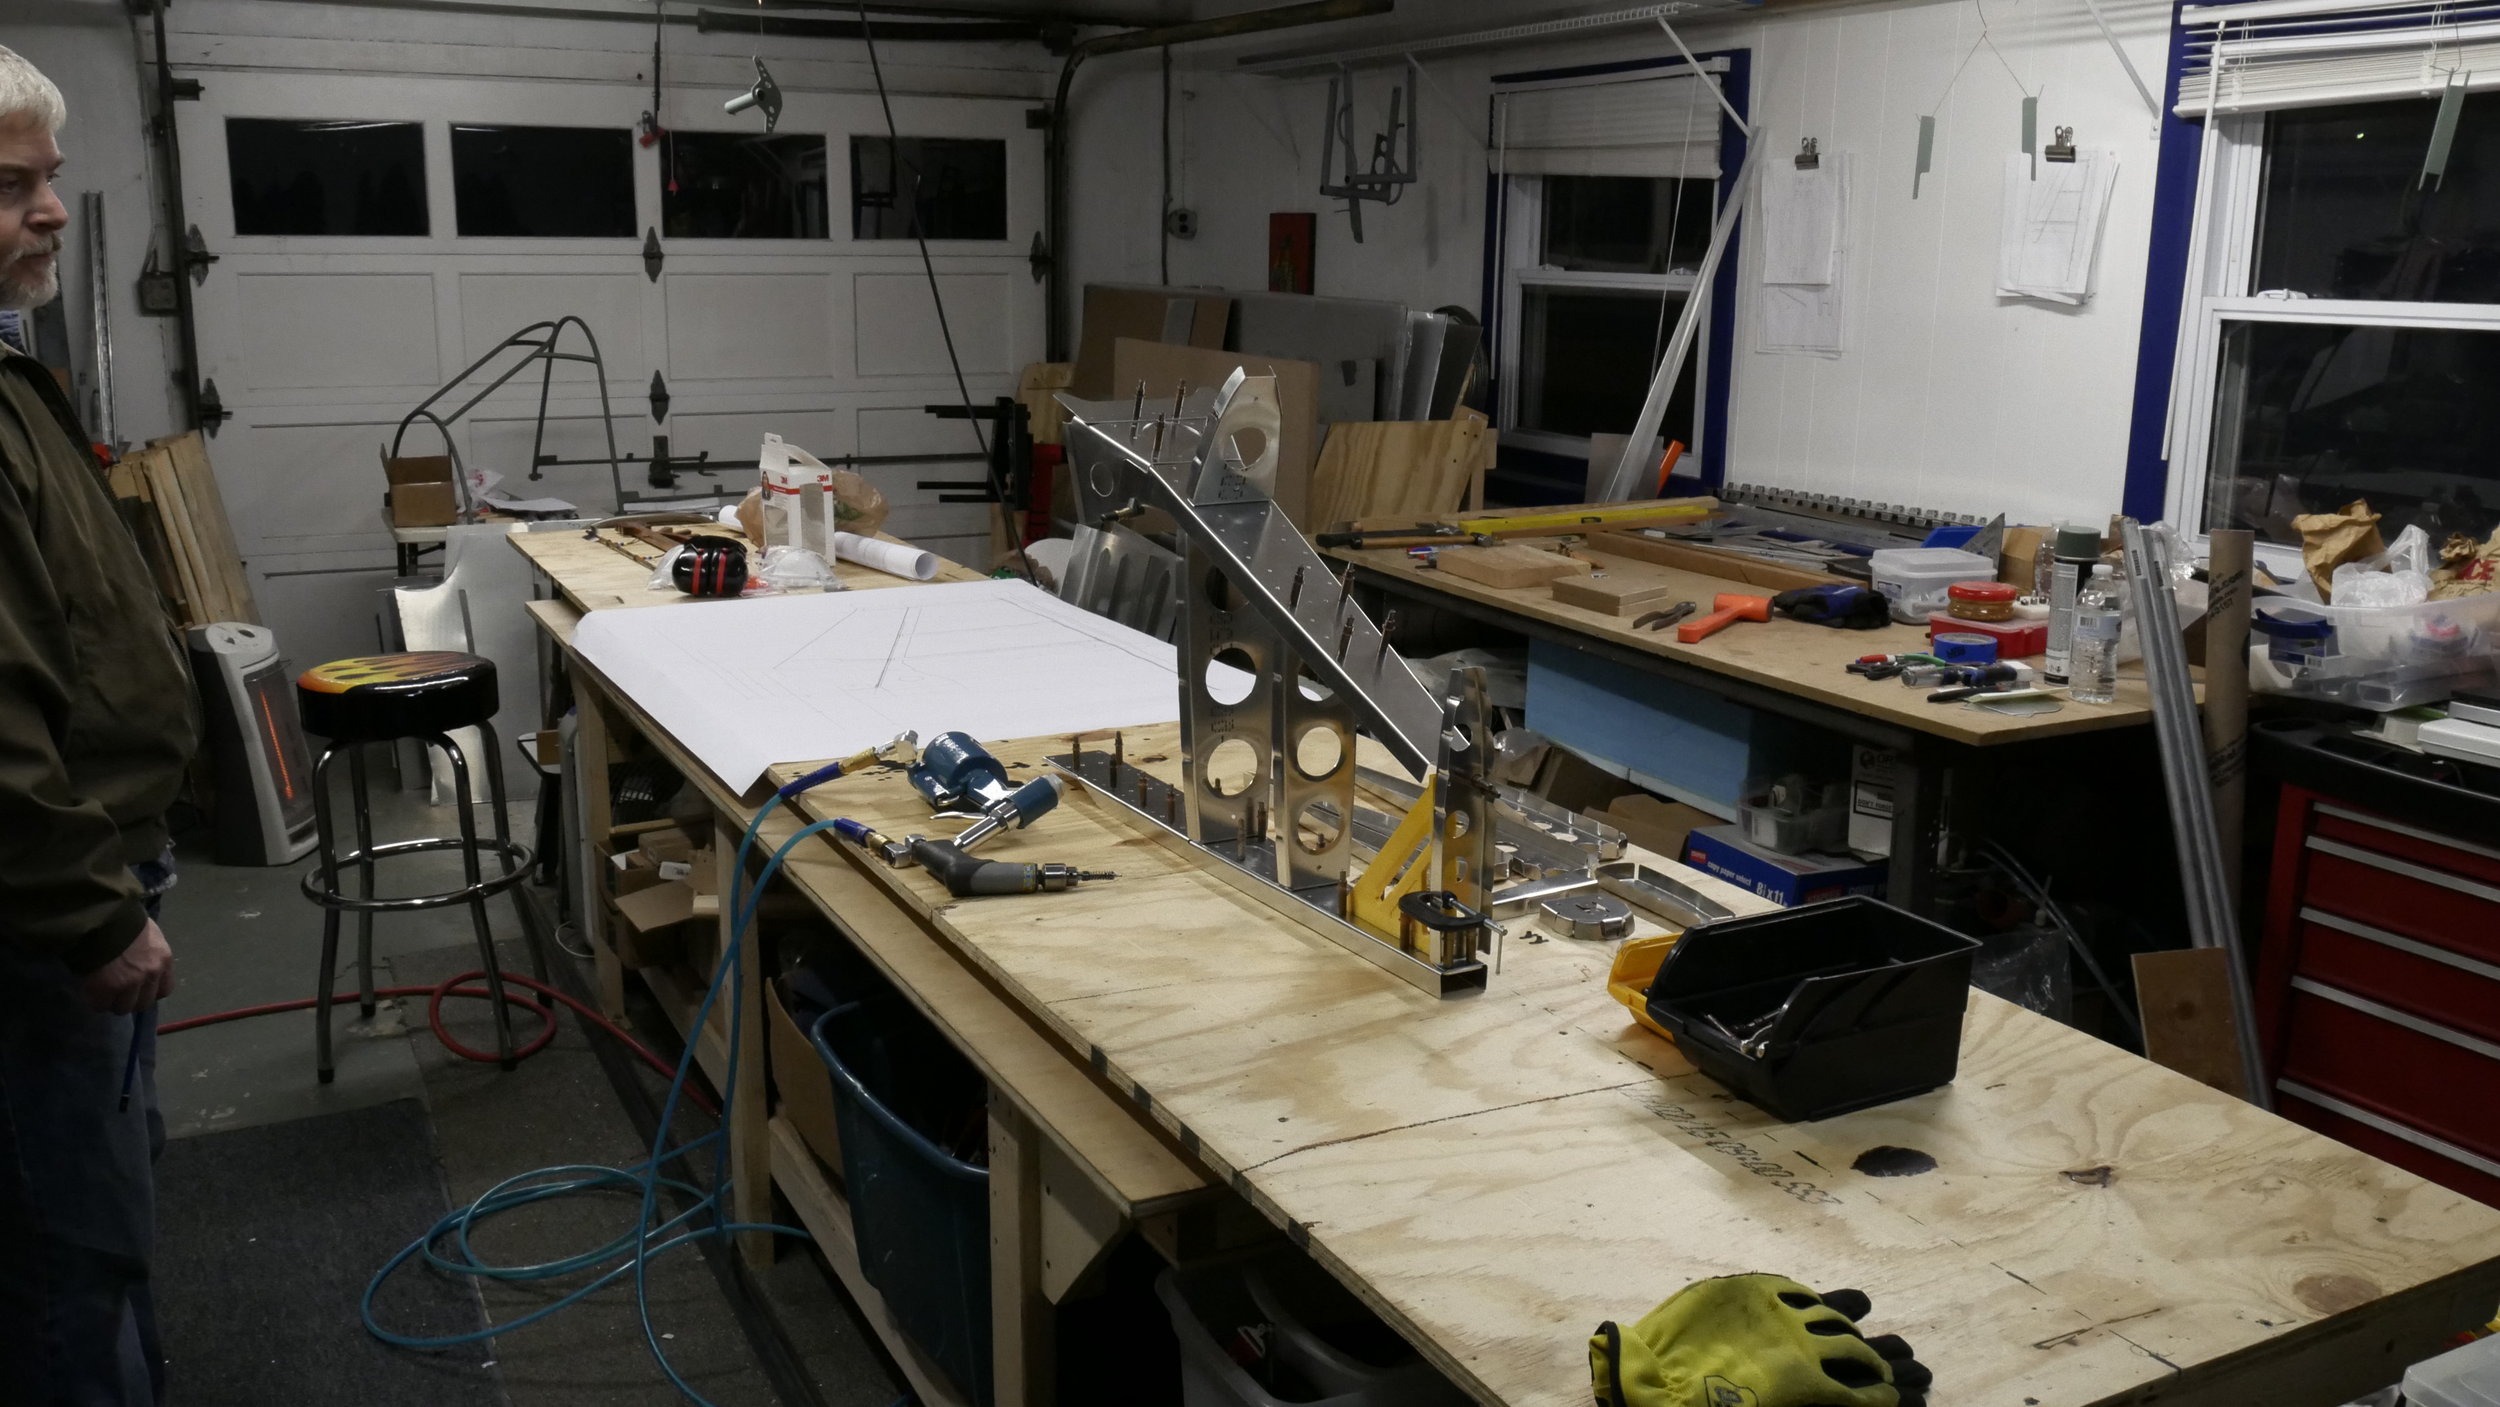
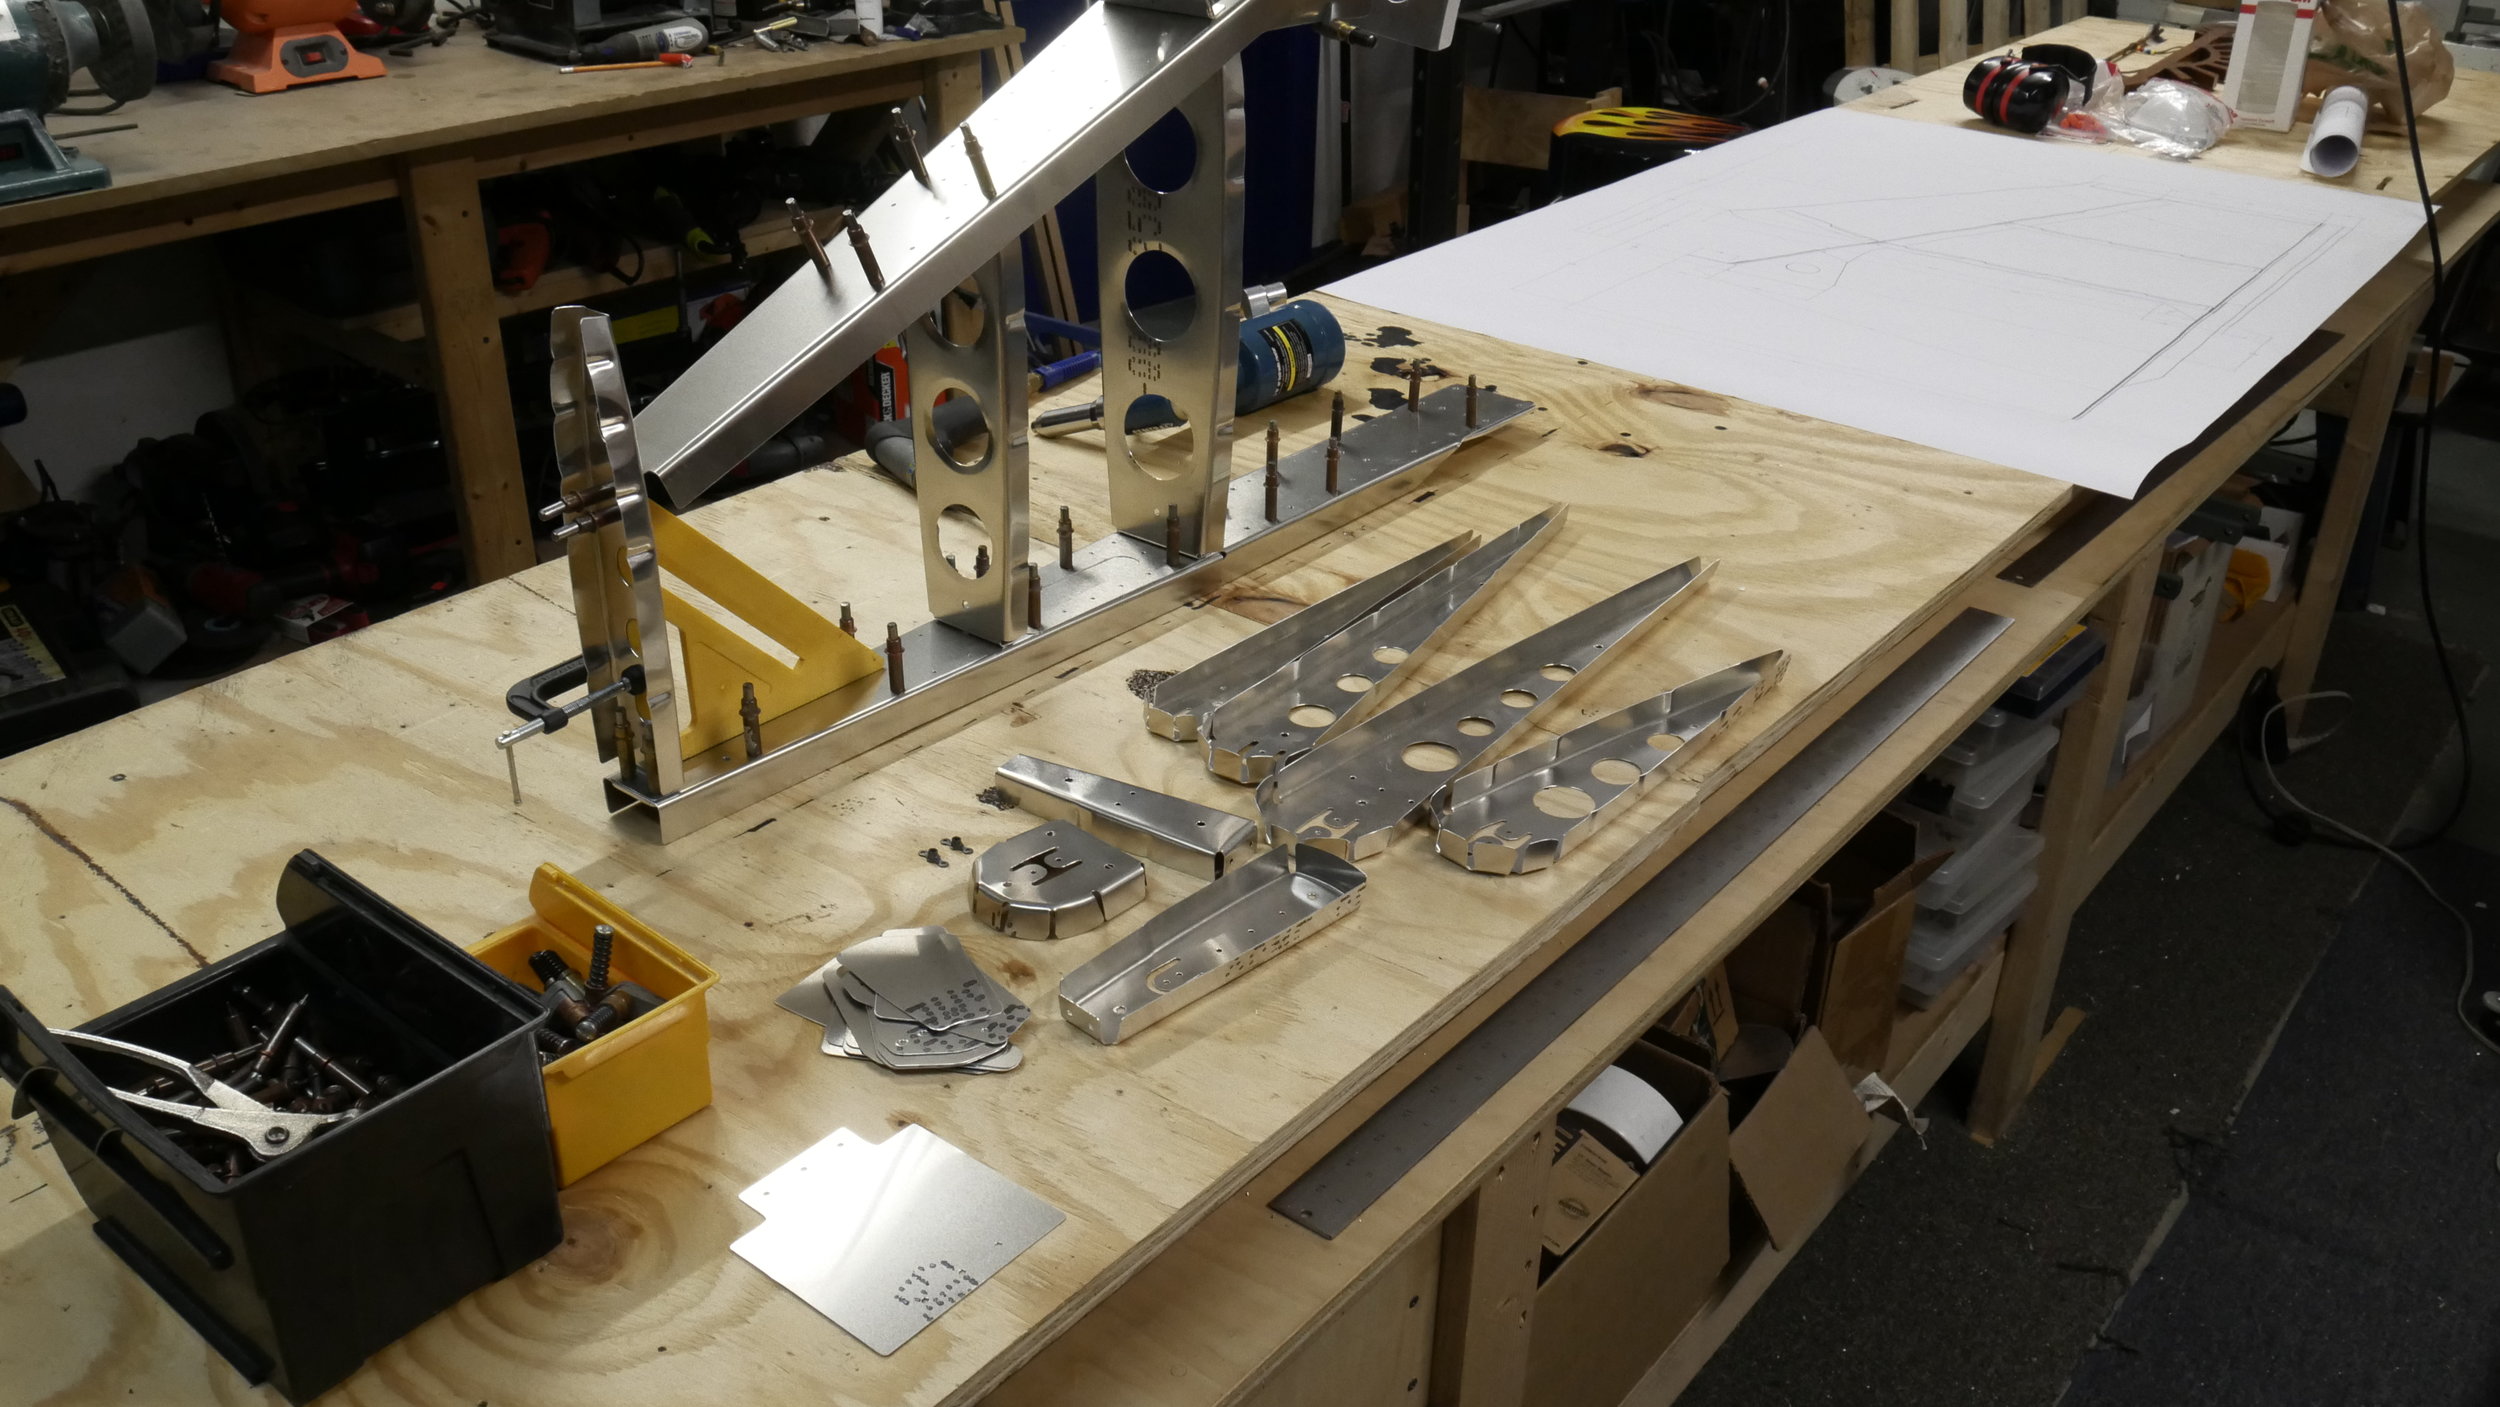
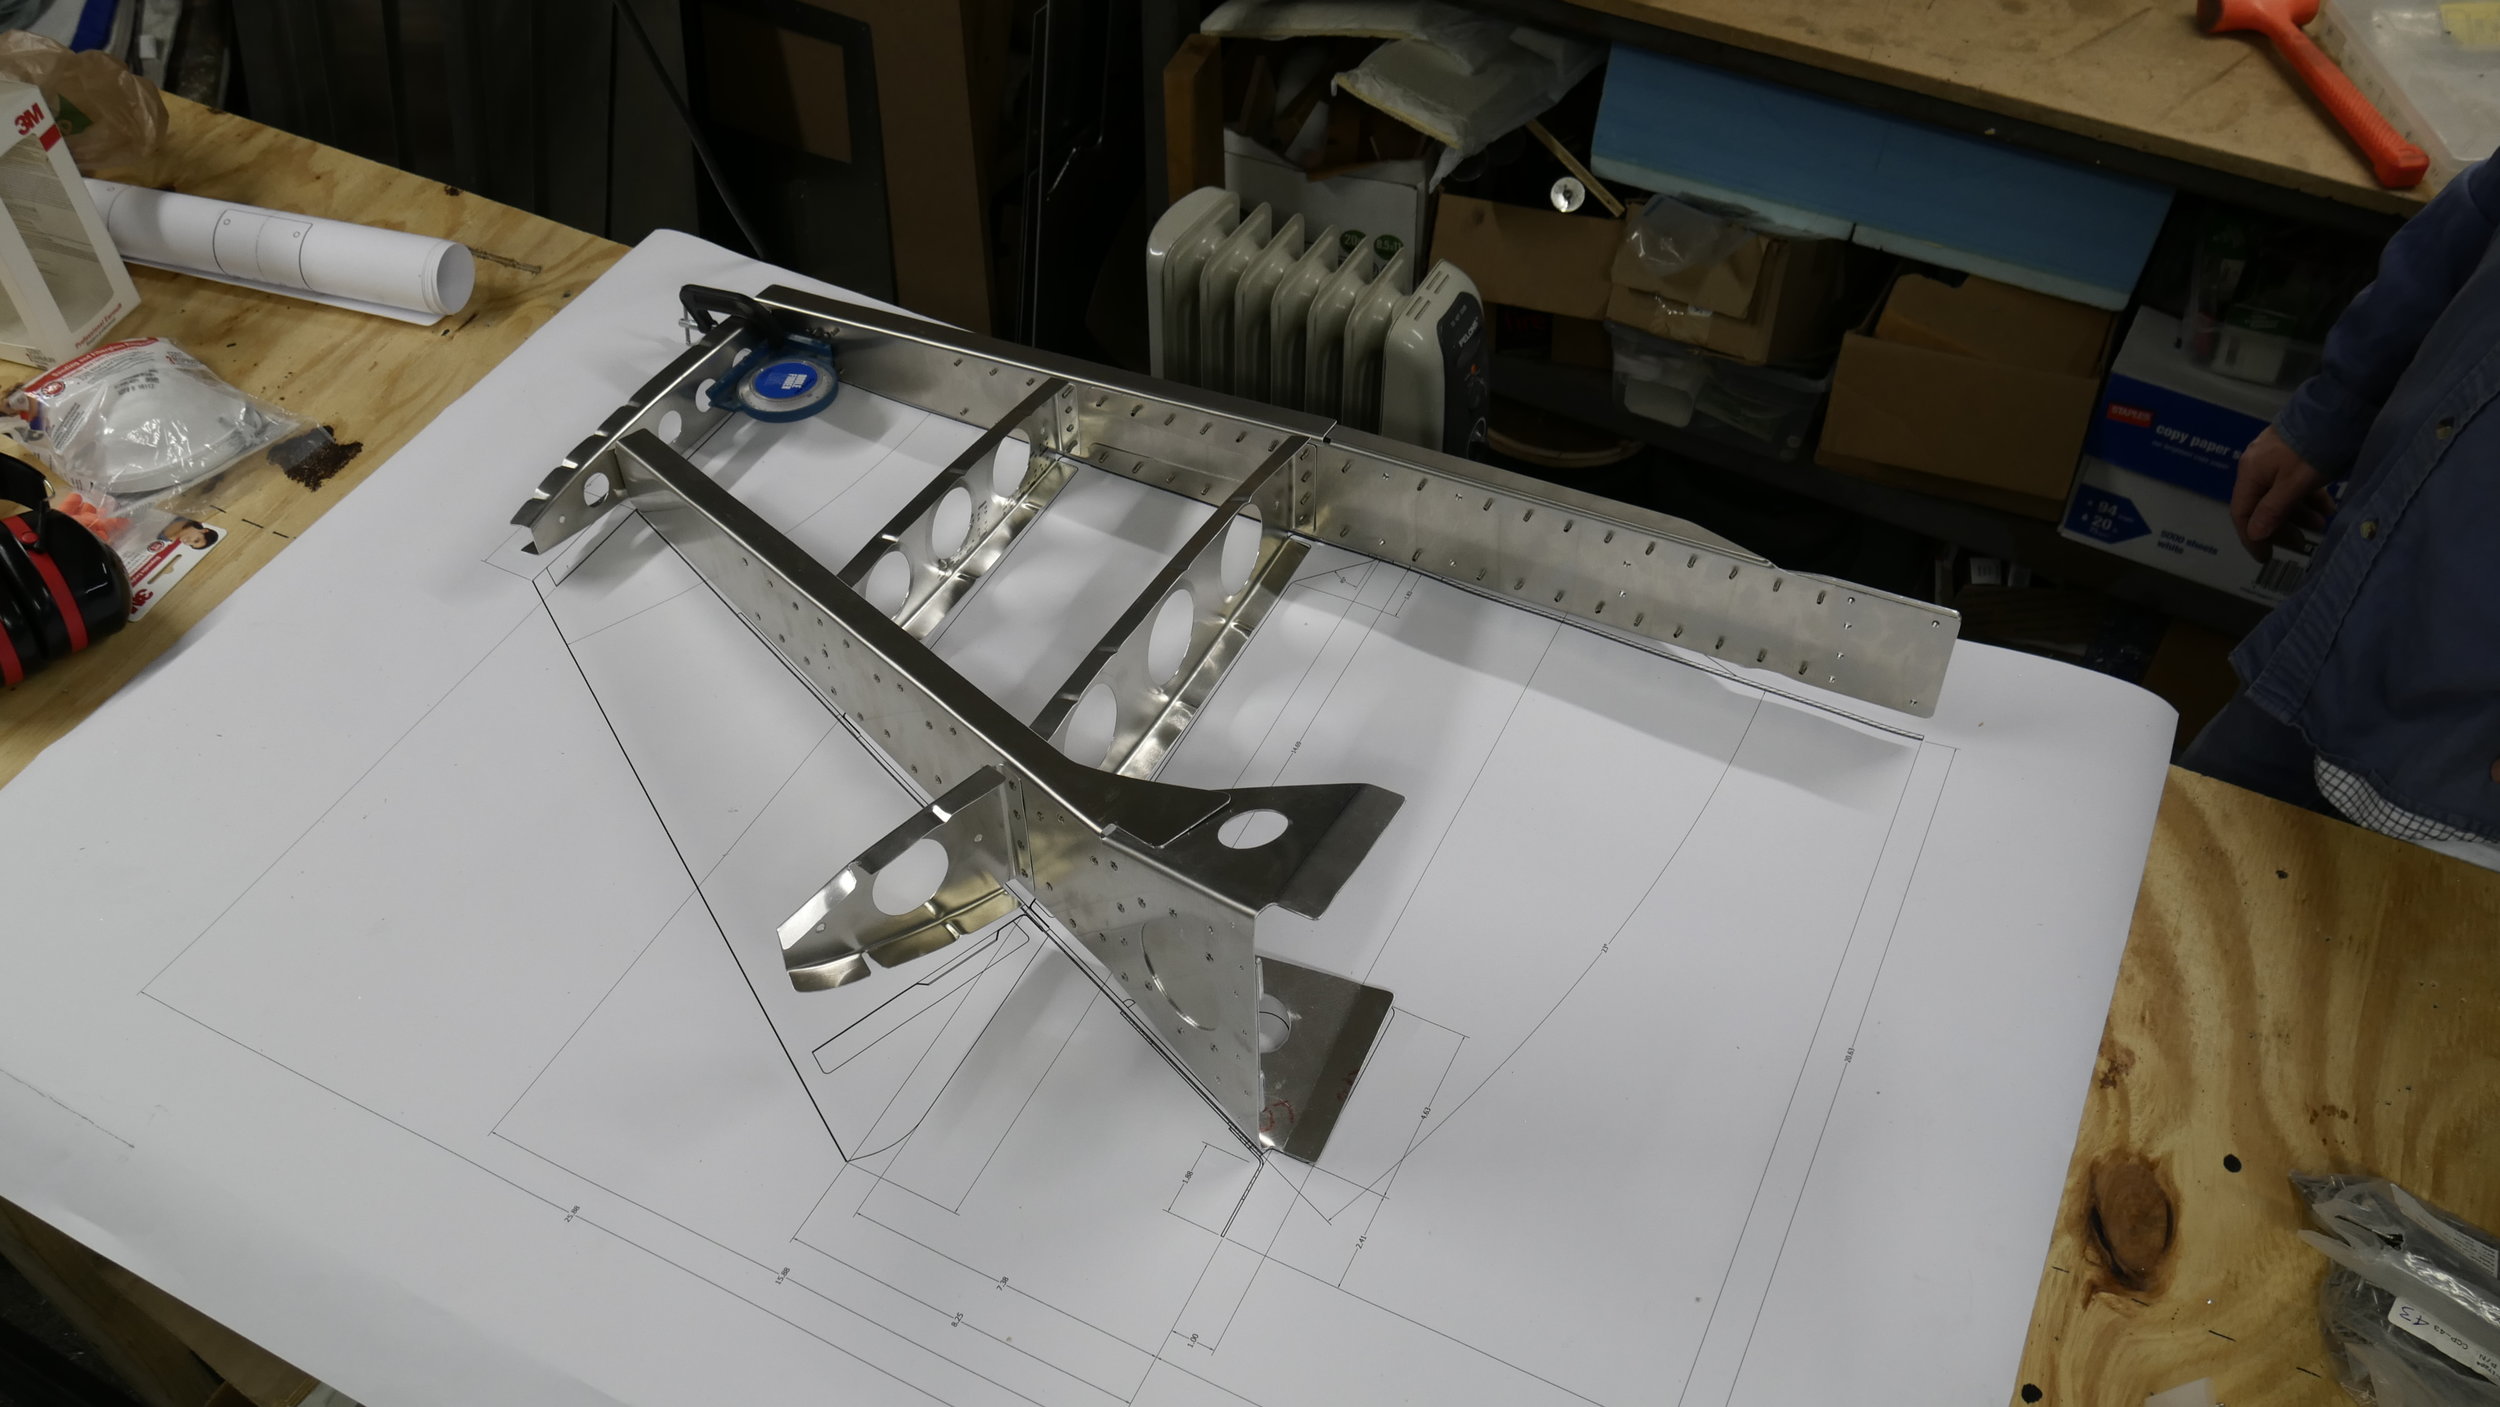
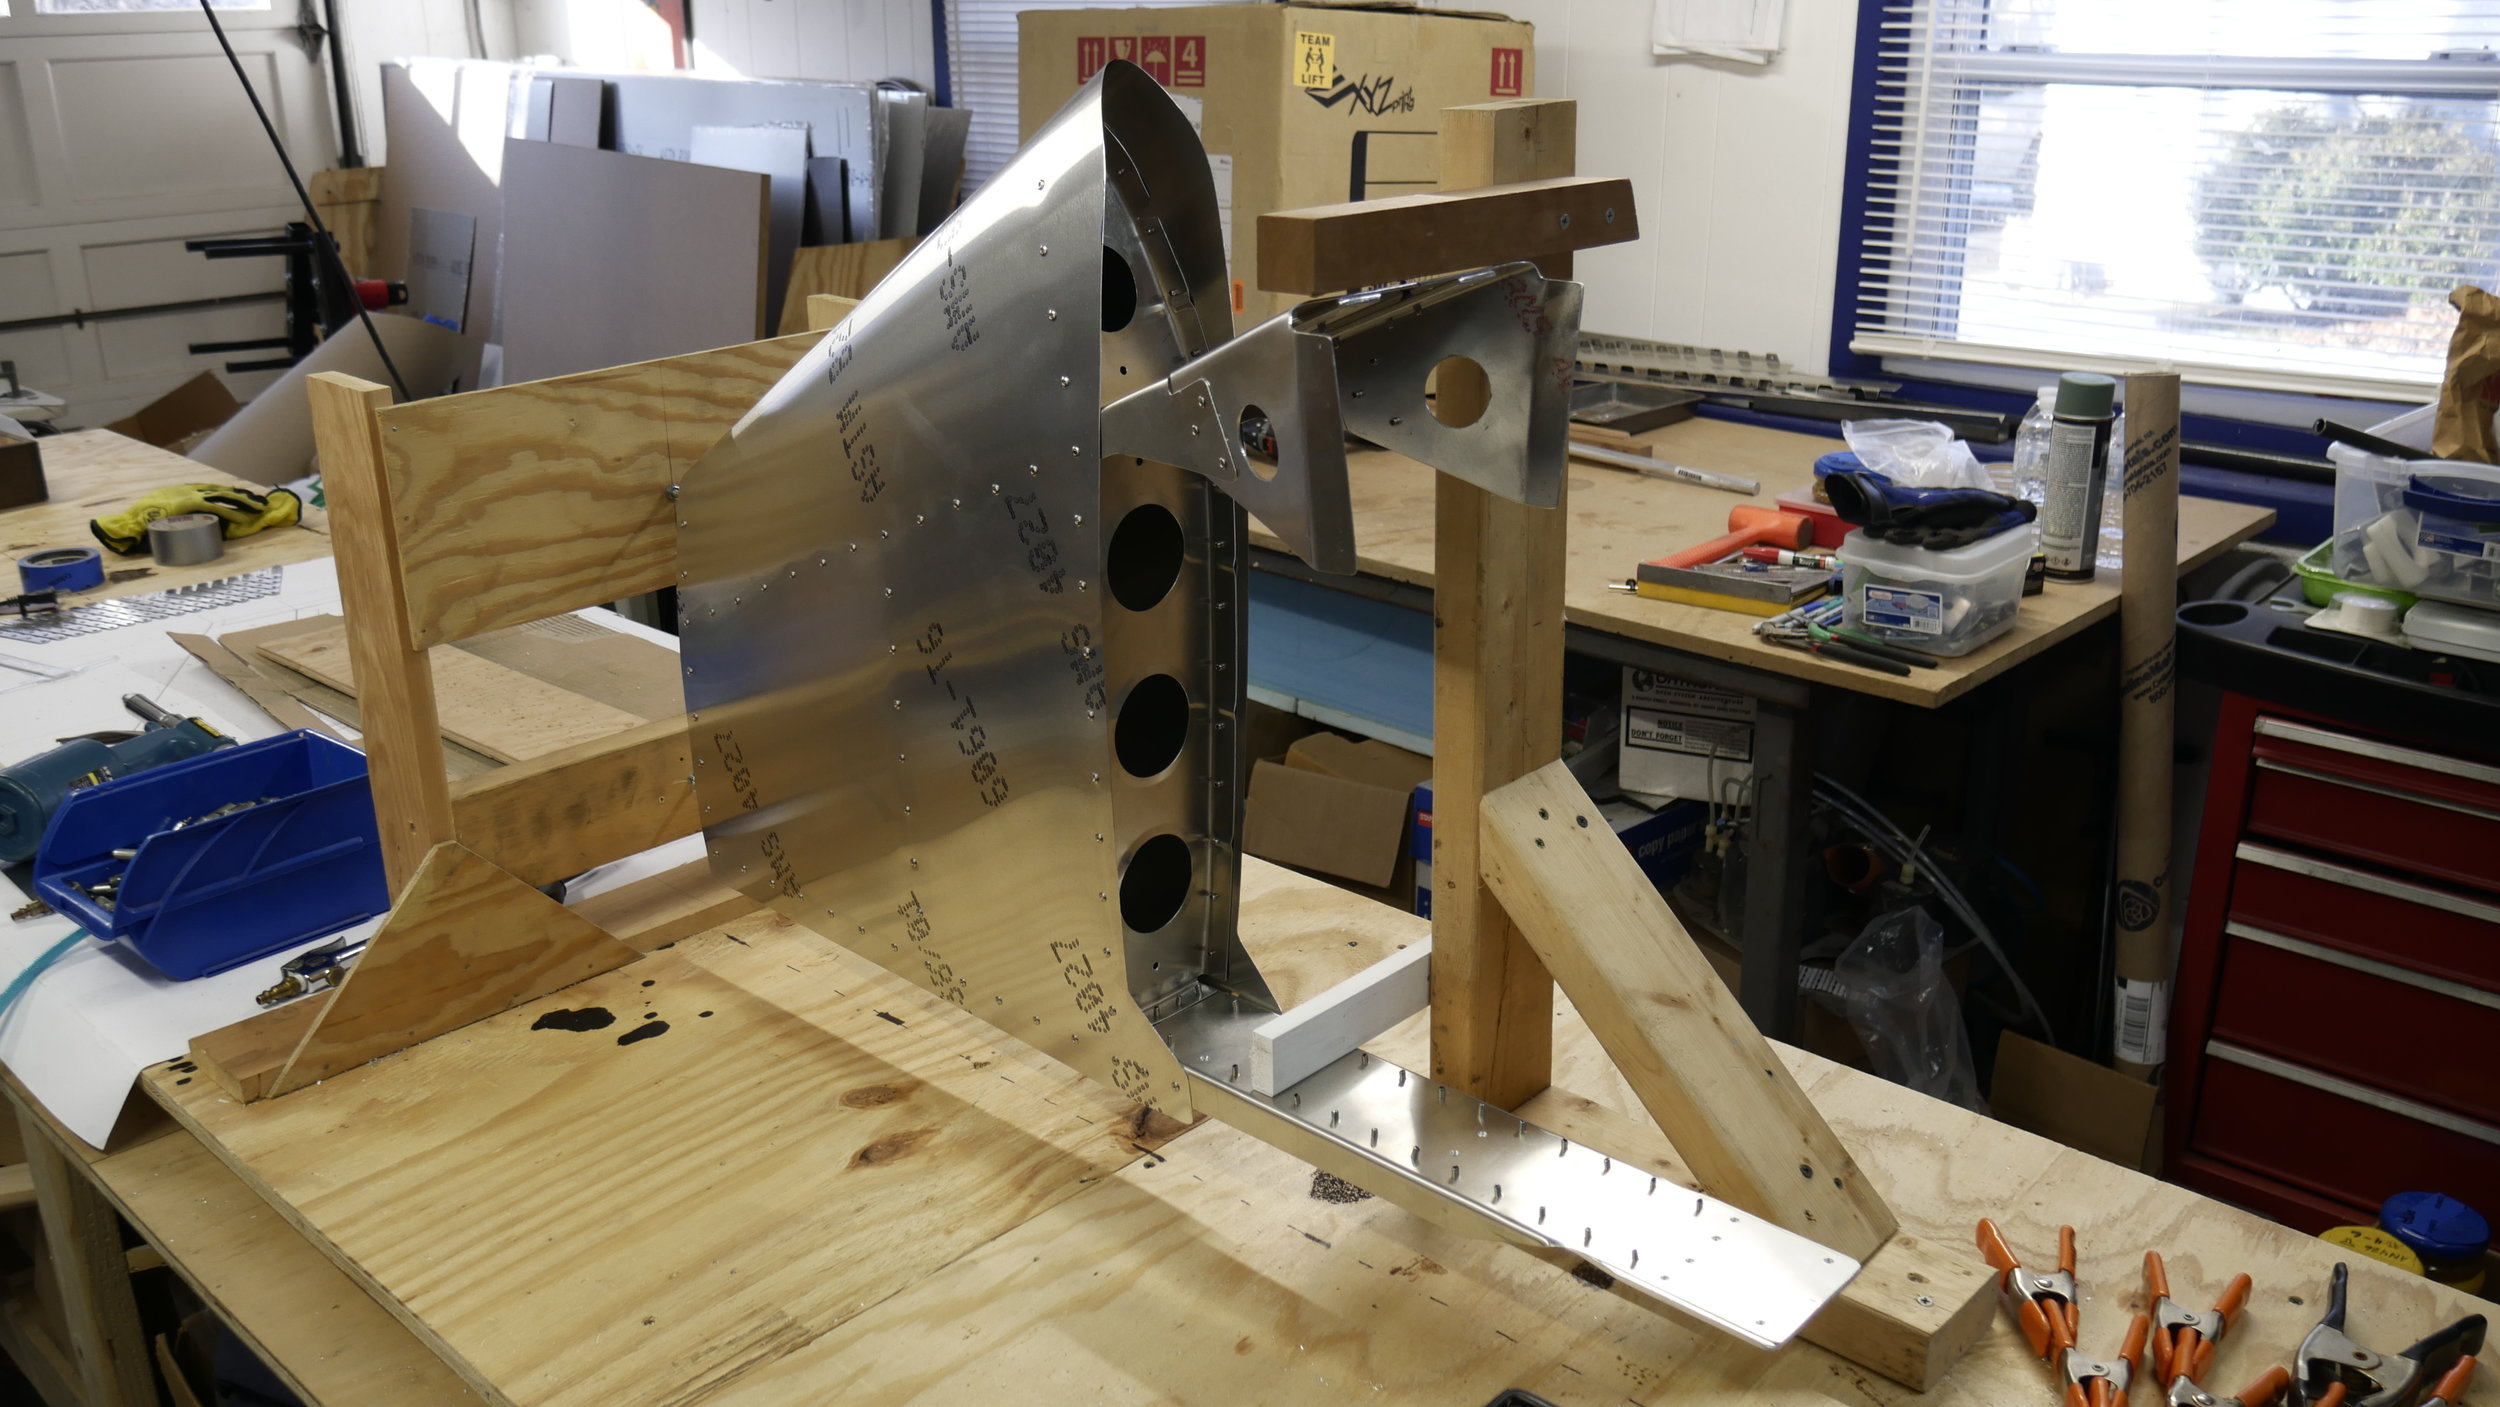
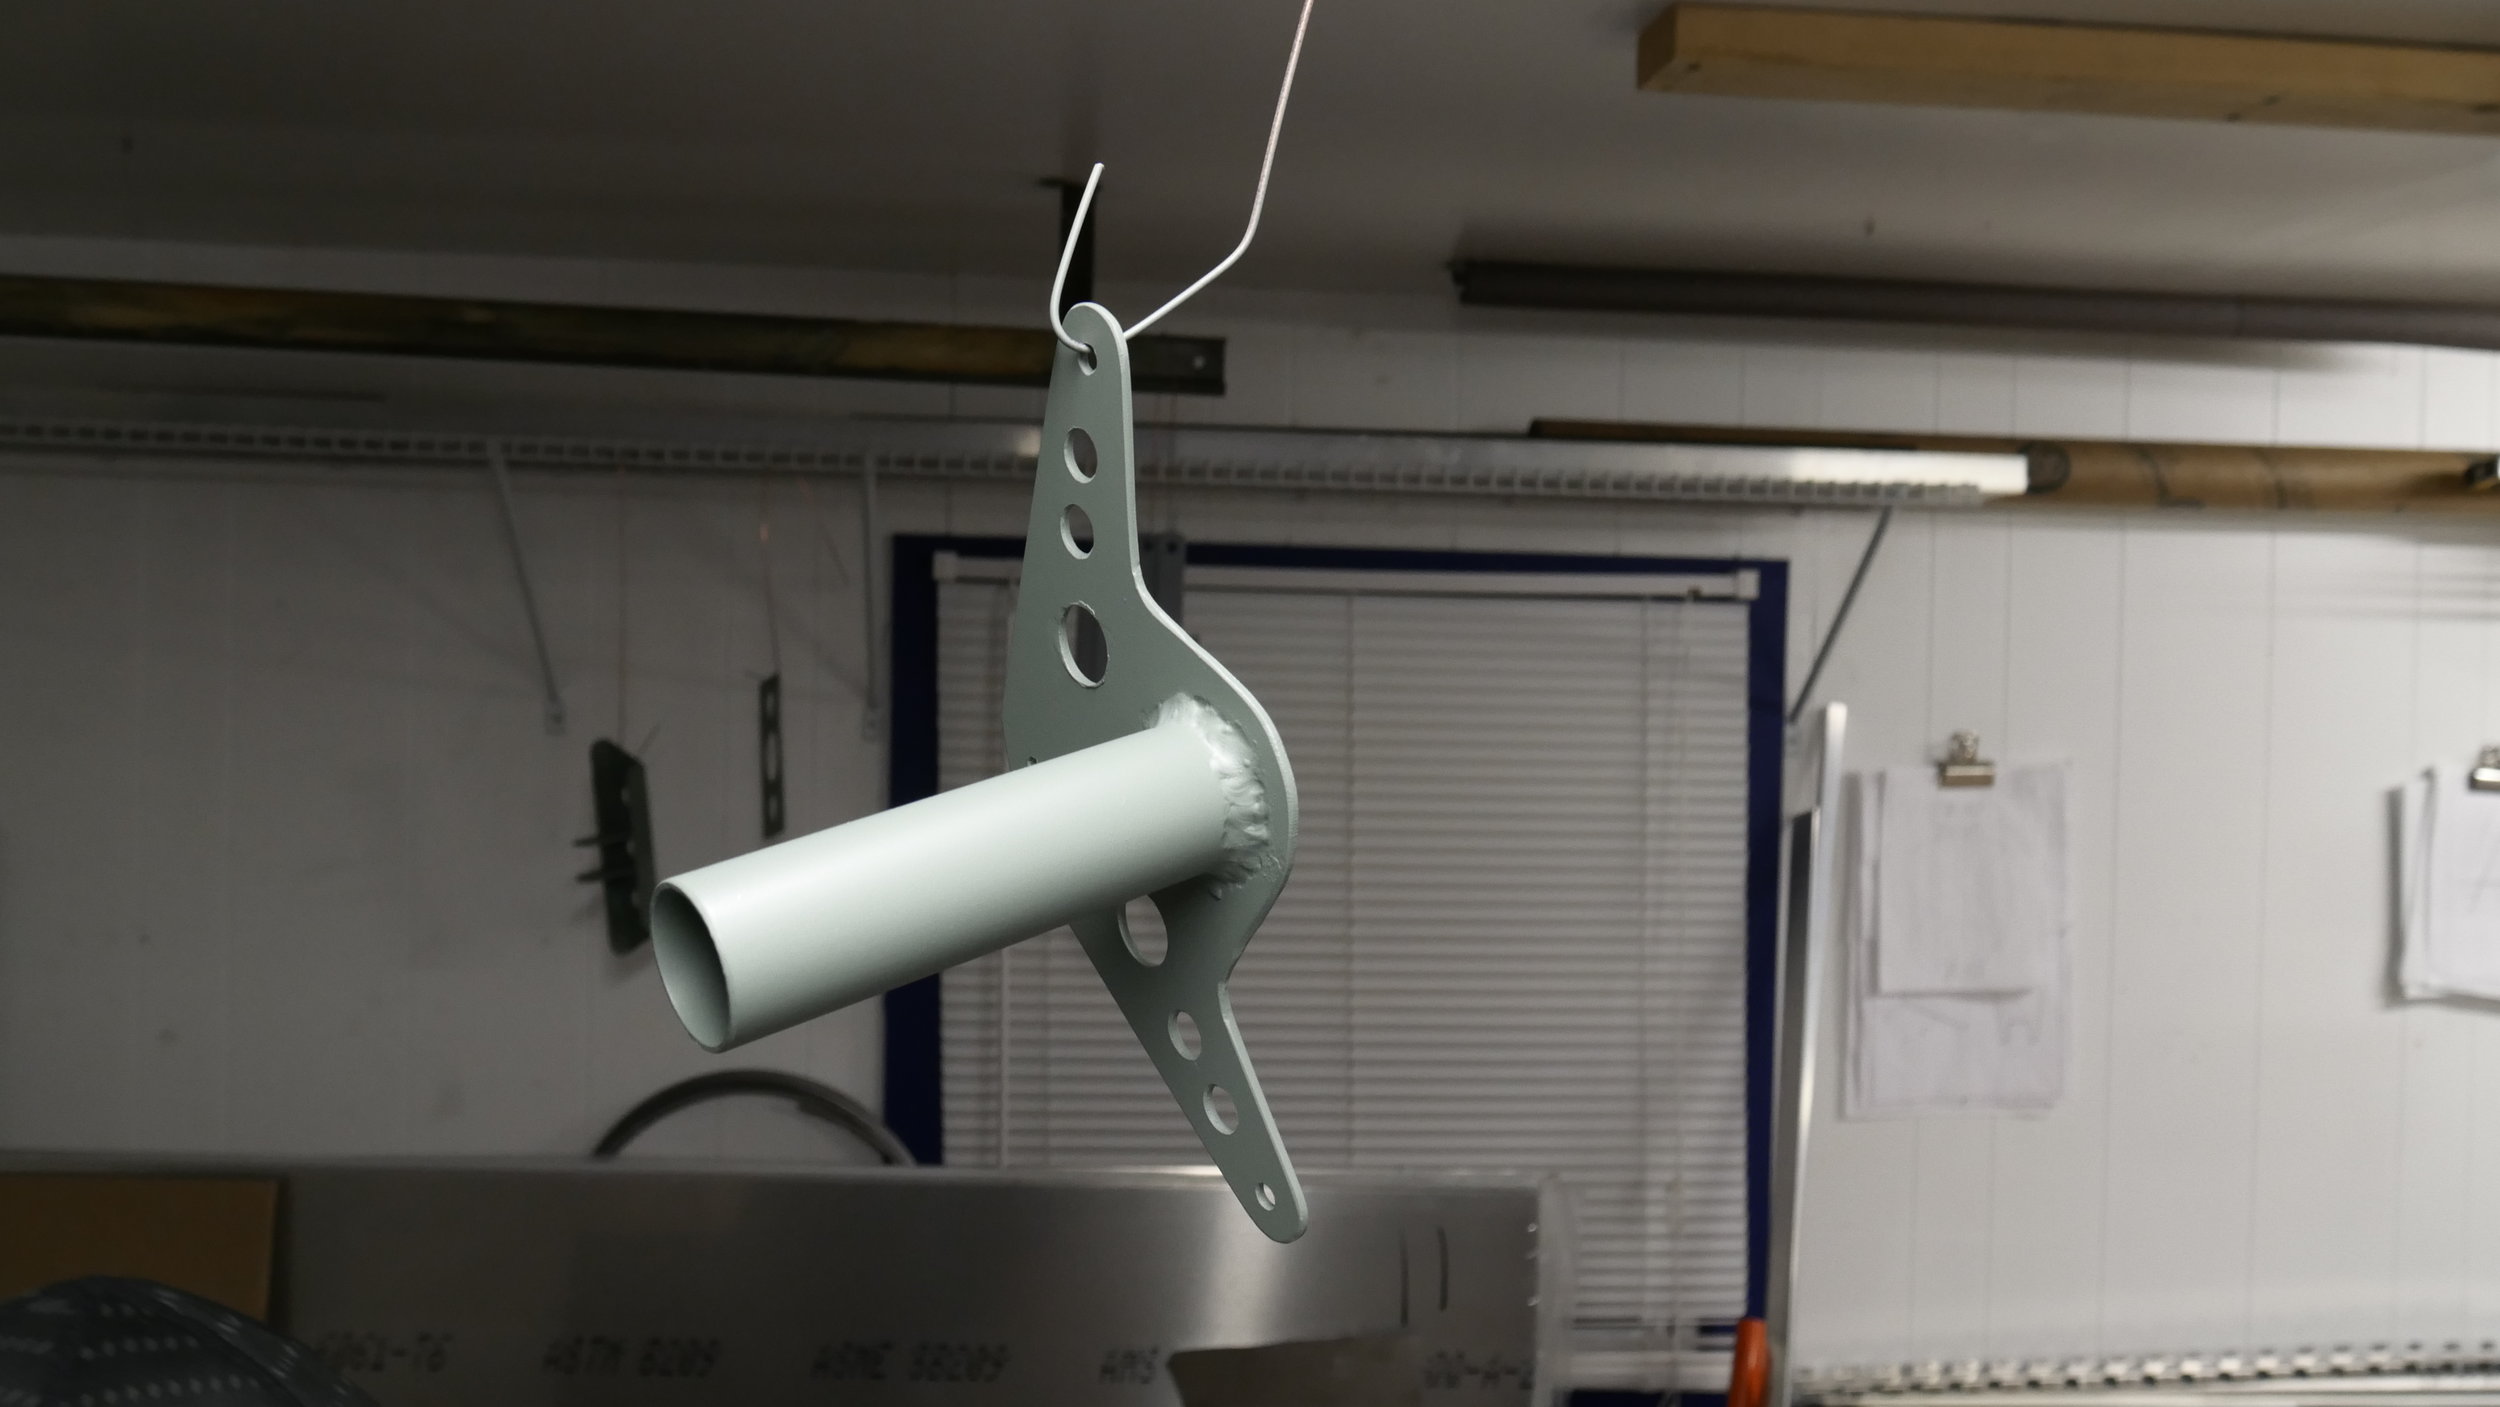
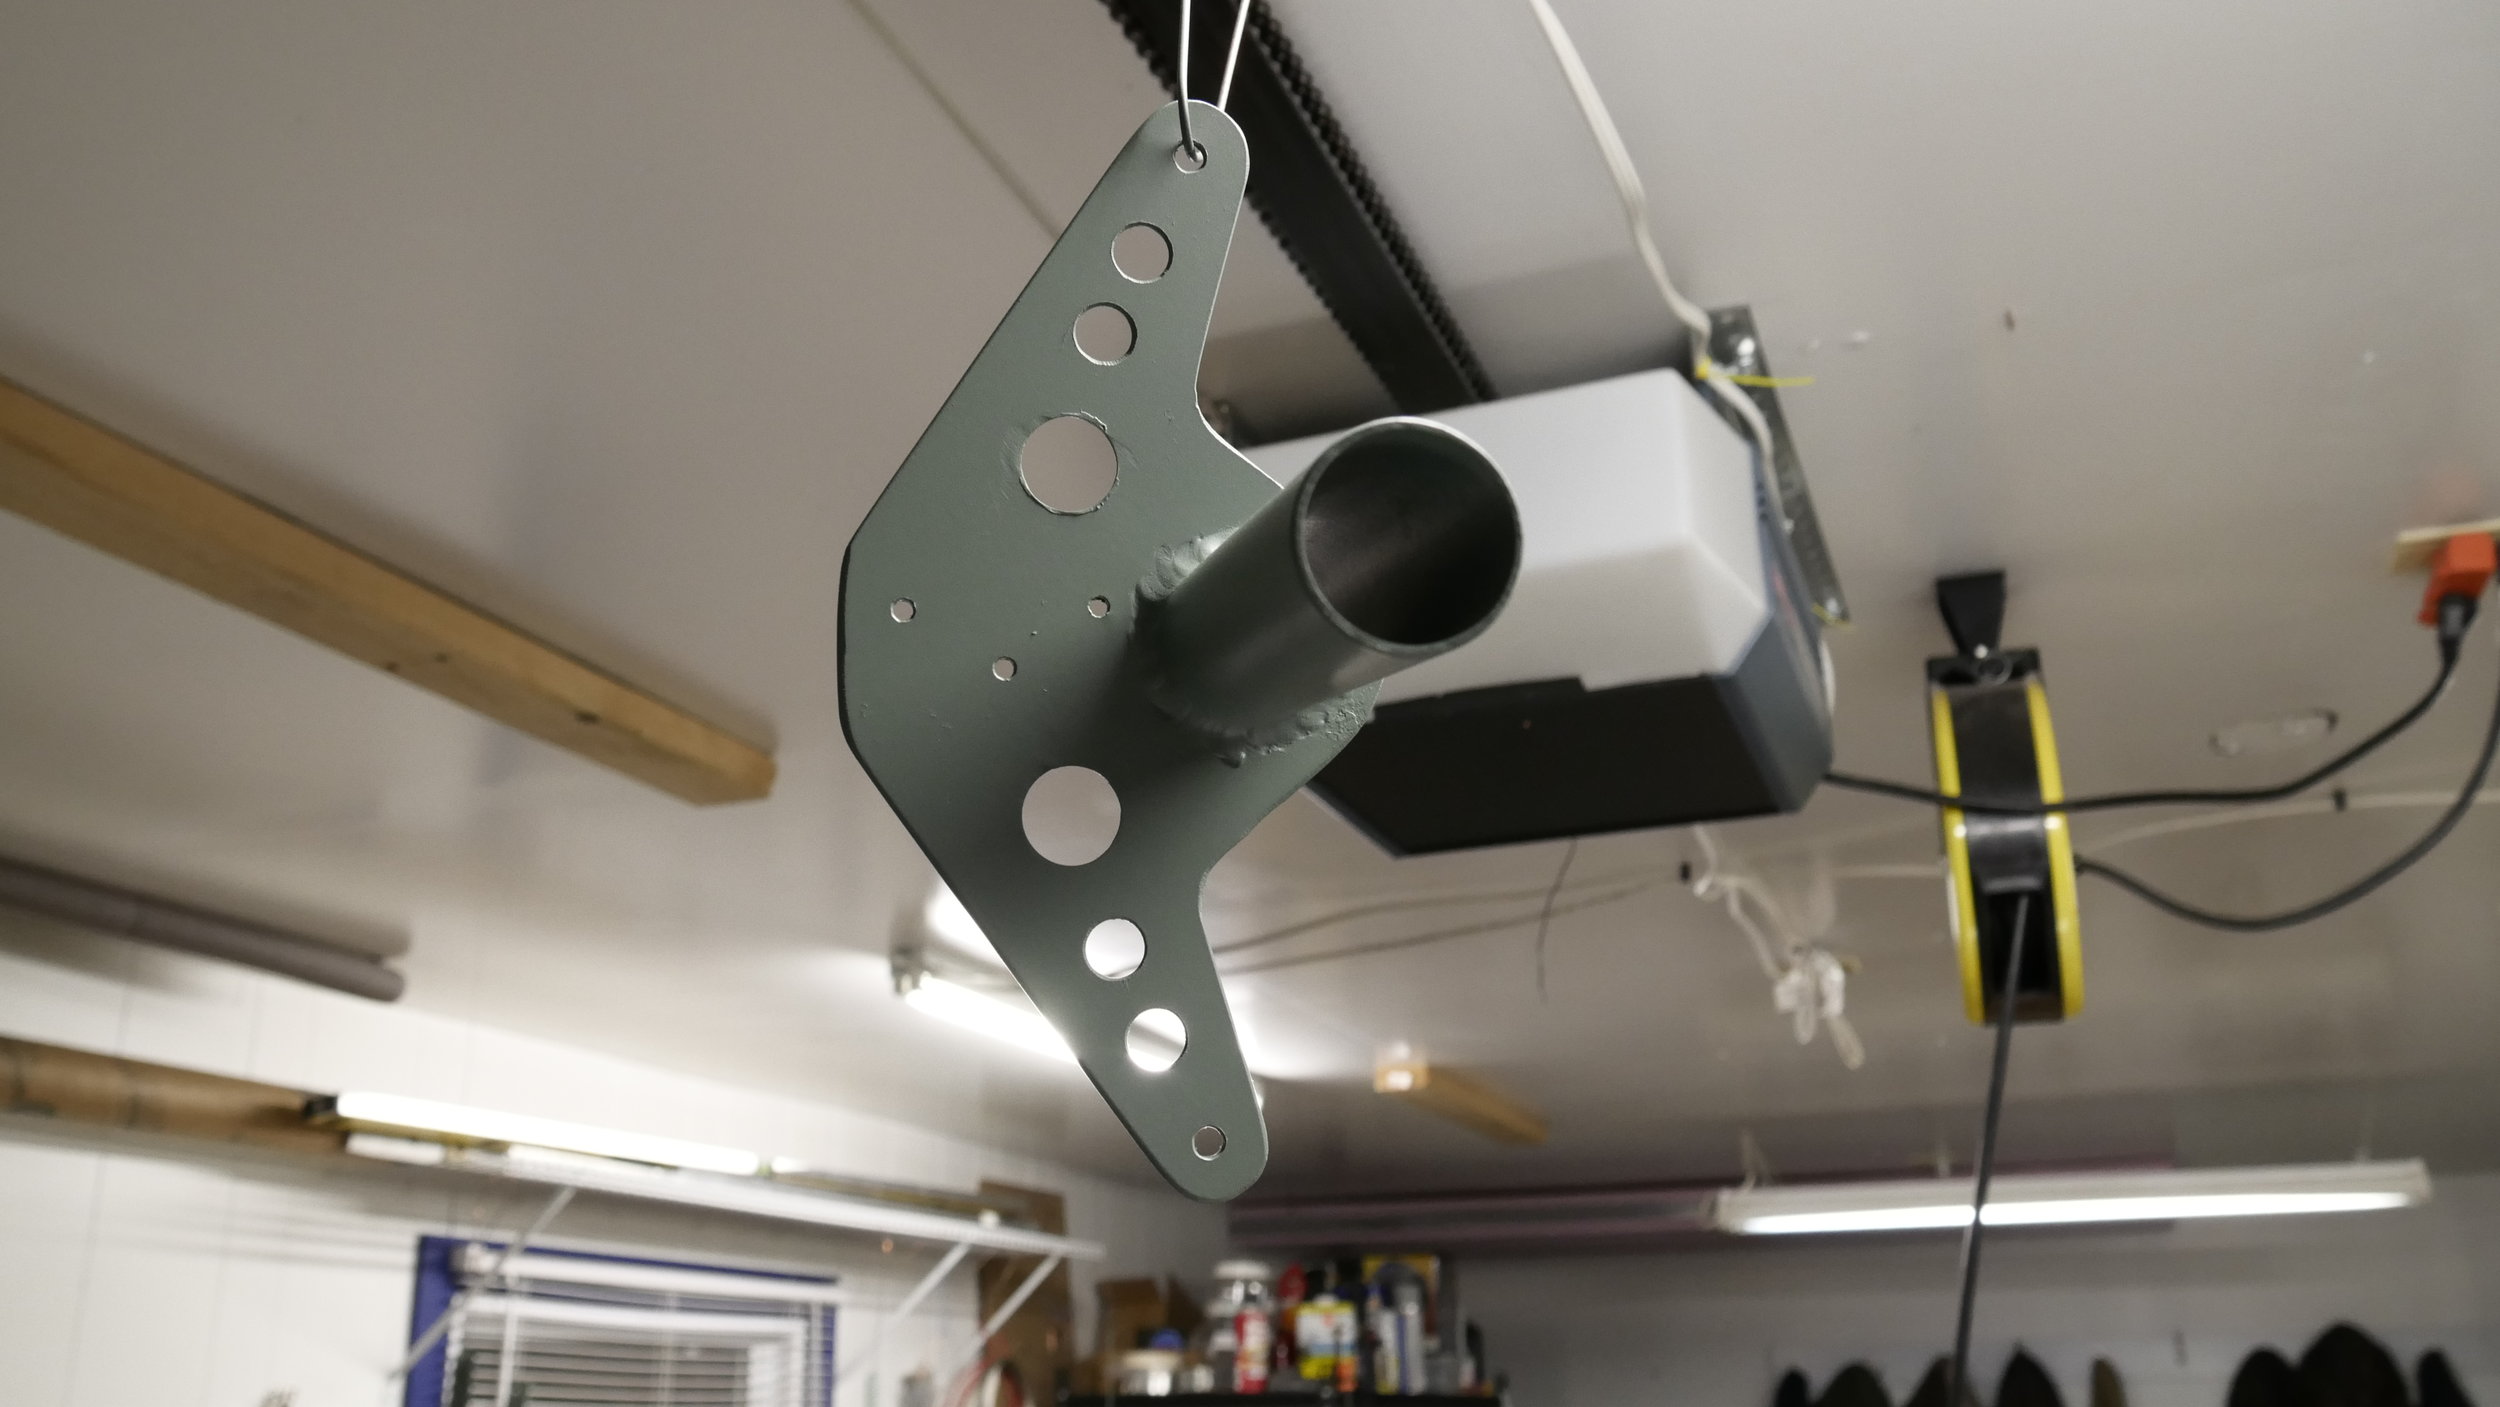
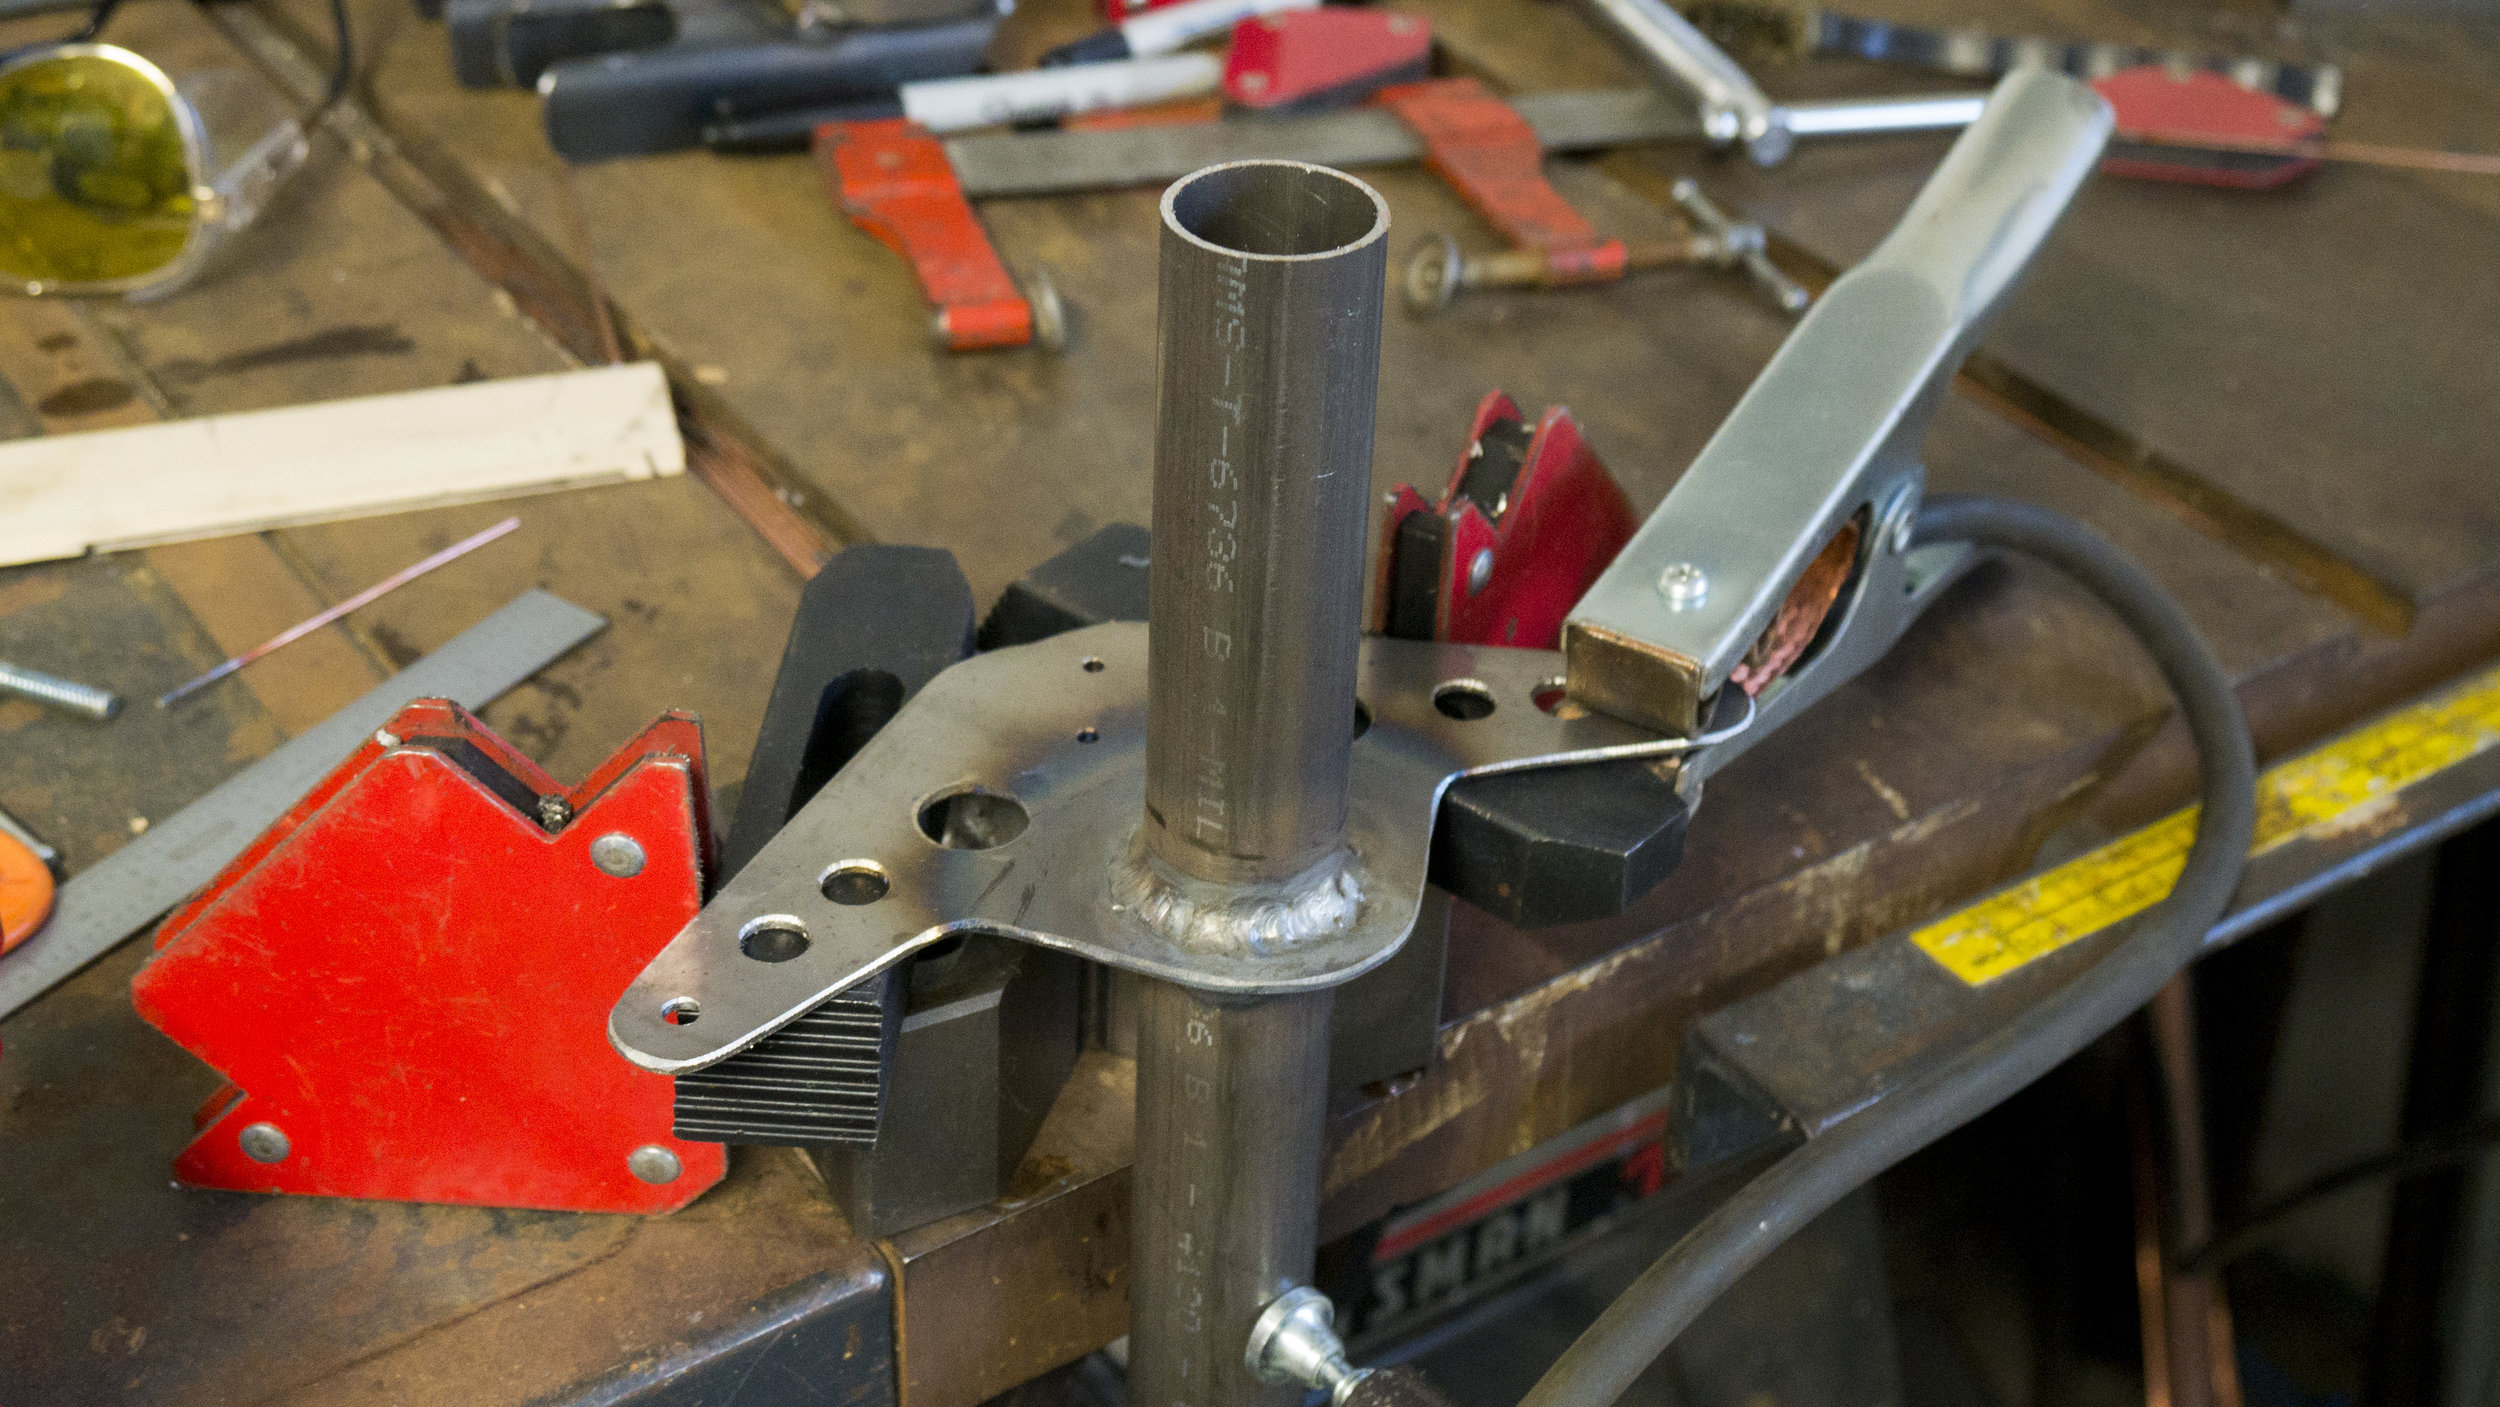
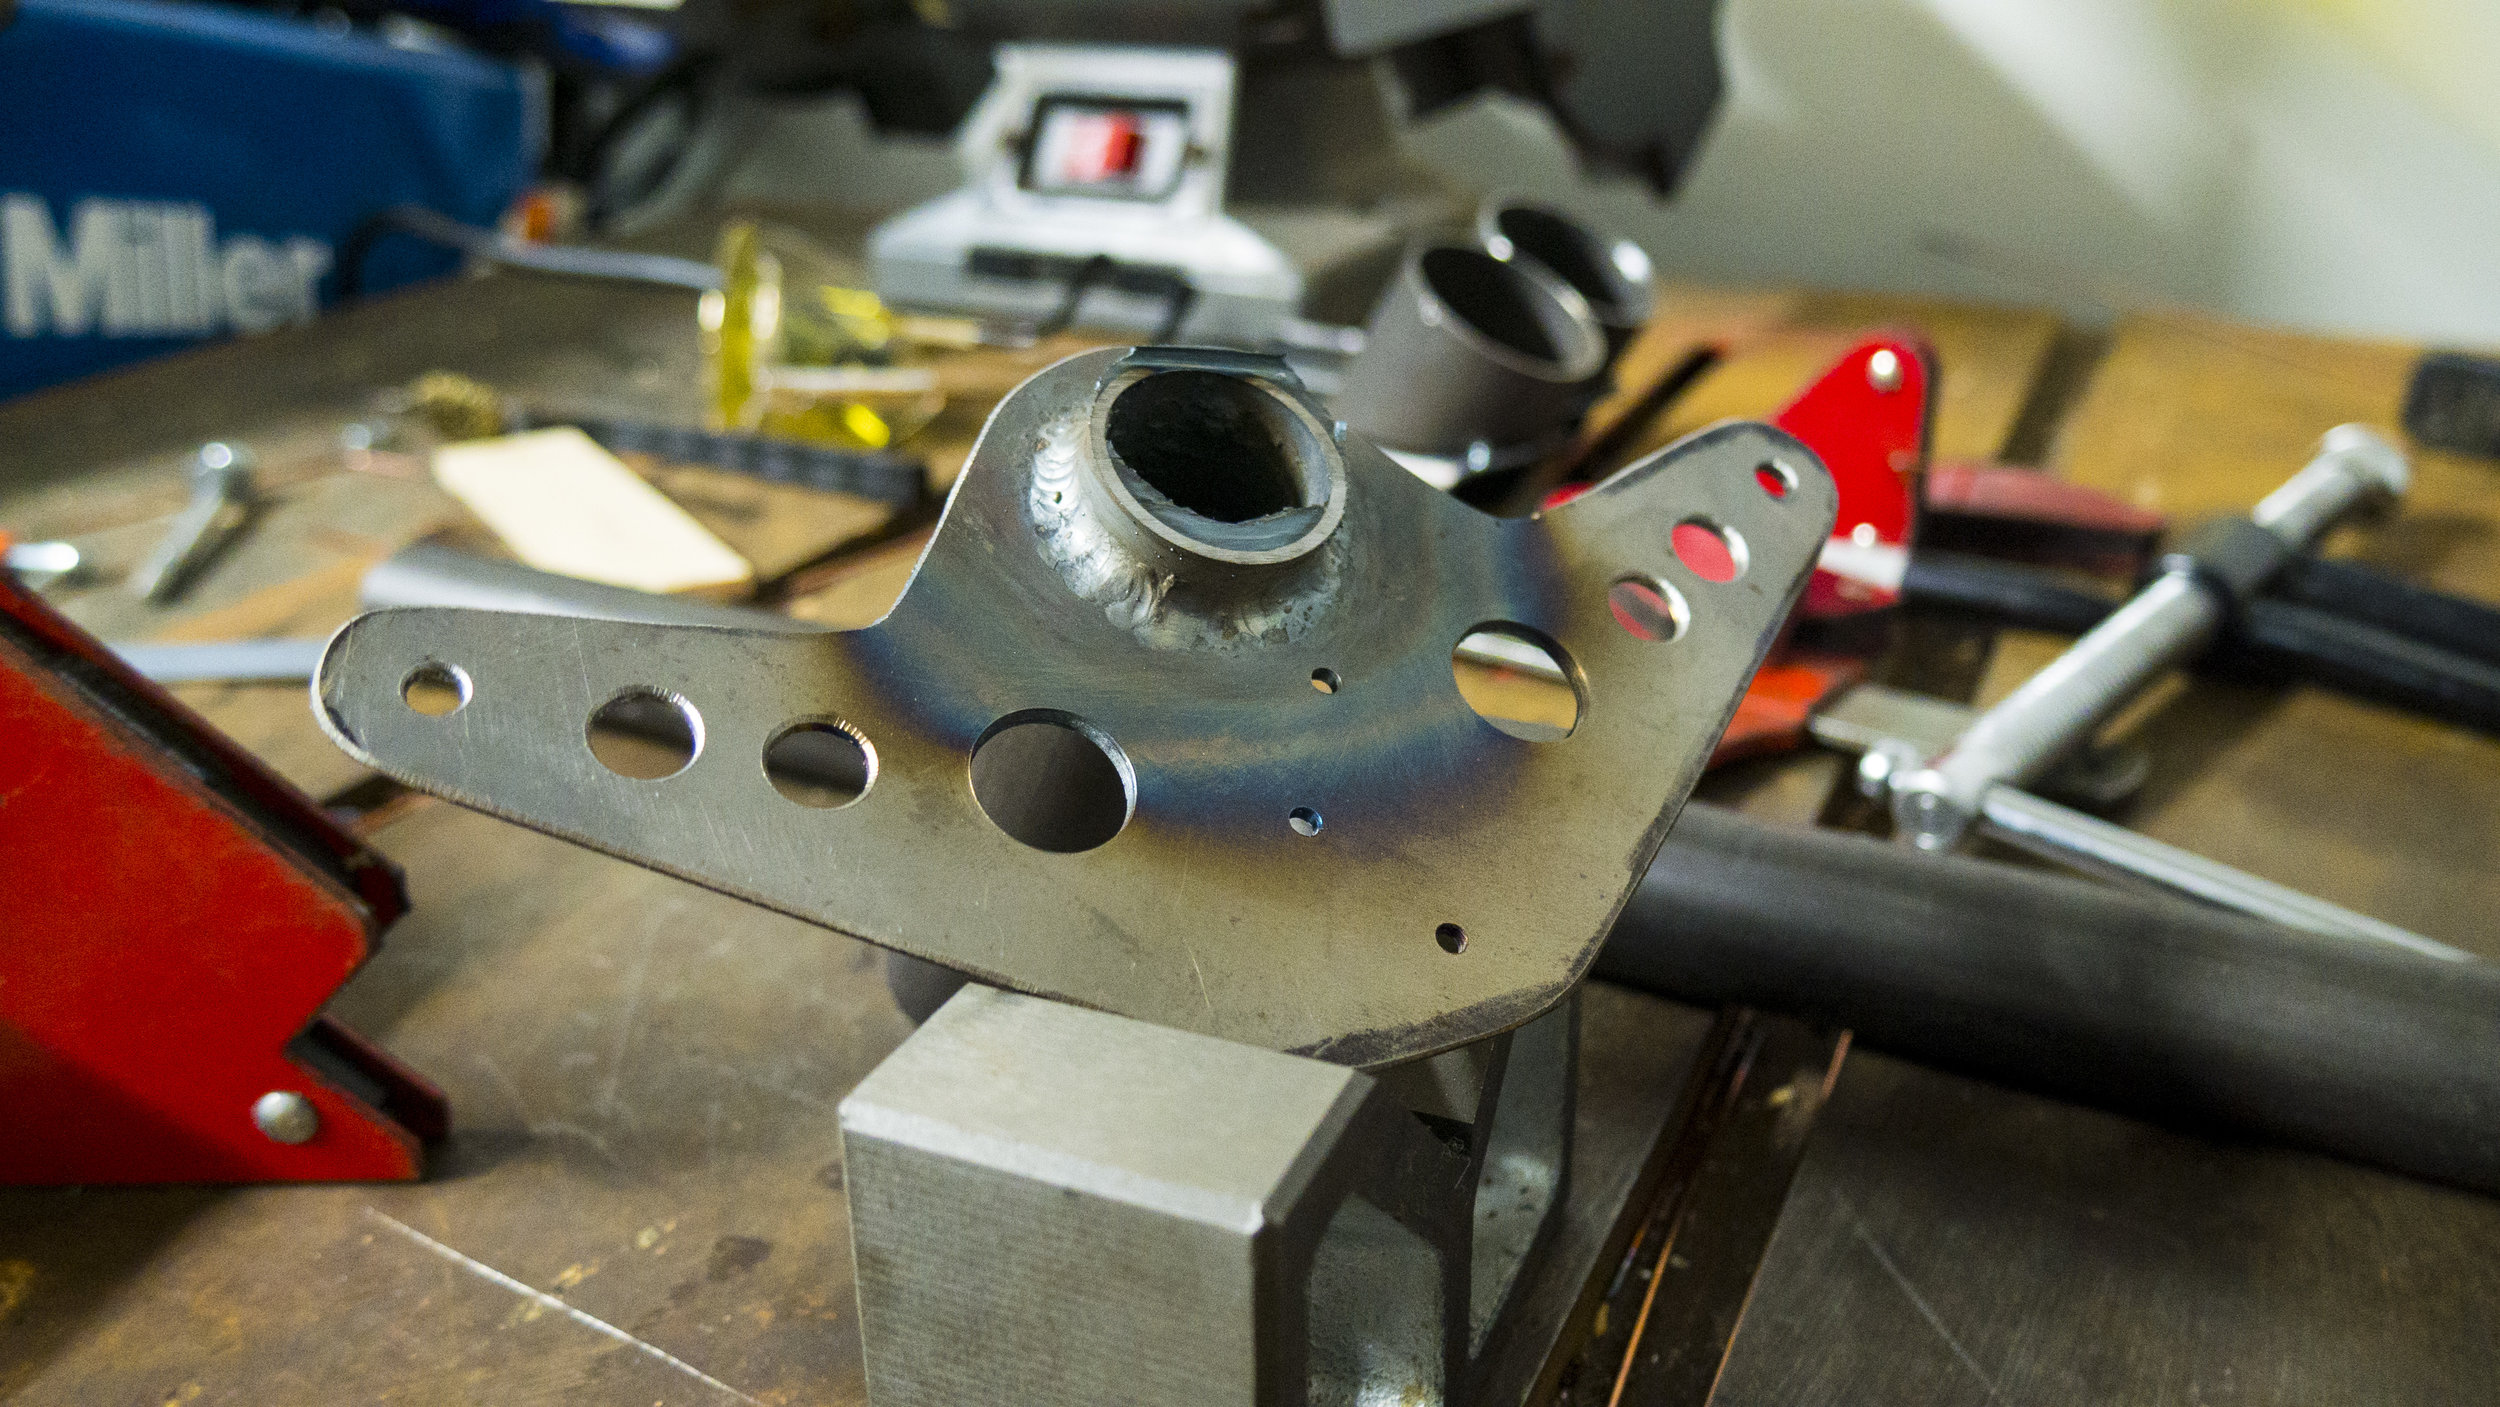
So last time, we finished up the fuselage skins for the P-40/36. Right after, I then moved the fuselage out of the shop space and into the new garage bay I had mentioned.  With the bench cleaned-up we jumped right into building the vertical stabilizer.  Scott cut all the sheet pieces and forming blocks on the router table and our intern Roger Jr. and I hand formed the ribs for both the vertical and rudder.  We used the typical homebuilder mallot on the forming blocks method to bend the flanges, with fluting pliers to straighten the ribs from the curl imposed by bending the flanges.  Since the main router bit doesn't make an undercut on the sides of the forming blocks, we still have to manually bend the flanges to get them perpendicular to the rib face.  This aluminum has about a 10 degree spring-back that needs to be removed with a little english. A proper mold could counter this but we're not there yet.  Cleco's held the entire vertical sans skins for the test fit-up.  Everything was as expected - fantastic!

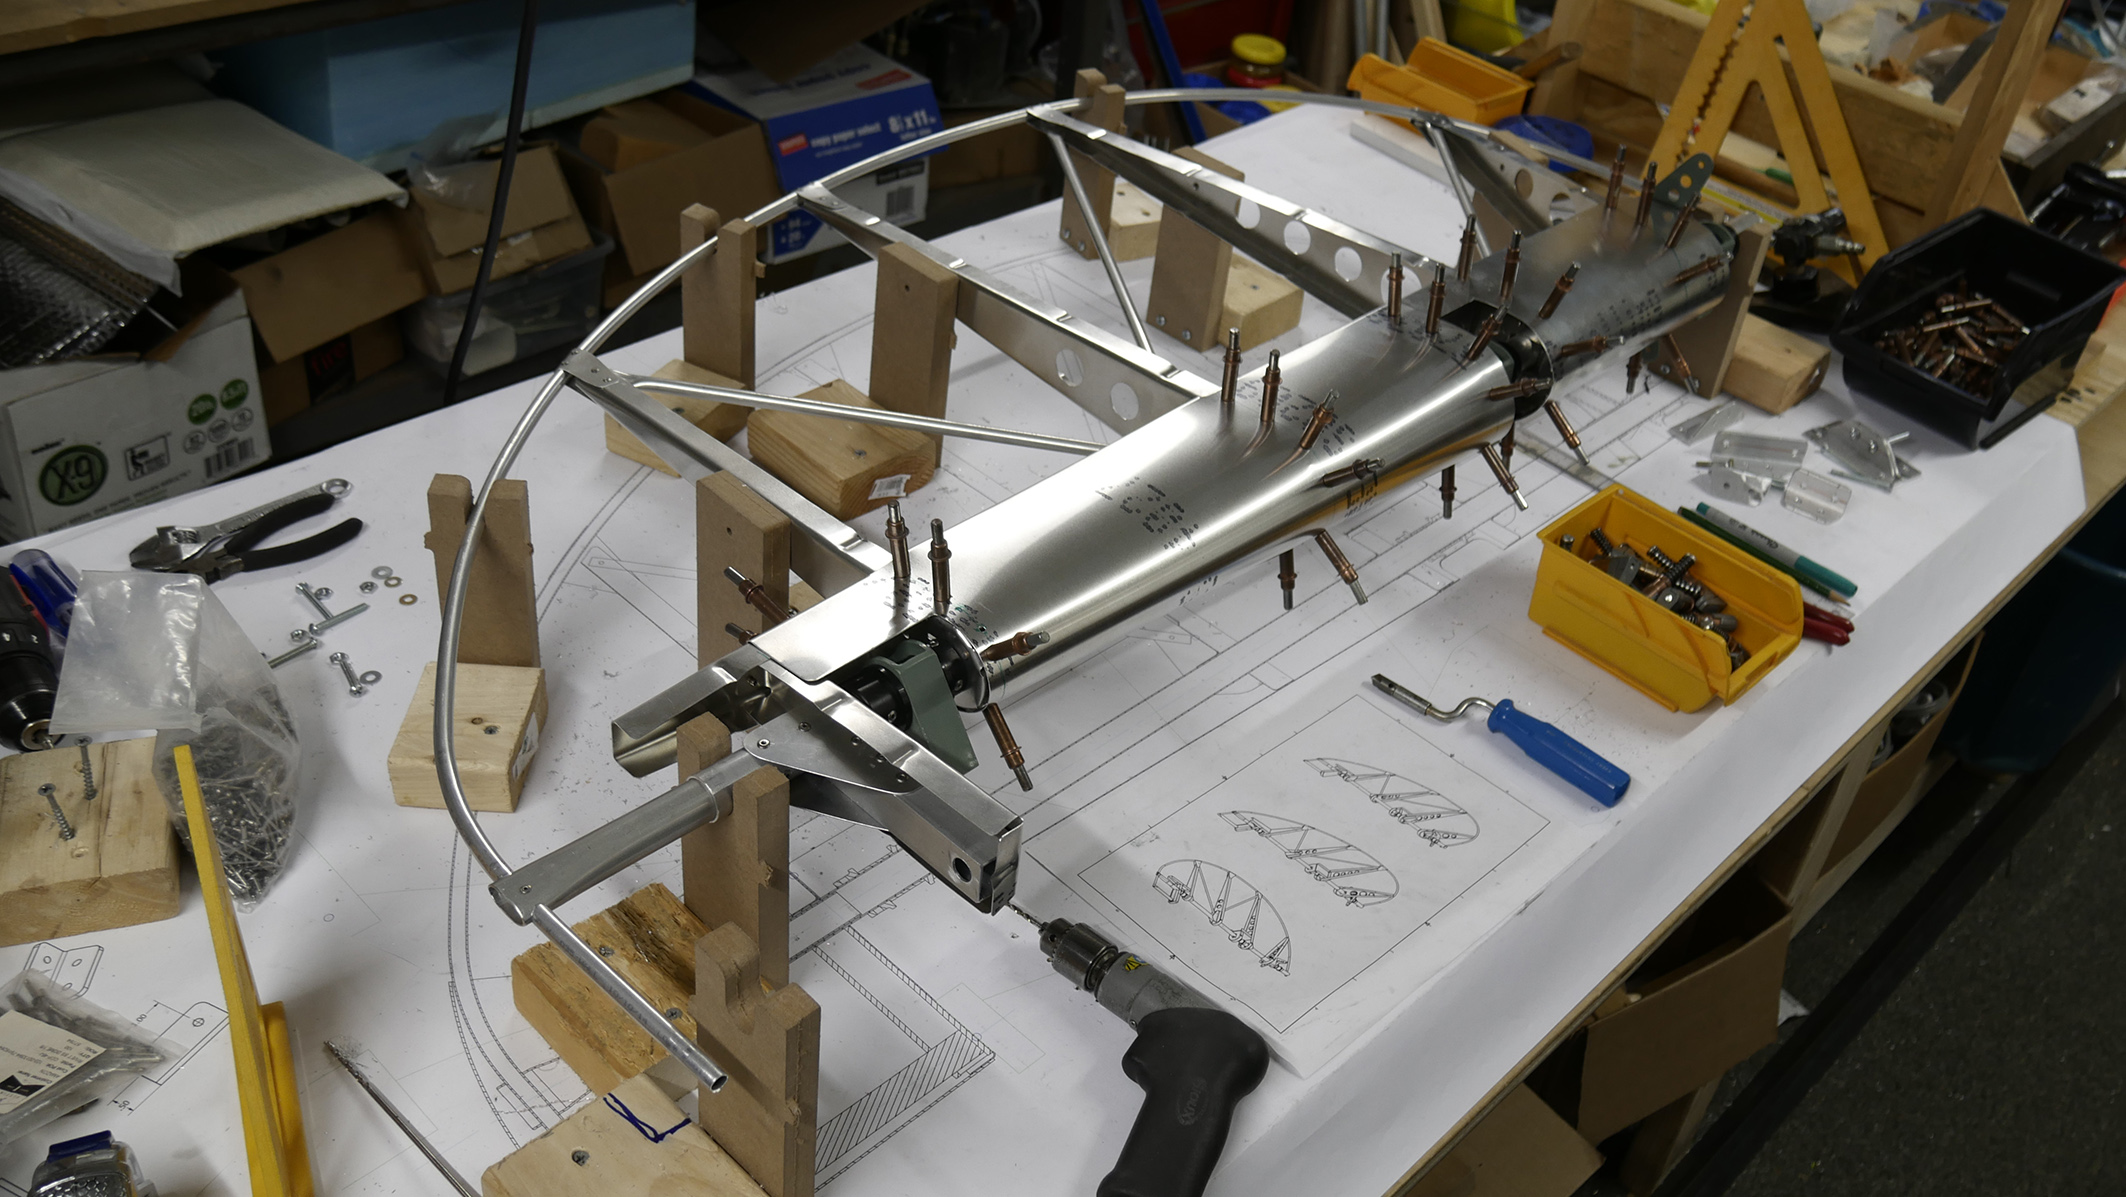
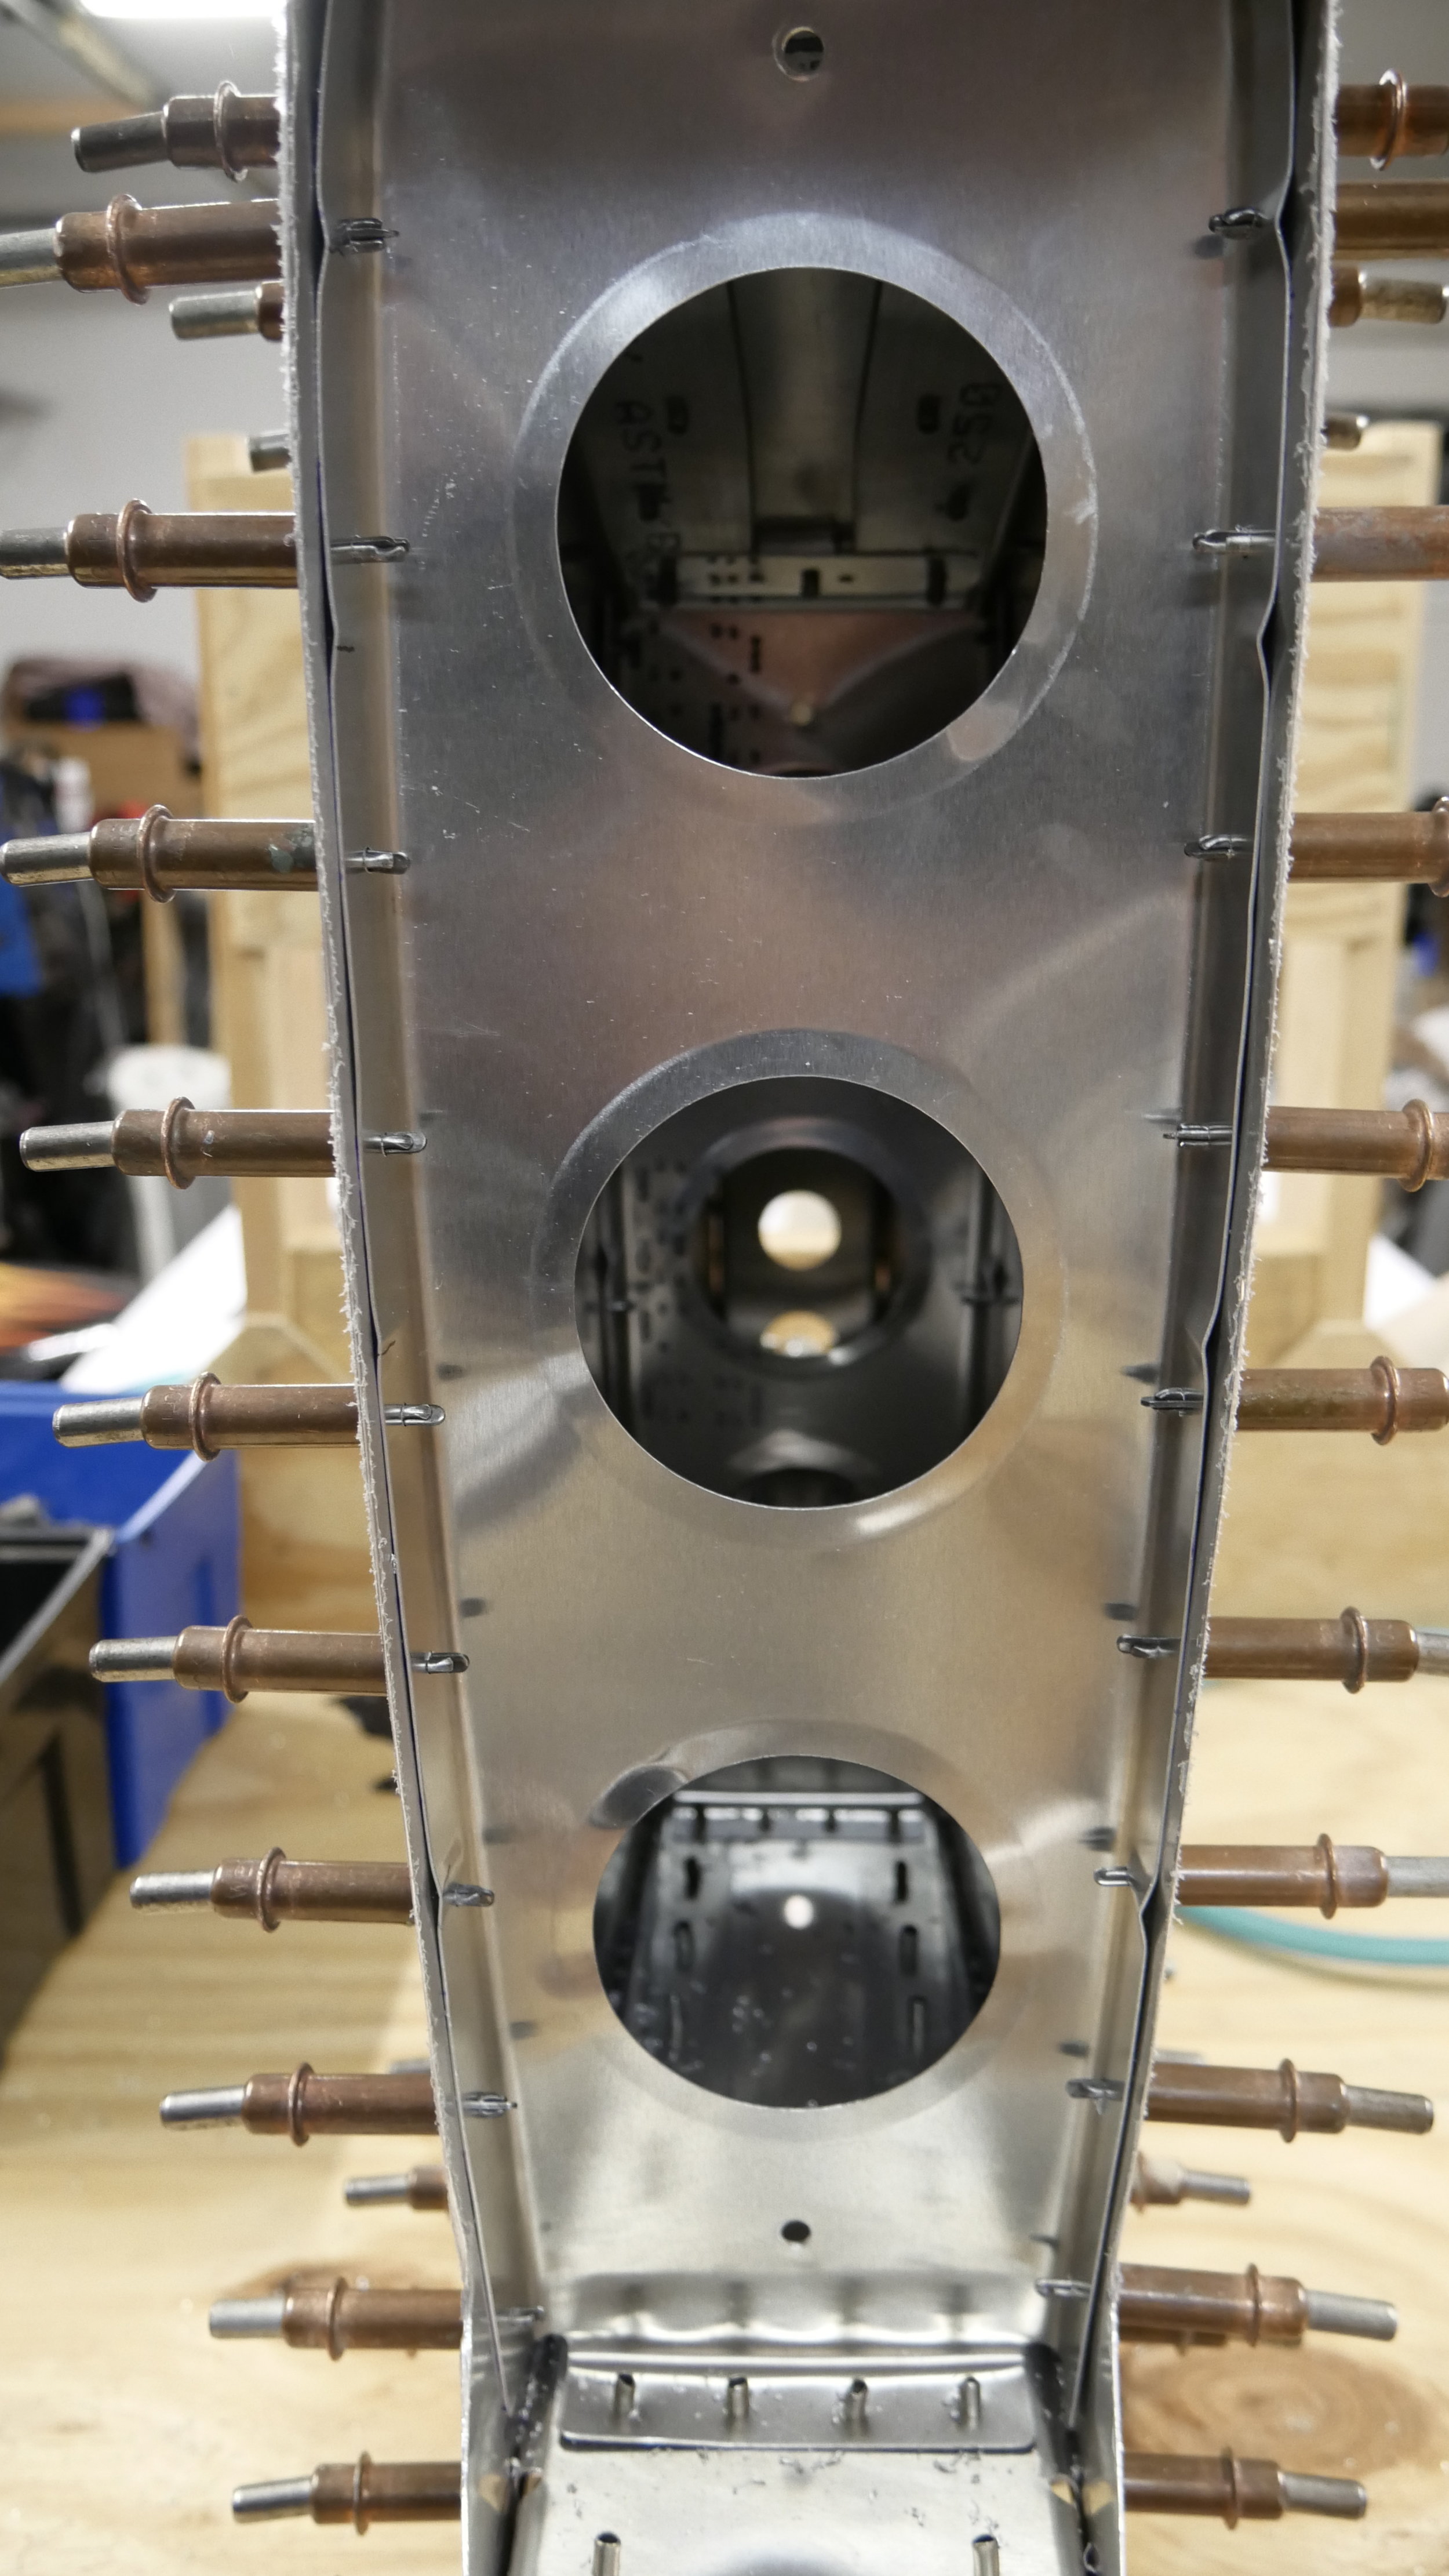
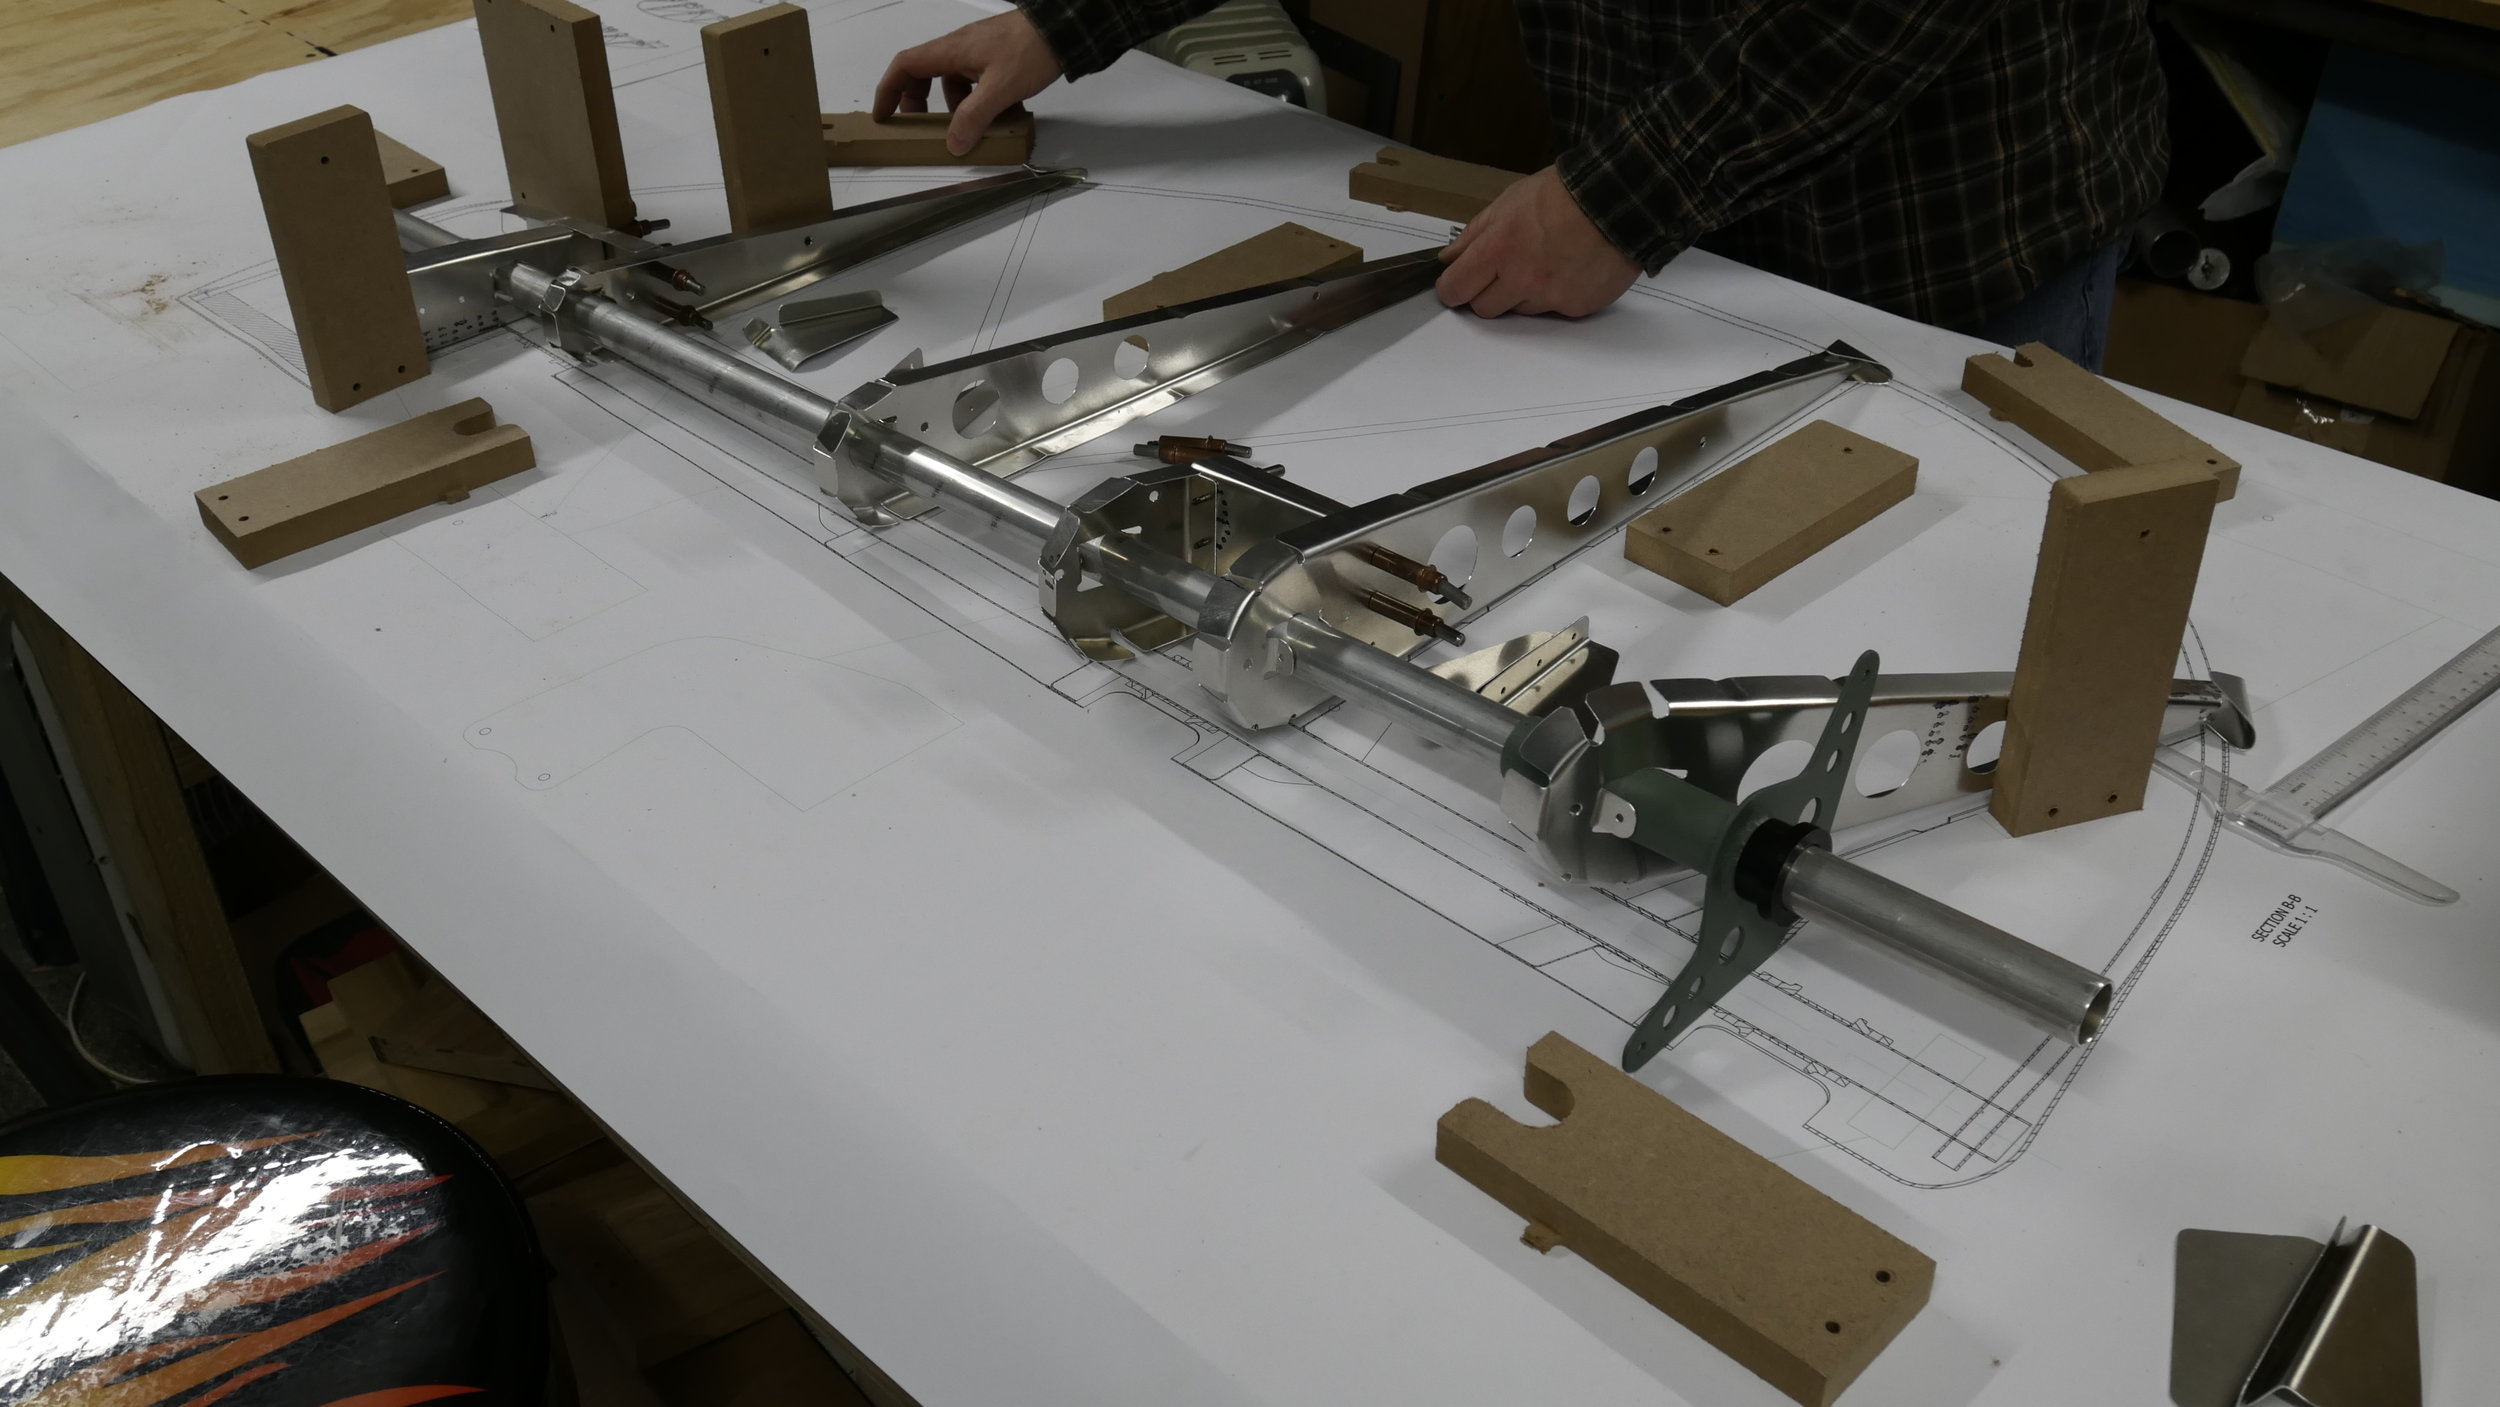
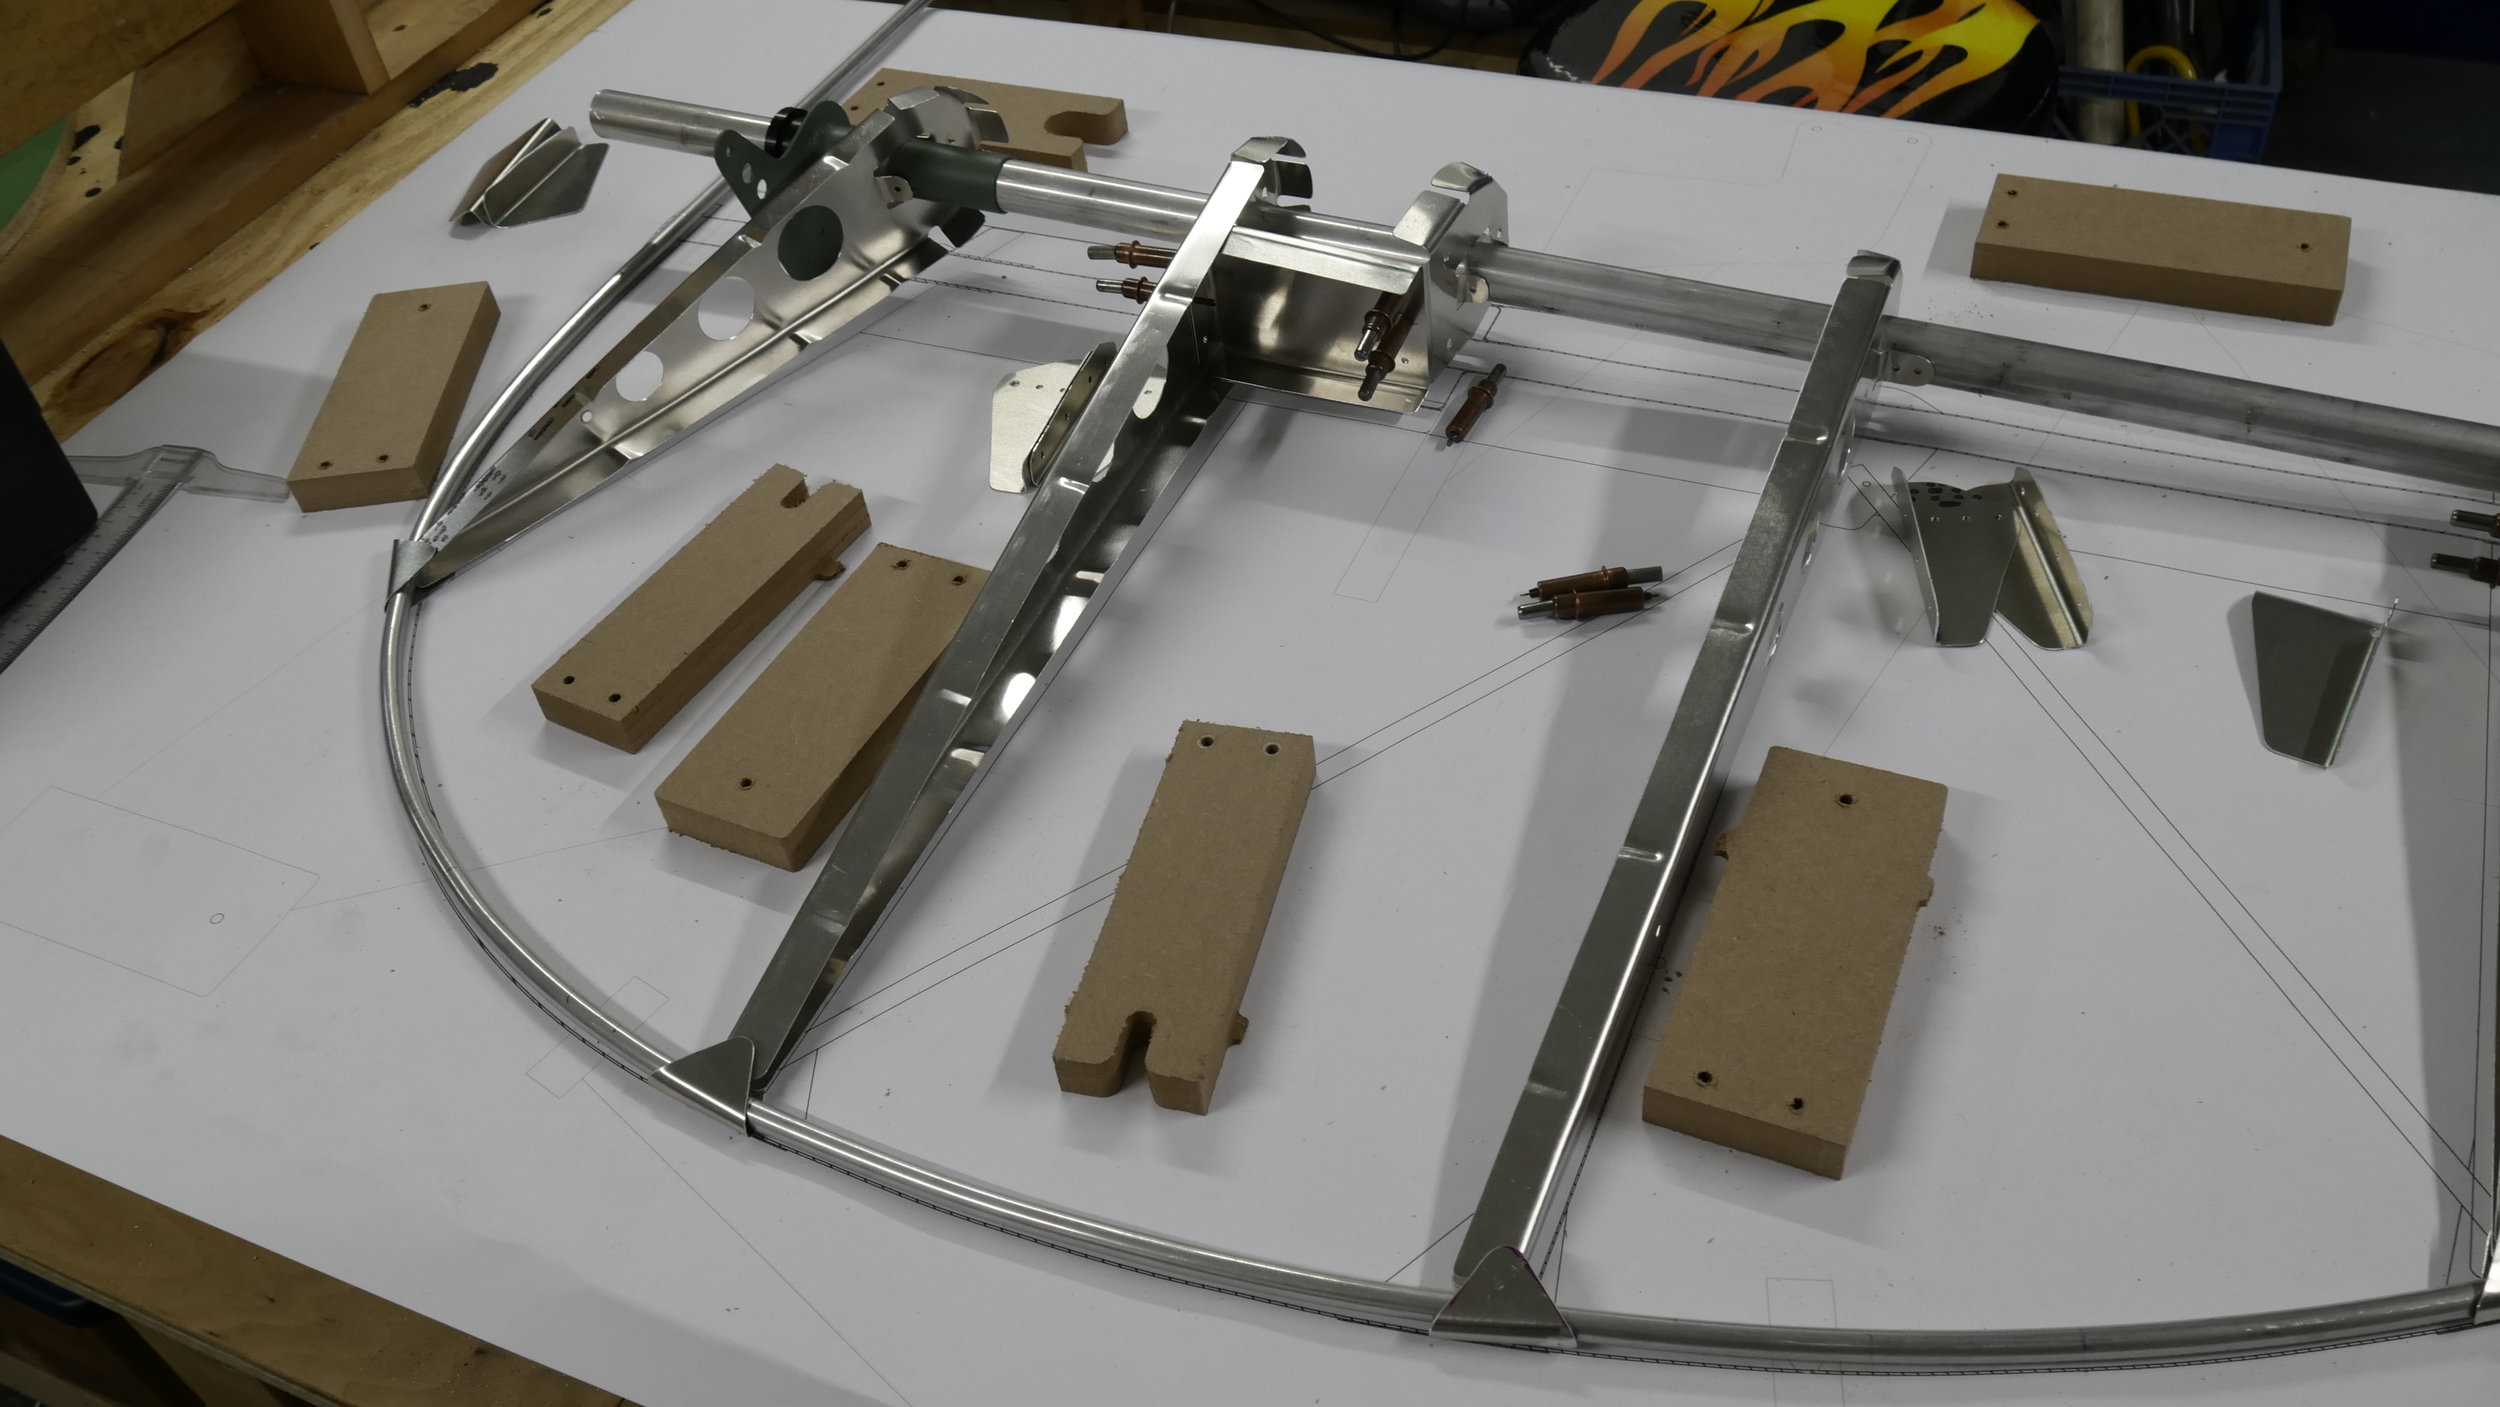
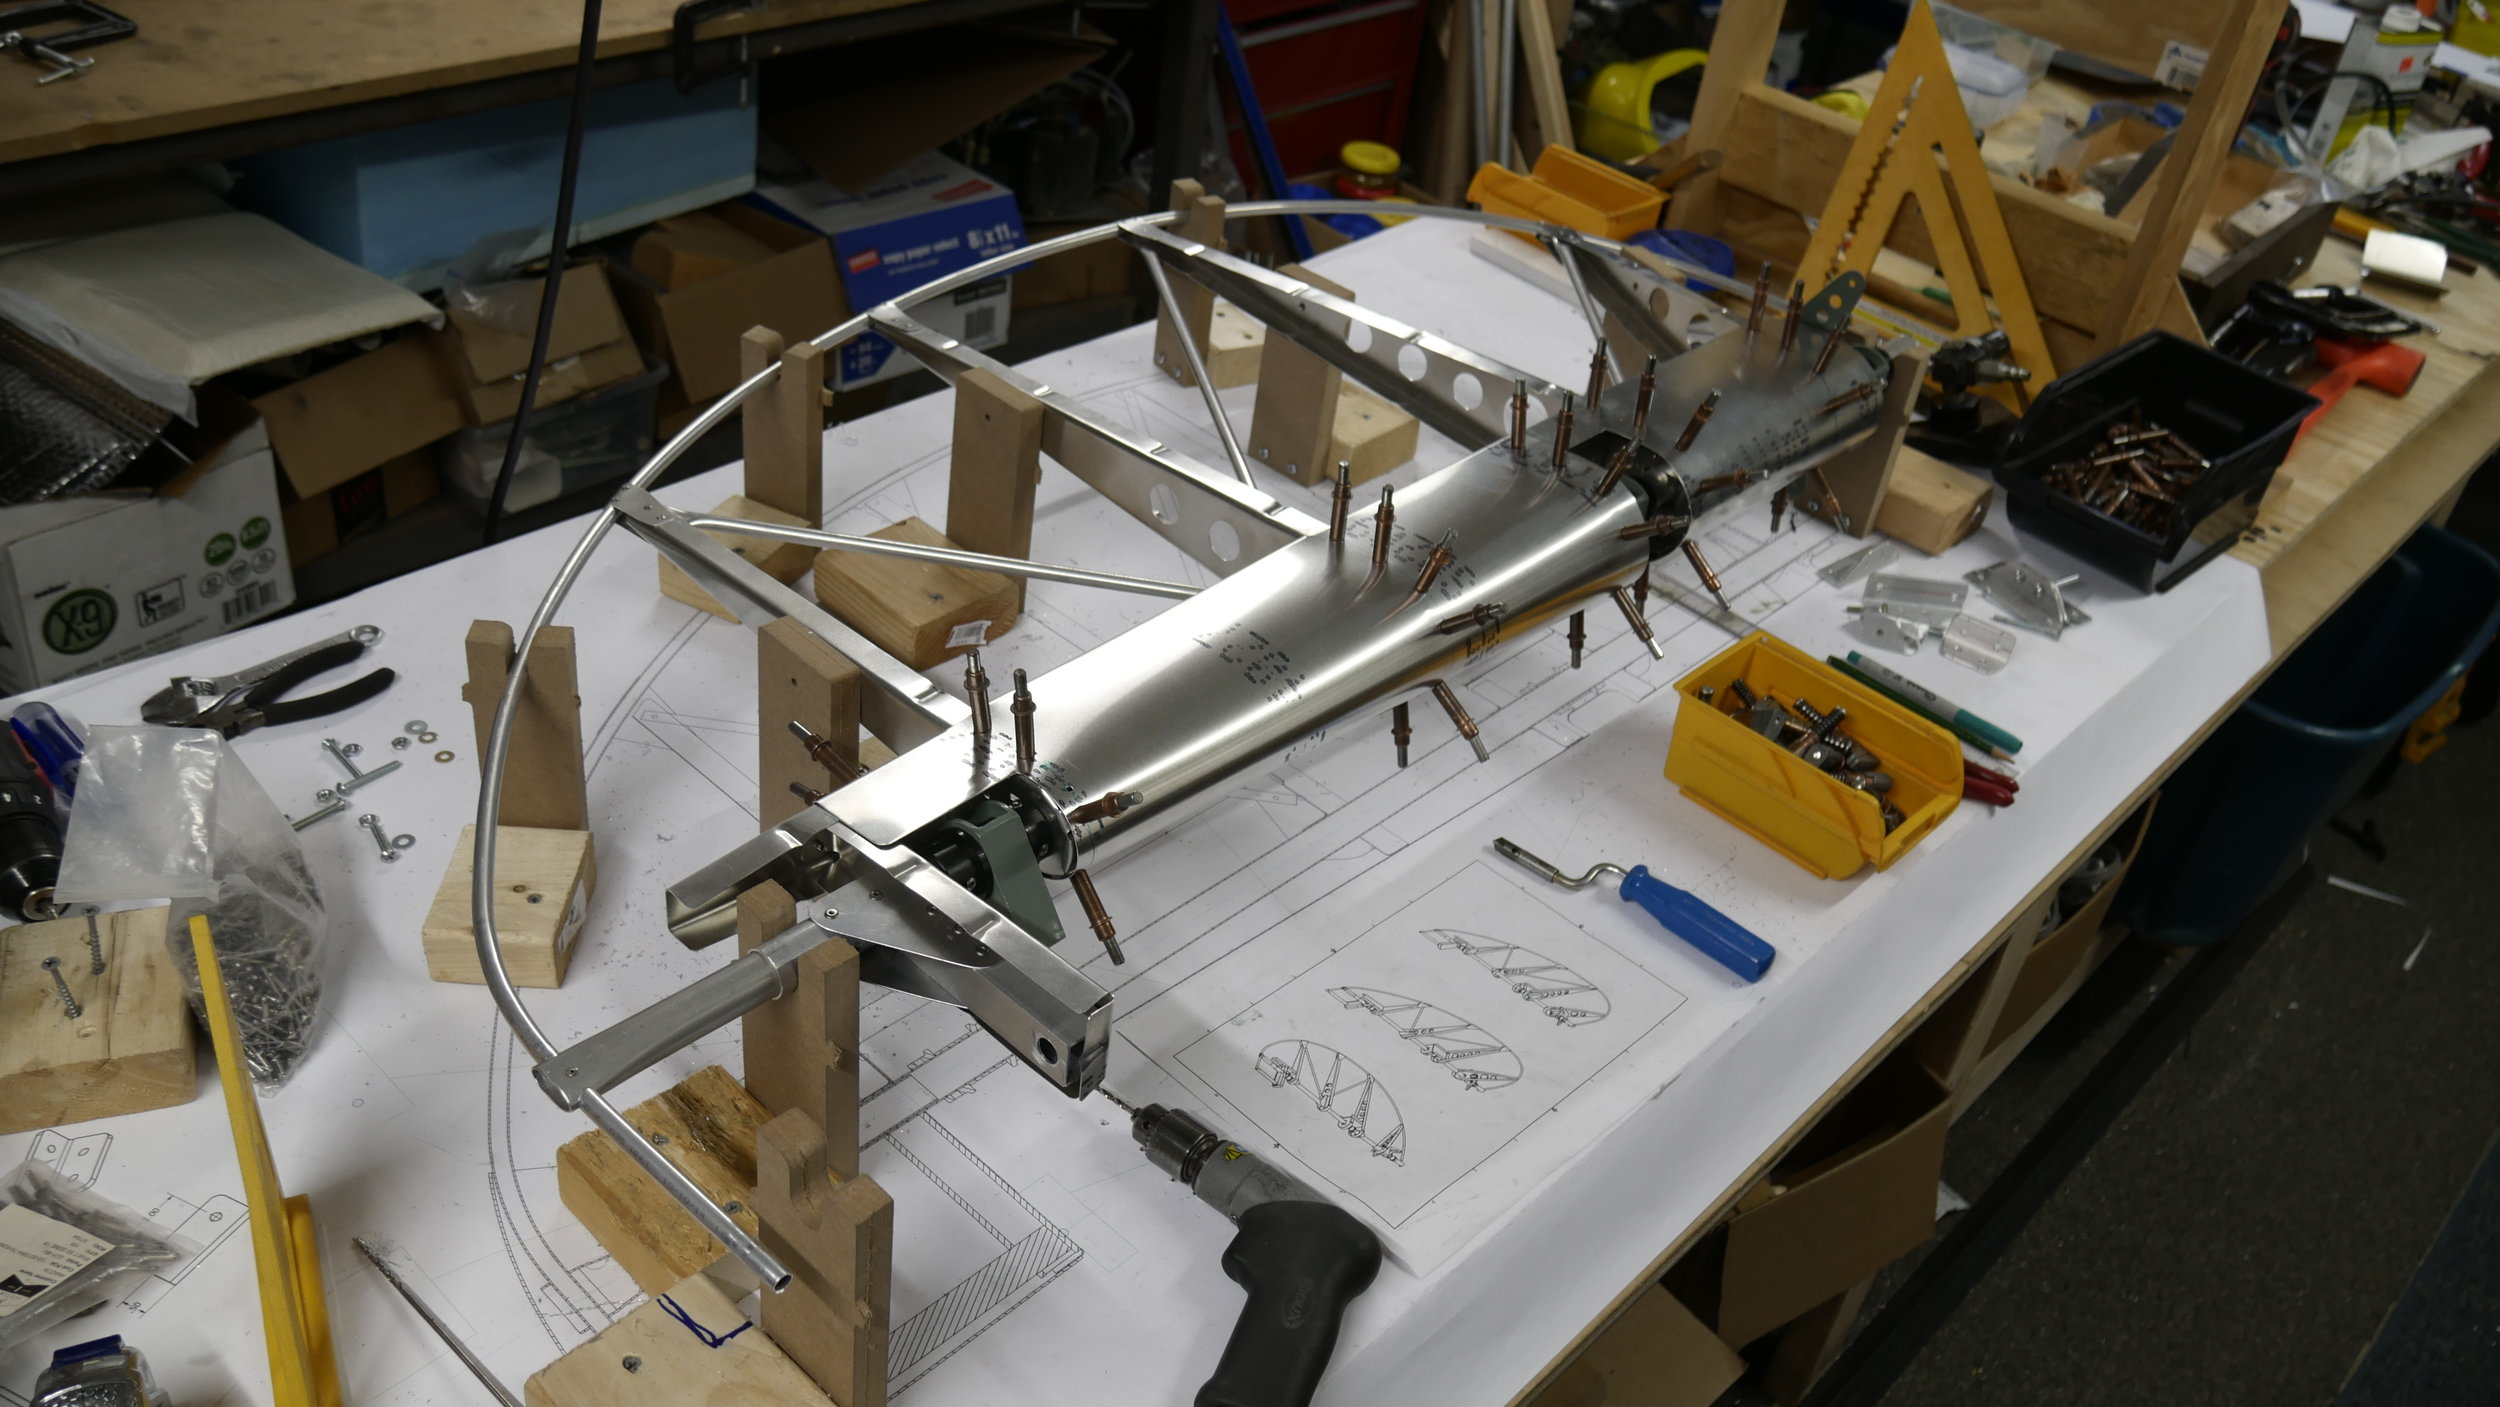
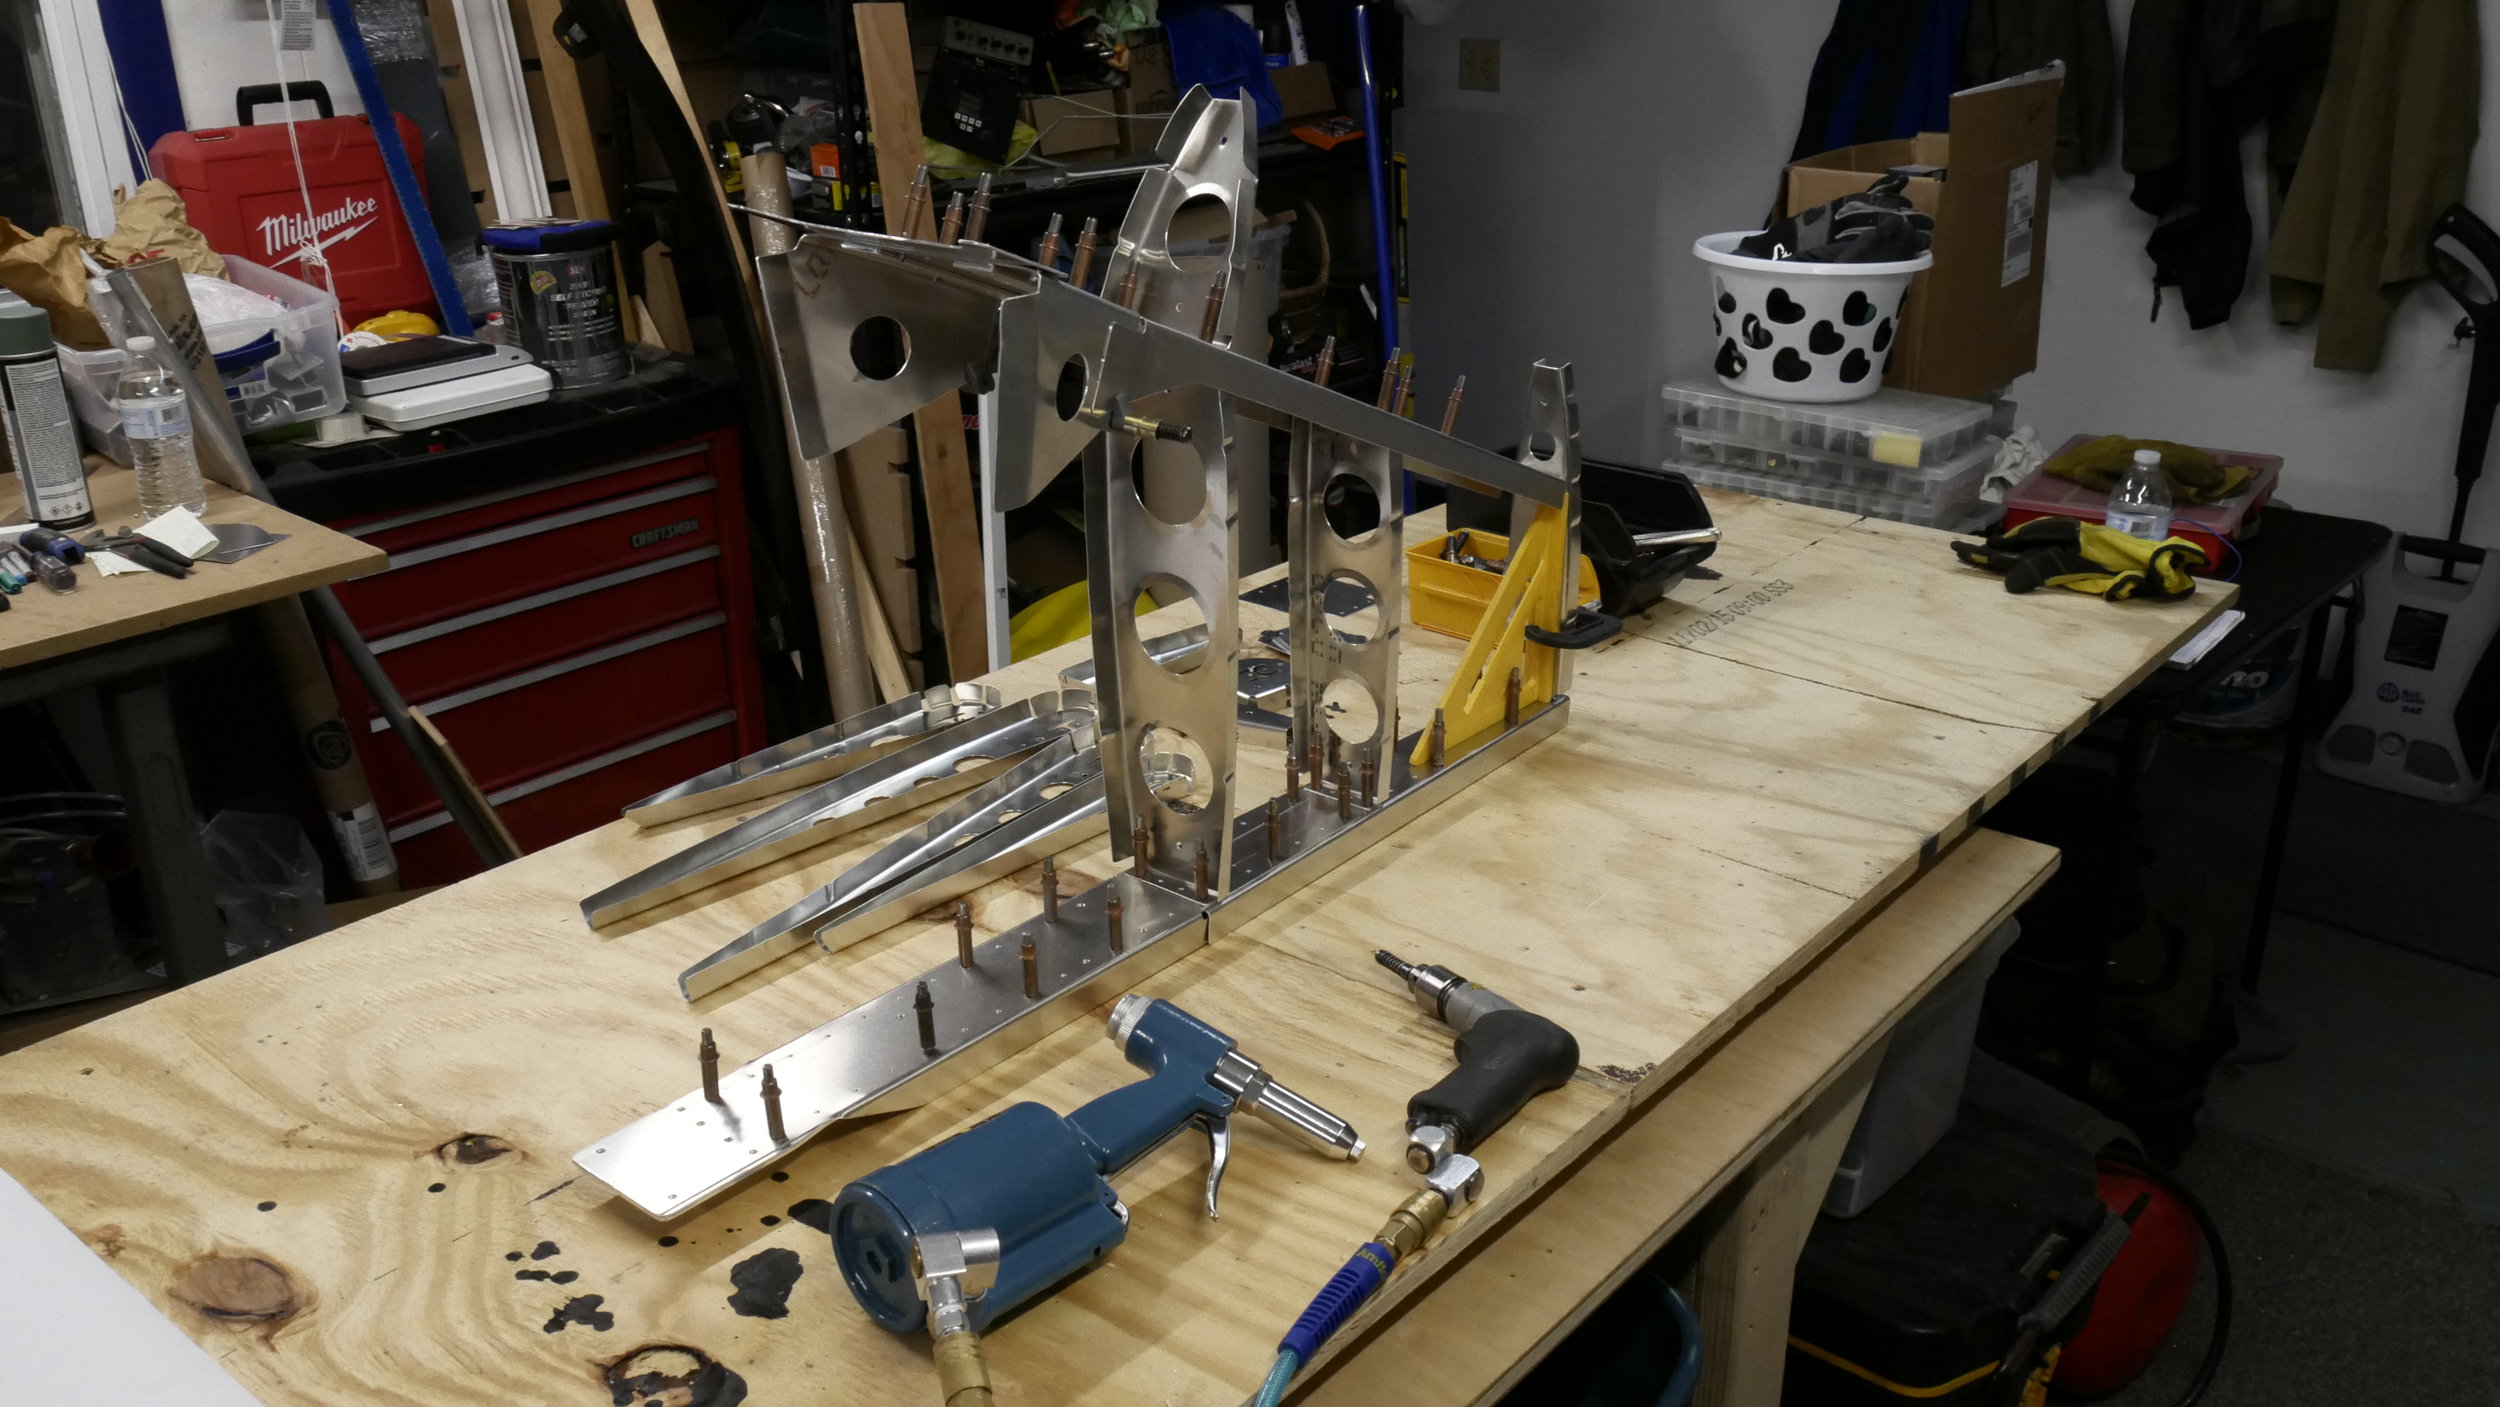
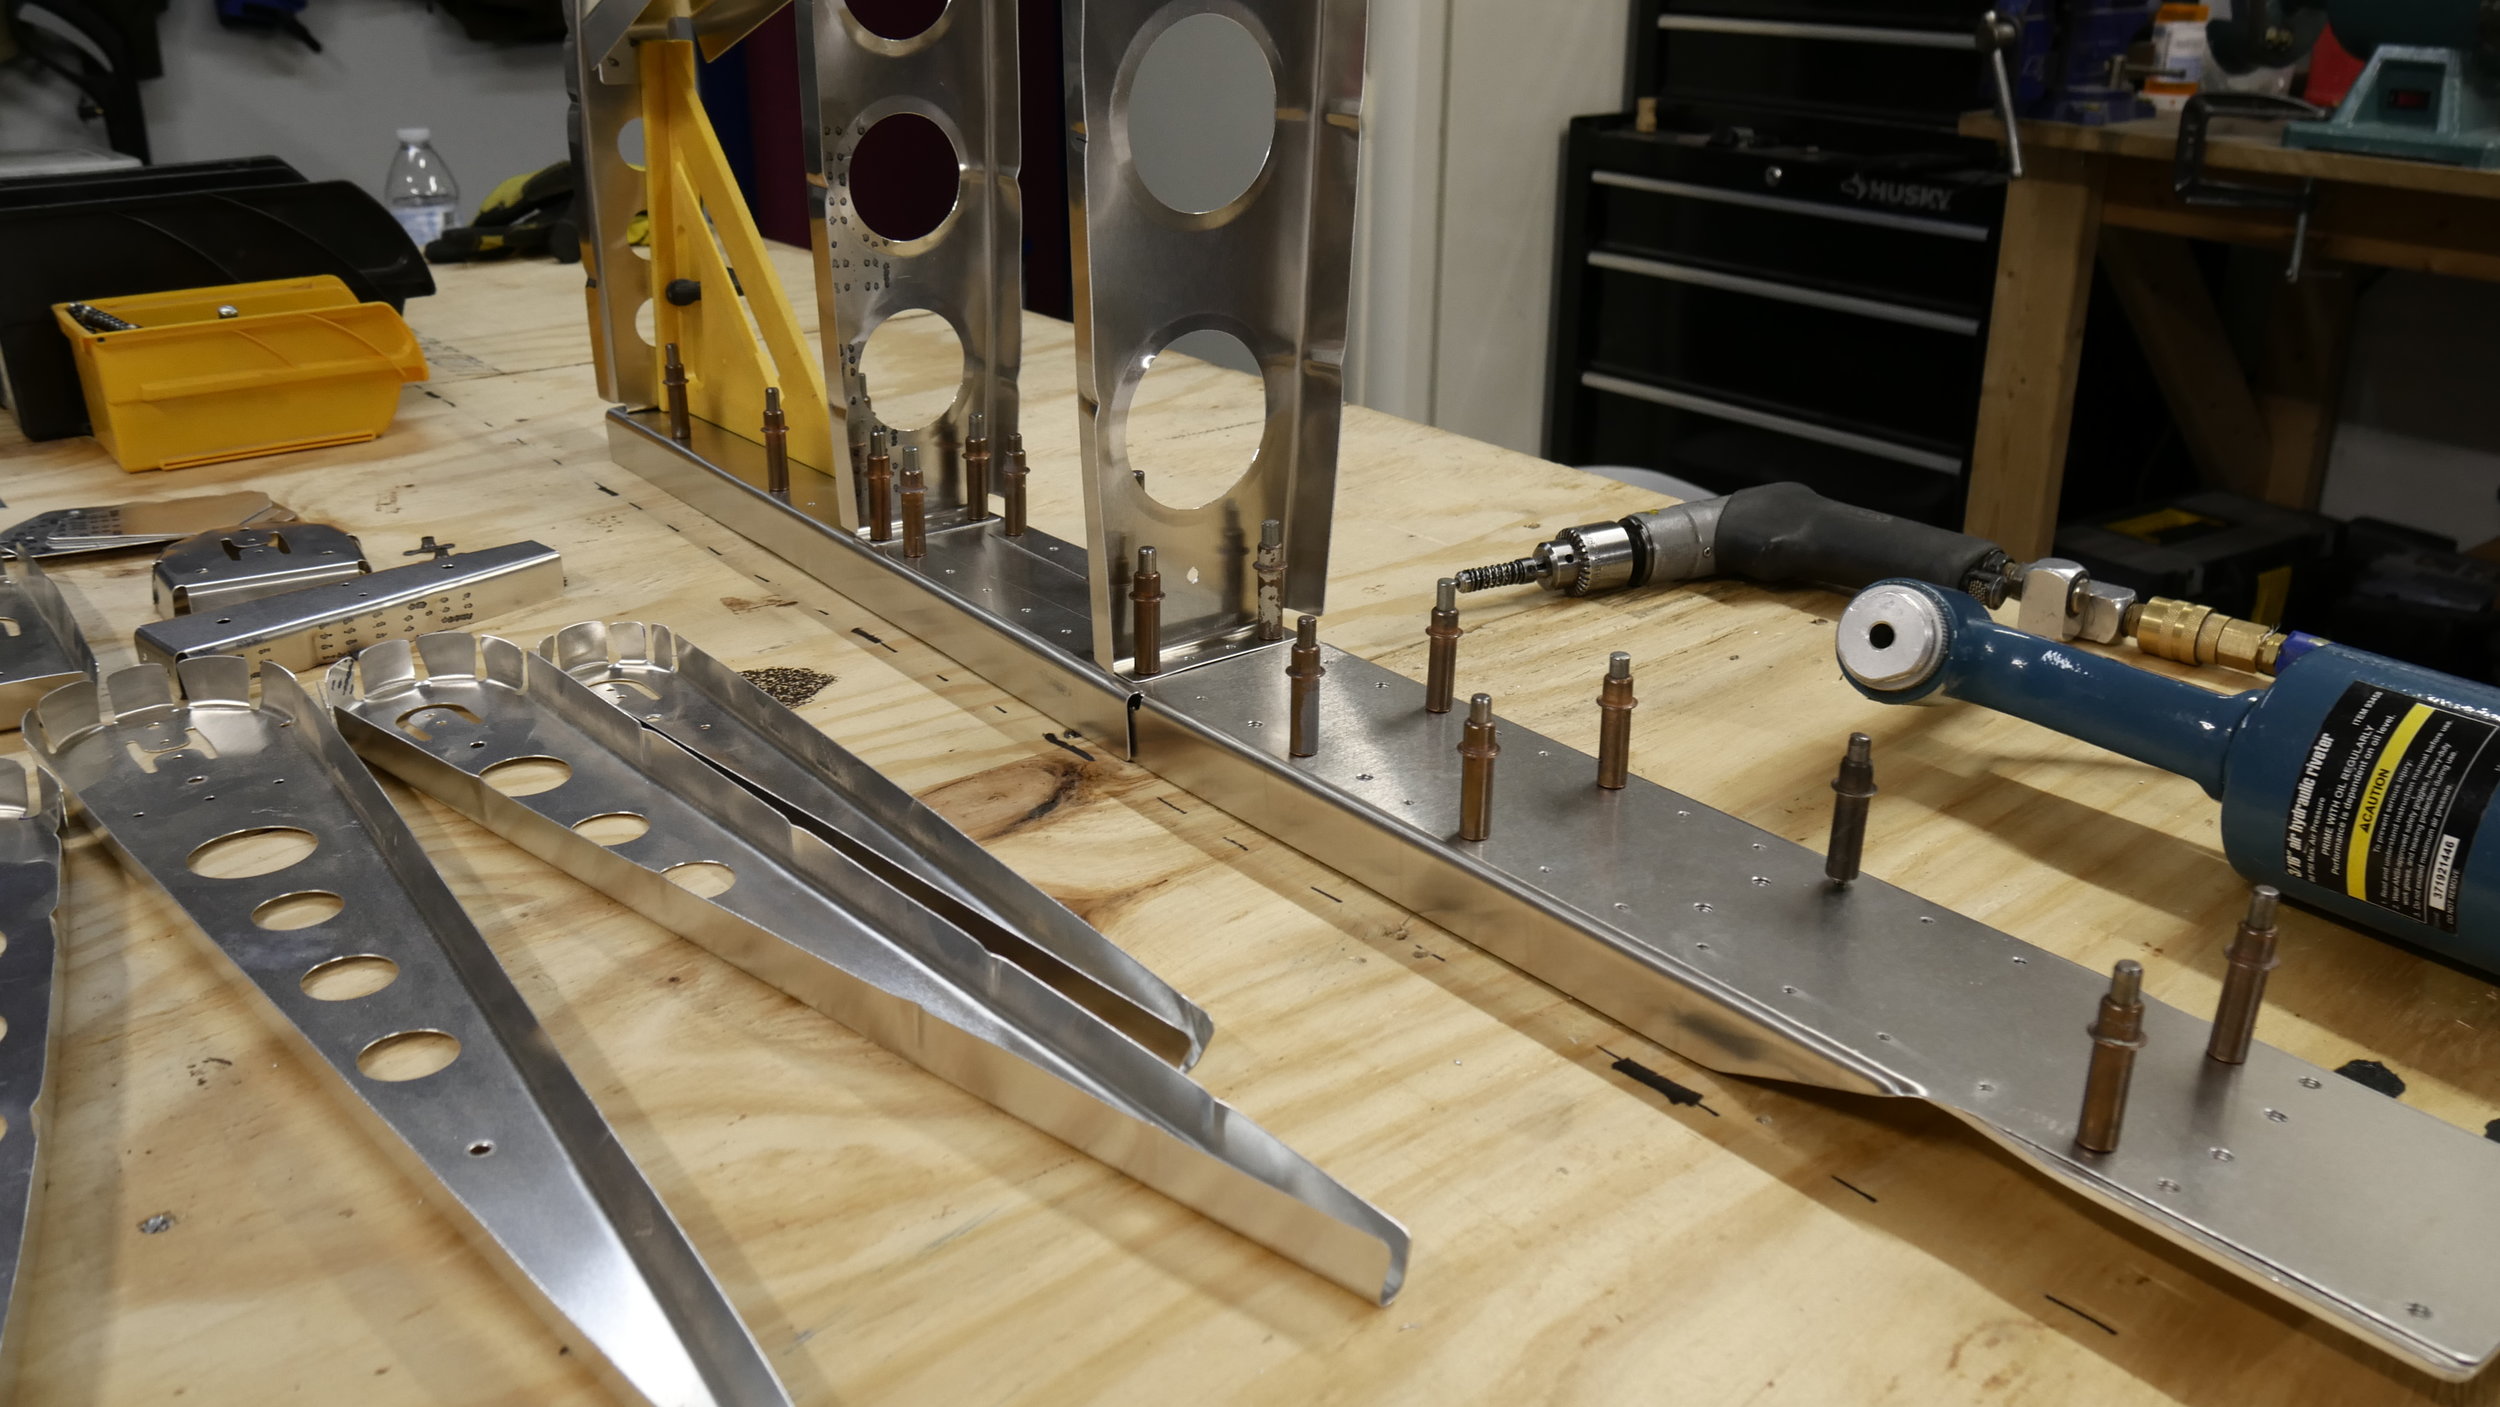
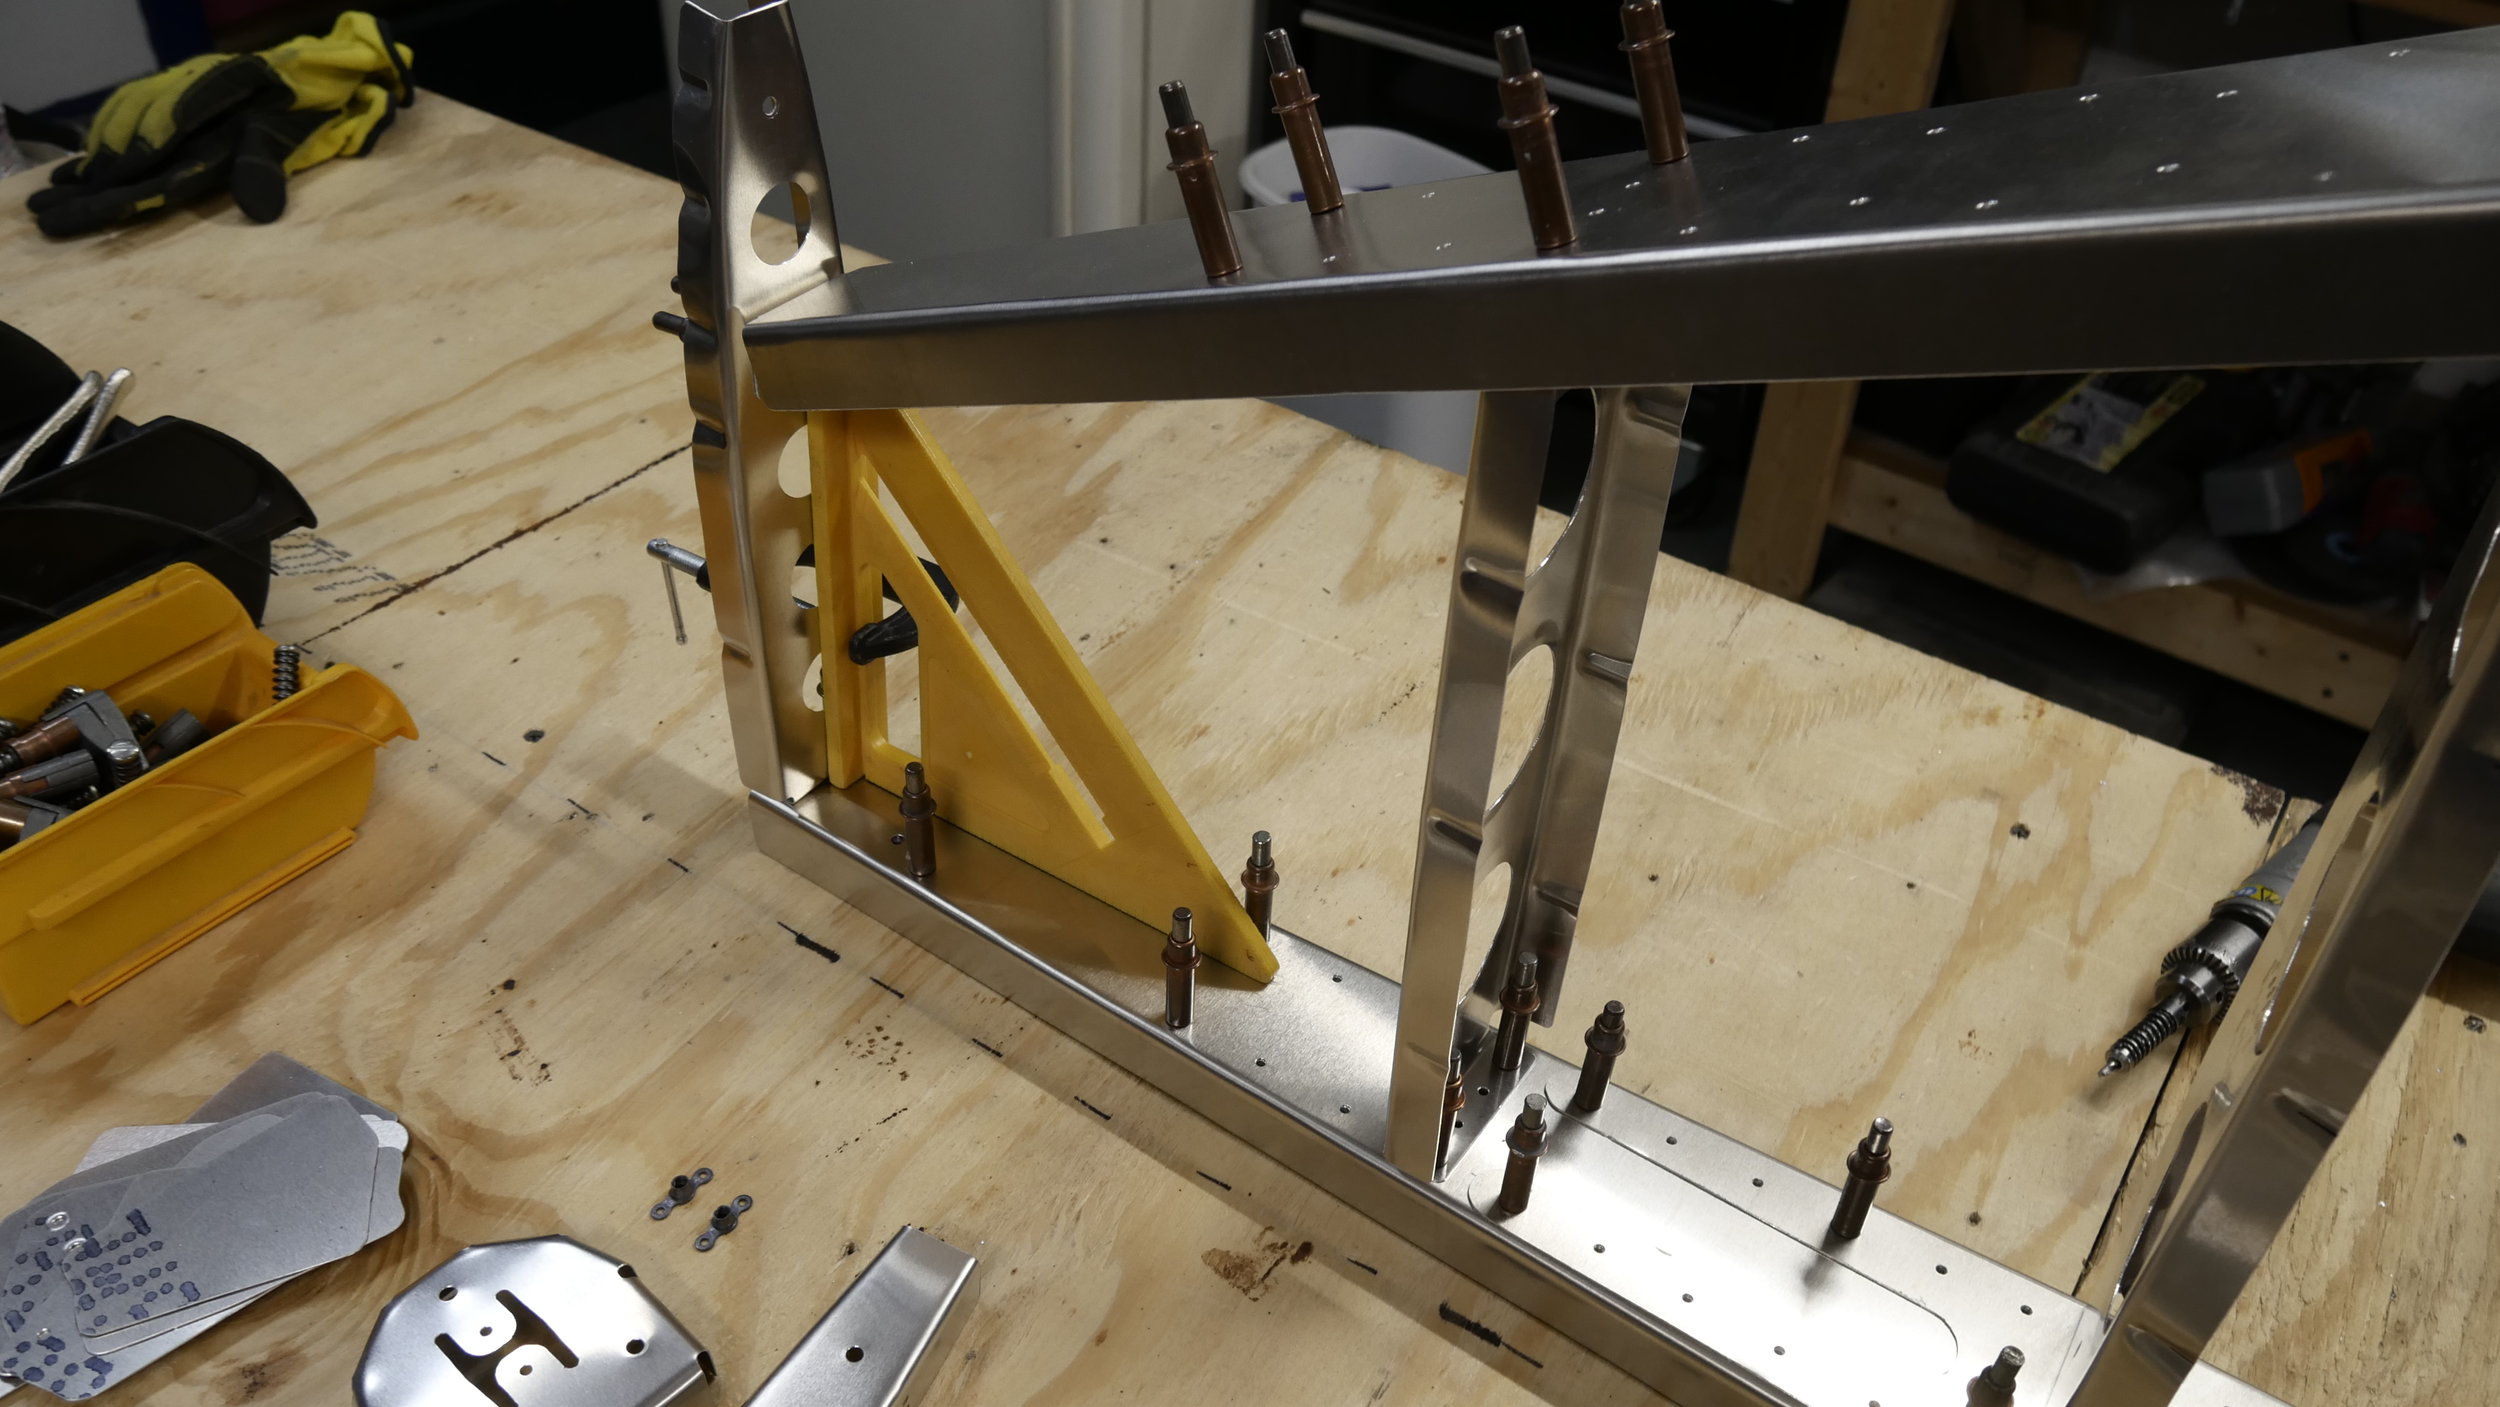
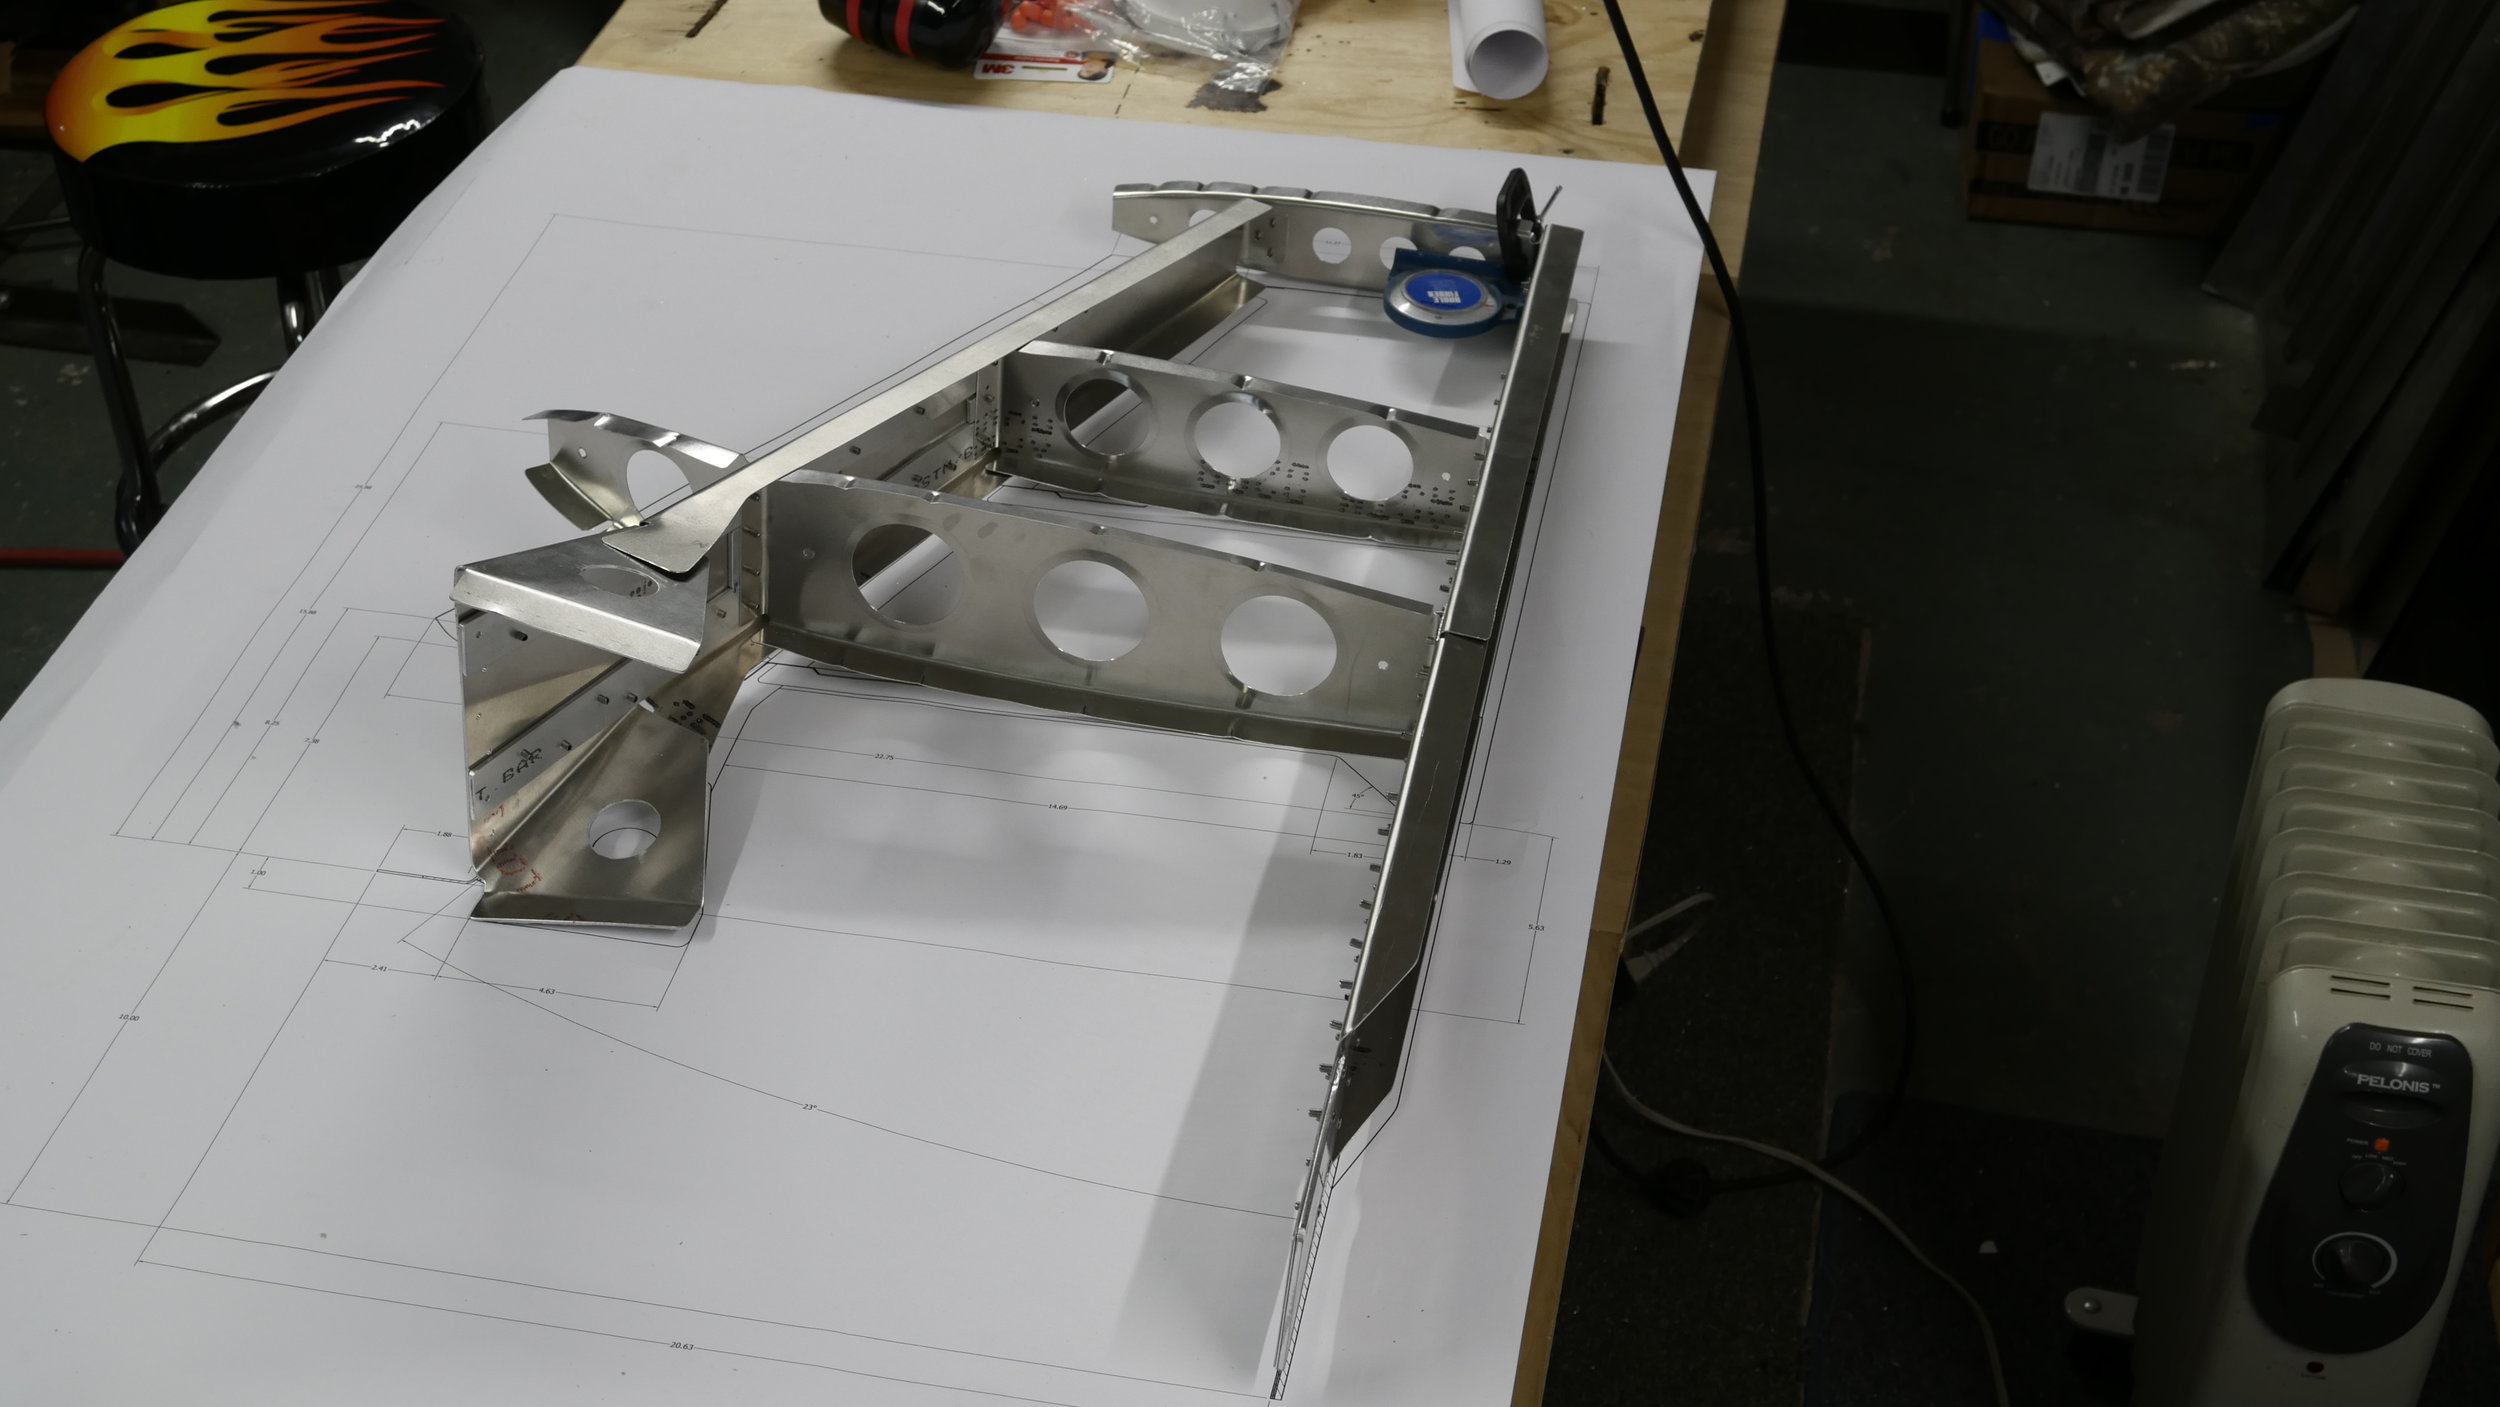
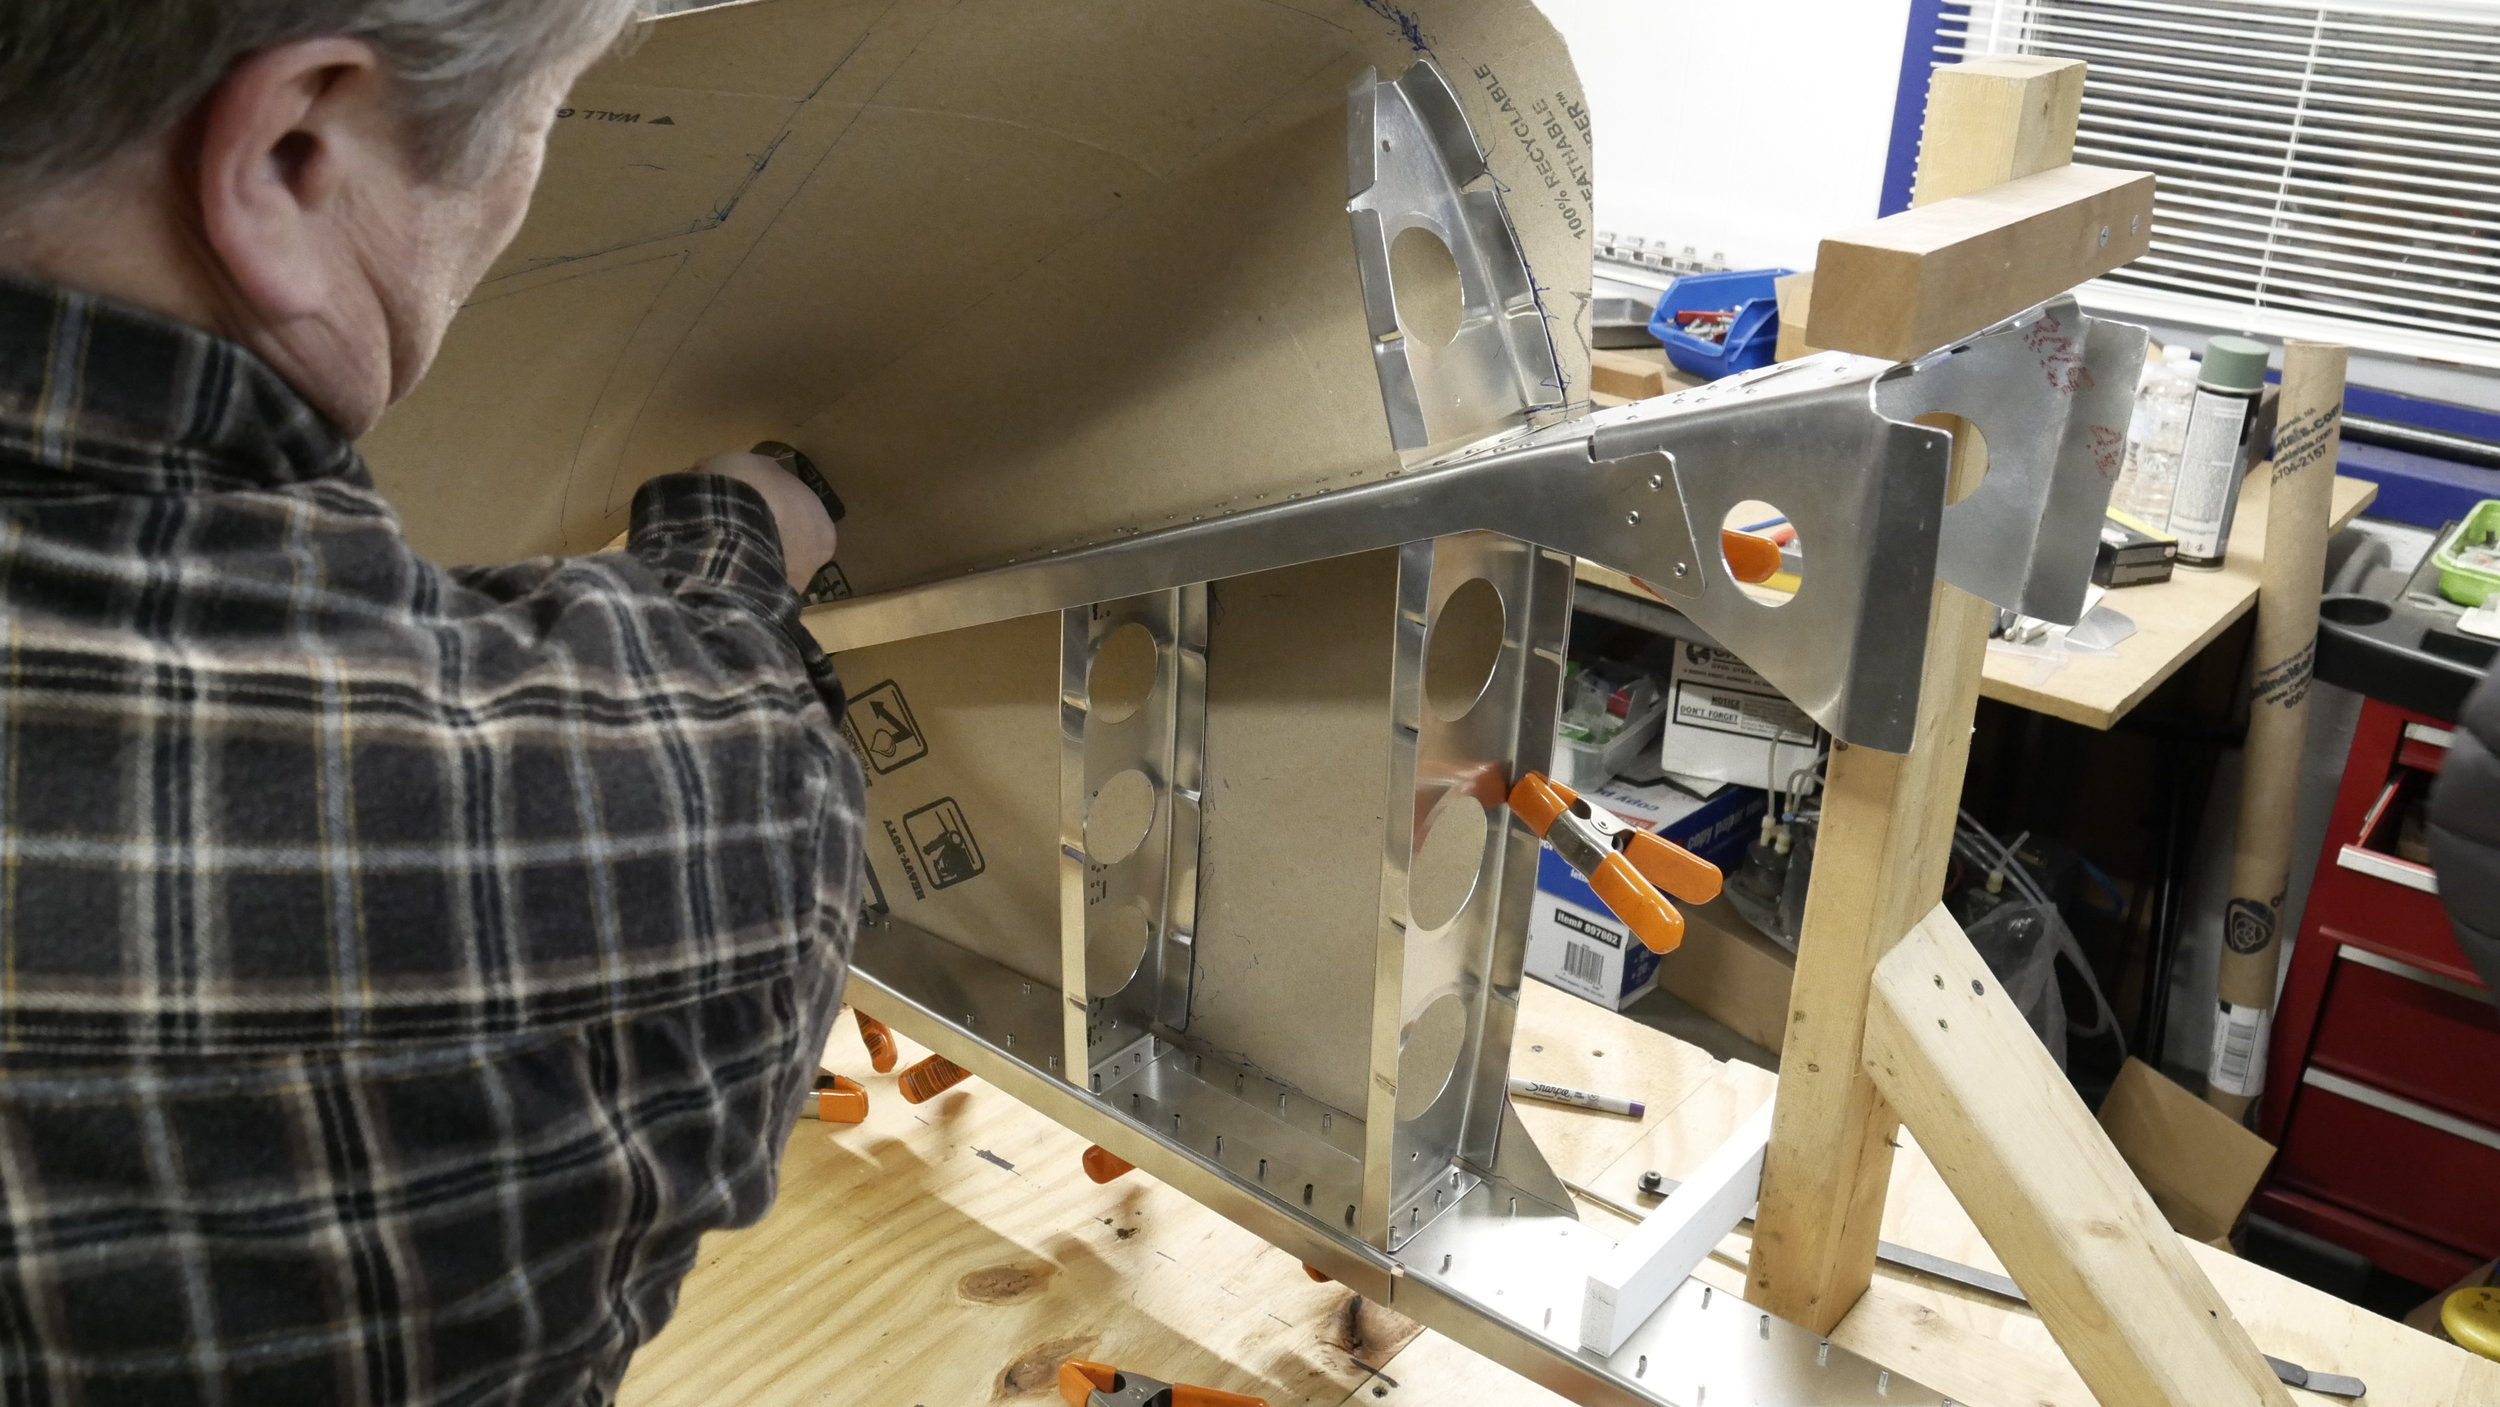
To start actual assembly we went and finished deburring all holes and riveted the spars together, then ribs went to the spars.  This frame for the vertical was fairly stout to begin with, and being pre-cut the pieces all fit up just so; but it needed to be held absolutely square and straight.  So next was a vertical stab assembly fixture, which was made from some braces I had made for welding the canopy frame, and these got squared to the table with a laser.  We could have made a nicer looking fixture on the router table from MDF but Scott was working on other stuff, we didn't want to wait, and it works just fine doing it by hand this way. With the frame screwed to the table its very stiff and secure.  

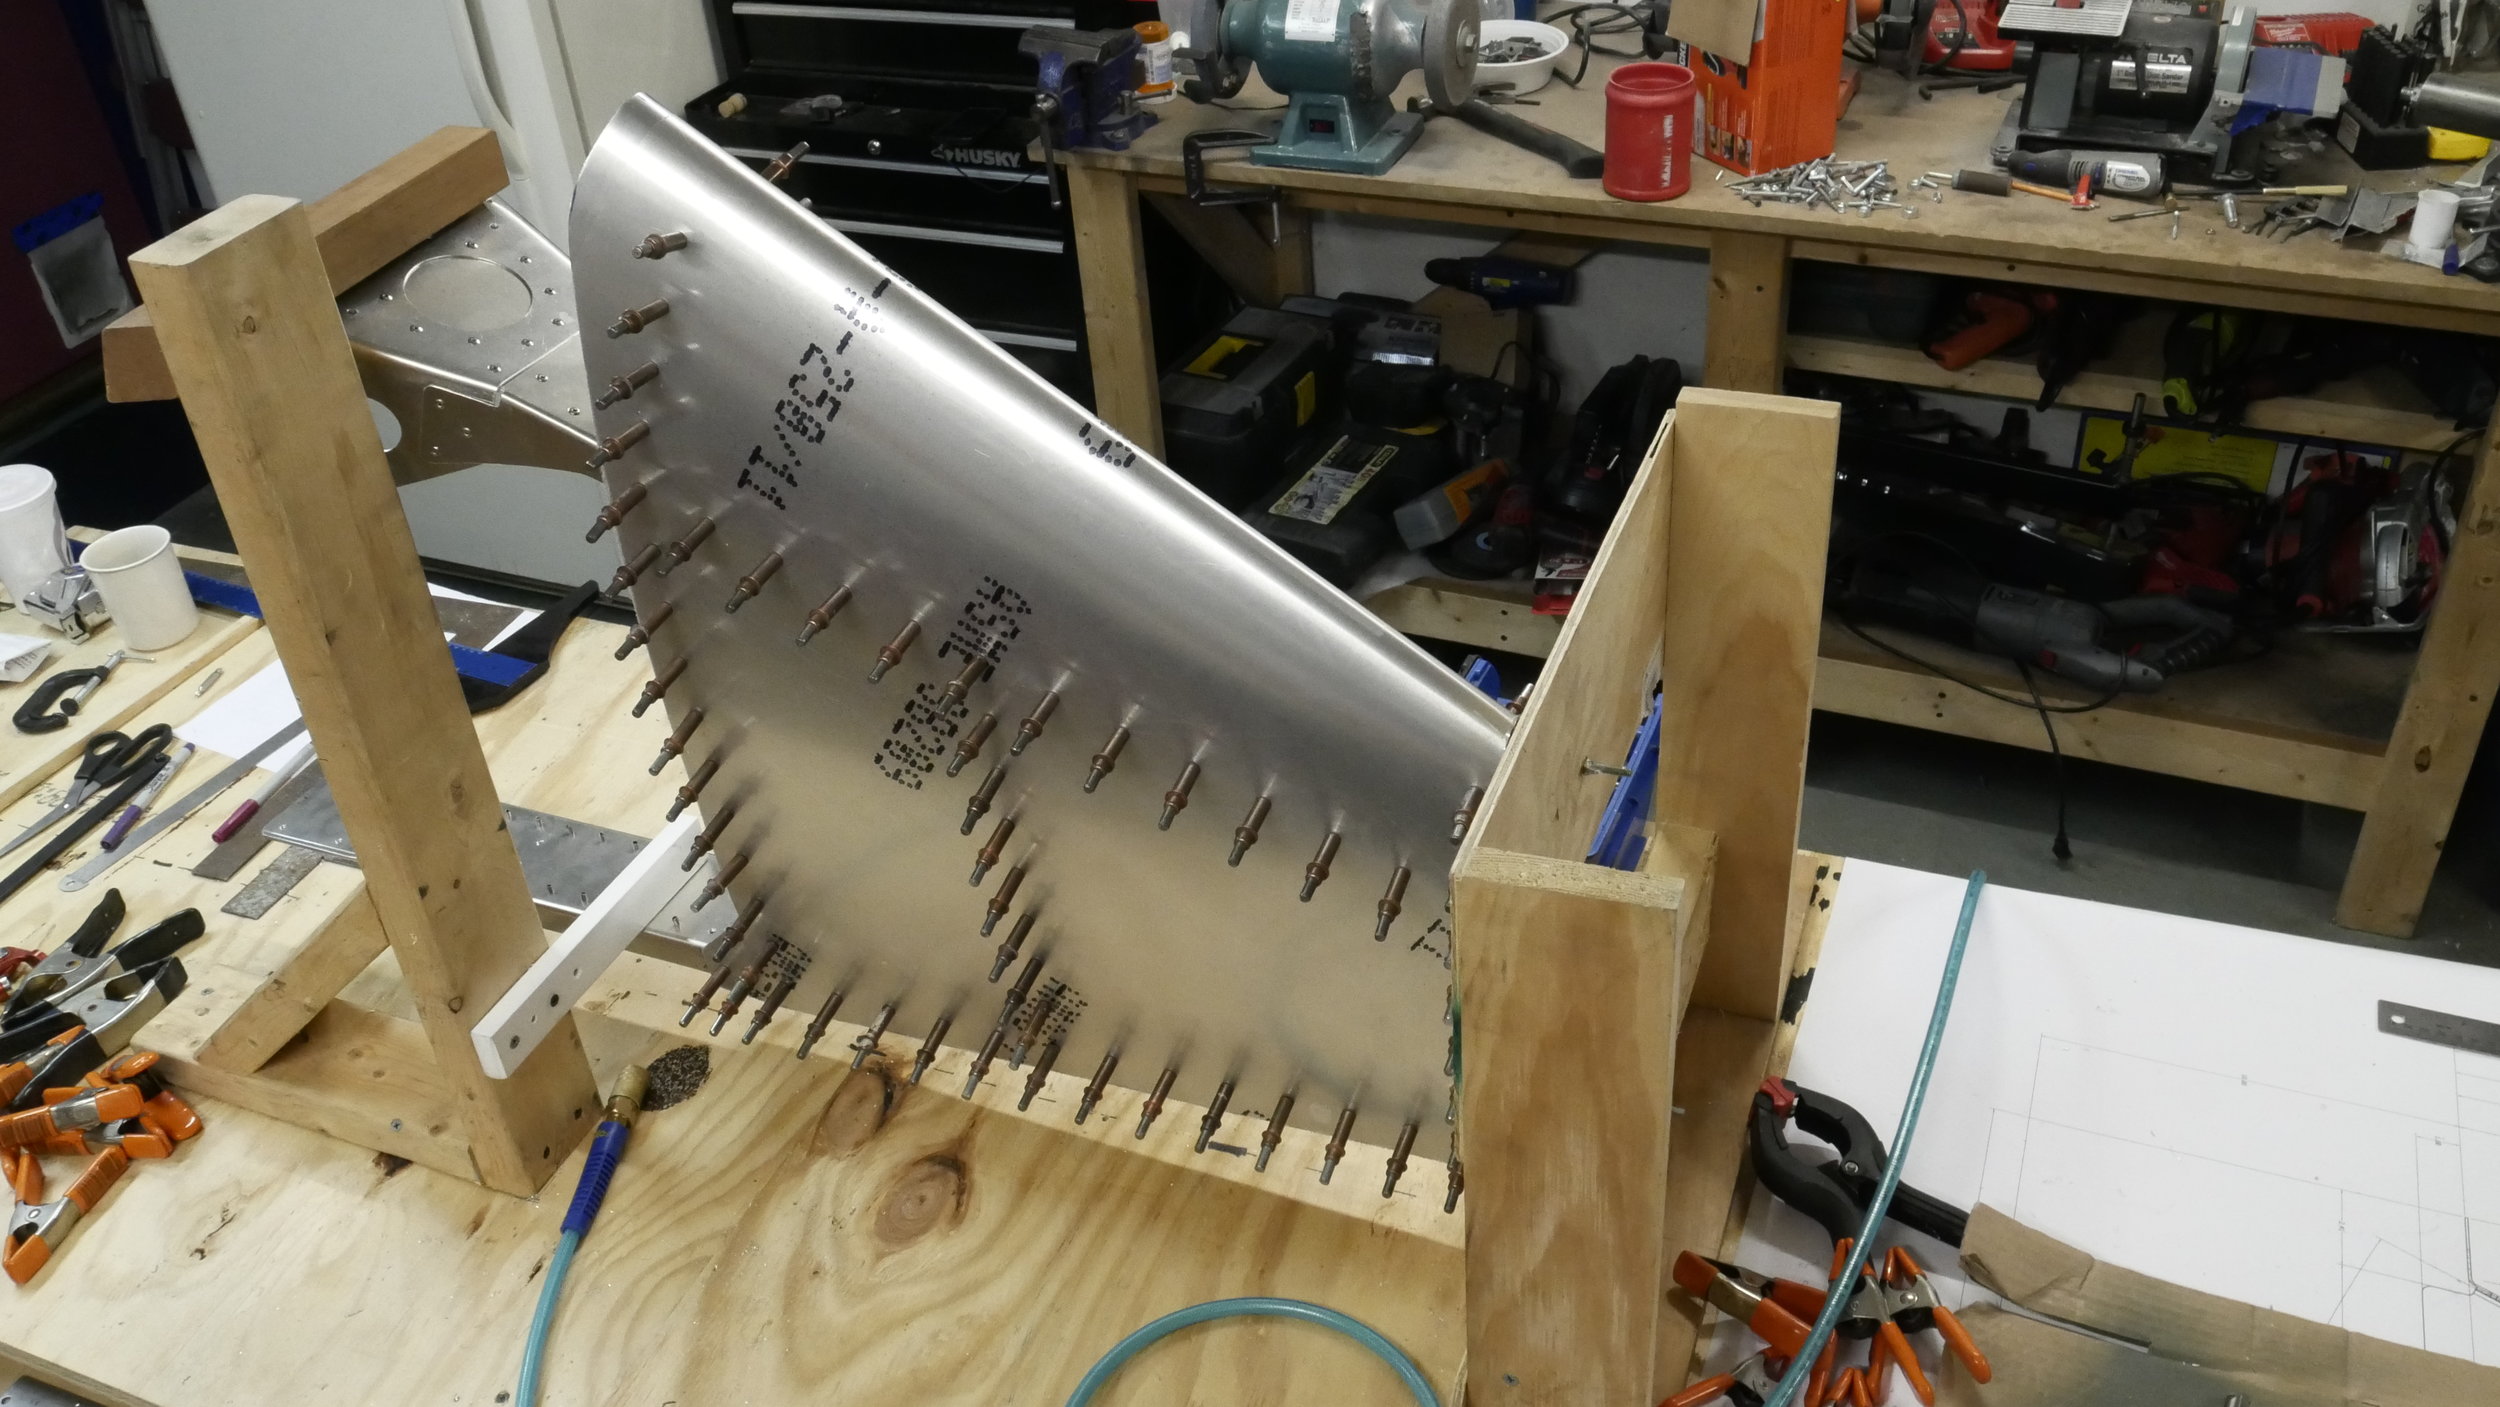
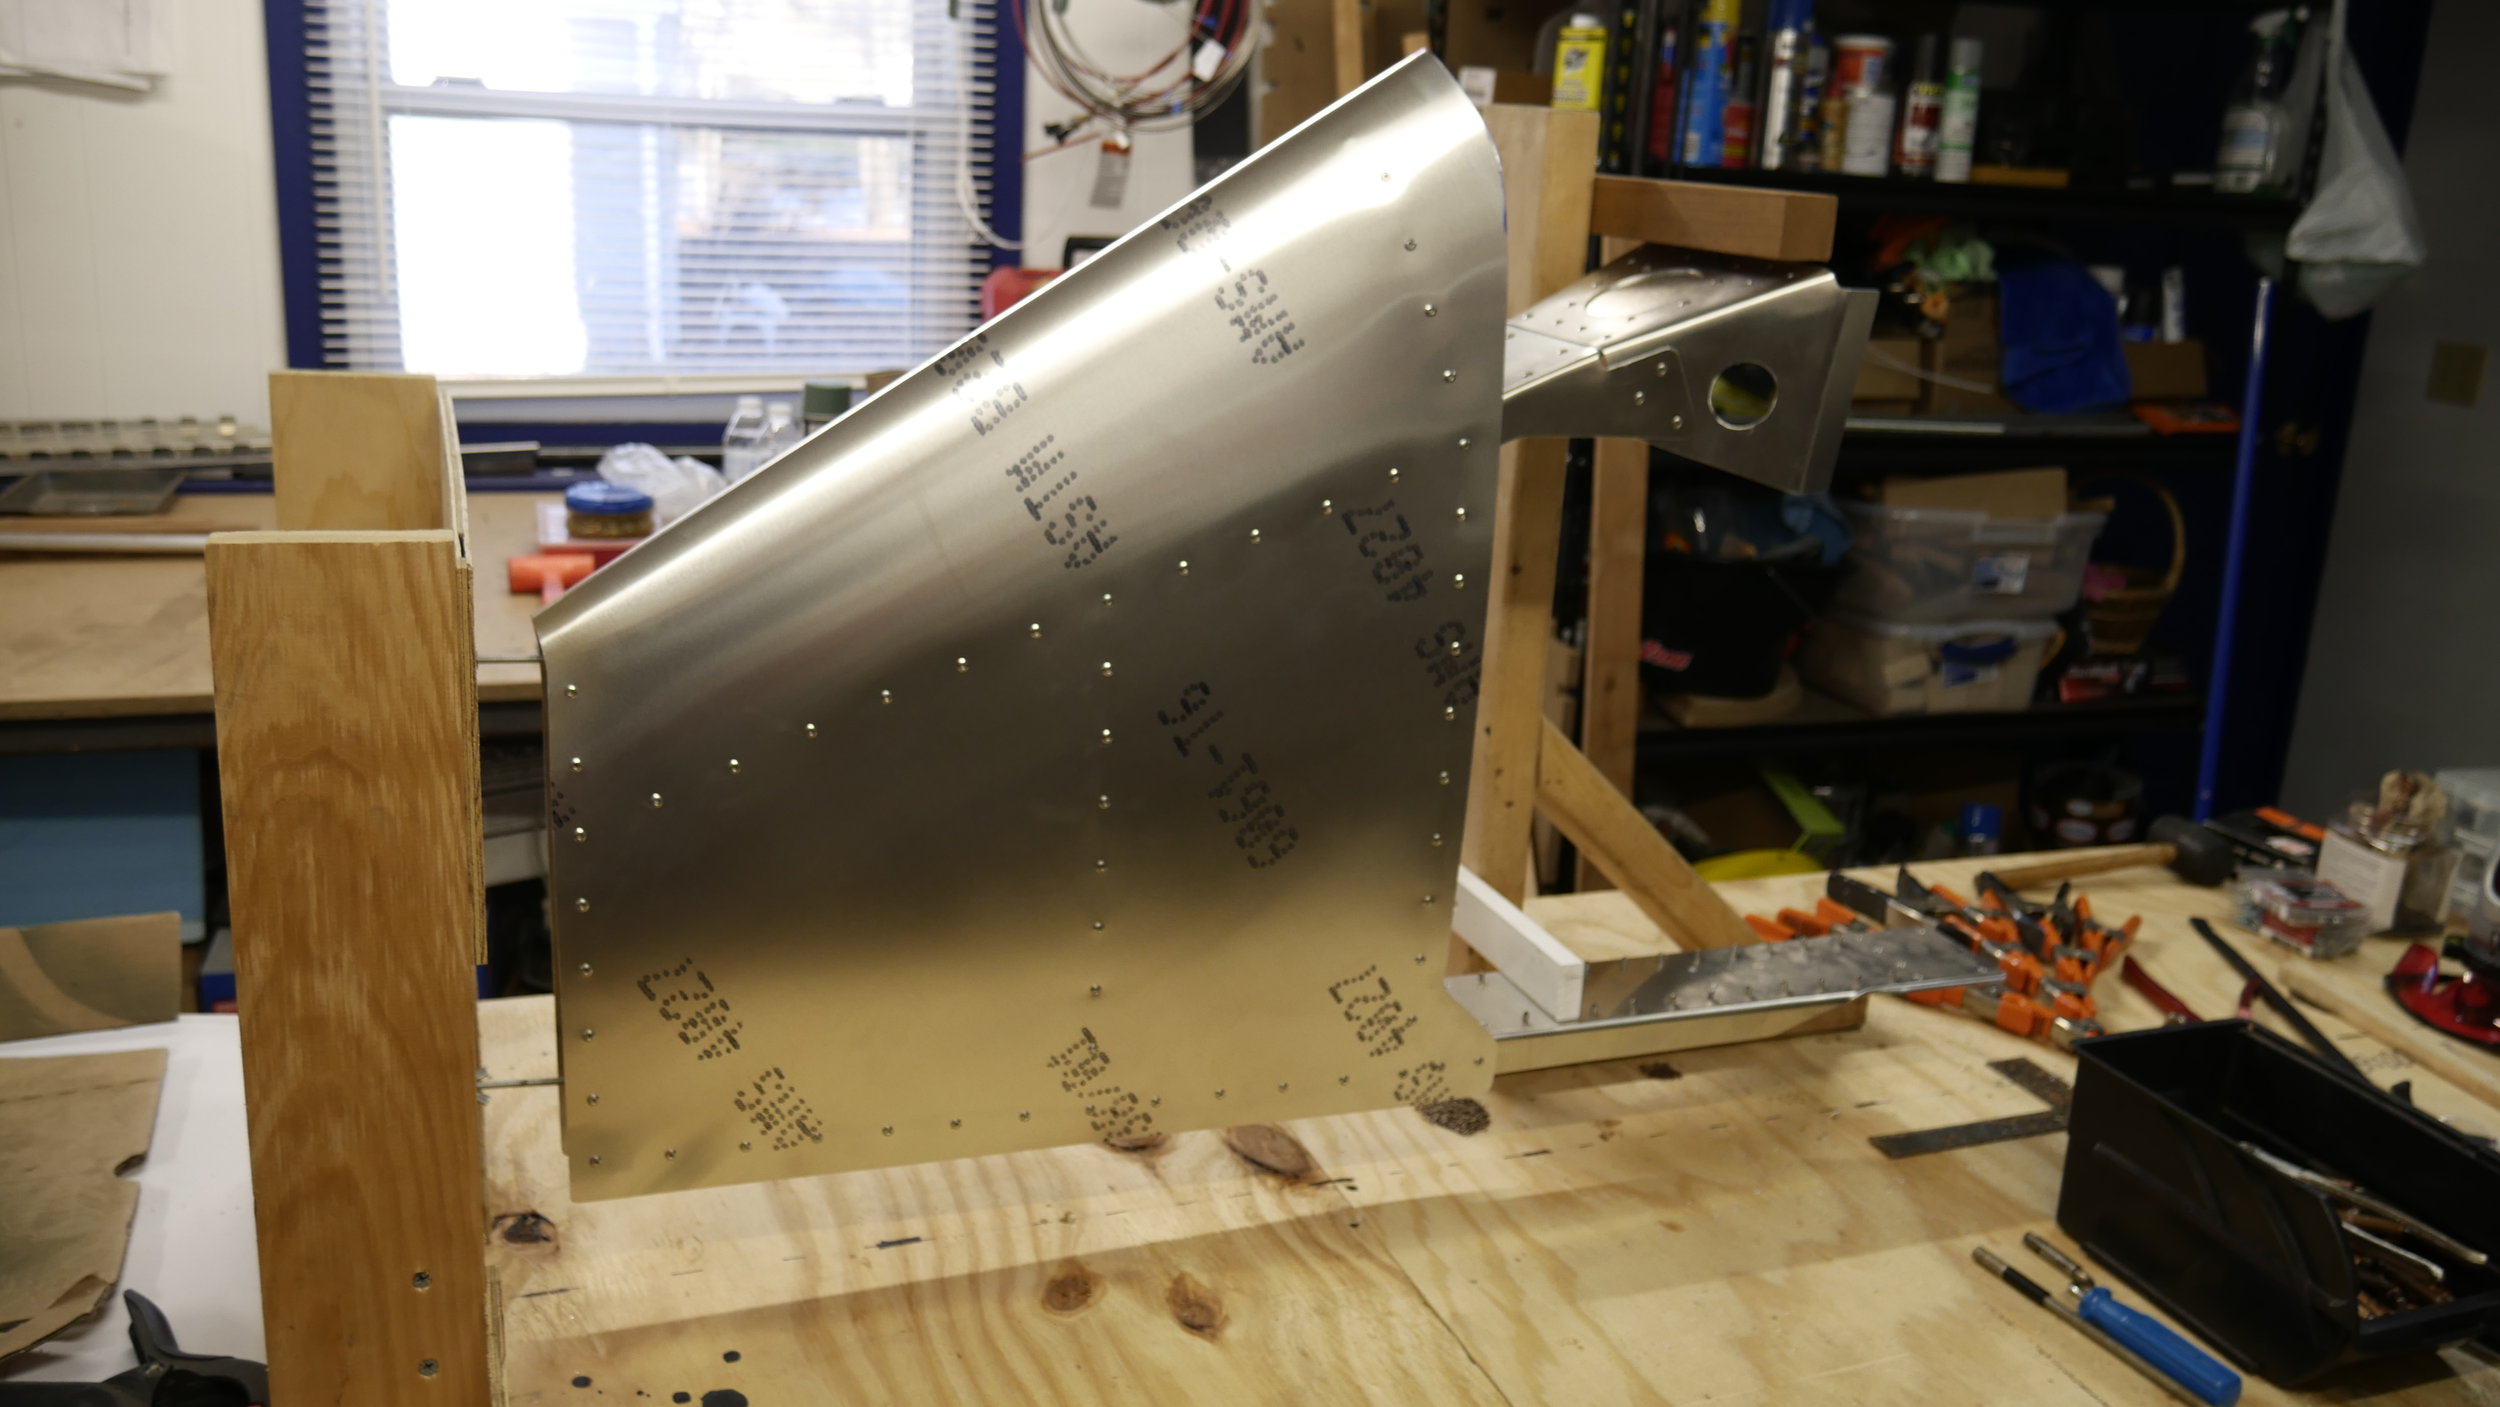
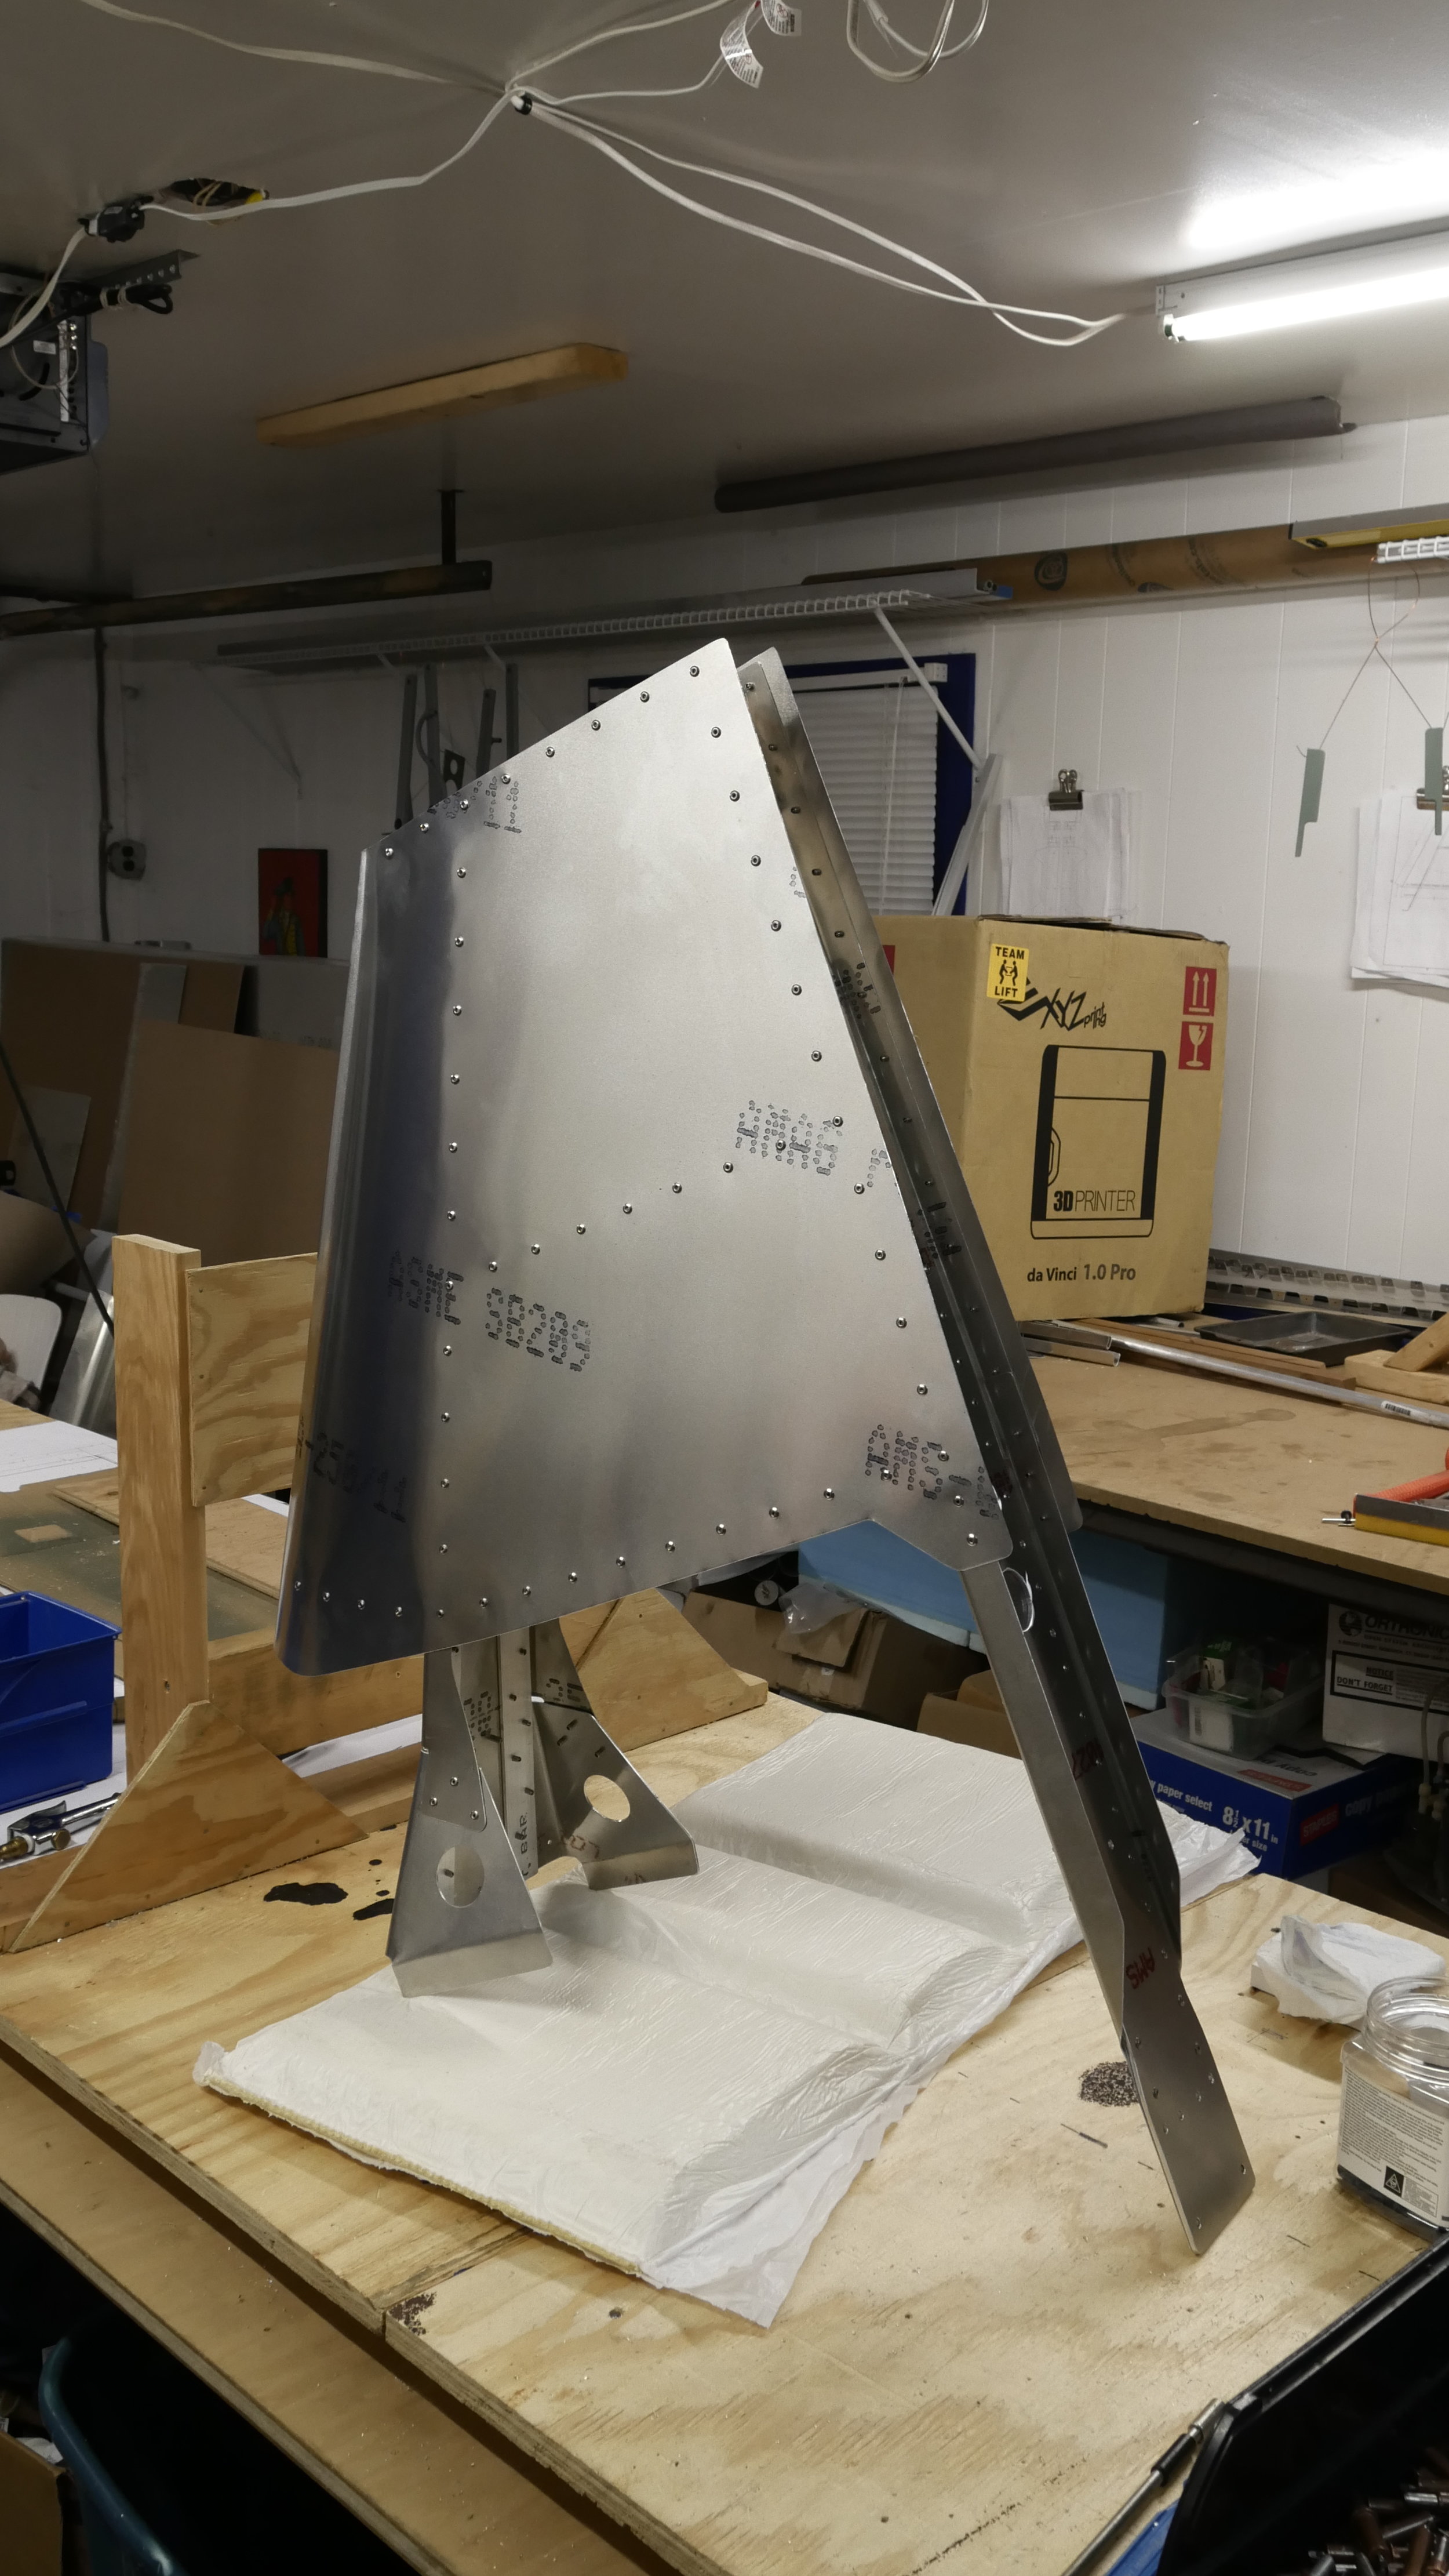
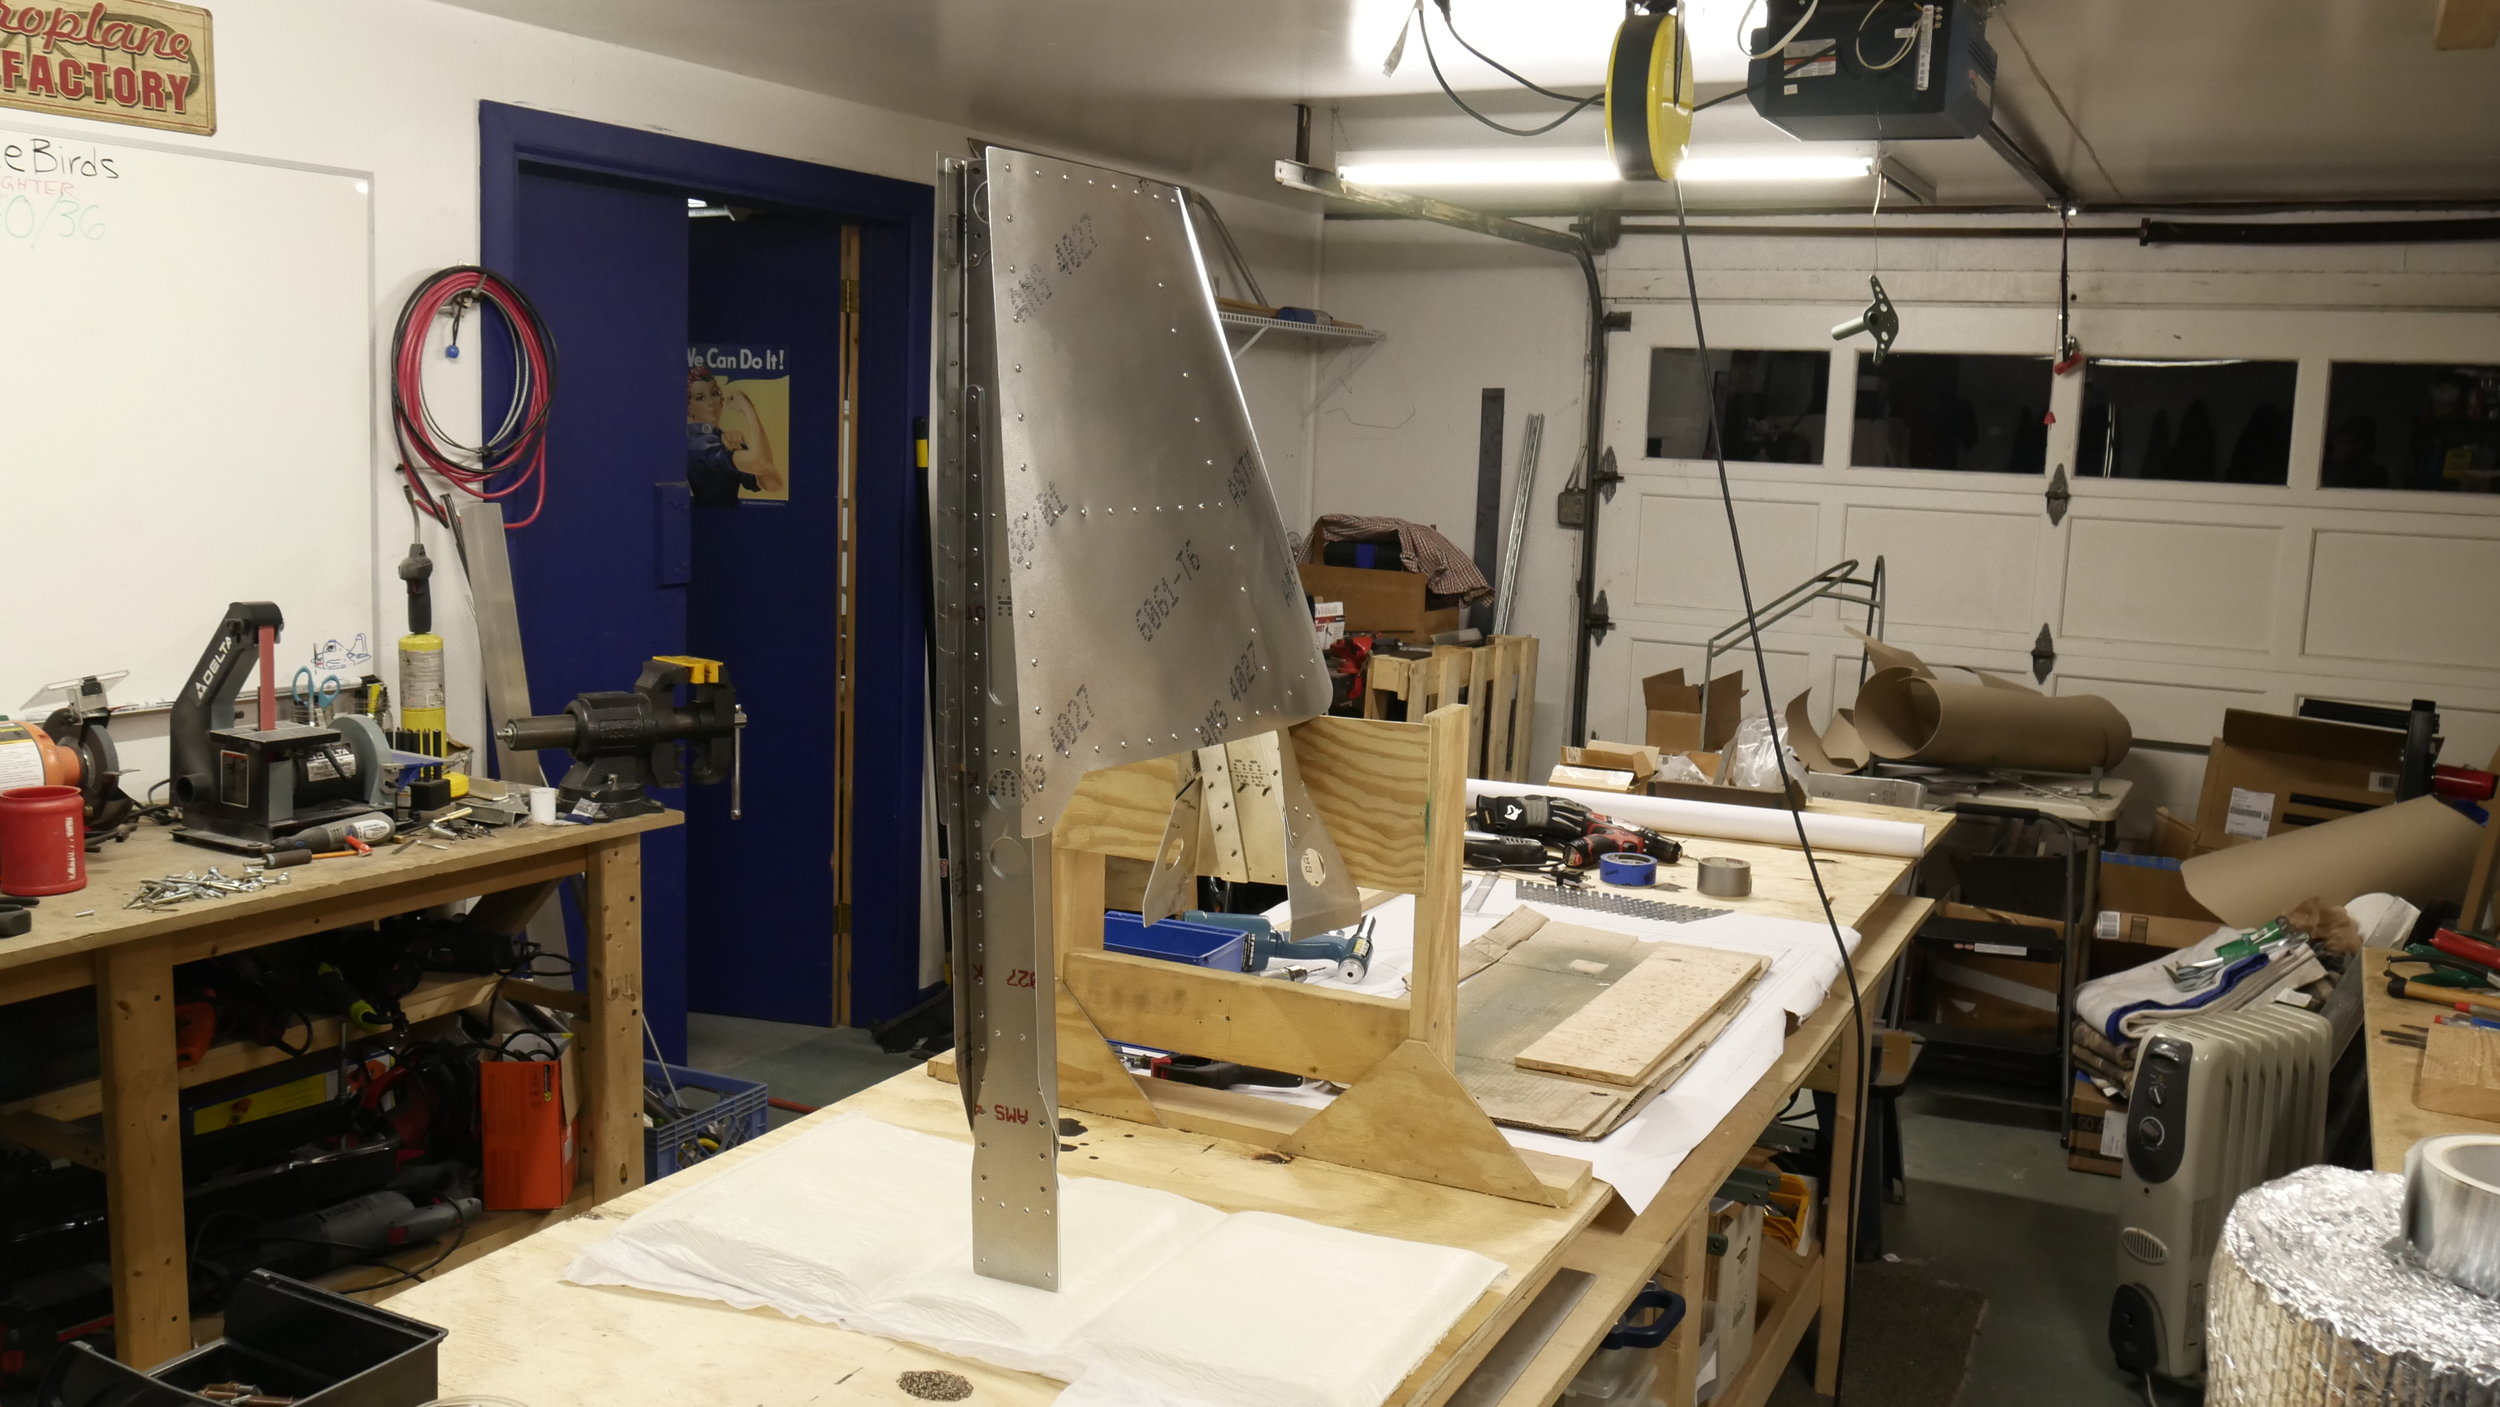
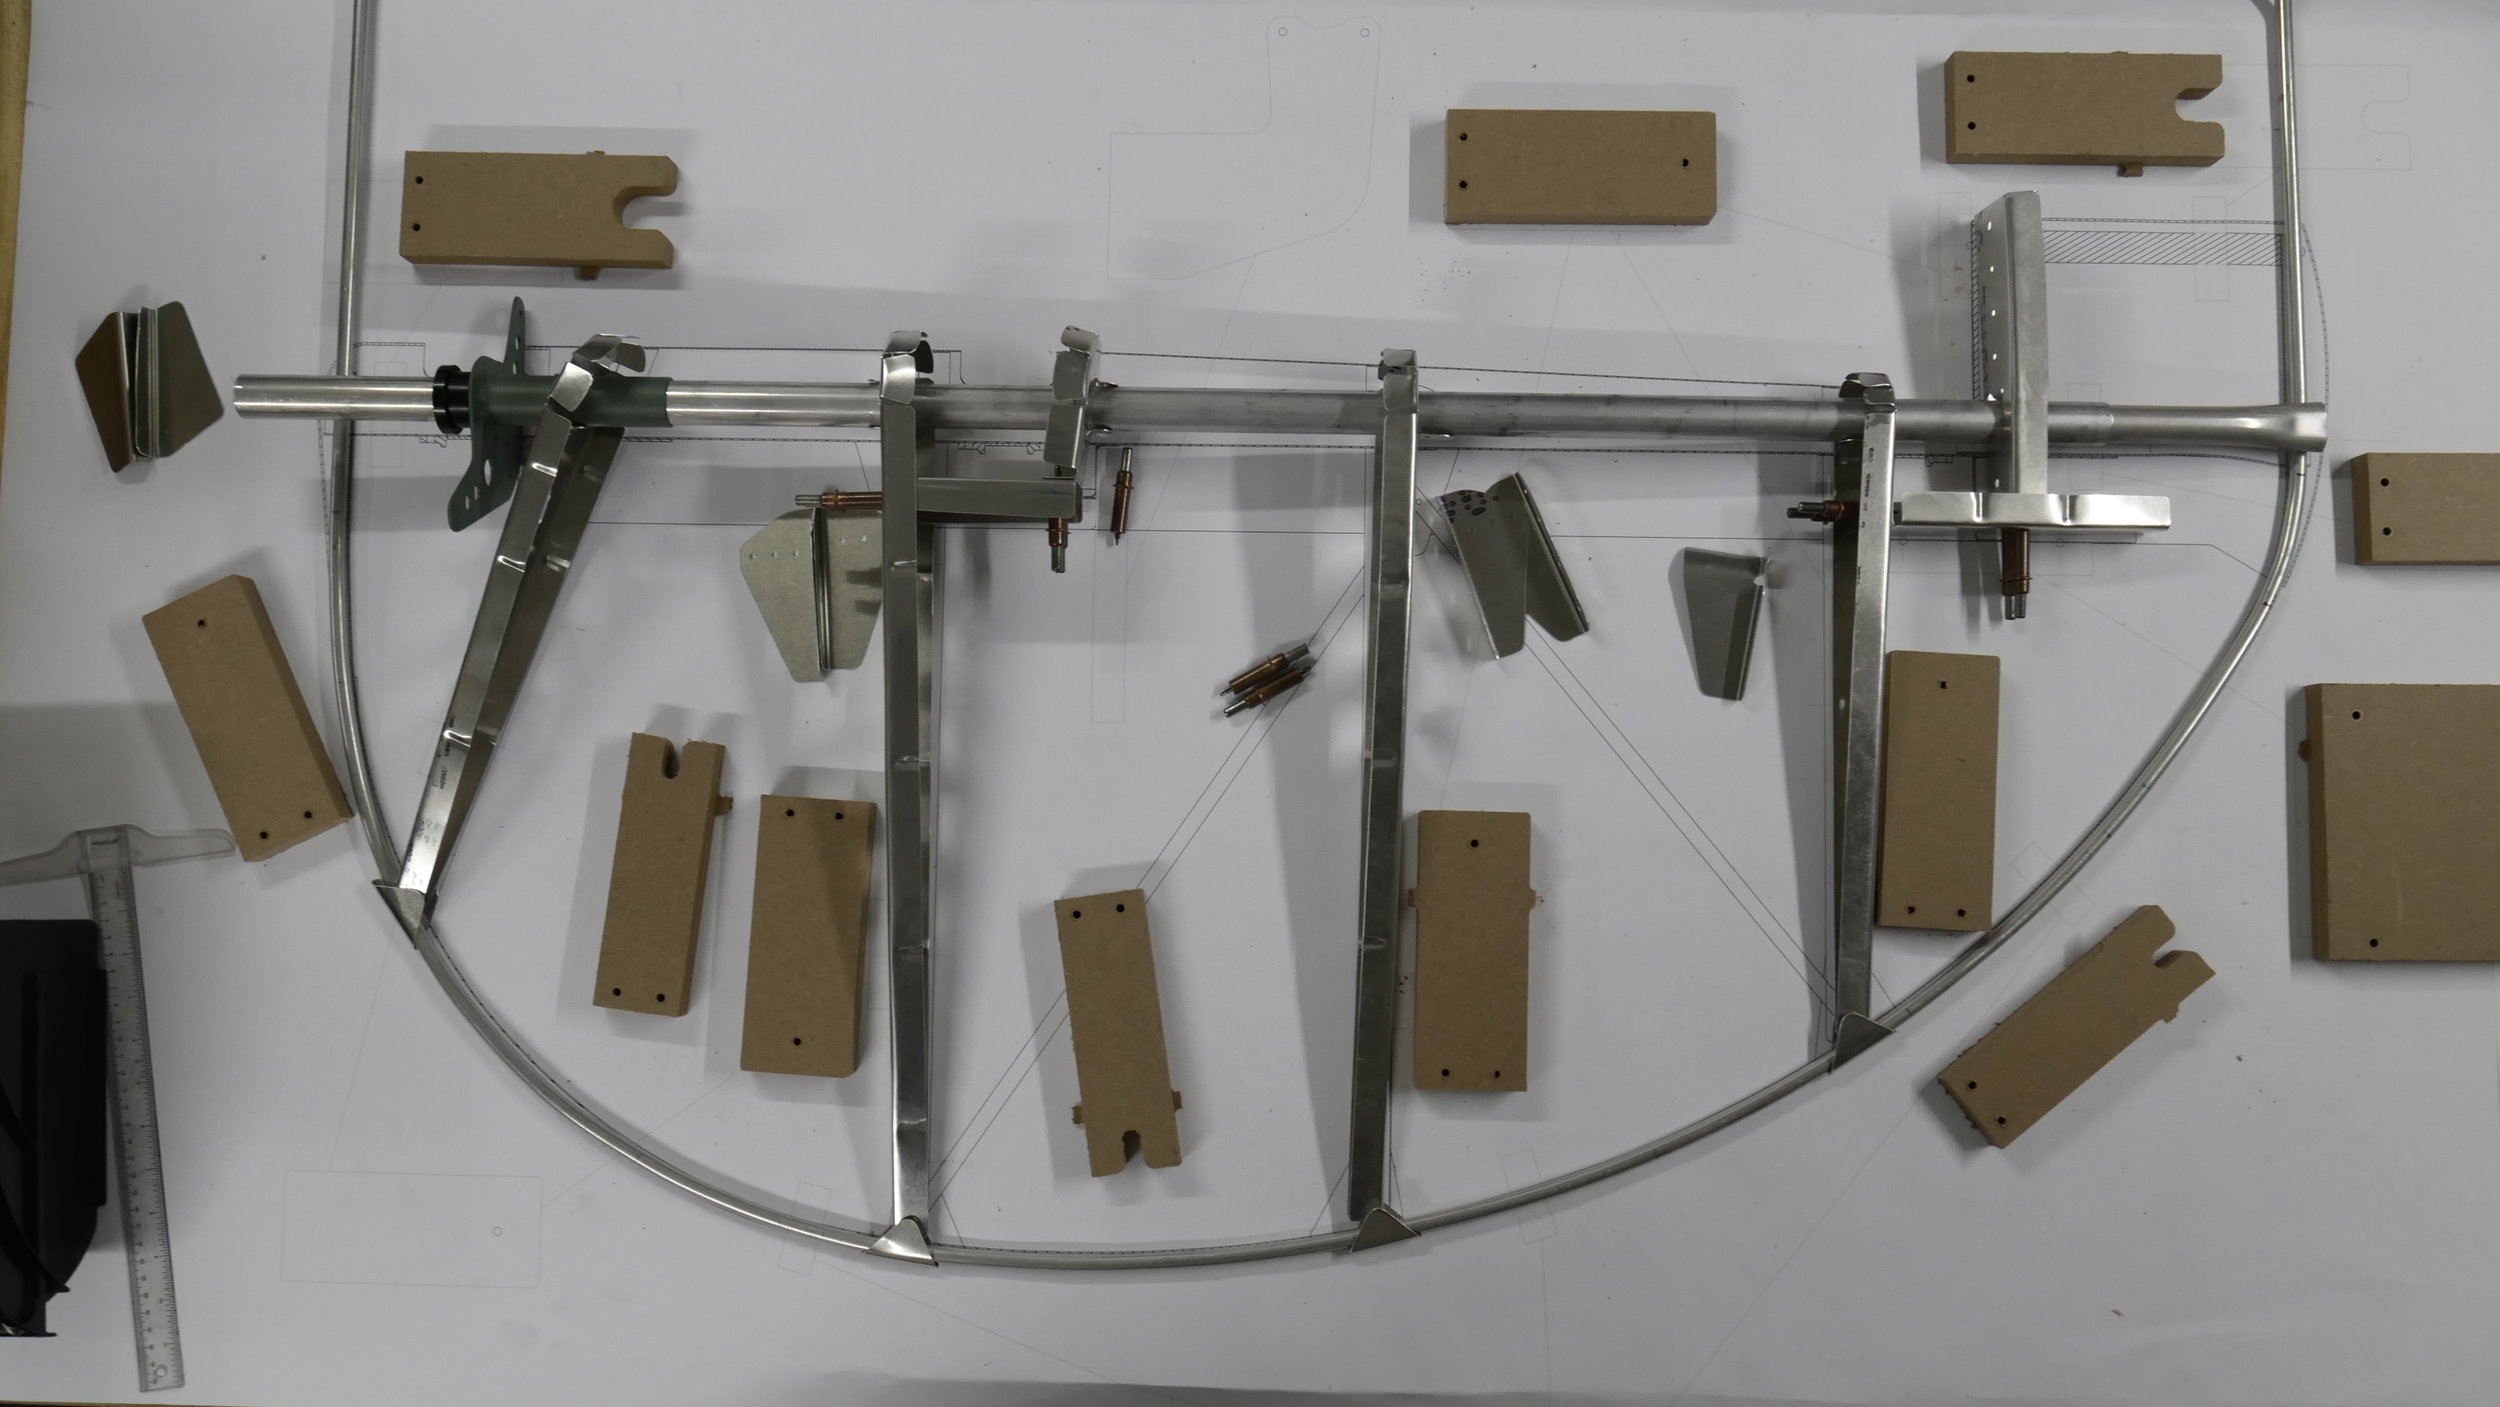
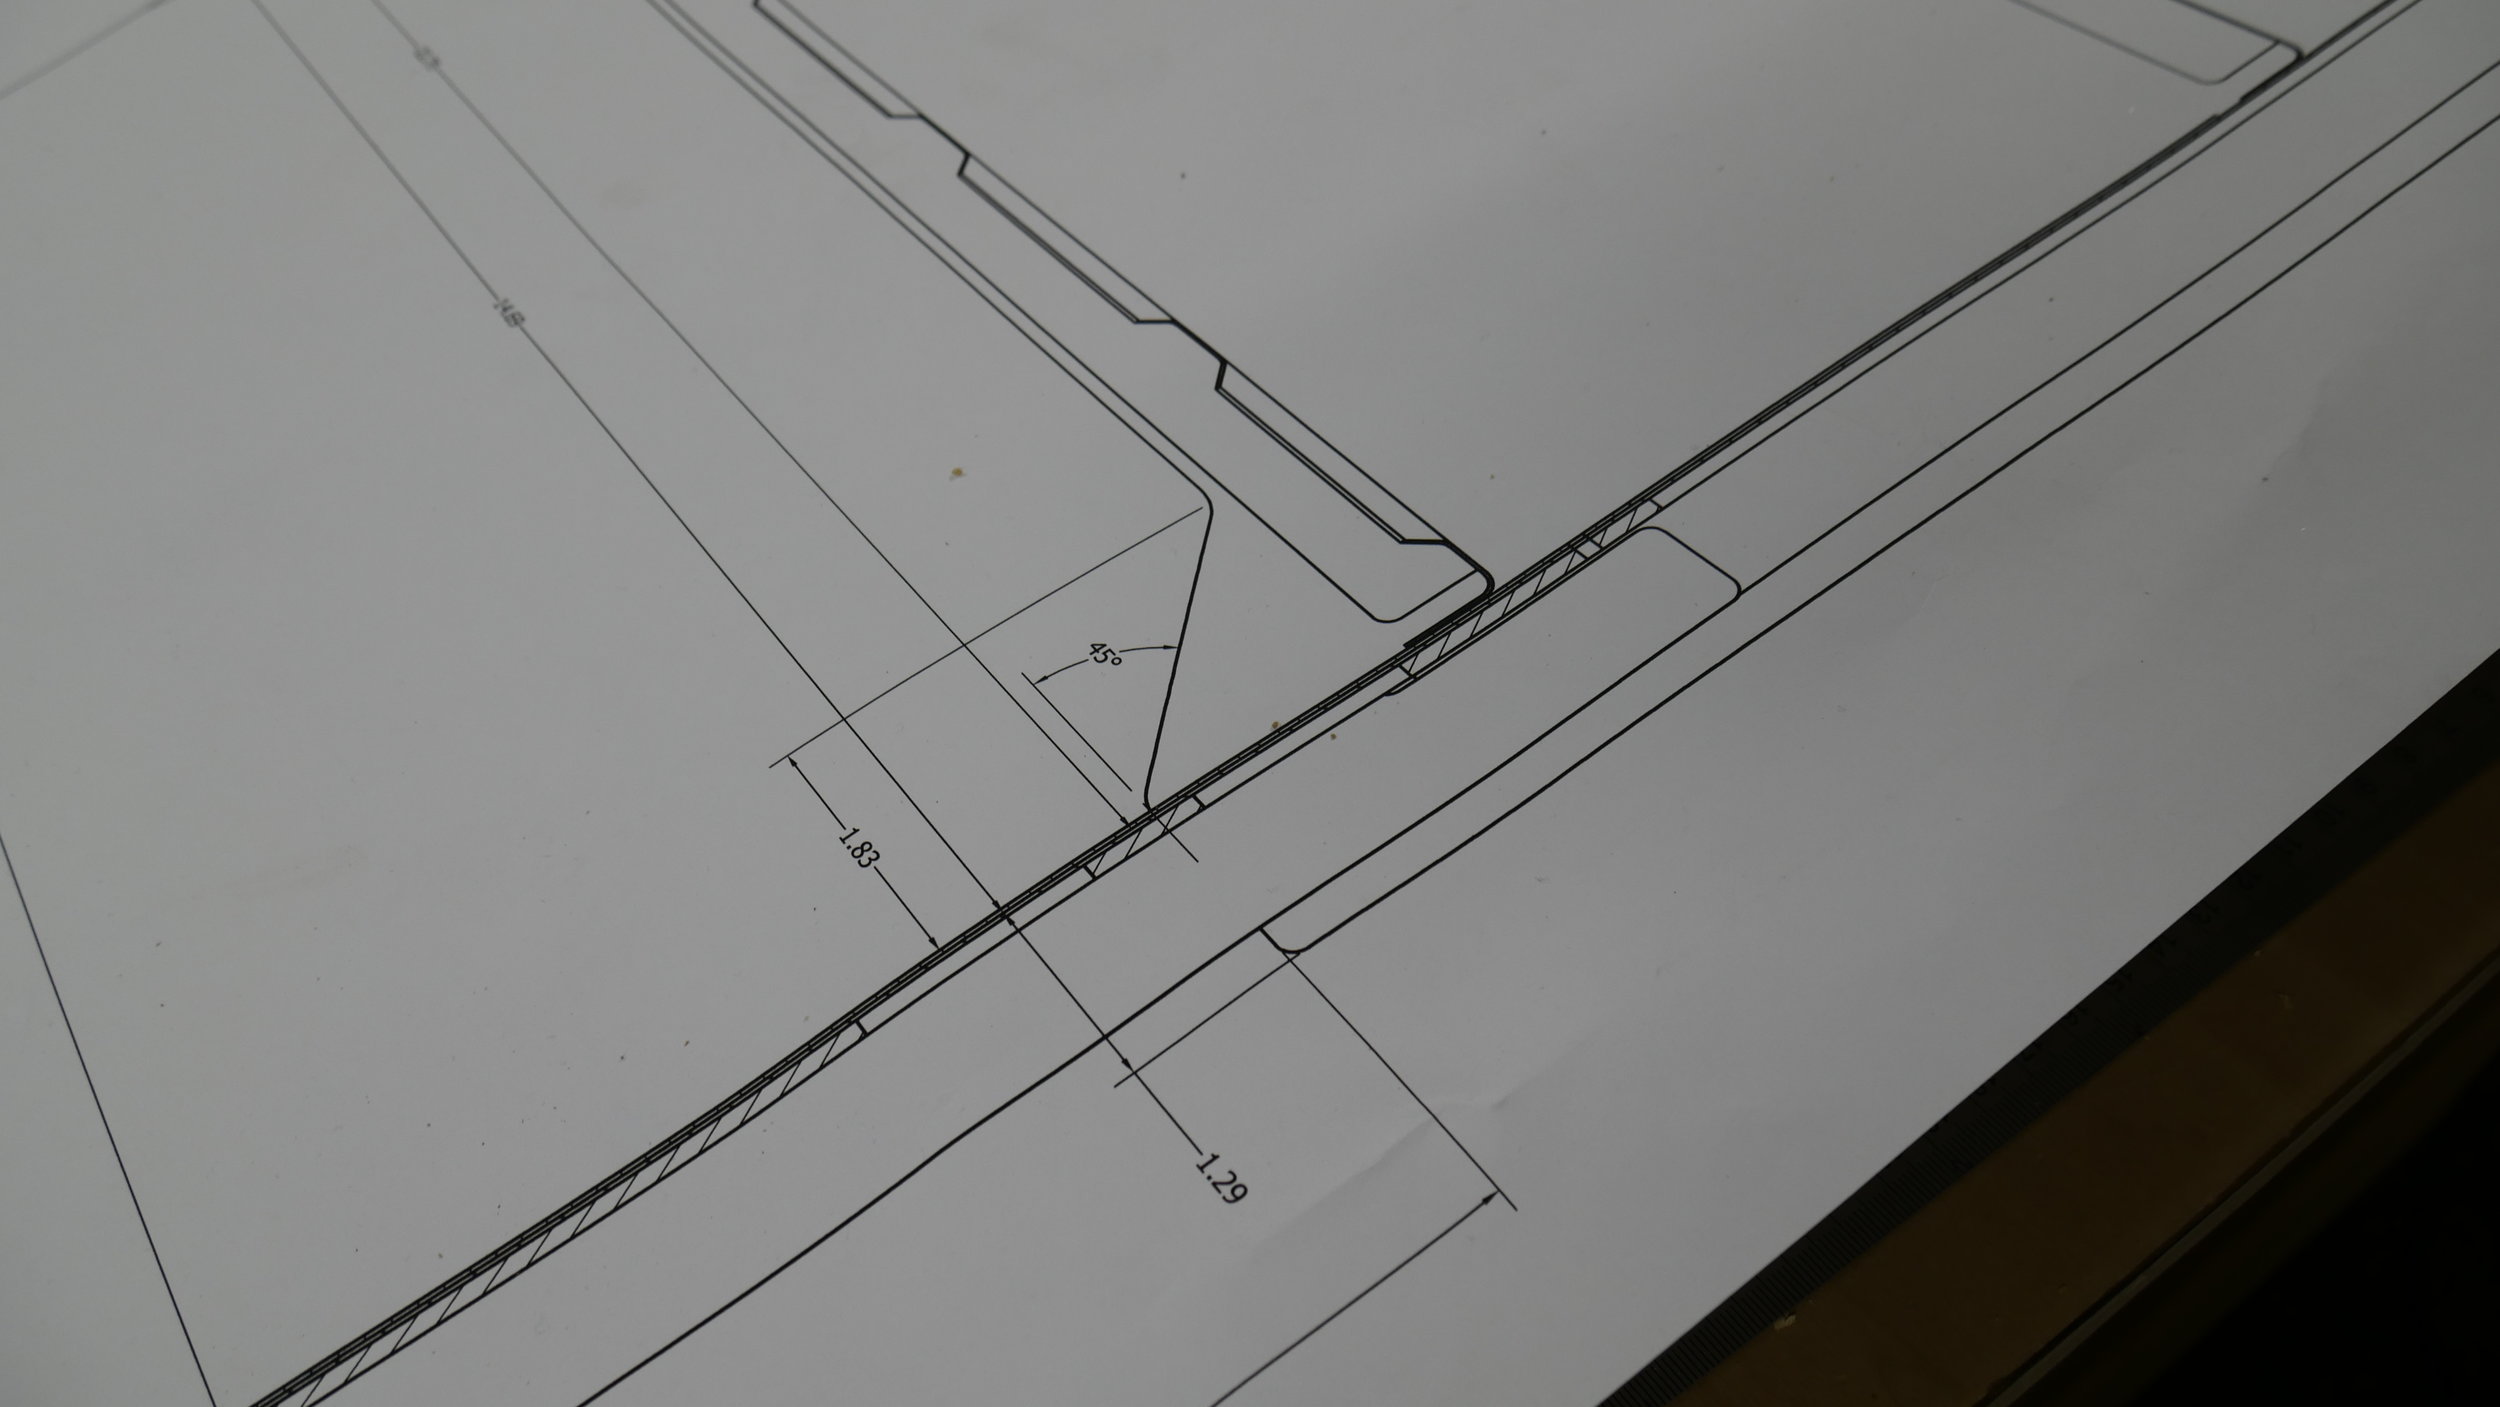
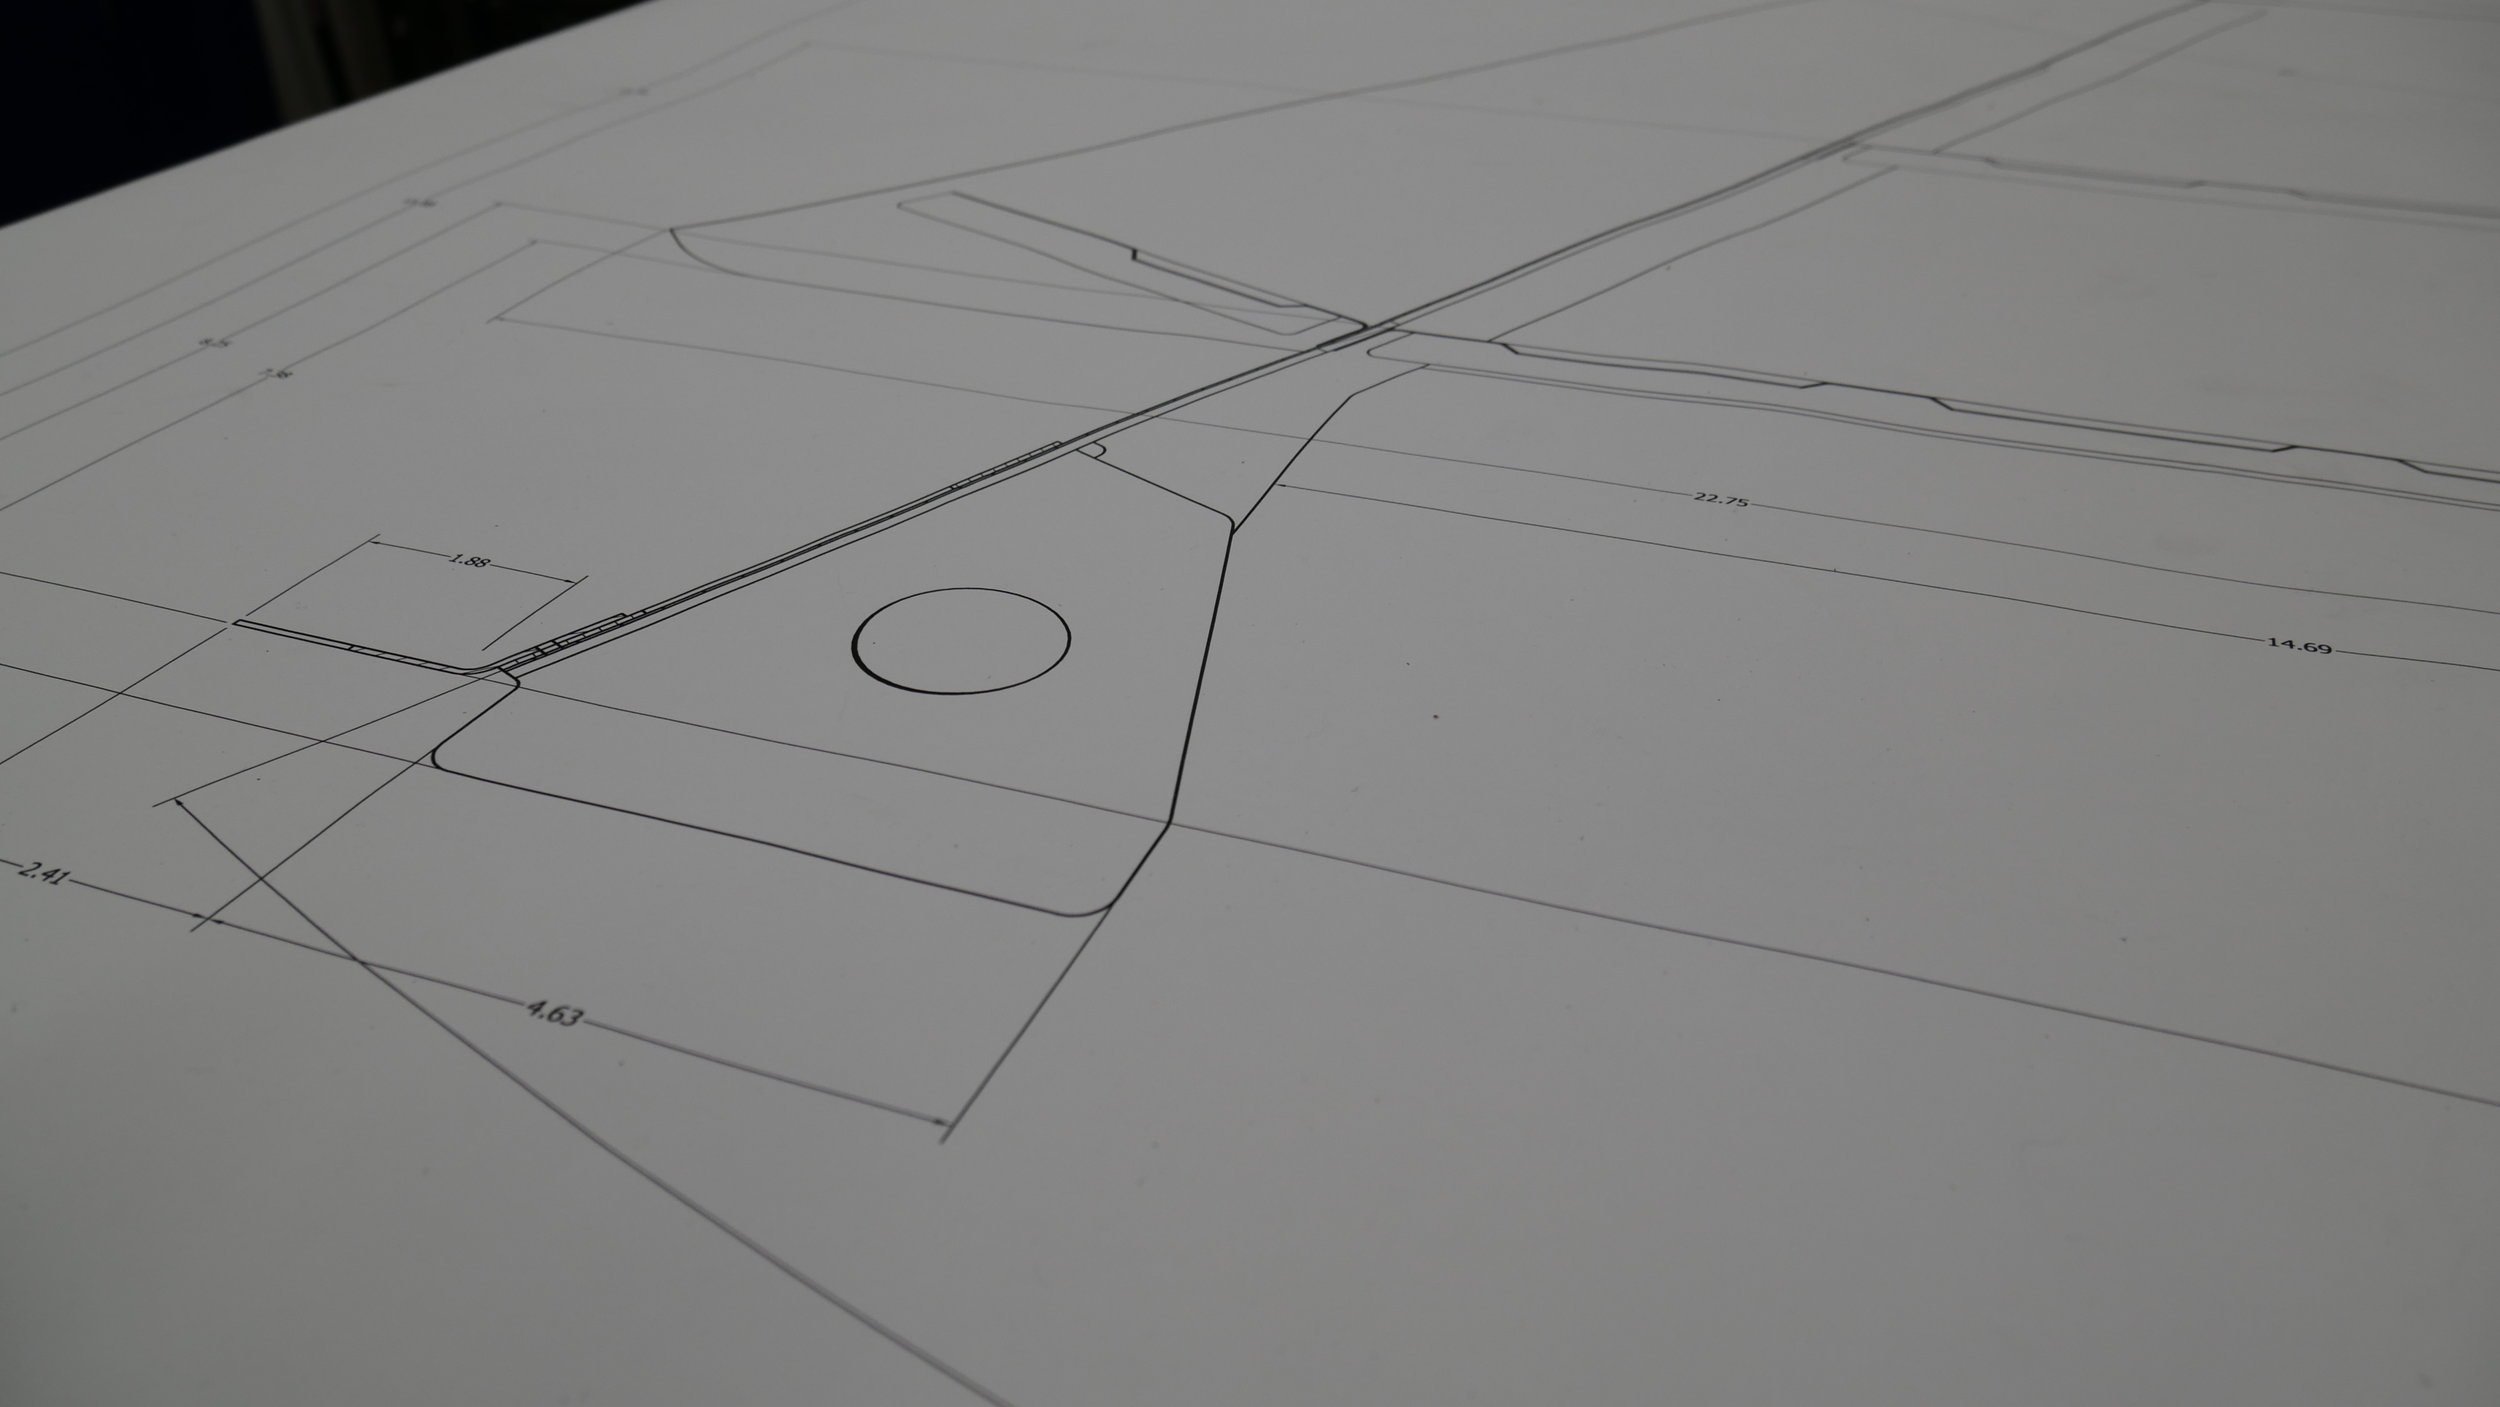
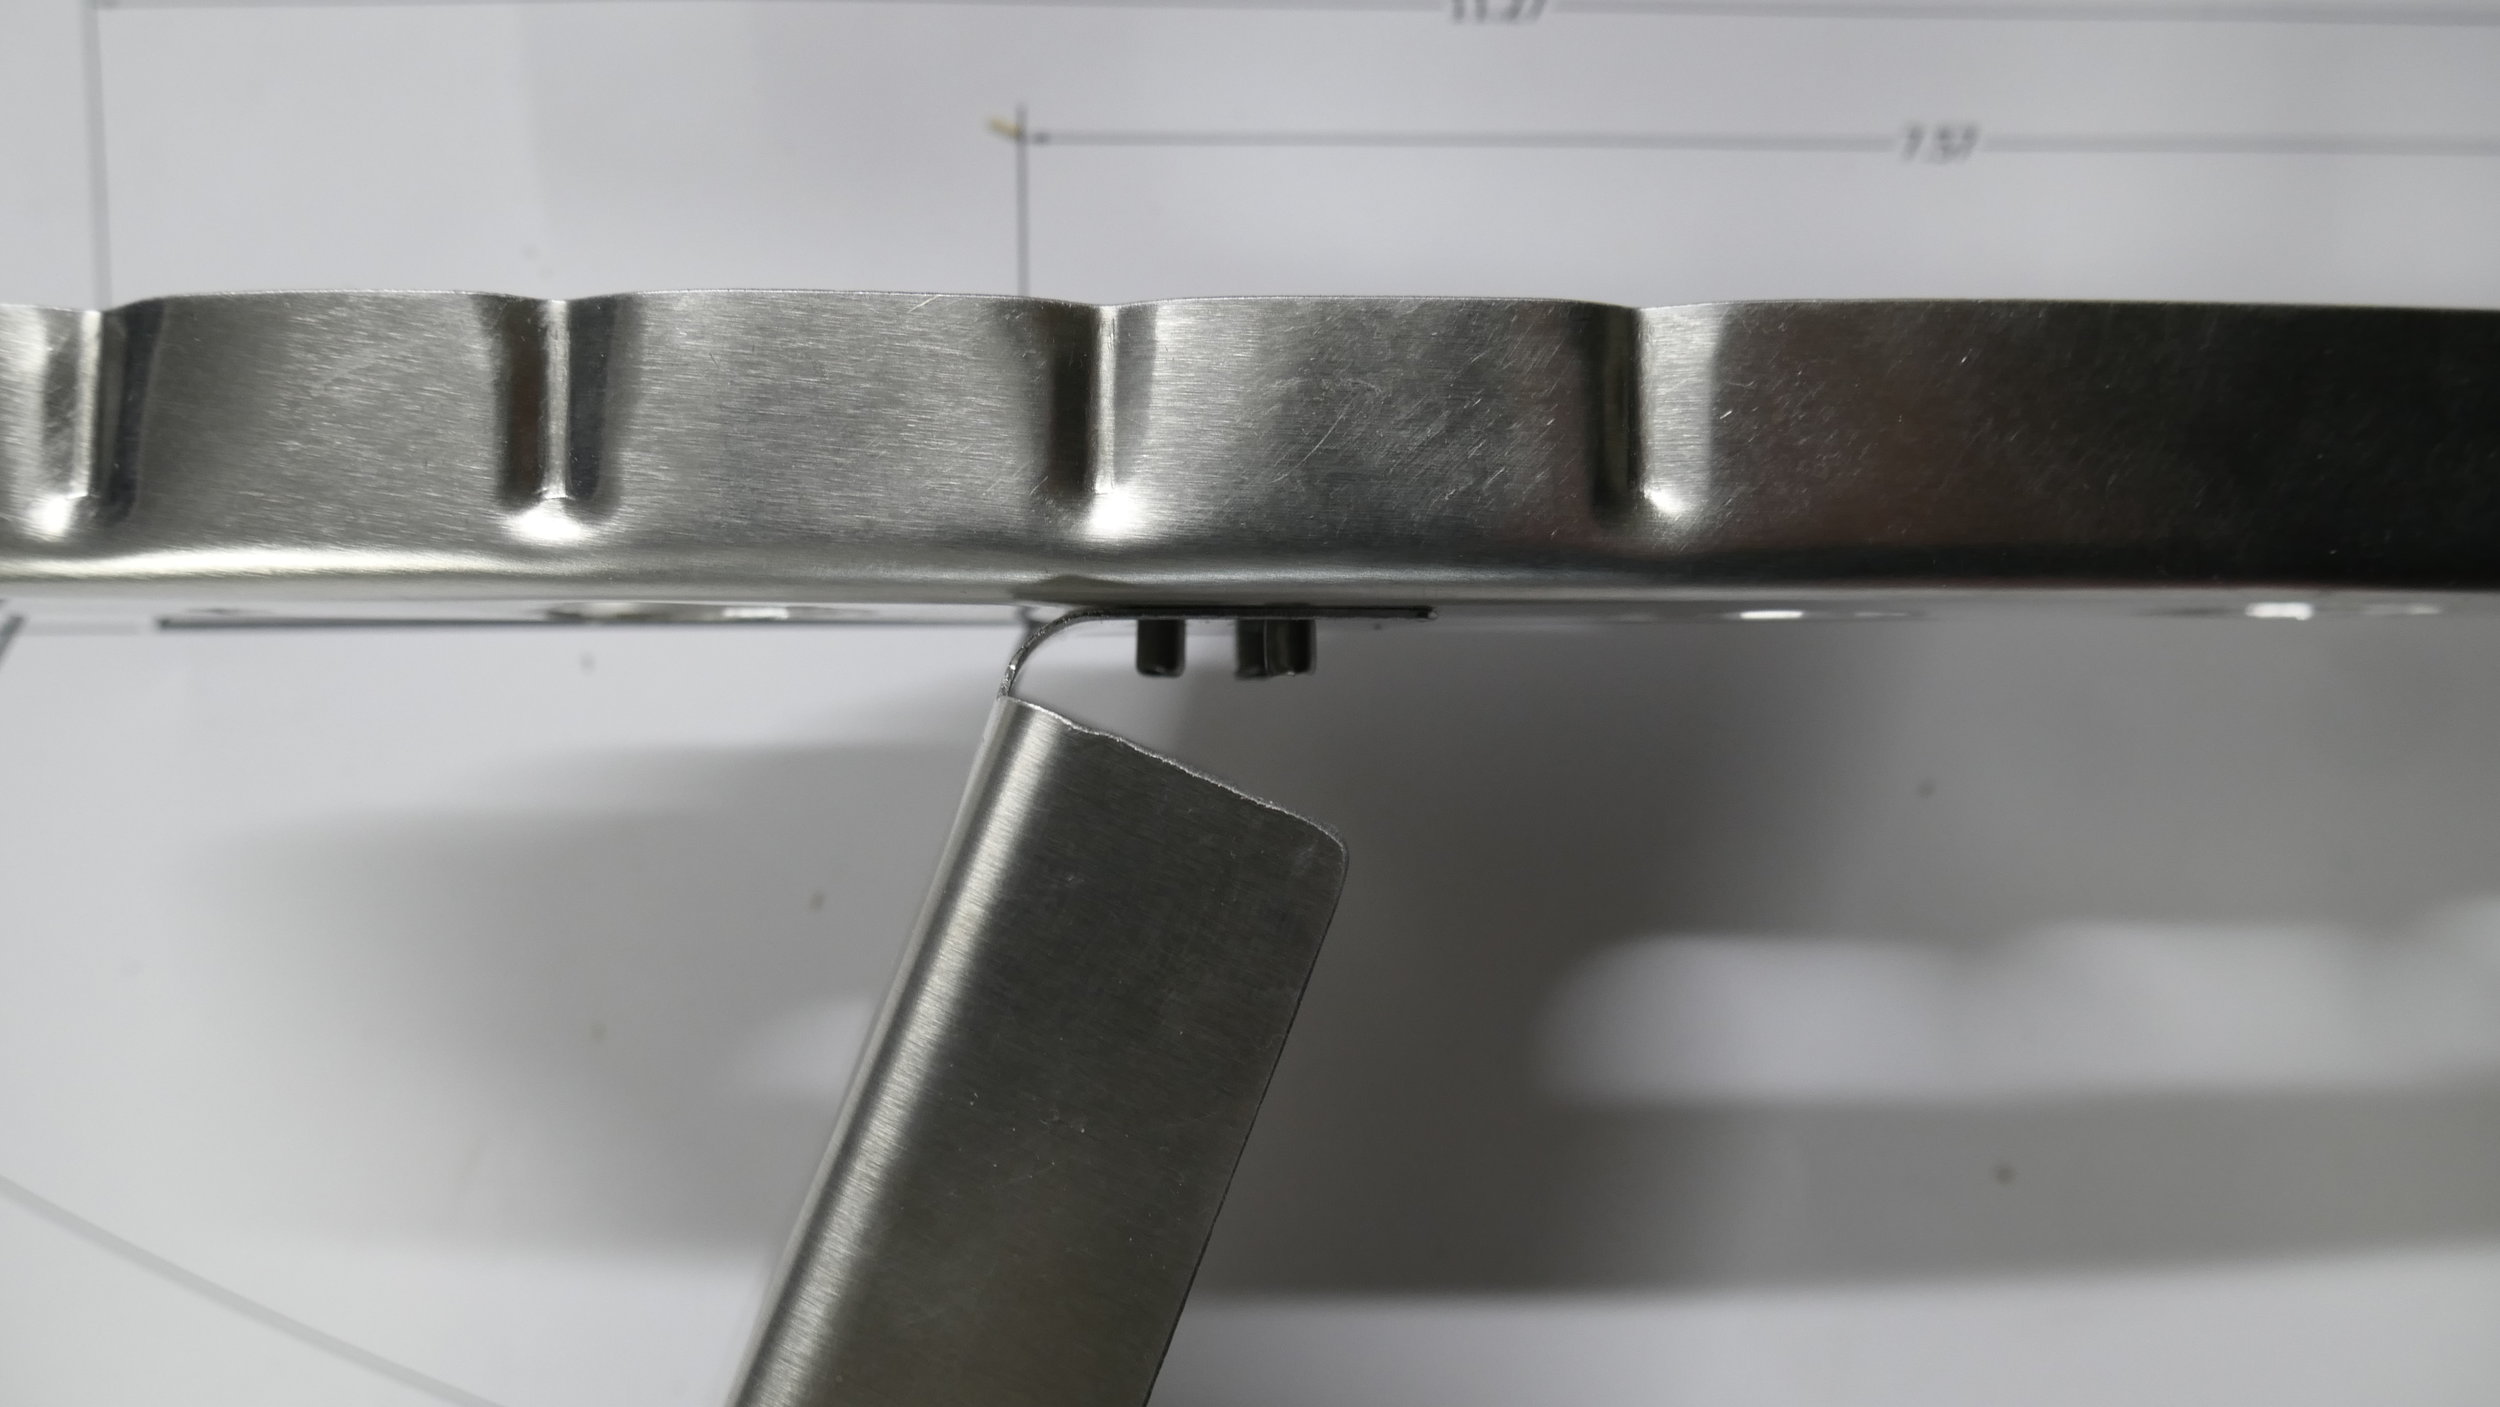
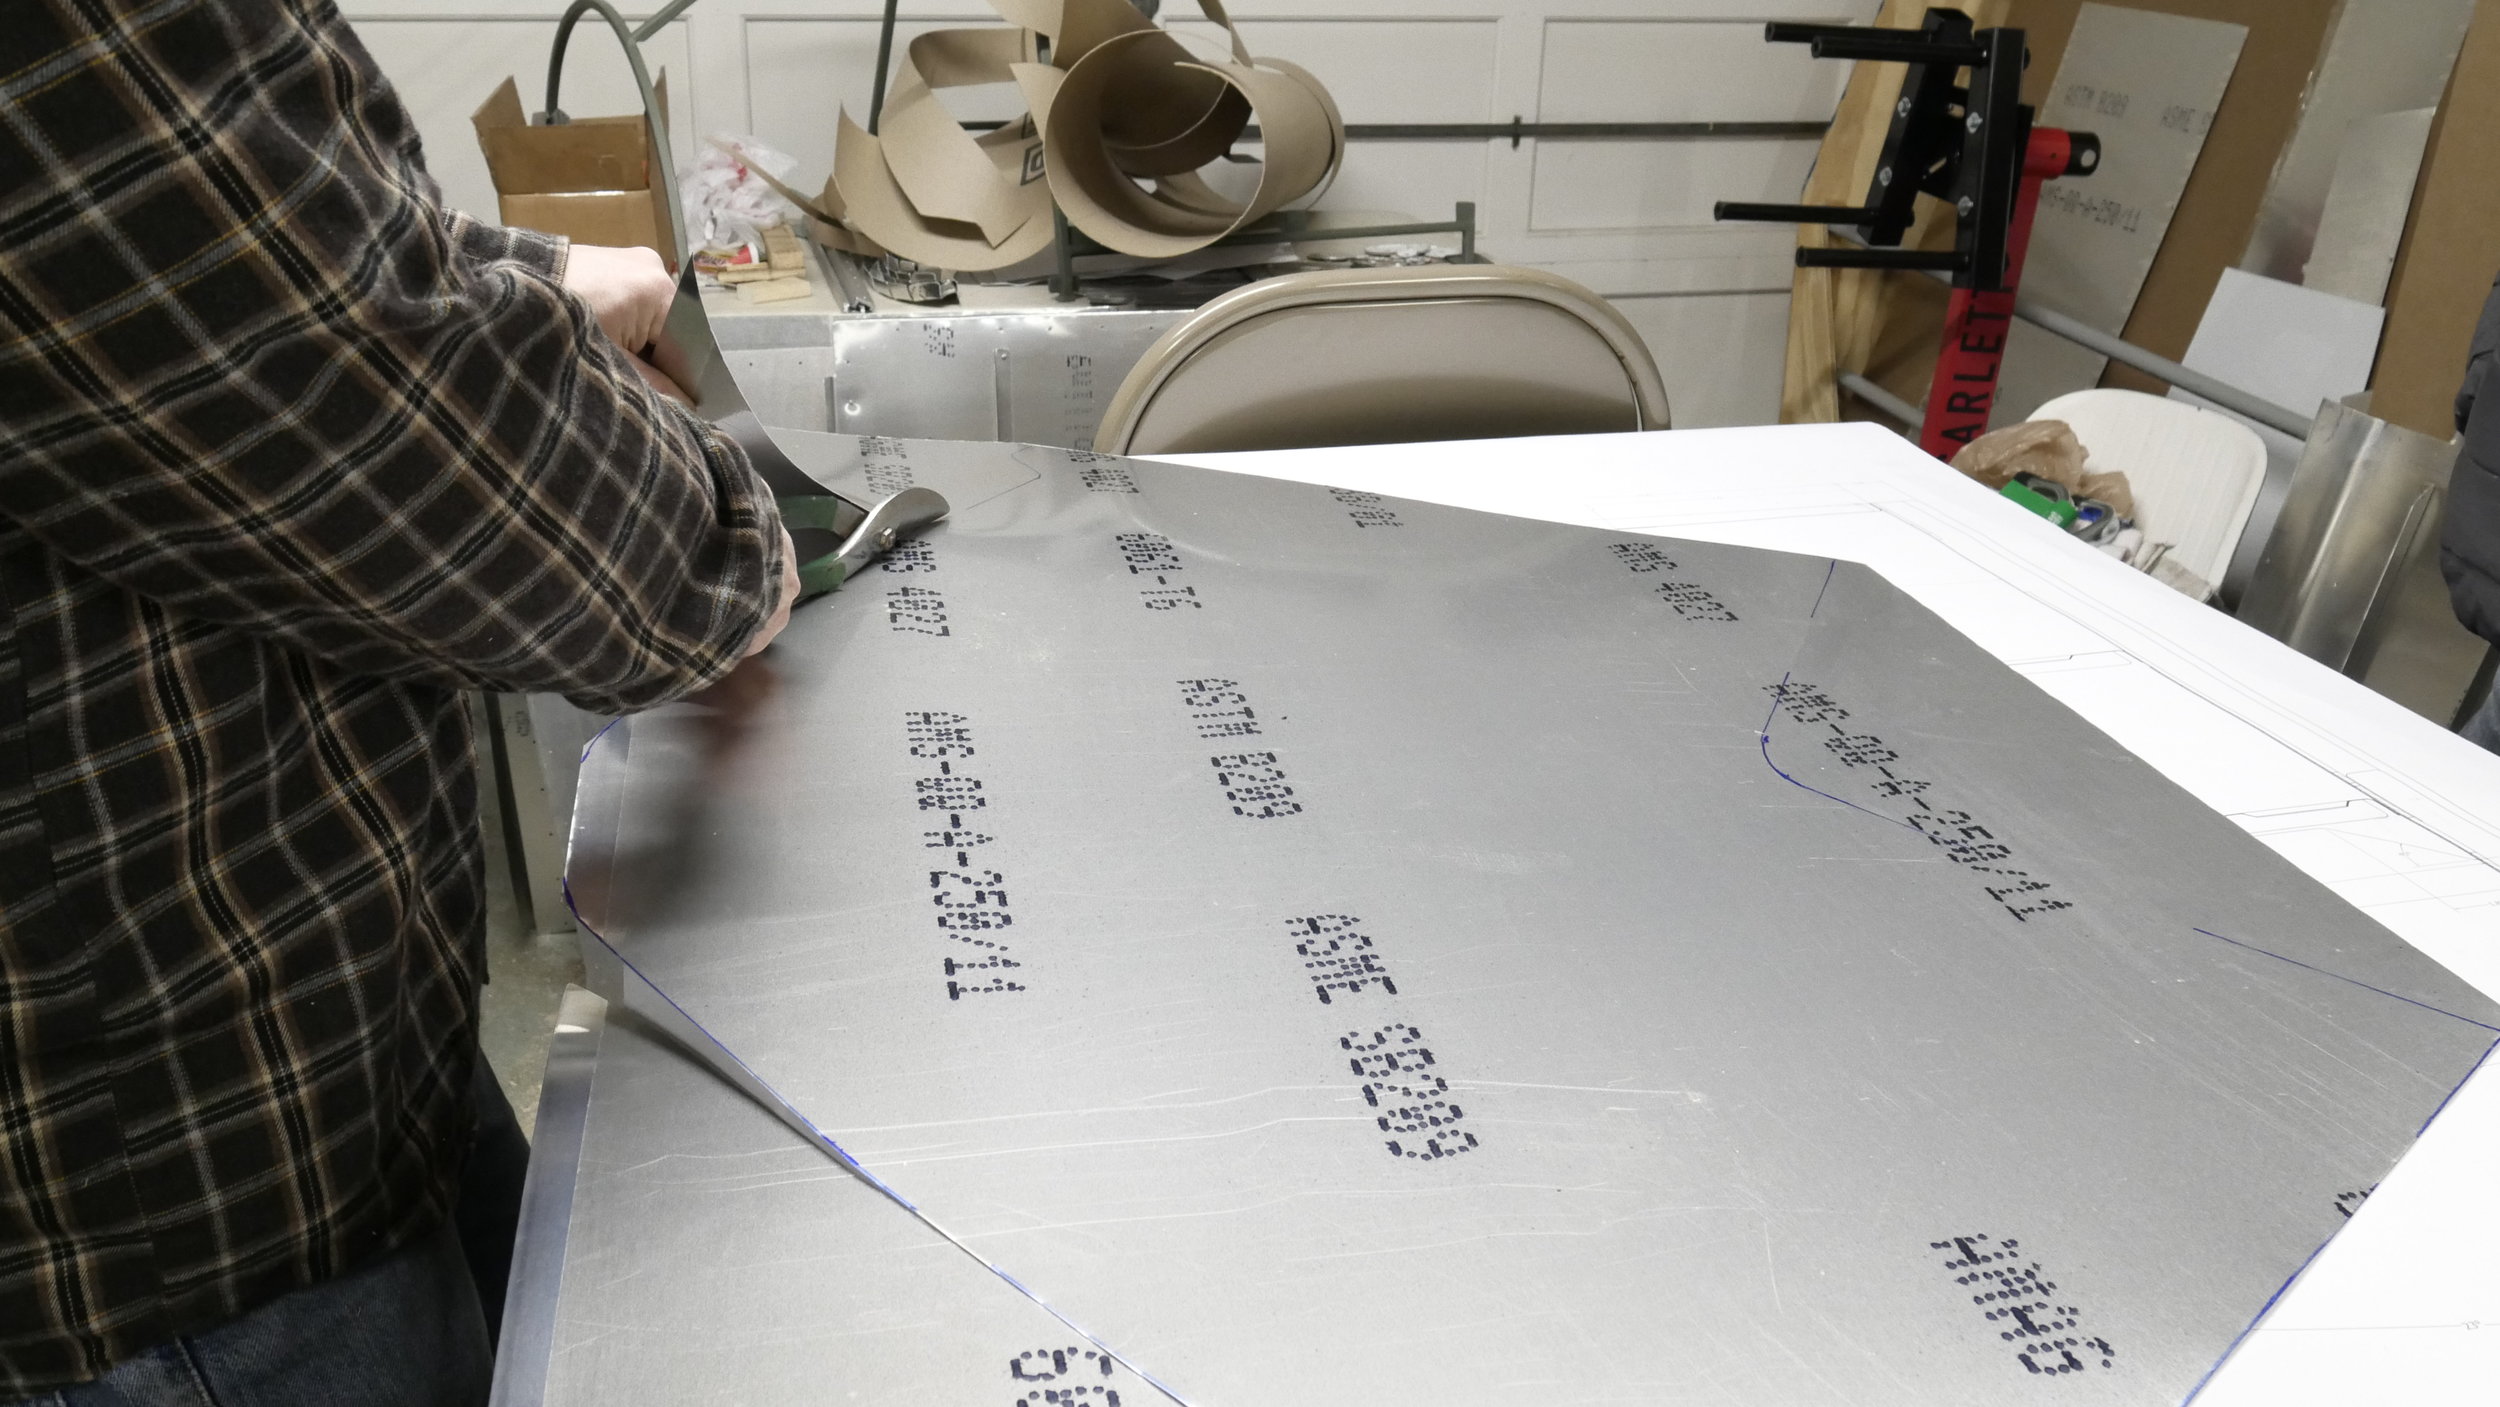
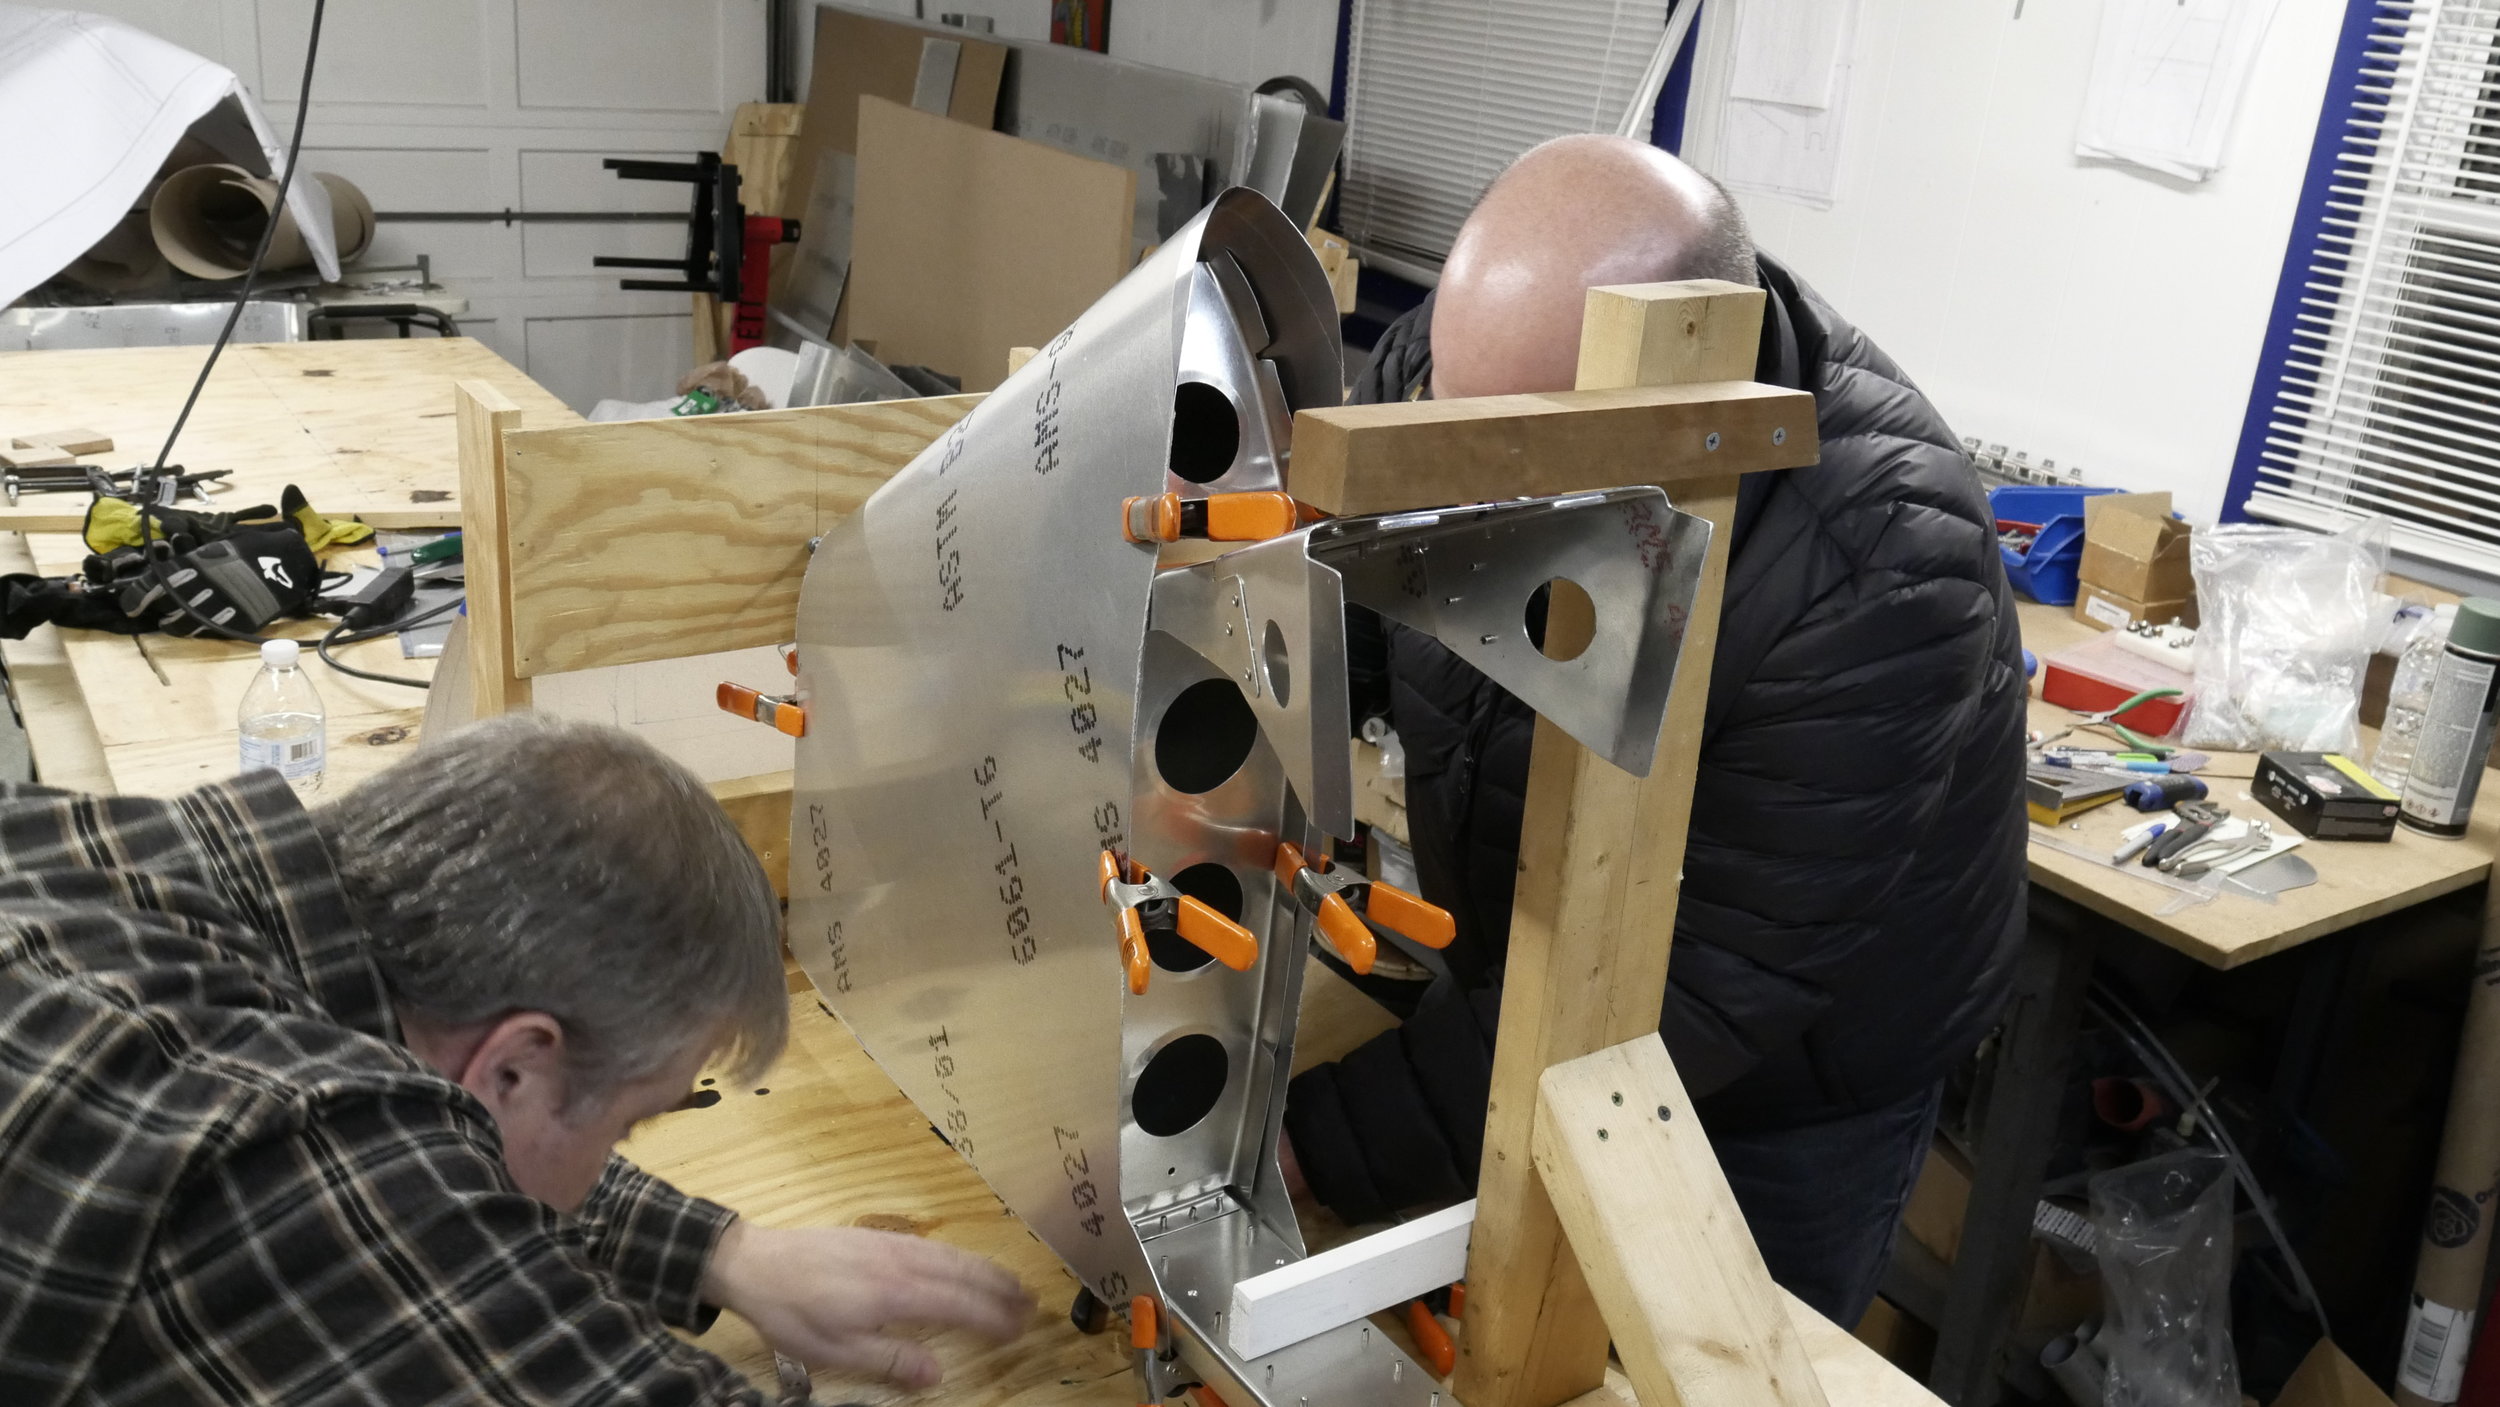
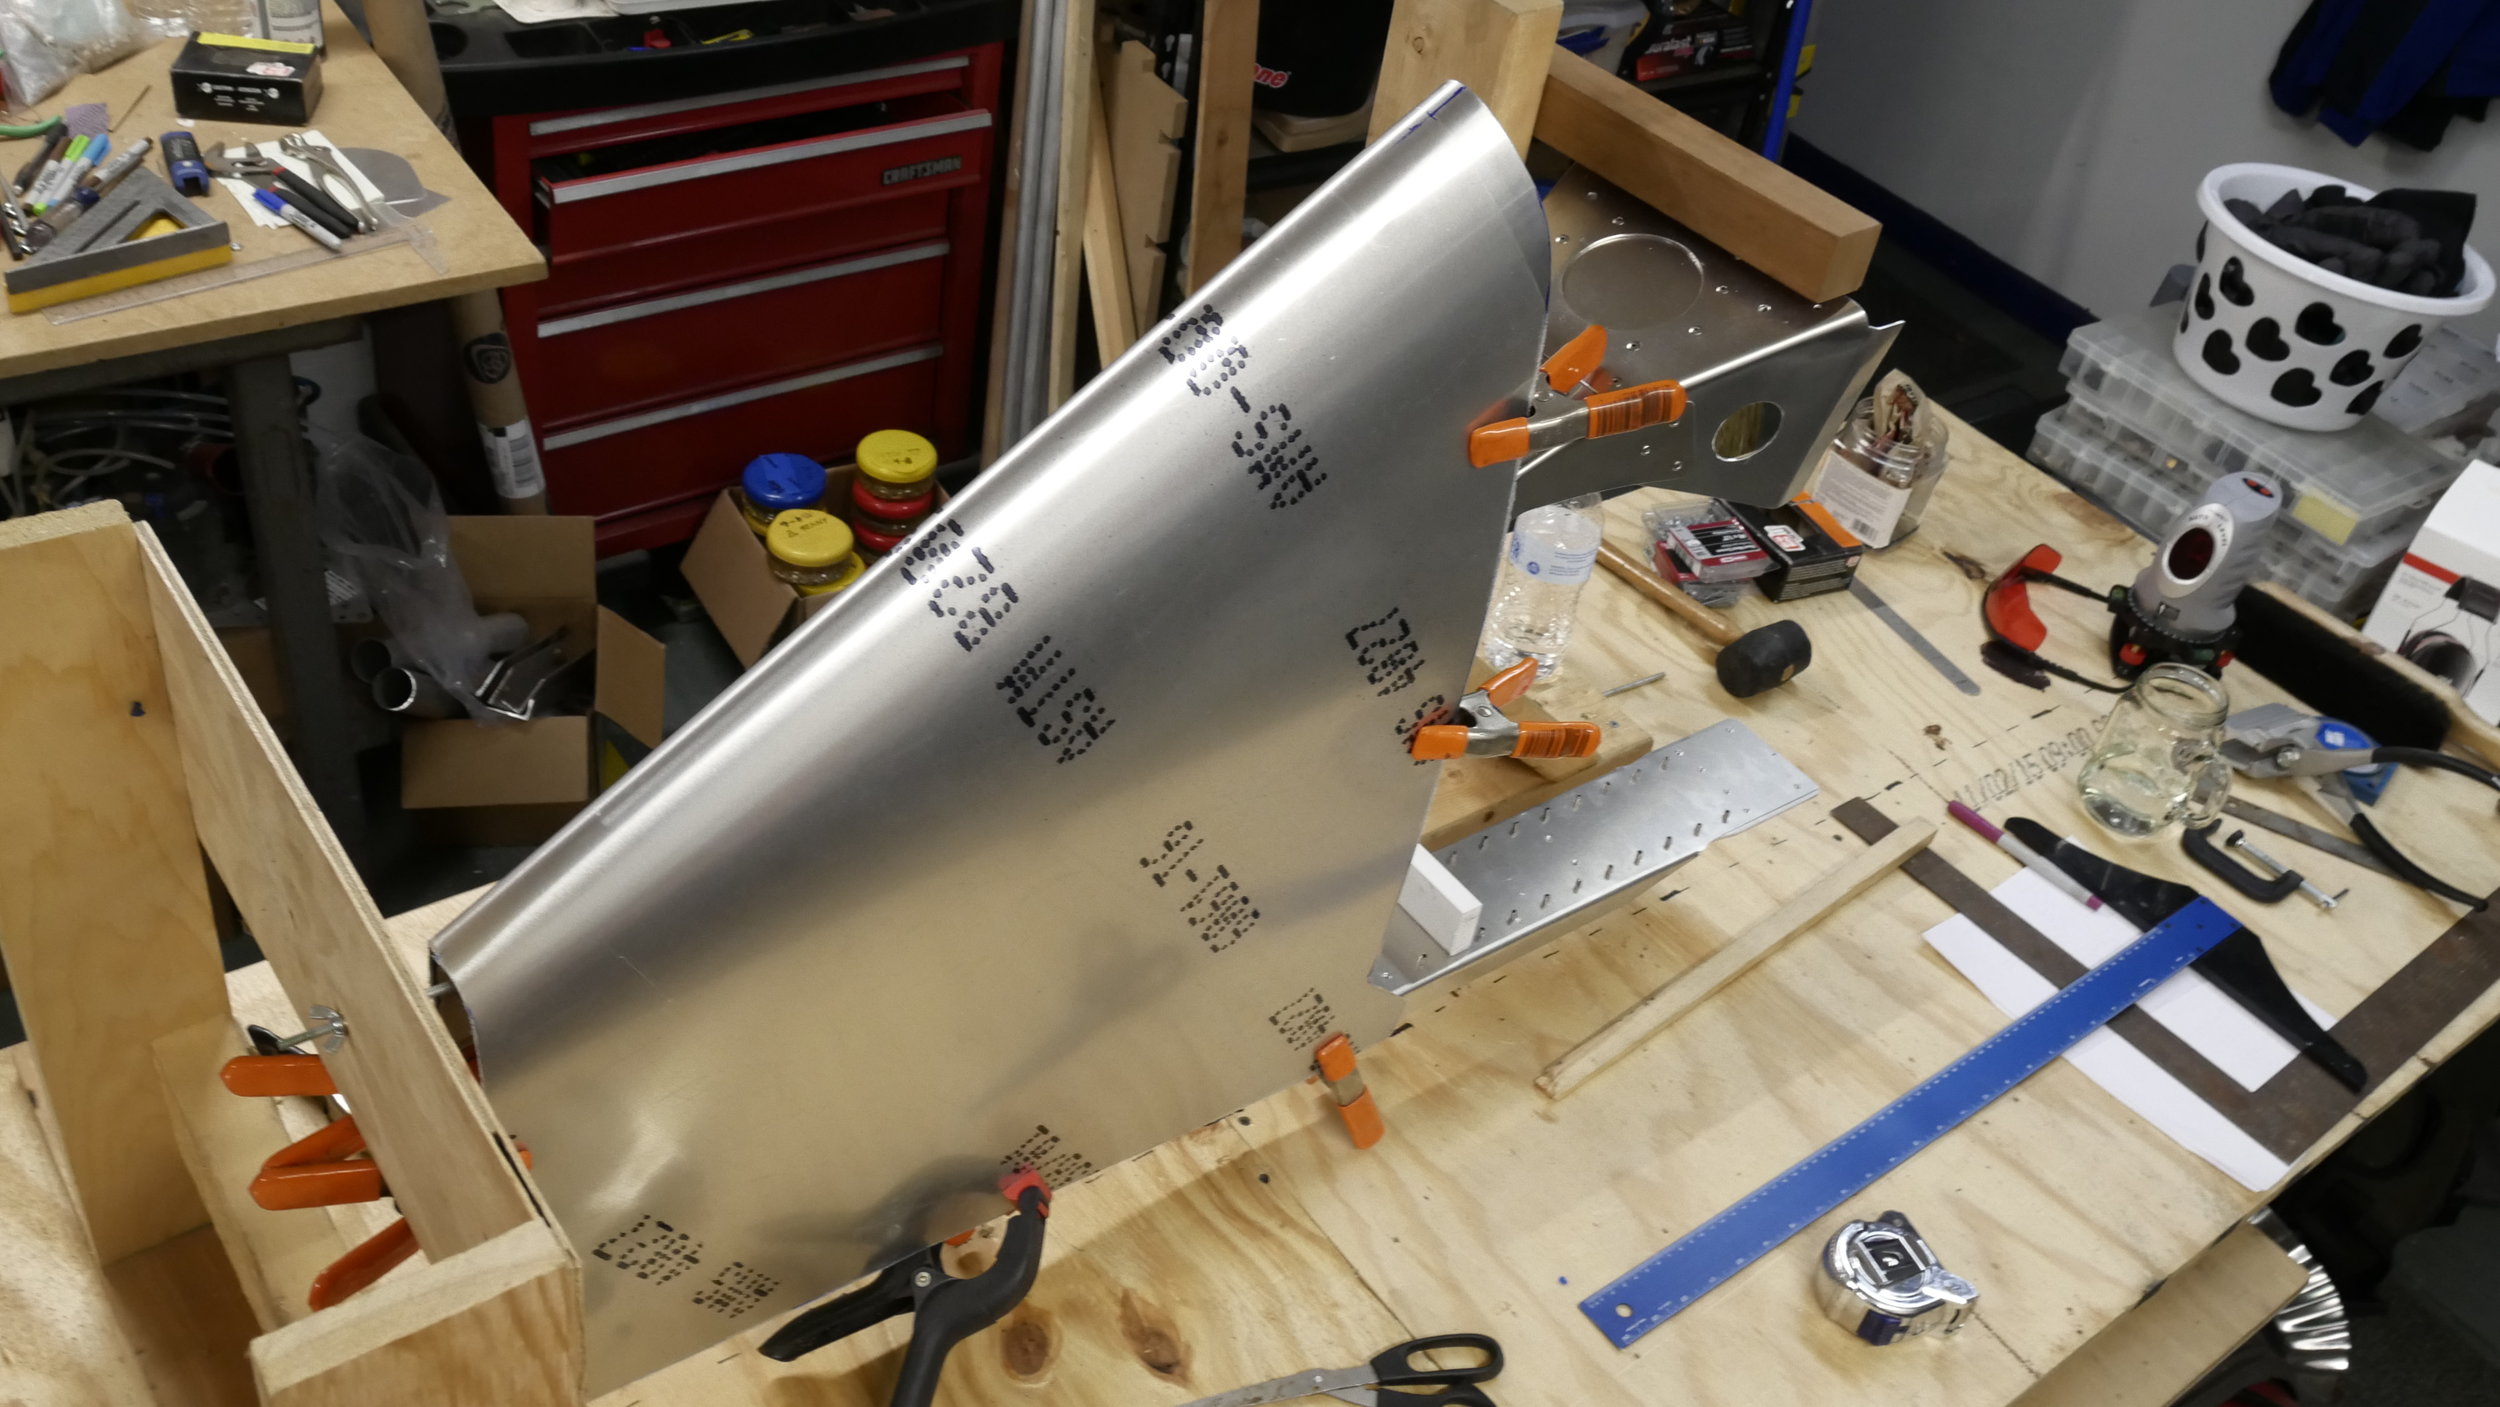
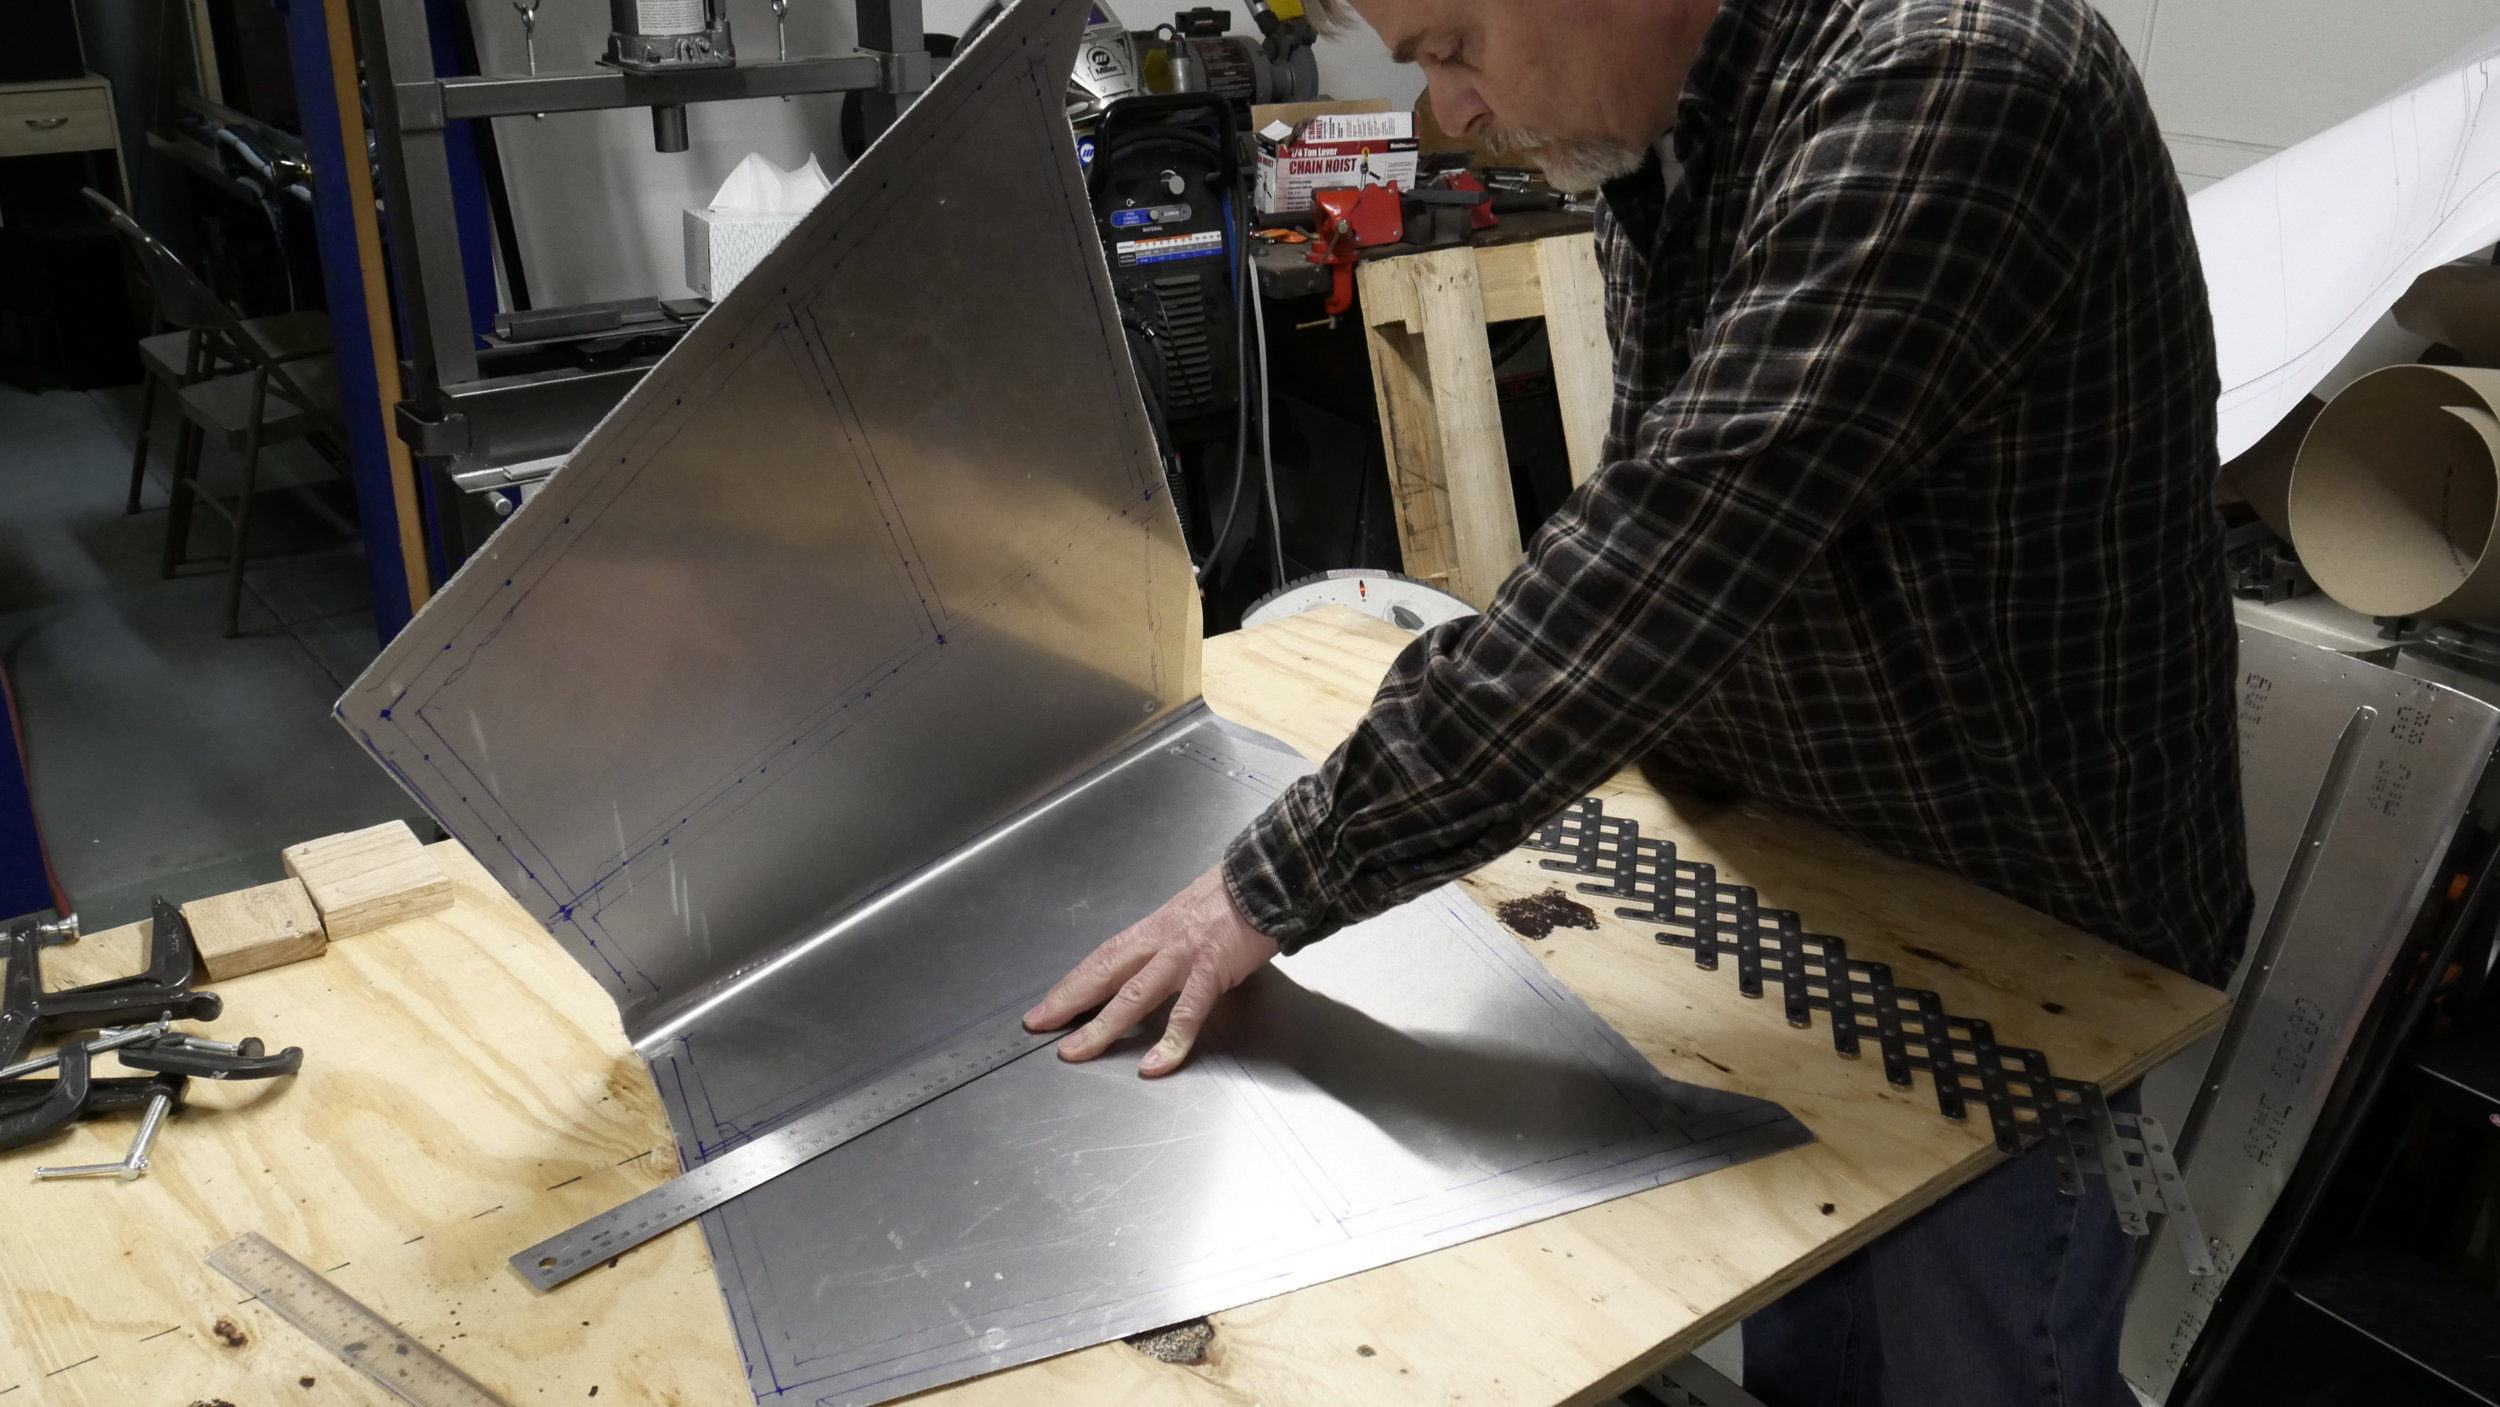
Riveting the spars went quick enough,  just pull and go, the skin had yet to be made so that is what takes most of the time.  The skin was templated out using chip-board, and fitted several times to get all the curves just right. Then lines all got transferred to the .020 thick skin.  We cut that out by hand and filed the edges smooth and straight.  It went well and was quick and easy to do after working on the fuselage skins which were similarly hand-cut.  With a sharpie, the centerline for the leading edge bend was laid-out on both sides of the sheet skin.  A 3/4" solid aluminum rod was duct taped to the skin and and trailing edges got folded around and matched up, then clamped to the bench; almost like making a paper airplane.  Hand forming the LE bend was done by one guy pulling each end the rod, keeping the skin tight, and another pressing down on the skin with a flat board to tighten the radius.  It's by no means a machine-formed bend, but that method does work well on small parts that need a tight rounded nose.

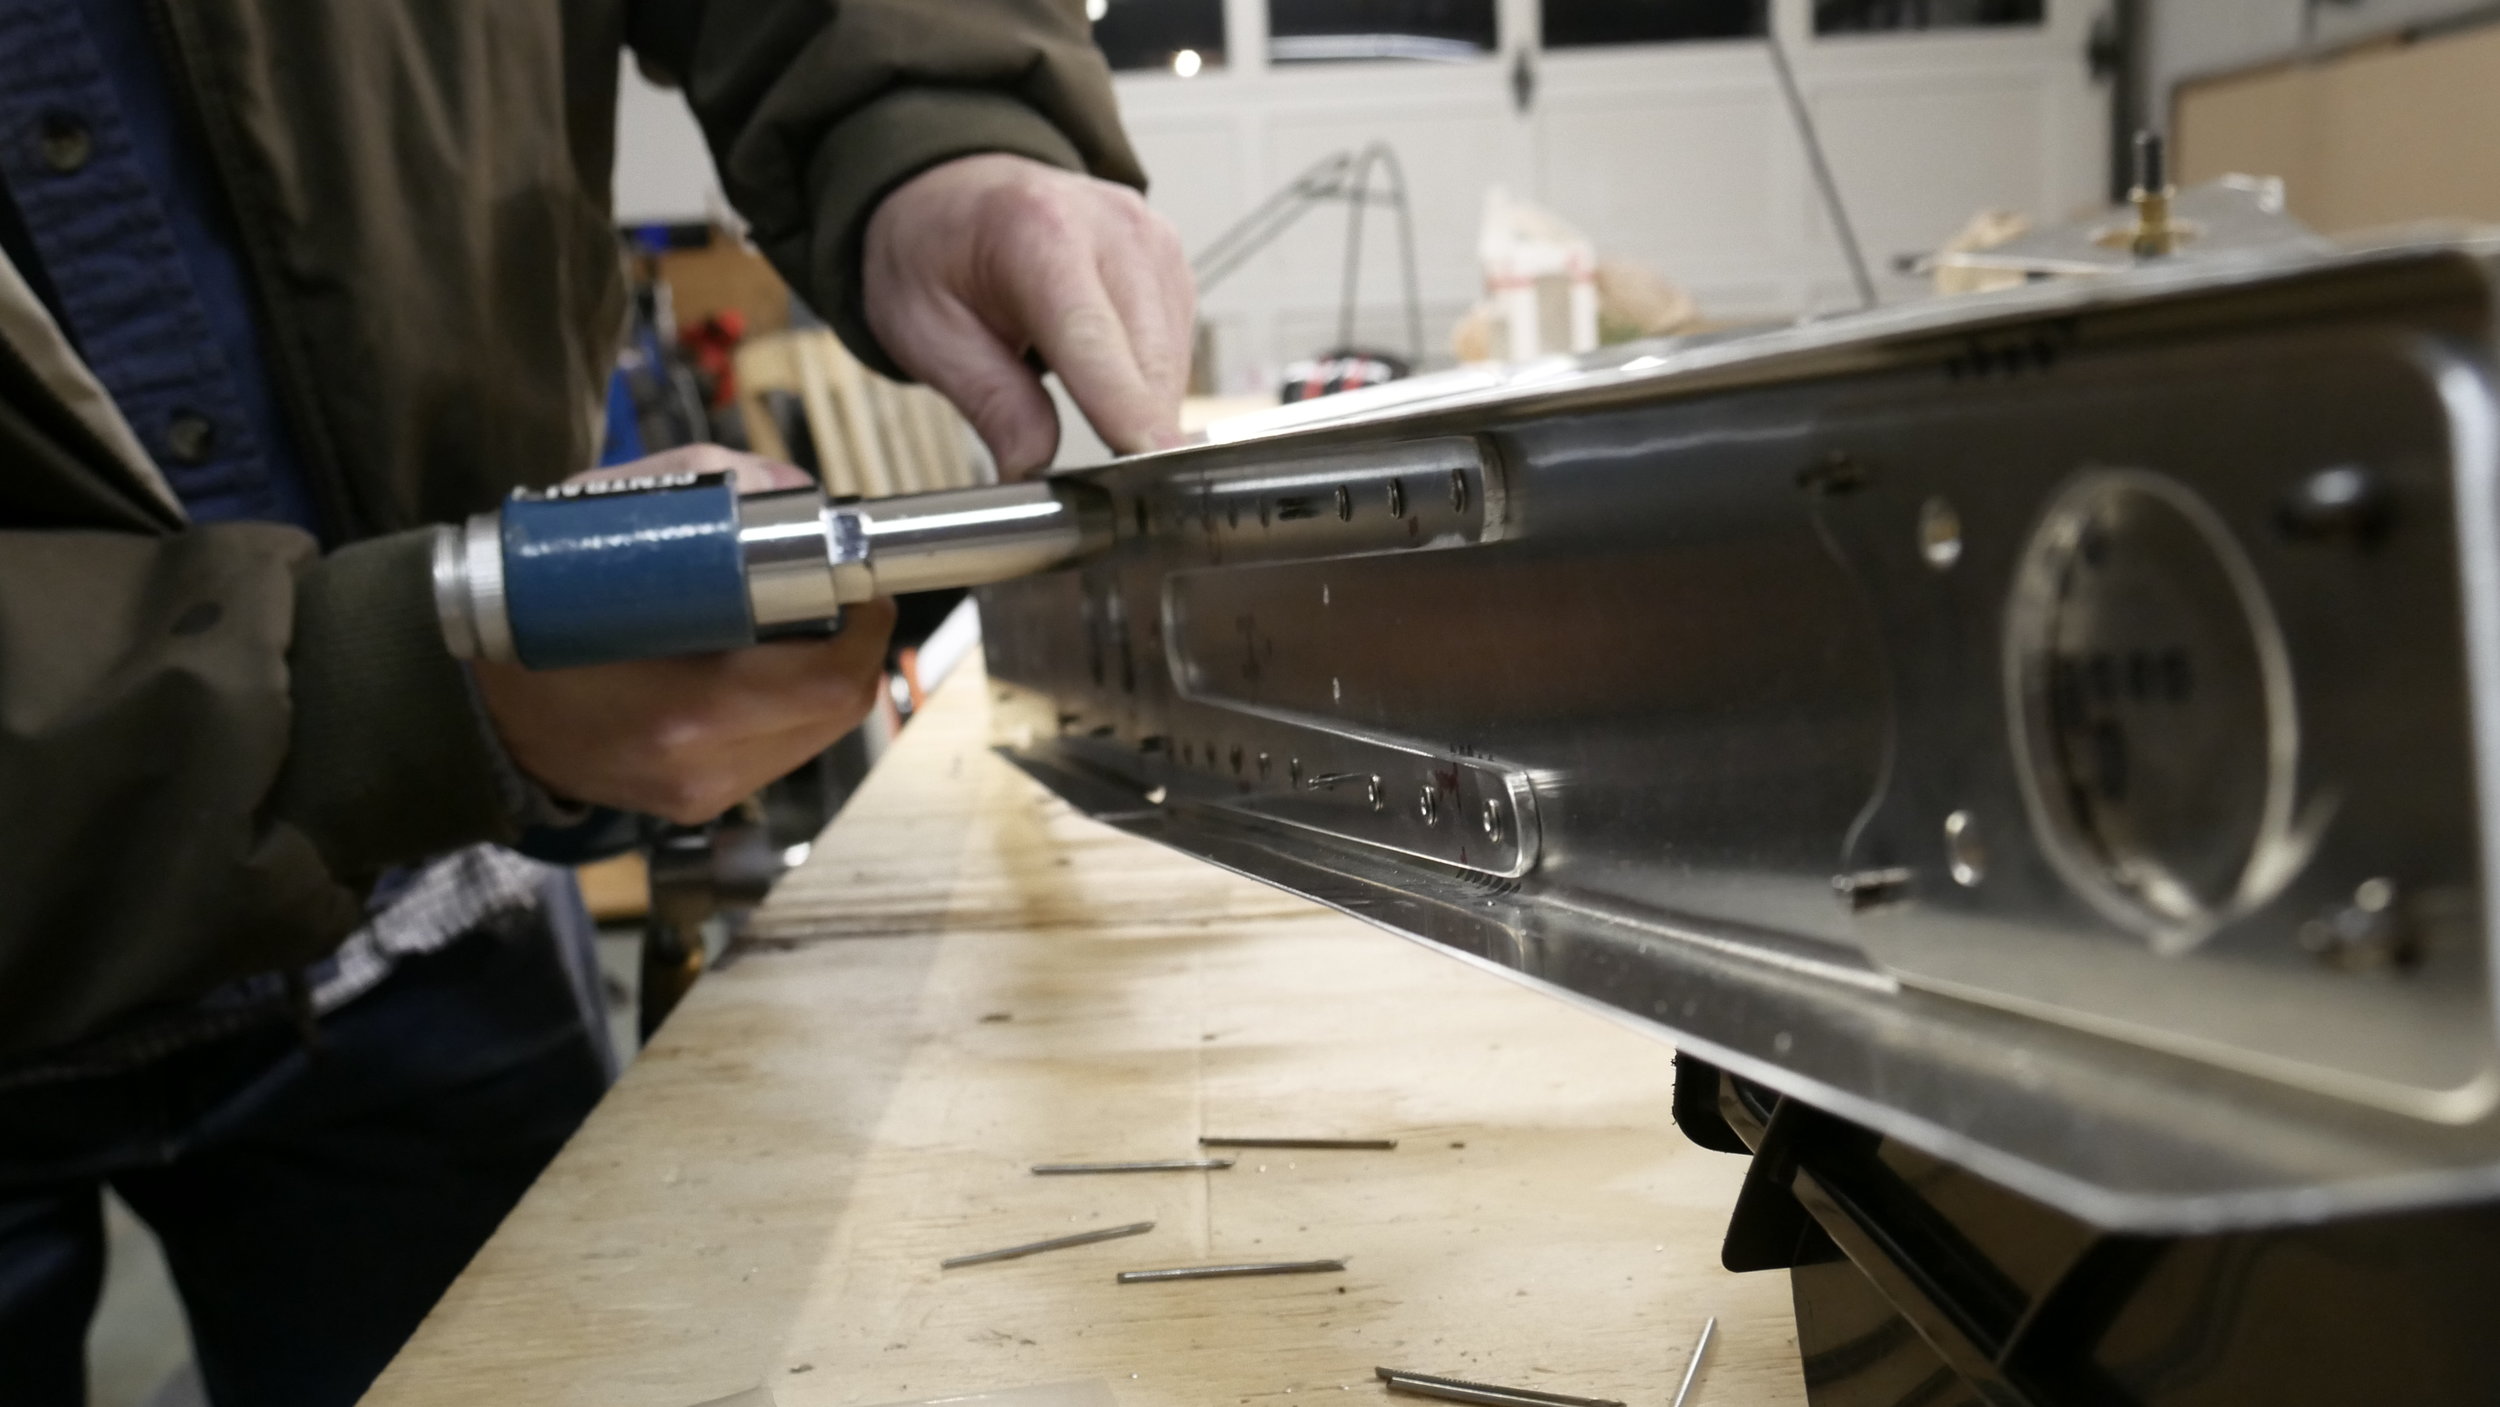
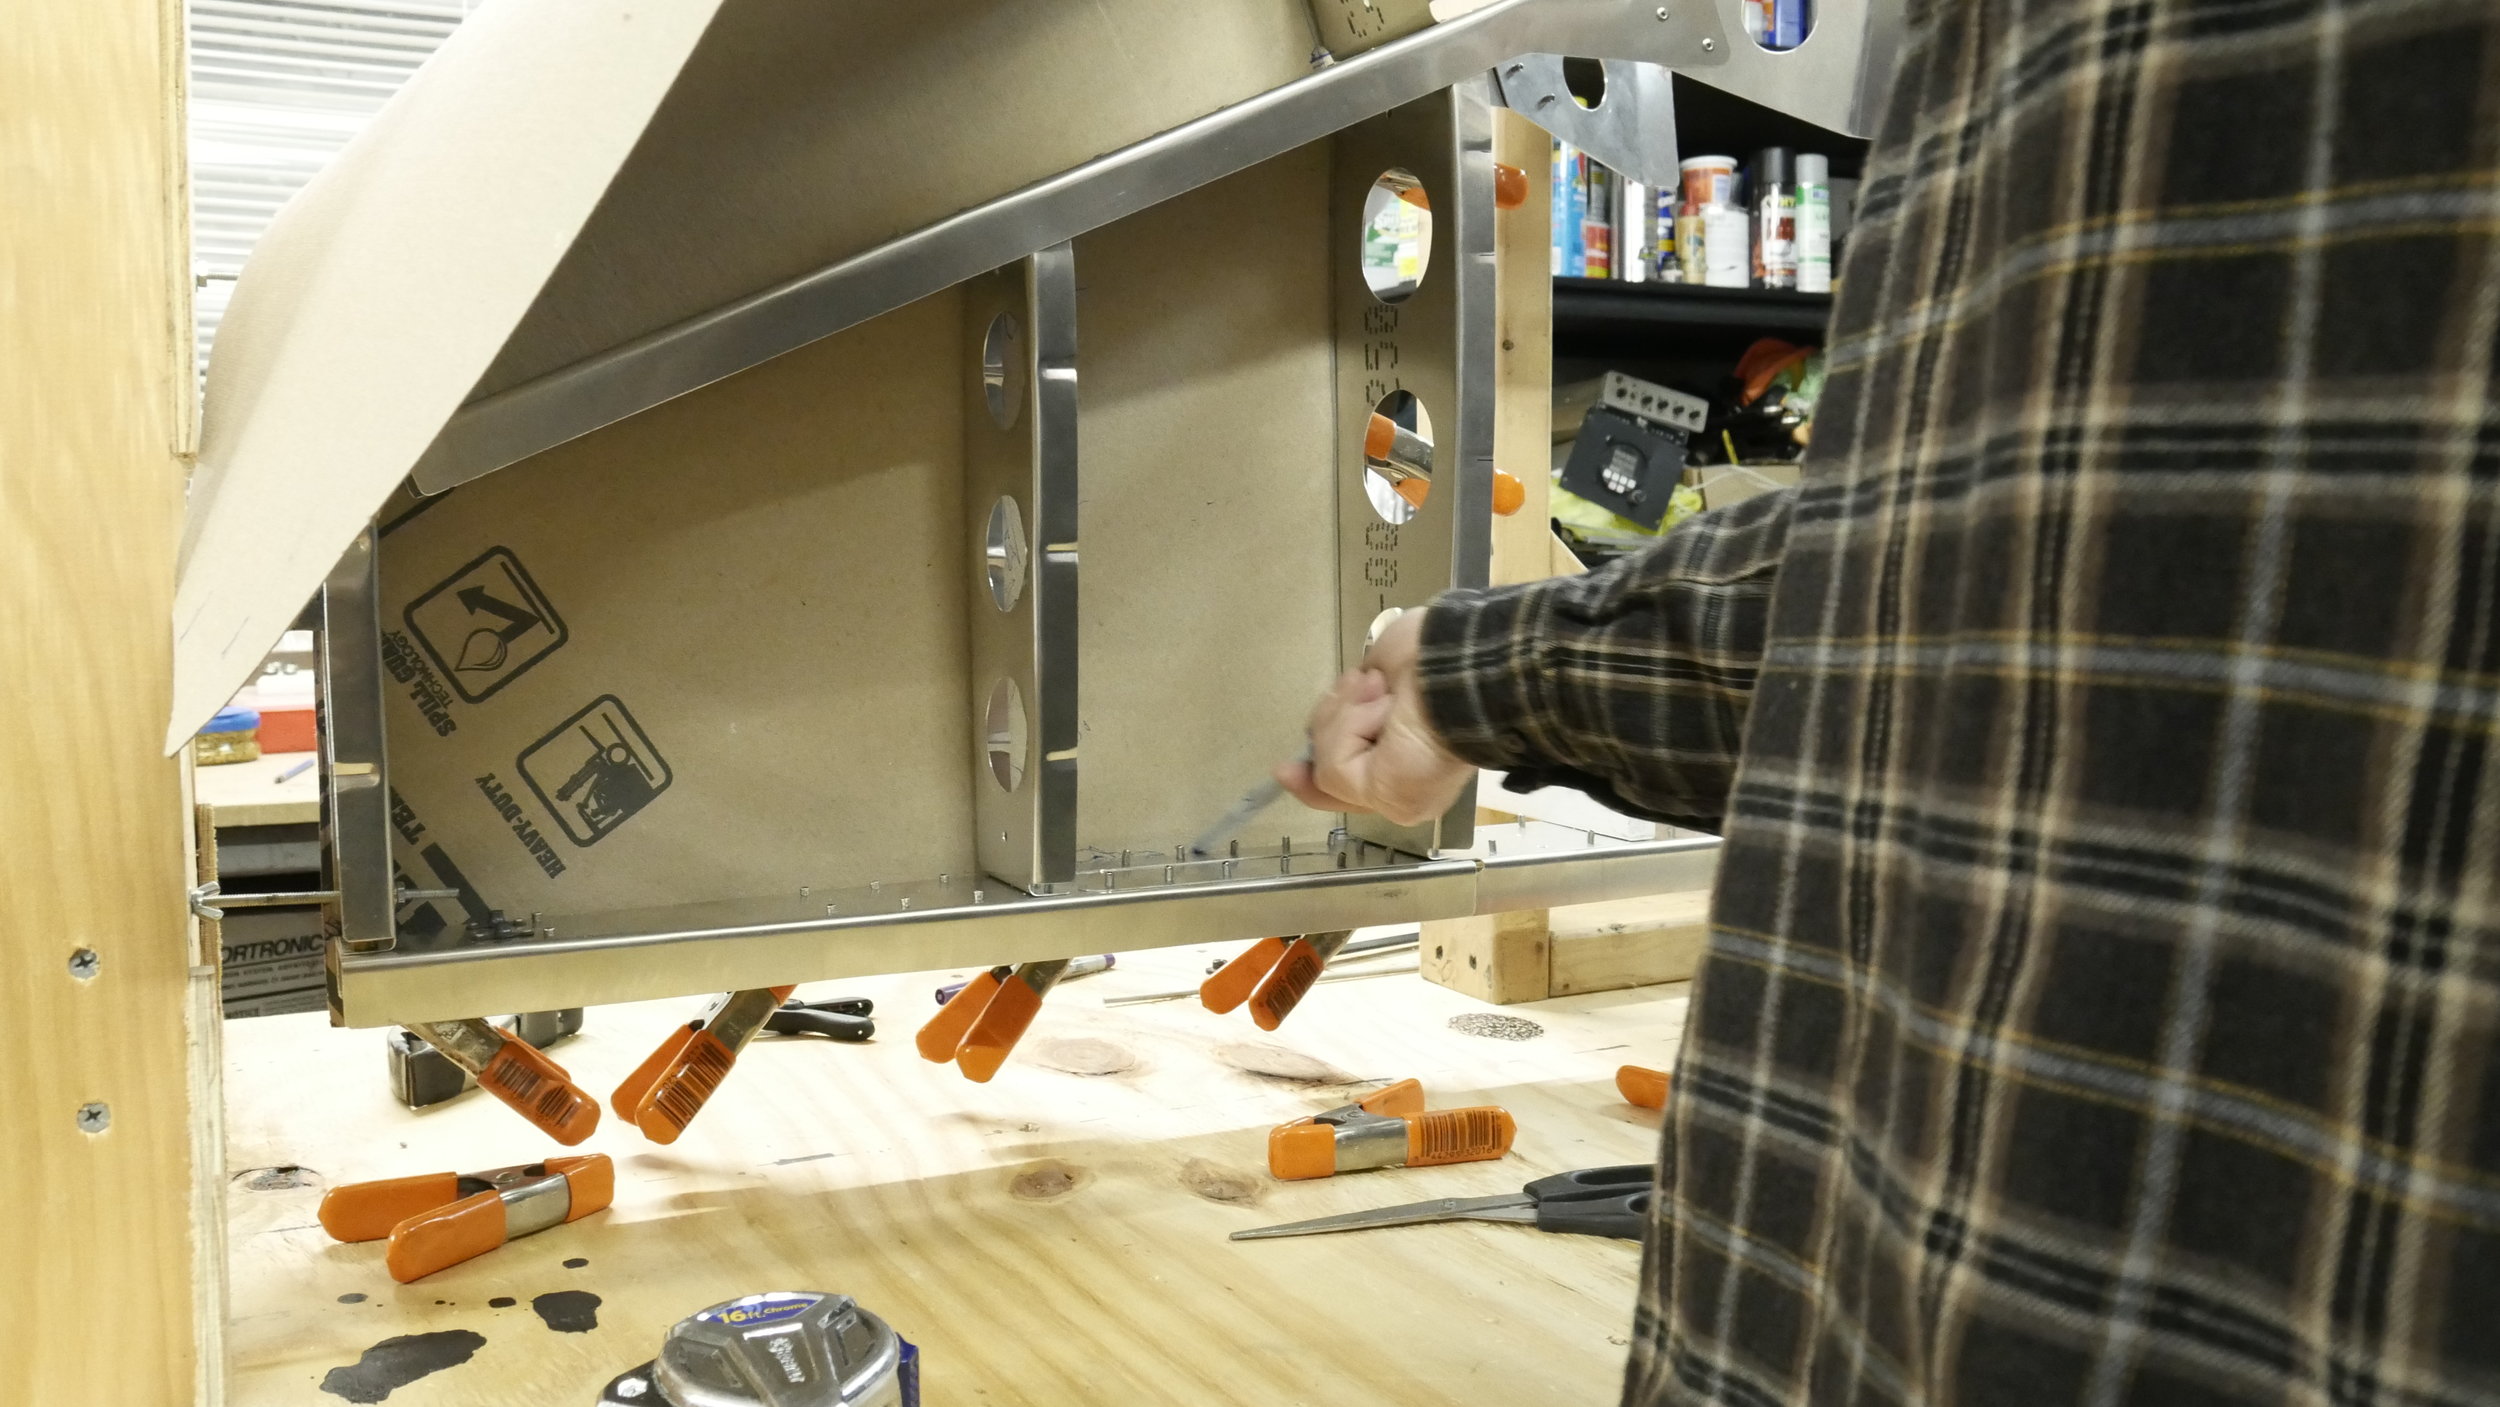
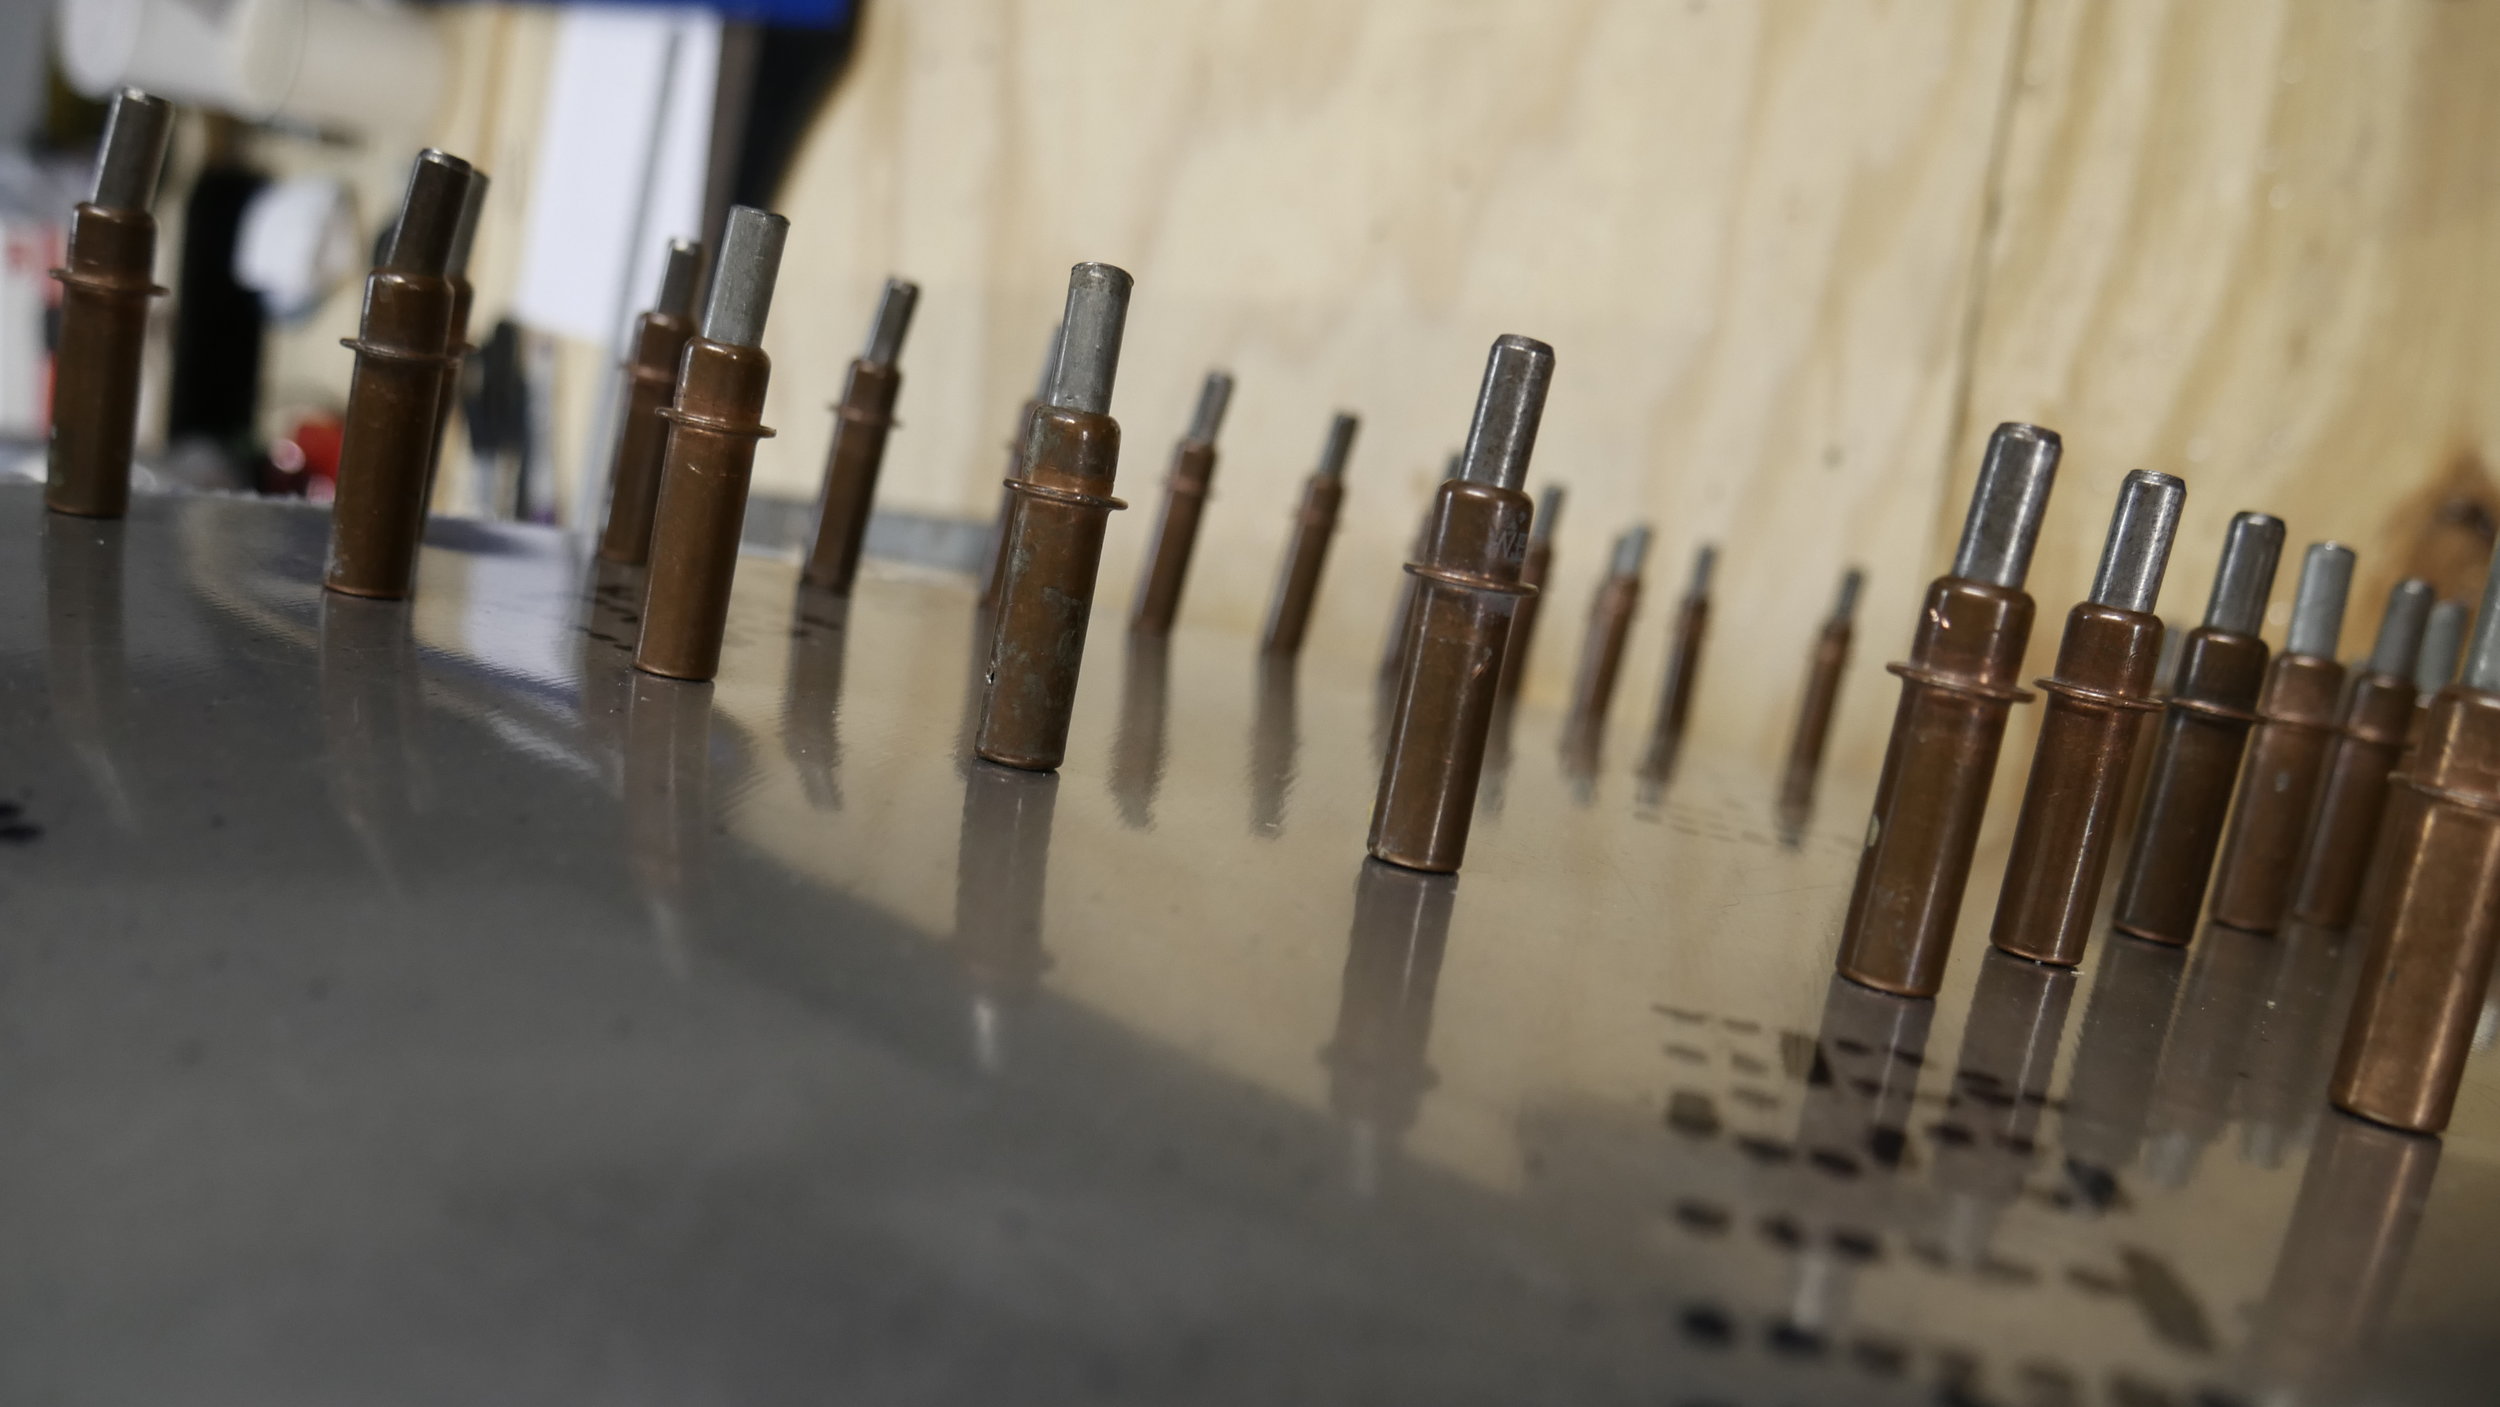
After fitting and clamping the bent skin onto the stabilizer frame, we un-clamped one side at a time to mark the frame onto the inner skin surface.  The rivet lines and spacing were then marked onto the inner skins and drilled.  Re-clamping the skins in place on the frame and drilling through the rib and spar flanges.  Cleco's are installed to hold the skins tight as it was drilled.  Then deburred all the new holes, and re-clamped the skin to the frame.  The pull rivets are fun to do and so easy it is, well, anti-climatic to a degree.  Another major airframe part done just as it was getting started!  

Next up is the rudder build!  So far laying the groundwork. We made the rudder ribs already, need Scott to turn some bushings from delrin for the hinges, and I made the rudder horn from 4130 steel by way of hand tools and drill press.  Our CNC router table can't really do steel, (Spindle spins too fast for the machine and the bits just burn up. Good way to let the smoke out)  Even so, I just did it via the old school method in about an hour.  With the trusty Miller, welded the horn to the torque tube adapter with some fillet welds all around on both sides. Then on a critical surface Scott used the mill to flycut the end down square and true. a little primer and she looks right proper!  Now we are designing an assembly fixture for the rudder and will get you that shortly.  Take a look at all the build pics, please let us know how we're doing, and have a great day!

Copyright © 2024 ScaleBirds LLC  |  All Rights Reserved