
Bird Cages
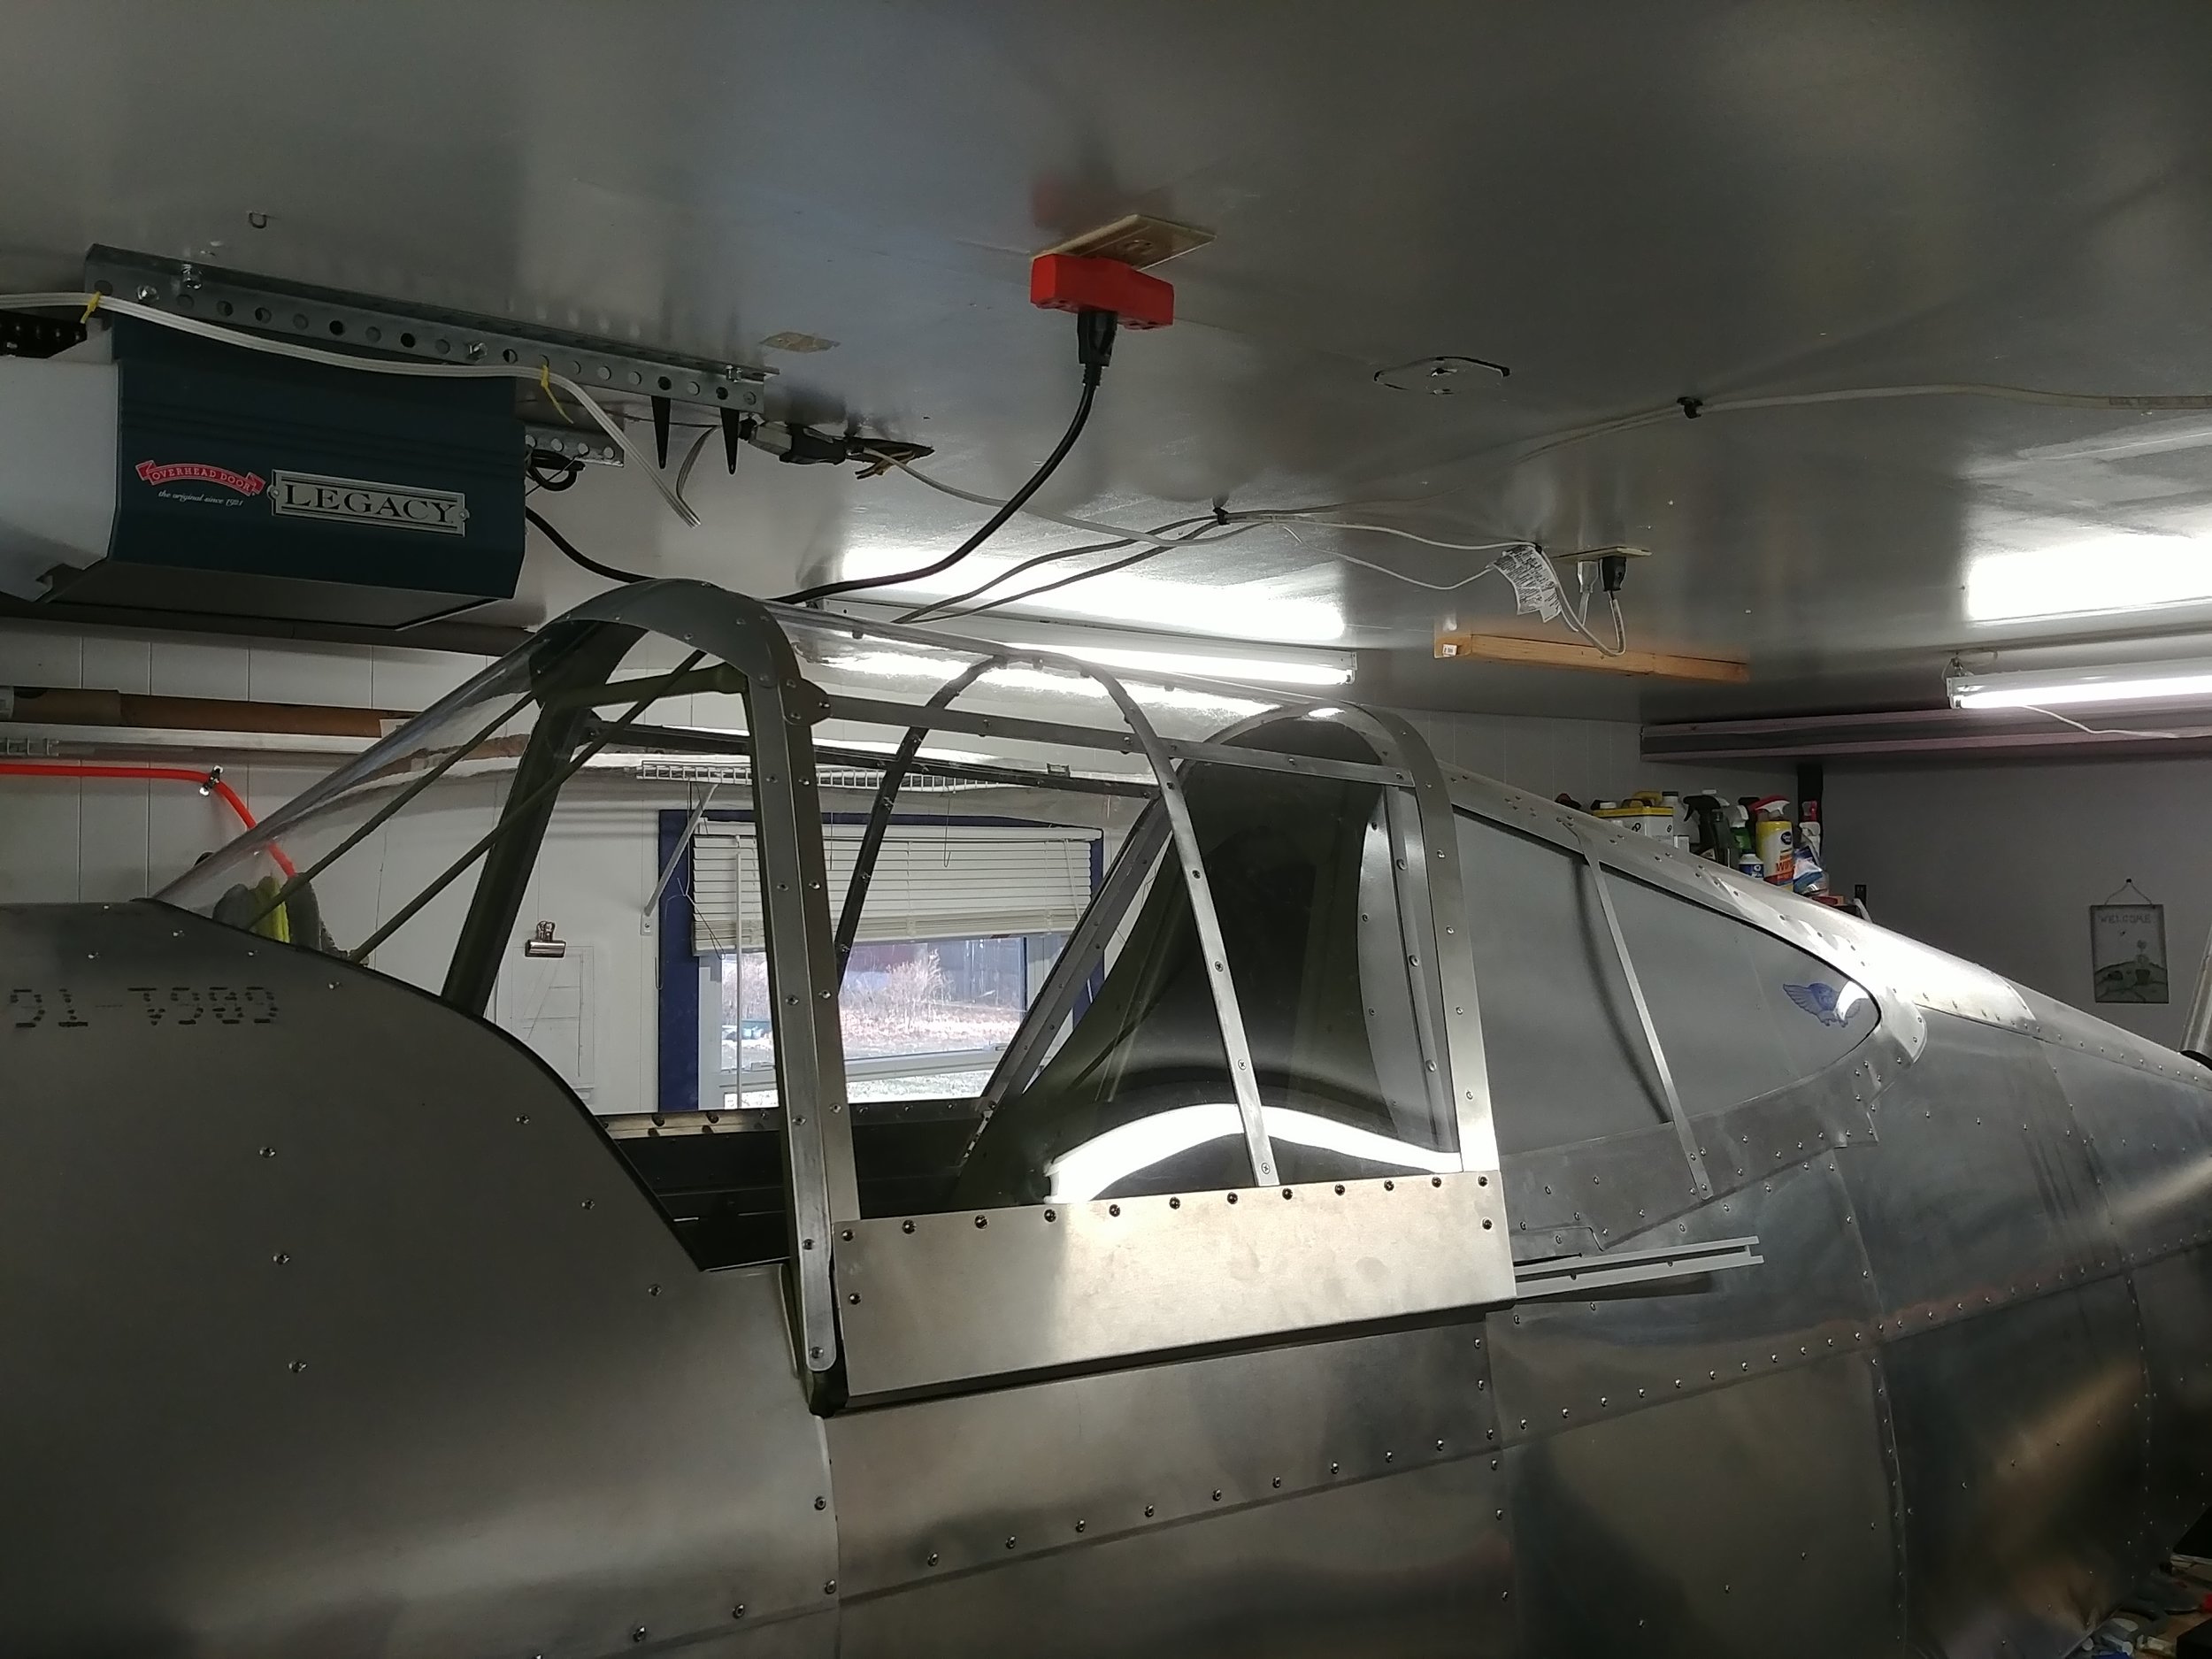
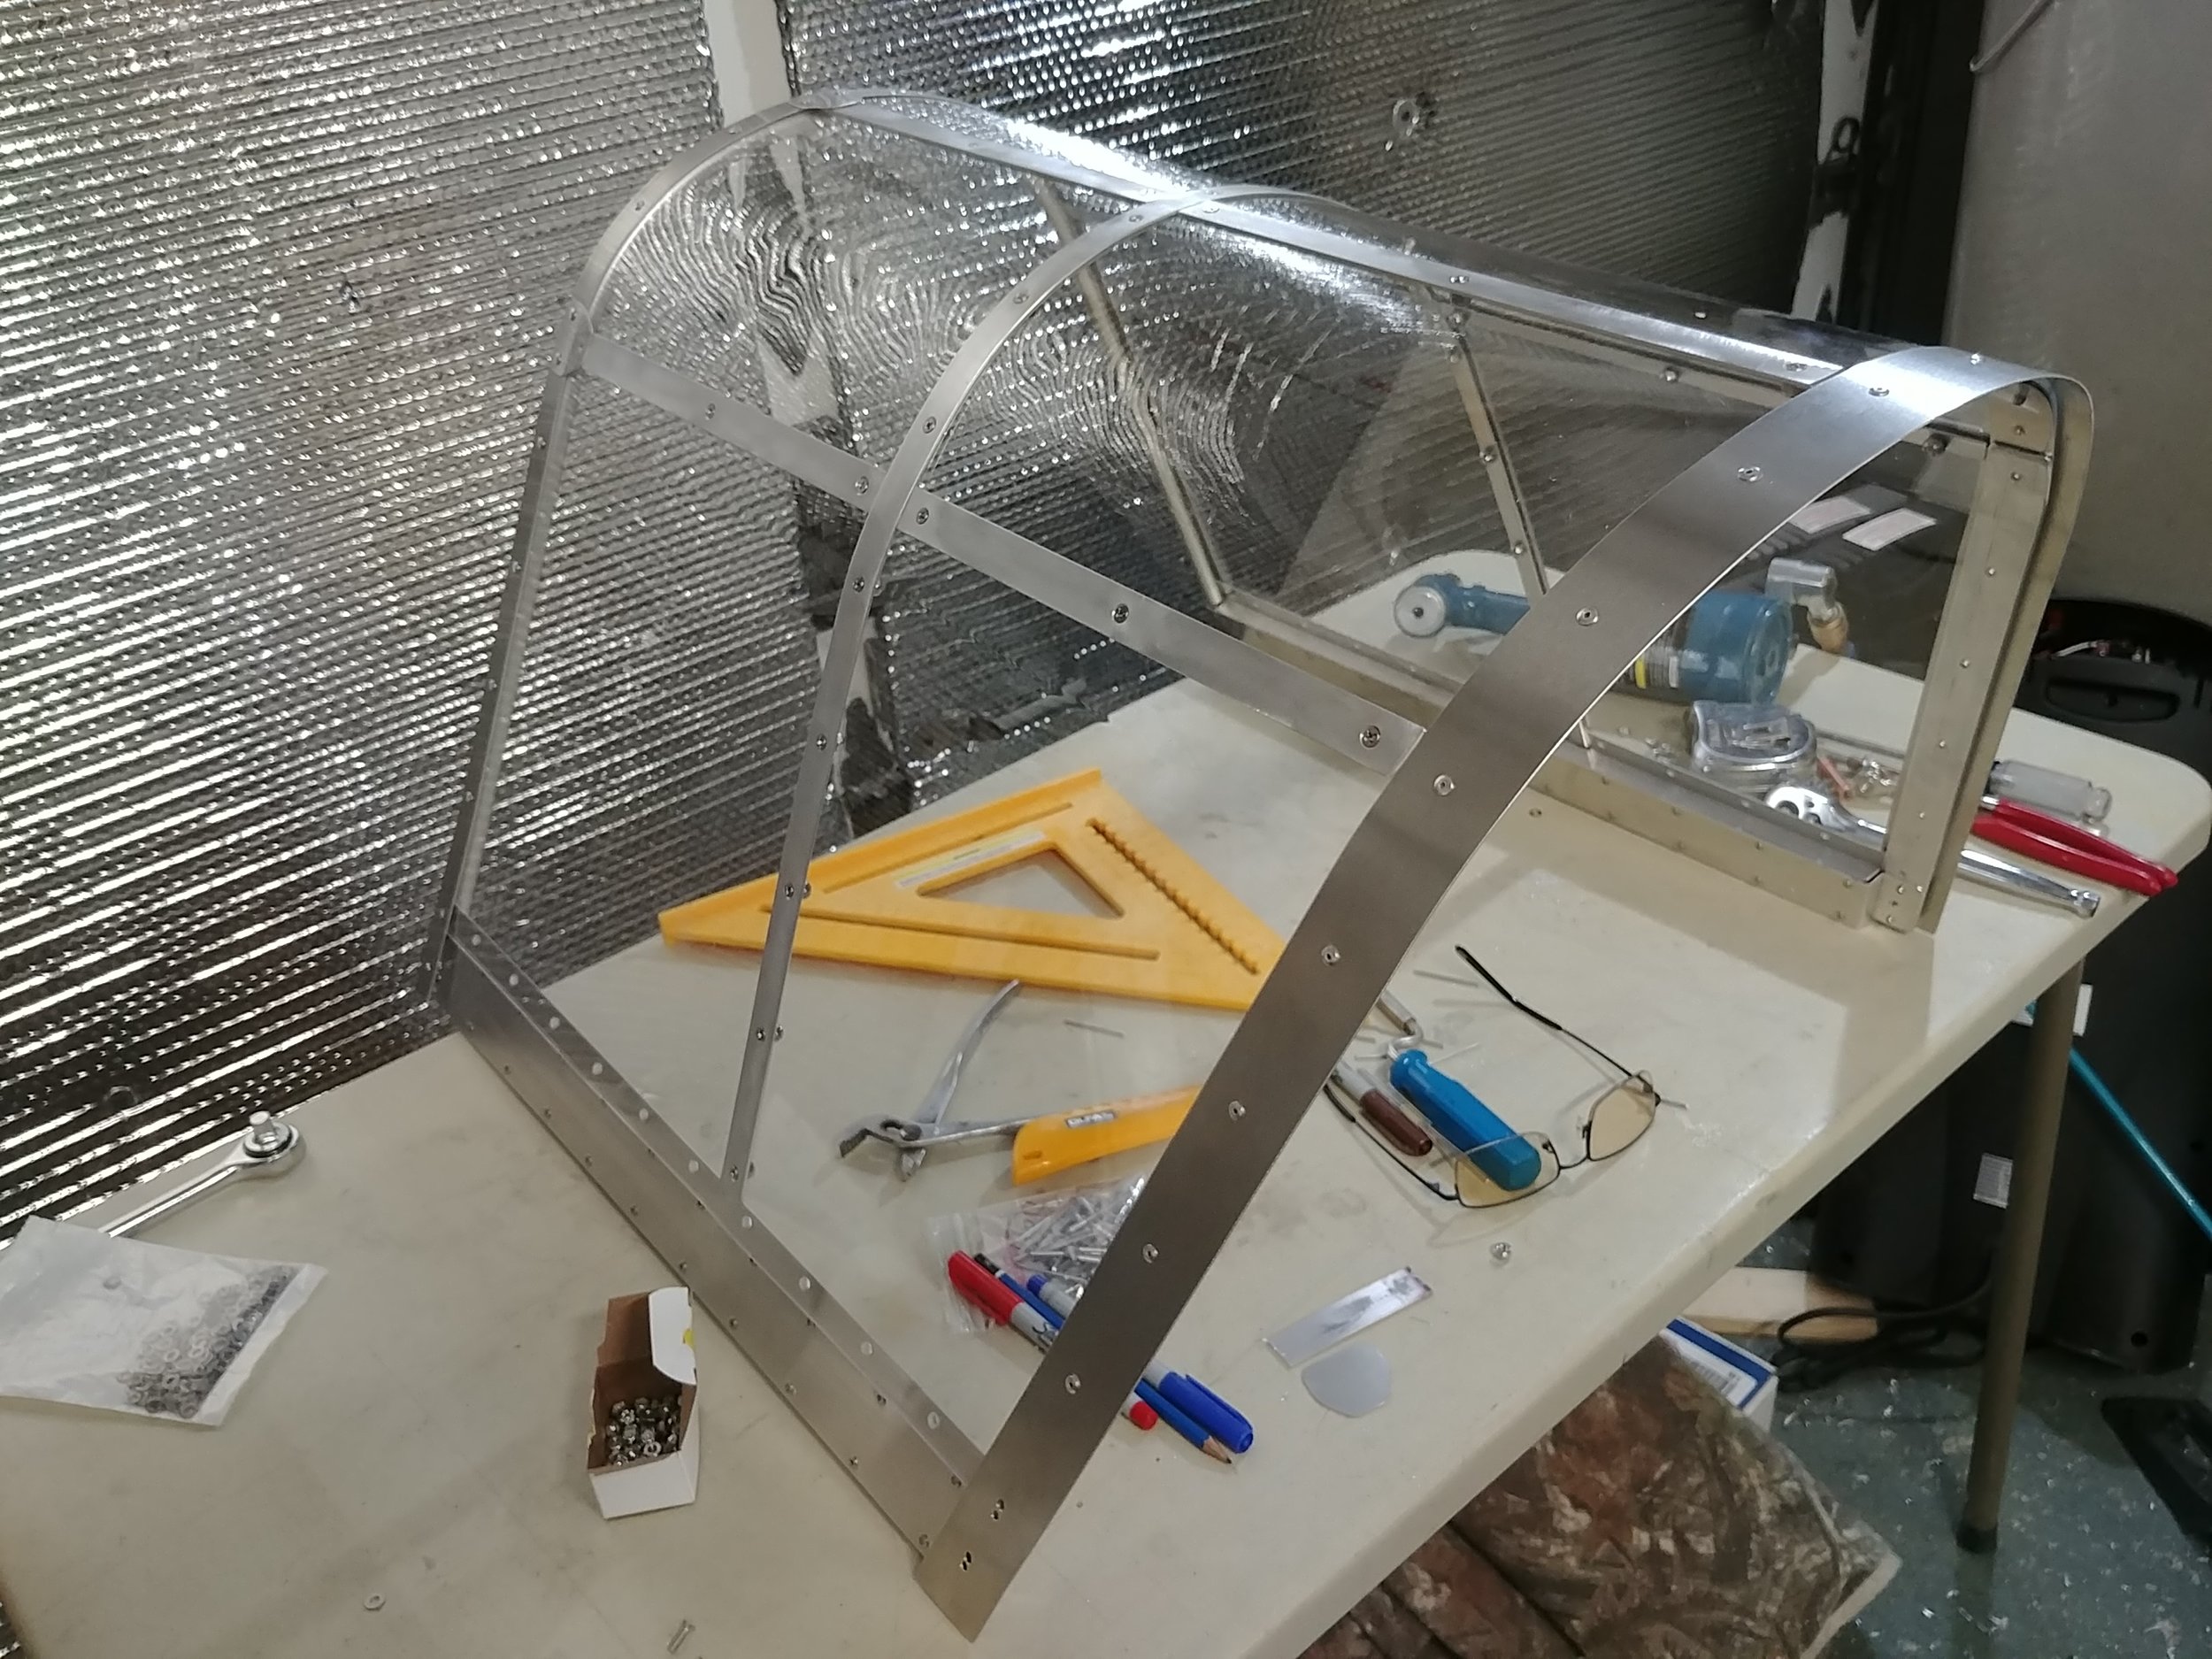
Hey everyone. We have been working on finishing the canopy and making elevator ribs, jigs and weldments. Not to mention surviving a bad head cold - luckily not the flu. I got busy making the bird-cage framing that the real P-36A Hawk has. I made a template of the frame to give Scott some dimensions to go by. We back engineered the template into CAD and added the framing lines. Then made a full size plot of the 2D pattern. I put that back on the canopy to check for fit. Perfect! the front and rear bows with the router table. I marked the frame lines onto the canopy. Then I bent the vertical divider - inside and outside pieces - on the plexiglass bending form. This gave me the correct curves. Had to hand tweak that a little to compensate for the spring-back that aluminum has. The other parts of the bird cage are straight-unbent pieces that are fit after the vertical divider goes on. Drilled all the aluminum pieces and de-burred prior to taping in place on the plexi and drilling thru. Cleco's were used to keep everything tight and stable. The birdcage framing was attached with Stainless #6-32 flat heads and lock nuts. Trying to keep a WW2 feel to the cockpit. Looks cool to me!
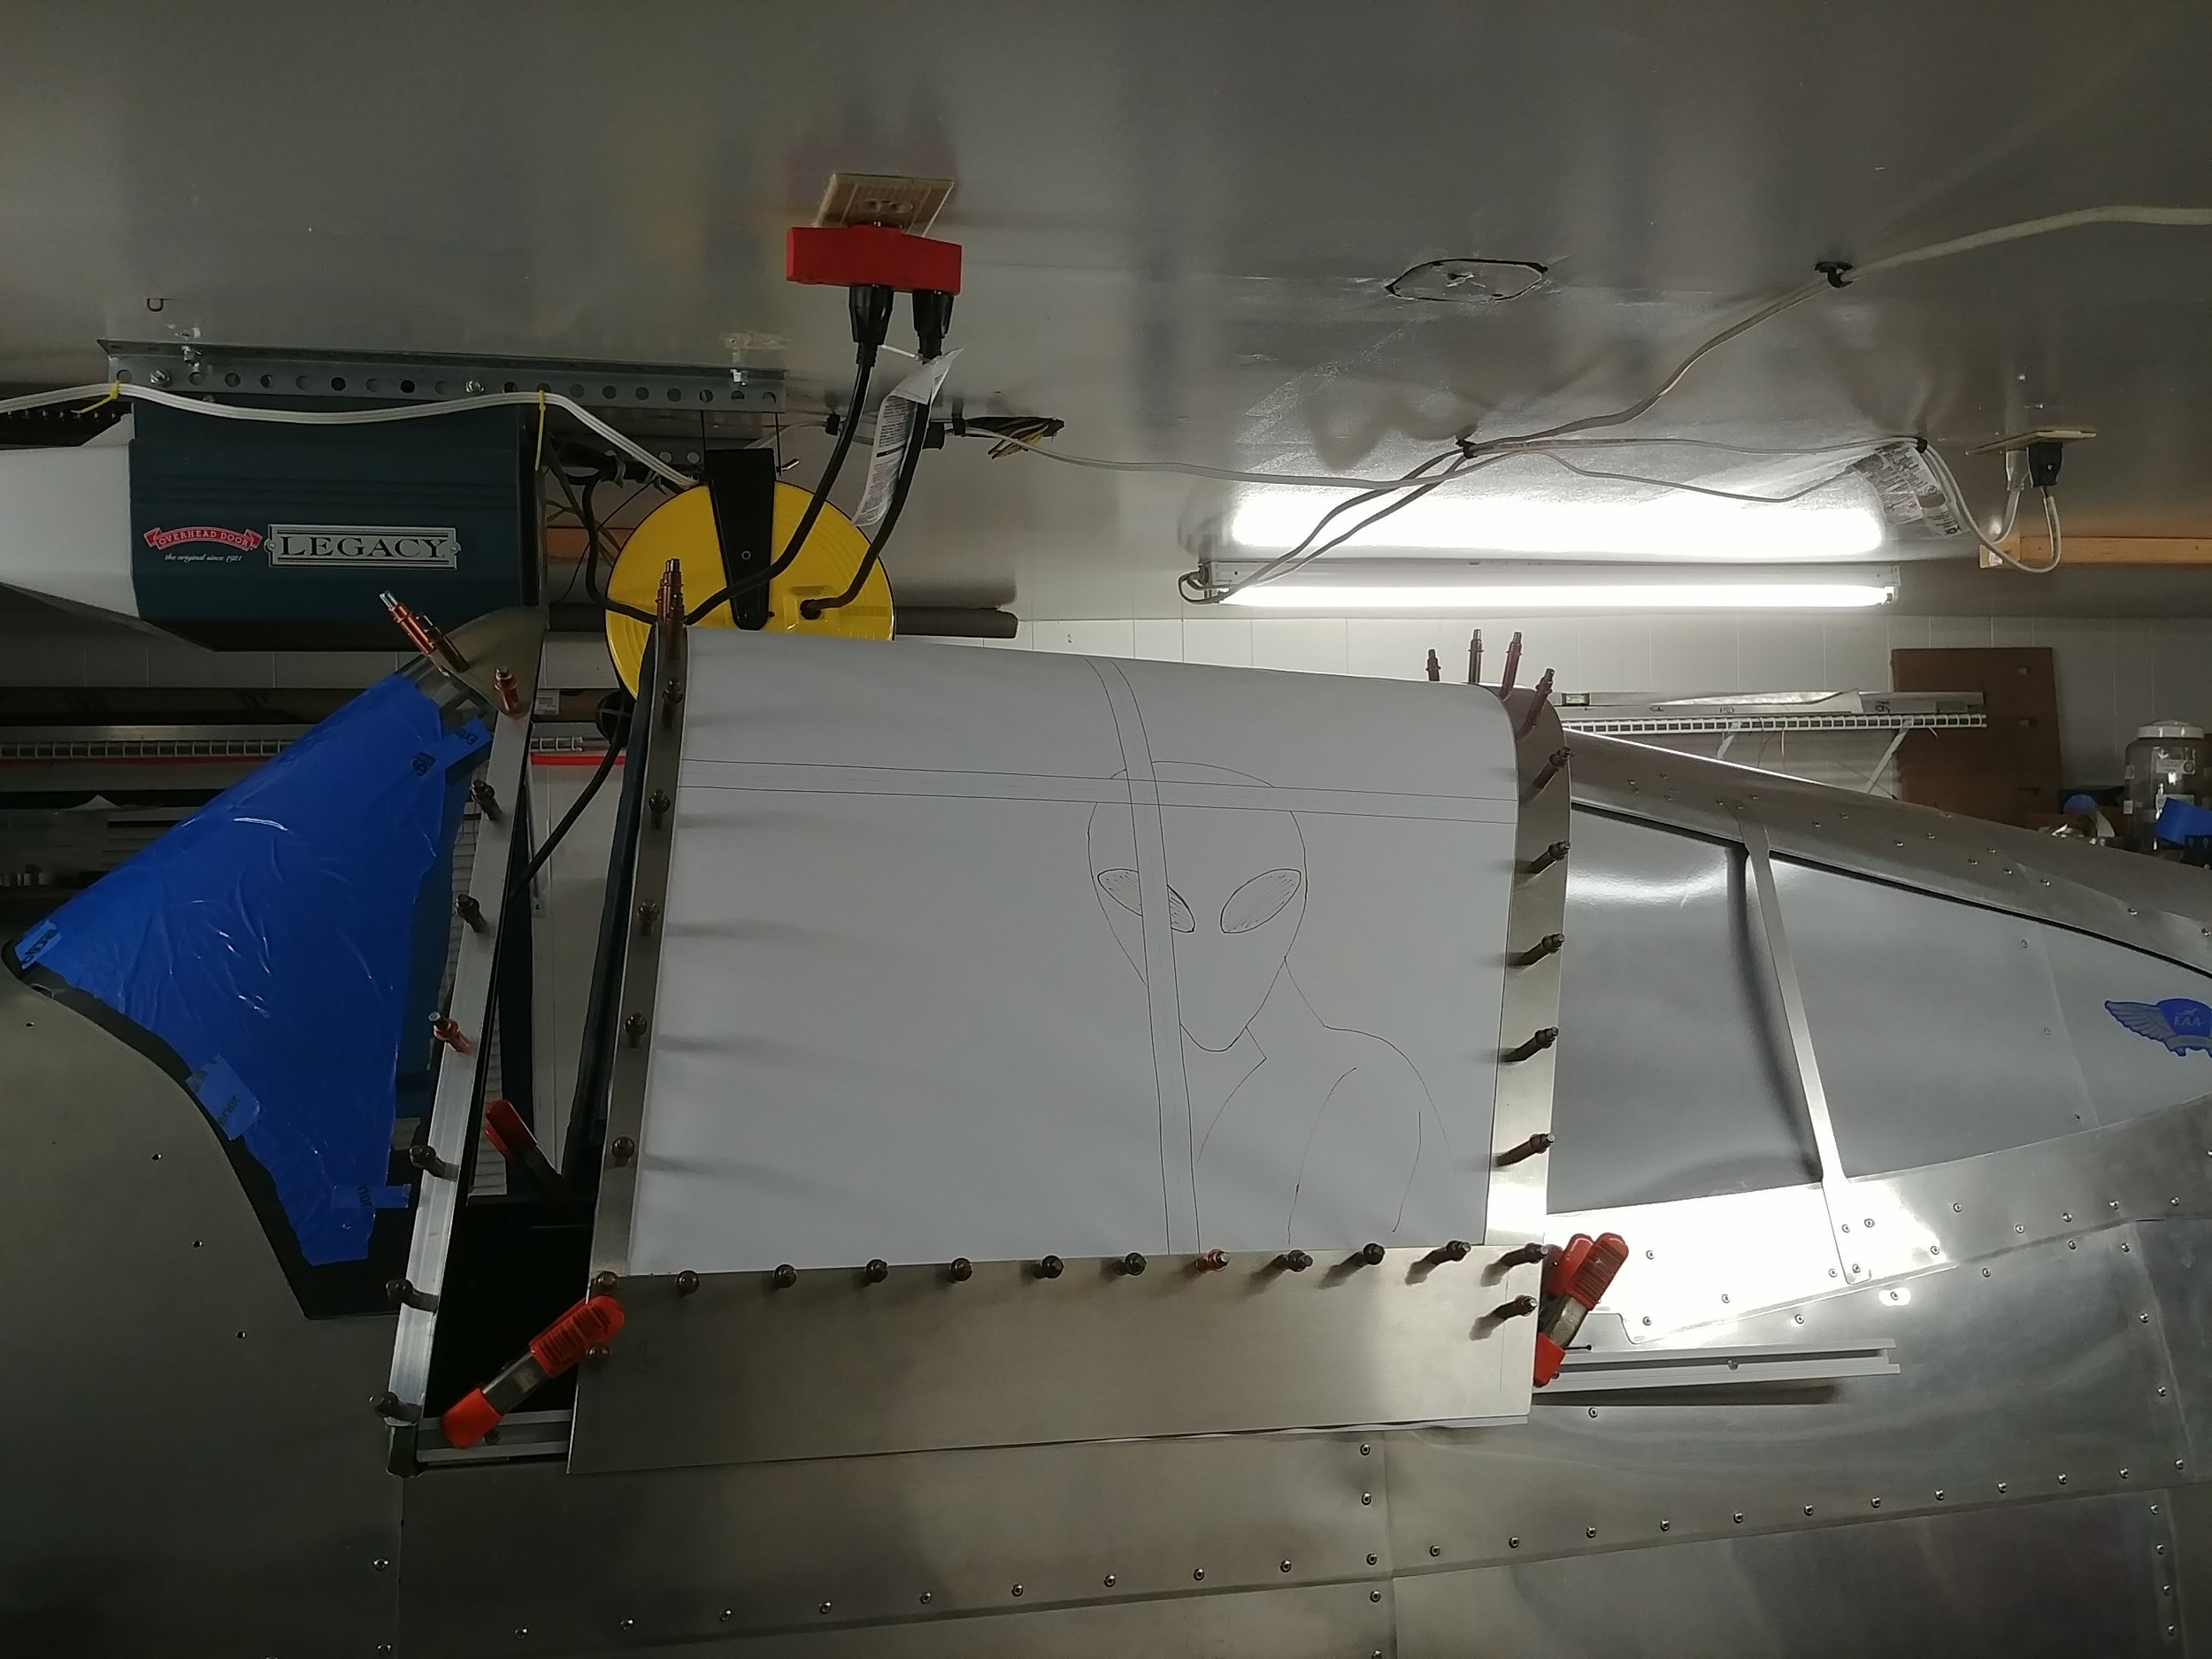
So Scott machined a set of track slide blocks for the canopy so it can slide. We had made some months ago but they didn't fit well. It we easier to CNC machine a new set than to fix the old ones. I made some brackets to mount the slides to the canopy and then had to make another set of those as well. The second set fit much better. Oh well, we are learning and improving along the way. We then added the skirts on both sides that cover the track and brackets. I also cleaned-up the fiberglass windshield fairing and painted it. Installed, it looks pretty good! I used the AeroPoxy Light filler to fill the weave. I didn't know it takes 5 hours to cure - I'm used to Bondo that is ready in 10 minutes. So progress is slow and boring sometimes.
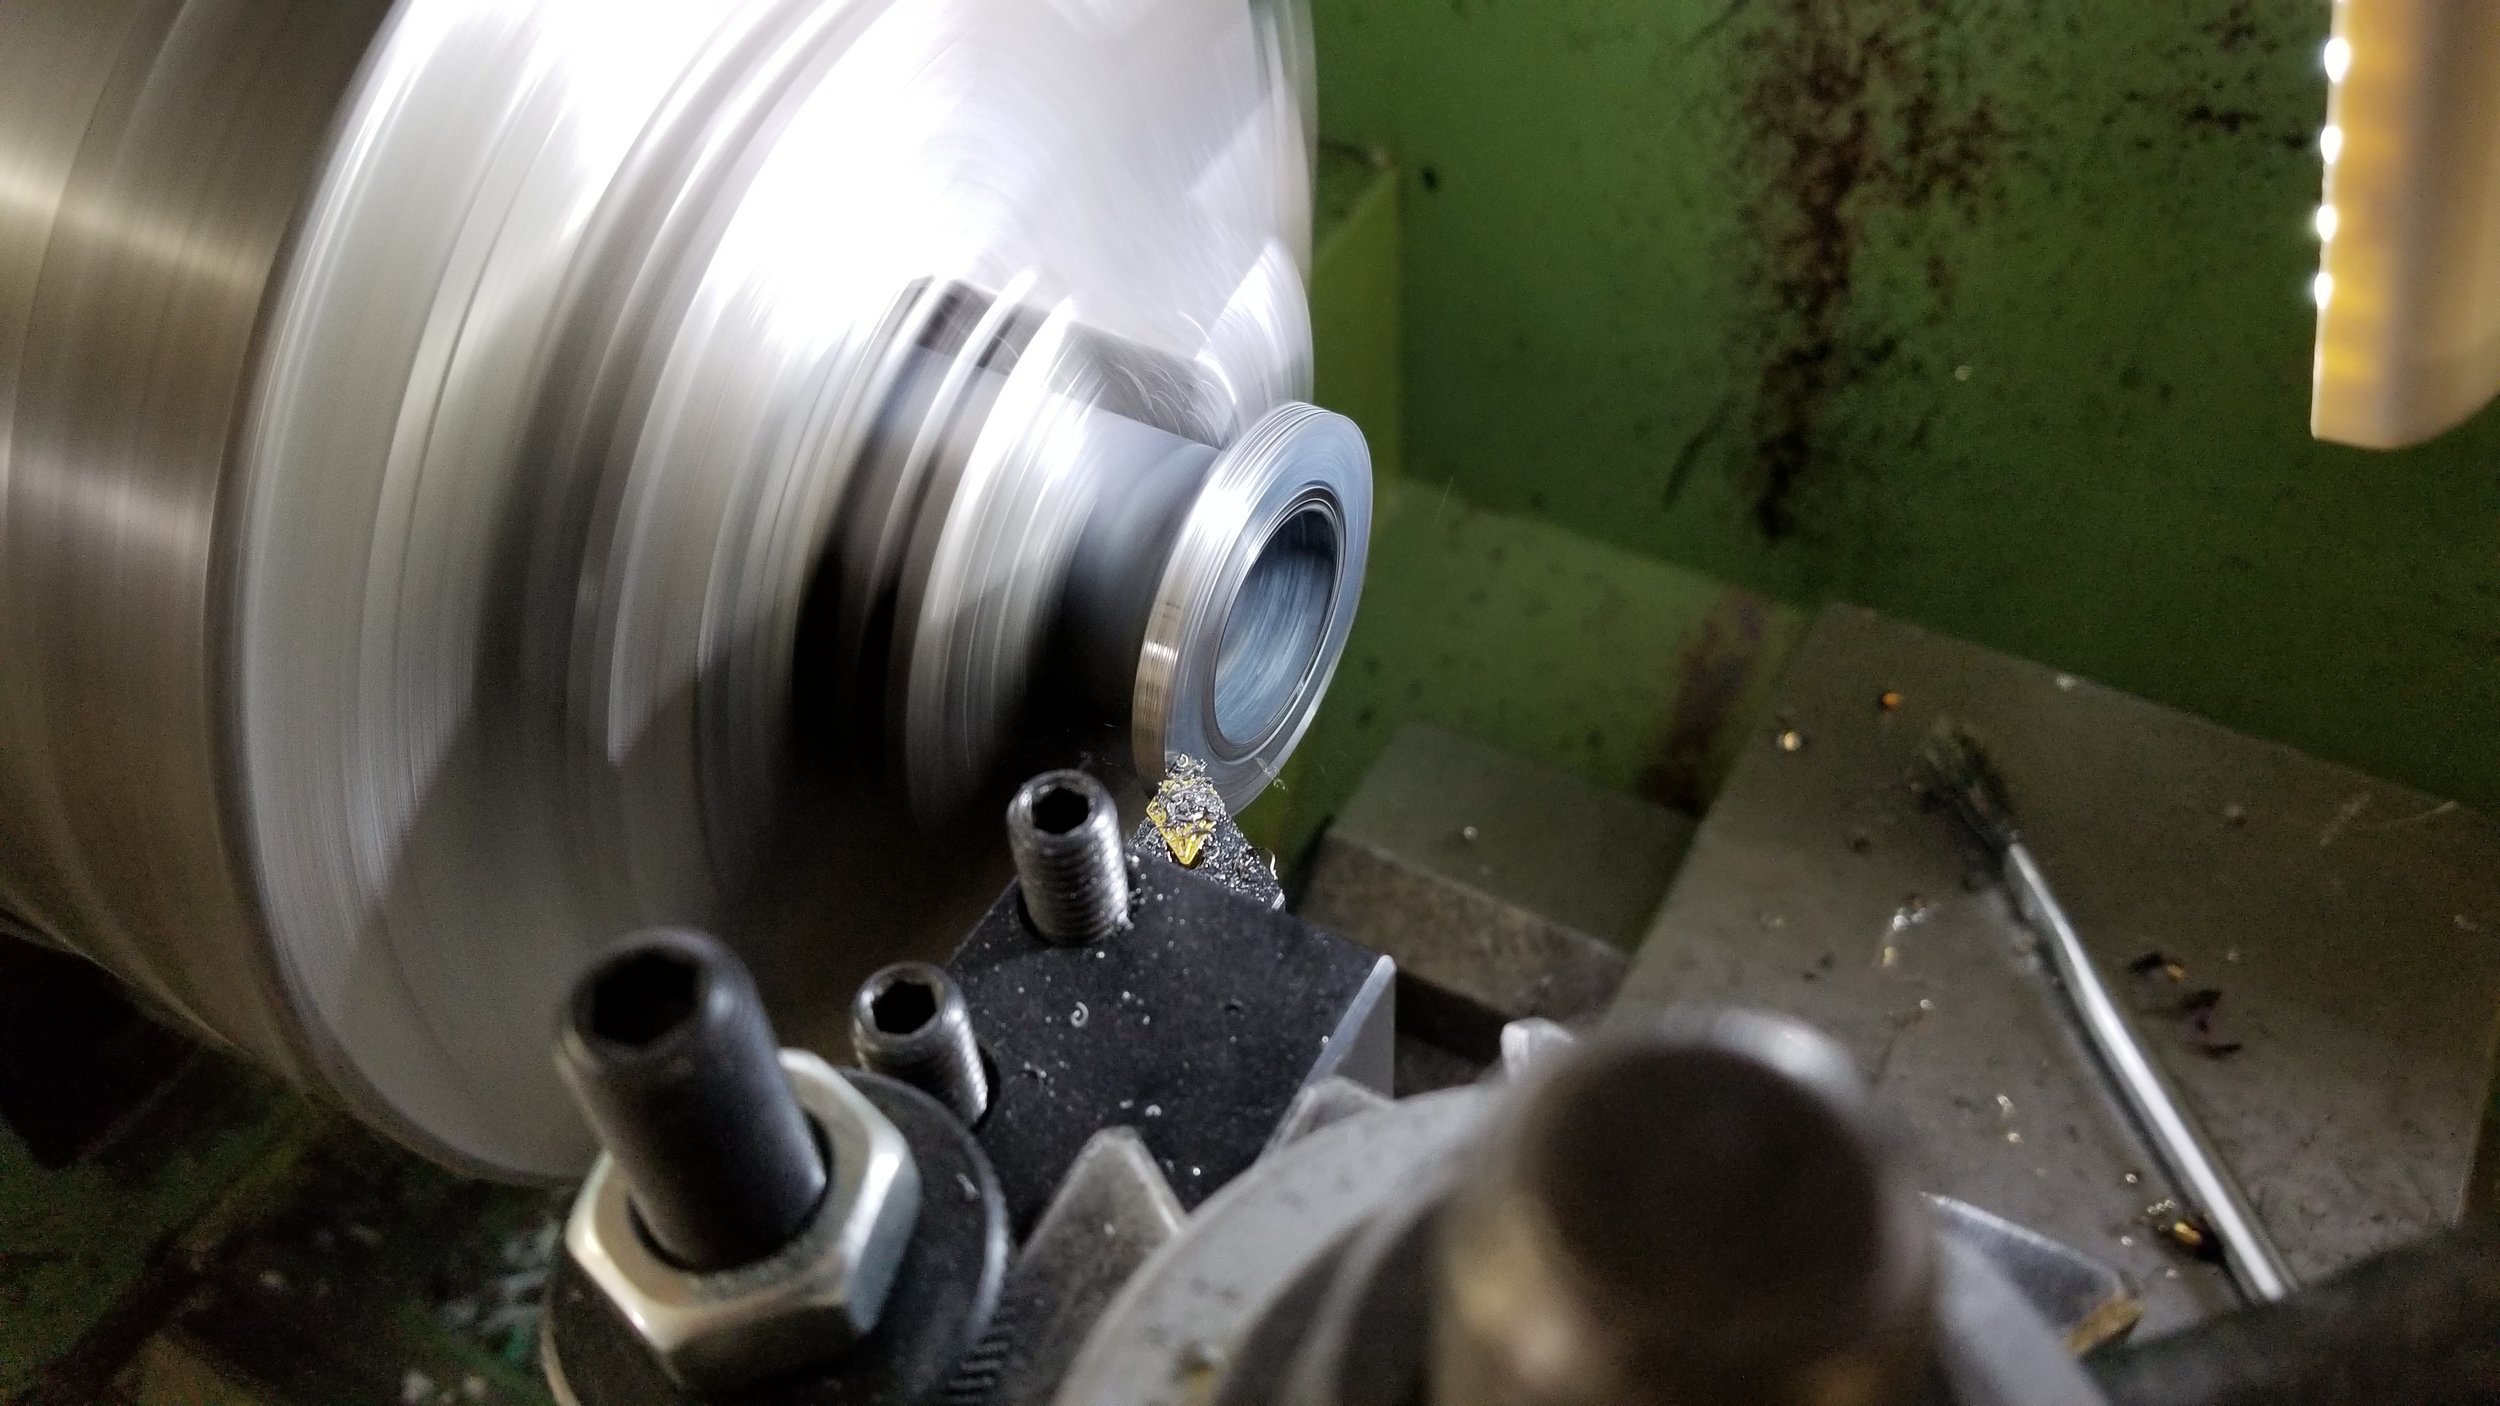
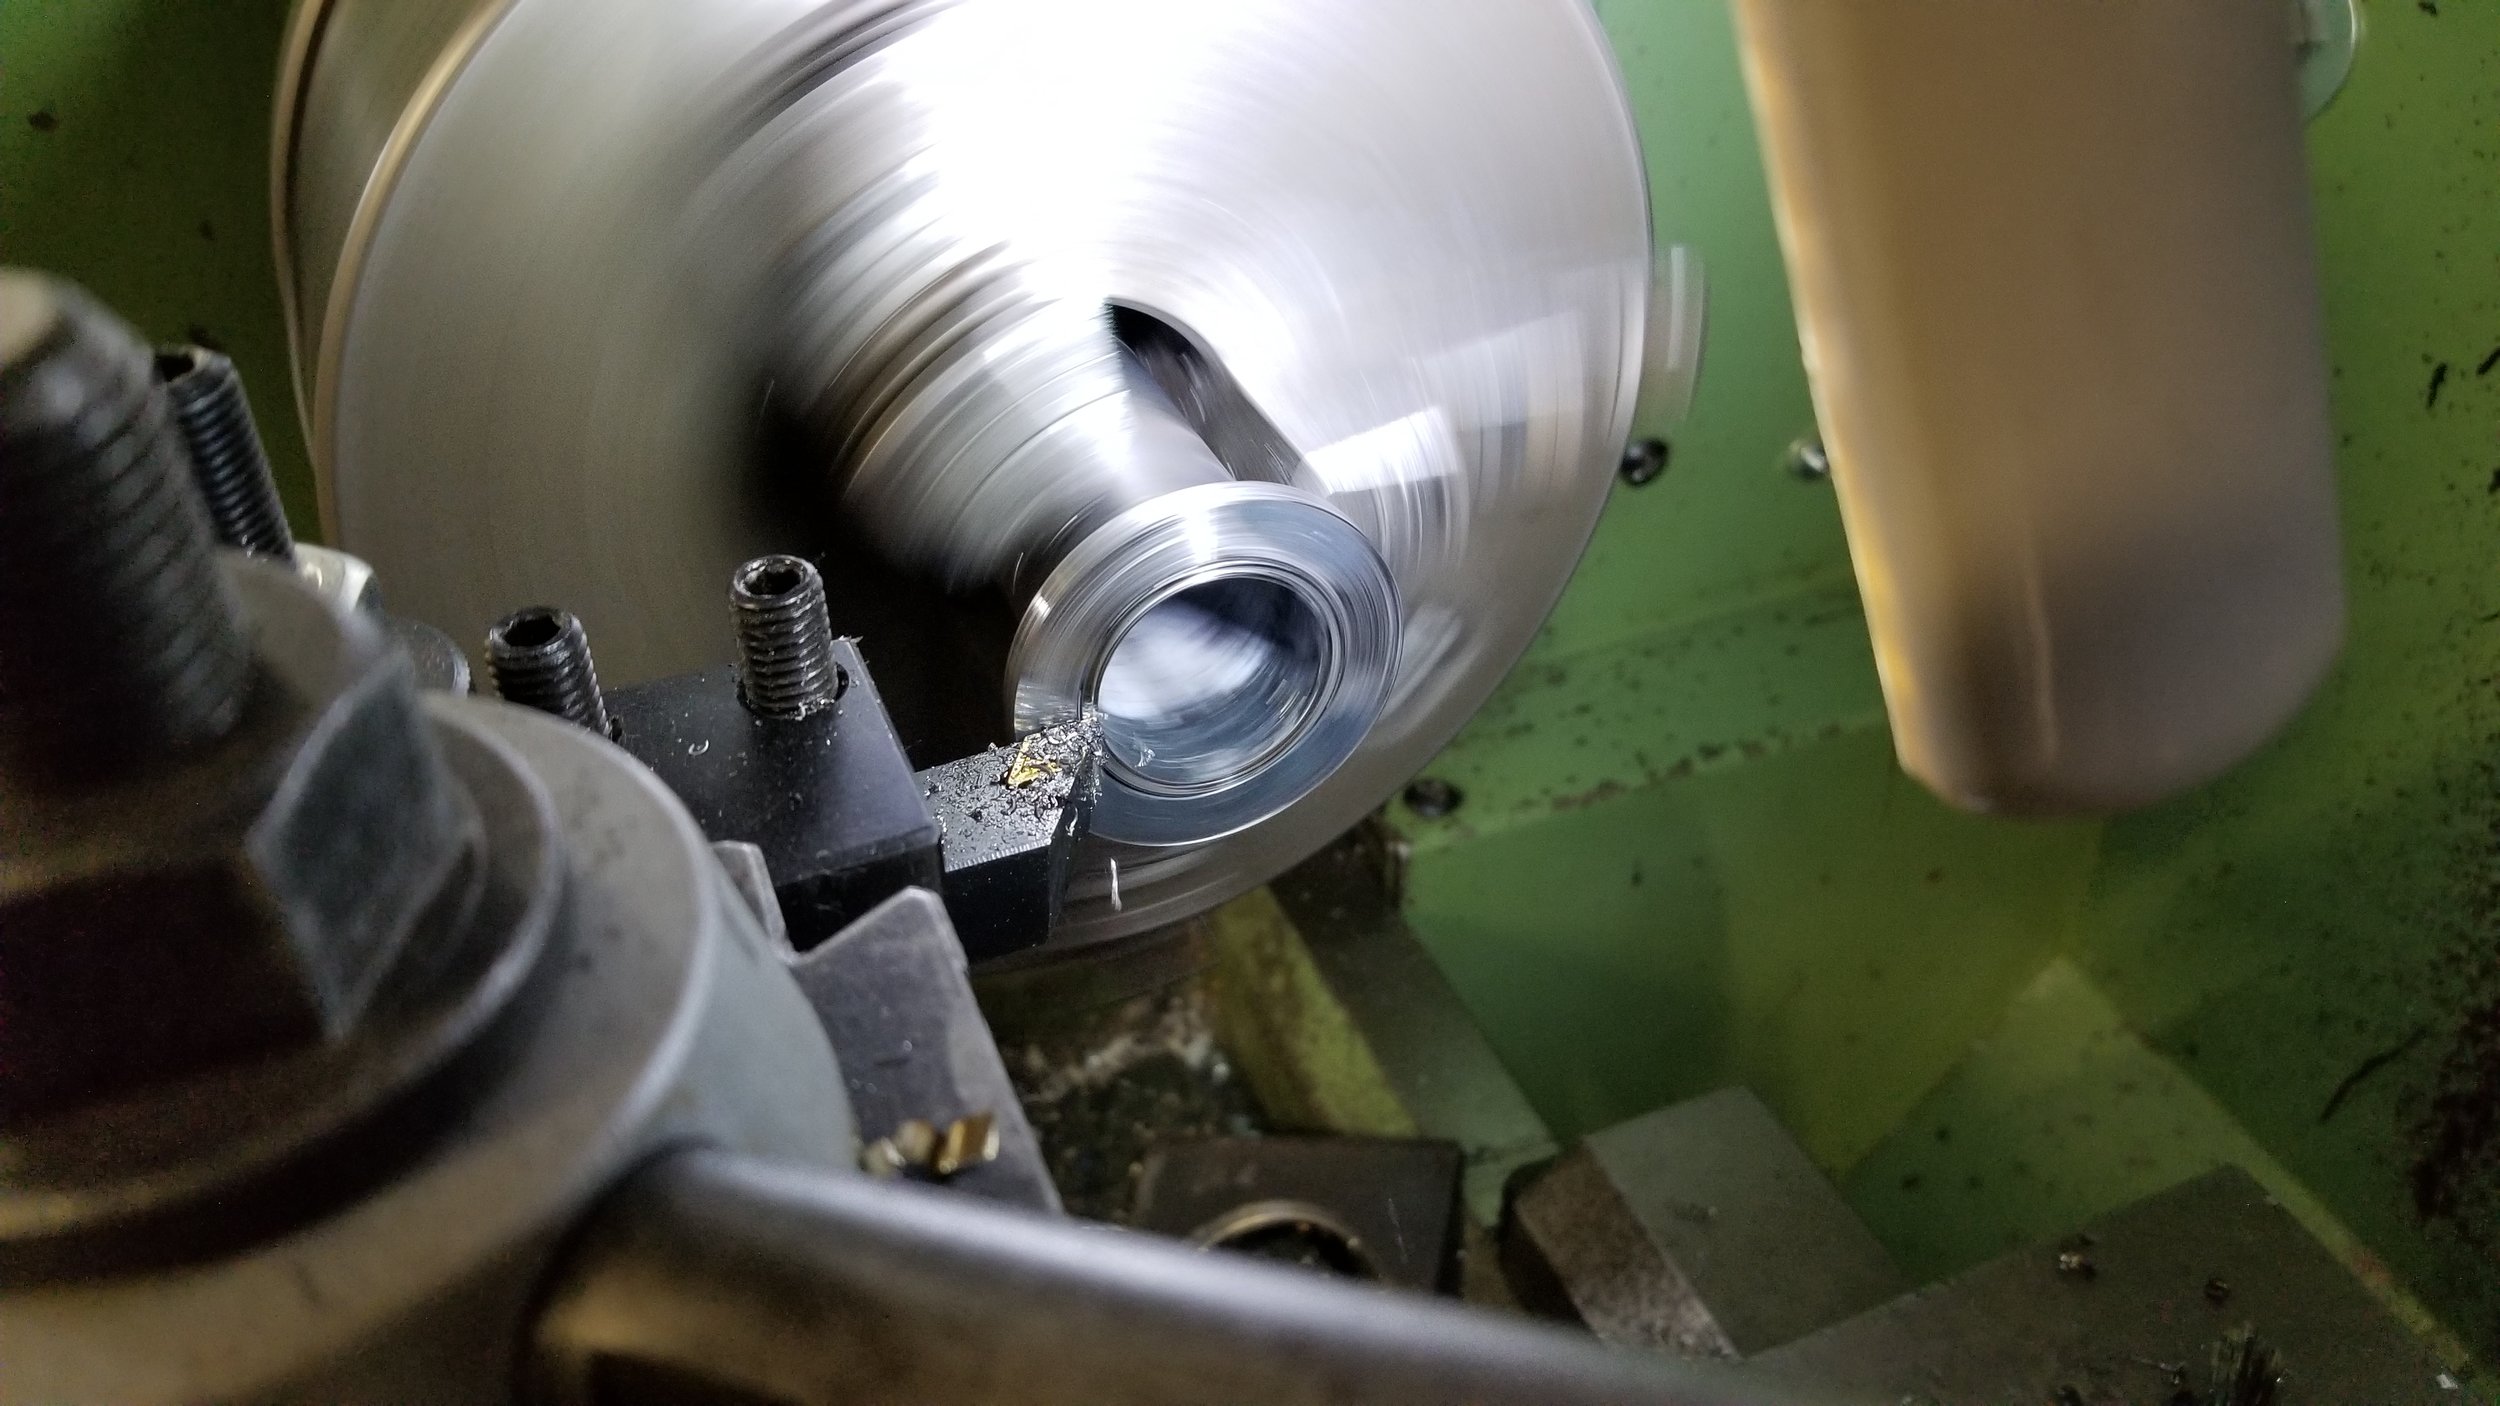
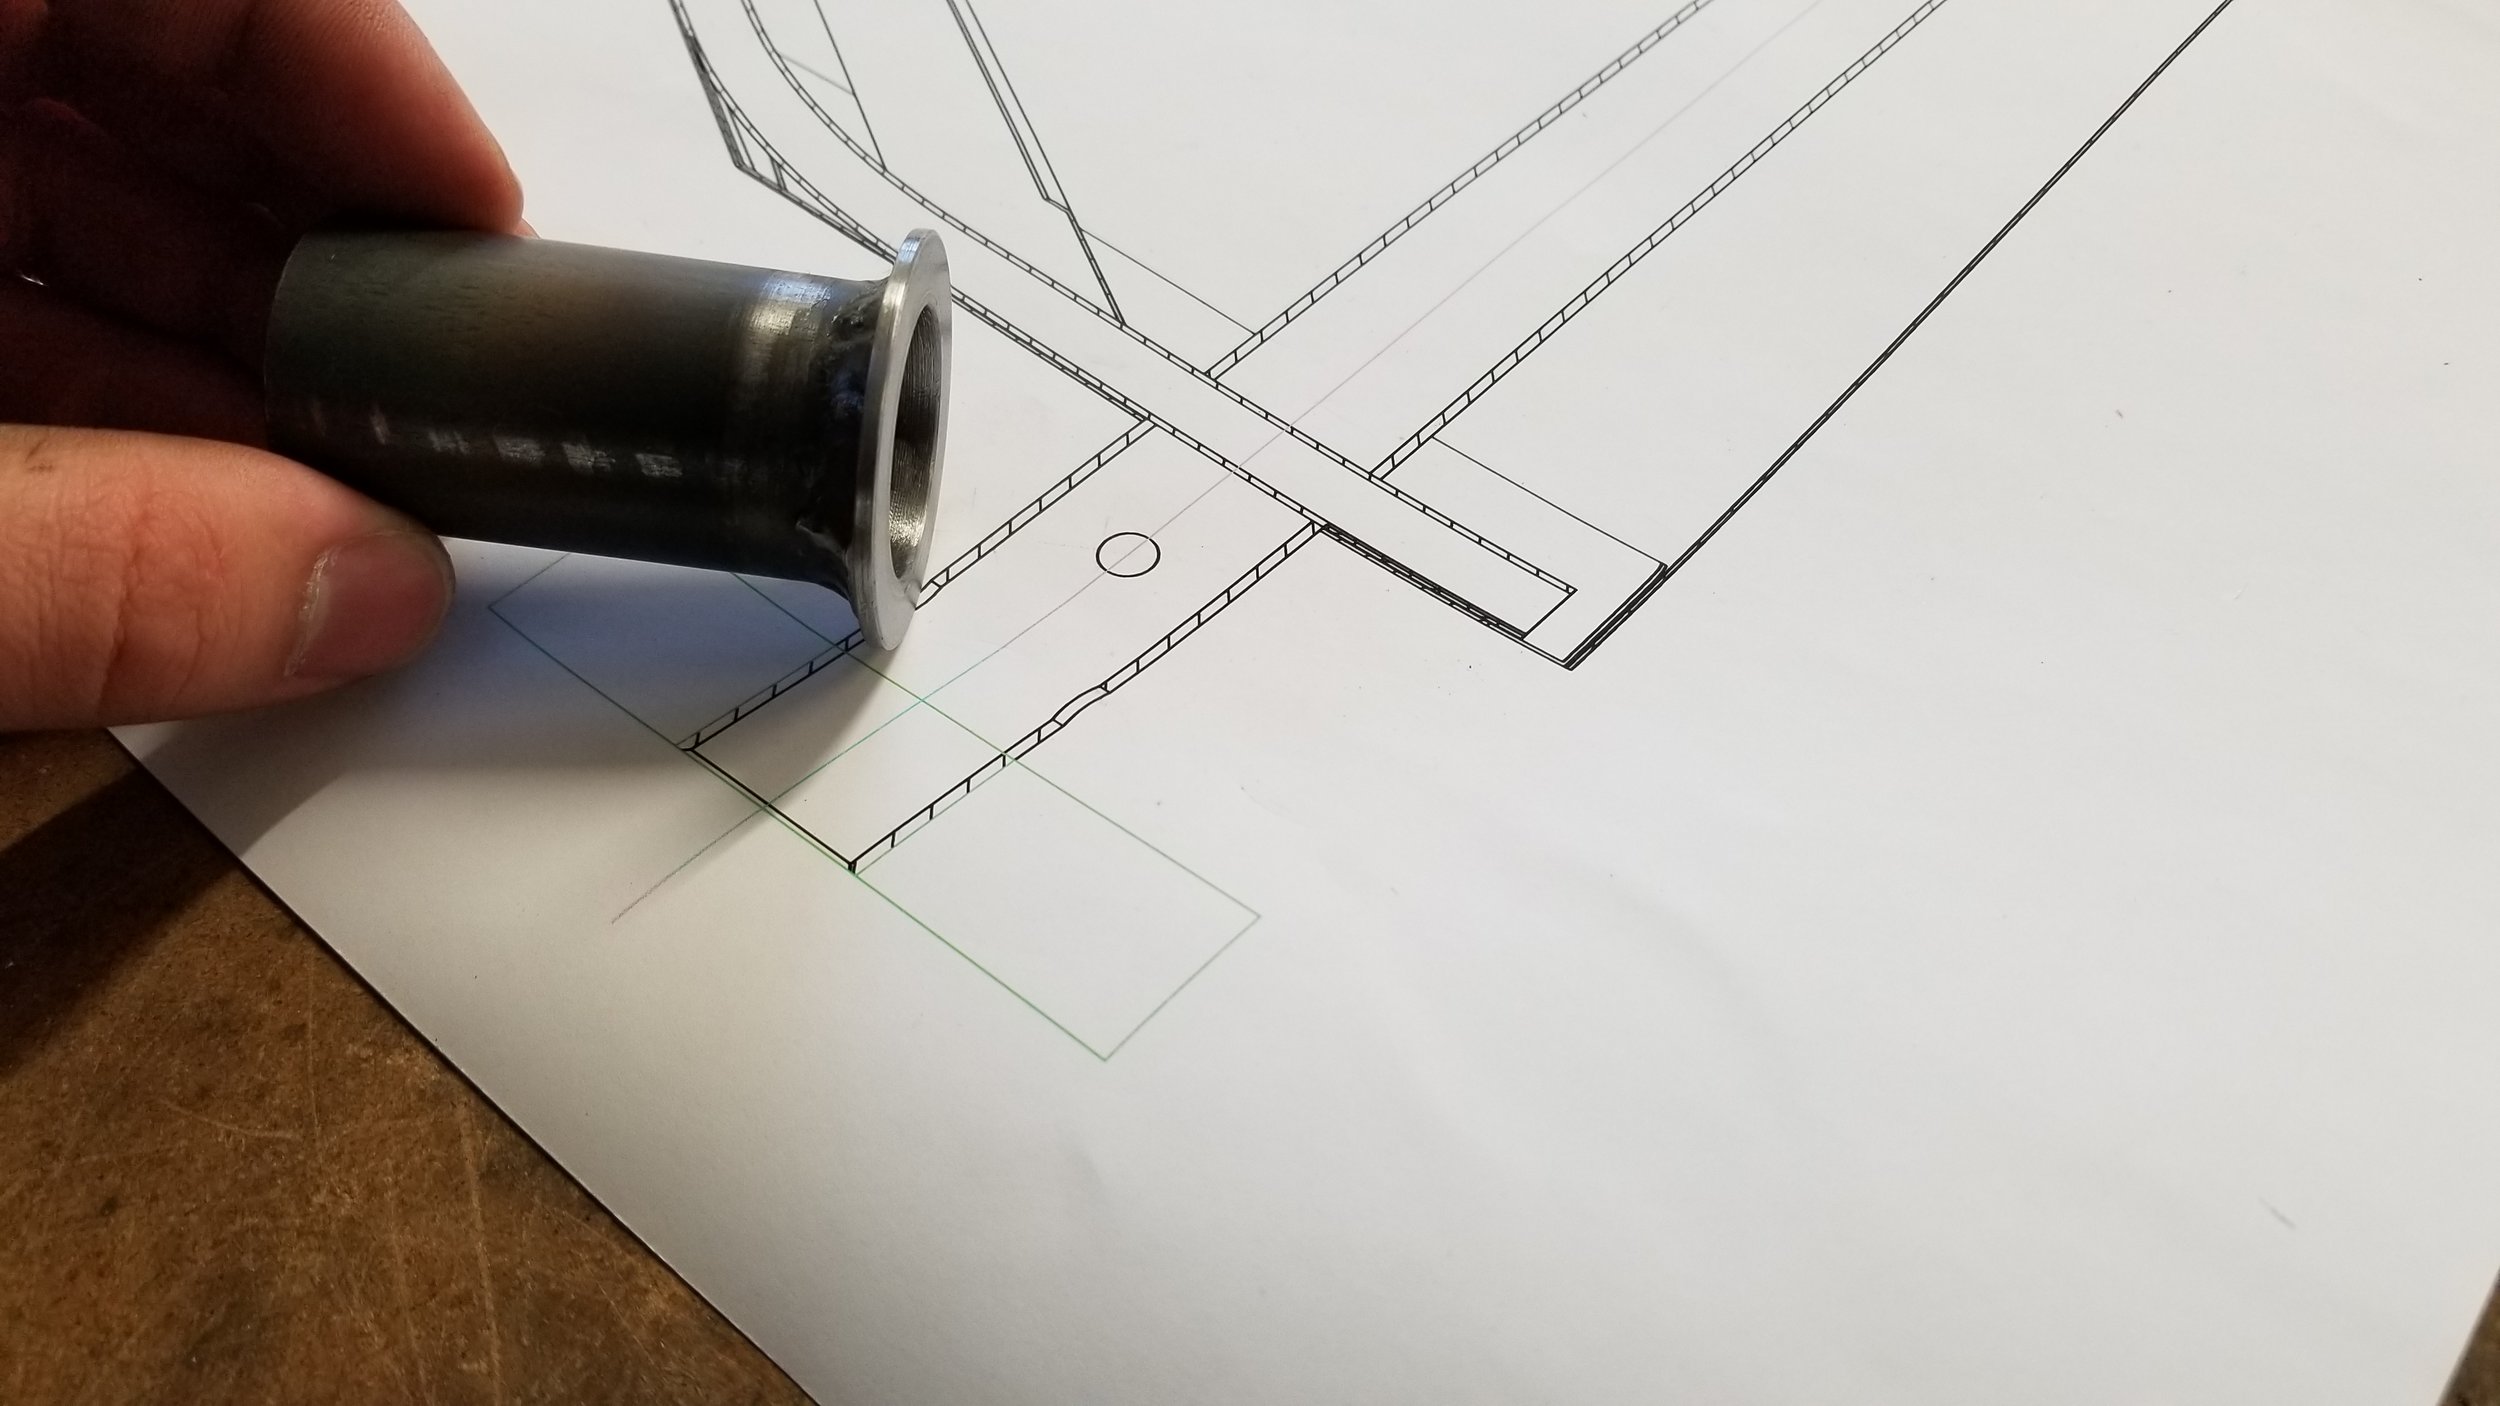
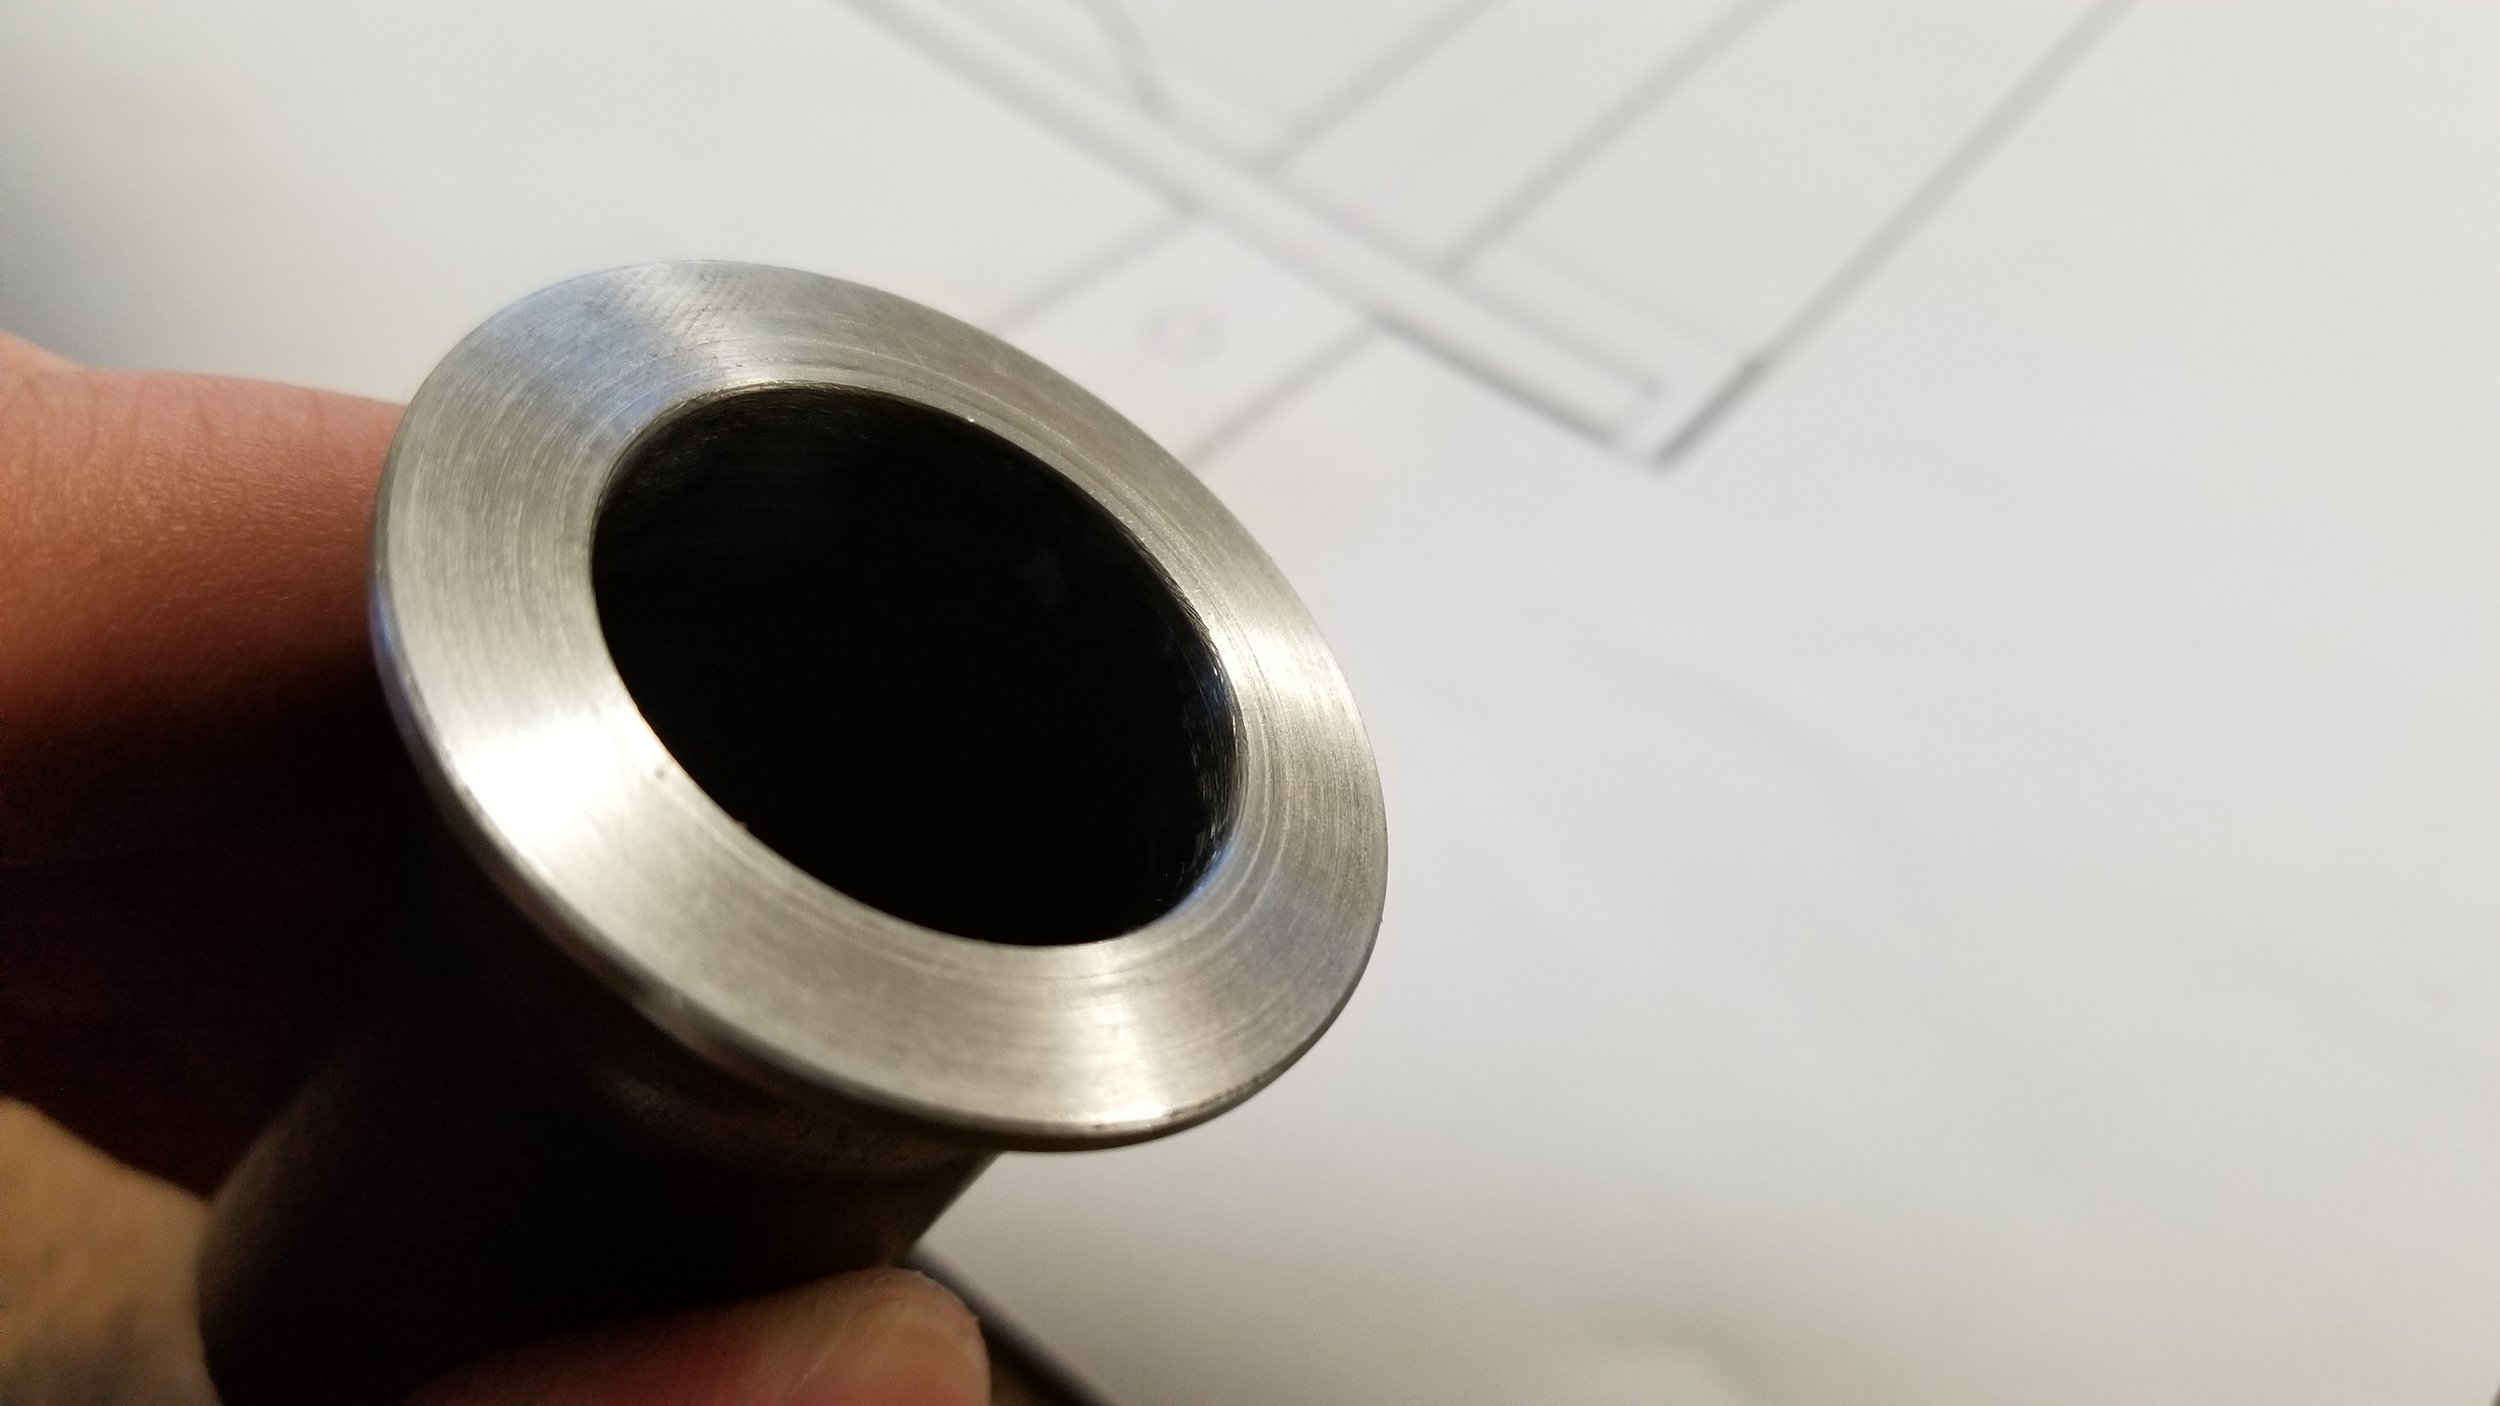
We hand bent the elevator ribs with the forming blocks Scott had routered. This makes them bow like a banana. So I fluted the flanges to straighten the ribs out. The trick is to know where the rivets might hit the rib. These are fabric covered surfaces so I didn't have to worry too much about that. I kept a standard spacing. I've been working on making weldments for the elevator horn and torque tube hinge. 4130 steel tubing and plate. I hand cut the patterns with a disk grinder and finished them up on the bench grinder. Tig welded them and Scott trued up the flanges on the lathe. They act as stops for the hinge bushings and needed to be smooth and true on the ends. So far so good! I'm always behind my planned build schedule, but not too bad yet!

Meanwhile, Scott has been modeling and remodeling the landing gear mounting to the spar. Our original idea was good but we figured out a nicer way to do it. It just adds time to the CAD modeling.
Next step is to build the elevators and fit them to the Horizontal and the elevator controls. Should be a couple of weeks of fun stuff! Talk soon.