ScaleBirds

ScaleBirds, Home of the 63% Scale Hellcat replica kitplane project.

Designing Mods

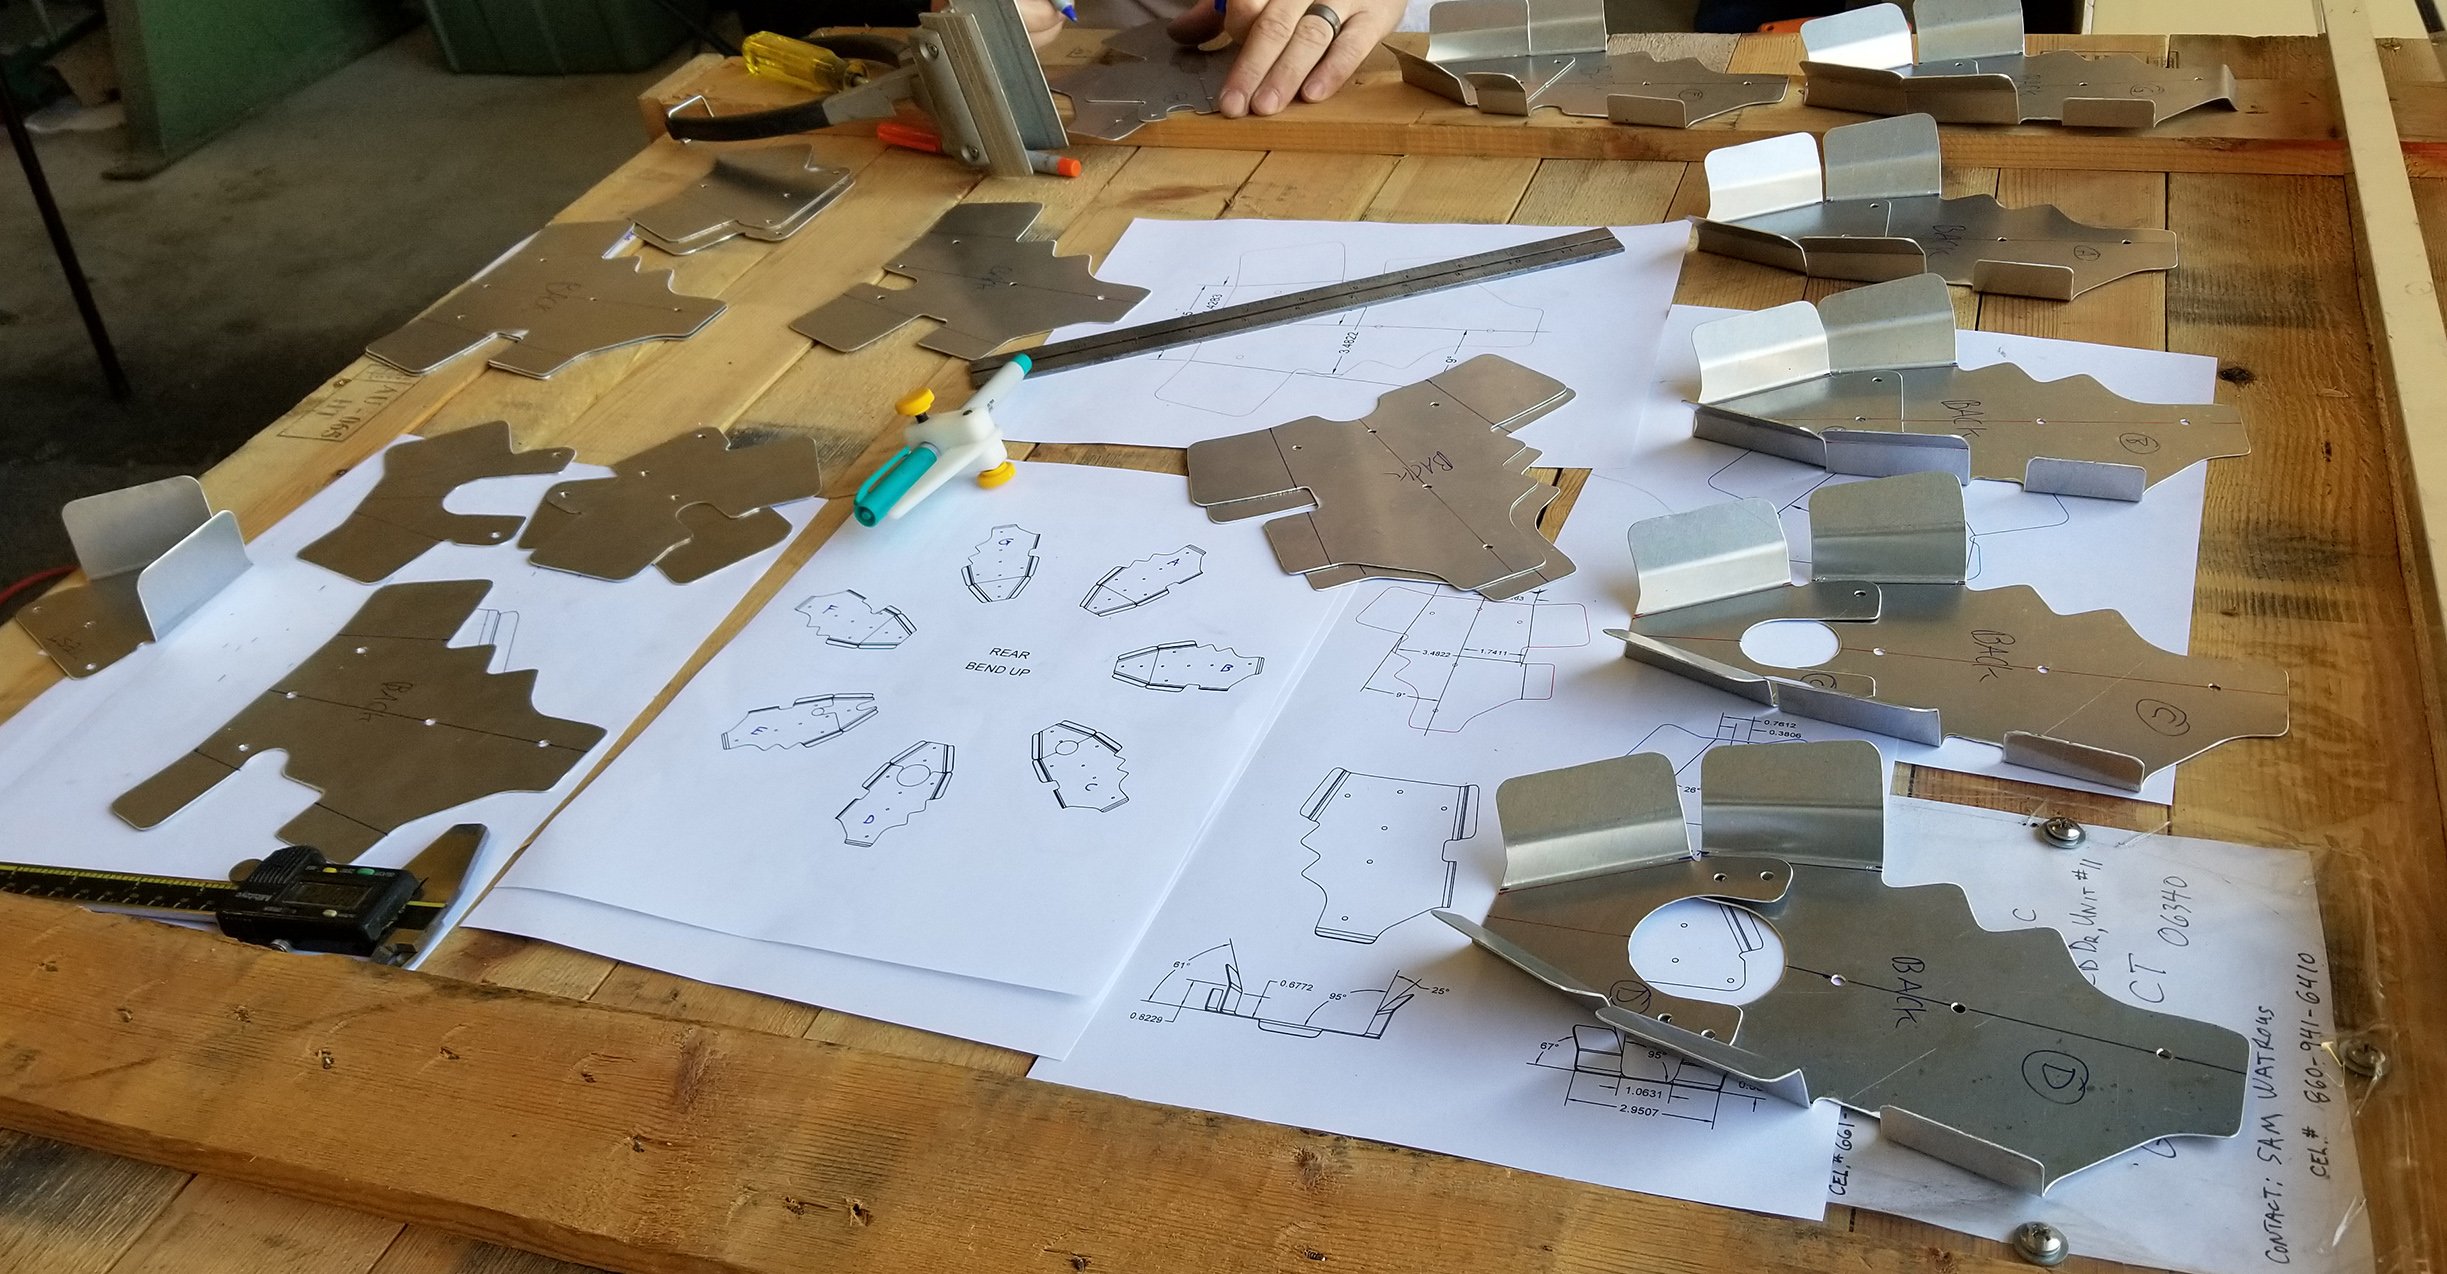
Been working on designing the flaps and landing gear mods. Taking longer than anticipated - mainly due to the day jobs we have. Sorry, but the Navy wants it’s toys and really needs them. Also, its that time of the season where everyone is busy and has social things to do as well. Can’t be anti-social. That said, we are just about ready to order material and parts. I can’t wait to start the fabrication and modifications to the wings. I really like working on airplane sheet metal because it goes fairly quickly and you see the results right away. I have the week off between Christmas and New Years - gonna work on the plane as much as possible.

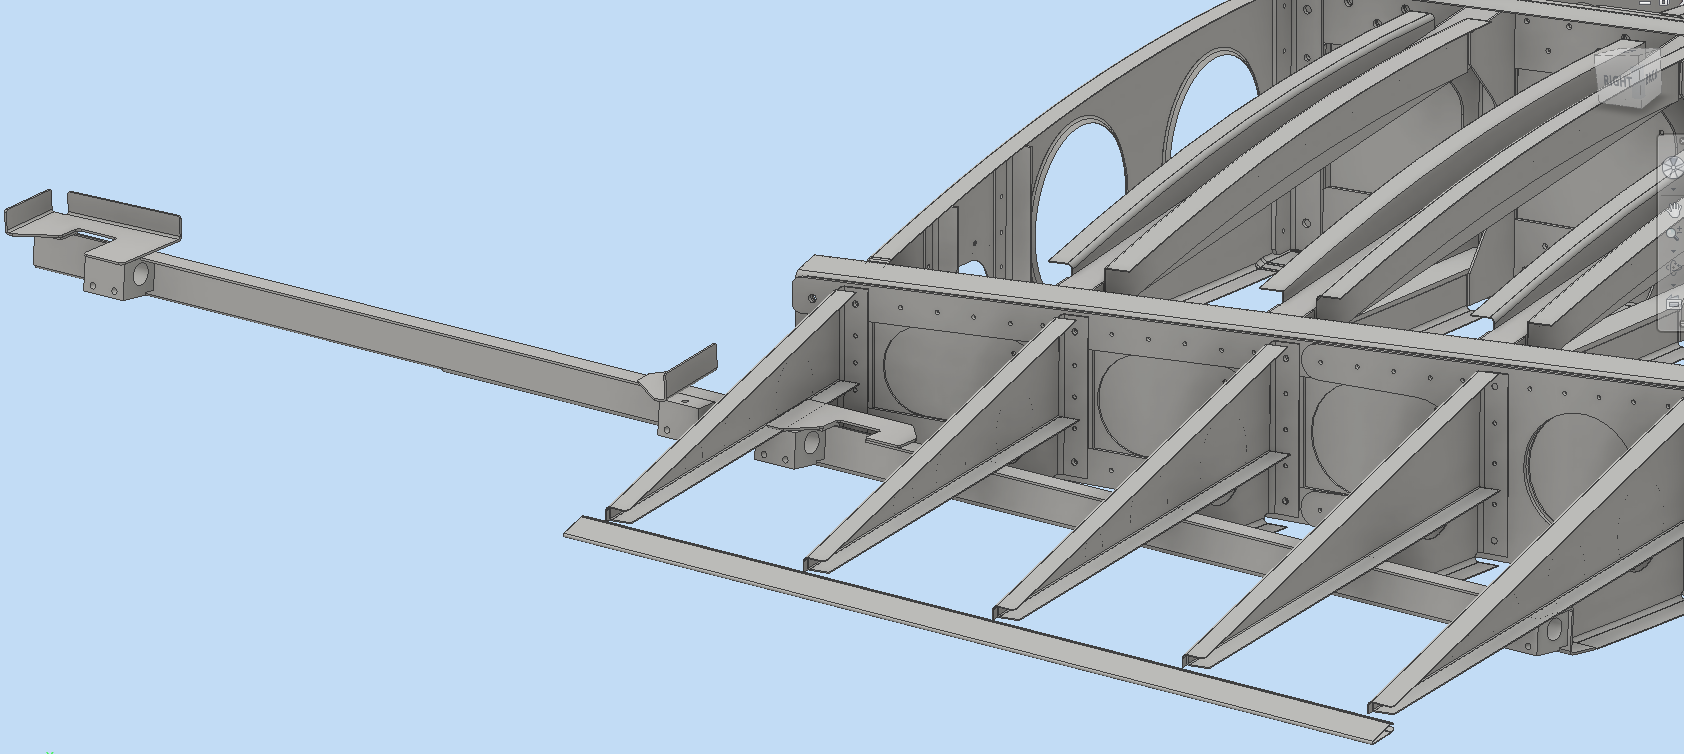
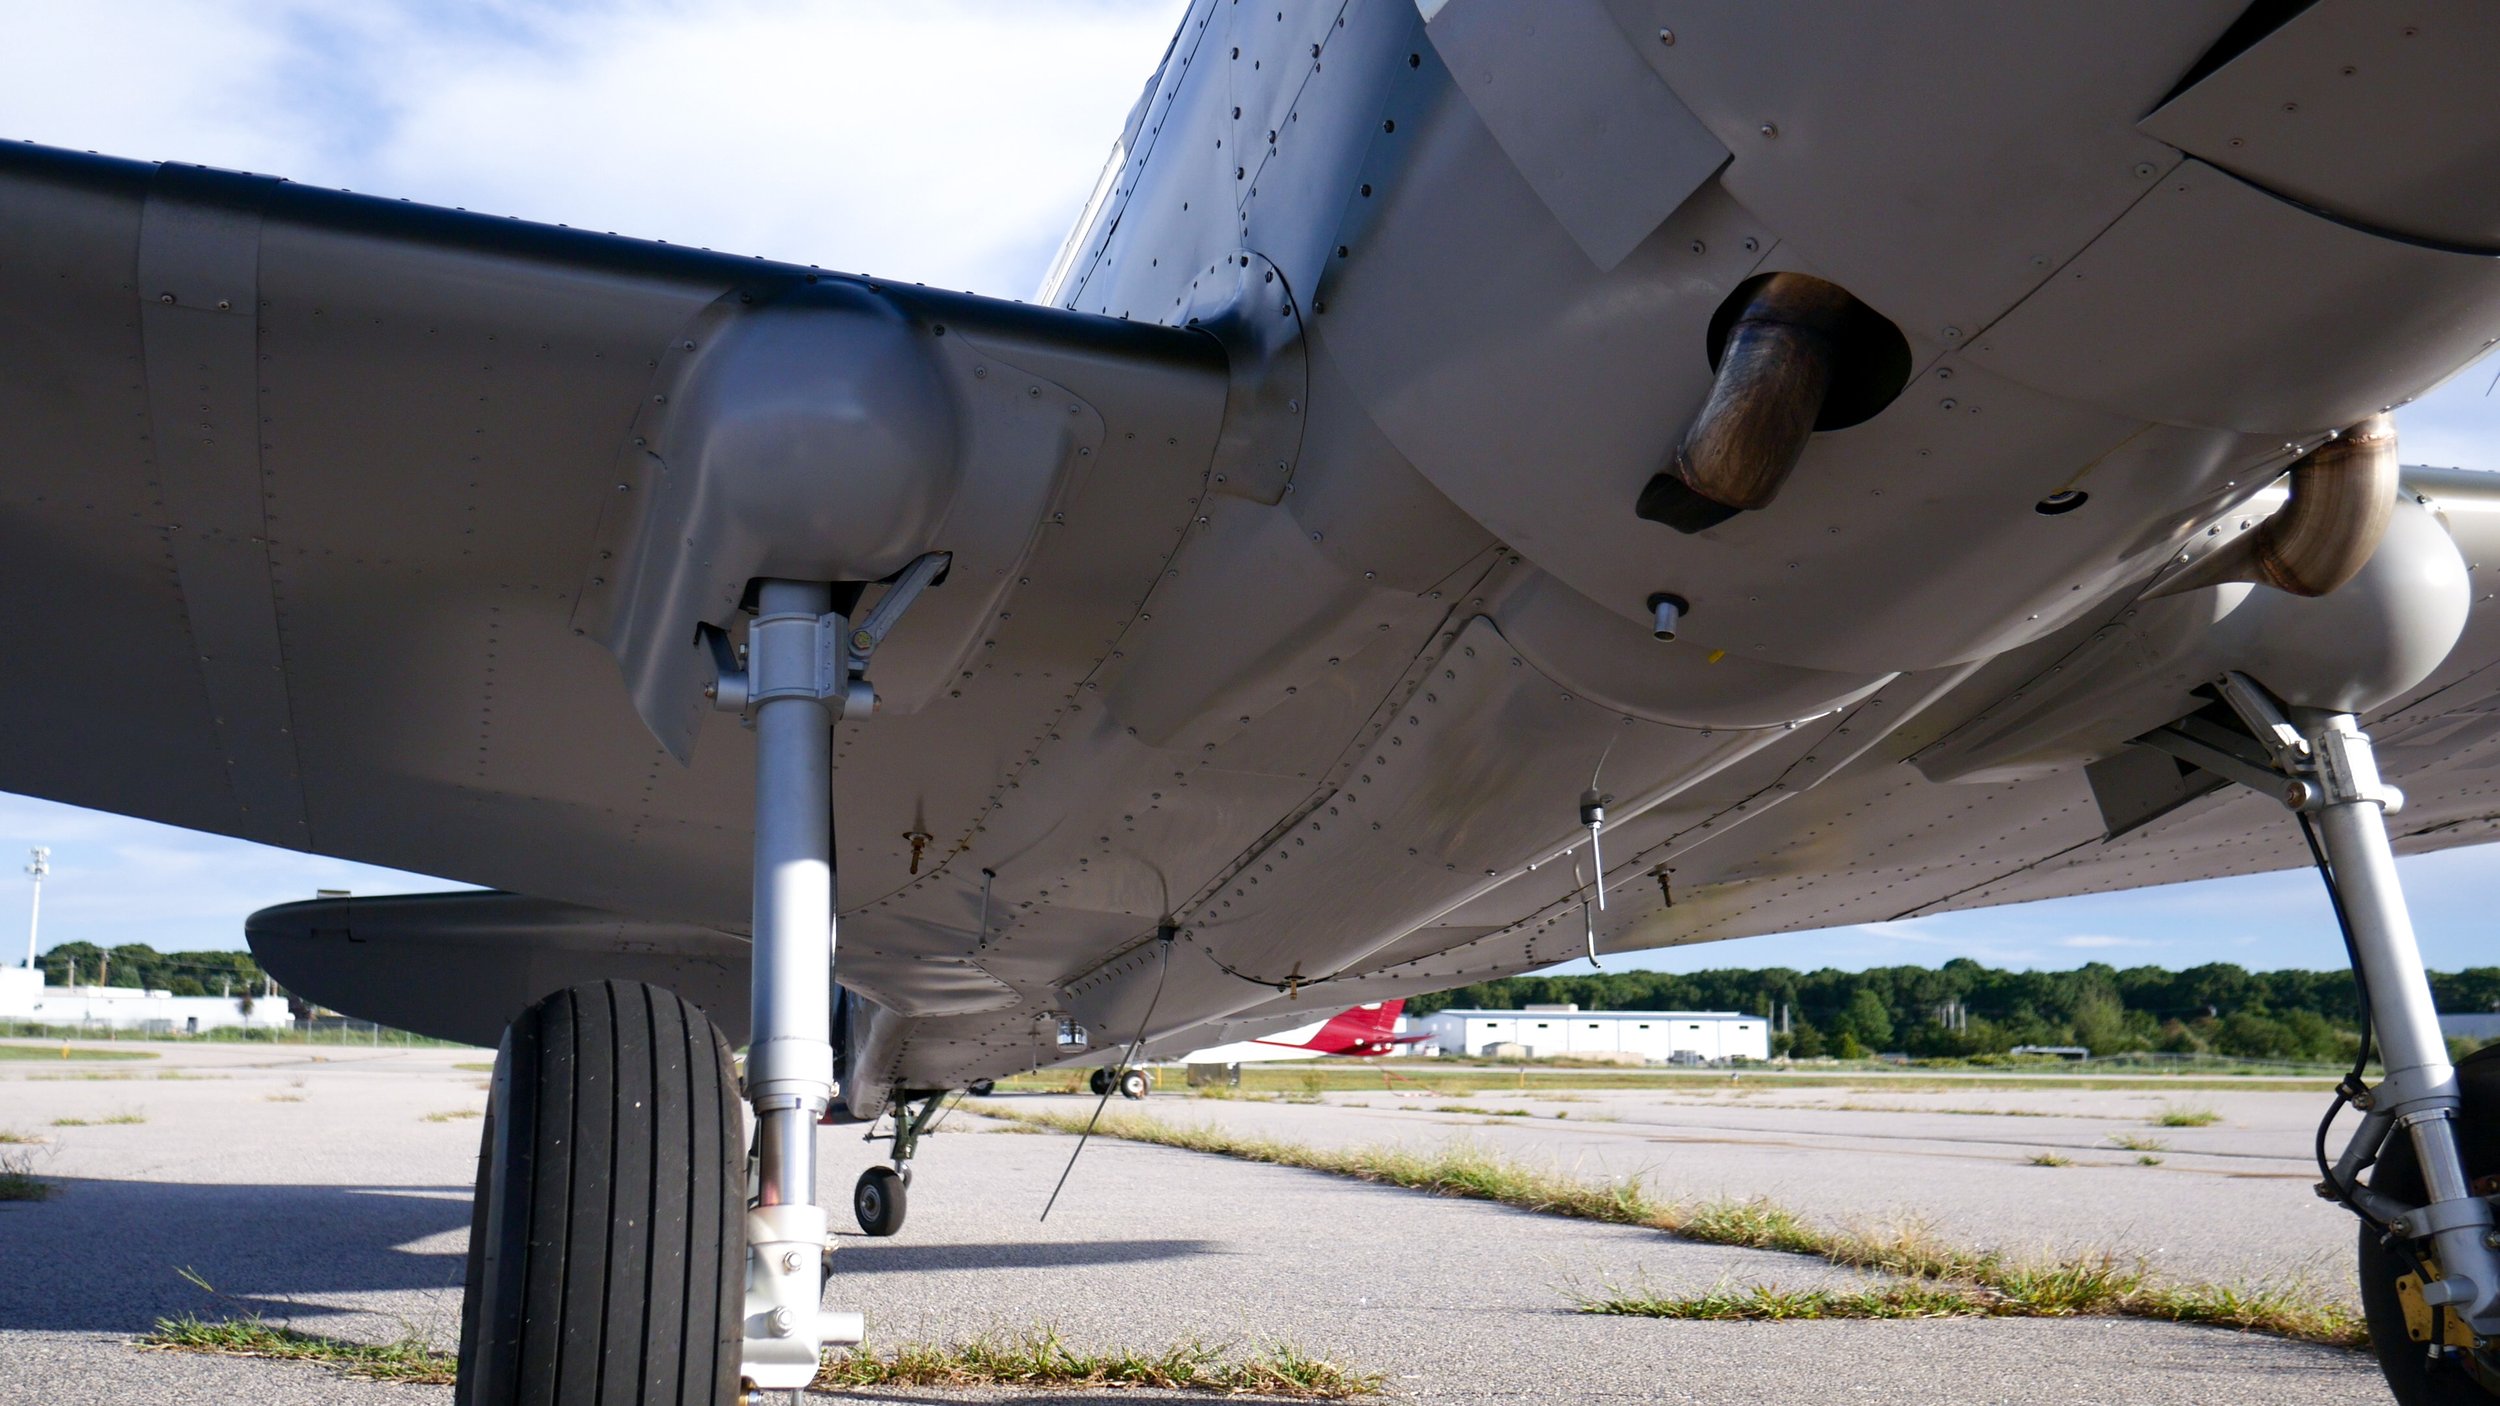
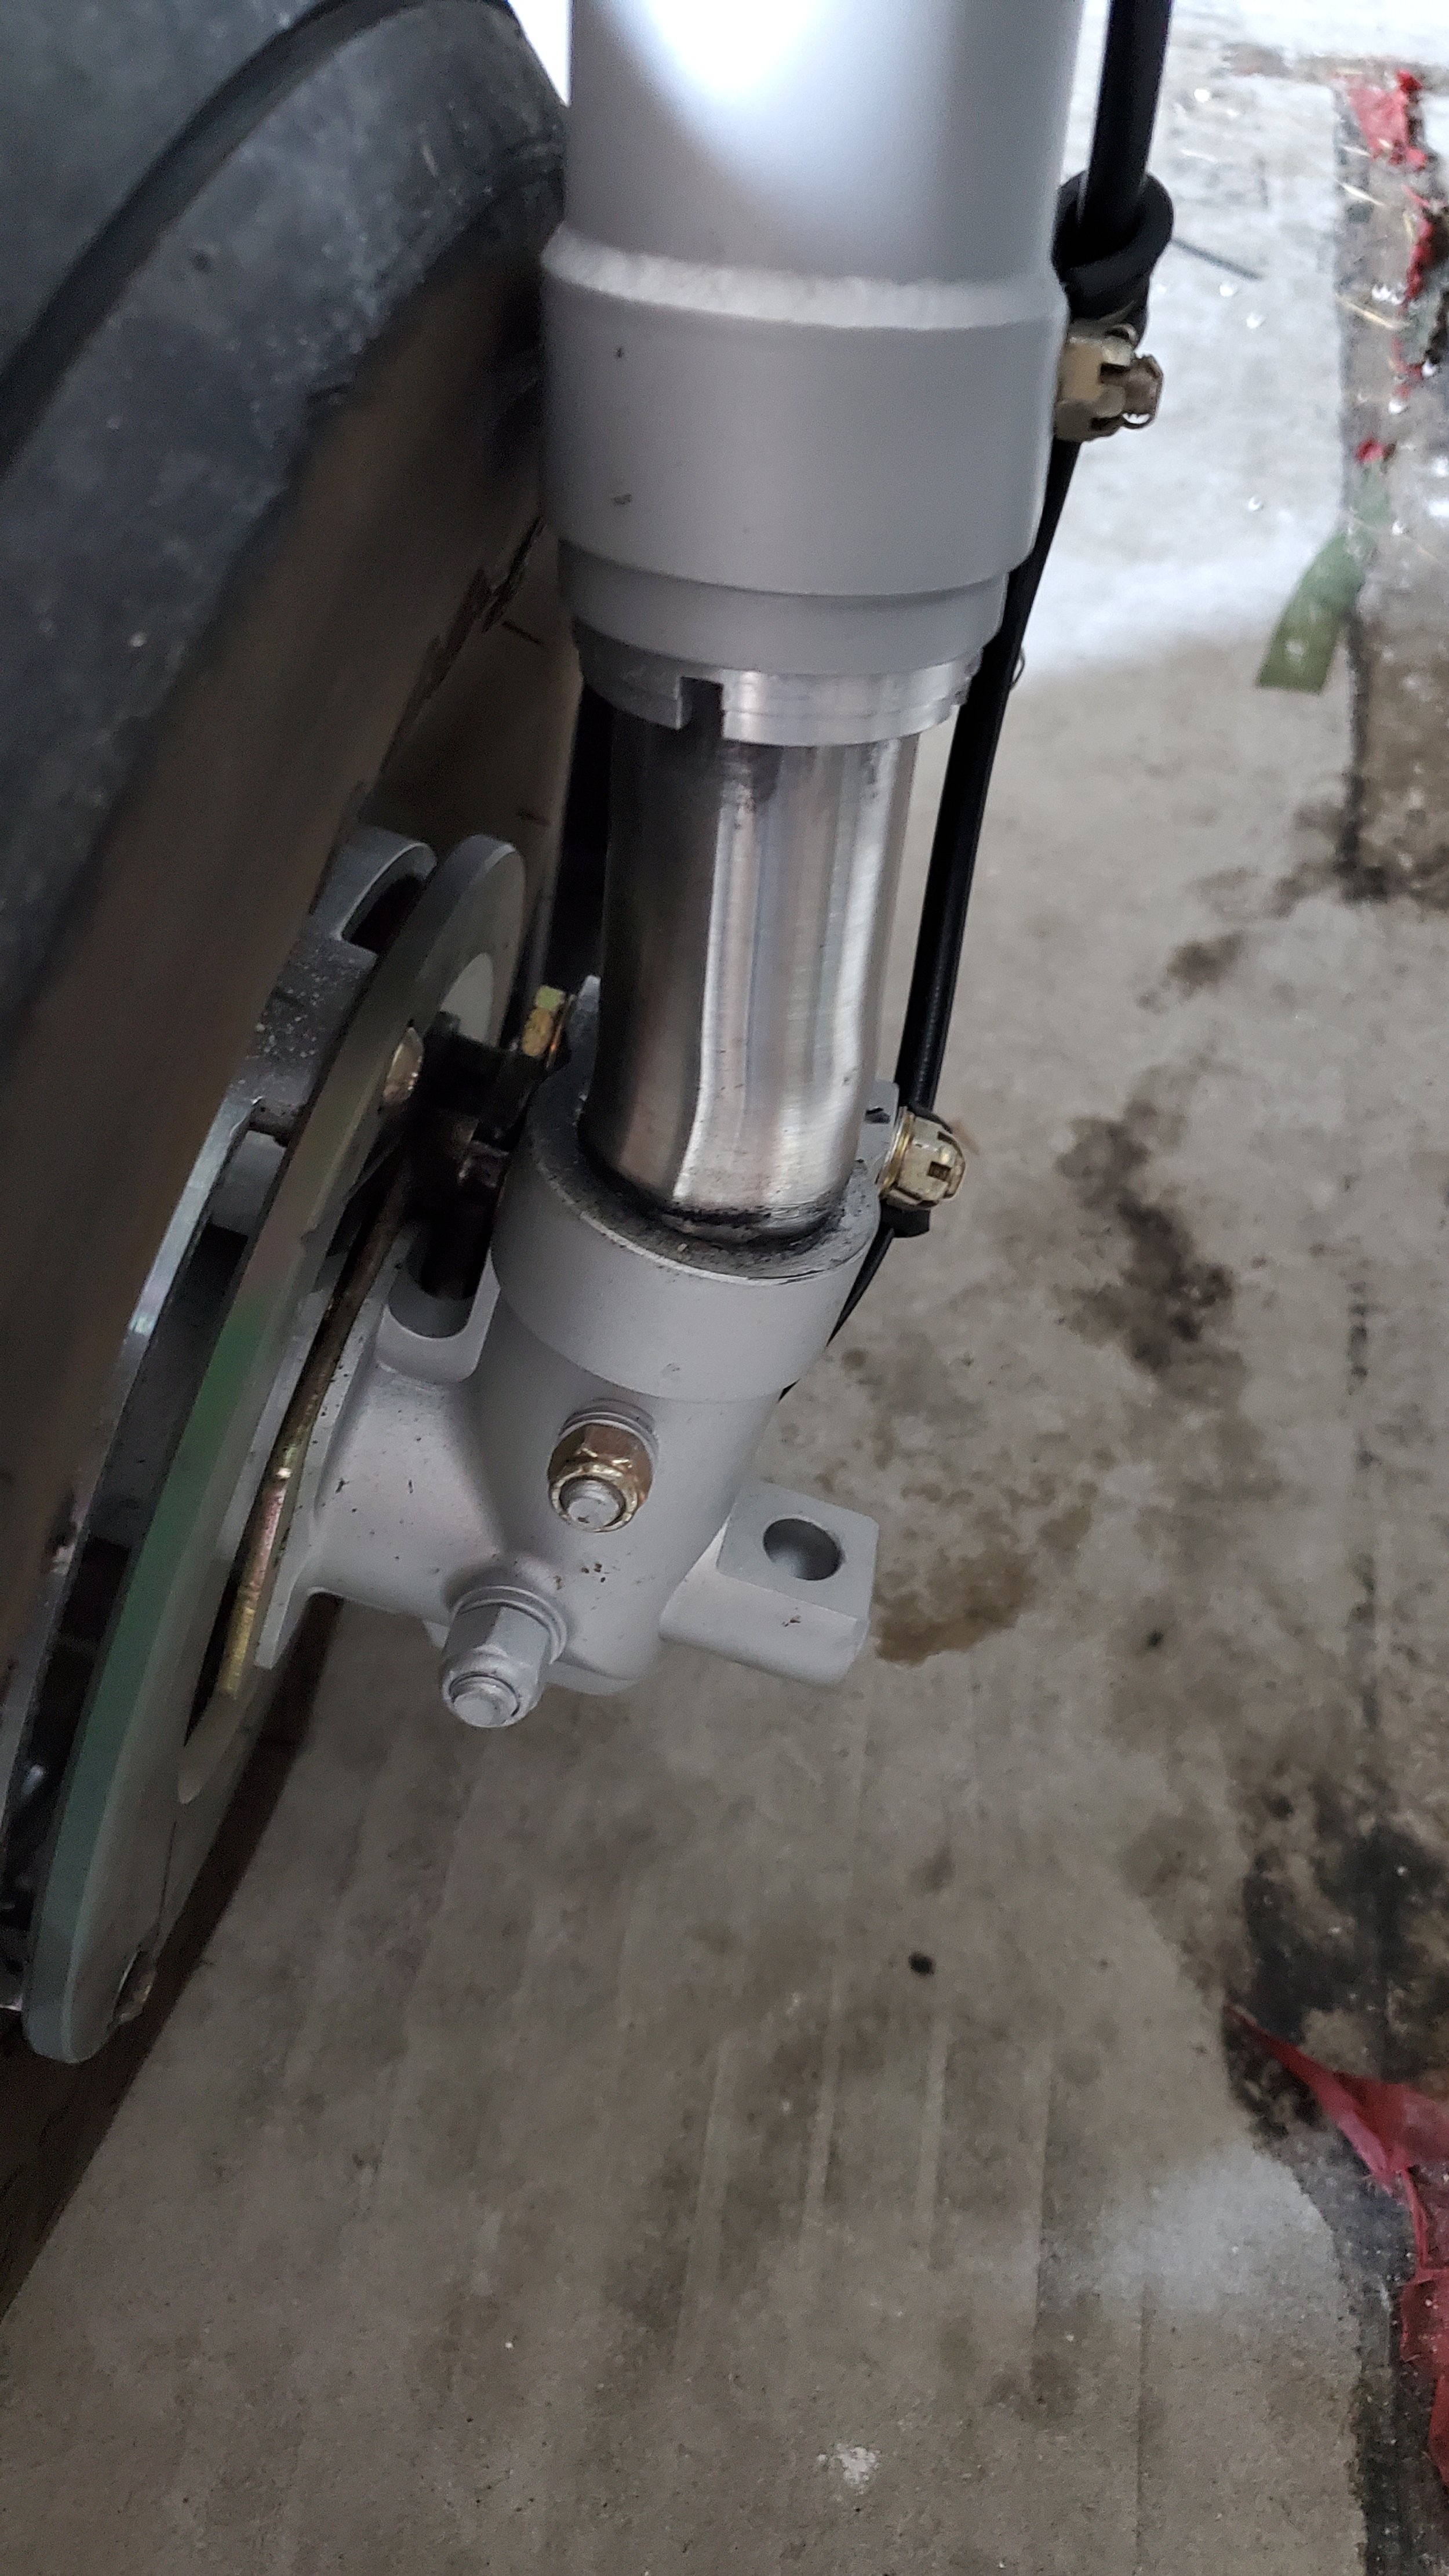
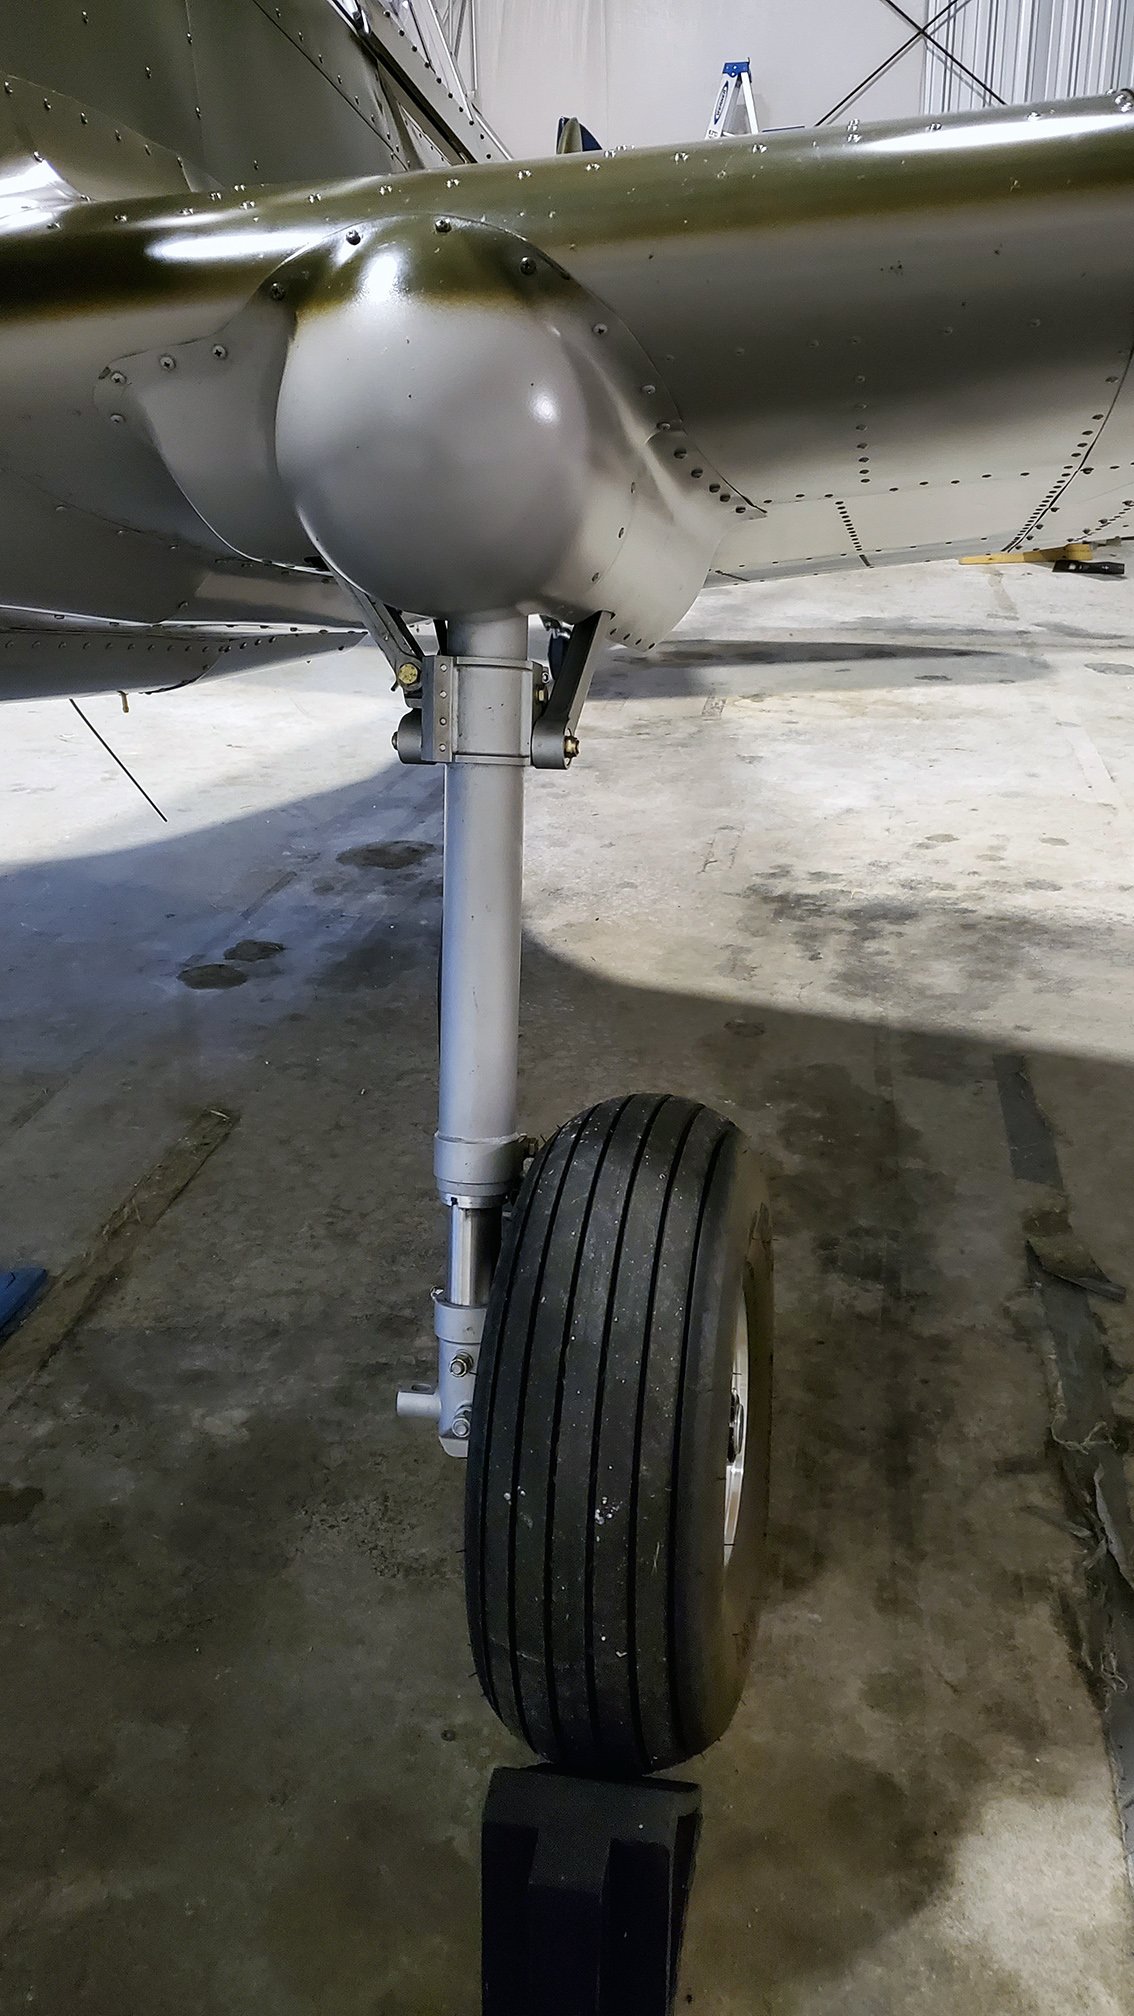
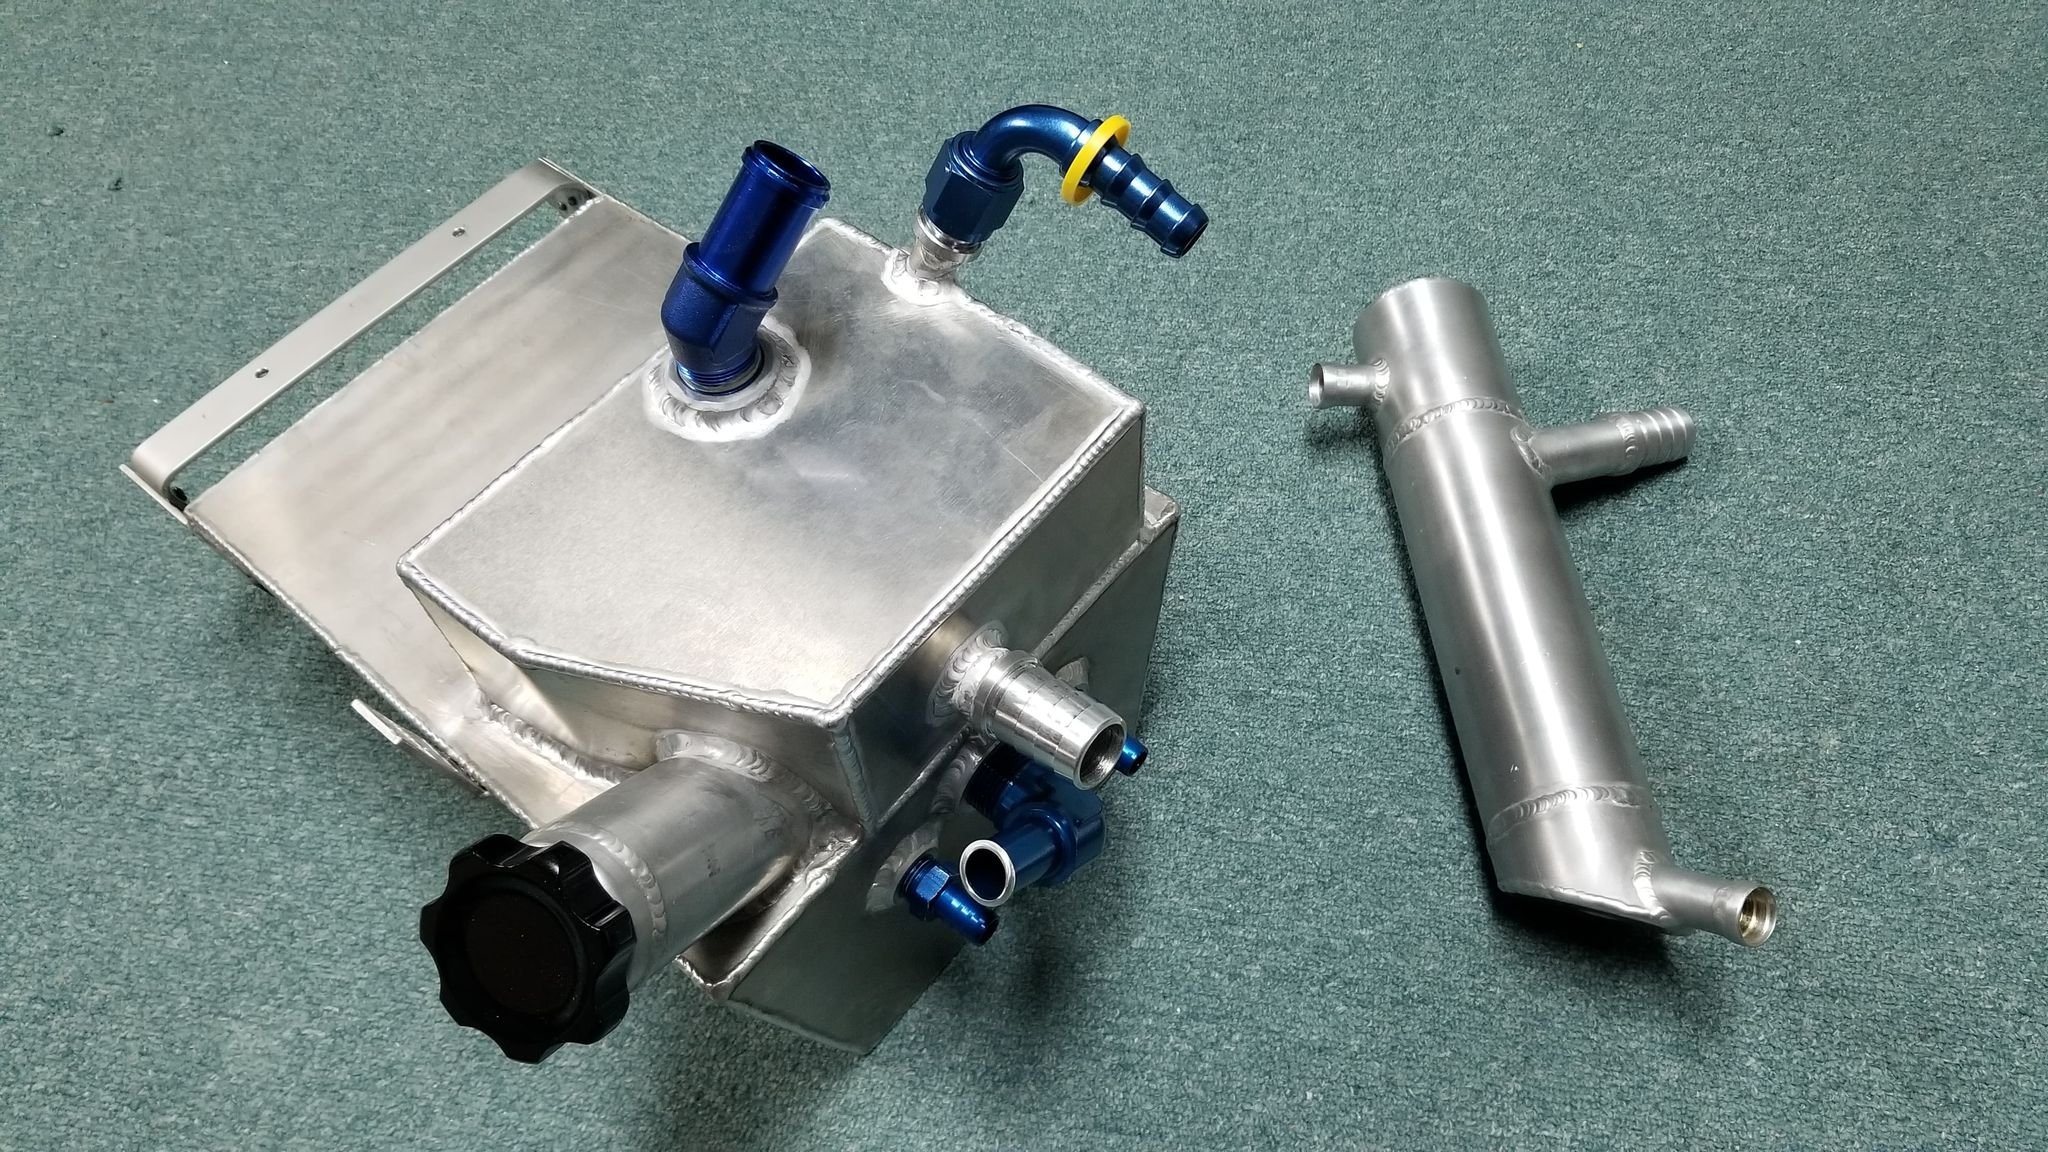
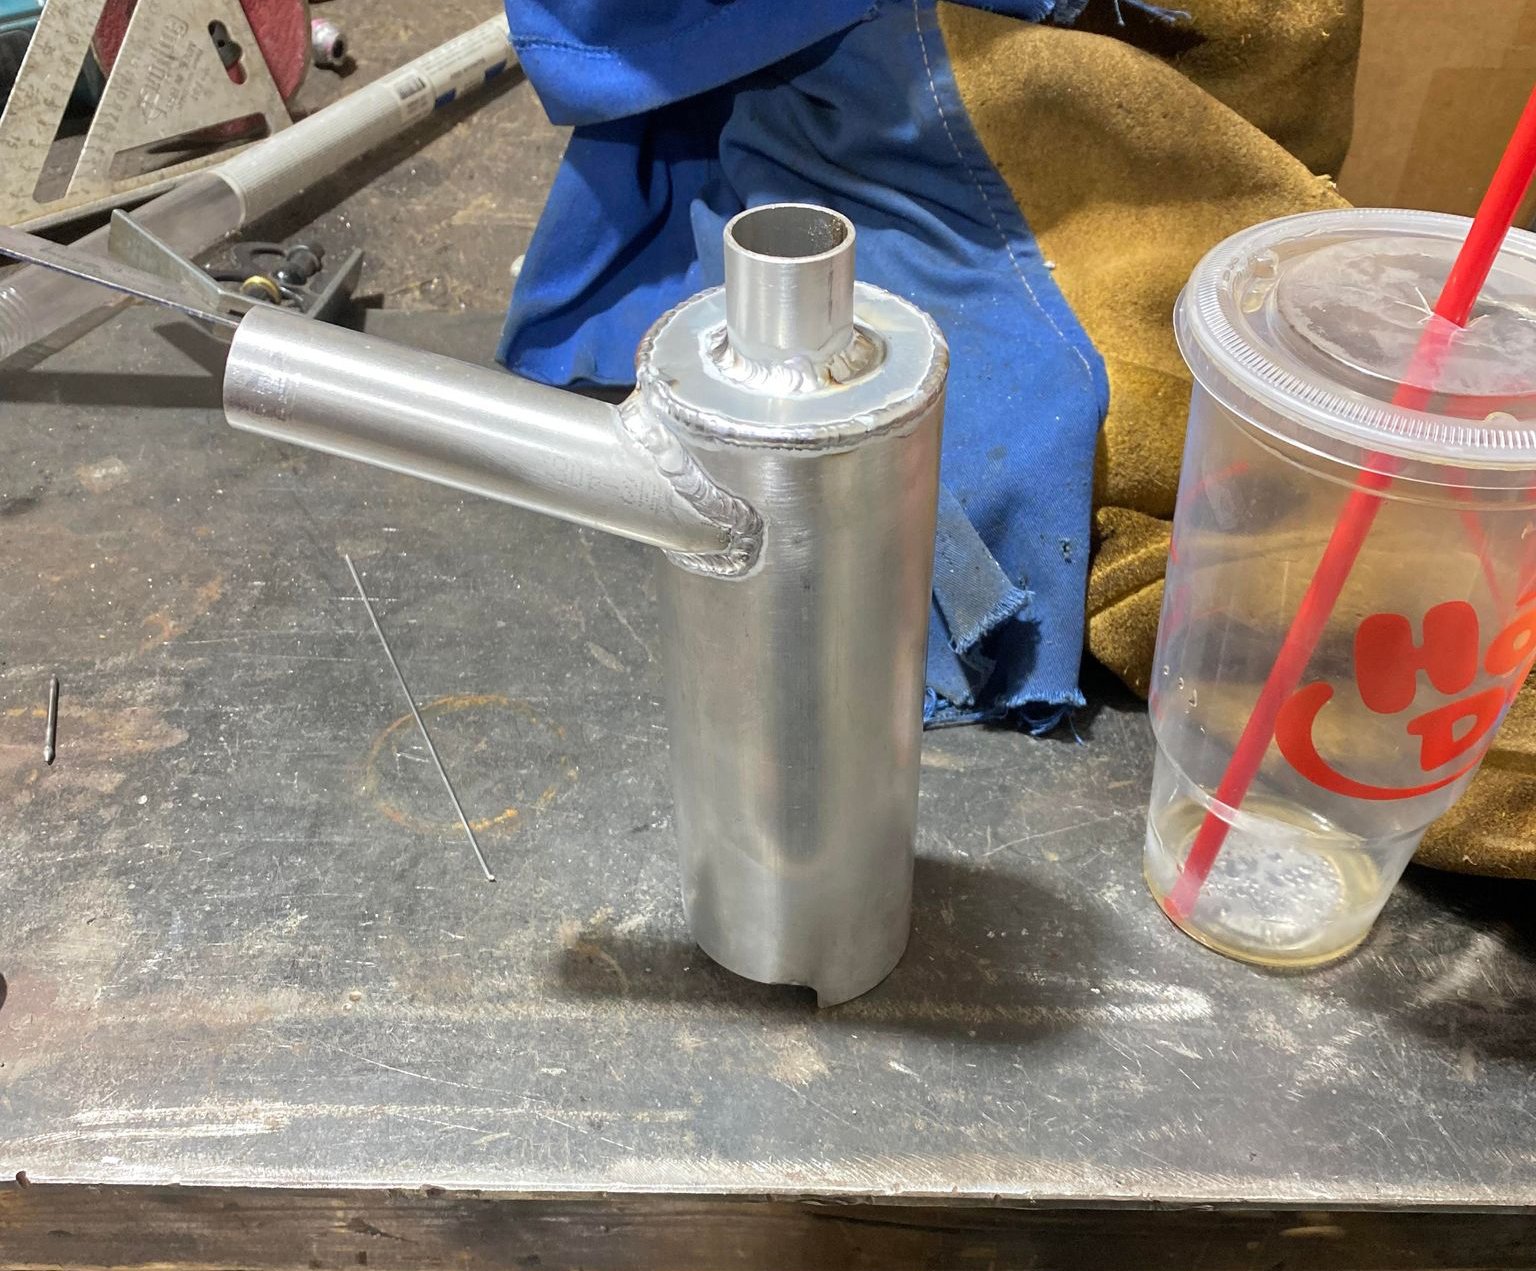
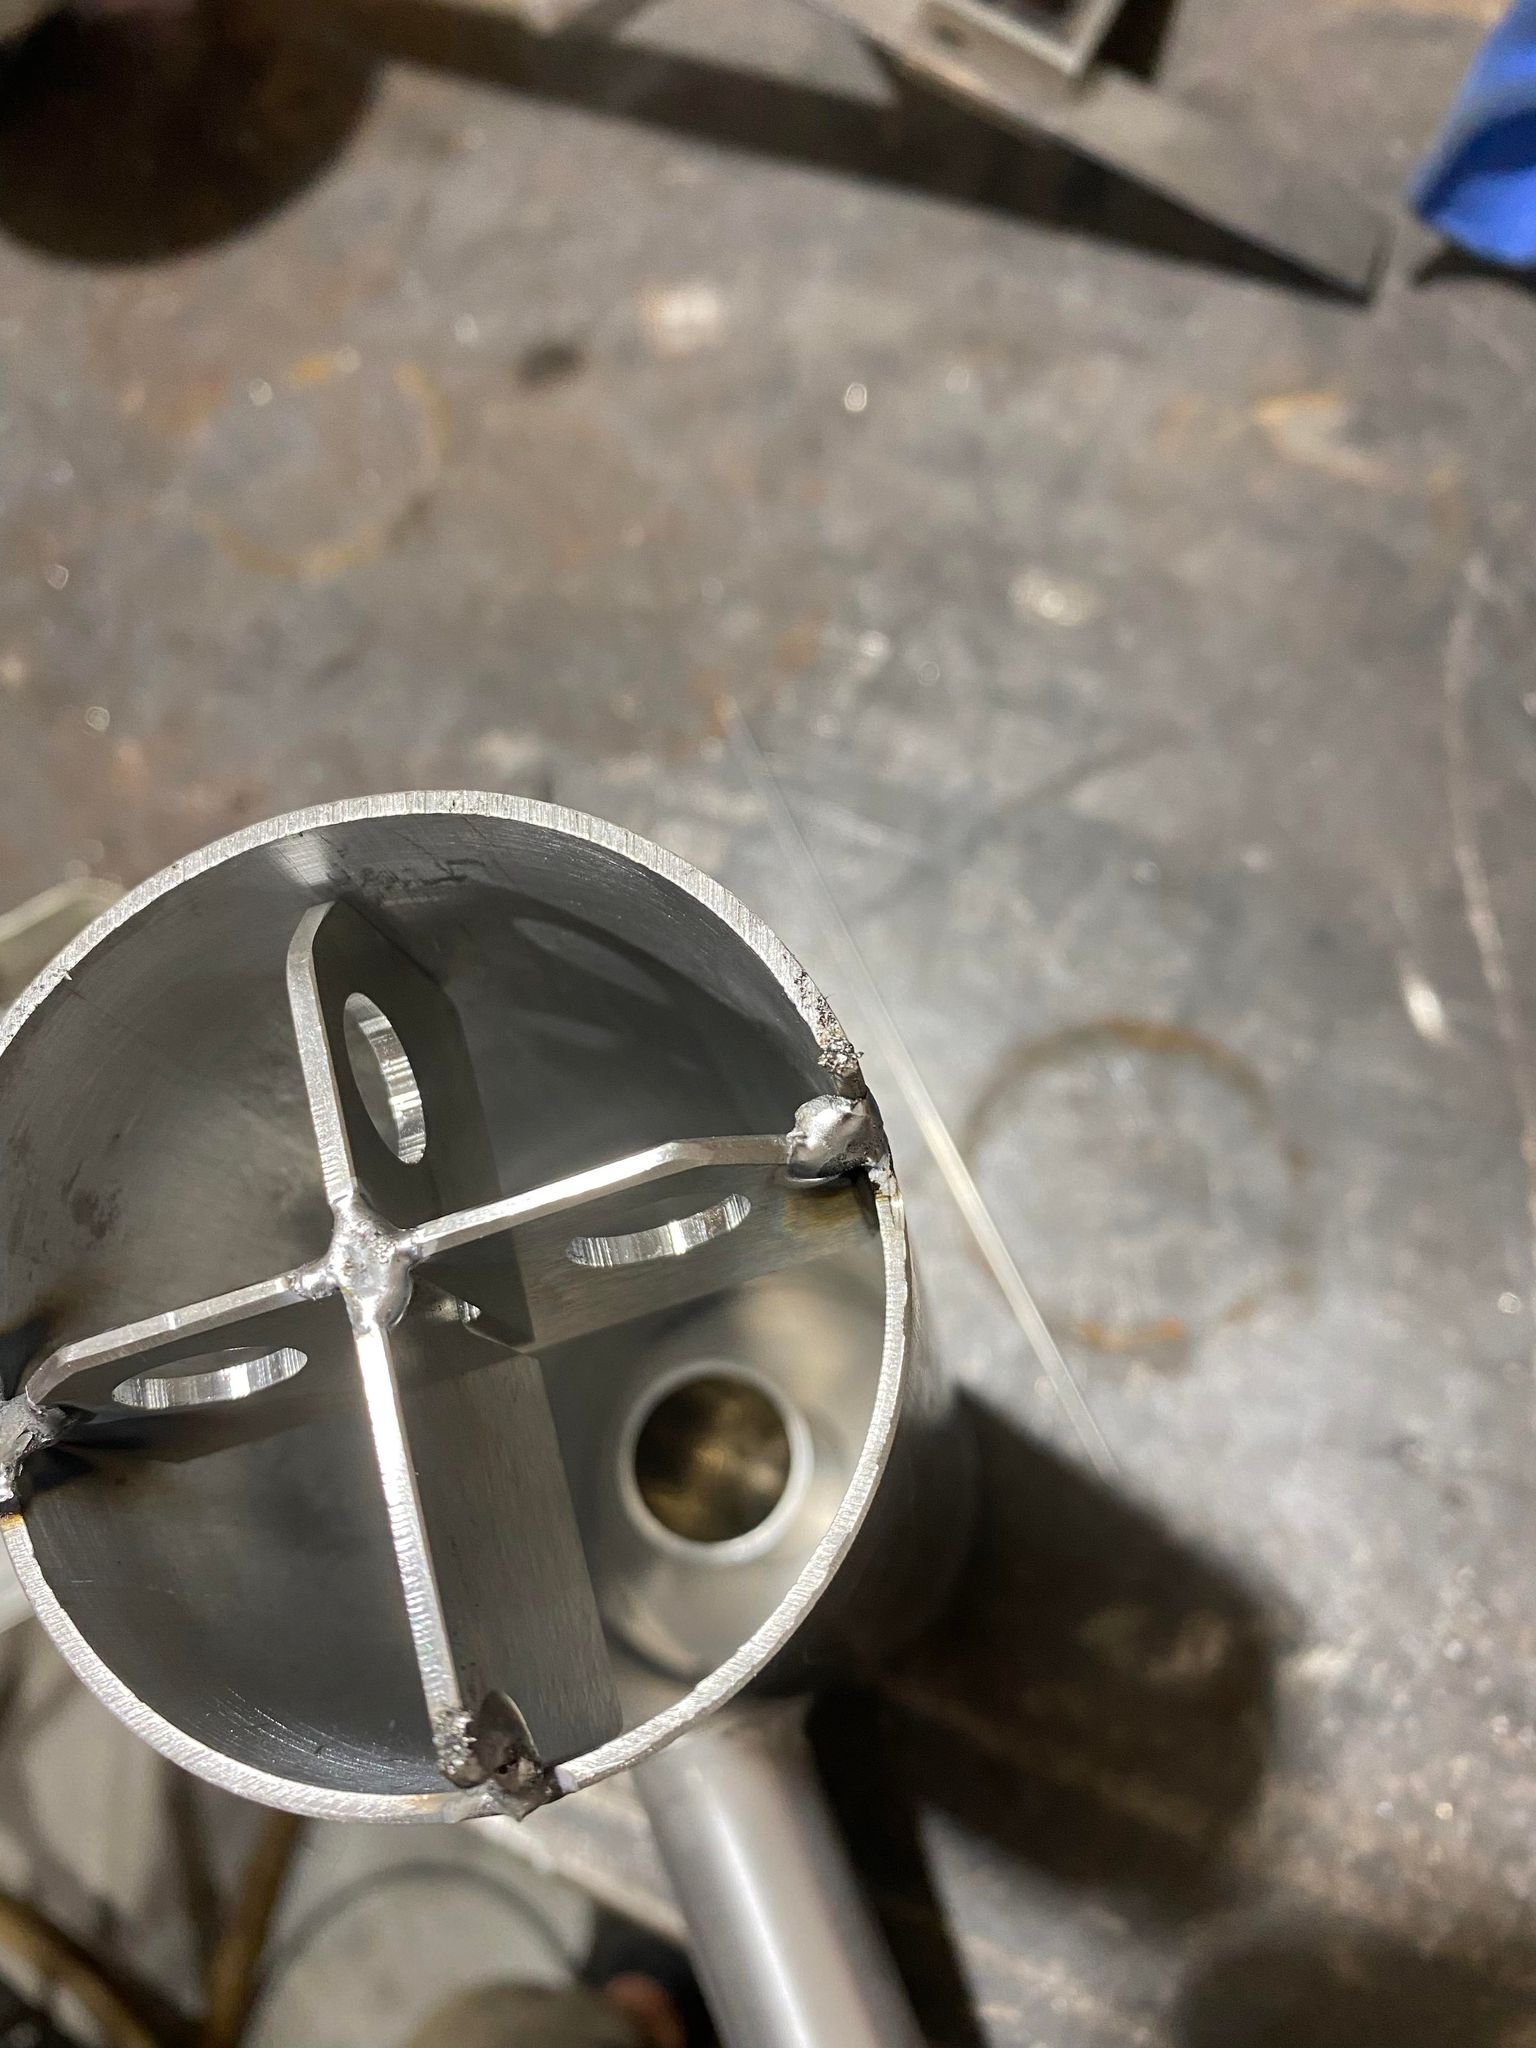
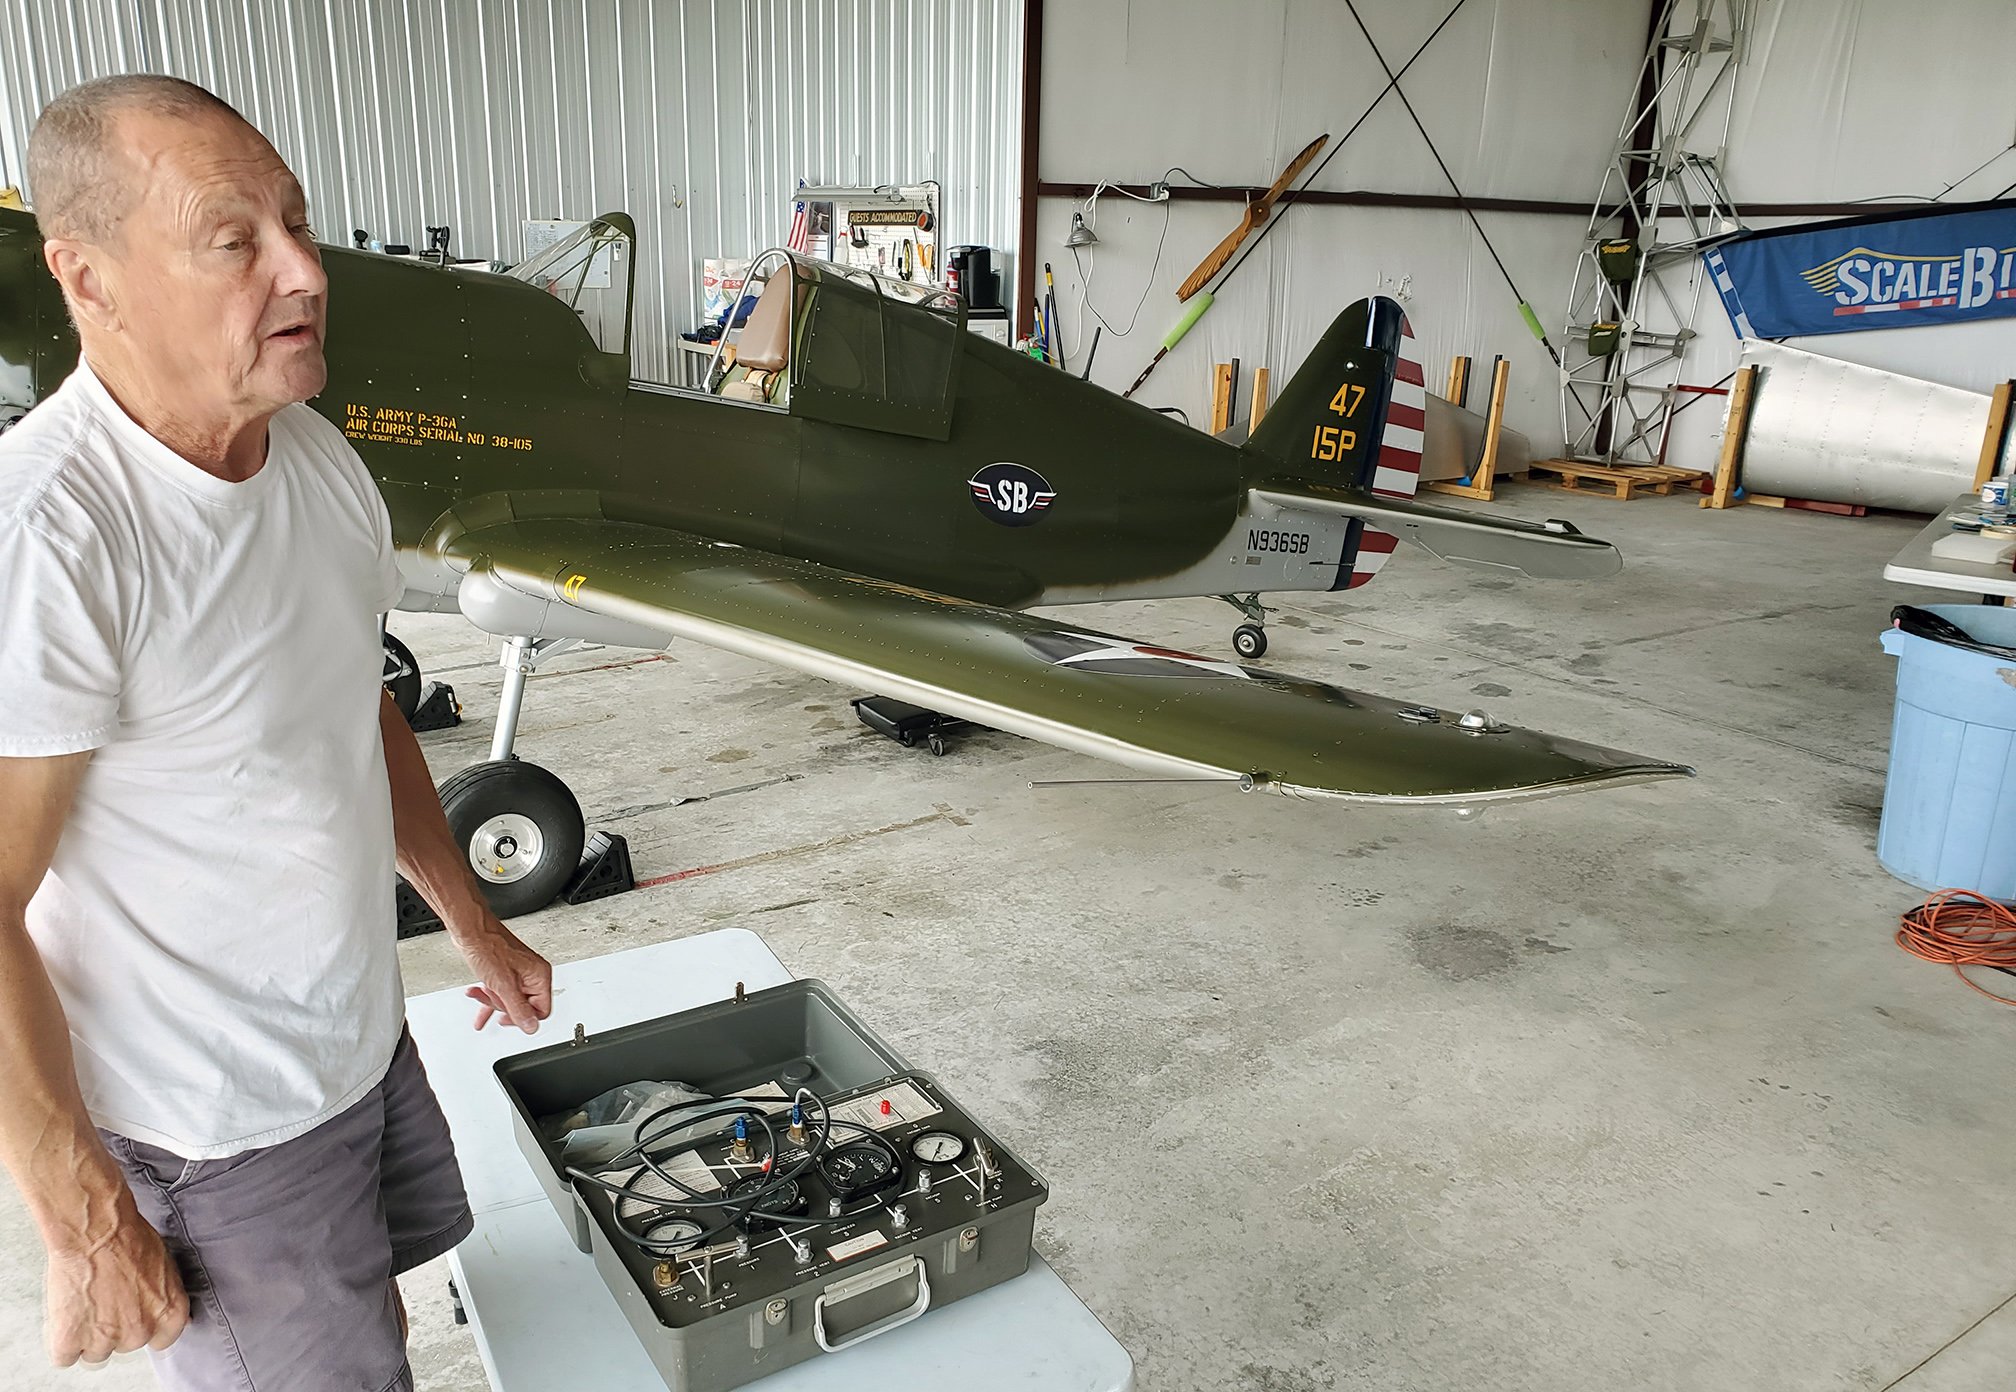
Scott has the landing gear changes modeled and will get to ordering parts and material this week. The lower leg/struts are going to be chromed steel with a .125” wall thickness. They are fairly short - about 12” so wont weigh too much. The rest is going to be delrin and aluminum internal parts which will weigh a lot less than the heavy springs we have in there. So hopefully we will loose weight overall. Having oleo (oil and compressed air) gear legs will dampen the landing bounces much better than the spring gear legs. Hopefully!

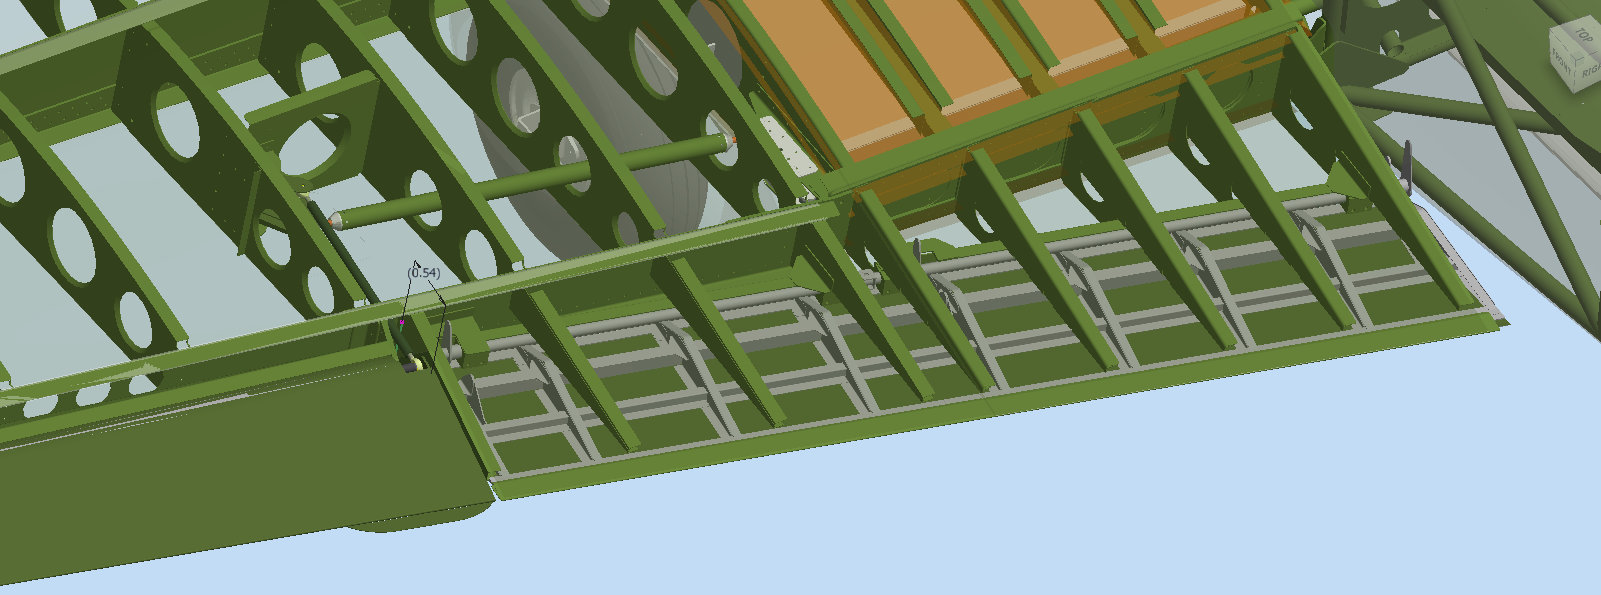
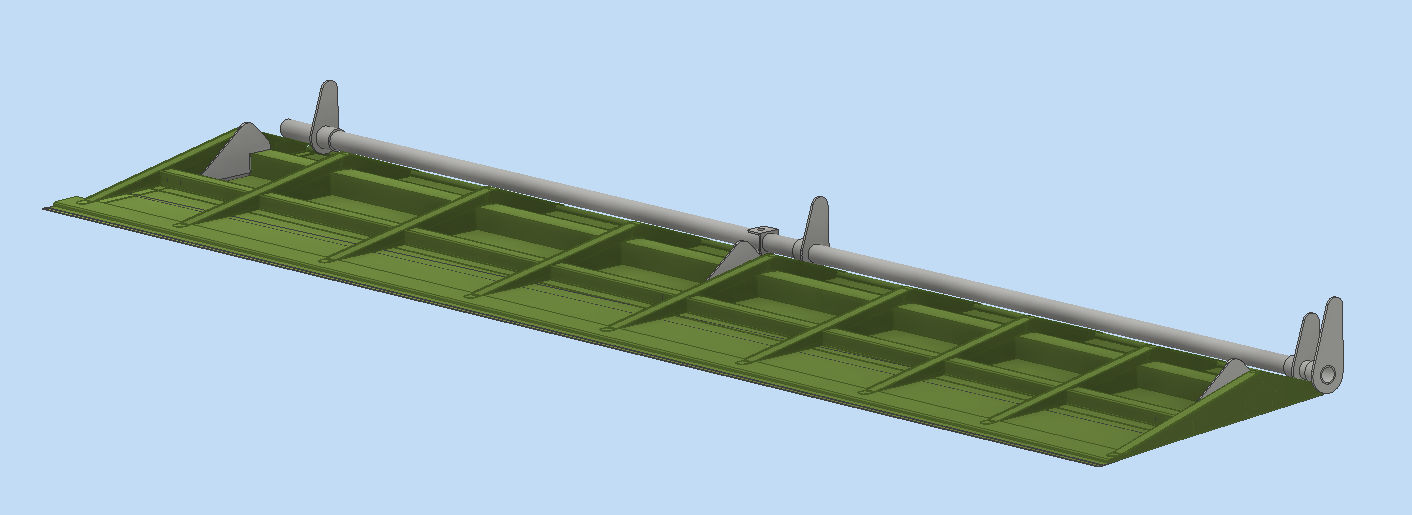
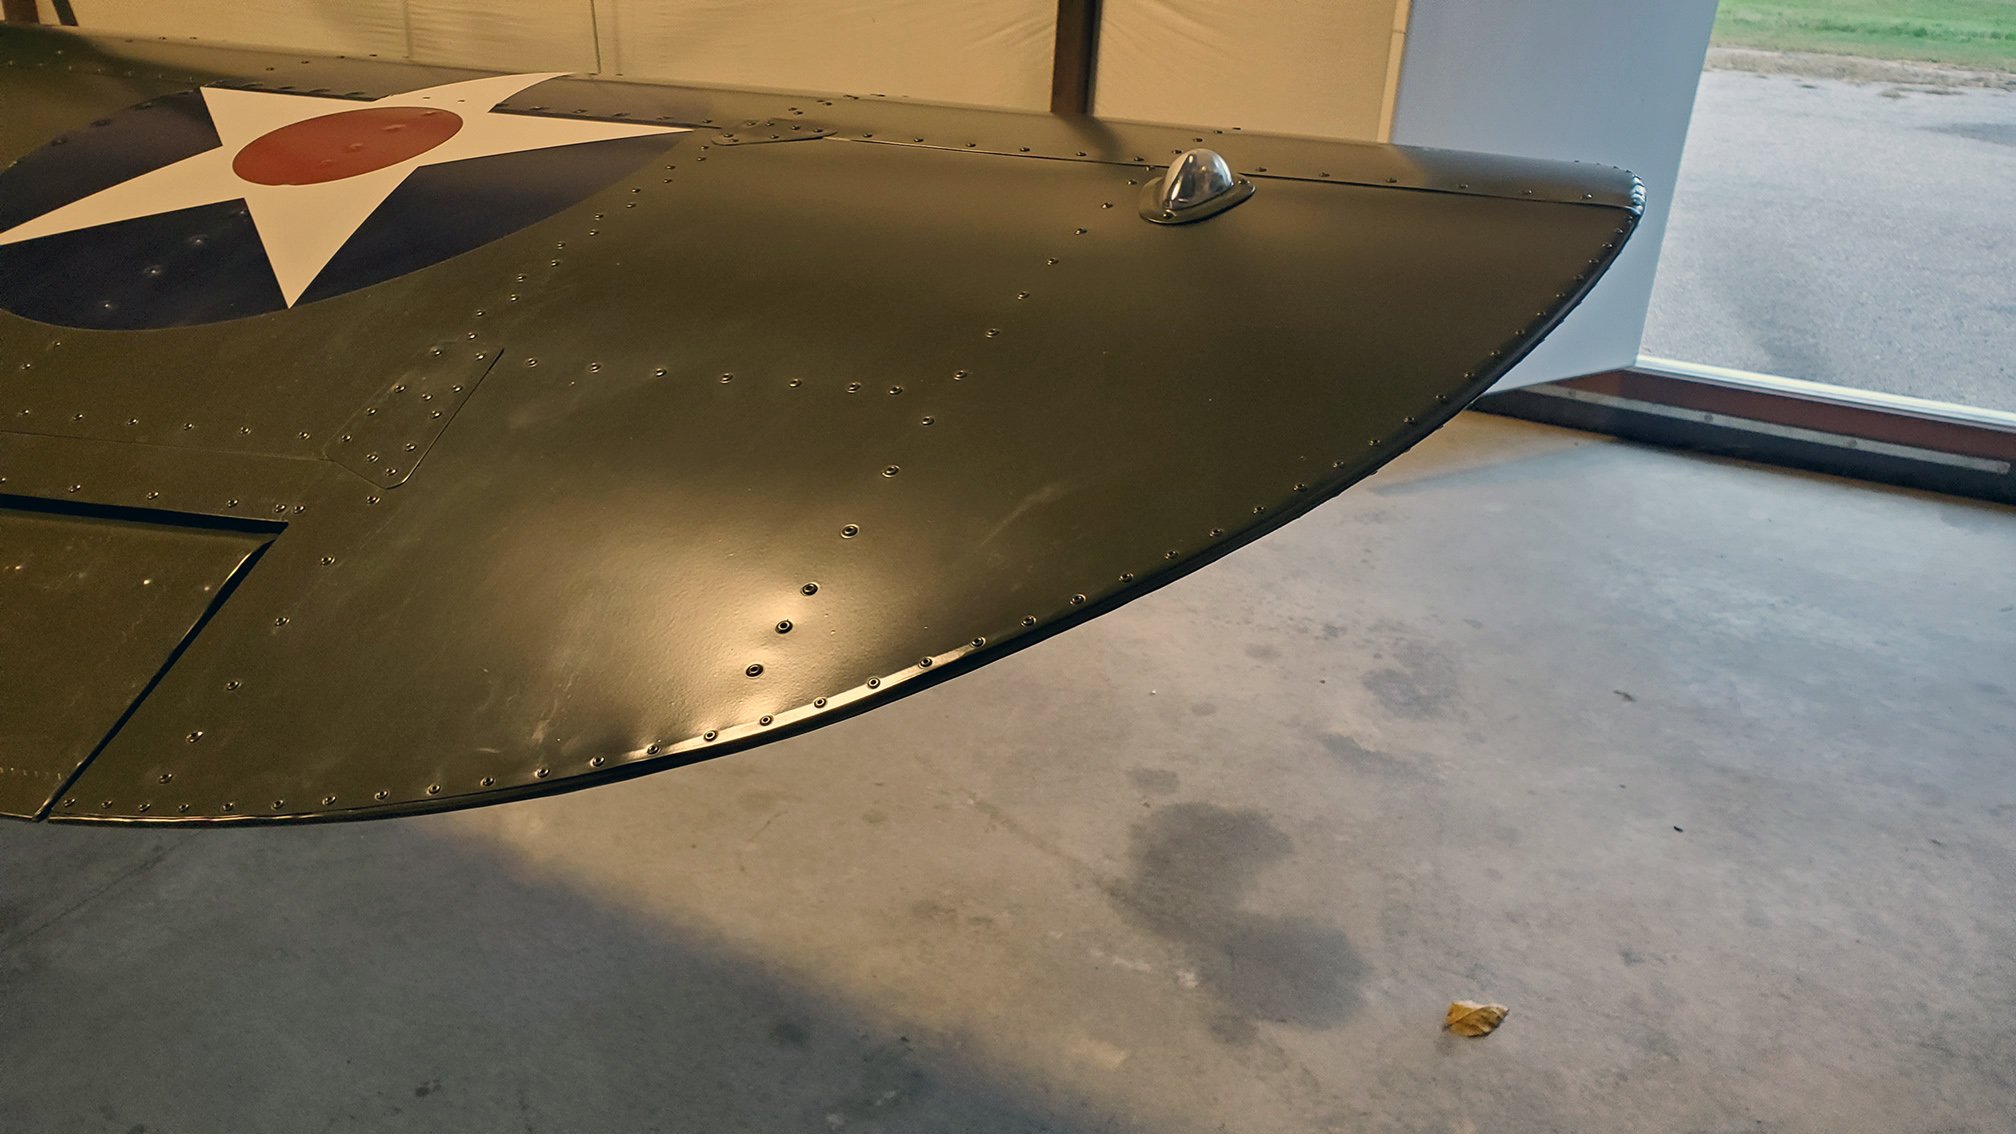
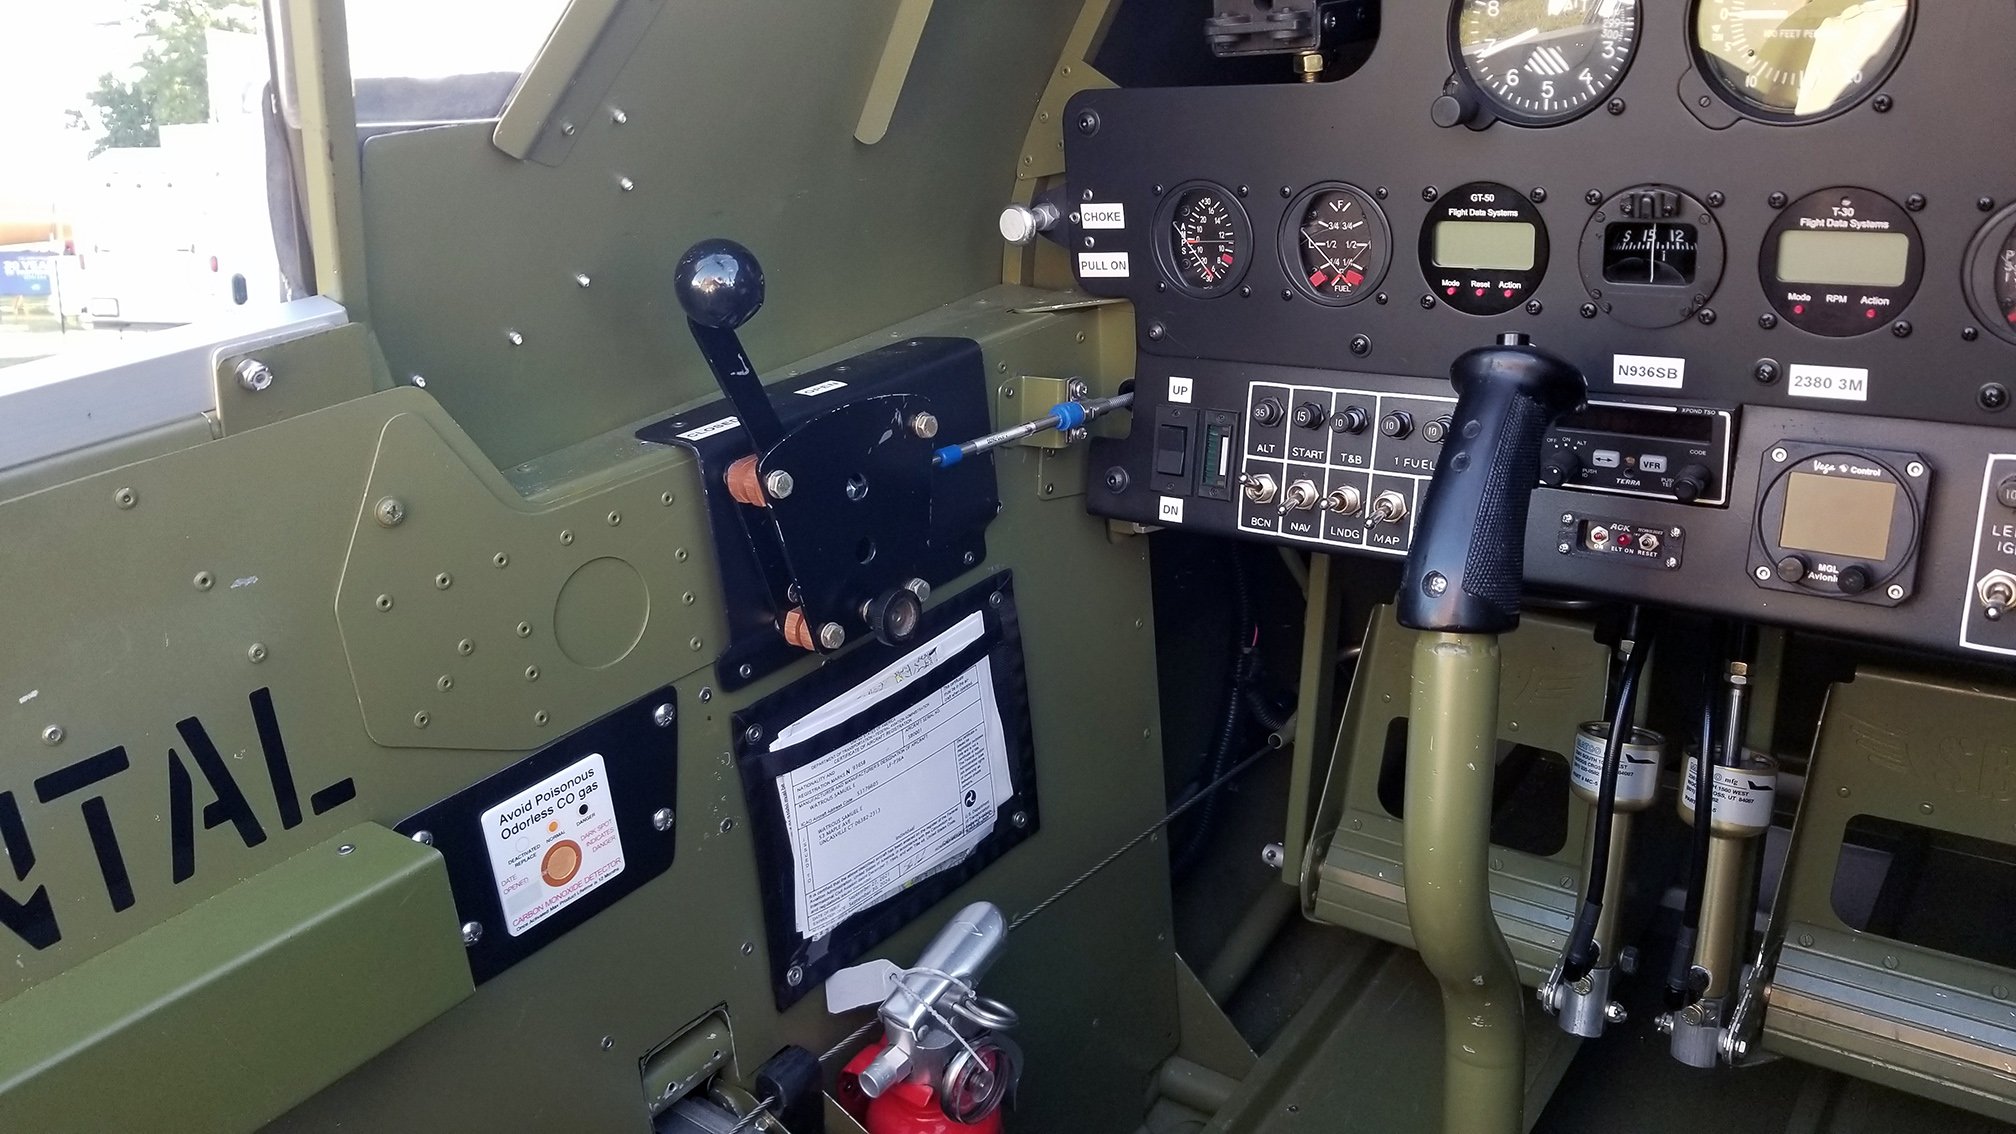
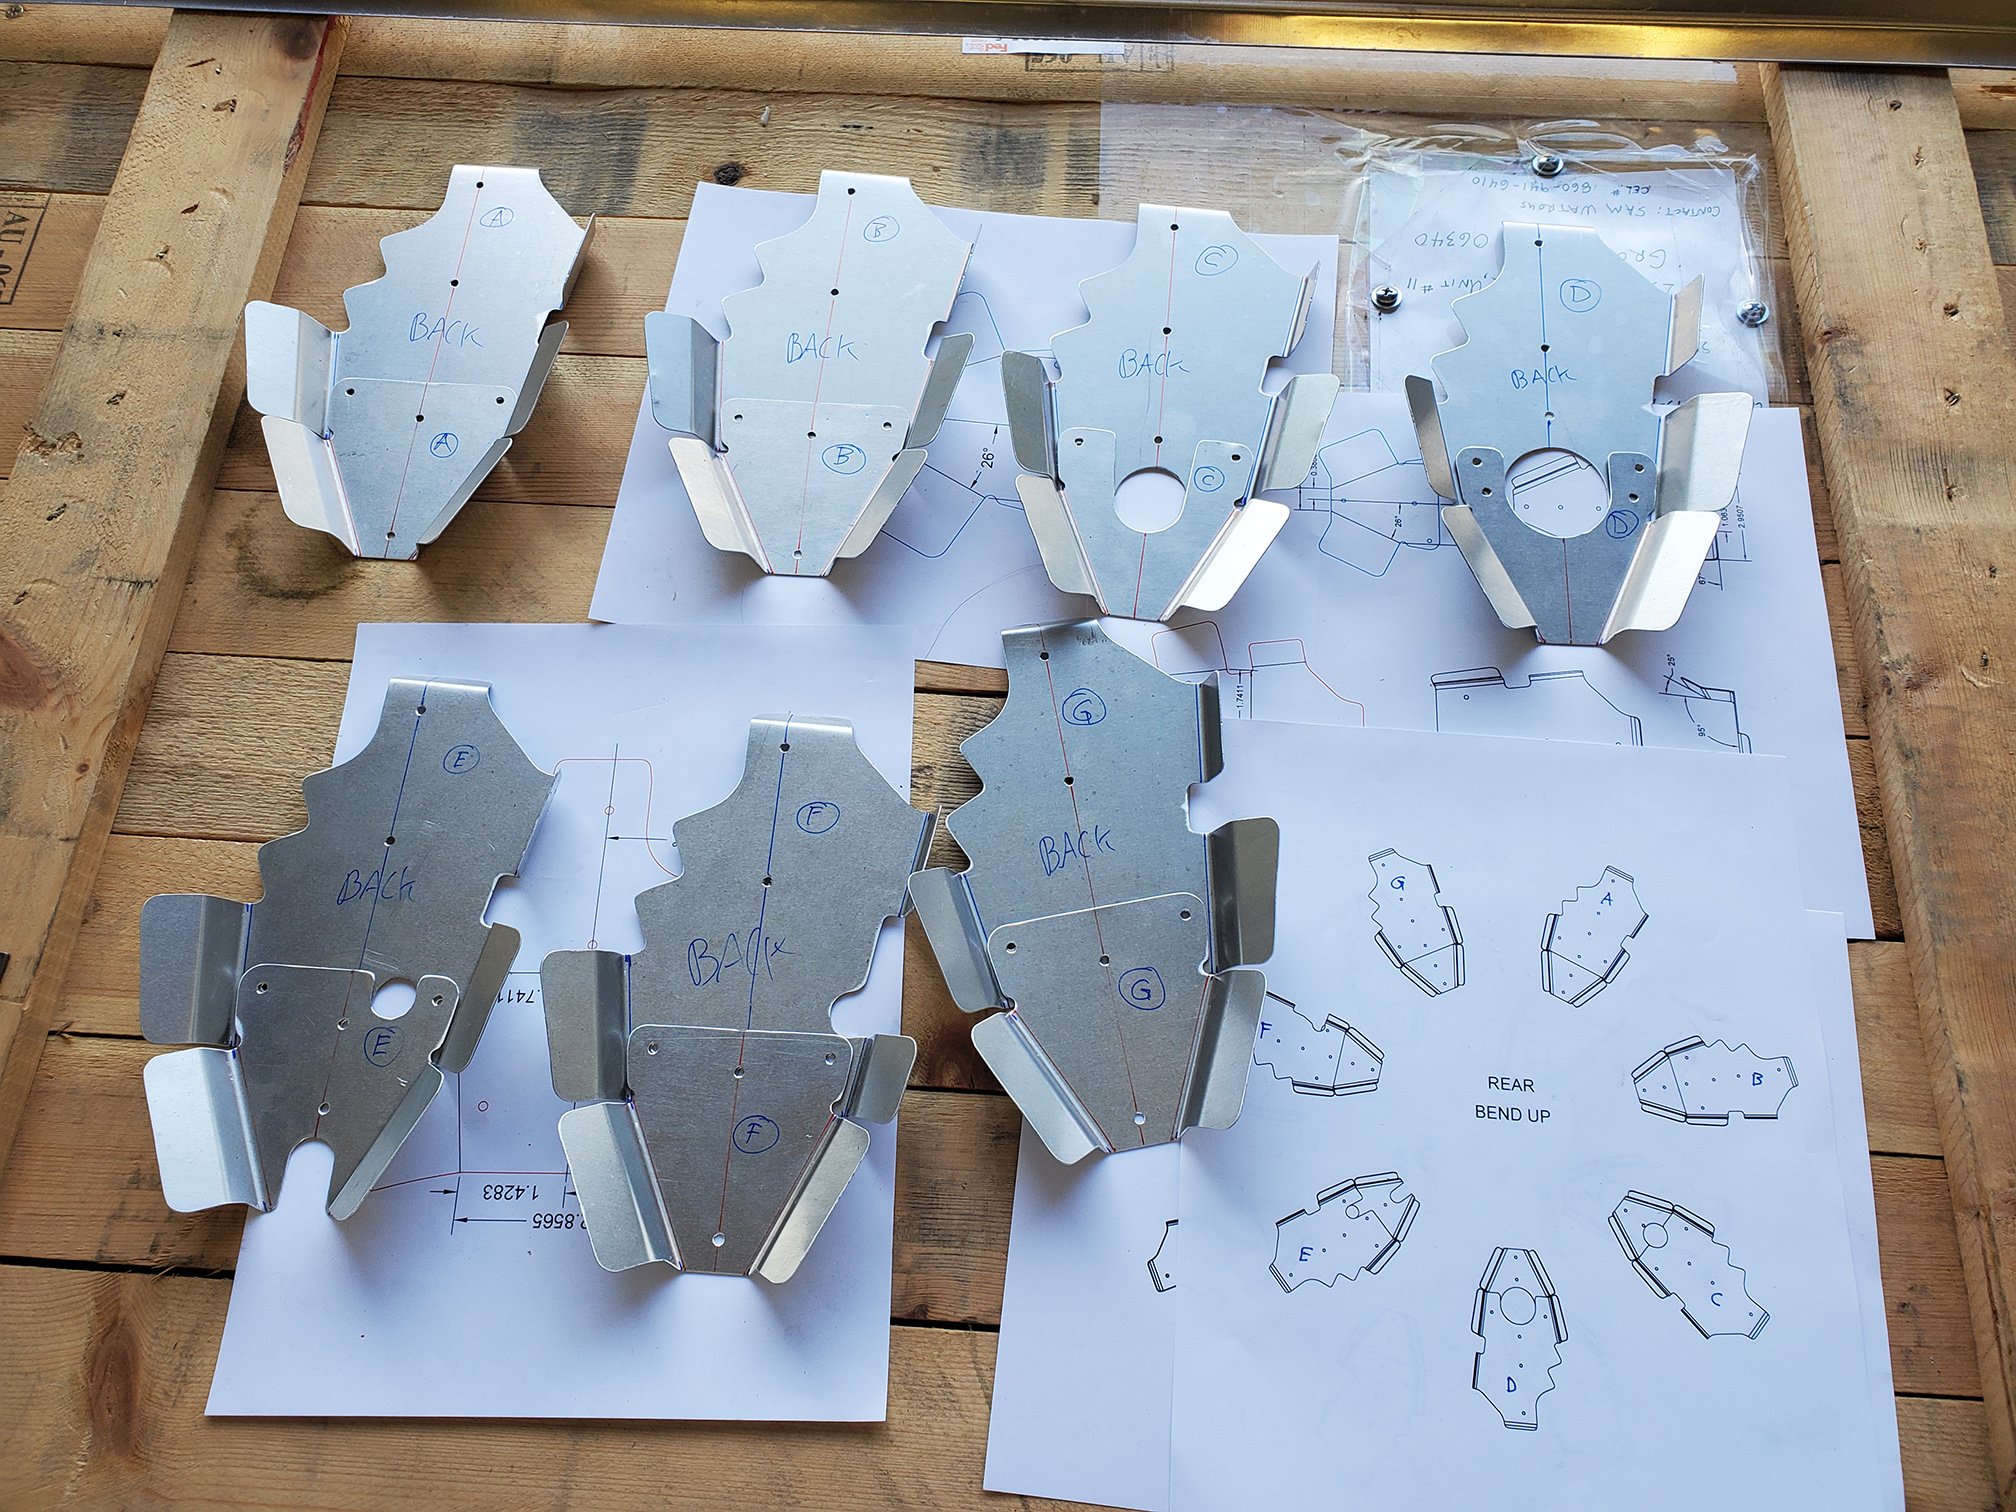
I am modeling the split flaps and actuation assembly. The flaps and wing mods are designed. Still working on the actuation. I have an electric flap motor that Im thinking of using, but my engineers want me to put in a manual flap handle. One less thing to fail at the wrong time - although I’ve never had electric flaps fail on me in my Cessna and Grumman flying career. Trying to find the space for it between the seat and side wall - as it wasn’t there when we put other stuff in place. Manual flaps are fun - flown with them in Cherokee’s. They are great for feedback and quick action. Flap position indication is intuitive as well and less parts. Gonna try to make that work. Either way, almost ready to start cutting sheet metal. Yah!

Elliot Seguin said he would be available in the Spring to help us out. We still have the stall and envelope expansion flight testing to do. I want to do the next flights after the mods to make sure we iron out all the issues so Elliot doesn’t have to. Way more productive to have him flying those test cards and not managing temps, pressures and stuff. More productive is more cost effective too!

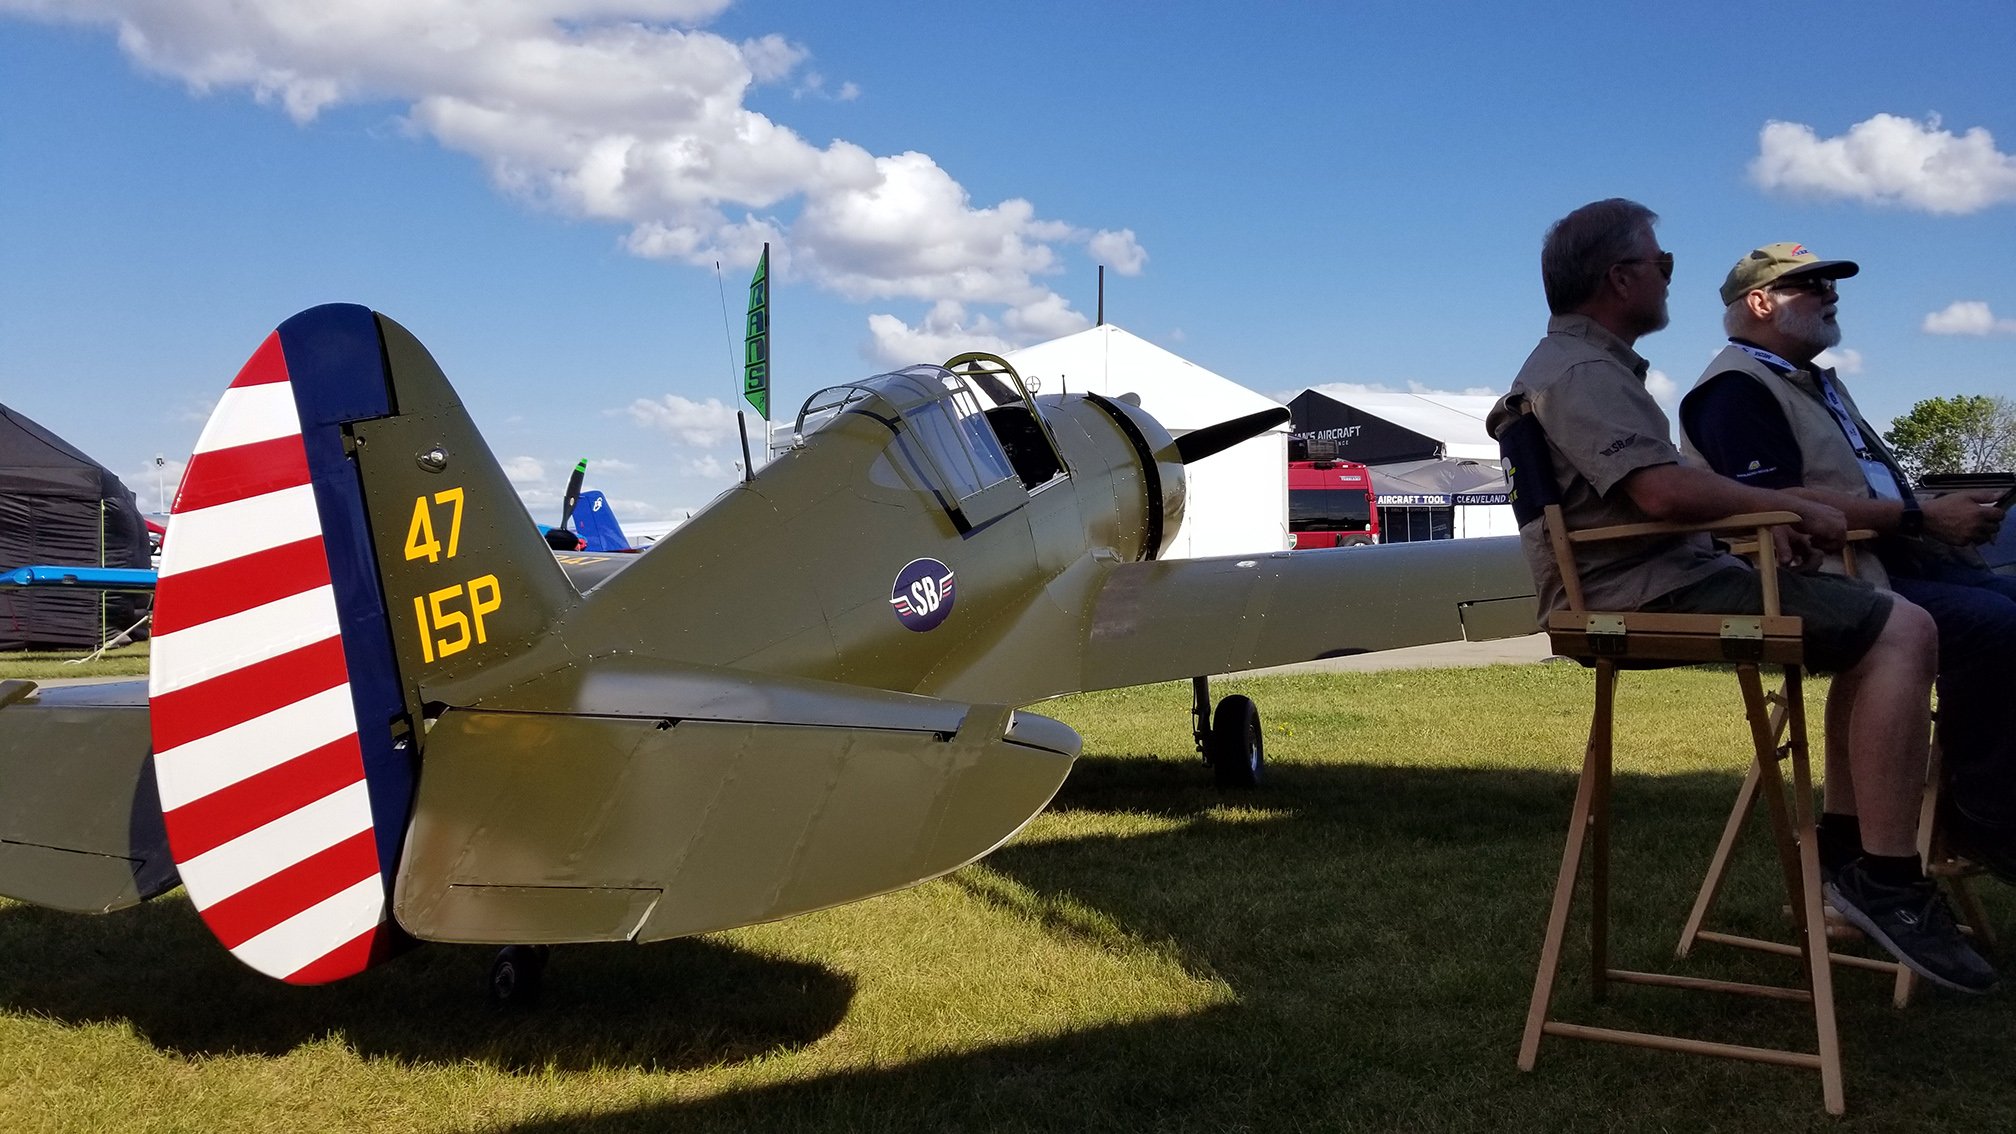
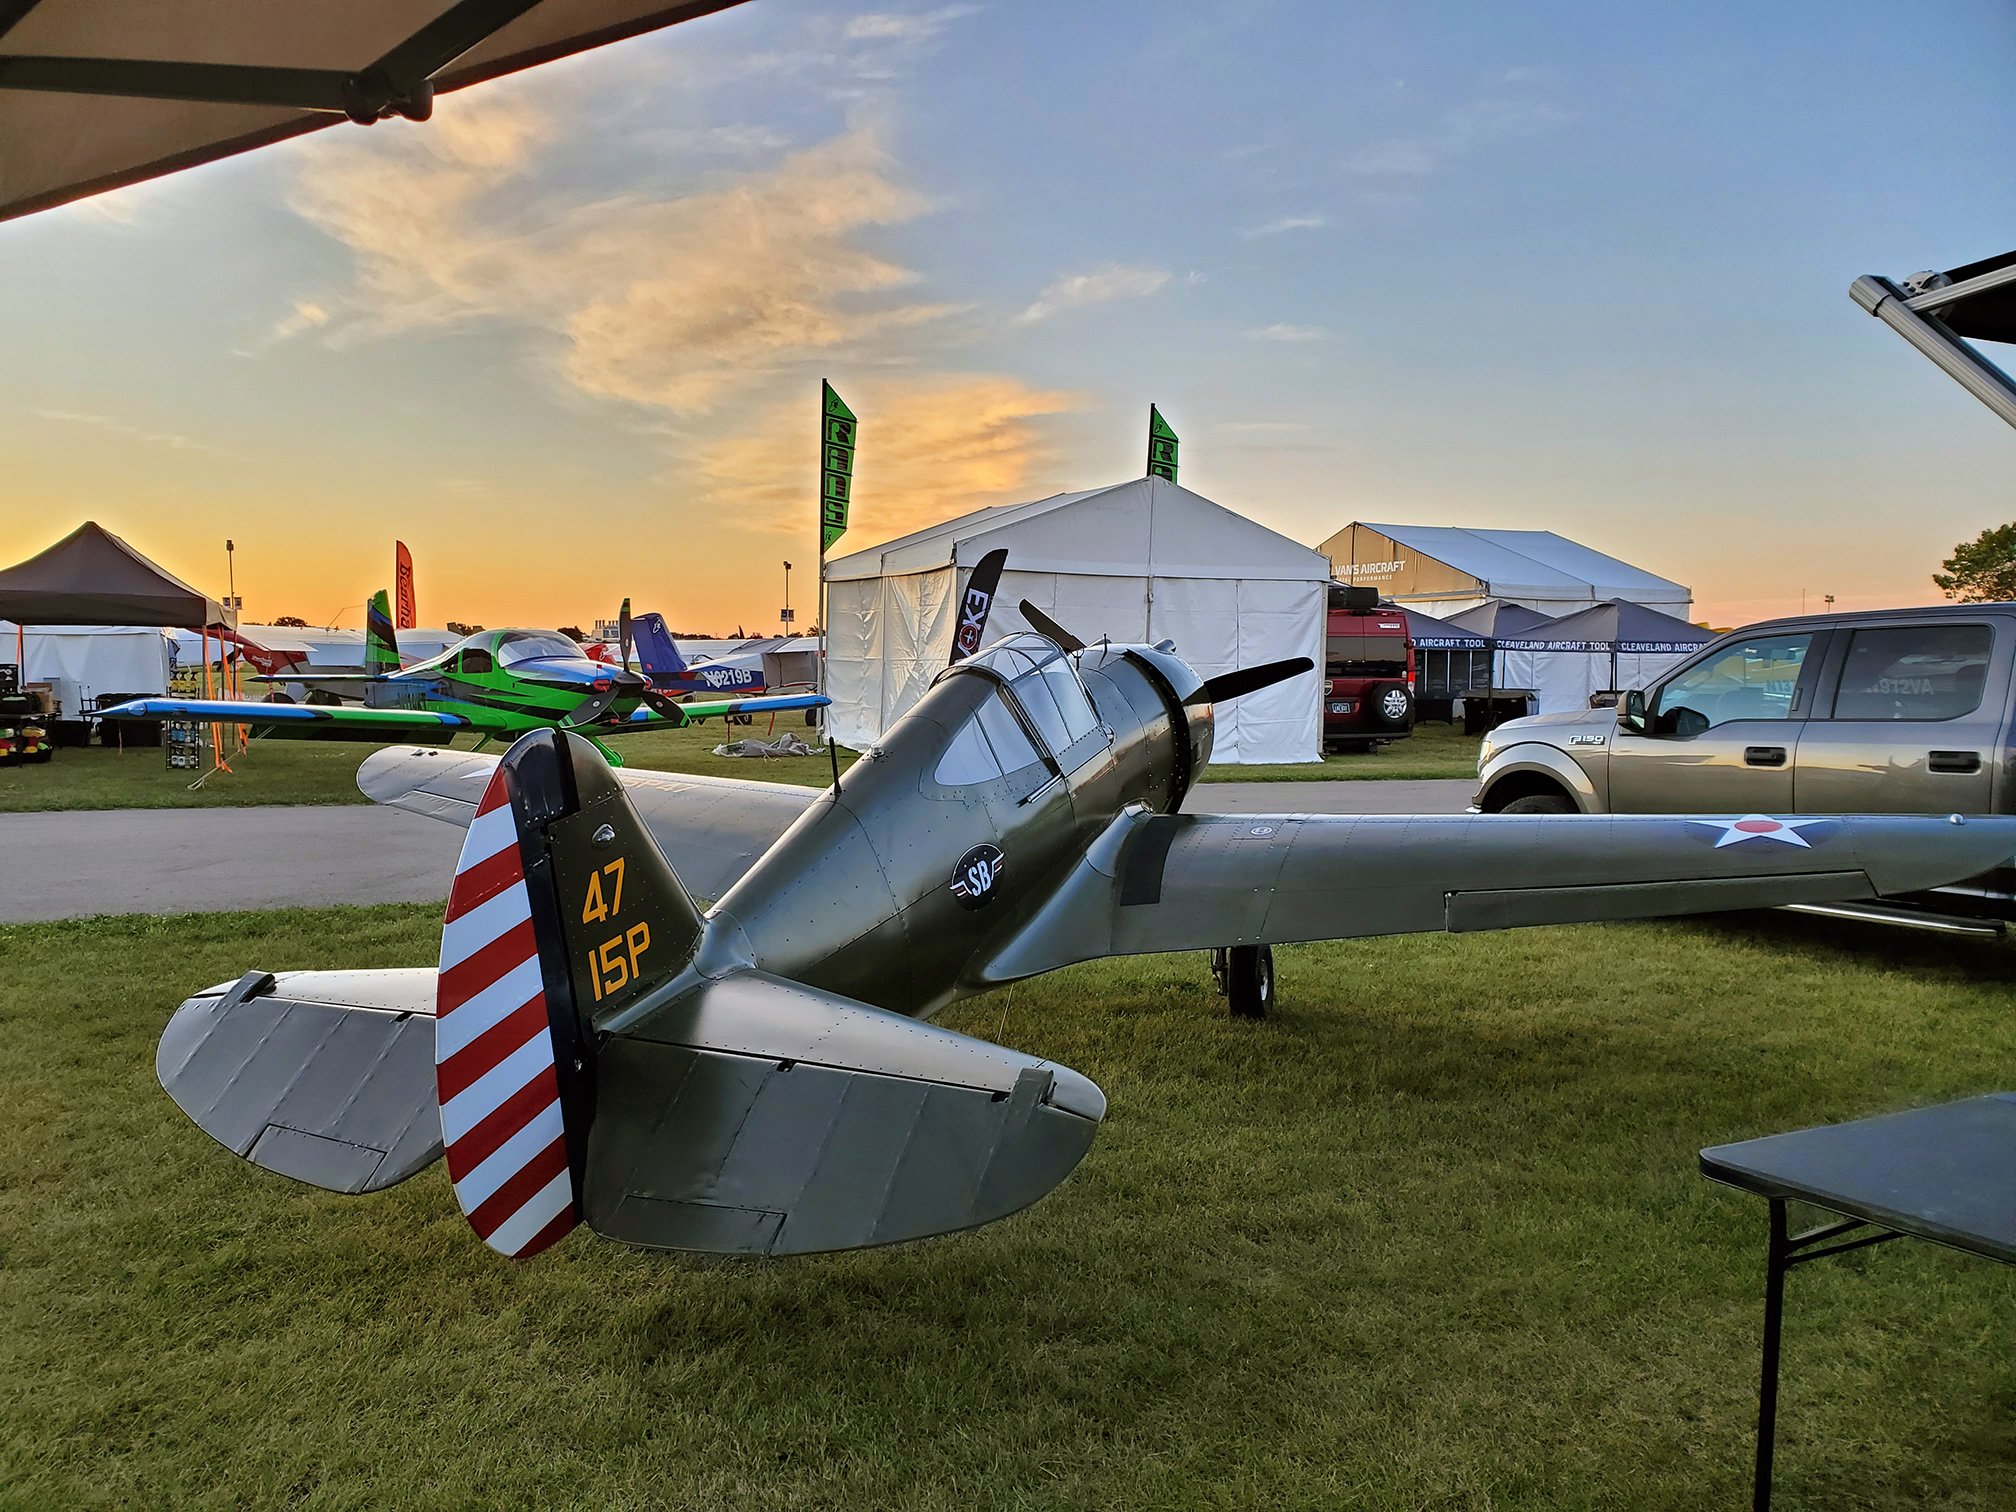
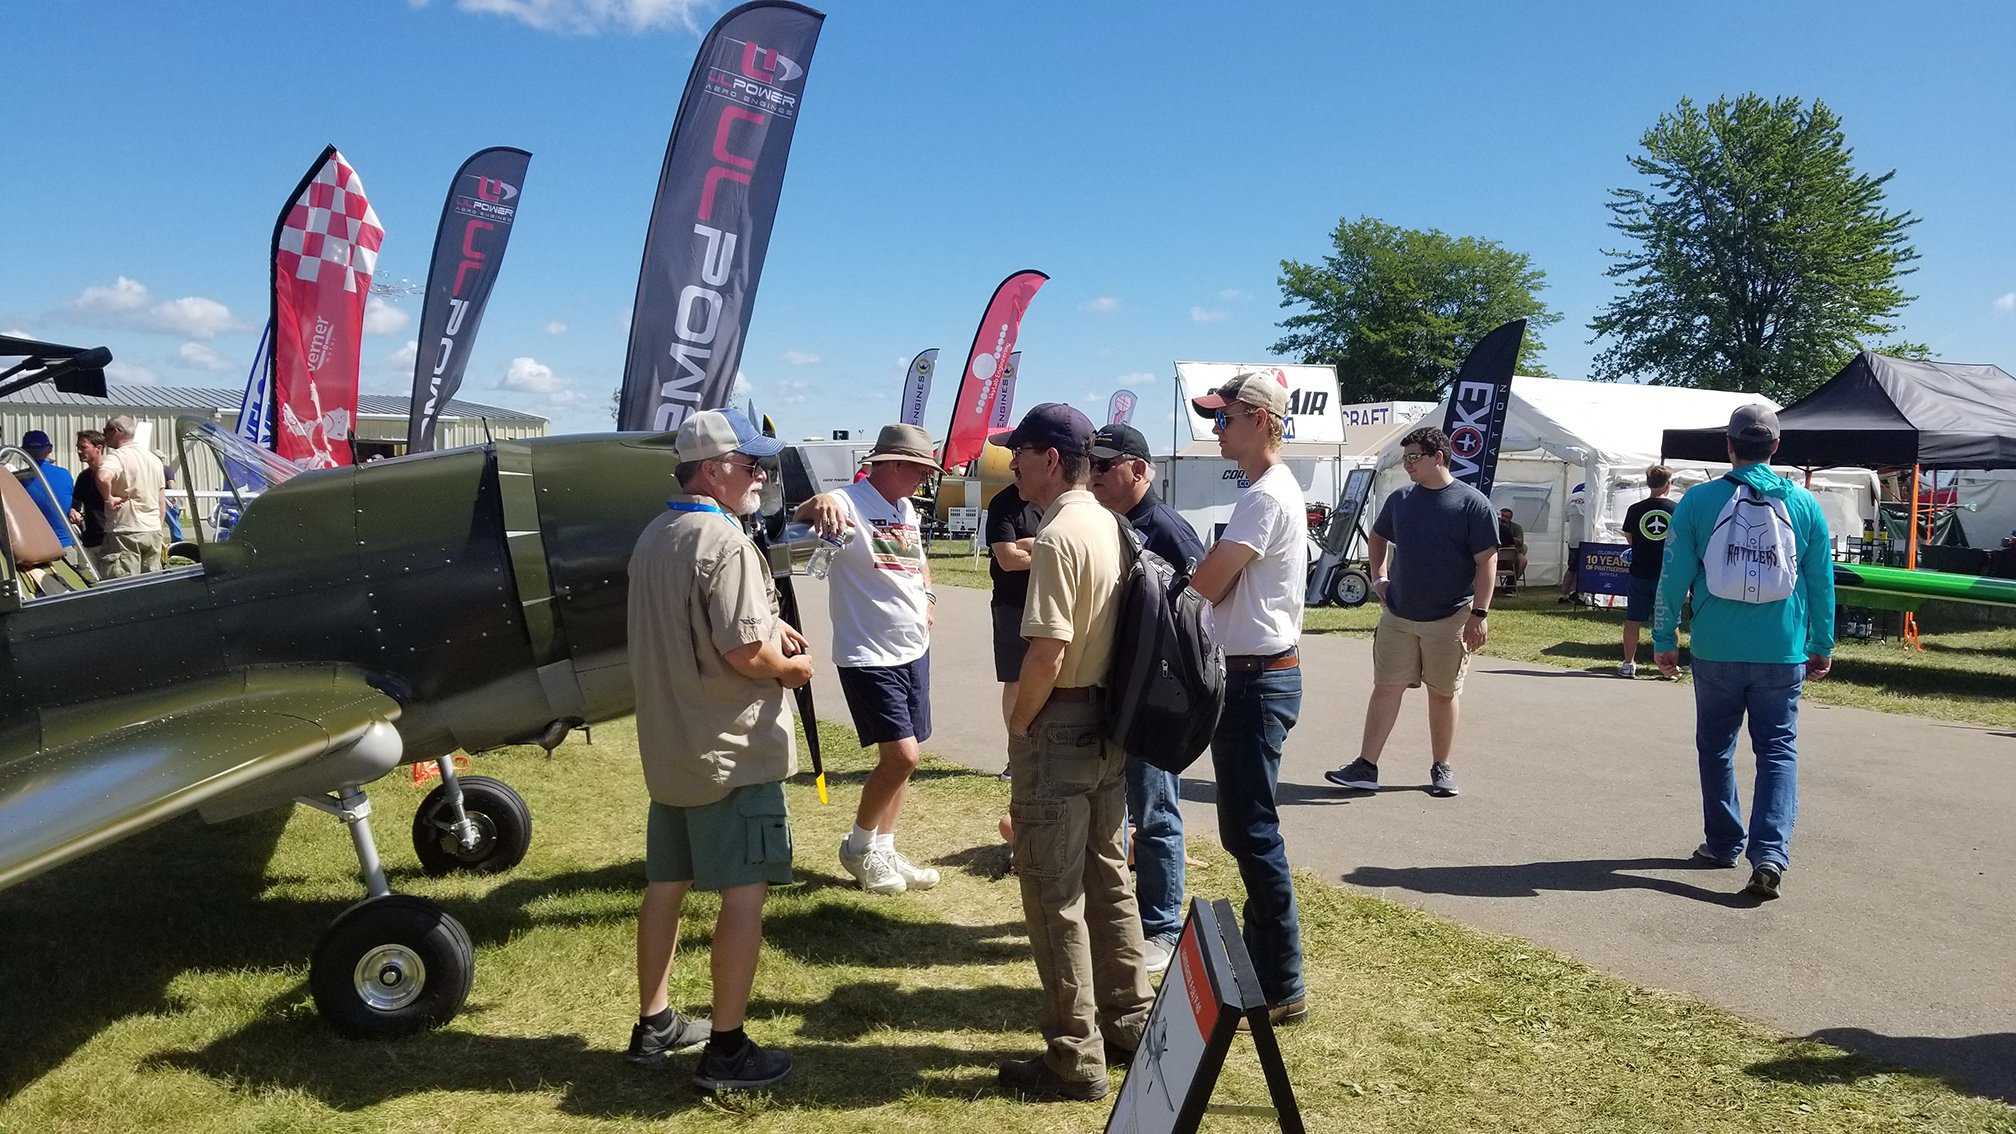
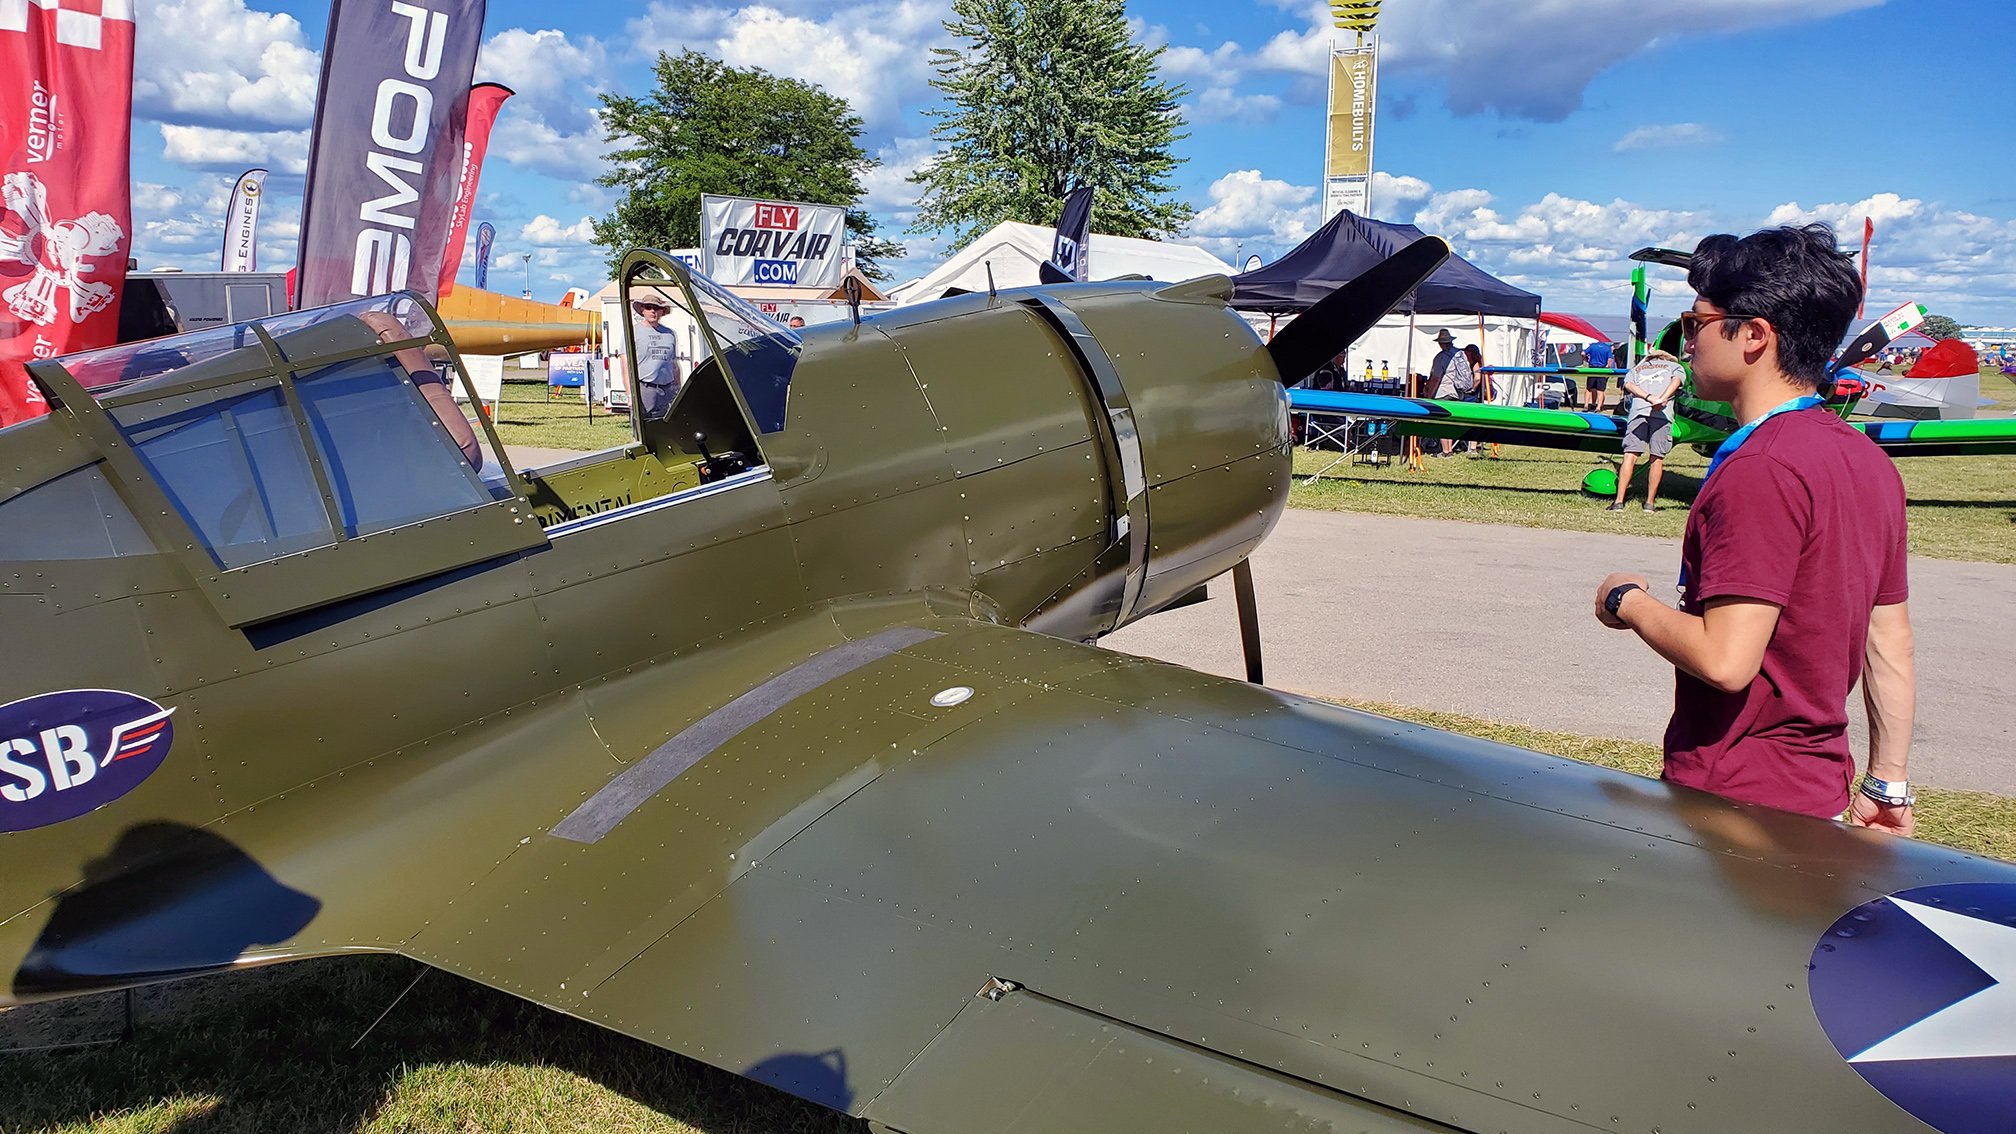
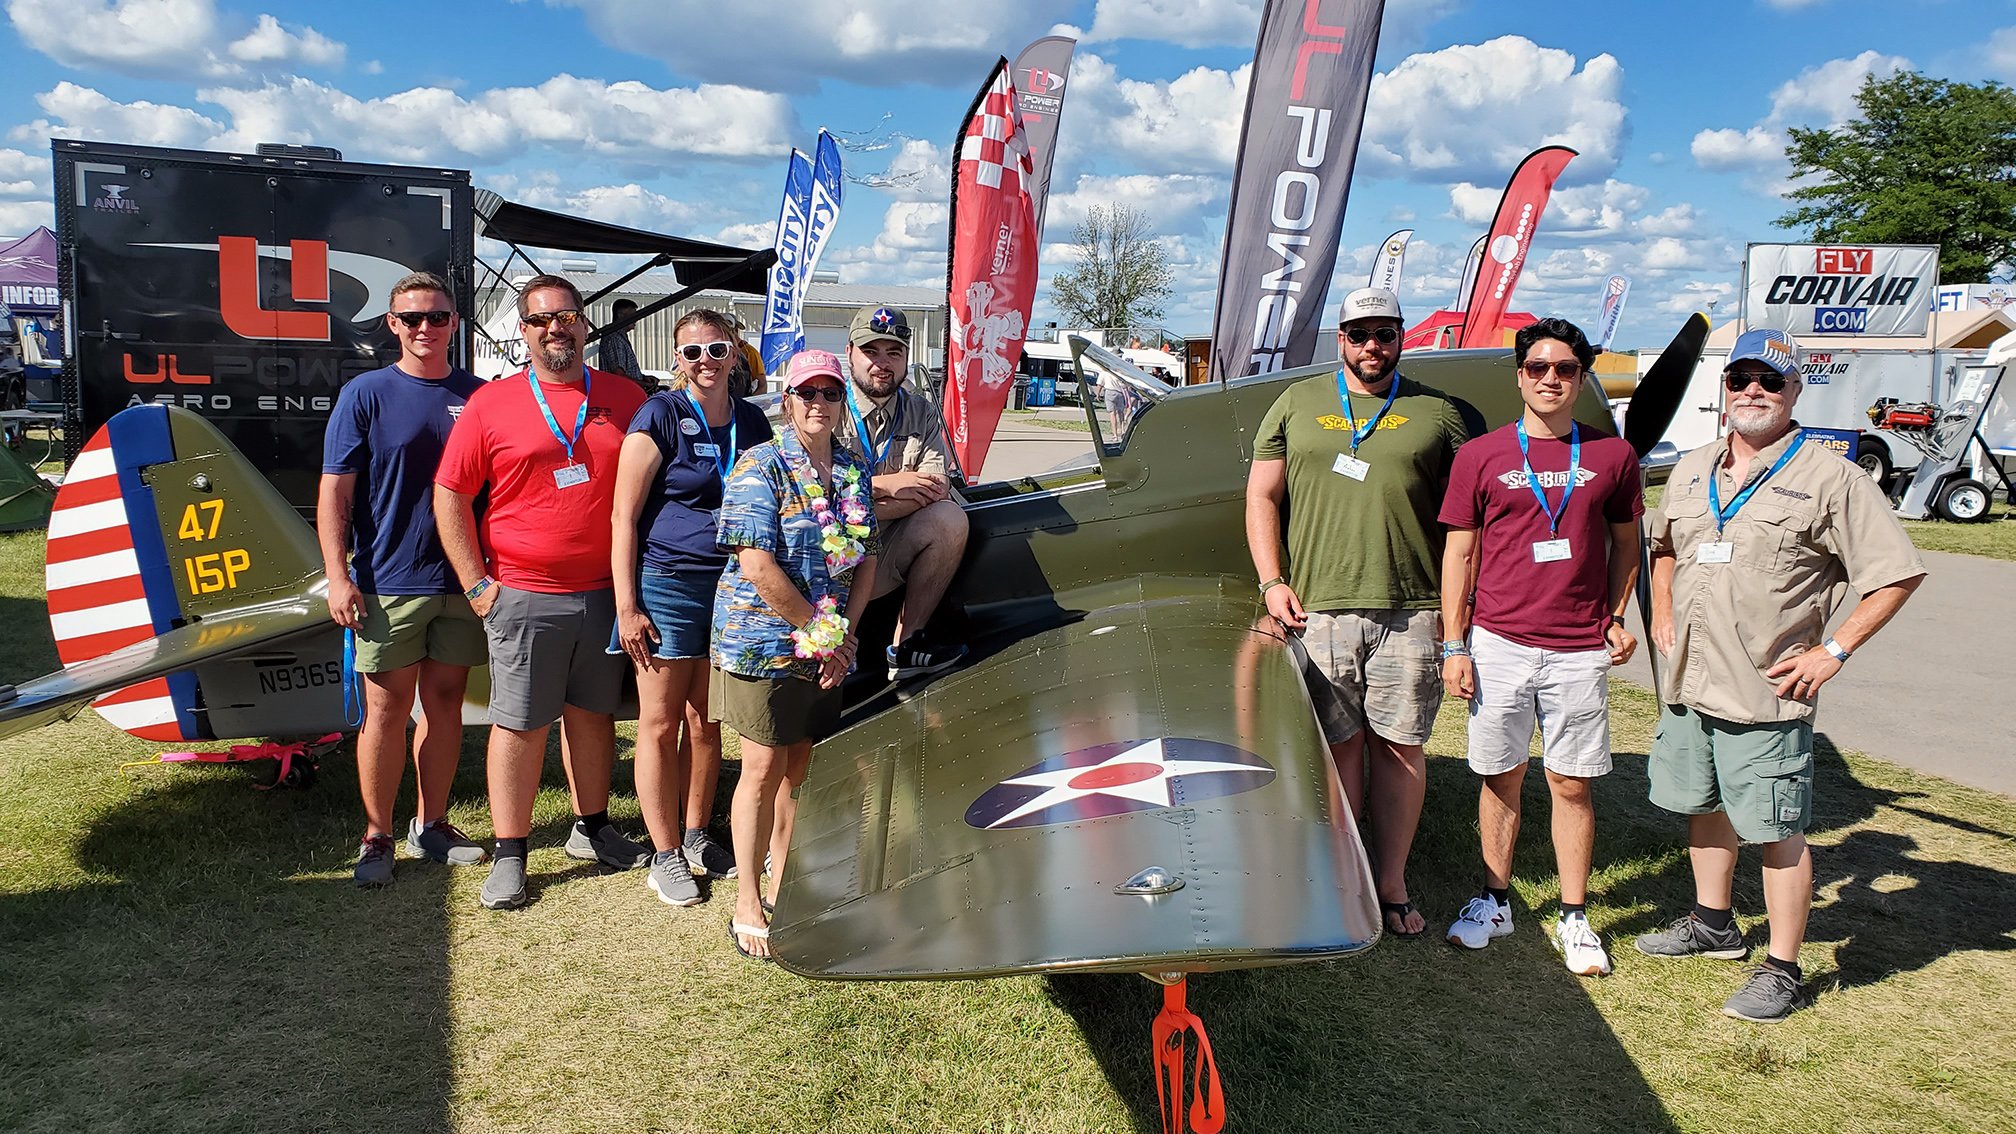
We have elected to skip Sun and Fun 2023. First, we will be in the middle of flight testing and that is top priority. Getting all the test results as soon as possible helps get the Beta airframe design finalized. Second, because of the modifications, we don’t have the three to four weeks we loose by going to a show. It does take that long as the show is a full week. Sorry to all our fans that go to SNF. I love SNF and we will be there for sure in 24. Might fly down for a day or two as a tourist. Oshkosh will be our show priority for this year. We want the Beta tail kits ready asap and before Oshkosh. We have to focus on finalizing the design. With the P-36 flying, we can likely visit other regional shows after the big one.

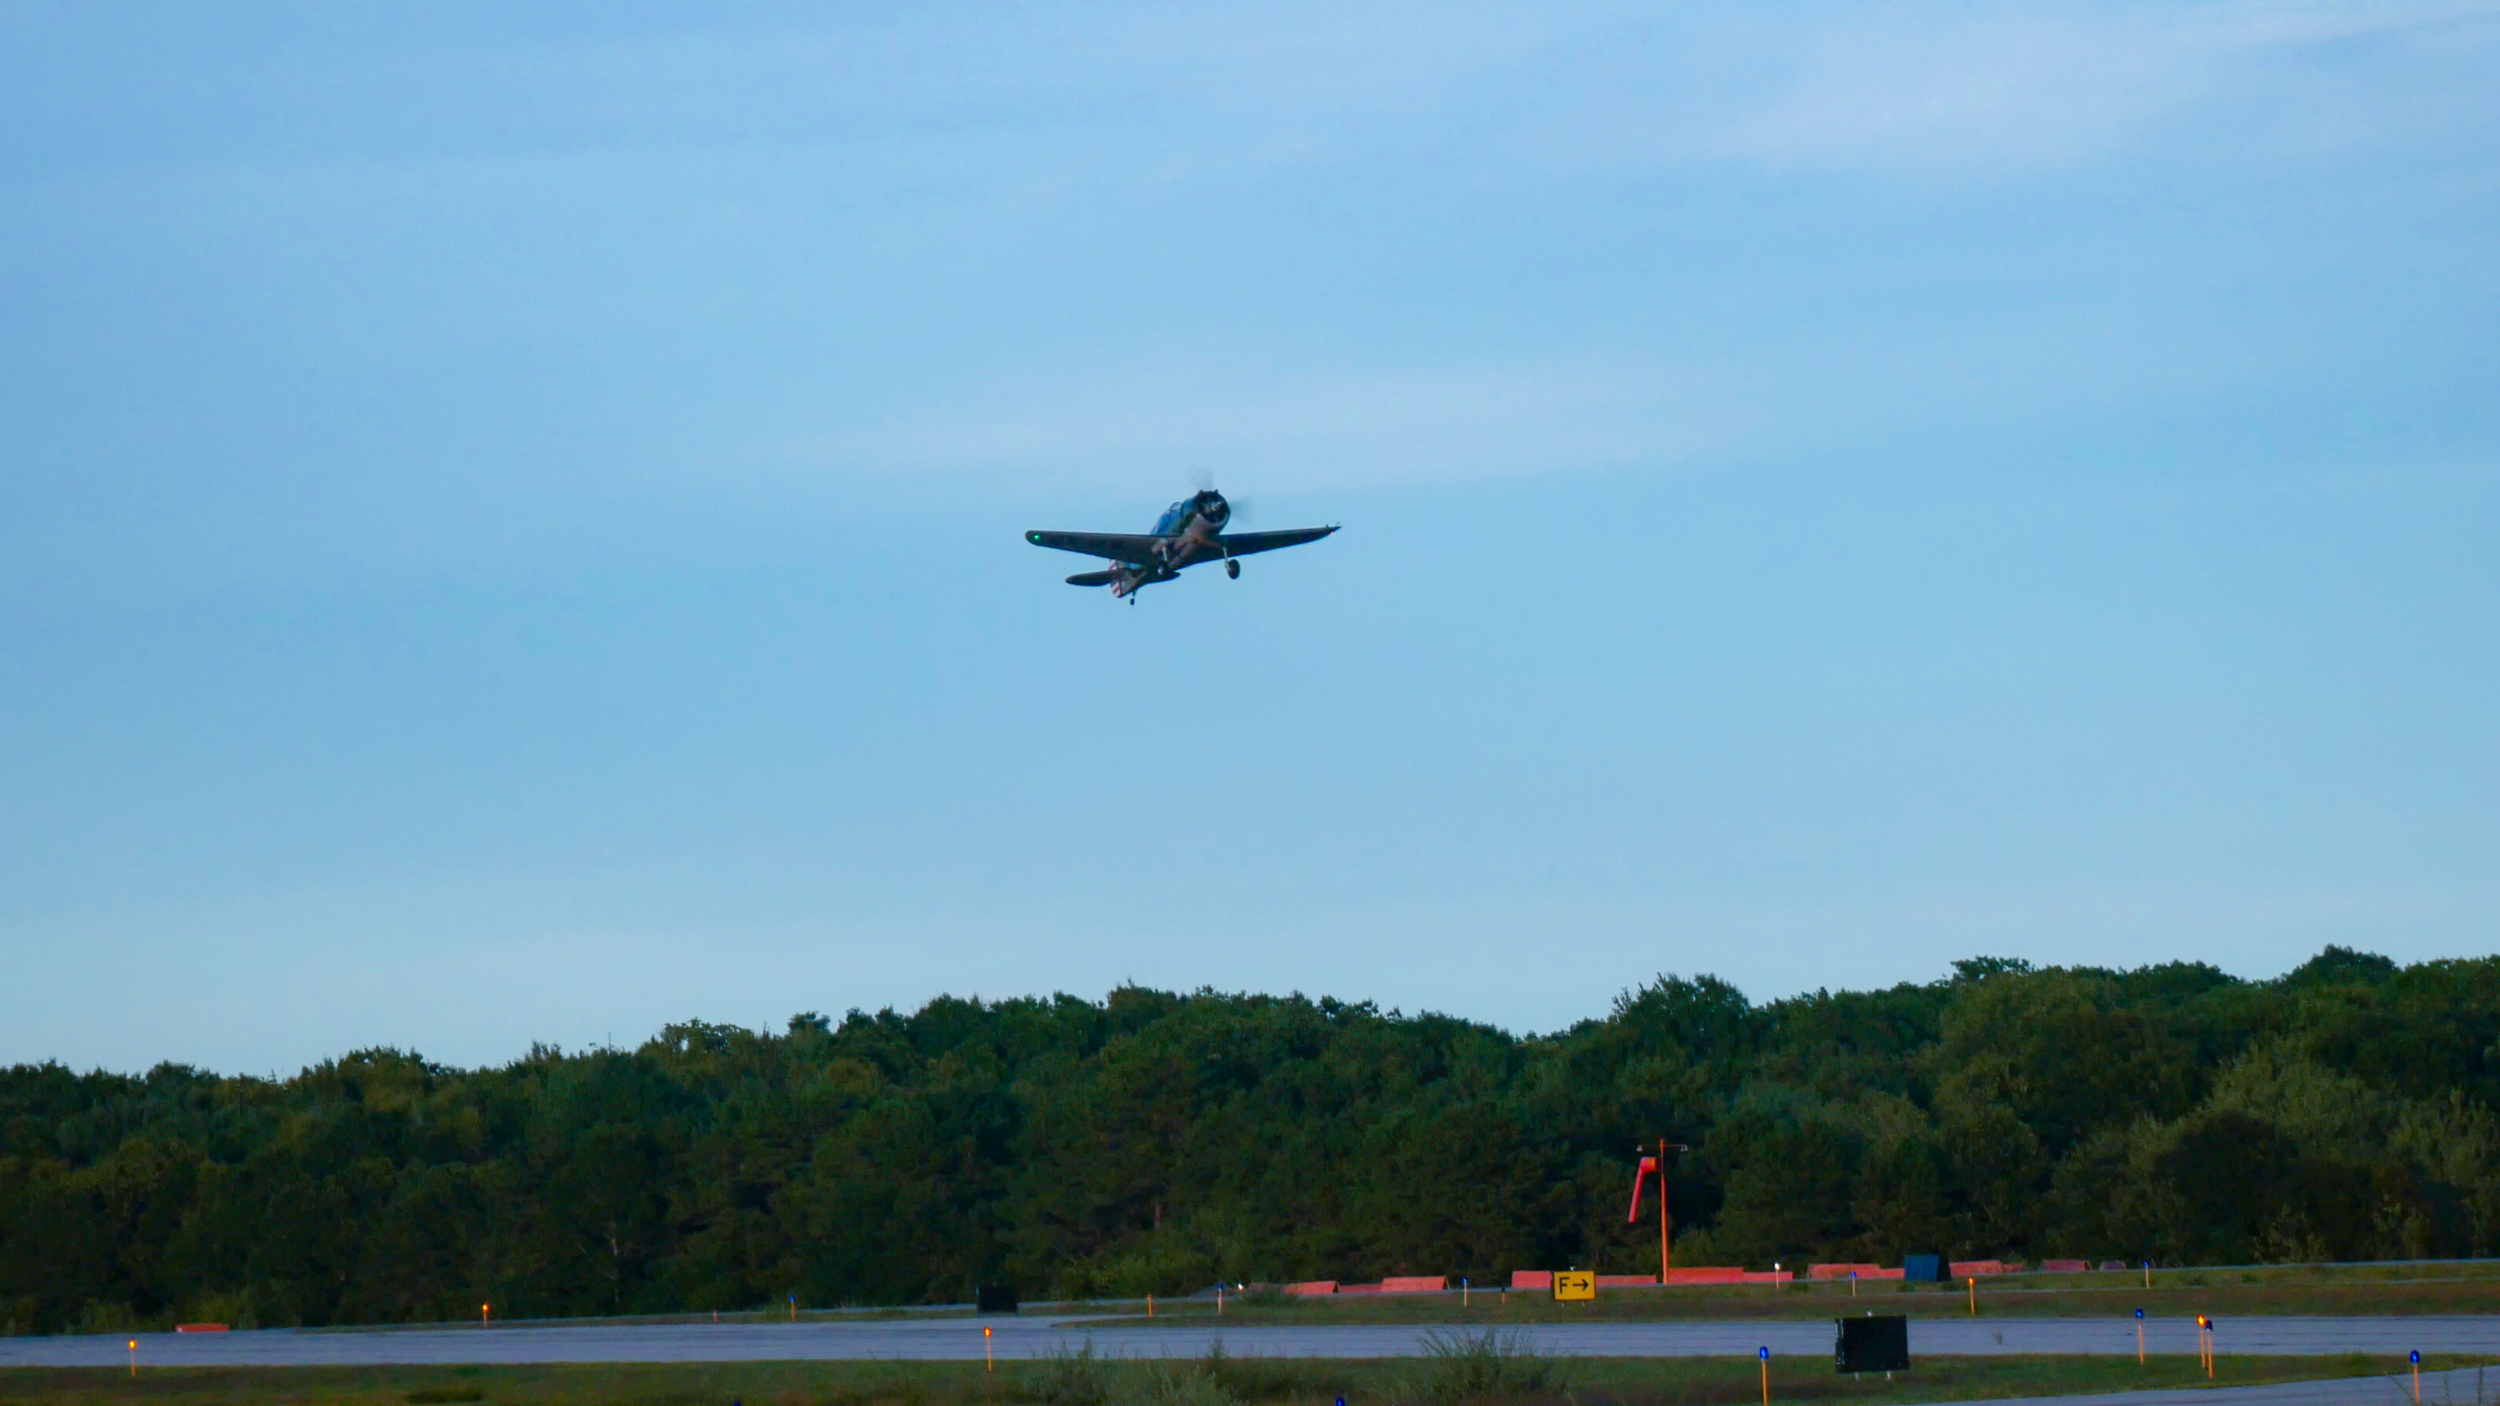
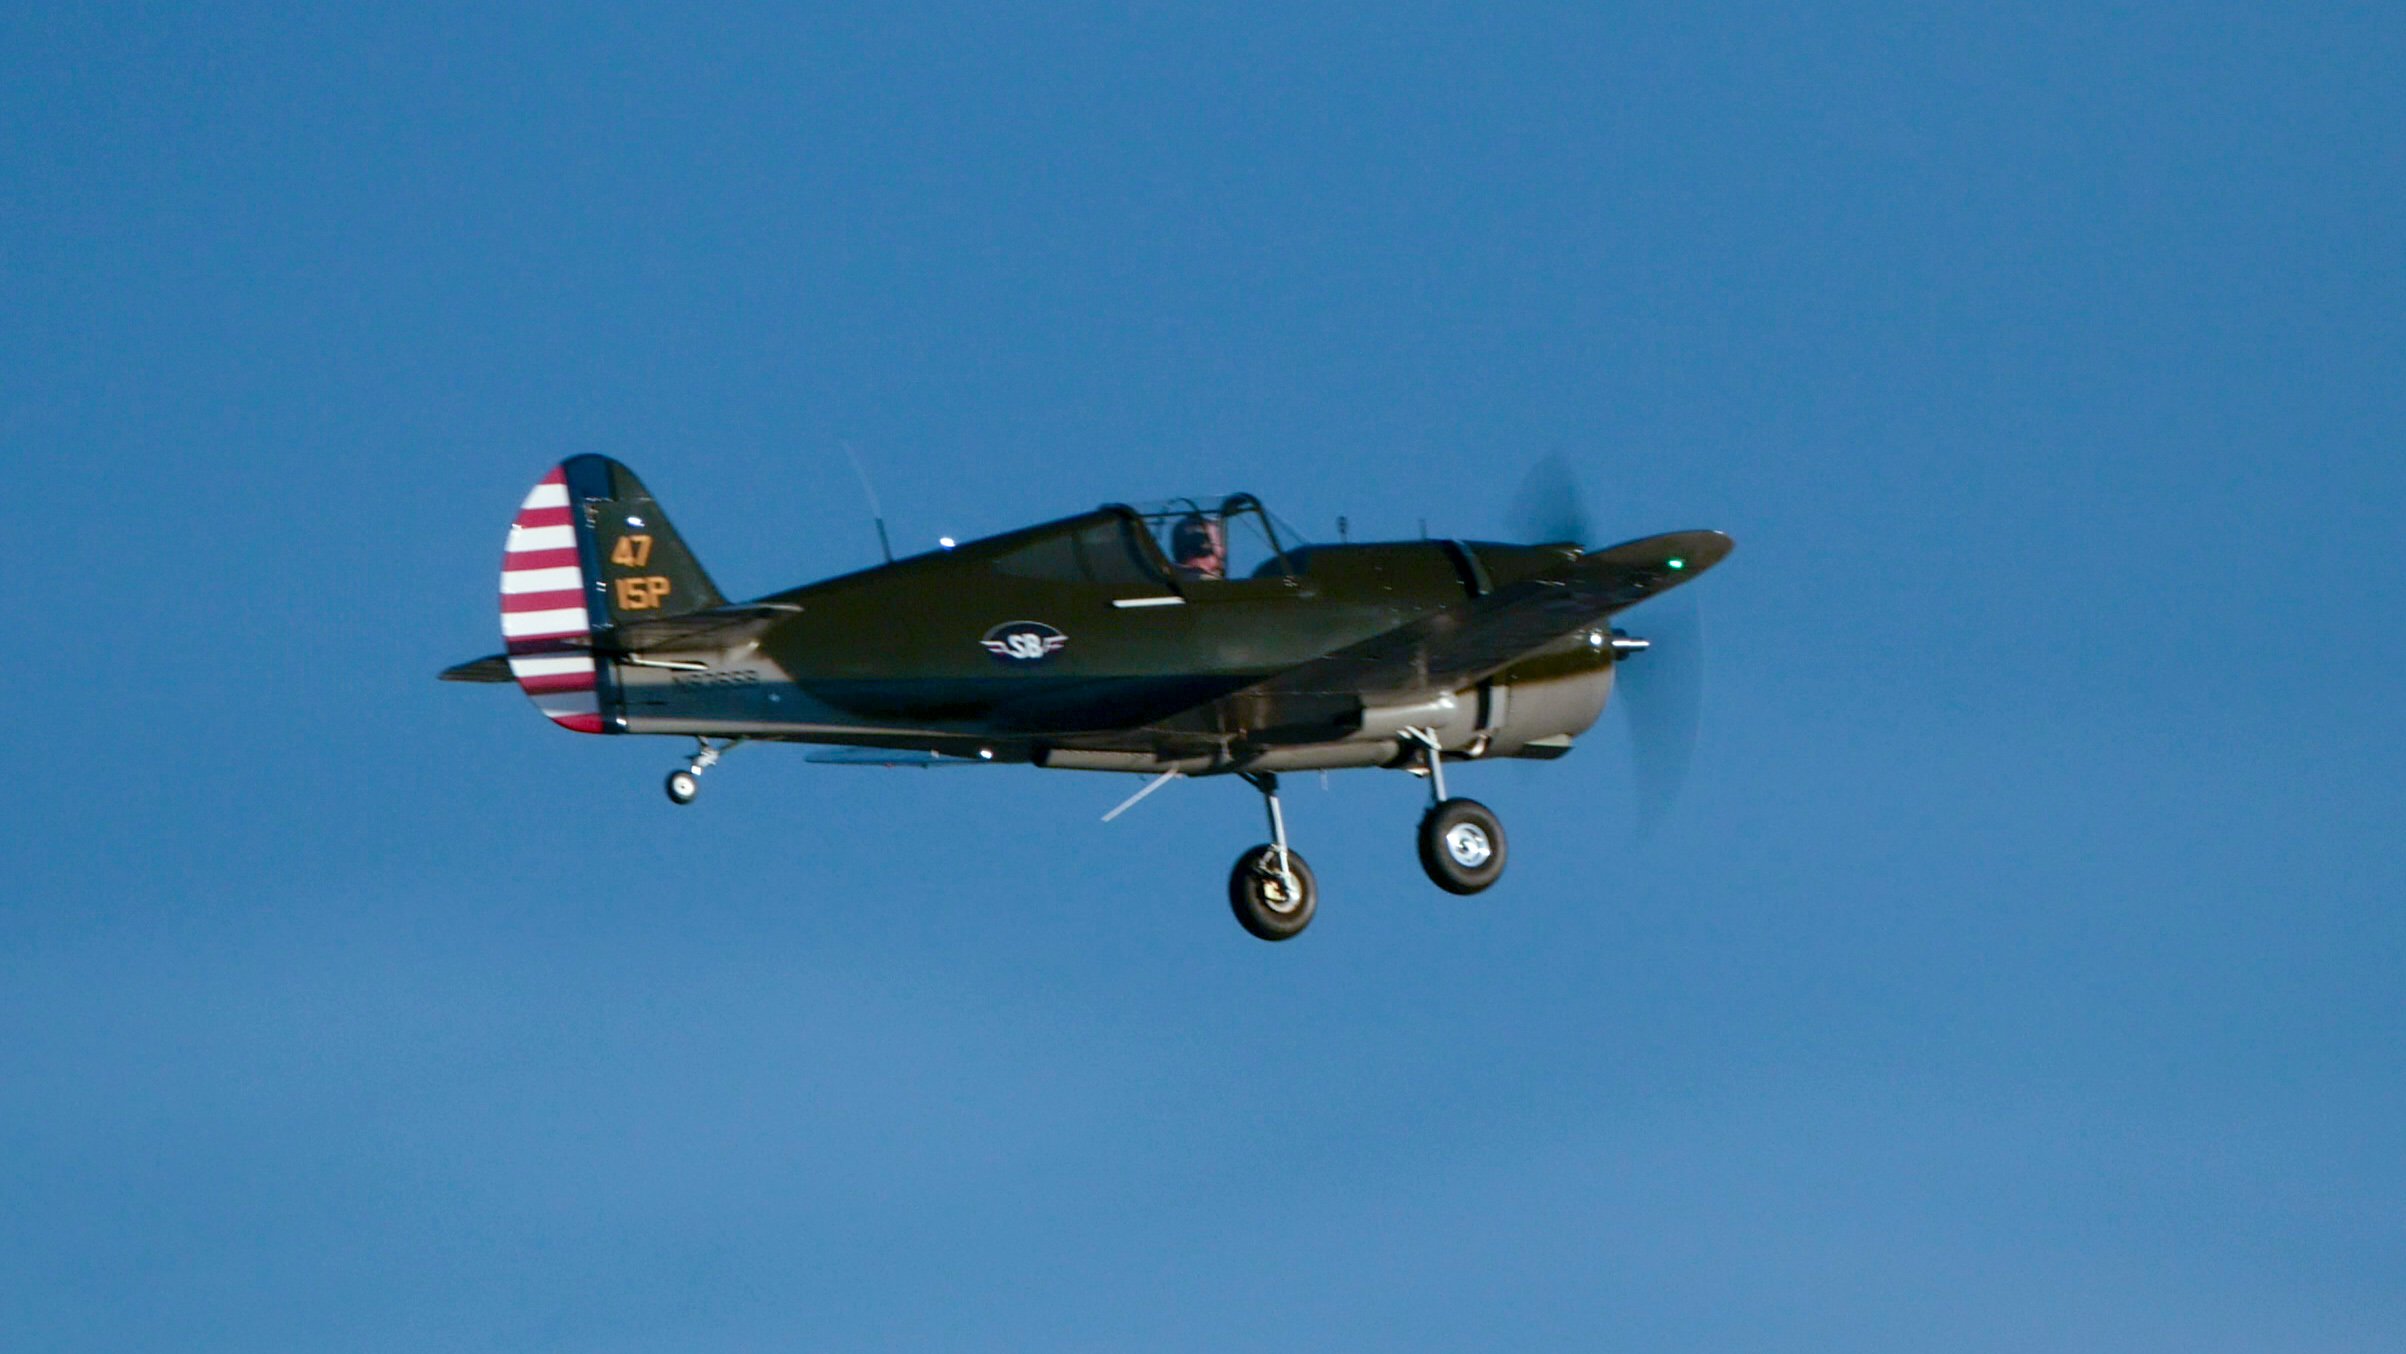
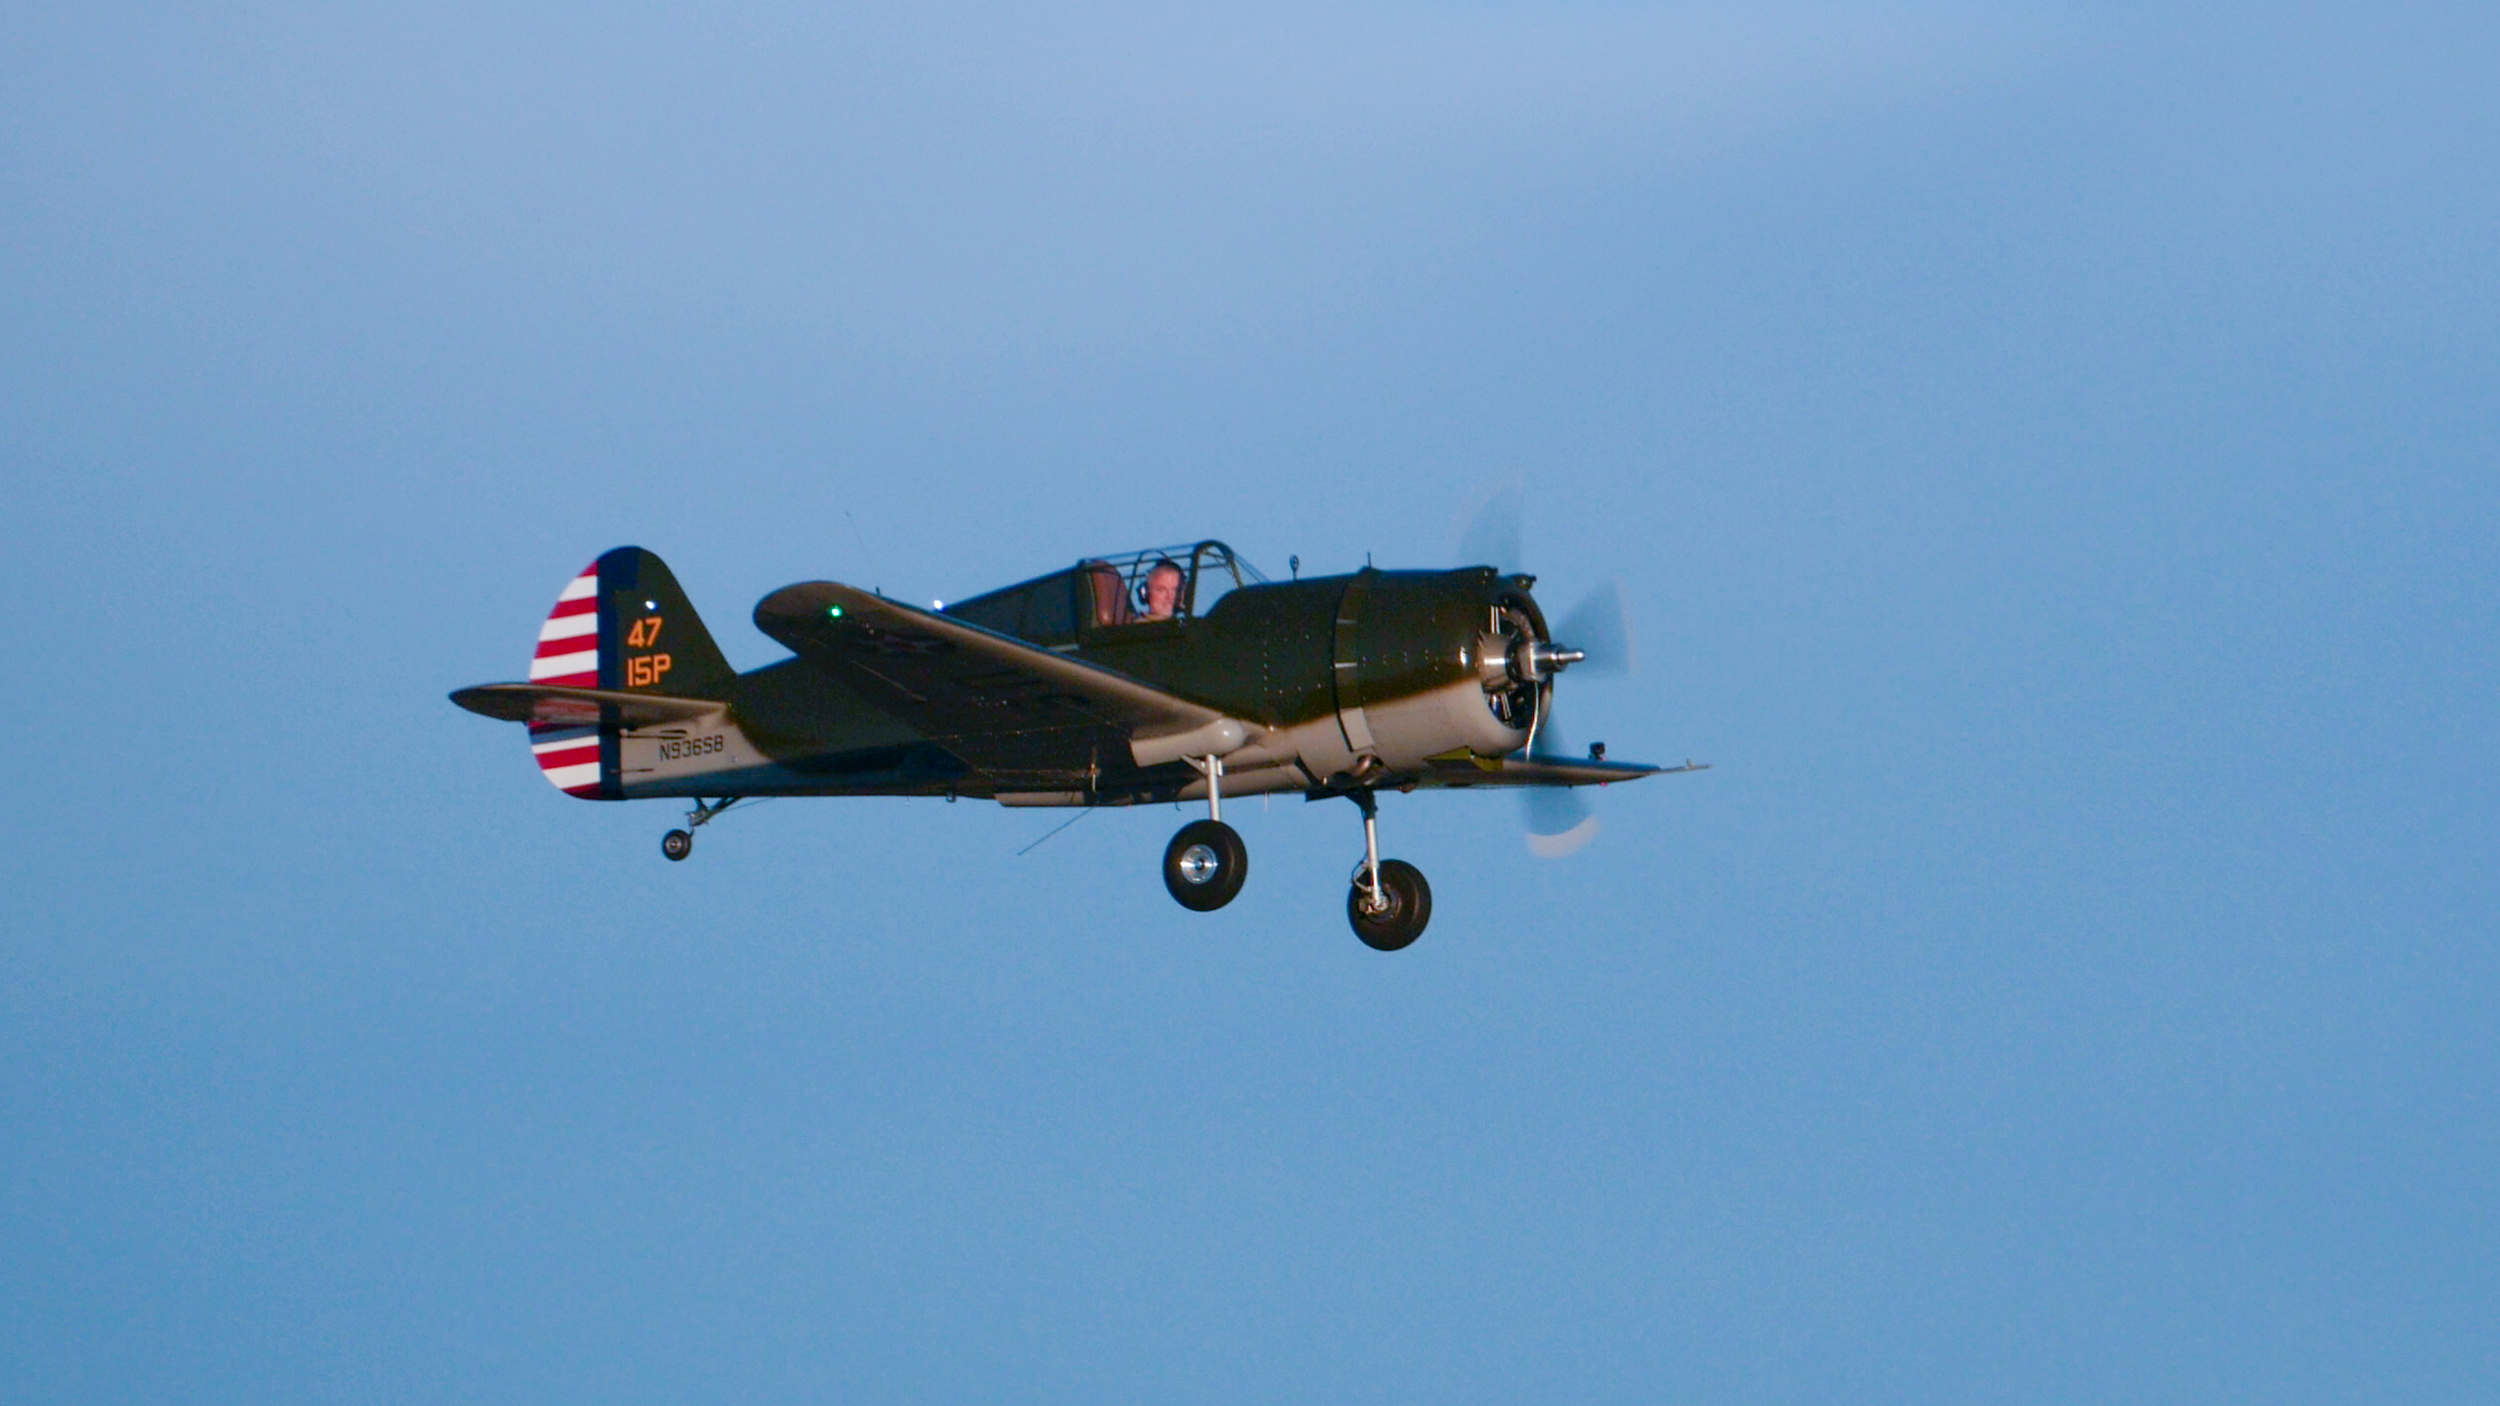
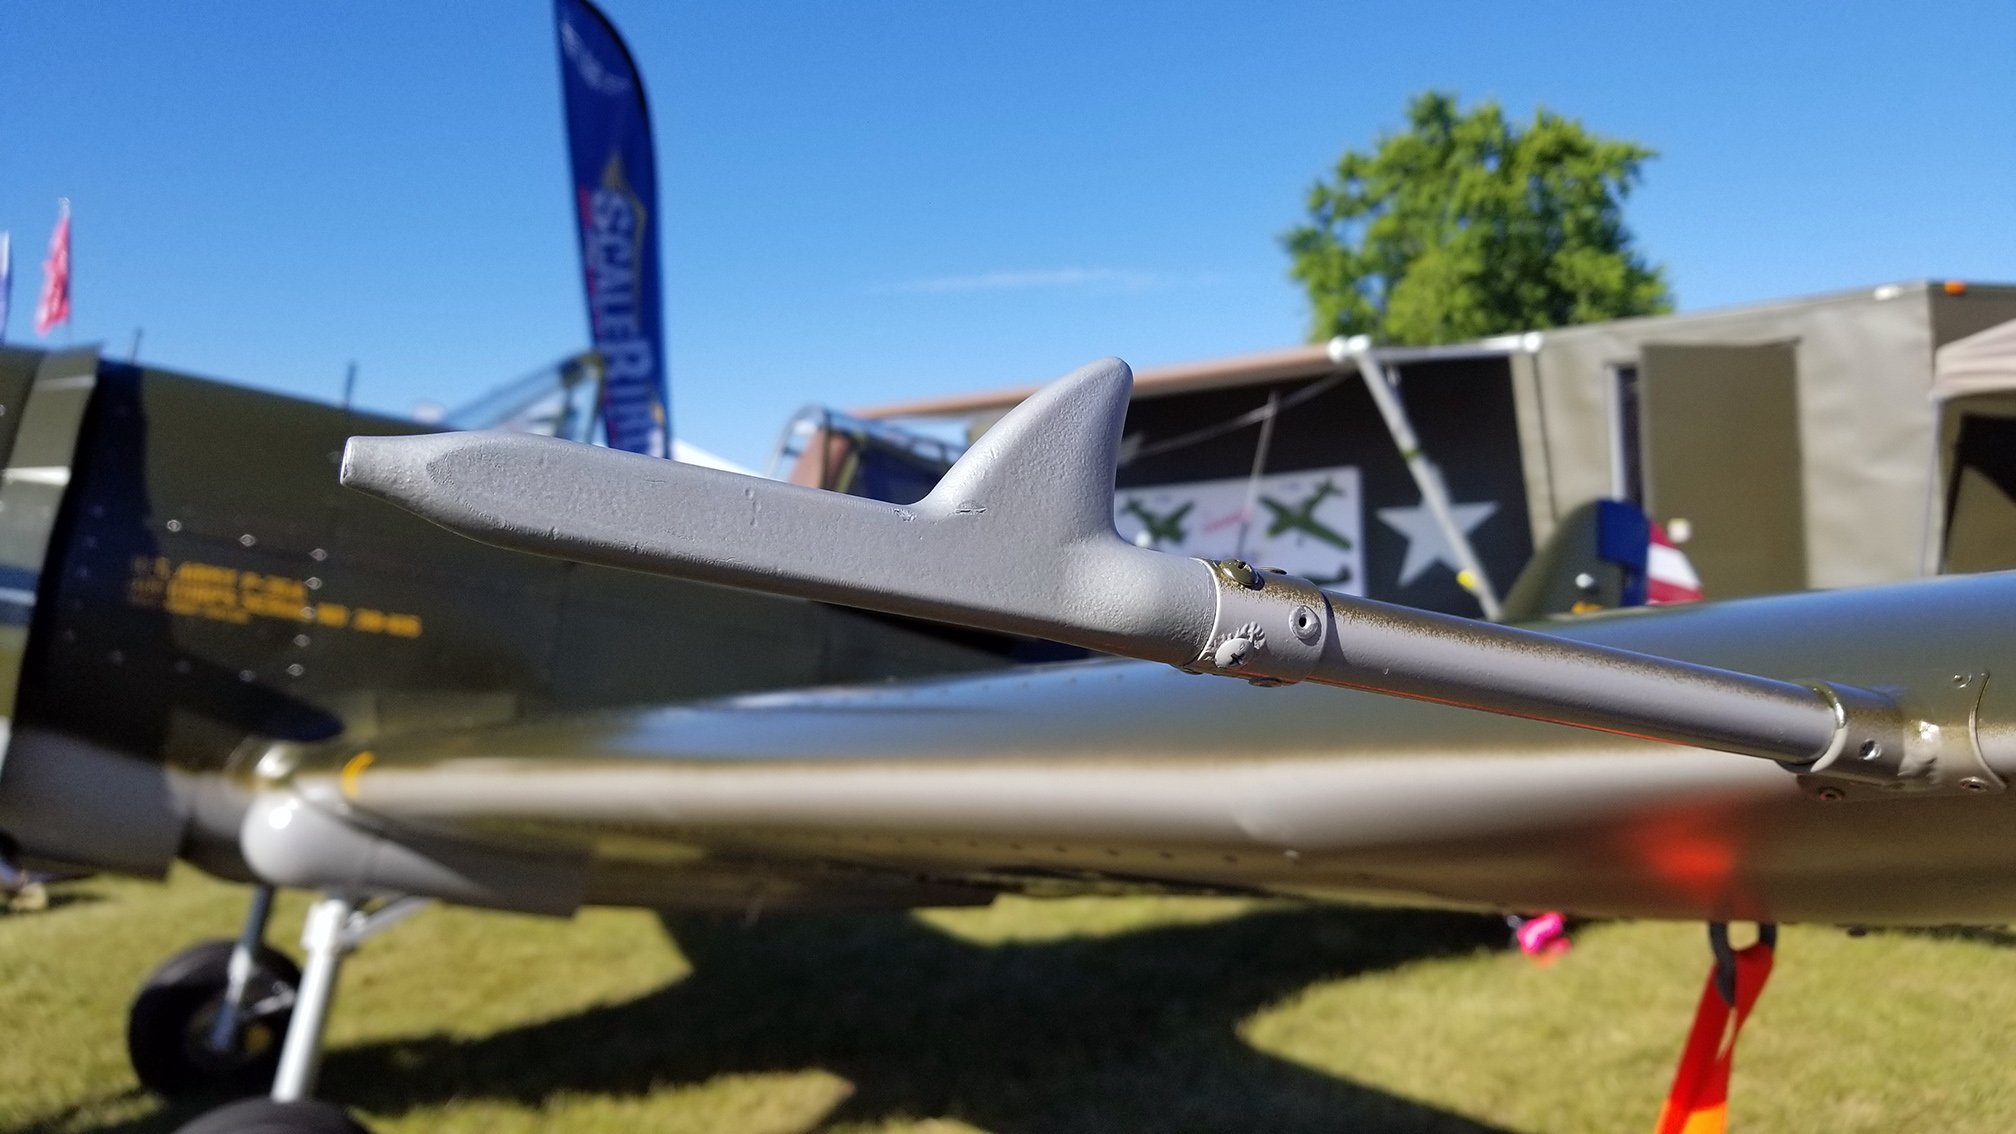
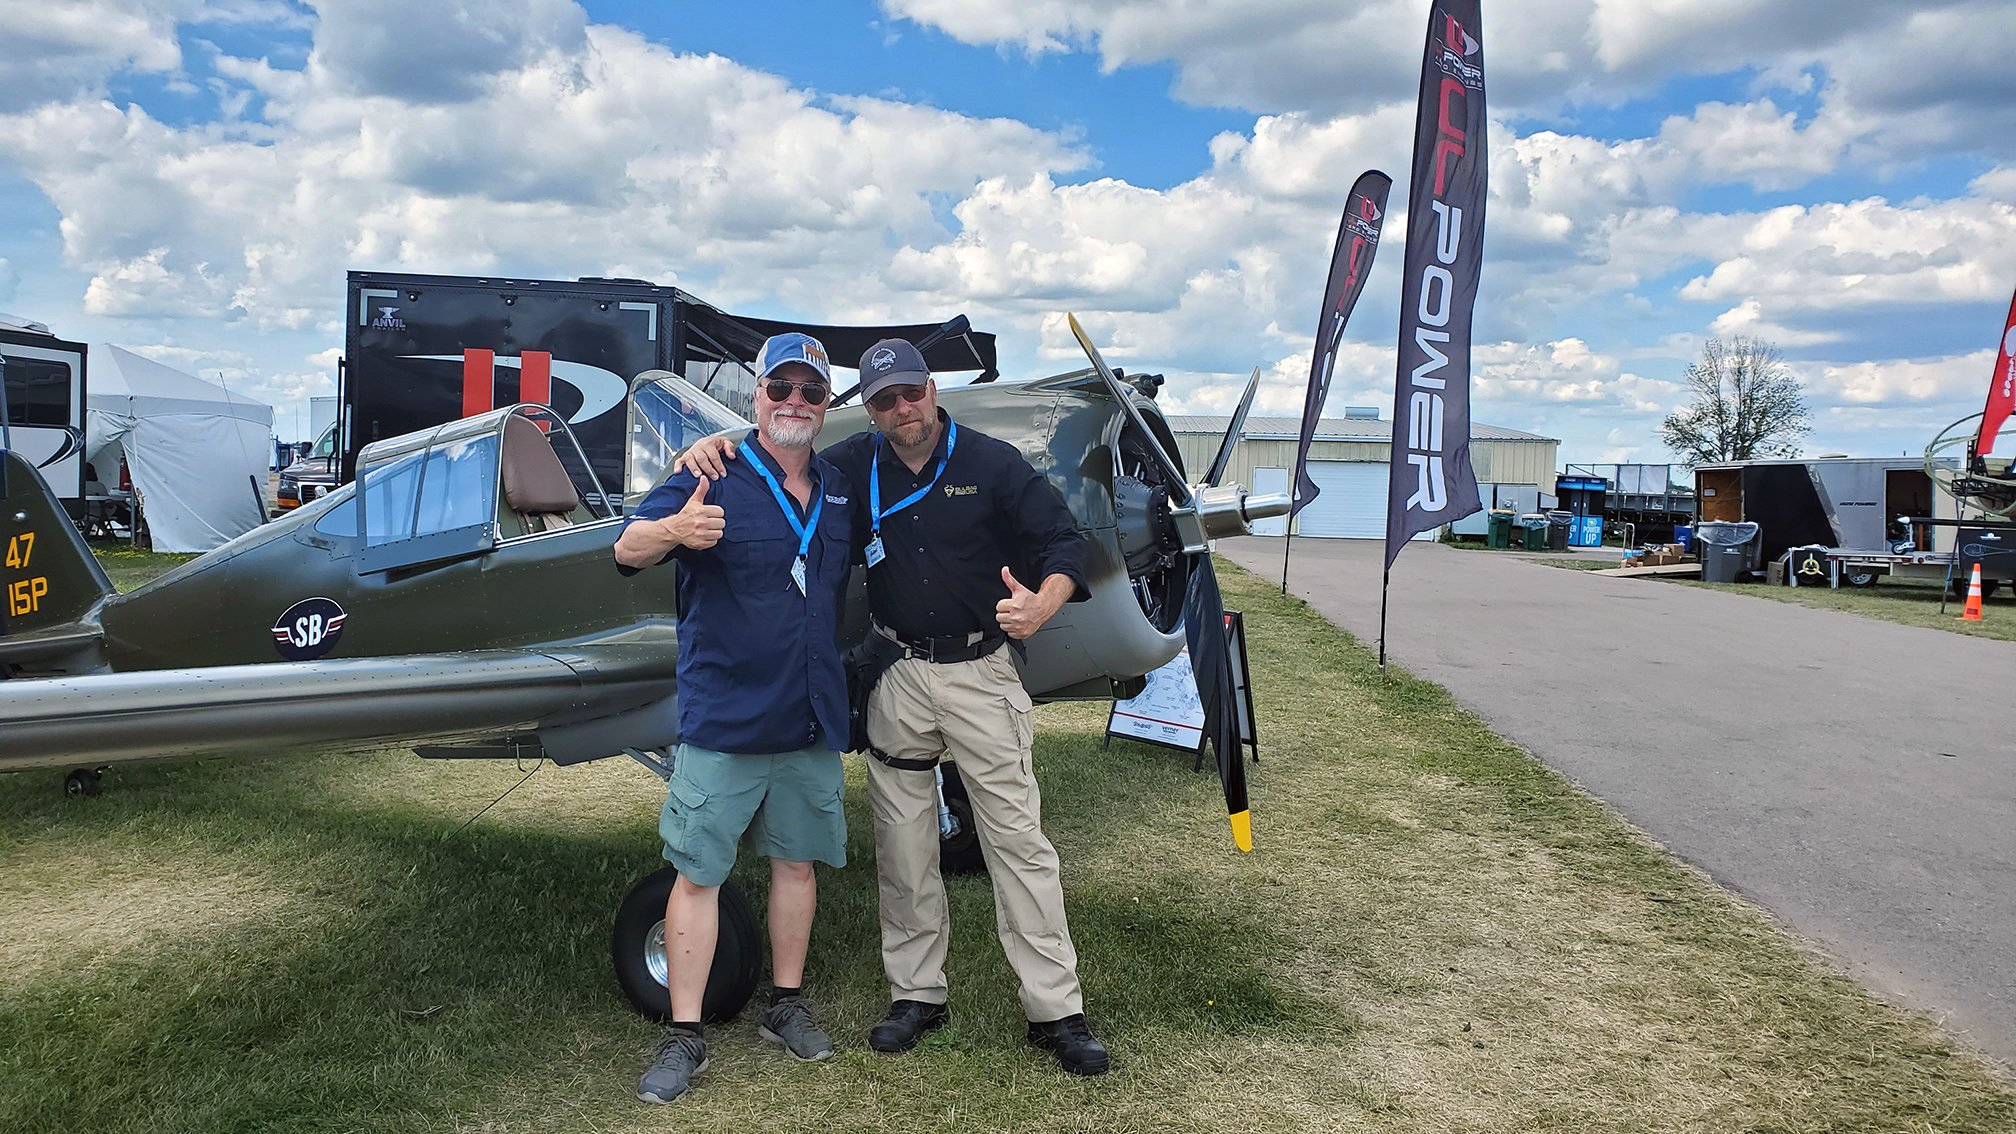
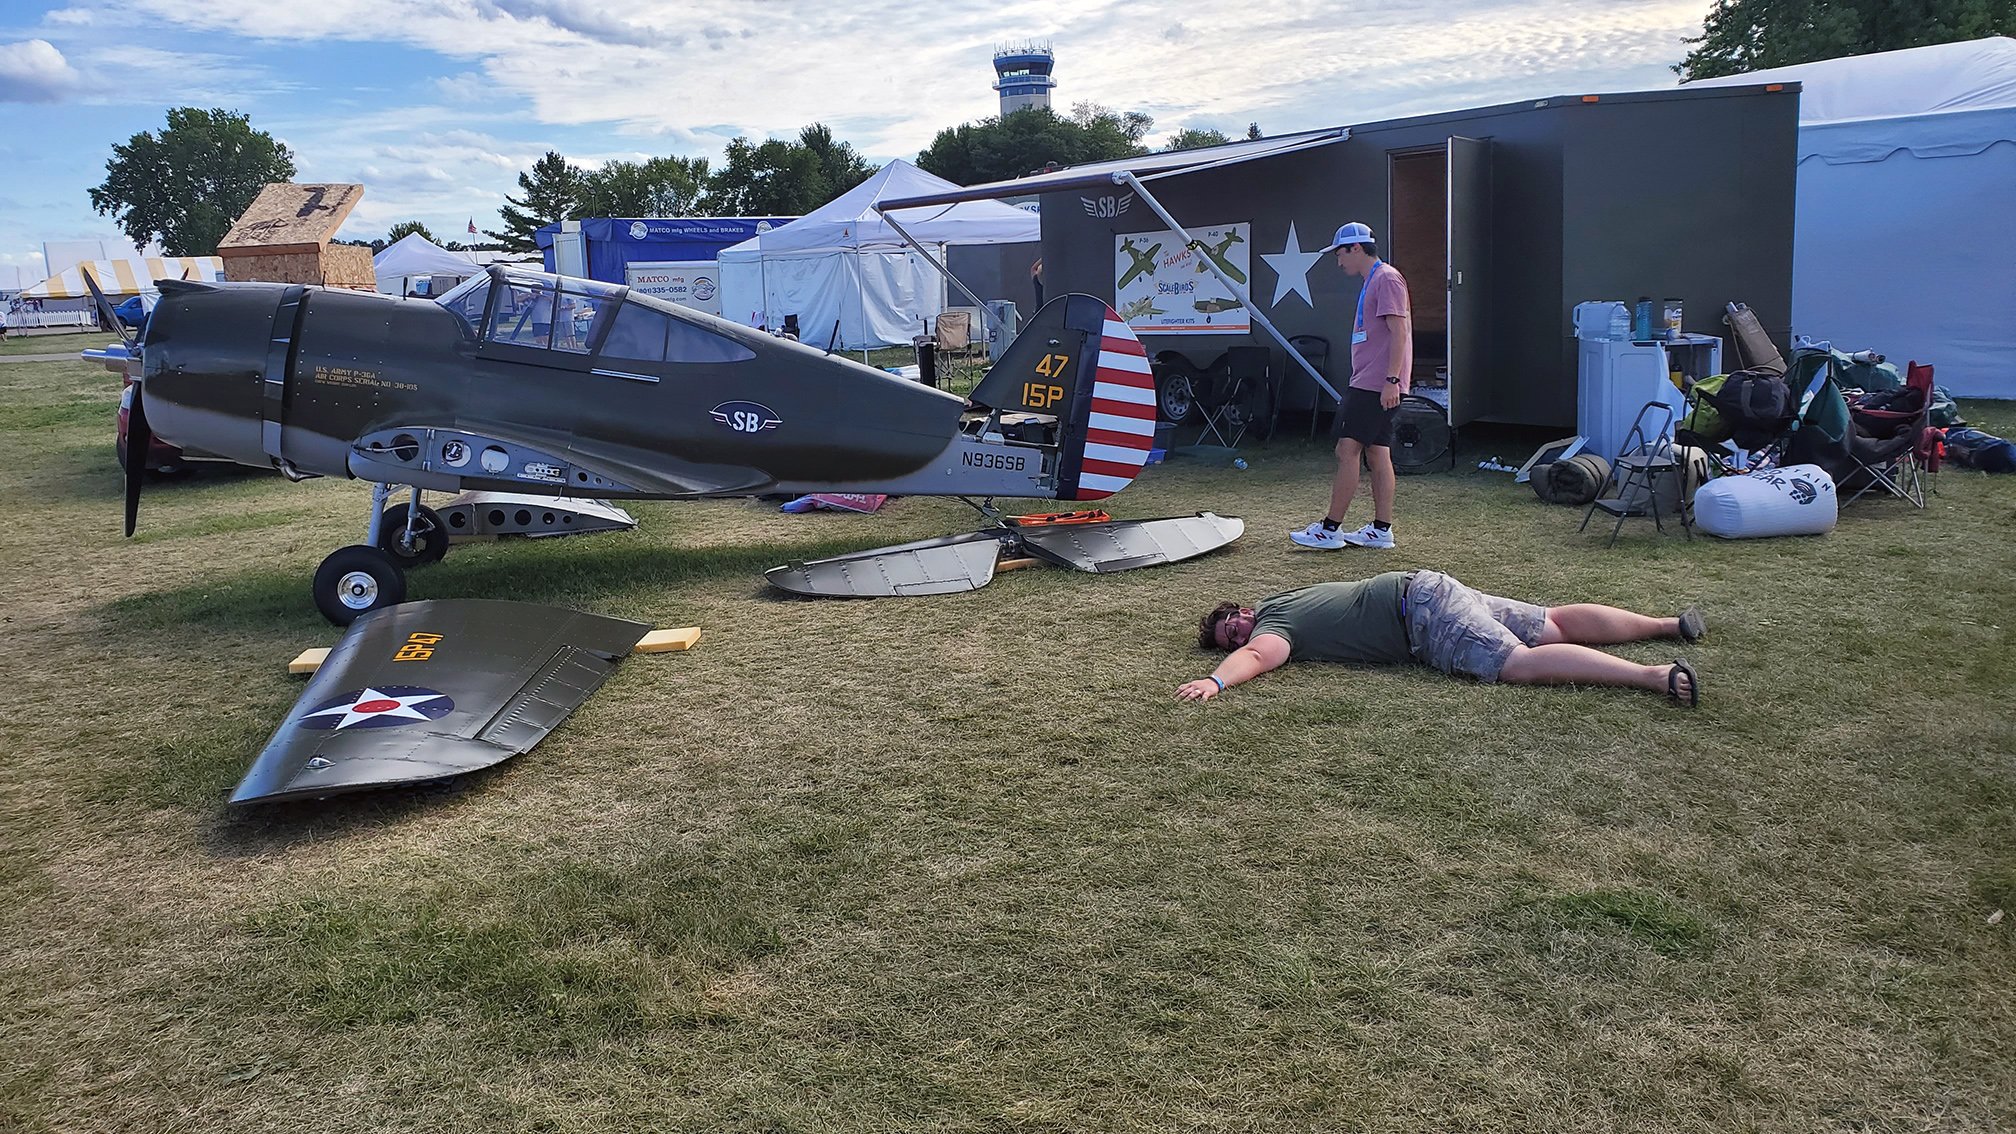
One of the big comments we hear every year is “can you fire it up - want to hear it run”. That is a very large drawback to the Homebuilt area booths, they don’t allow any engine runs or aircraft movement during show hours. So we have decided to change our booth location for Air Venture 2023. This year, we will be in the Ultralight area. A mixed blessing/curse. There is way less foot traffic during the show. The booth spaces are larger which helps a lot. The big benefit though is we can run the engine and possibly fly the plane if we can get her in and out of the short strip. I know she can take off fine from there. She gets off quick and climbs right out. So far, my landings are too long. The flaps should help a lot. I do think we can figure out how to land her in much shorter runways once we know the stall behavior better. It will mean a lot of practice at a similar flying field - I don’t mind! Back-up plan is to push her across the fence line and run the engine. Just hearing the engine roar to life will sell engines. Seeing the P-36 buzzing around will generate all kinds of interest!

Will wrap this up here. Planning to write a Holiday entry and project update before Christmas. See you then.

Oh Shoot!

Been an eventful month of October 2022. We have been flight testing and working on temporary wheel pants and leg fairings in order to speed her up on cruise. That required attachment brackets to be fabricated and fitted to gear that were not designed for pants. We need to find out if the wing is good for stalls and for high cruise speeds in order to develop the Beta/kit version. We just need a few more flights to get that information. We need to determine if wing area, washout, stall behavior are good or need refinement. We have been fighting high engine temps which has kept us slower and lower. The cooler weather now is lowering the engine temps a little. We will get her to altitude and try some stalls and dives to check the control forces and behavior. Before doing that, I needed to get some spin training.

As mentioned before, we skipped adding flaps to the prototype. That was a mistake as landing and approaches are not a fun experience - cant see the runway over the nose. I have been holding it high for the lift needed from the slower wing, or it drops like a rock. So power and nose high attitude. I was discussing this with Steve Wolf and he was saying there are several non-standard approaches that he could show me that will help keep the runway in sight and allow for the higher angle of attack. Round engine tail-draggers have to be flown differently than a Cherokee. I took him up on it and booked a flight to Florida. Awesome trip and I am super grateful for that instruction! One of the best weekends I’ve ever had! Camaro convertible, perfect weather, some flying with an expert, hanging out with aviation friends and seeing their projects. Great food, great beer. Hard to beat!

I got back home and back to the landing gear project. The mounting brackets were not fitting correctly. The angle needed to be changed - requiring they be cut and re-welded. So instead of mounting the wheel pants, took her up for a flight to get back in the groove. We had borrowed an Ilevel BOM unit from a friend and had mounted it on the wing. Planning to get some data over the next few flights to calibrate our pitot sytem in flight. Kept the cowl flaps closed and she was climbing out at 1400 fpm at 90 mph. Started getting close to temp limit and I lowered the nose and power. Cruise climbed at 100 and the Verner’s 2000 recommended maximum continuous rpm. Got her up to 2500 feet and cruised around the airport area at different speeds and rpm settings. Did some turns and banks, dives and climbs. Was having a fun flight. She really is going to be a fun machine when we have the heat and speed issues fixed. Alas, fuel getting lower, I decided to bring her in for a landing.

Well I was a lot more at ease with the landing after Steve showed me the approaches. I chose the diving one where you stay high and dive toward the numbers and then transition to flying a few feet above the runway bleeding off speed. Well, I messed up and got her a bit too fast in the dive and was pretty fast over the numbers. Bled the speed off over the runway - its 4000 ft long so not an issue - and then bounced it, corrected and stuck the wheel landing by pushing the stick fwd. She jerked a little but other than that it rolled out straight and the engine idled along just fine. Parked at the hangar and got out. Gary was pointing at the right wheel. Bent the right lower landing gear leg and clipped the very tips of the propeller. Oh Shoot! Plus words I can’t repeat here. Didn’t seem that bad (I’m actually lucky the leg bent and didn’t break - that would have been bad). The landing didn’t seem any worse than previous bounces and I never felt the prop hit. I did raise the tail - maybe a bit too much but didn’t feel the prop hit. Well the plane is sitting there in the hangar. Still looks great - just don’t look at the wheels. Even the prop looks fine - just don’t look at the tips. All in all, lucky. It was all my fault and I should have gone around and planned the approach better.

Guessing that the extra speed added to the forces applied to the axles and our stainless steel lower leg wall thickness was insufficient. Found the weak spot! The lower leg on the Curtiss is a full cantilever unlike a Mustang where the wheel is directly under the strut. Currently, the right tire is tilting toward the gear leg about 20 degrees and almost rubbing the leg. Looks like it did rub it for a revolution or two. The left lower strut is just starting to deform - slight hint of it. But looks normal. The rest of the landing gear is fine, straight and un-damaged. The yellow tips of our NR Prop are abraded down about 3/8 from the very tip - they are rounded and so just a little material is gone - but being carbon fiber blades - they are toast. The engine will be fine - but we will pull the prop and check the hub for concentricity and square to centerline, if within tolerance and fine - will re-torque the hub bolt onto the crank-shaft. When it happened, I was trying to slow down - the engine was at idle and the prop was wind-milling. The Verner radial is very robust. She was running fine after the strike so the split crank didn’t get spun. We will have to do some ground runs and verify integrity once we get a new propeller.

Ah. A new propeller. Well the existing one was likely not the right prop for our airframe. We knew pretty quickly that it wasn’t perfect. Ideally we need an inflight adjustable to get a higher cruise speed and good climb. Also, after discussing propellers and reading everything we can find about selecting propellers, we are thinking a good part of our issues with landing and approach may be due to the propeller being a huge air-brake. A gentleman graphed various speeds and blade angles on his Zenith 750 Cruiser and found that higher blade angles caused excessive sink rate (sounds familiar) and terrible flare on landing (sounds familiar). He also plotted a 50 mph difference in 5 degrees of blade angle. This may be one reason we are much slower than expected. The wrong prop. We have a bit too much diameter and who knows if the twist in the blades has any efficiency for our speed range. We really need a purpose designed propeller from someone we can communicate with.

We are not getting responses from NR Prop - they are at war and out of power. So we have been contacting a number of propeller manufacturers. Most of the Worlds prop makers are 3 to 9 months out for delivery. Yikes! We can’t sit here for that long! We may try a fixed-pitch, 2-blade wood prop specifically designed for our flight envelope, diameter and rpm for a datum for comparison with other propellers. GSC in Canada can carve one in 10 work days. Sure, it won’t look right, but its for testing only. We want to see if it has less vibrations and runs smoother as well as the performance range. Ultimately, we want an electric three blade WW2 looking prop for the Verner as well as the other engines that will be used in the P-40. We are looking - most of the manufacturers will not supply their ground adjustable or in-flight adjustable props for Verner or other direct-drive engines. Some do and we are finding out who and what the difference is that allows it.

So we are down for a while. Likely the winter. The flying season is quickly wrapping-up here in New England - as the days will be cold and windy most of the time. During this time, we are going to mod the wing and add half-span split flaps. Scott and I are designing those right now. We will fix the landing gear and are deciding if just making new thicker walled lower leg struts or if we switch to the planned oleo gear legs and get rid of the springs. We also discussed with our engineers about re-making the wing center section to add wheel wells, flaps and 10sf of wing area or if we need to make new outboard wings with less washout twist. This all is doable, but takes more and more time. We have decided to fly her first with just adding flaps and maybe oleo landing gear legs. Might eliminate or reduce the bouncy landings. Then, get more data with this wing and then decide if further, incremental mods are required on this machine. Ideally, we want to start work on the Beta airframe asap. This delay is also a delay to our planned production start of the Beta kits. I will keep you up to date.

Going to School

Been way too long since our last update. We have been flying the Hawk and making adjustments. We are trying to find out what is causing all the drag we are seeing. She is not quite getting up on step for cruise without using a lot of power - which is keeping the temps up to the limit on the engine. If we can reduce the drag and lower the power we can see how she really flies and handles. She is designed to fly at a much higher cruise speed. If we can get her there, then we can determine our control surface sizing and forces, see if the angle of incidence is correct, look for flutter and dive speed, etc… Right now we are just flying large patterns around the airport. The oil tank mods are working perfectly. Not a drop of oil out the breather. The inter-cylinder baffles are helping a lot - we are likely going to try to add a little more baffling around the cylinder heads to help them cool better. She still gets hot, but much easier to manage.

Our main issue now is that she is way slower than expected from the drag calculations. We have several drag producing features to work on. First is the landing gear - they are fixed down. We did that to get flying as fast as possible. The retracts are a big project all their own. The current fixed gear have 600x6 wheels and tires with a thick vertical gear leg. The leg is very similar to the retractable version we have designed. Looking at old NACA wind-tunnel studies, we stumbled onto the absolute worst combination. Large tires with a thick vertical strut tight to the wheel. Then, add in the down-link and braces protruding out right next to the fairings that imitate the retractable look - and we have some serious drag penalty going on. Even in the 30’s when it was more of an art than a science, they knew to add fairings to the wheels and gear legs for a fixed gear. Curtiss added spats to the Hawk for fixed-gear export models. We are studying how Curtiss designed them and are fashioning our own gear leg and wheel fairings to see how much drag the landing gear are producing and if we can speed up the plane. We are fitting wheel pants right now. Will see how much the pants do for speed, then add the spats to the legs and see how much more. So Steve Wolf was telling me that the legs are the real culprit. He was Van’s Aircrafts first employee and learned a lot from them. He told me that when they first put landing gear fairings on the RV-4, the wheel pants gave them 2-3 mph, the gear leg fairings gave them 8 to 10. The round cylinder is the most drag producing shape due to the eddy currents it creates - an order of magnitude more drag than a tear-drop shape. Our drag calcs included a factor for the fixed gear - but may have under-appreciated the drag this gear configuration makes. Gotta find out! Retractable gear are the plan - this reinforces that for sure! The fairings we are adding now are for testing purposes only. Some customers have stated that they want fixed gear. We will develop a purpose built fixed gear and fairings that are more historically accurate when we have the airplane we want.

The next drag producing feature is the cowl flaps. I never really appreciated how much drag they can produce. We are going back to school on this drag thing. There is a reason that all the radial cowls had adjustable flaps. I always thought it was for getting the best speed possible on the fast planes. Nope. Round engine cowl flaps are draggy at all speeds. I have been talking with various warbird pilots and they all tell me the same thing: they close up the cowl flaps right before or after take-off or the plane just mushes along. A B-17 doesn’t take-off with the cowl flaps fully open. They are only fully open on the ground. Most of them have a setting that is barely open - “in trail”. So we closed ours up - they are ground adjustable on the prototype. We found that we are 7 to 10 mph faster with them closed. They are still open a little, so some exit air still gets out. The engine got hot a little quicker in the climb, but I could cool it quicker due to the faster airspeed. Just that bit of drag reduction helped to get her about on-step at high cruise rpm. Full throttle and she is behaving nicely. I just cant keep her at WOT. It is giving me a glimmer of hope that combined with the wheel fairings, we will be flying much better! Going to do more testing at different open settings to get the best compromise of drag and cooling. Ahh, flight testing!

Another drag producing feature is the wing itself. Airfoil, wing tips, root fillet, area, washout, incidence, rivet type and aircraft weight all play into the drag being produced. We have to clean-up the first two large drag buckets to understand how much of the excess drag is left to blame on the wing. Paul is thinking that our wing tip design is about as bad as it gets. How big are the wing tip vortices? The curving tip is terrible for allowing the high pressure air beneath the wing to swirl up and around the tip shape. Basically forcing it into a vortex. We are trying to do a replica, so I’m not too sure how much of that we can change before it isn’t a P-40. We may just have to learn to live with it by adding more required power or at least thinning up the trailing edge for more of the curve. Same with the wing root fillet. We made the trailing edge shape close to the P-36 Hawk’s fillet shape. It isn’t perfect, but pretty close. It starts out very thin out on the wing, but gets a larger and larger radius as it blends into the fuselage. State of the art in the mid 1930’s. On the later P-40, they kept it sharp a lot further along it’s way to the fuselage. We may find that we have to sharpen our fillet to reduce drag. Can do! If you noticed, a P-51 and all the later WW2 aircraft designs don’t have that big fillet. The Spitfire does (it’s a 30’s design), but they keep it sharp all the way. The rounded trailing edge is bad because it allows the air from the wing to mix in eddy currents with and along the fuselage. We will add yarn tufts and see how bad it is. Video coming!

There is of course, many areas on the fuselage and plane as a whole where we can reduce parasite drag. Gun sights, canopy, rivets, skin laps, paint finish, etc… However, we are trying to make a replica fighter from the 30’s. Gonna be draggy if we do it right! So we are going back to school on drag and learning some hard lessons. “They did it that way for a reason”. We will be able to clean her up and keep the look. An inflight adjustable propeller will also help with the performance effort. There are several electric options and we will be studying them for the best fit for this machine.

The good news is the plane flies nicely at higher speeds. The engine cooling is better, the handling is nice and crisp and seems very solid. This really points us to needing retracts with an adjustable prop and cowl flaps. Wing flaps will be a must have feature as well. I have no doubt we can adjust the wing design as needed to compensate for 30’s aerodynamic shaping that made the WarHawk an ICON of WW2. Back to work! Flight Testing!

Rock On!

Hey there! We prepped the plane to fly for the Labor Day weekend. Ground runs were showing us that the oil tank modifications have fixed our loss of oil from the breather issue and the inter-cylinder baffles were working to lower the CHT’s. We really didn’t know if we had actually solved the high CHT’s or just delayed the high temps - flight testing would be required. Saturday we finished re-installing the lower fuselage and cowling. We did some video of the plane out on the ramp and ran the engine. Did some taxi testing for practice. I ran out of excuses, so decided to taker her up and get familiar with her.

I lined-up on the runway and advanced the throttle slowly. Tail came up very quickly and the airspeed came alive at 40. She got light on the gear at 55 mph. I was at approx 2/3 throttle and she left the ground at 62 mph and quickly accelerated to 90mph and 850 fpm climb while advancing the throttle to full. Pulling back on the stick I got her down to 80 mph and was seeing 1200 fpm but only 2000 rpm. So the prop is still not adjusted right. She is very responsive on the controls - maybe a bit more than I was expecting. Ailerons are indeed light forces and very responsive. Even the elevator and rudder are very responsive. Just slight inputs and she is responding. The stick and rudder pedal forces are good on the tail surfaces. She feels good and will be a lot of fun after I get used to her. This flight re-affirmed what Elliot was observing on his flights.

I didn’t want to overheat the plane so kept the flight to pattern altitude and pull the throttle back to 1800. The plane felt draggy and the airspeed was showing 110. It feels like it wants more power to really get up on step and cruise. Well, with the prop not adjusted right, we are 150 to 200 rpm low. Definitely not getting full power in flight. The large 600x6 wheels and tires and fixed gear are hurting us for sure.

I brought her around for a fly-by as the temps and pressures were all satisfactory and the engine was purring along. It was not a full power fly-by, just cruise speed and rpm. Felt good, a bit of rough air kept me adjusting the controls. Climb-out was again about 1200 fpm and I kept it above 80 - staying way above the 60 she flew-off at. The CHTs were getting close to max but staying acceptable. I didn’t keep climbing above pattern. I opted to RTB (Return to Base) as Elliot says, not fearing the CHTs, just it was late in the evening and the sun was getting very low - long shadows. I was thrilled to get to fly her and decided to not push my luck, keep it short and sweet.

Pulling back the throttle abeam the end of the runway on down-wind, it started to descend quickly and I had to add throttle to keep a glideslope. Below 90 it drops real quick. I kept the short final about 80 and kept her on centerline. Touched down with a very light bounce and a strong rebound - she was flying again. Oops! Bounced her again and then again - PIO! The fourth bounce put me feet into the air and a bit off-center so I did a go around and she immediately flew. Climbing to pattern, I was not happy at all. Was it me? Was it the gear legs? Fortunately, we have a go-pro camera out on the wing tip. I brought her around again and lined-up on final. Again, bounced the landing and after a few bounces, she settled into a three-point attitude and on the ground. I let her roll down to the end of the runway and taxied back to the hangar. Whew! Relieved that she was intact and held-up to a serious landing gear structural test. Definitely frustrated with my landing attempts.

After some review of the video footage from the Go-Pro and a ground camera, I am happy to report that it was not the plane. It was me. A little rusty with the tailwheel landings. Elliot made it look so easy I wasn’t concerned at all. But I should have been doing wheel landings and three-points with an instructor. I was basically doing wheel landings, but acting like I was three-pointing it. So the plane would drop the tail as soon as the mains touched and the angle change put me up in the air again. I watched a lot of tailwheel instruction videos on Sunday and figured-out my errors. I am not a beginner, I have about 160 hours of tailwheel. But I haven’t flown tailwheel for three years. It’s like riding a bike right?! Well, maybe not. Rusty.

That said, she is well behaved on the runway and taxiways. Even bounced, she tends to stay right on centerline. Tracks well and brakes are good for taxi. I’m thinking that grass will be much easier to land on. I also think that I will need to stay at a long runway airport until I get the rust off. Looking for a tailwheel trainer and instructor around here.

So on the first flight, she is not performing to my expectations. Need more flights to see if we can improve our cruise and climb. We will investigate our drag and power/prop. To reduce drag, we can possibly switch to 400x6 tires and wheels that Matco makes for LSA aircraft. Can even go to 5 inch wheels if we have to, but wont look right at all. I can also adjust the cowl flaps in a bit and see how that affects the cruise speed. Prop adjustments will help, but we may have the wrong propeller for this combination of airframe and engine. An in-flight adjustable propeller would be very helpful I’m sure. Retracts! Also, this prototype airframe is heavy. So we are identifying ways and areas to lighten for the next airframe.

We are just starting to learn this machine and have a lot of testing and refinements to do. Will tweak the prop and get her back up by this weekend. We will do some editing of the video and put it out shortly. It’s the end of summer already - and so many things left to do!

See you shortly. Rock on!

"Mammoth Tank Ready"

After making all the parts and having everything fit and welded and fit and welded some more by one of our welders, it looks like our new tank setup is ready. to go.

Nothing too much more to say just yet. Our welding team is mostly still plugging away on customer parts, but still pulled this off quite well considering how fancy I got with the little parts; baffles and plates and tangential inlets.

I don’t think most of what we put into this is necessary for the typical install. This is a bit over-the-top when the typical Verner user has been well served with the by-the-book tank as specified in the manual that works wonders. We’ve made a few tanks now and they seem to all work quite well

But between our compact size, low profile, specific layout of inlets on the original. and our specific FWF layout, the constraints we had to deal with on the existing tank, and all the rest, we had some problems that needed solving and I decided to start pulling out of the bag of tricks many a race-engine builder has gone to over the years to try and address them all in some way.

There are tricks yet, if we still find more issues, but, I have confidence we’ll see a notable improvement with this setup.

Cyclone Ranger

We have still not been able to fly the plane after getting her back from Oshkosh and put back together. We have been doing a lot of engine runs and spraying a lot oil onto the grass next to the hangar. We had made an expansion tank and that helped delay the oil from starting to blow out the breather, but didn’t stop it. We are not talking about a little mist, this is a flow of oil when the engine is at full rpm for more than a minute and a half or two minutes. I’ve never seen anything like it. This proved to us that we need more venting area and better separation. So after exhausting all other options, we decided we need to remove the main oil tank and modify it. We did that on Saturday and was a big job. We had buried the tank into the fwd fuselage and cowl support structure. Never intending to have to remove it. Lesson learned - will make the next airframe much easier to r&r the oil system!

Now that we have decided to cut and weld the oil tank, we are busy designing the mods we need to do. Scott has been doing a lot of research into dry-sump and remote oil tank design. From what we are learning, the cyclonic method of separation is most common and successful. We need have to have something easy to fabricate and it has to have a very high potential of working in our application. We are up against the clock! We have to be flying and getting flight test data!

There are two main things we will do to it. The first is adding in a “dog house” to the top of our tank - to add as much air expansion volume as we can possibly fit. This is a box that is about 7” wide x 5 deep x 3 inches high. This air chamber will have a much larger bung welded to the top for a larger vent fitting and hose. We will add holes into the existing tank top for ventilation into and drain out of the dog house. The second mod we will do is add a cyclonic separator “can” to the inlet pipe on the inside of the tank. This will control the flow of the oil as it enters the tank and reduce foaming of the oil from entrapped air. Too much air in the oil will cause a drop in oil pressure - we are seeing this - and reduce the effectiveness of the pump and that is NOT GOOD! We also plan to modify the expansion tank we just made and turn it into a cyclonic separator as well - replacing the separator we have with a vertical tank style one. So we will have two separators in our system. One inside the tank and one external. Larger vent and breather hoses as well.

So stay tuned! We should have the mods done this week and get back to testing by the weekend - hopefully. Images to follow.

AirVenture 2022

Wow! What a airshow! Oshkosh AirVenture 2022 was amazing for us and everyone who made it. We were jamming with people all day - every day from the moment we arrived and had to setup and reassemble the plane till the show was history. We had two interviews with media folks and several photo shoots and video shoots. We had hundreds of people asking about the P-36 and P-40 and many have been following us for years. Great to meet you folks! We took several deposits and a bunch more are interested and following the test flights. We had customers from almost everywhere on the planet. Notably - UK, Germany, Israel, Uruguay, Brazil, Australia, Mexico, Romania, Canada.

We also sold three engines and took deposit money during the show - a first! Normally, we get no sales at a show and several months later we get them. This is great news and Im happy to report it. We had Ted and Nicole Myers help us with engine questions as they are Verner Motor dealers from Missouri. That was a huge help as we were dealing with the kit plane questions. Verner gave us permission to sell five 3V engines at the show and together we sold all five. I wish we could sell more - they are popular.

During the show, Scott, Karen and I camped at our booth by using the trailer as a camper. We set it up with an office where Scott worked on brochures and printing. A refrigerator, microwave, coffee maker and beds with a dressing area. Pretty comfortable I’d say. The air conditioning worked well except in the middle of the day. We used the homebuilt camping area shower trailers and then the air conditioned bathroom trailers near the Roxy food paviliion. Not too bad. Scott said it was much less hectic than driving to and from a house - I have to agree.

The trailer is 20ft long and 8ft wide box with a 2ft V extension on the nose. 7ft high. That is a lot of space and we used up every bit of it. Paul made it to the show at the beginning of the week for a couple days and stayed at a hotel. His uncle and grandfather met him at our booth and he got to spend some time with them. Aaron and Shin came on Thursday afternoon and tented next to the trailer under the 9x9 canopy. The exhibit area is pretty cool place at night. I was expecting more bugs at night. So glad there was hardly any! There are many vendors camping at their booth spaces so we were not lonely, but it is quiet. But you have to get to bed early because the trash trucks and porto-potty cleaning trucks start in around 4:30 am and hard to sleep through that racket. All evening we could hear the bands playing and shouting at the crowd over at the SOS bar area until about 11:30 or midnight. We even went to the SOS bar on Friday night after some dinner. Packed with aviators! It was fun, but crowded. First time we had gotten over there in all the dozens of Oshkosh’s I’ve been to. Will hit it again next year I think.

The trip to AirVenture was thankfully un-eventful after I backed the trailer into my hangar door when we were all packed up and hitting the road. Arrrgh! The trailer was fine. Door has a puncture wound. I hope I can fix it without too much fanfare and State employees lurking around. The highways are full of pot holes and washboard surfaces. Terrible thing to do to an airplane. The trip home was similar and uneventful as well. Thank the Lord! Get this: we packed-up the trailer Sunday night after the show and got a hotel adjacent to the Whitman airport. The cost went from almost $400 a night during the show to under $100 a night. Oh well, it’s Oshkosh - just throw money at it!

We are now catching up on all the neglected things as well as lost hours from the day job. The Navy wants it’s toys! The plane is hopefully going back together this weekend and we have a plan for modifying the oil vent system to hopefully fix the excessive loss of oil from the breather. The All for Aviation guys in Czech Republic are having the same issues with their Mitsubishi A6M replica with a Verner 9S. They fixed theirs and we will be able to follow suit. Their fix was to make their system very similar to Steve Wolf’s - which is working real well. Copy the best I say!

The plan forward is to get her flying asap. Get some videos and real flight performance data. fly off the 40 hour phase 1 test period. Adjust the models as needed and progress toward making our next prototype and the beta kit parts. Scott is already adjusting the models for the P-40 variant as we got a lot of questions about it. In our mind, the P-40 is almost entirely the same, but we need to show how it will look and we are on it. It is great to get the questions and feedback that is the AirVenture experience.

Getting Ready for AirVenture

Hey folks. We have been working on the plane to get her flying, but are running up against a hard stop this weekend. We have to disassemble her and load her into our car hauler trailer. We have not flown her since Elliot Seguin made the first two flights. We had some issues and they needed fixin’.

The main issues:

  1. Overspeeding the engine. We have adjusted the propeller for 2 more degrees of pitch and this dropped the max static from 2050 rpm to 1950 rpm. We need to fly her to see how well we did. Max rpm is 2380 for three minutes, then 2000 for continuous duty.

  2. High cylinder head temperature. We did two things. First, we re-jetted the carburetor for more fuel in the intermediate jet. This helped across the throttle range. We may up-size it again depending on how we do with issue #1. Second, we have fabricated inter-cylinder baffles and are installing them. I wanted to see how well the engine cooled with our initial setup before adding them in. Well, it didn’t work out so well. So they are going in. Should help a lot with head temperatures. Final fit-up and then painting them this weekend.

  3. Oil blowing out the breather vent tube. We were getting some of this during ground runs and was thinking we had too much oil in the tank. Like my Lycoming if you fill it all the way to 8 qts. We leave it at 6 and it doesn’t go all over the belly of the Grumman Cheetah. Was never enough to worry me for flight testing. However, we lost 2.5 quarts in just 10 minutes of flying. Granted, Elliot was trying to climb and was at high throttle settings for most of it. It finally lost so much that the oil pressure dropped to barely anything. He had to land it. This is a huge safety of crew and machine issue. We have been conducting ground tests and getting crazy weird results. We disconnected the 3/8” drain tube from the separator with the idea that it was a small hose and back-feeding oil into the separator - and that didn’t solve it. We tried various extensions and fittings on the end of the breather tube. Nope. We cured the issue when we added a 2ft long x 1-1/2” diameter hose to the oil tank filler neck and routed it up the firewall and left it open on top. No more oil blowing out. As soon as we covered the end of the big hose, oil was blowing out again. We tried to measure the pressure in the oil tank head space, but our pressure gage wouldn’t read it or there was no pressure. Don’t make no sense. Steve Wolf has been sending us information and images of what he did - and it works fine. So we may have to follow suit . Unfortunately, it would mean removing the oil tank and modifying it or making a new one. Not something we have the time to do before Oshkosh. Dang it!

  4. The pitot system was leaking and we were getting low readings on the airspeed indicator. We found that it was the instrument itself that was leaking and since we needed a few more kts on the indicator for VNE and dive speed testing, we ordered a new instrument. It just arrived and I will install it this weekend.

  5. No airspeed results to publish - due to #4. This is a huge problem for us and we will get it done as soon as we can. I can tell you what we were getting, but remember - it was low and we have no way of knowing if it is consistently low by a percentage, or if it increases or decreases the faster we go. We just can’t extrapolate anything from the flight data. Elliot took off and climbed out at 100 kts indicated. 500 fpm. max speed attained was 115 kts. On the second flight, he climbed out at 80 kts indicated and was seeing 1000 fpm. Again, this was reading low so he may have been actually climbing at 95 kts and way above the best rate of climb speed for the aircraft. Elliot wanted to climb to 5,000 ft and do some stalls to see what speed that would be indicating at. The over temp and then the oil pressure issues prevented any stalls from being done.

We have a whole testing regime to do and will post everything openly. Not trying to hide anything here. We have been knocking out the issues and trying to learn as much as we can. We are getting a lot of good advice from the experts - so I am sure we will get it fixed. We are just running out of time.

There are a bunch of things we still need to do to get ready for AirVenture 2022. Since we have to trailer the plane, we can’t bring the camper. So we are turning the car hauler into a camper for the week. Ton’s to do for that. Then we have to finish and paint the baffles and get them in before we tear the plane apart to put it in the trailer. Scott is working on a first flight video - posting shortly. We are also making brochures and signage. Planning to hit the highway on Friday the 22nd. Arrive on Saturday afternoon. Setup on Sunday morning. Fingers crossed!

Copyright © 2024 ScaleBirds LLC  |  All Rights Reserved