Vertically Challenged
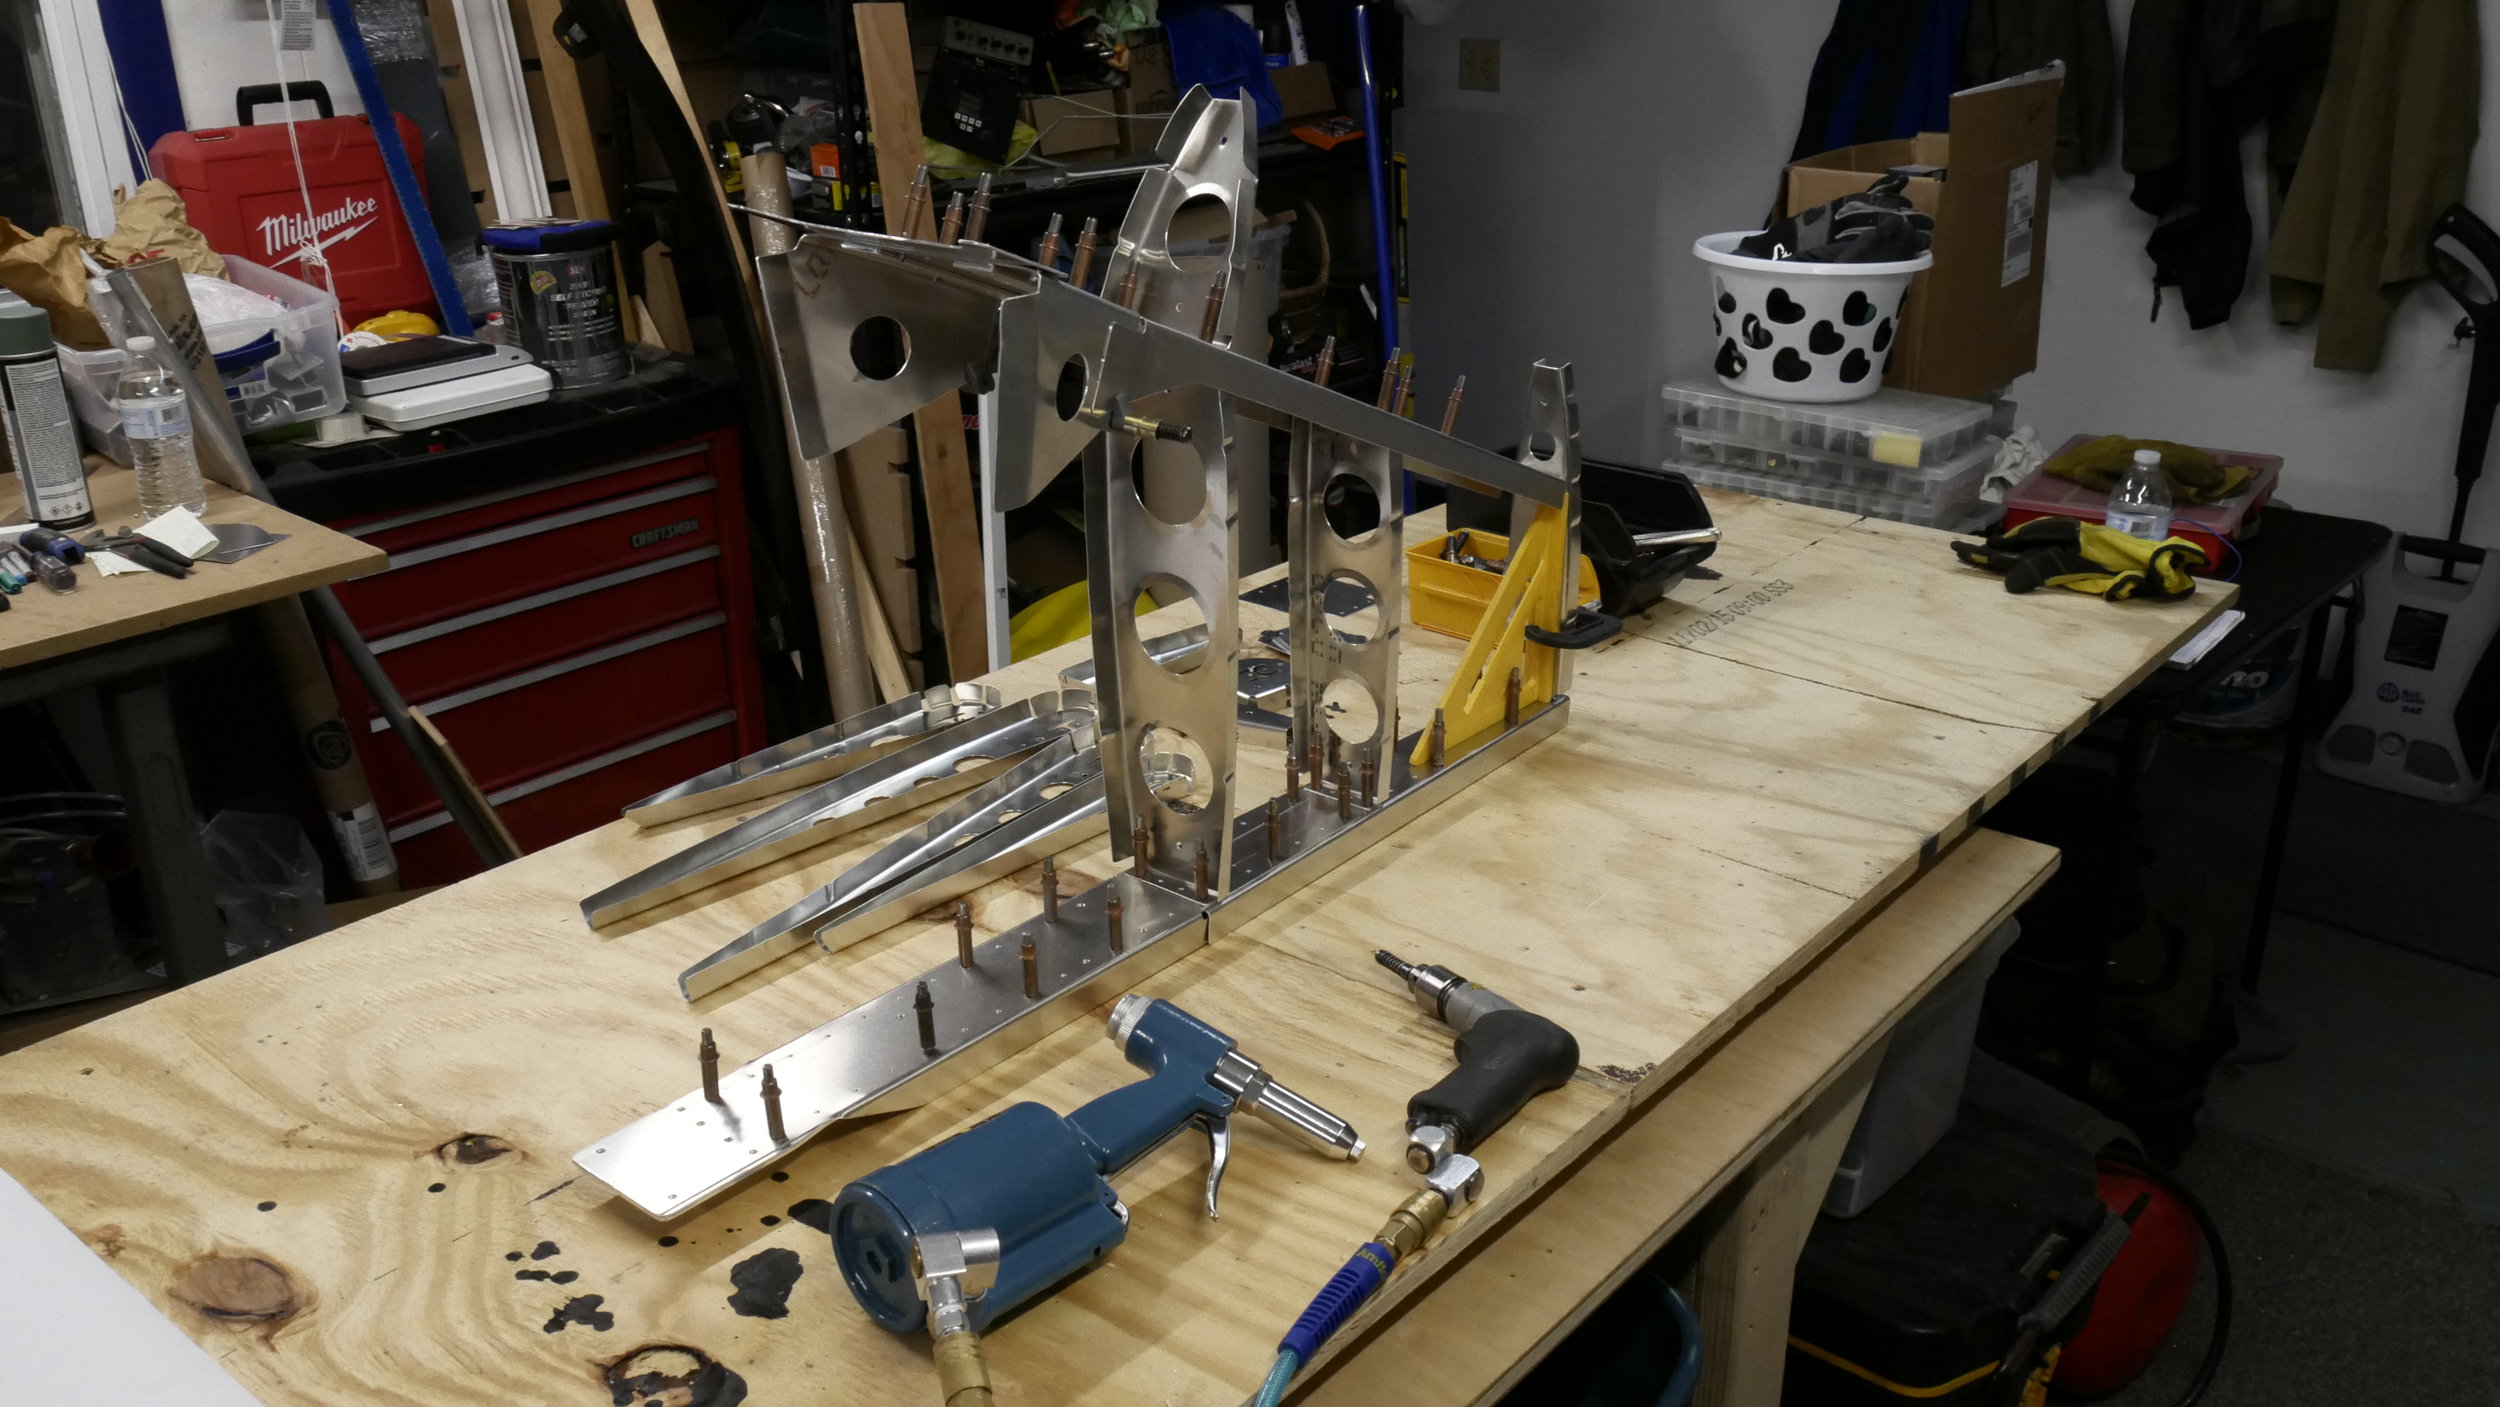
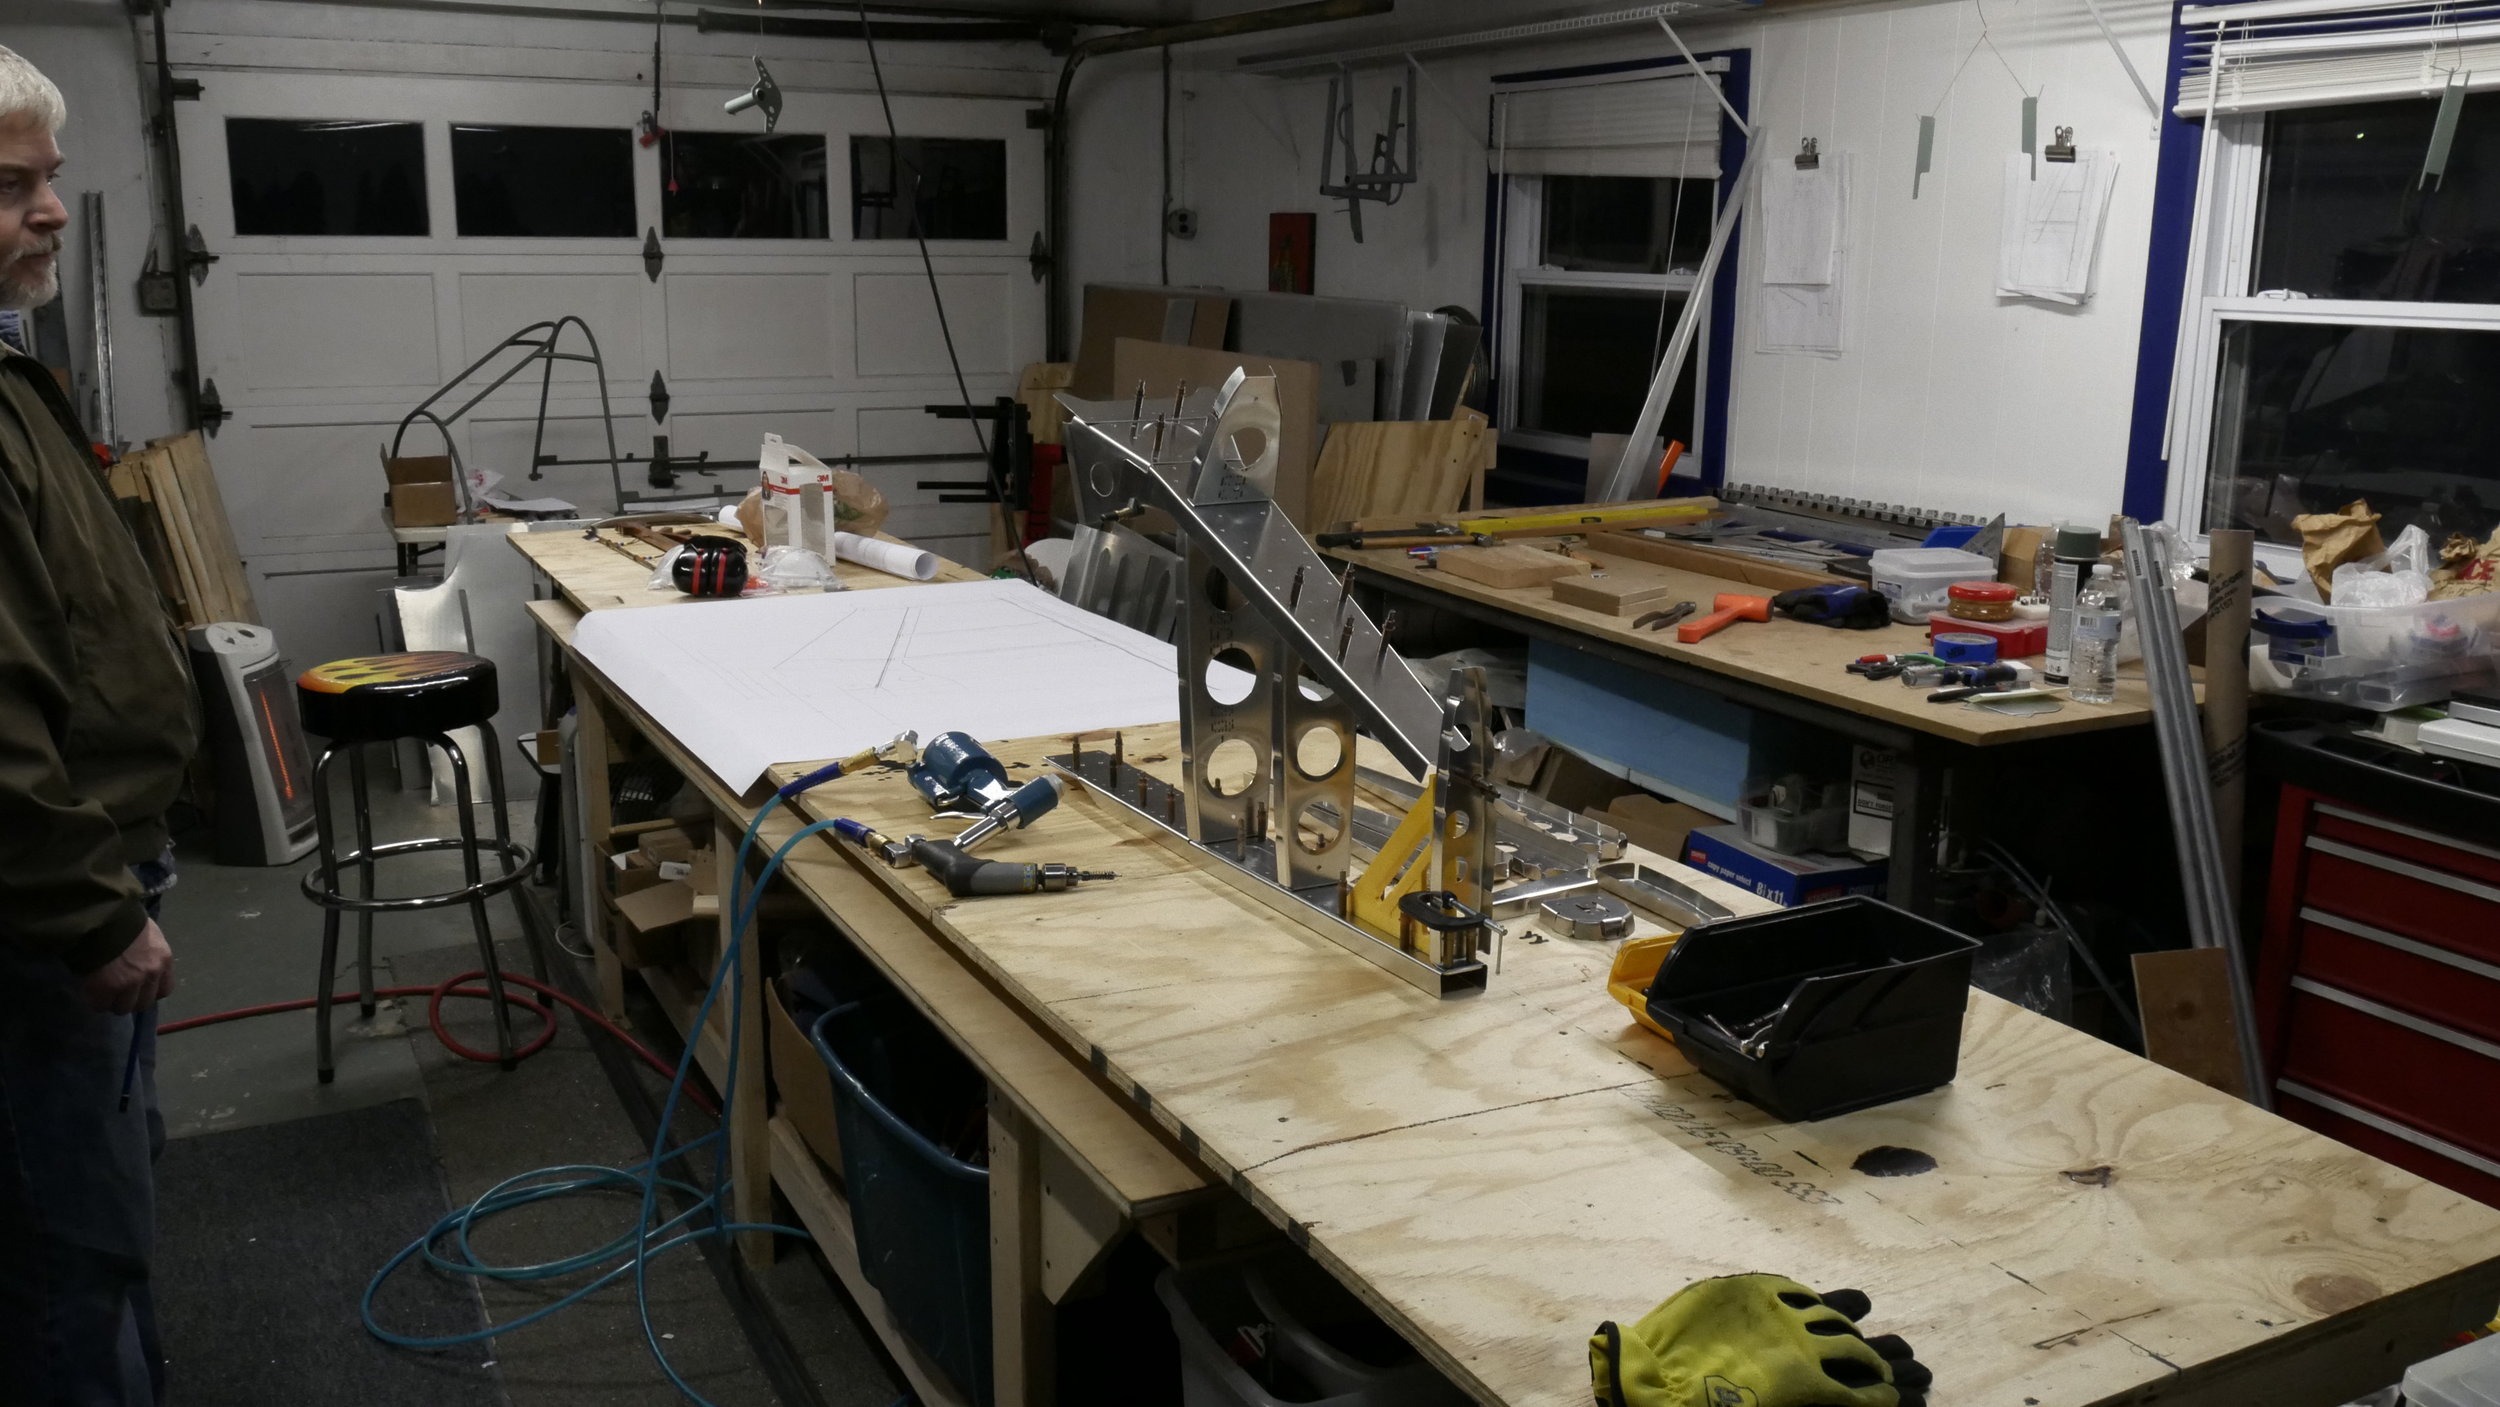
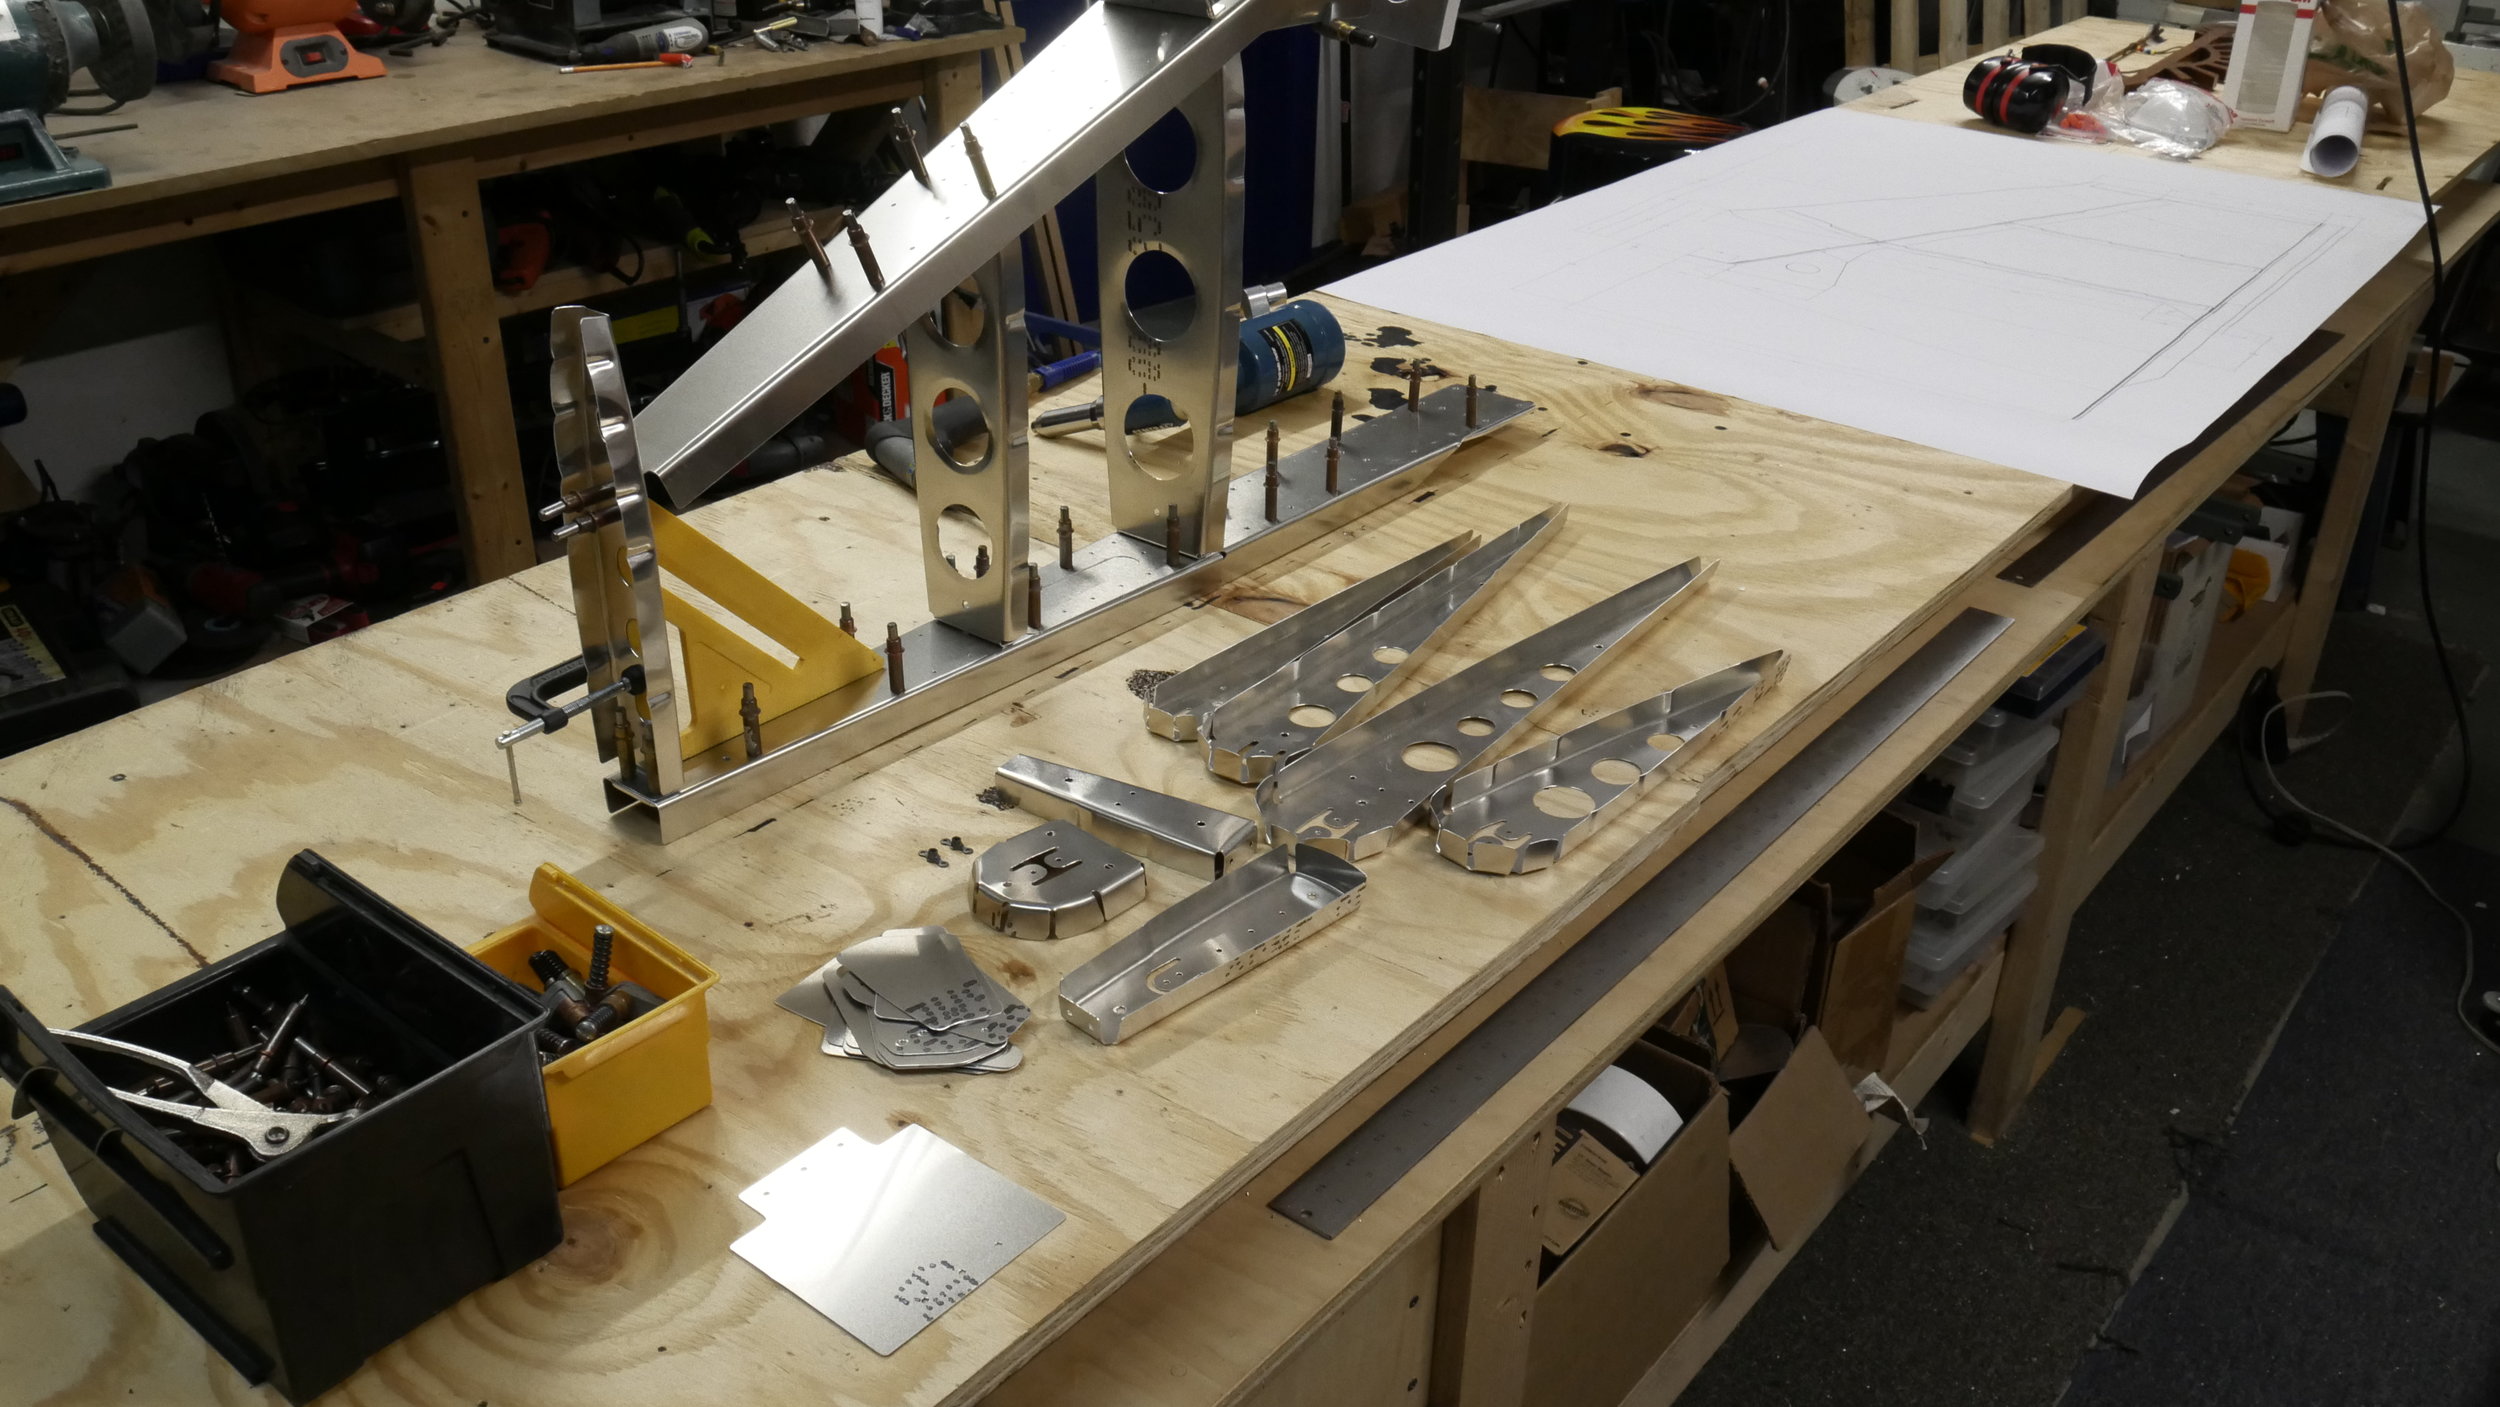
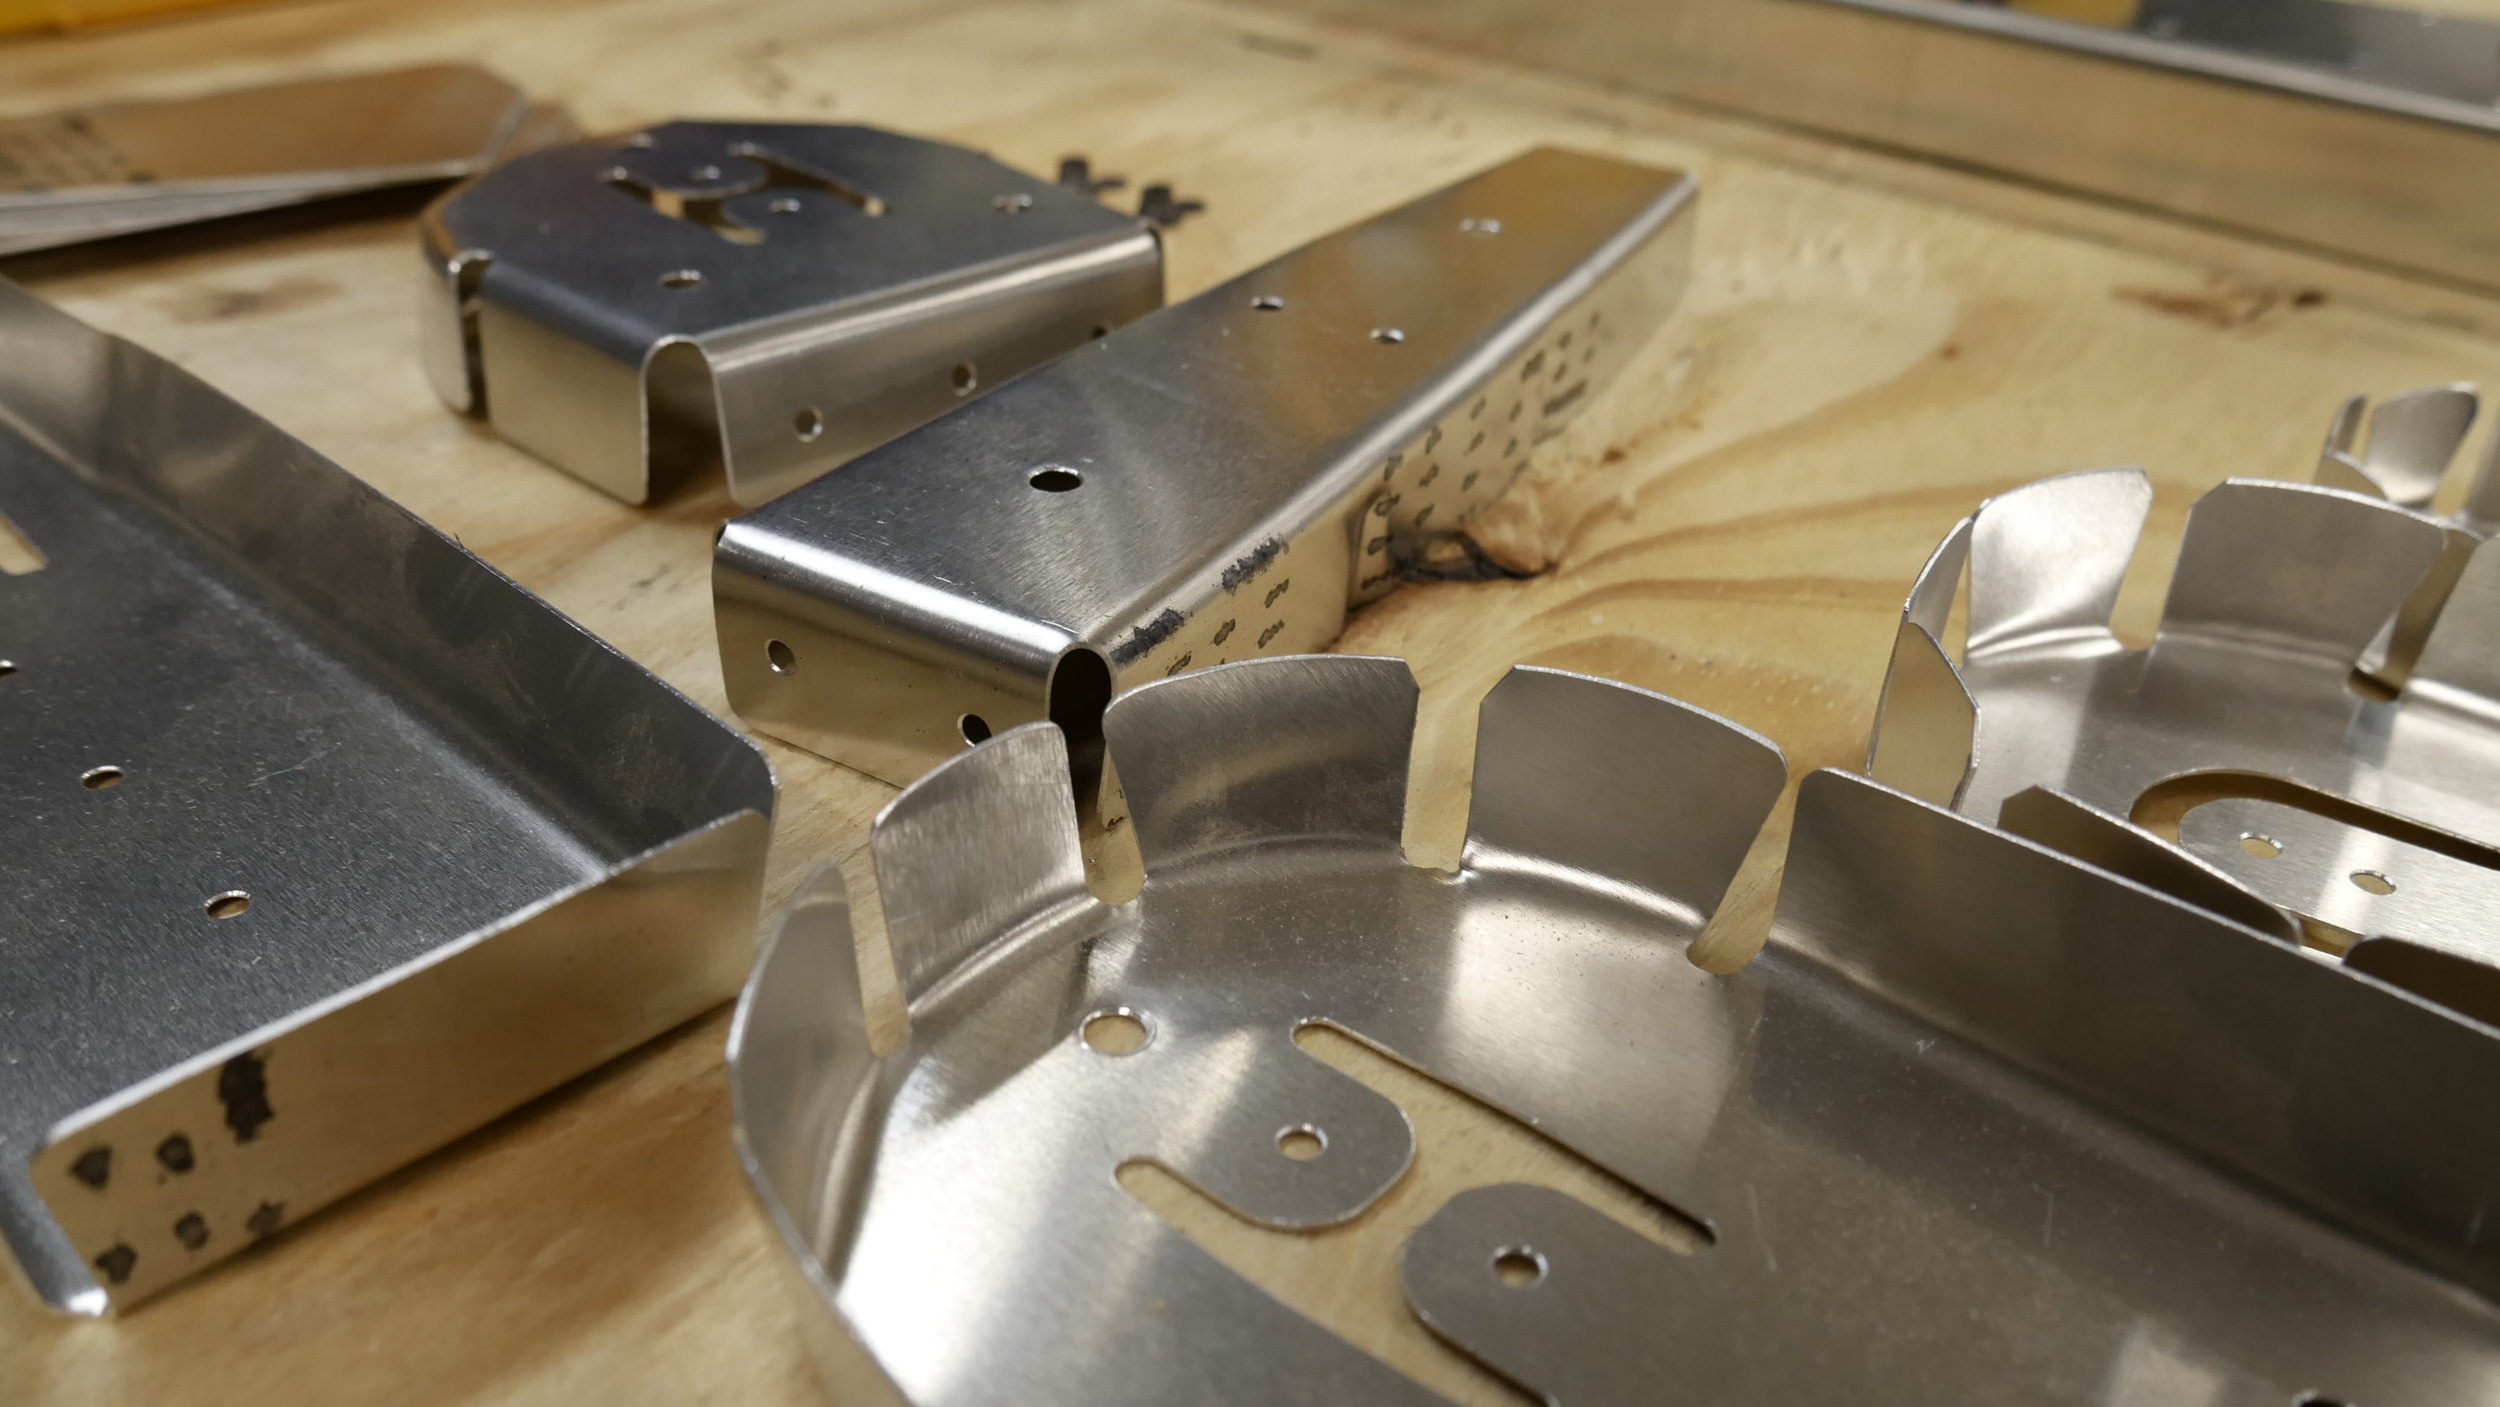

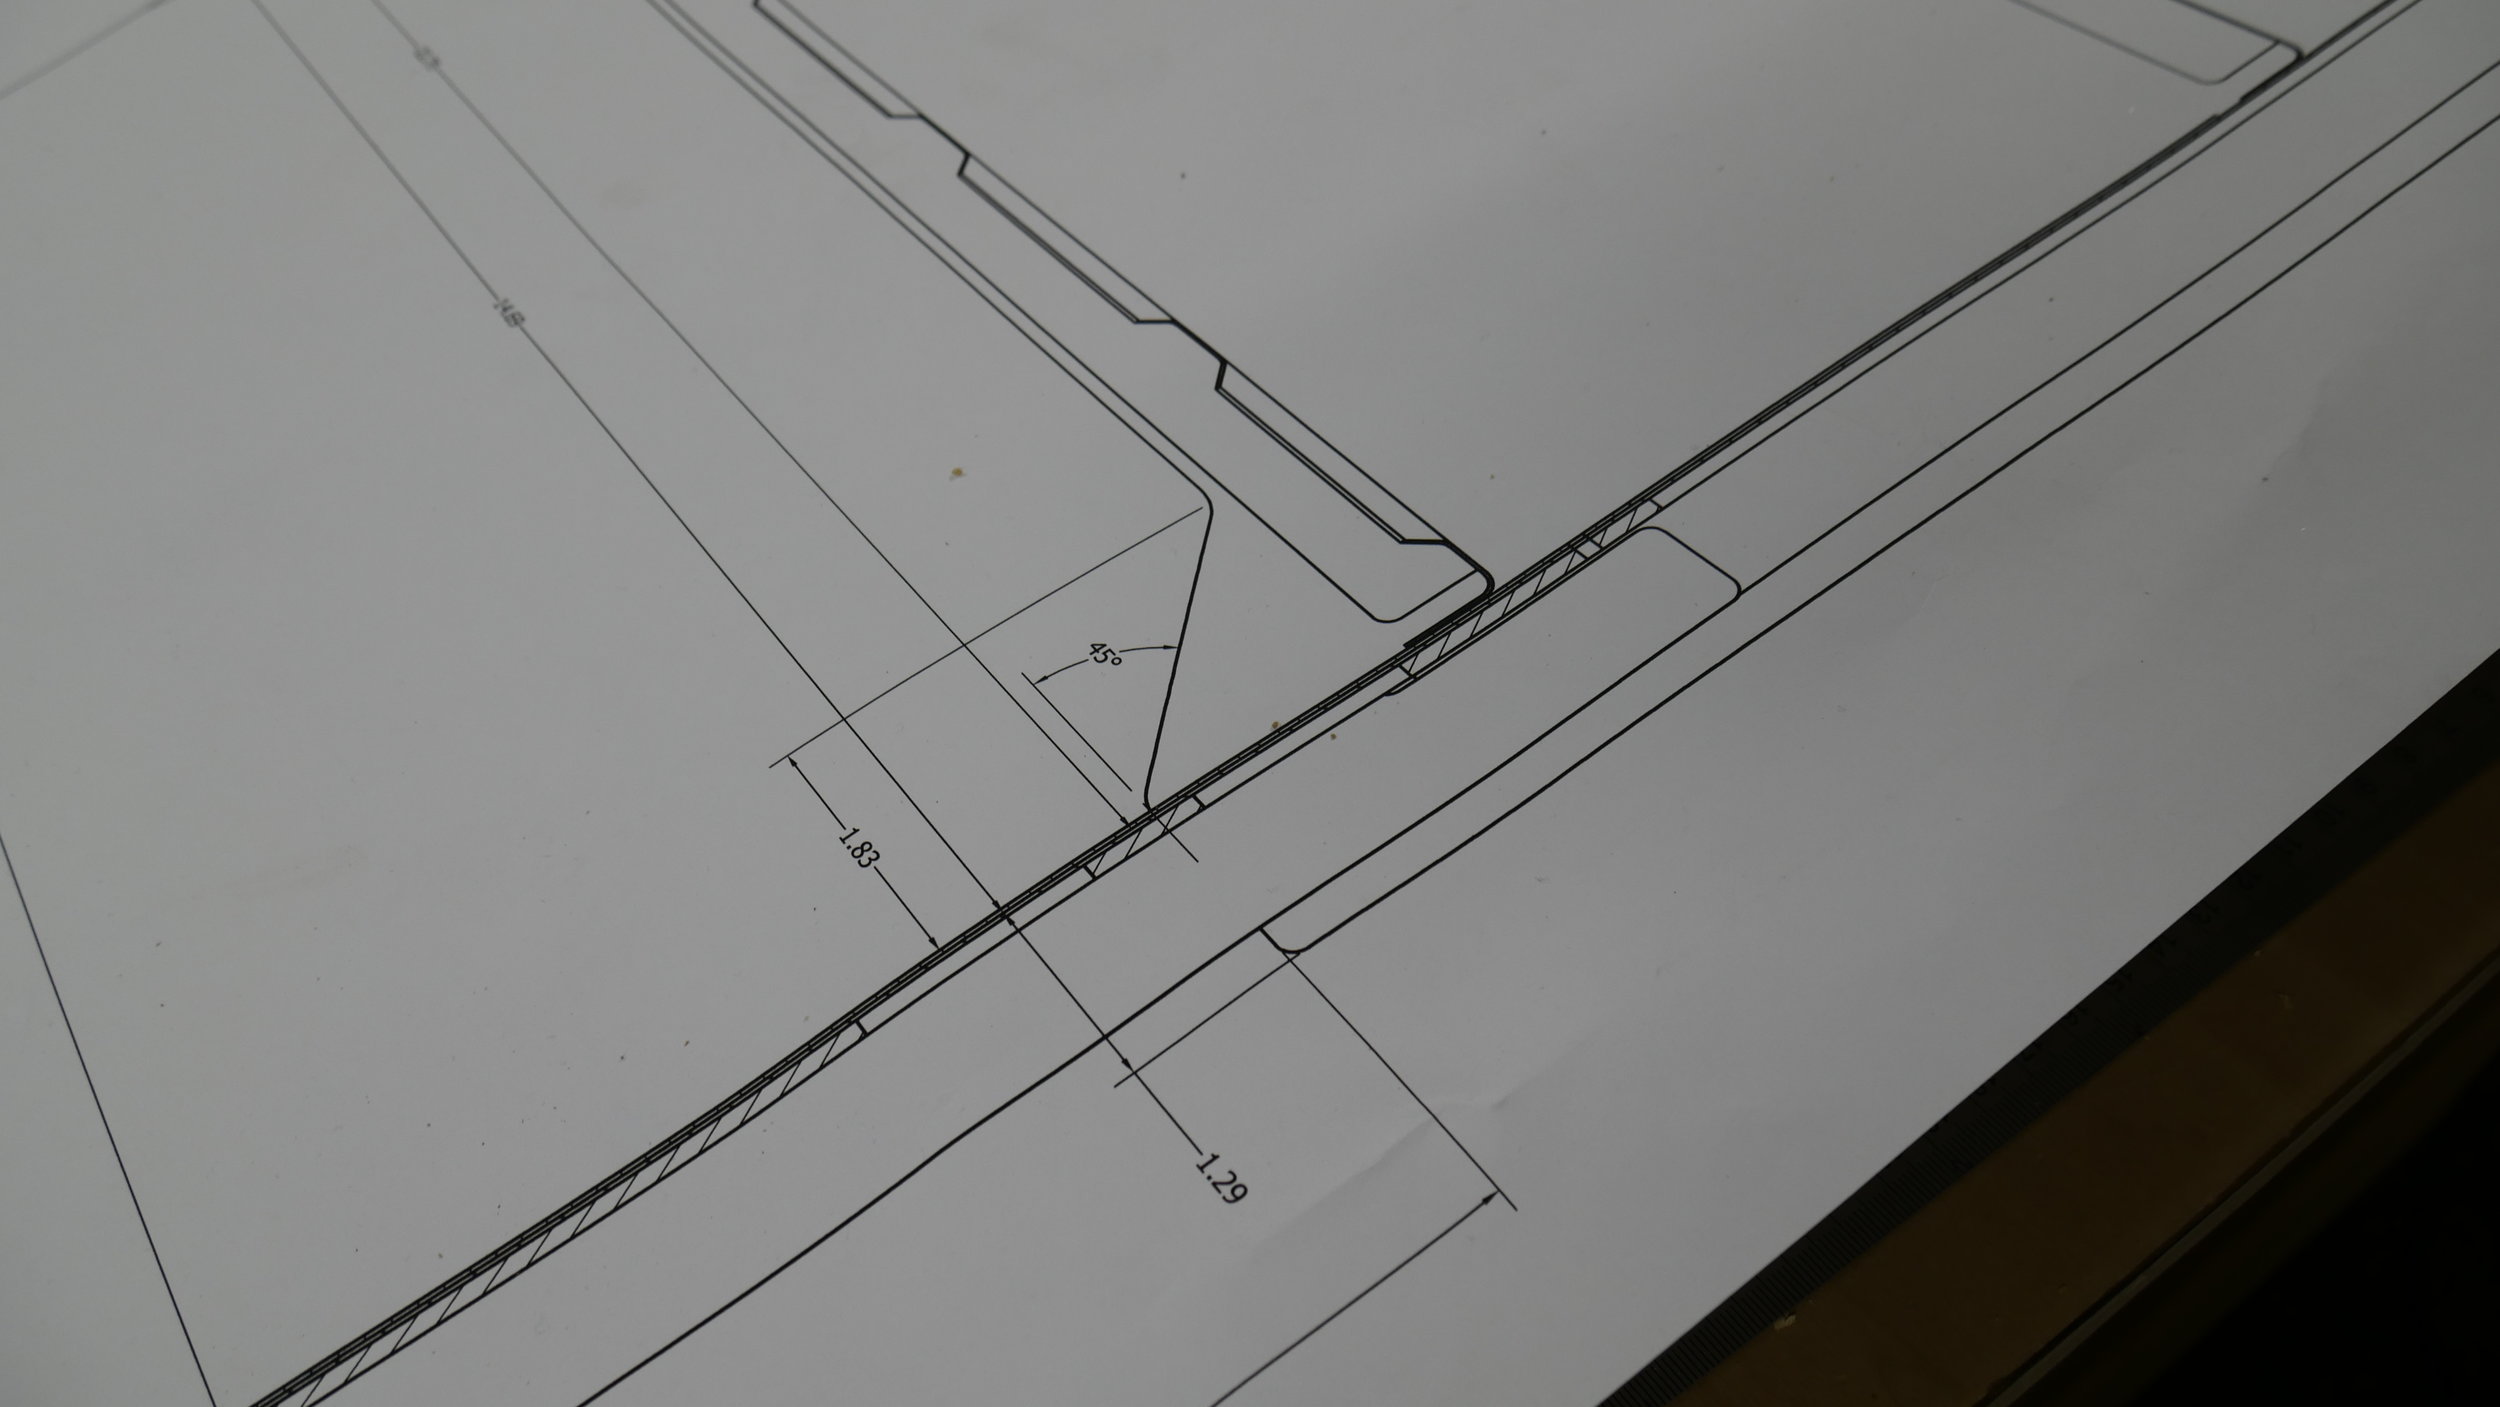
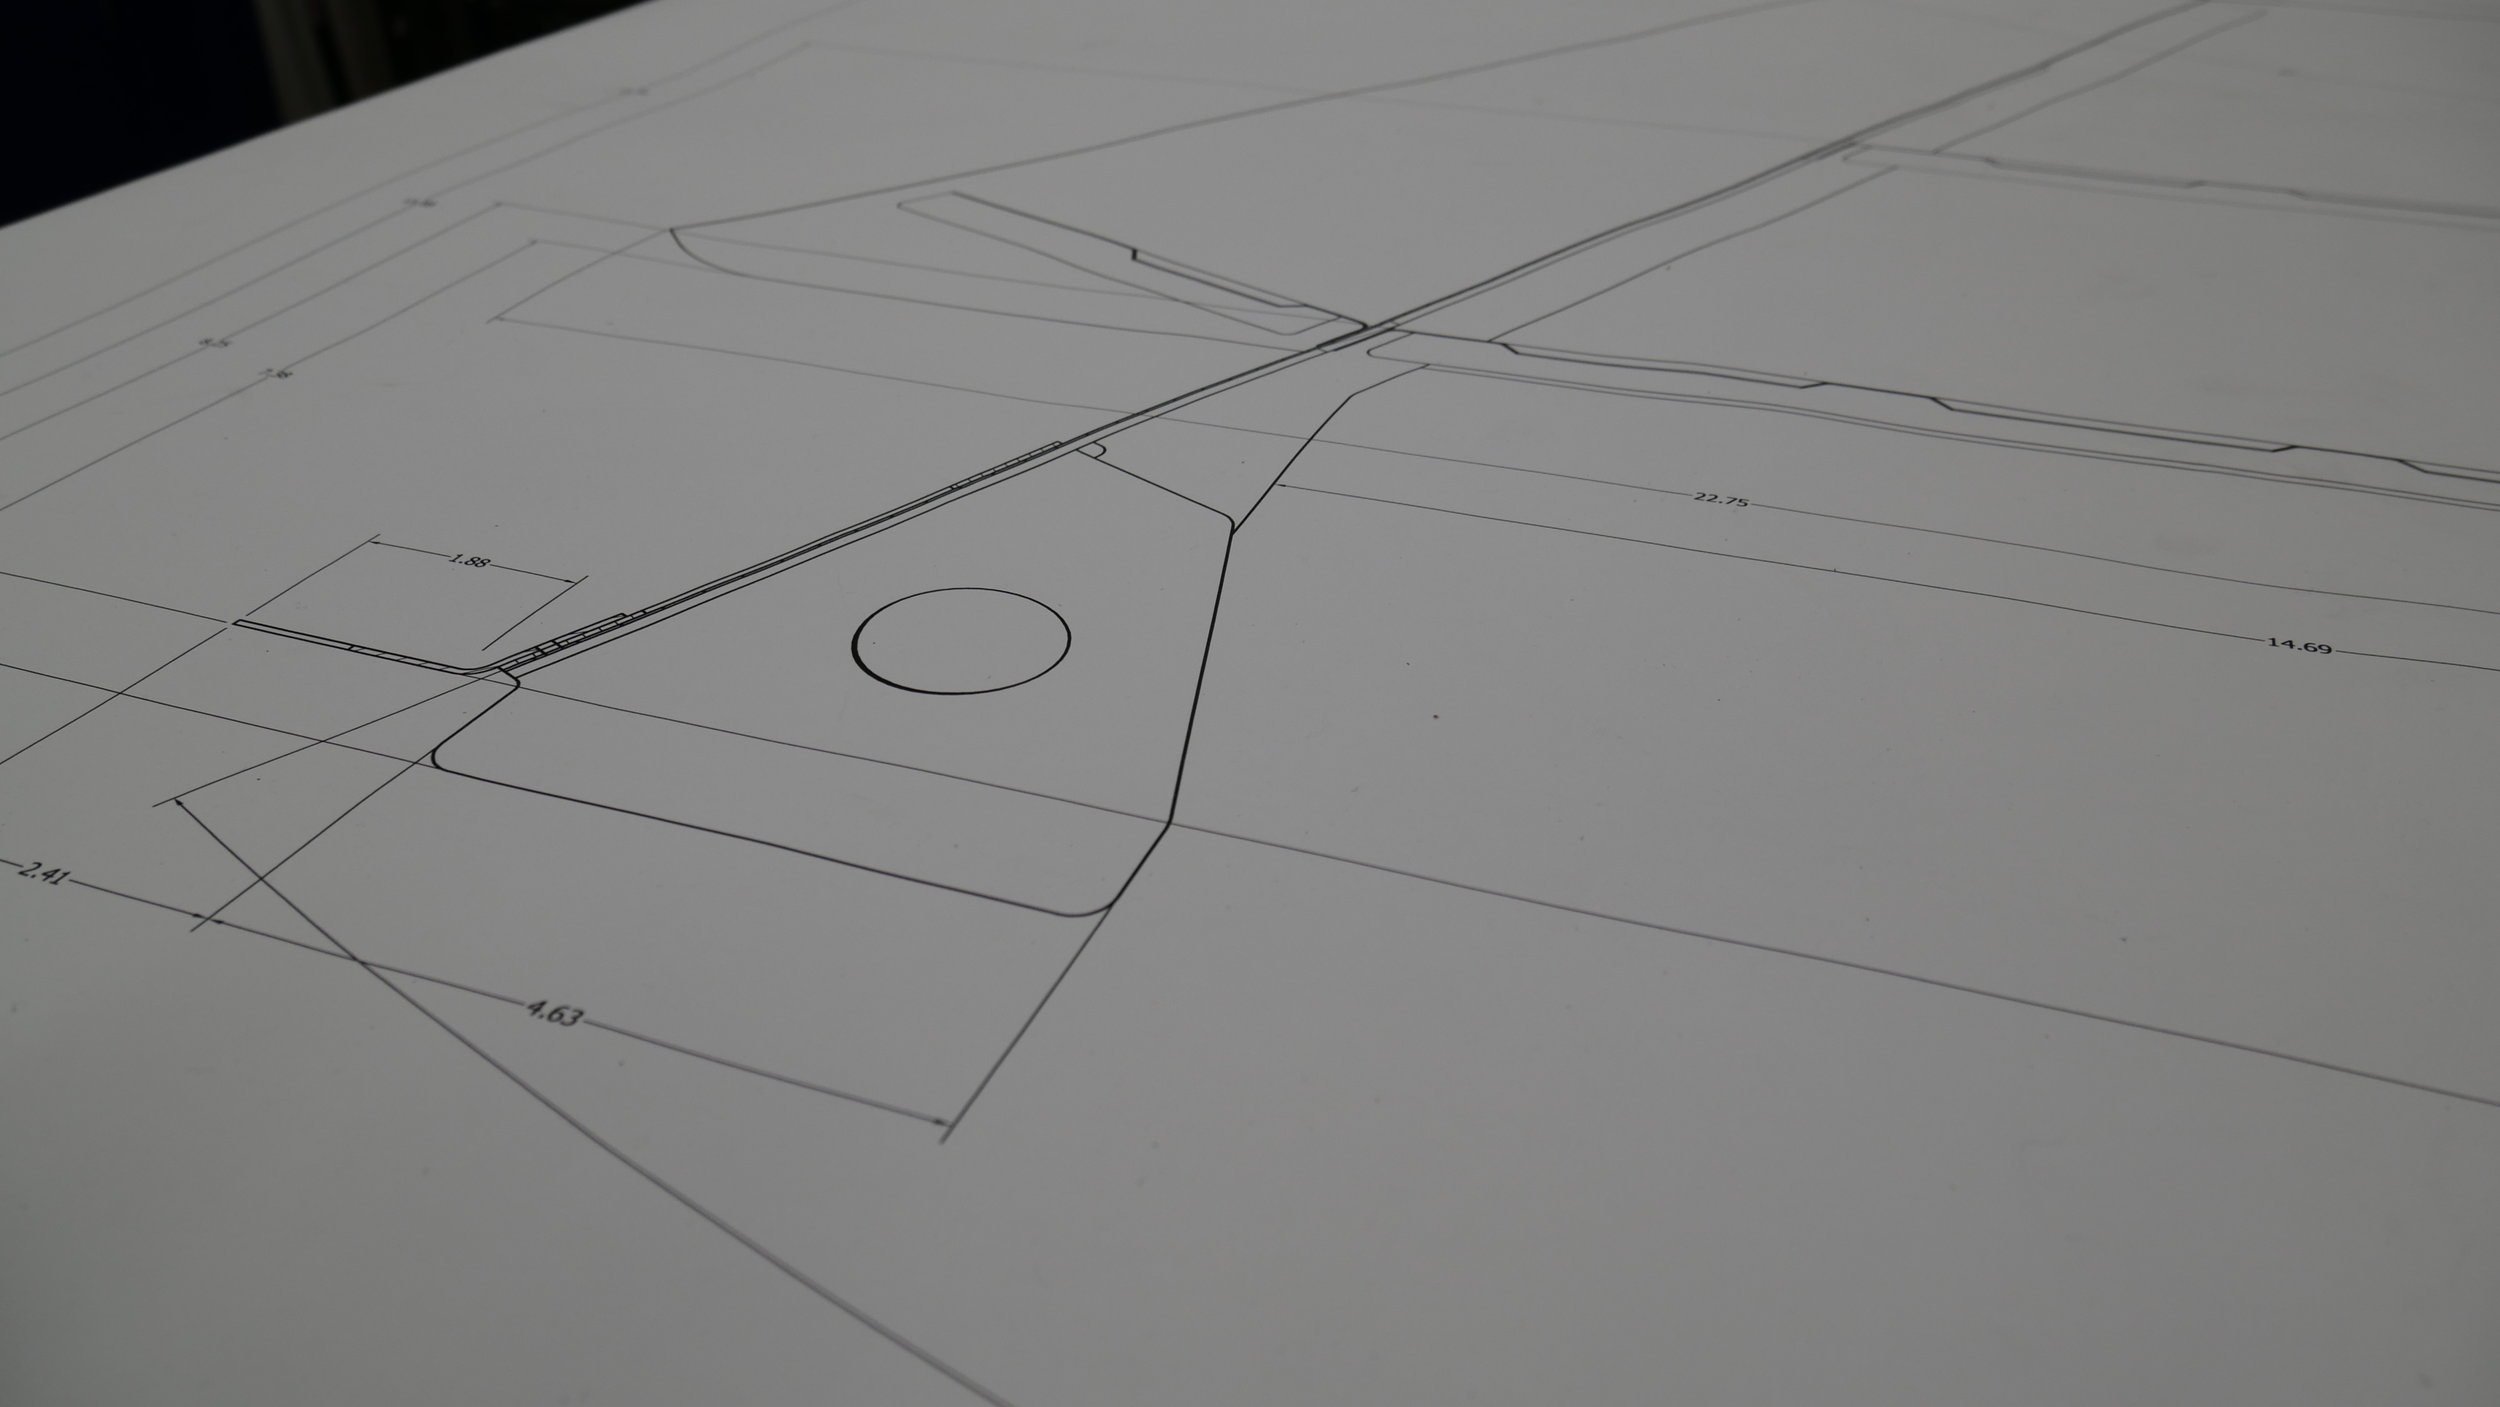
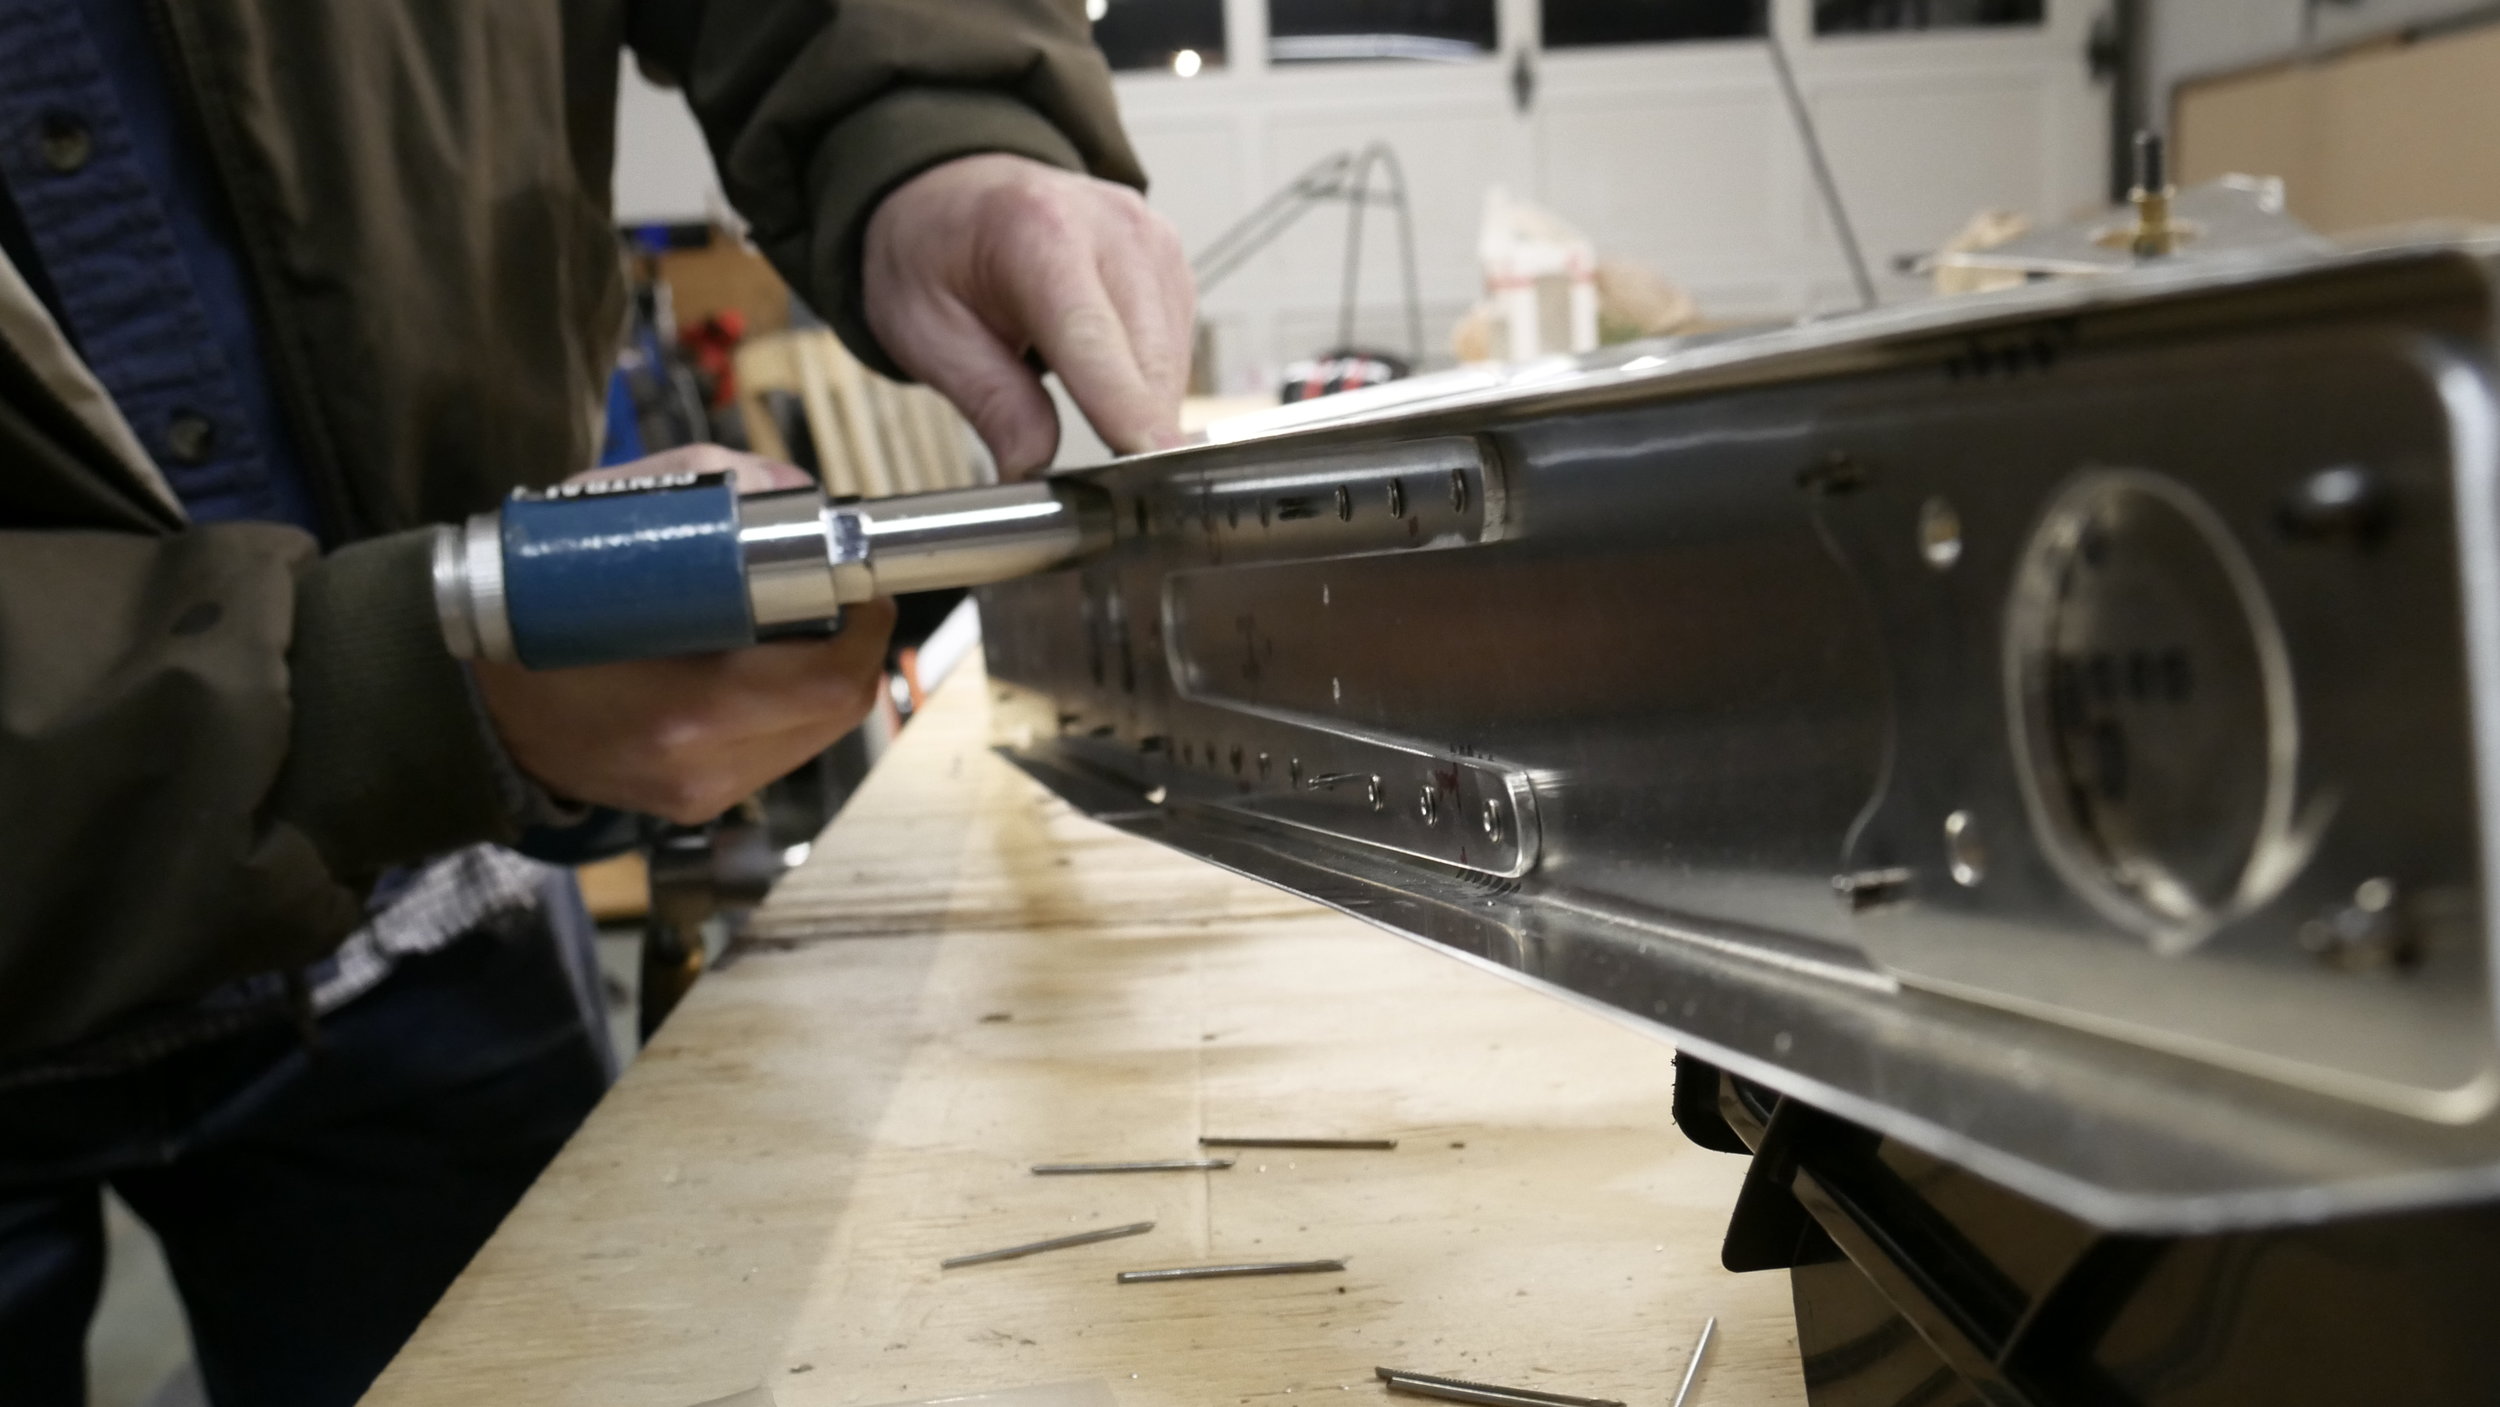
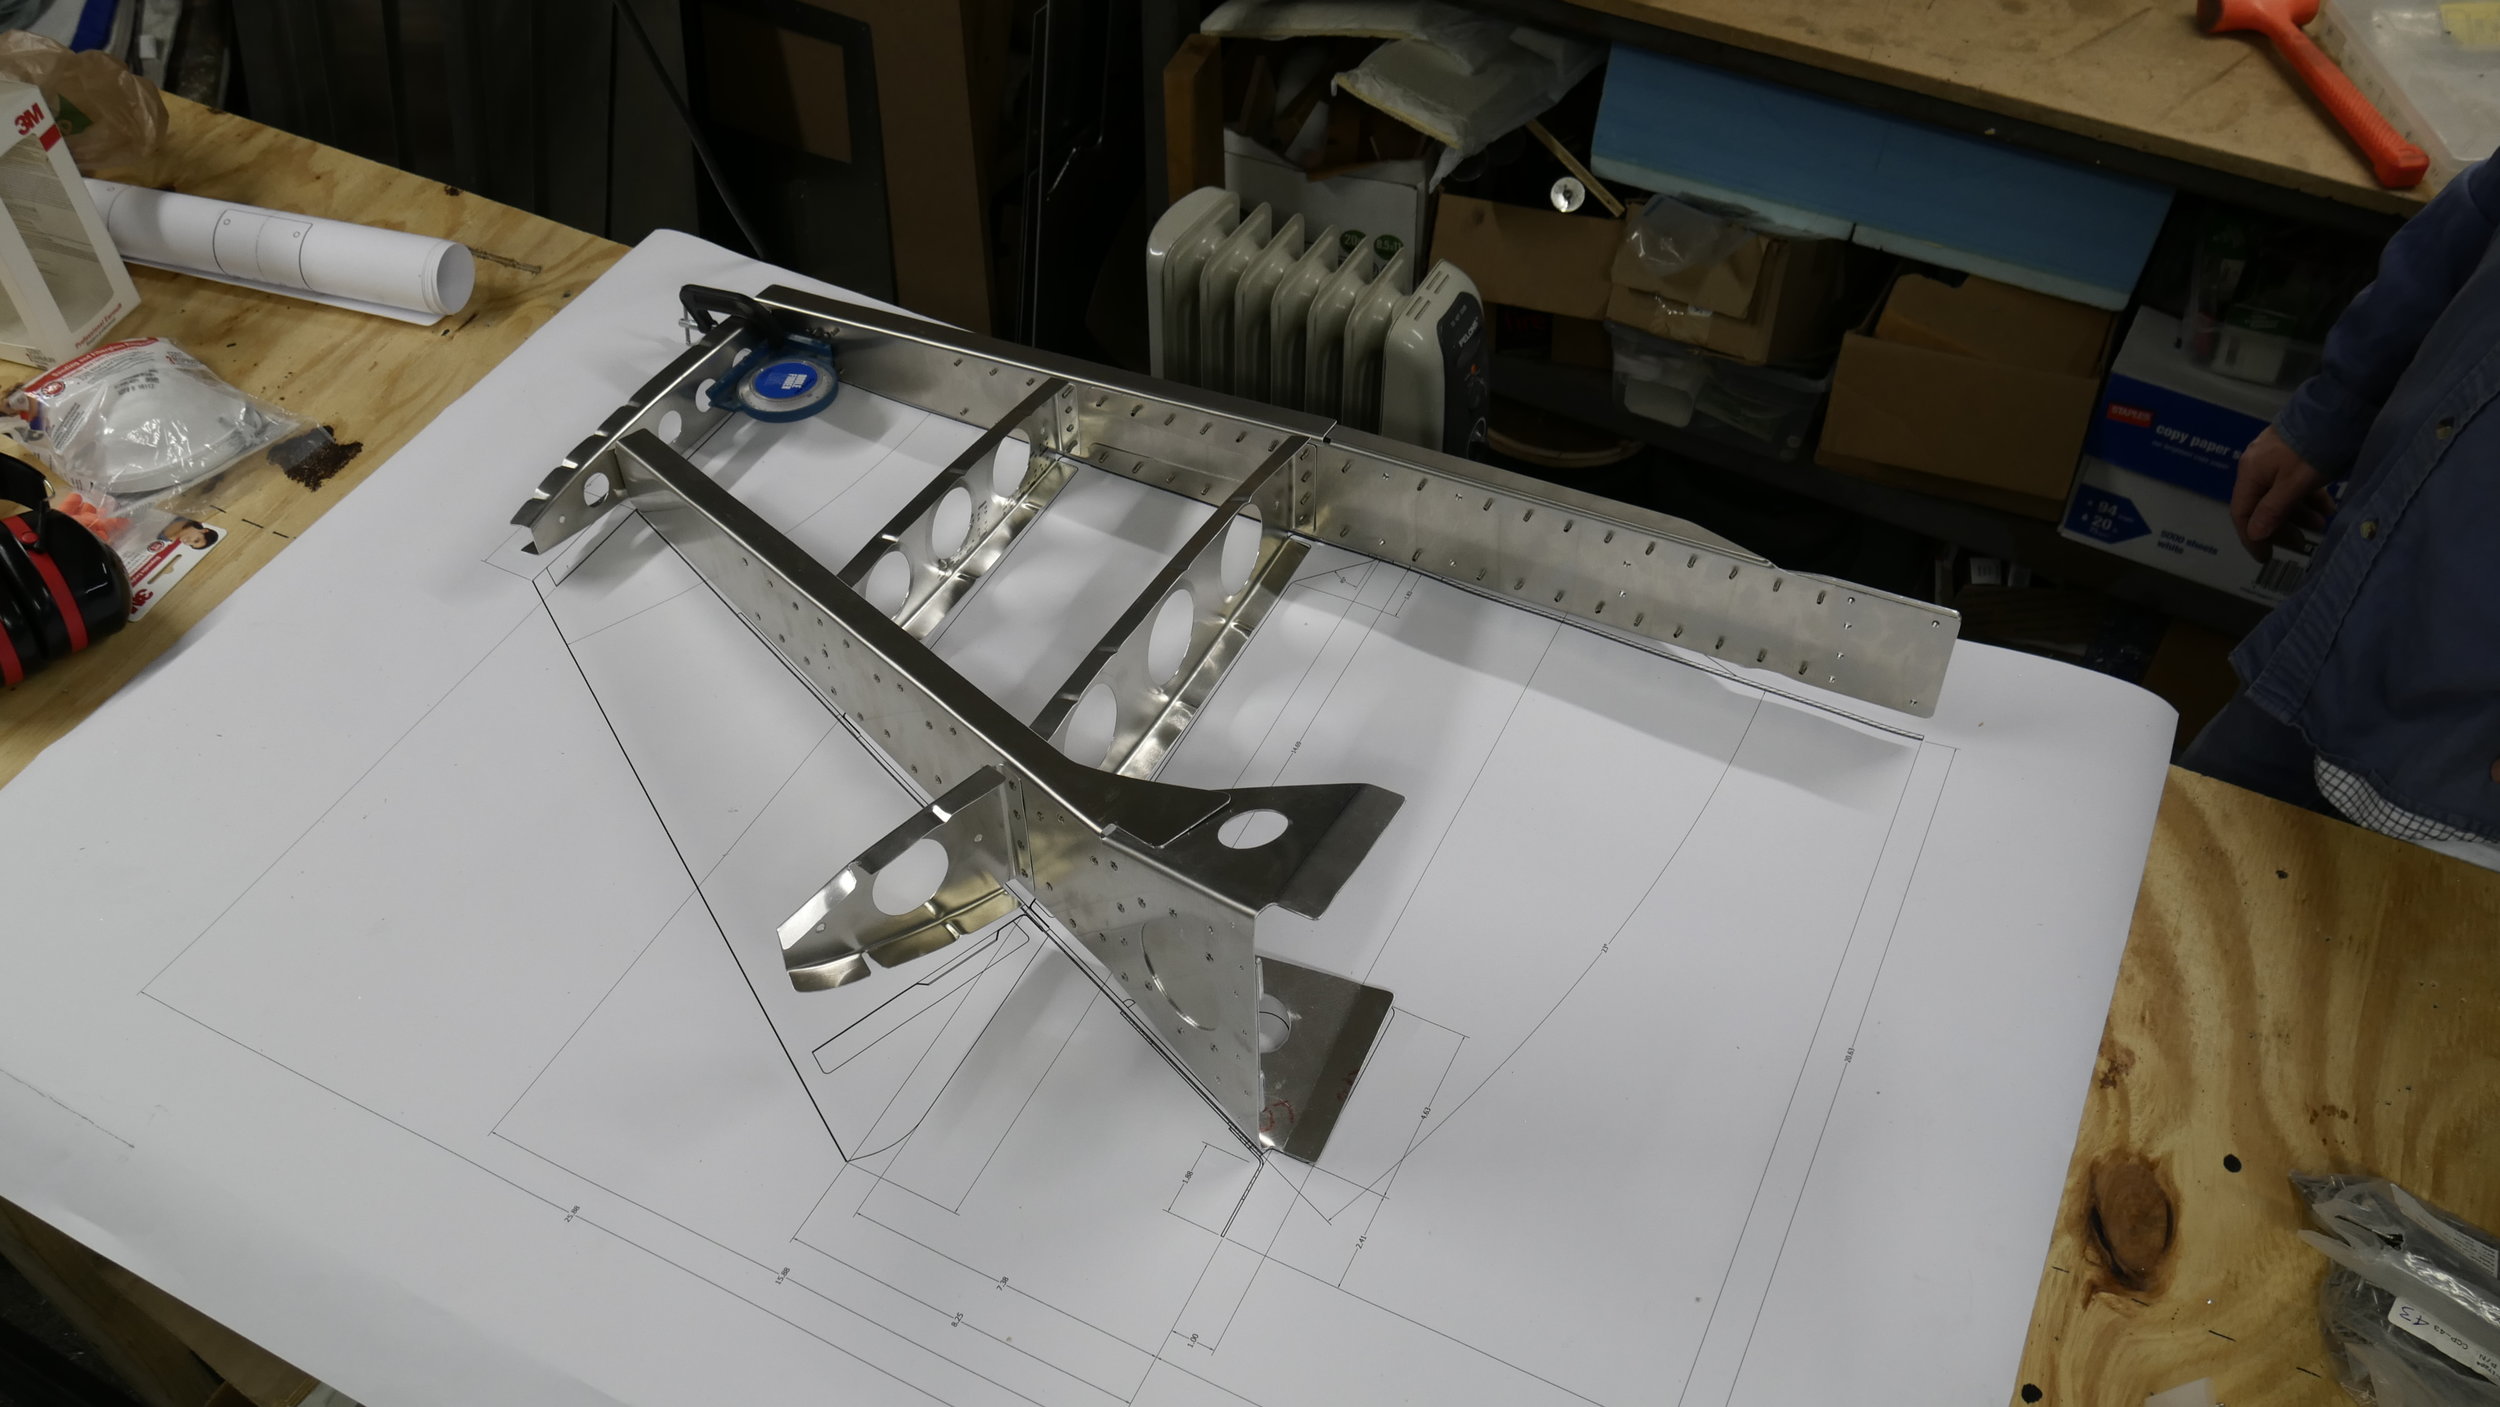
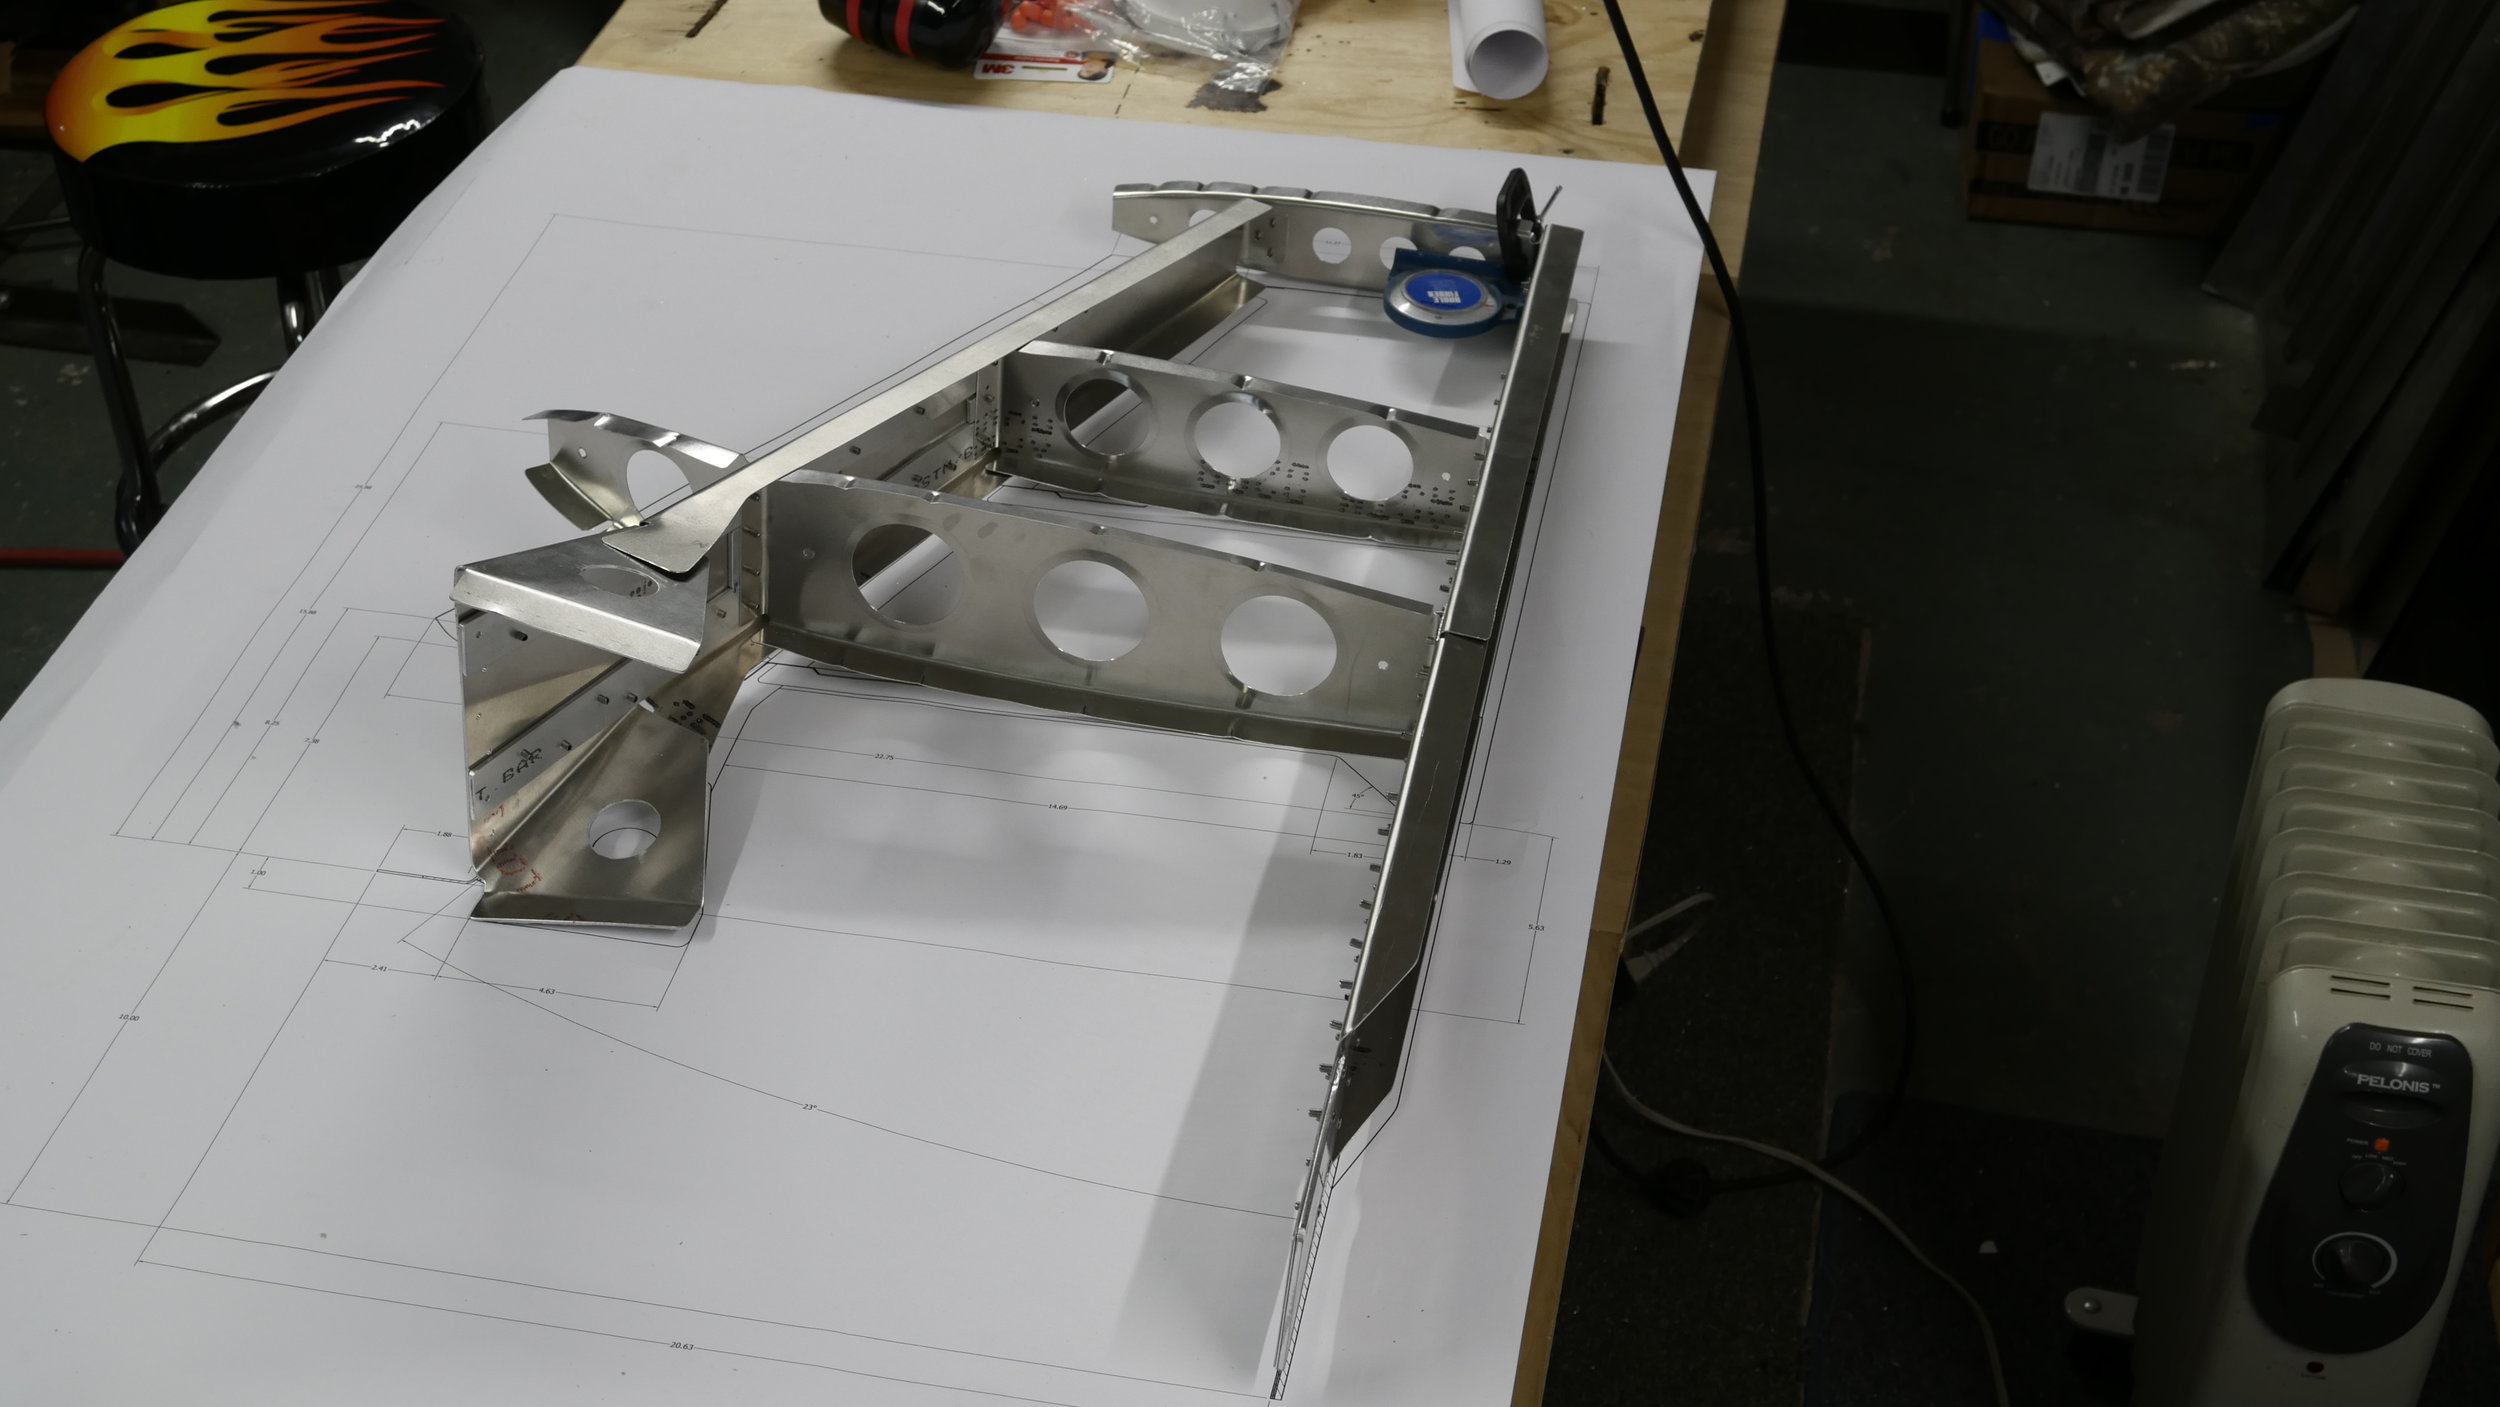
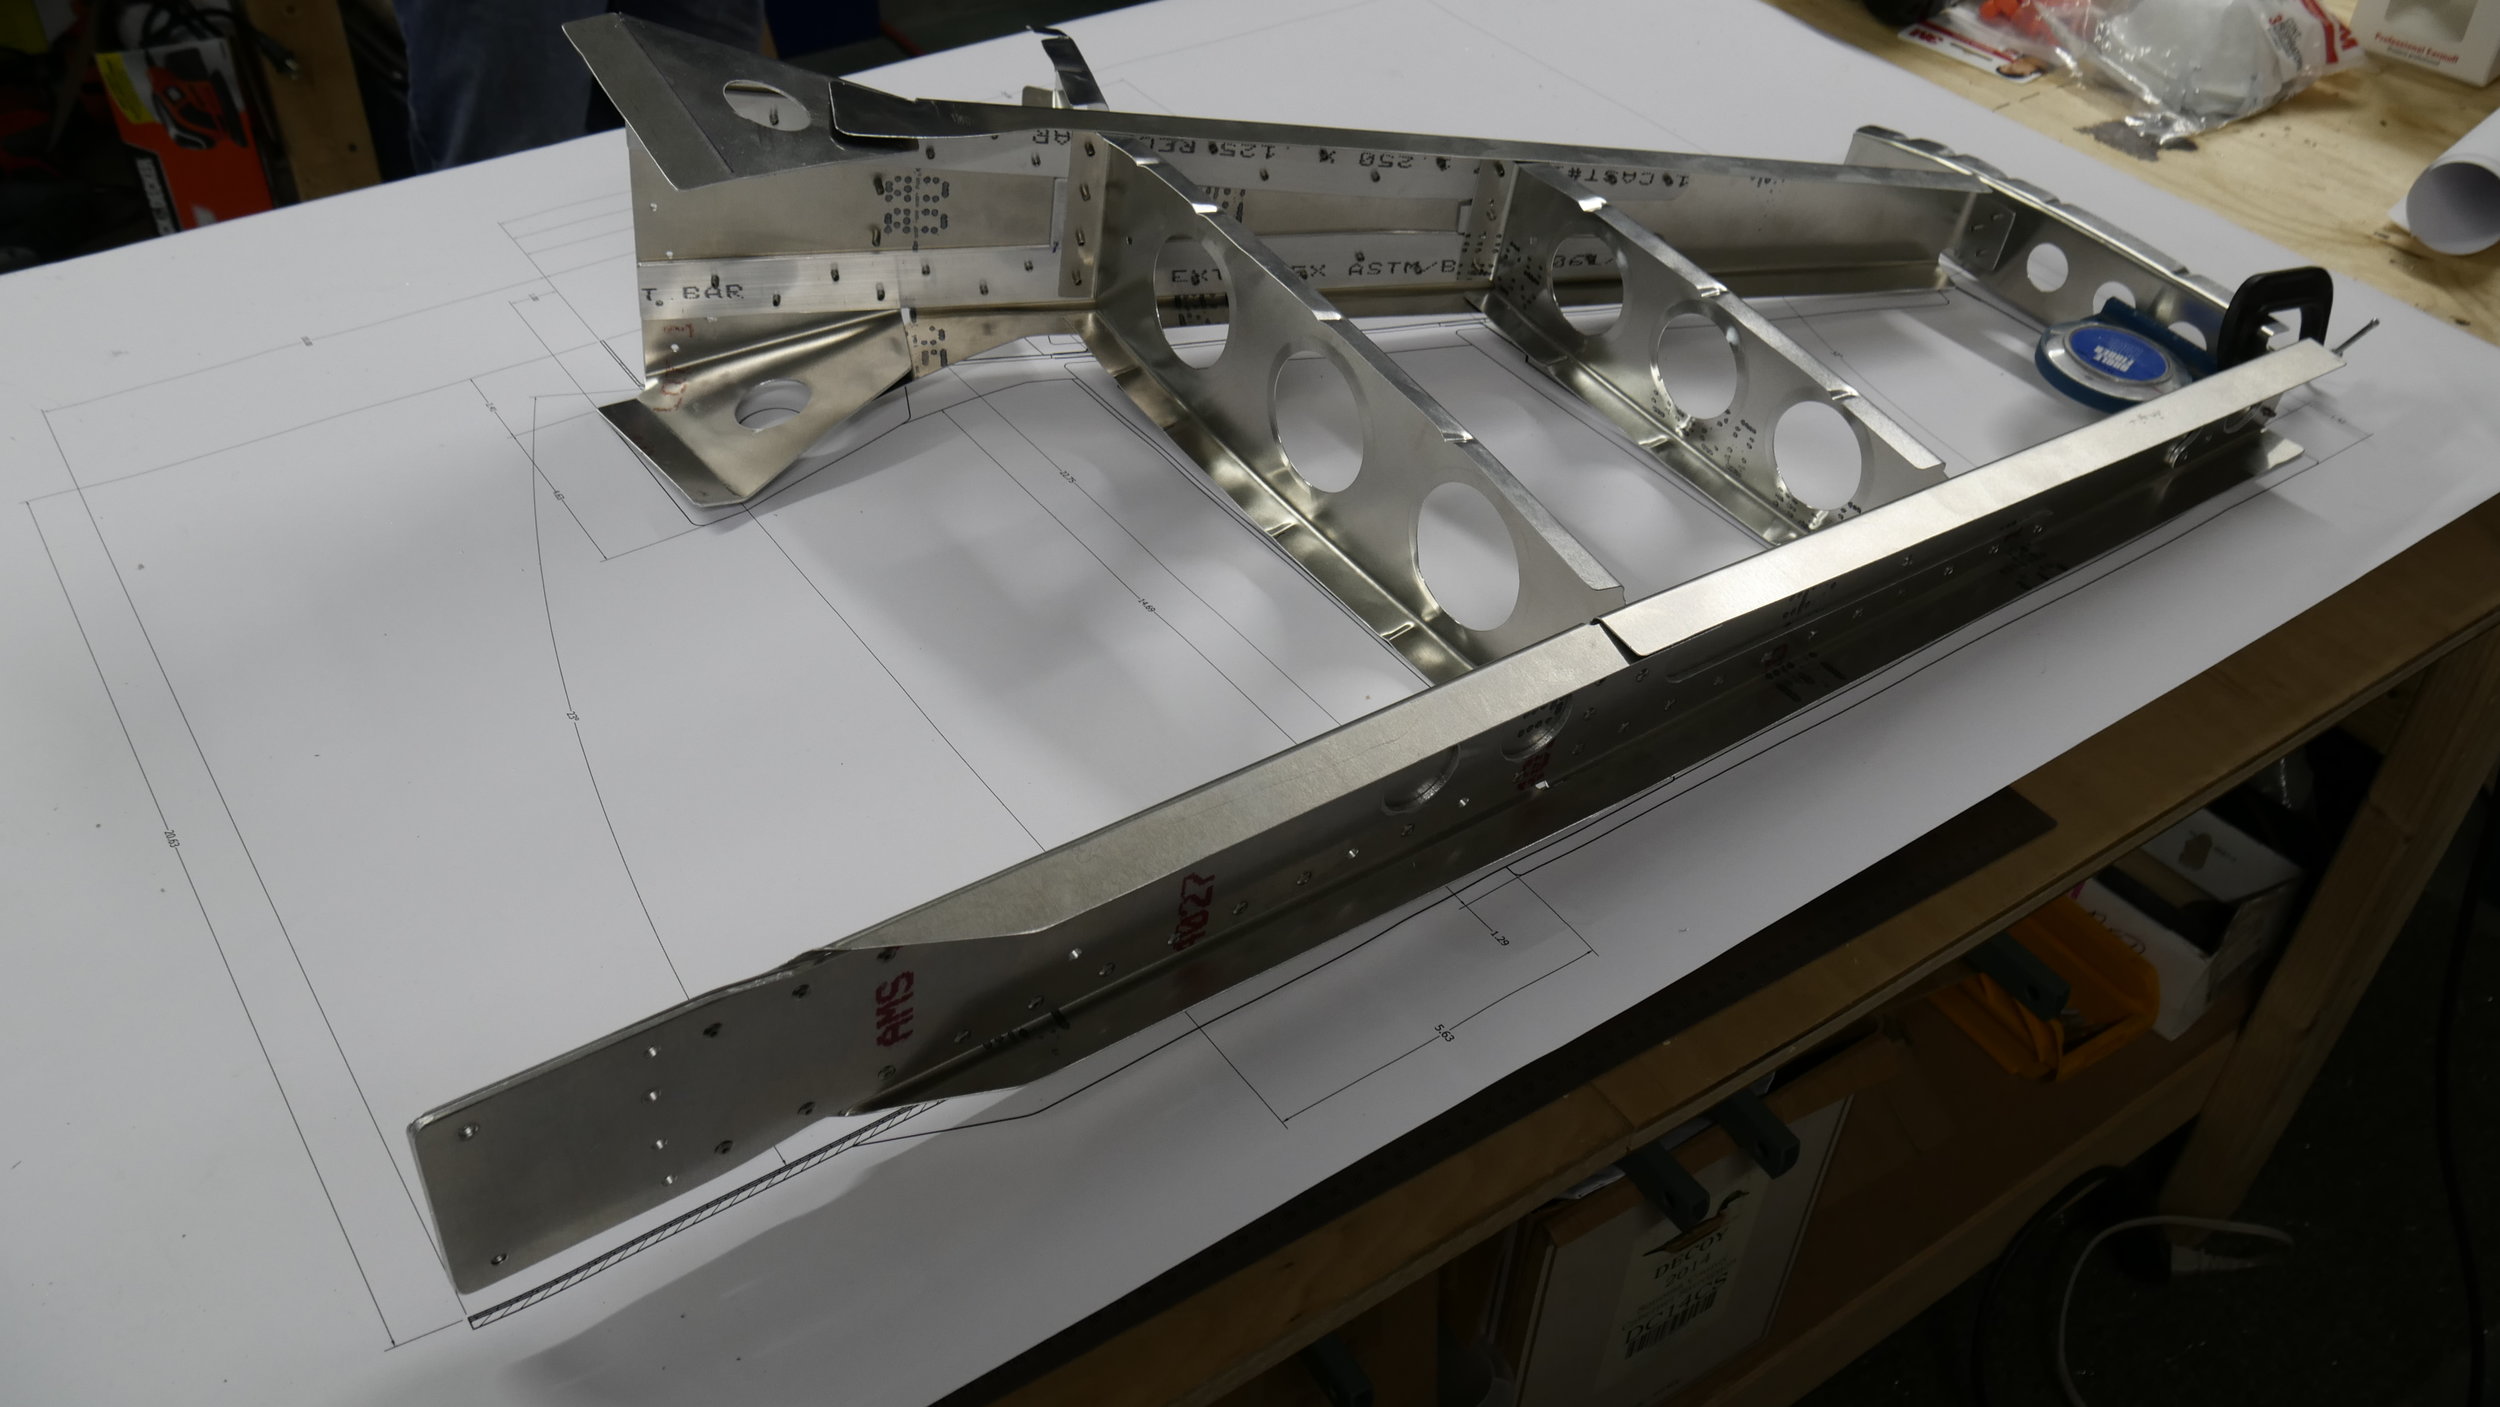
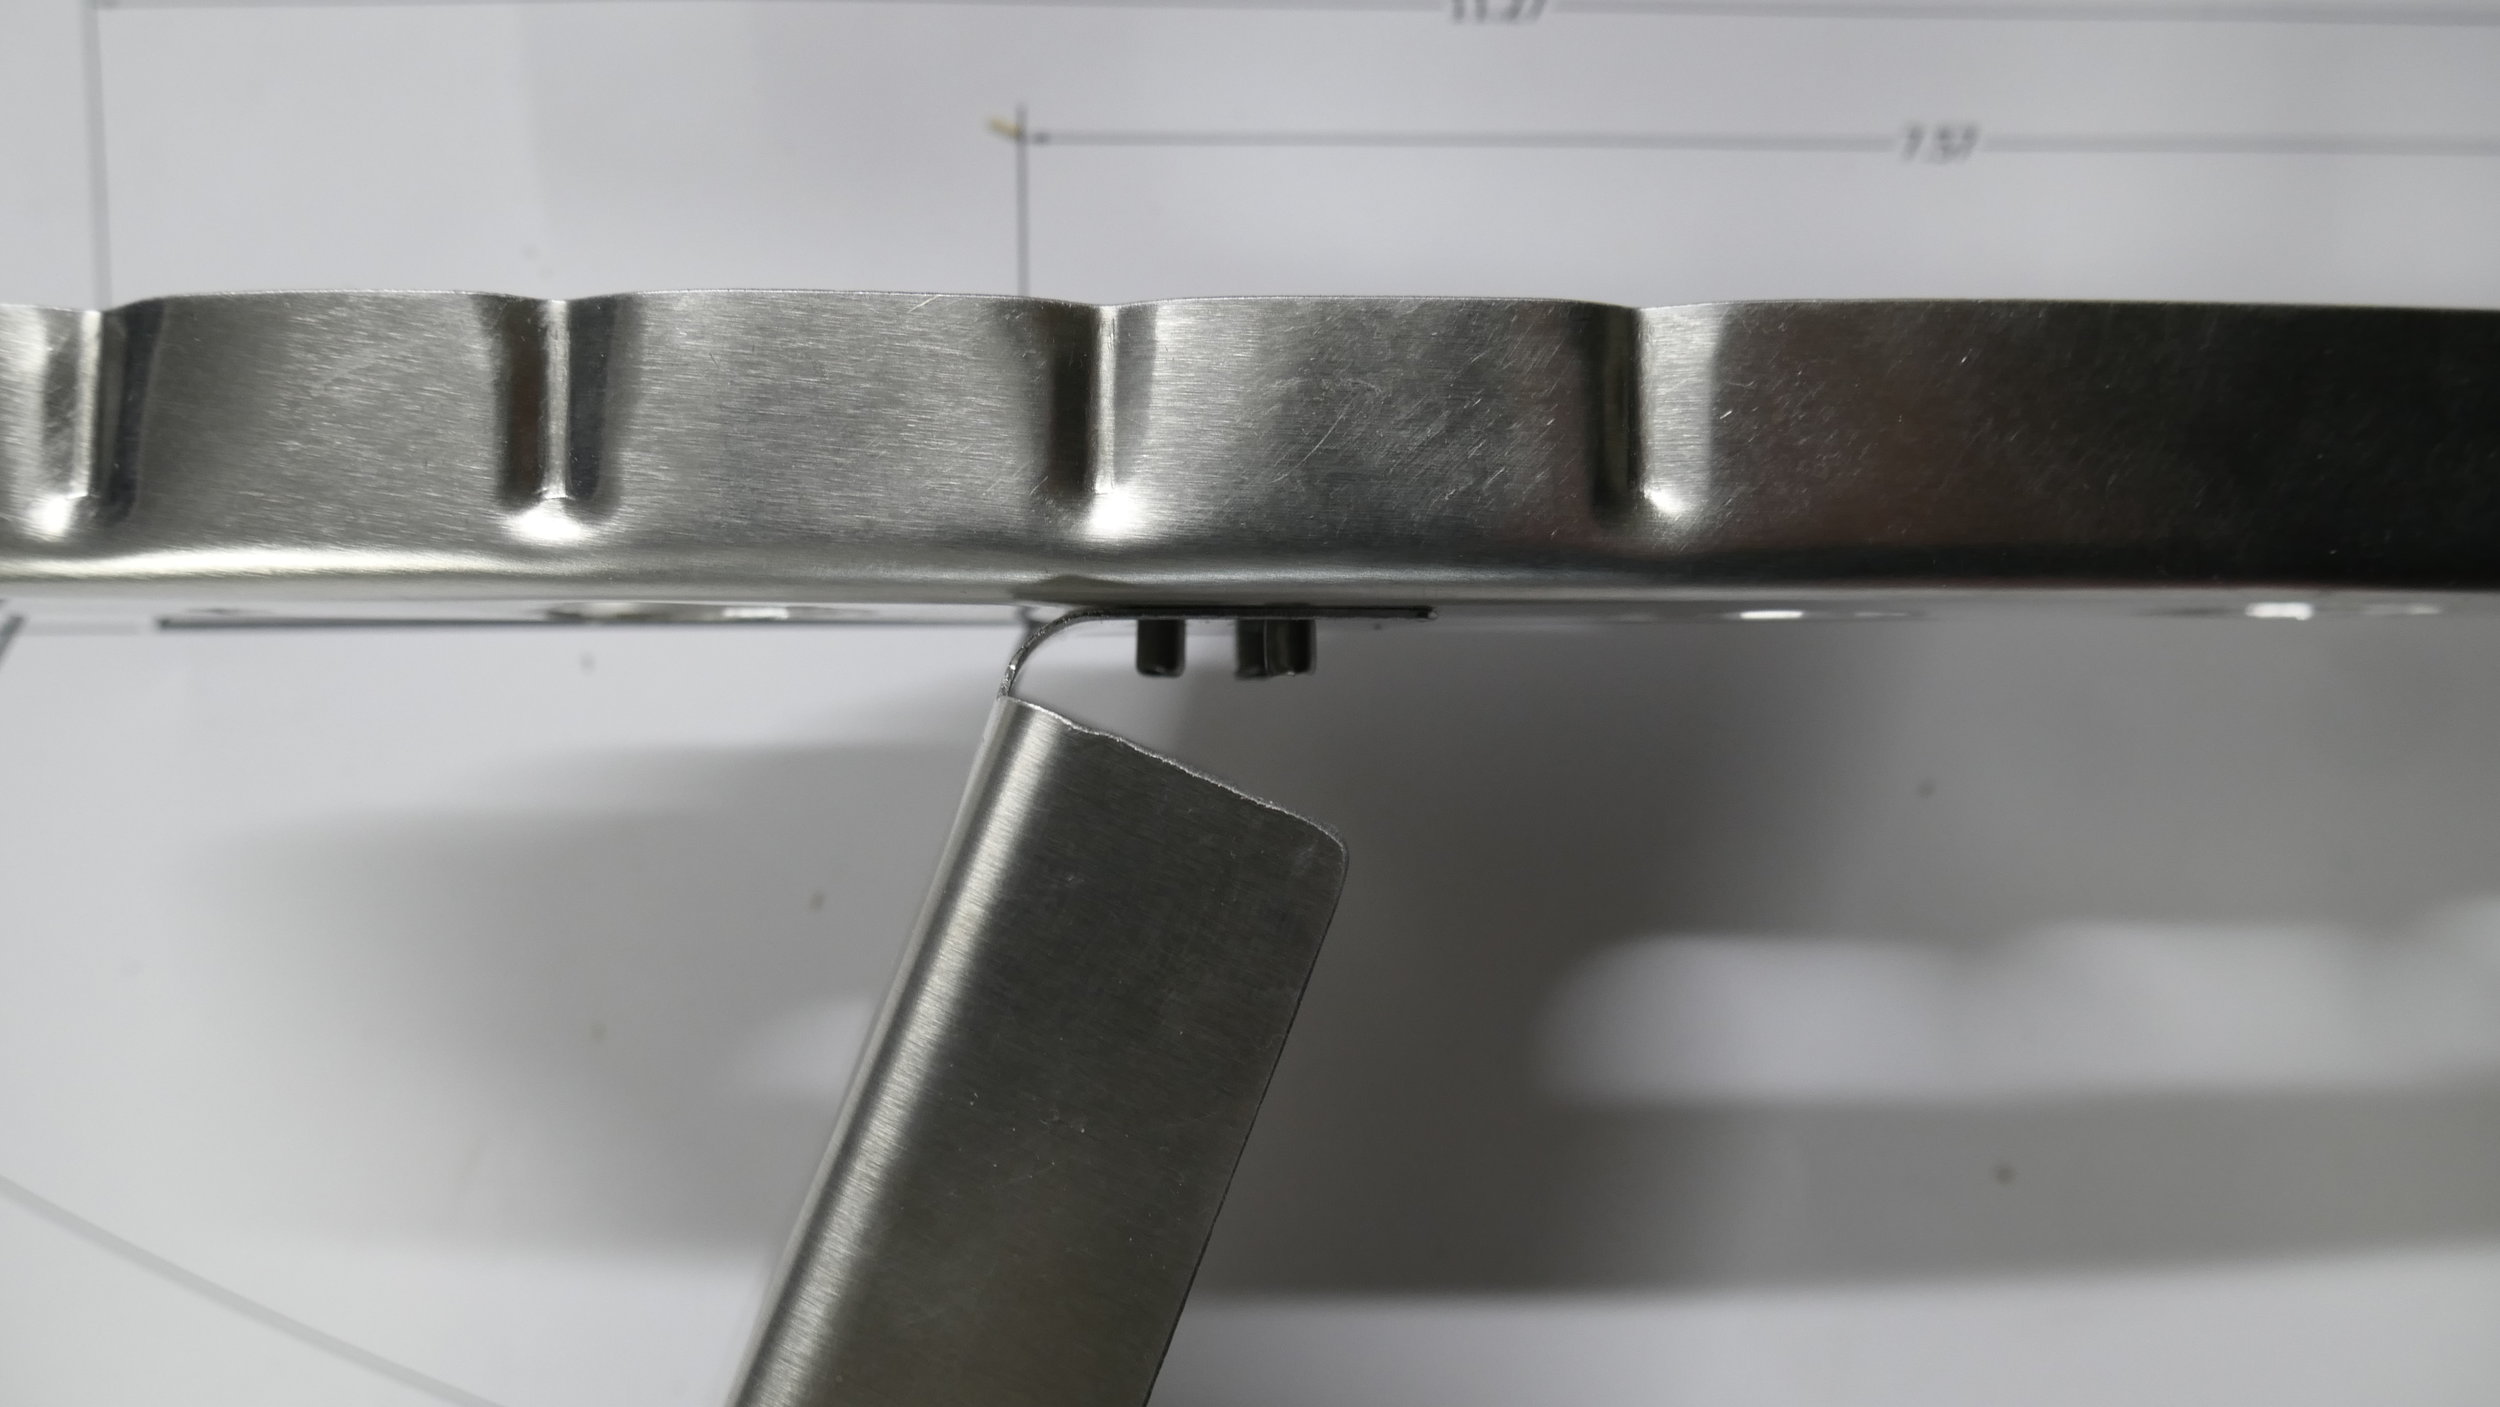
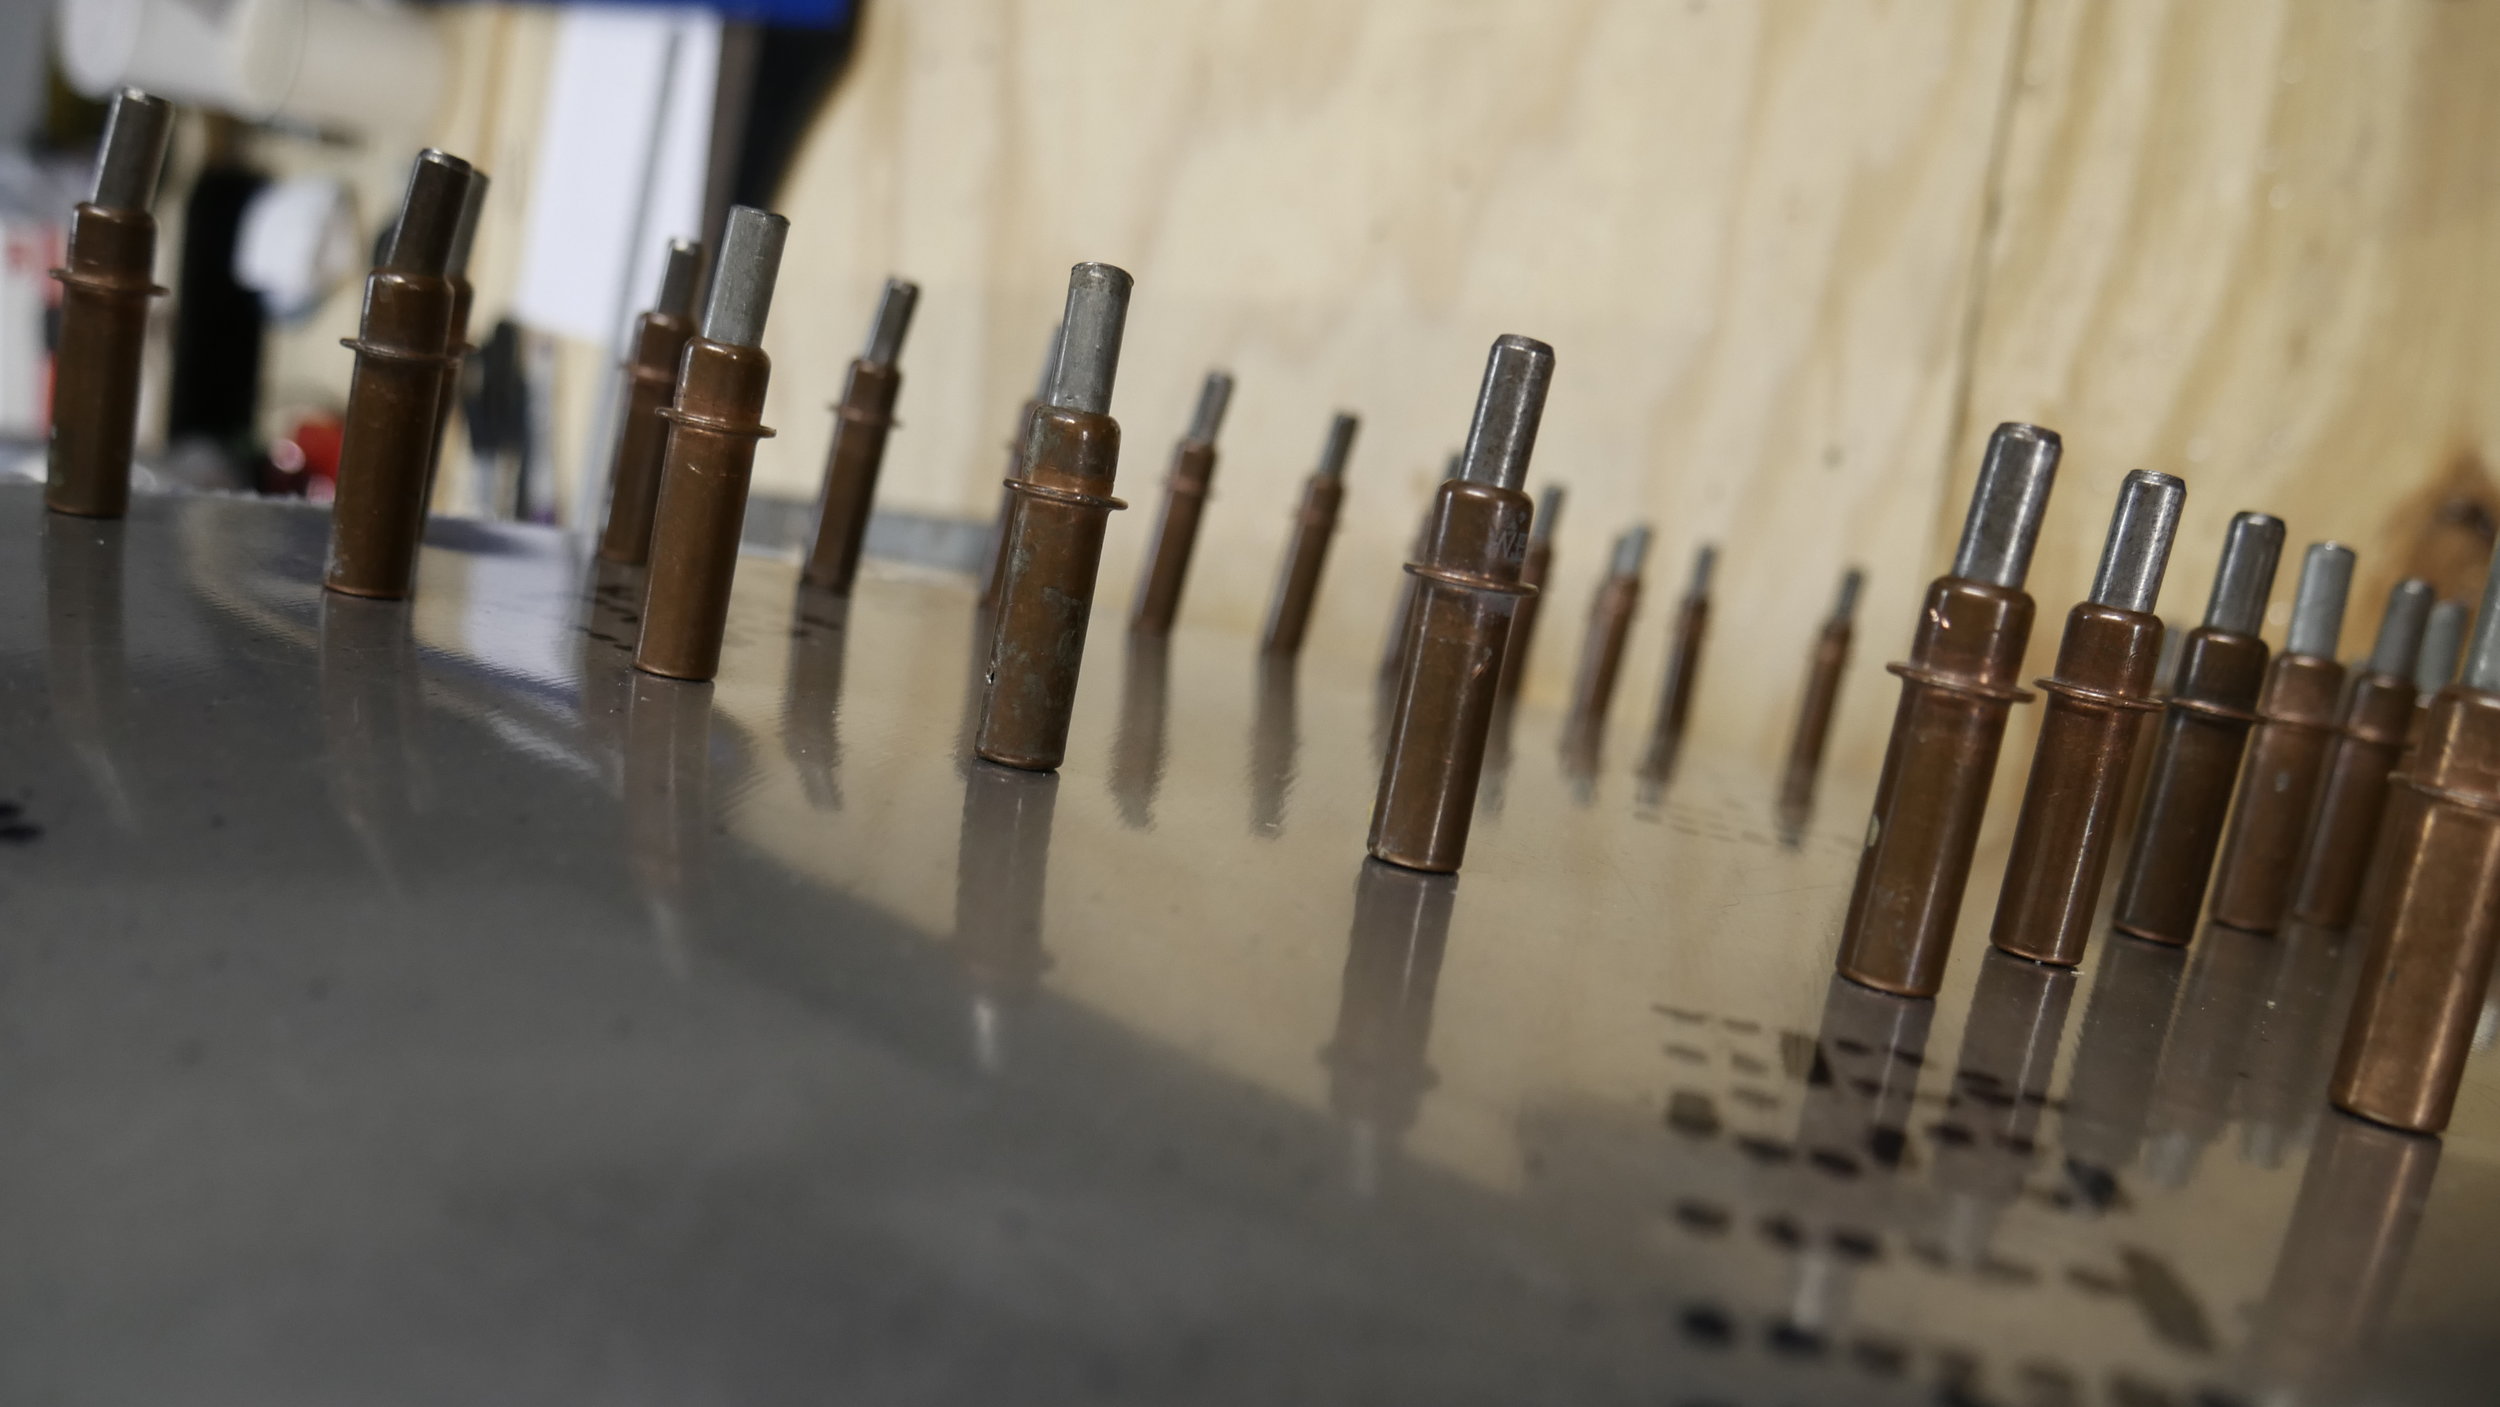
So last time, we finished up the fuselage skins for the P-40/36. Right after, I then moved the fuselage out of the shop space and into the new garage bay I had mentioned. With the bench cleaned-up we jumped right into building the vertical stabilizer. Scott cut all the sheet pieces and forming blocks on the router table and our intern Roger Jr. and I hand formed the ribs for both the vertical and rudder. We used the typical homebuilder mallot on the forming blocks method to bend the flanges, with fluting pliers to straighten the ribs from the curl imposed by bending the flanges. Since the main router bit doesn't make an undercut on the sides of the forming blocks, we still have to manually bend the flanges to get them perpendicular to the rib face. This aluminum has about a 10 degree spring-back that needs to be removed with a little english. A proper mold could counter this but we're not there yet. Cleco's held the entire vertical sans skins for the test fit-up. Everything was as expected - fantastic!
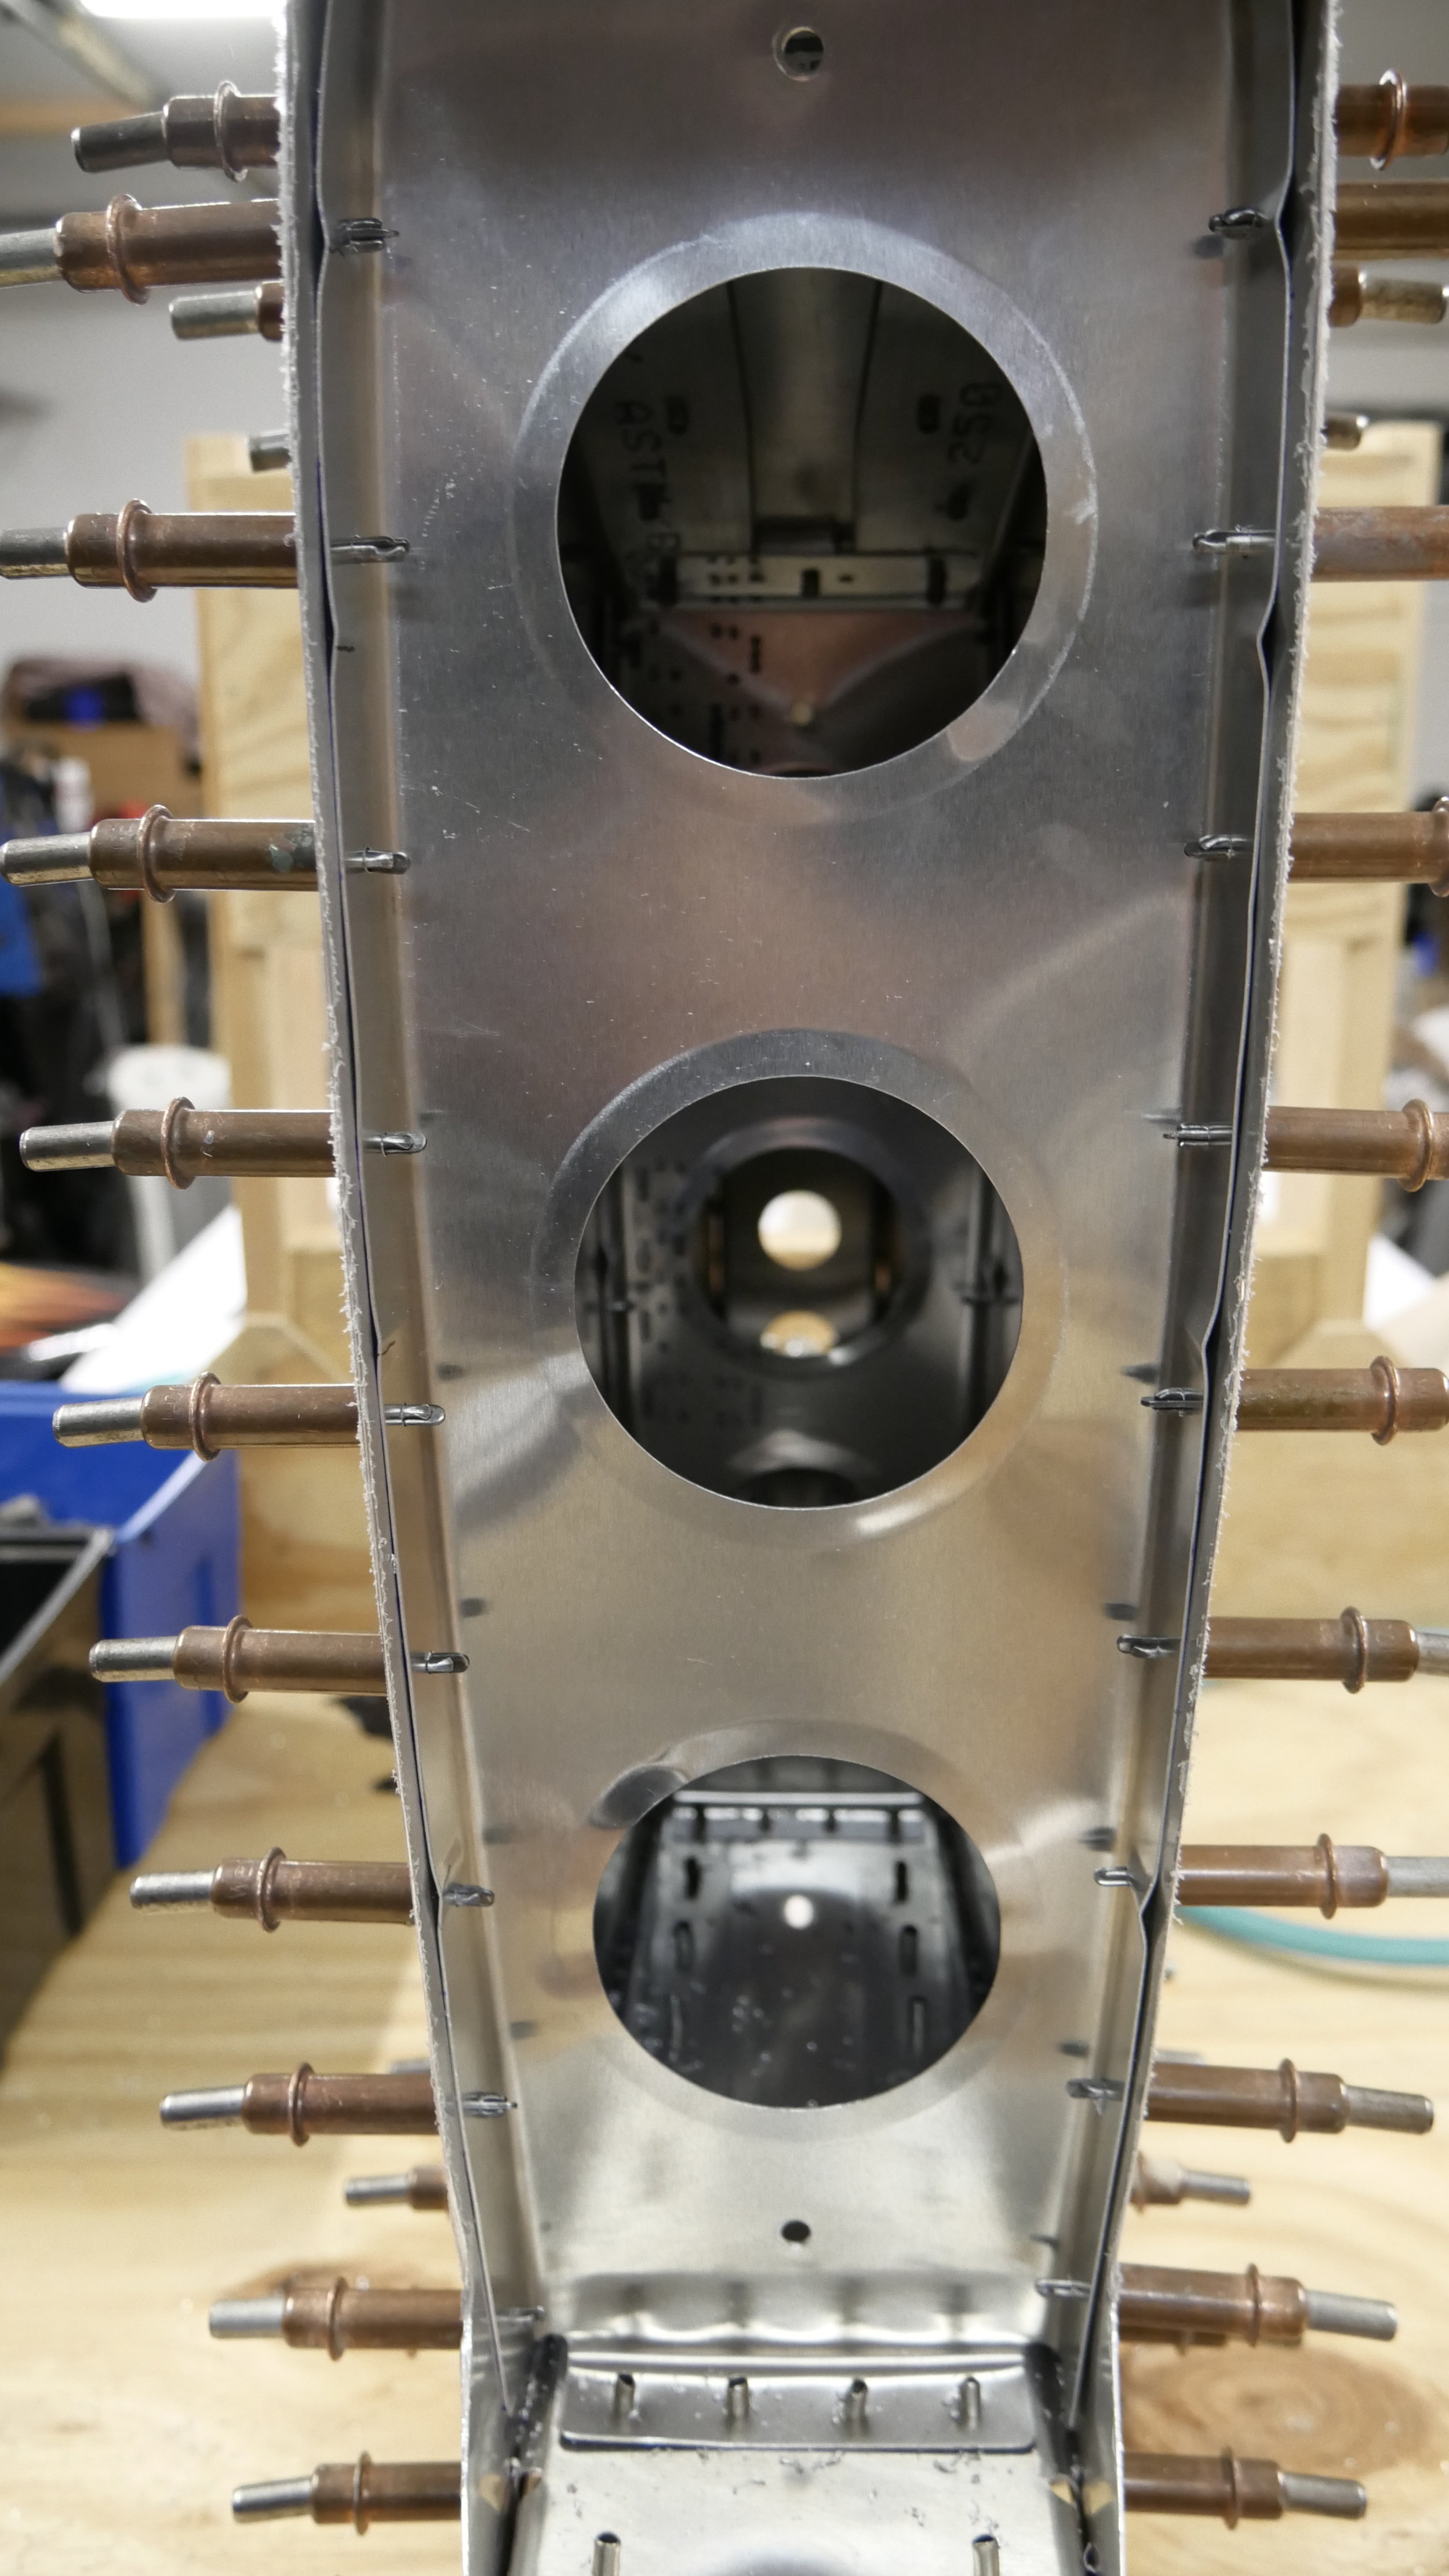
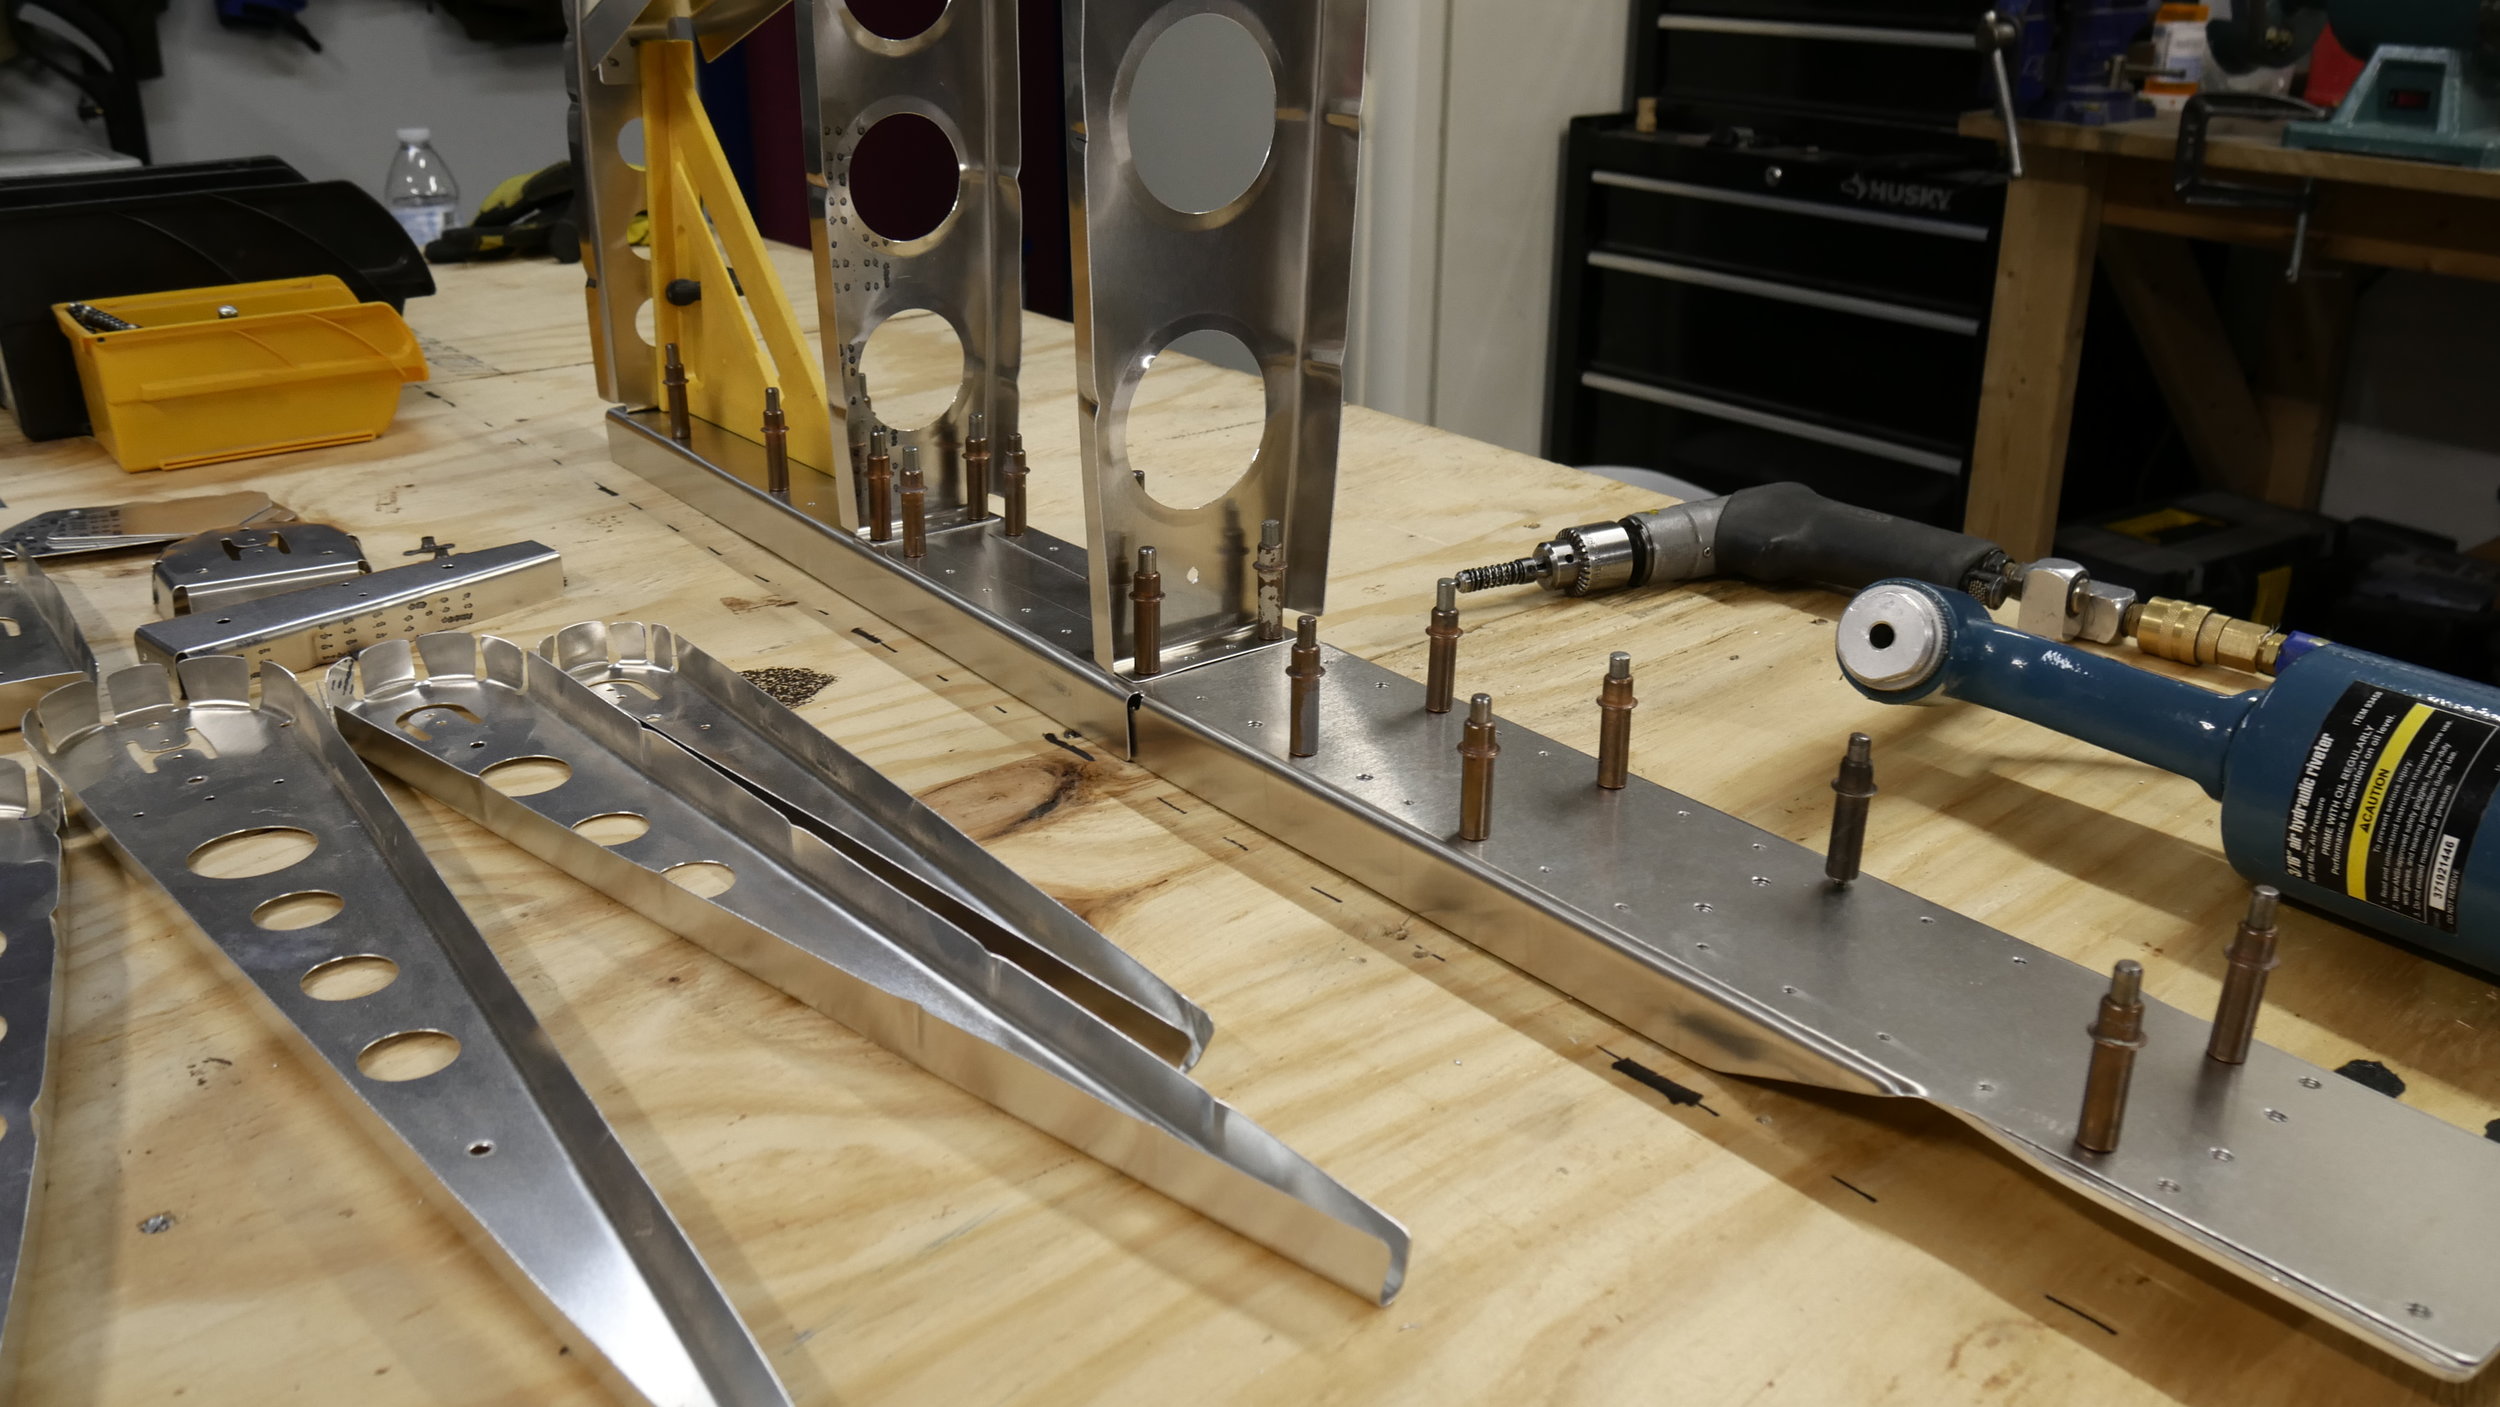
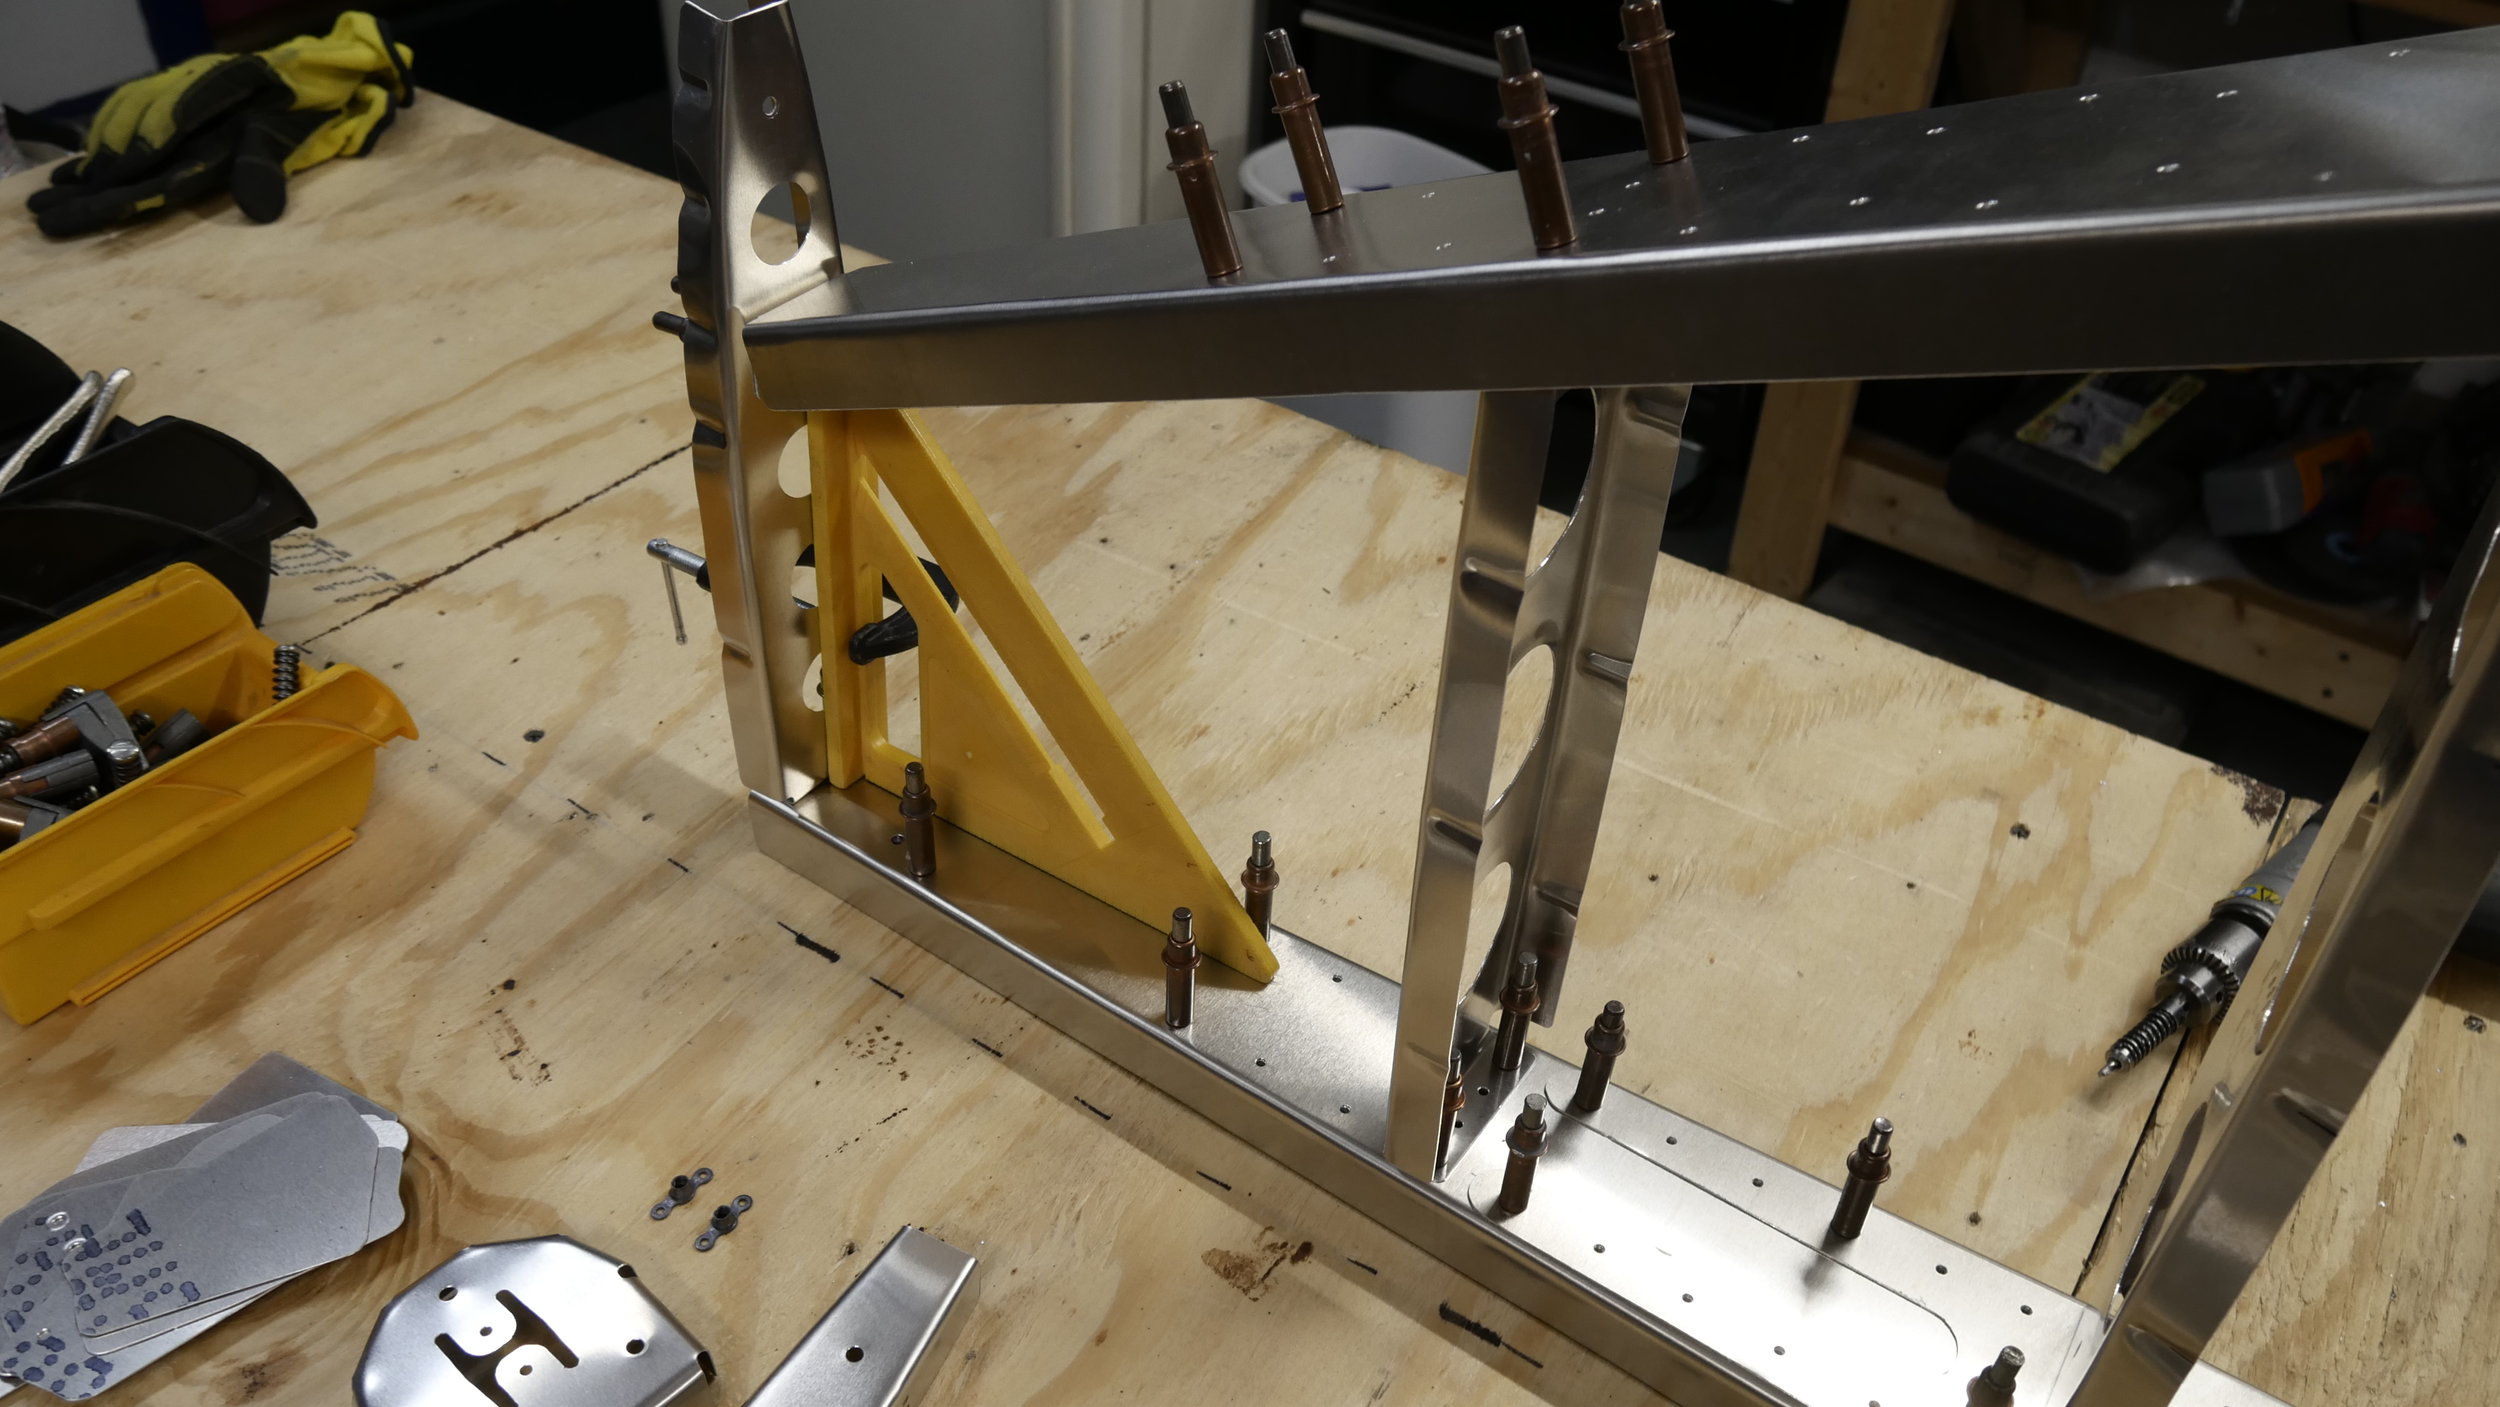
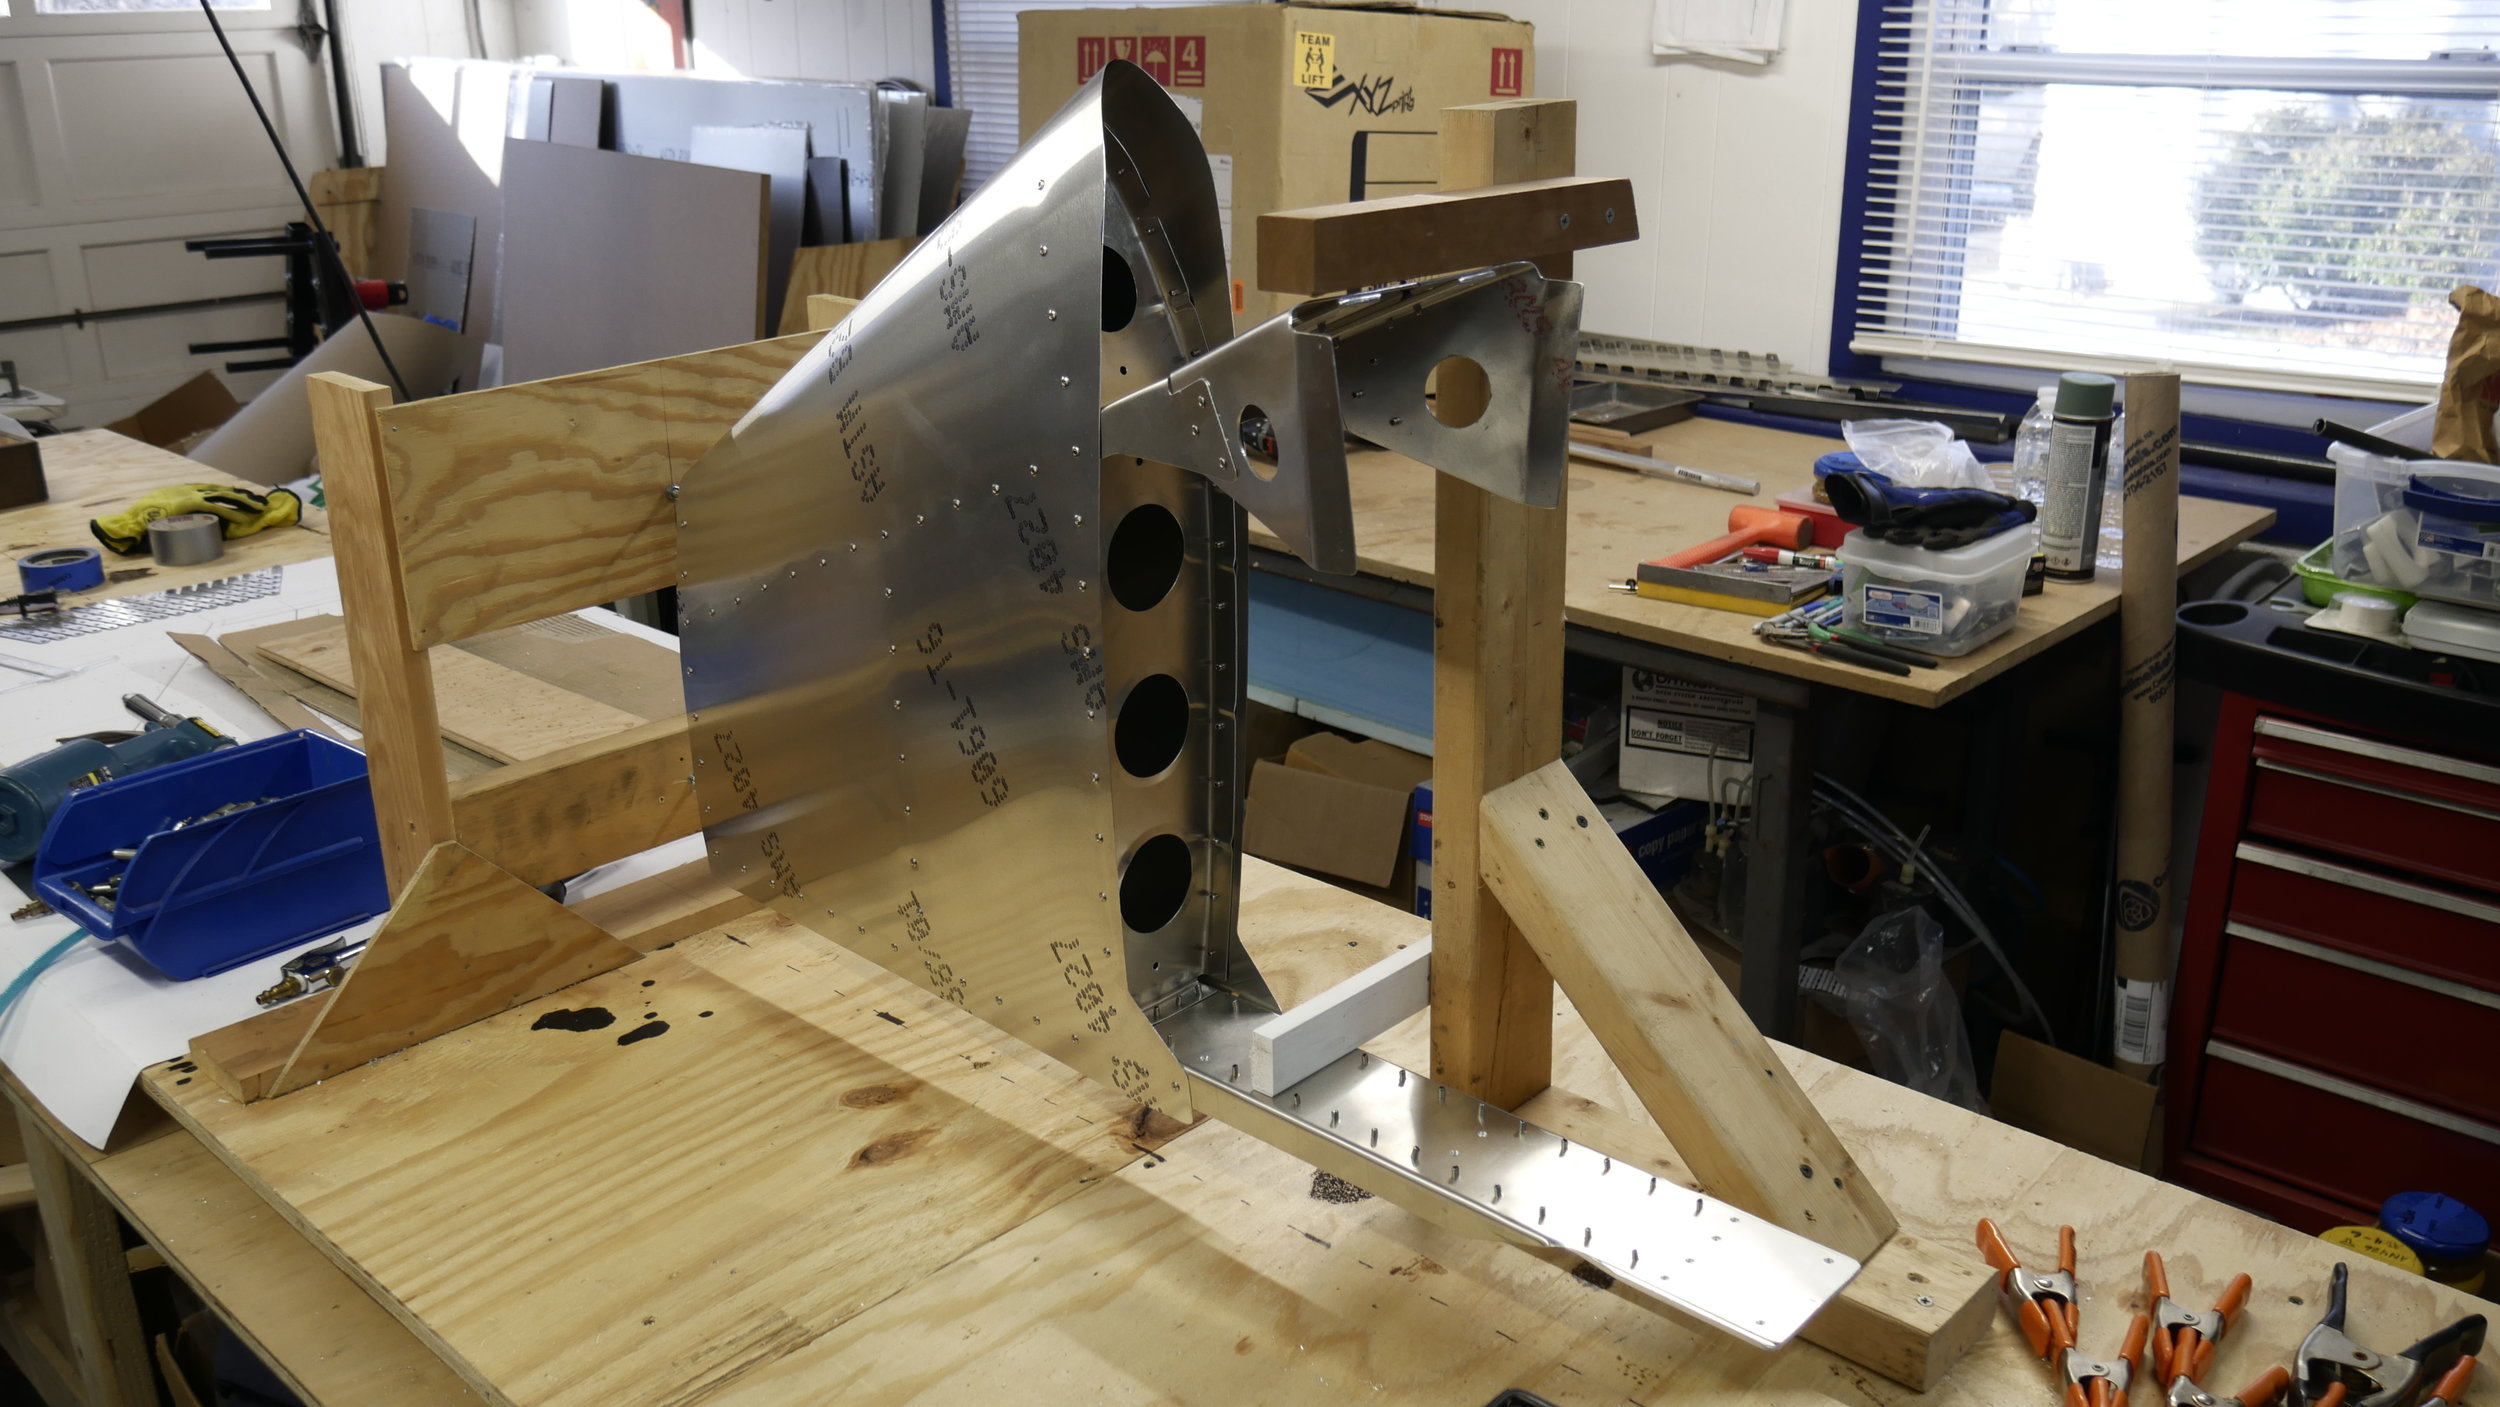
To start actual assembly we went and finished deburring all holes and riveted the spars together, then ribs went to the spars. This frame for the vertical was fairly stout to begin with, and being pre-cut the pieces all fit up just so; but it needed to be held absolutely square and straight. So next was a vertical stab assembly fixture, which was made from some braces I had made for welding the canopy frame, and these got squared to the table with a laser. We could have made a nicer looking fixture on the router table from MDF but Scott was working on other stuff, we didn't want to wait, and it works just fine doing it by hand this way. With the frame screwed to the table its very stiff and secure.
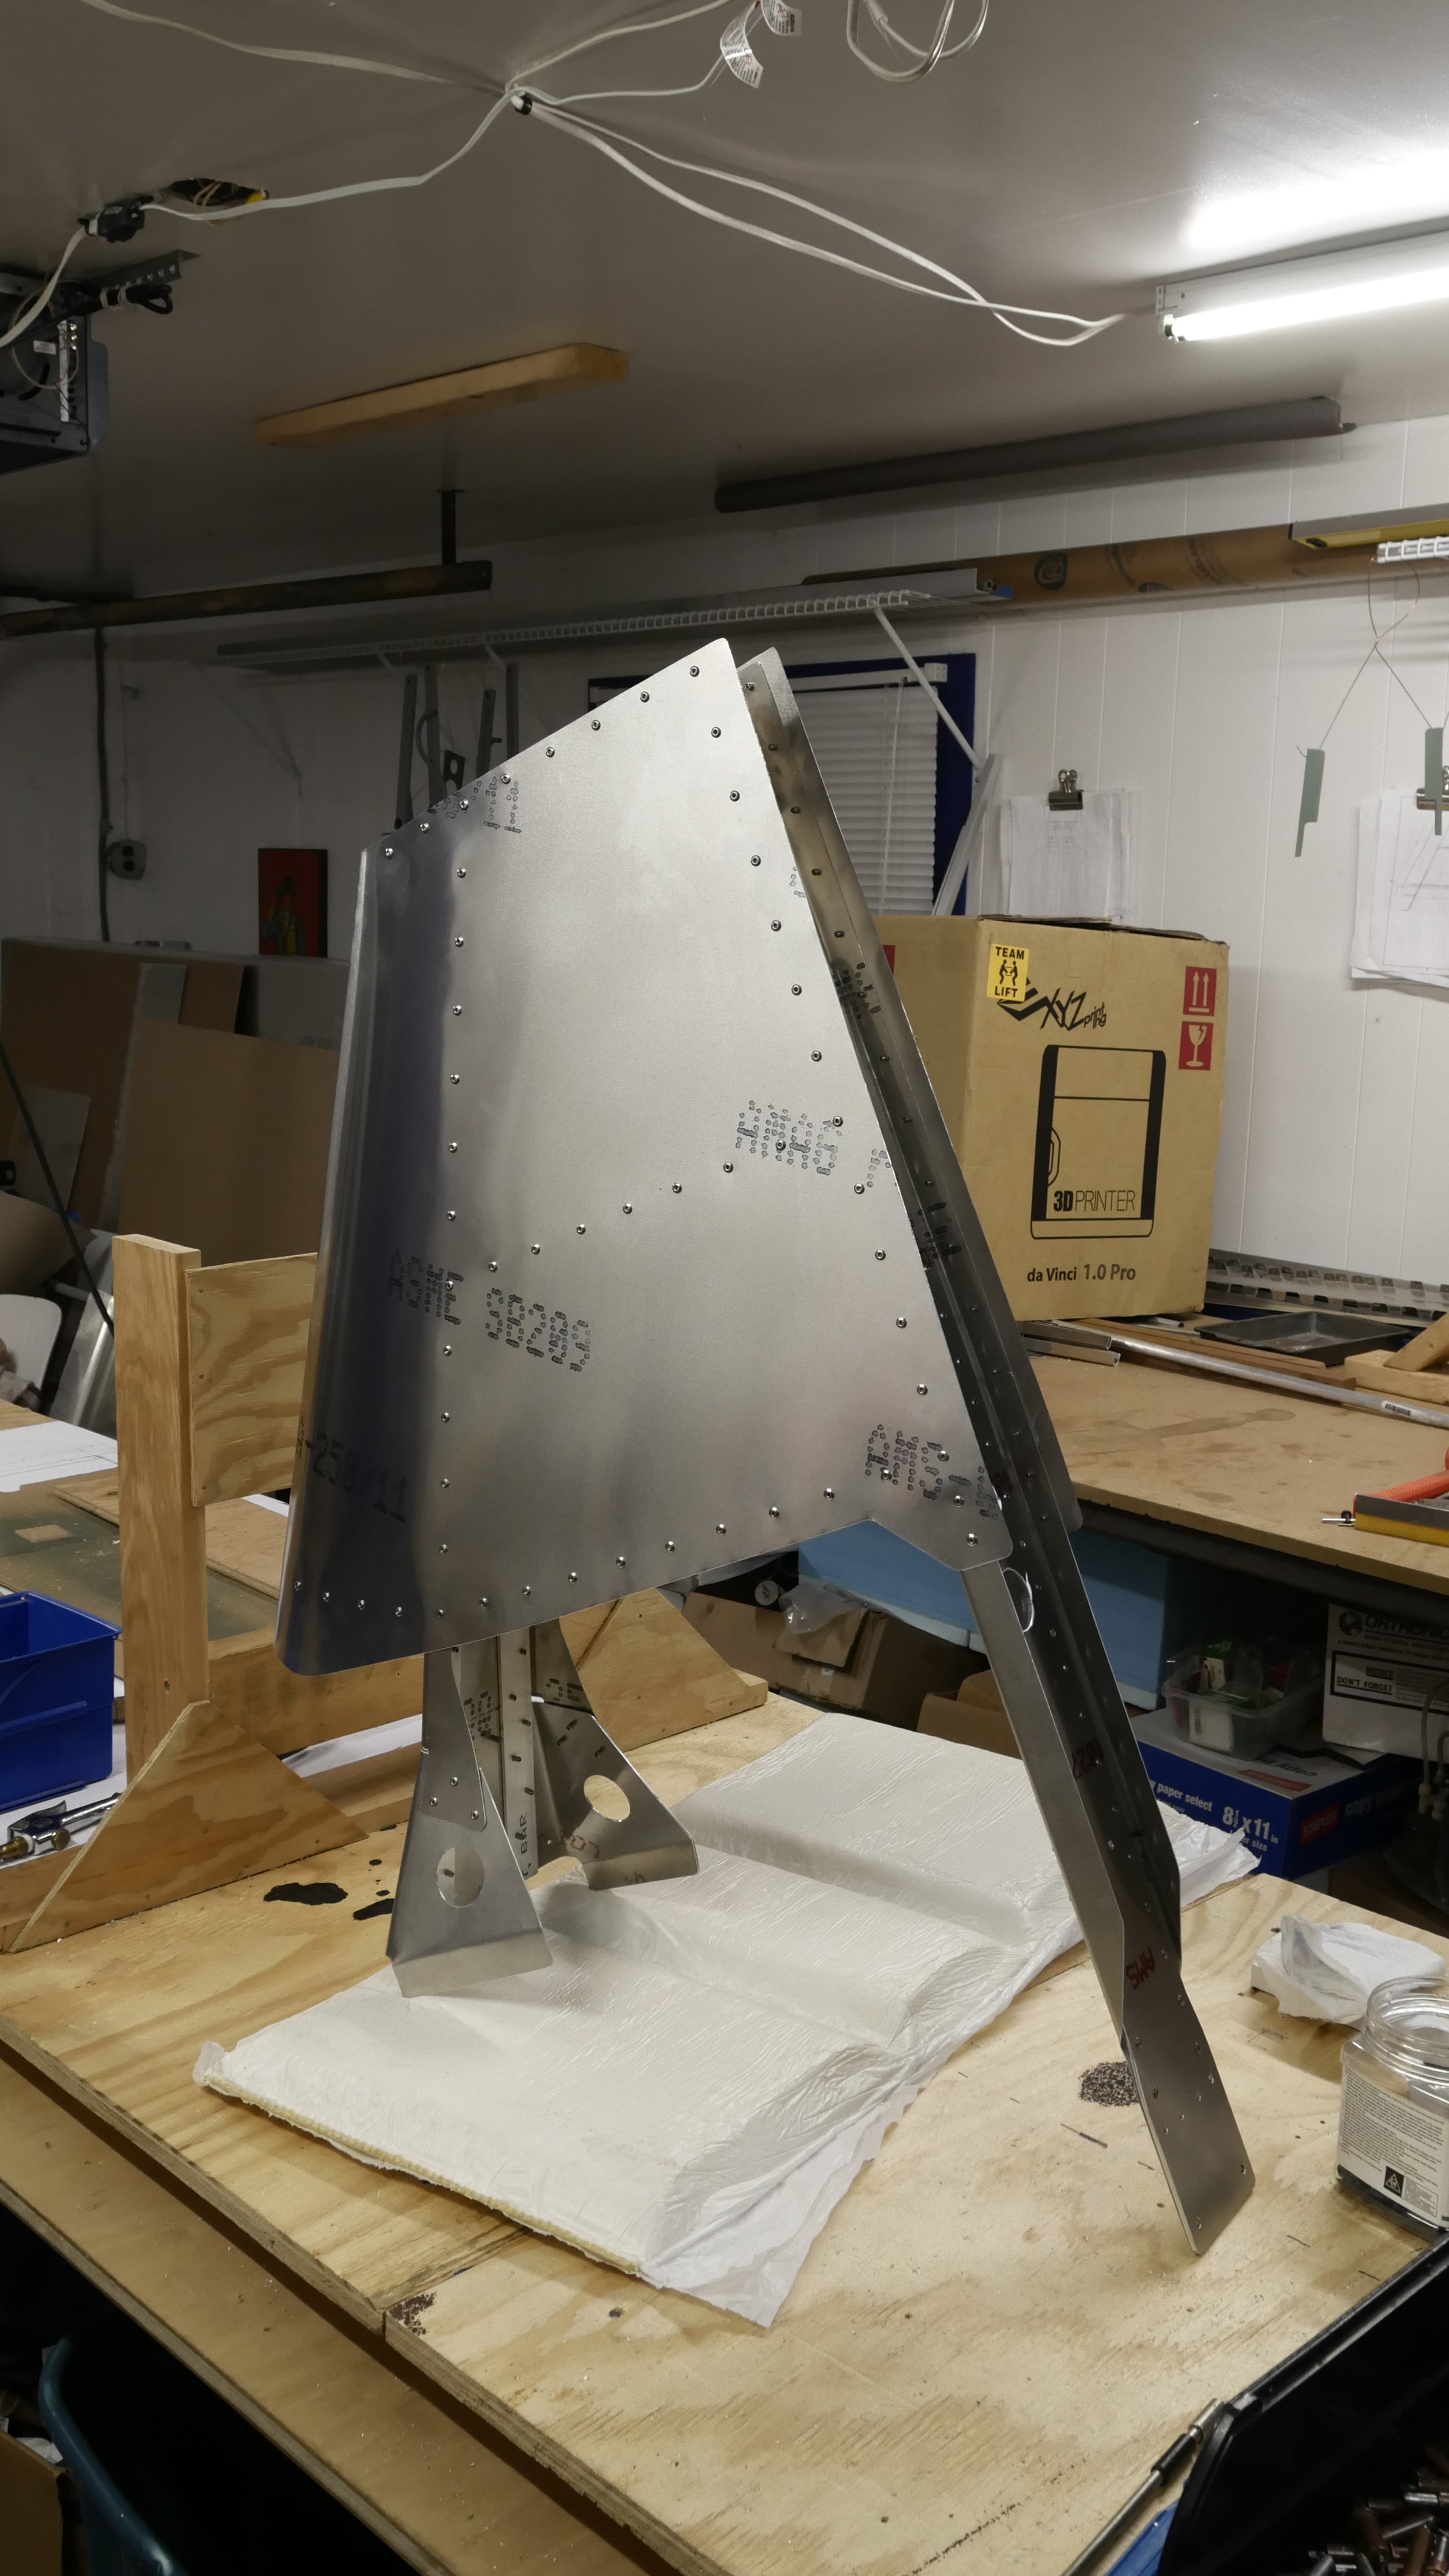
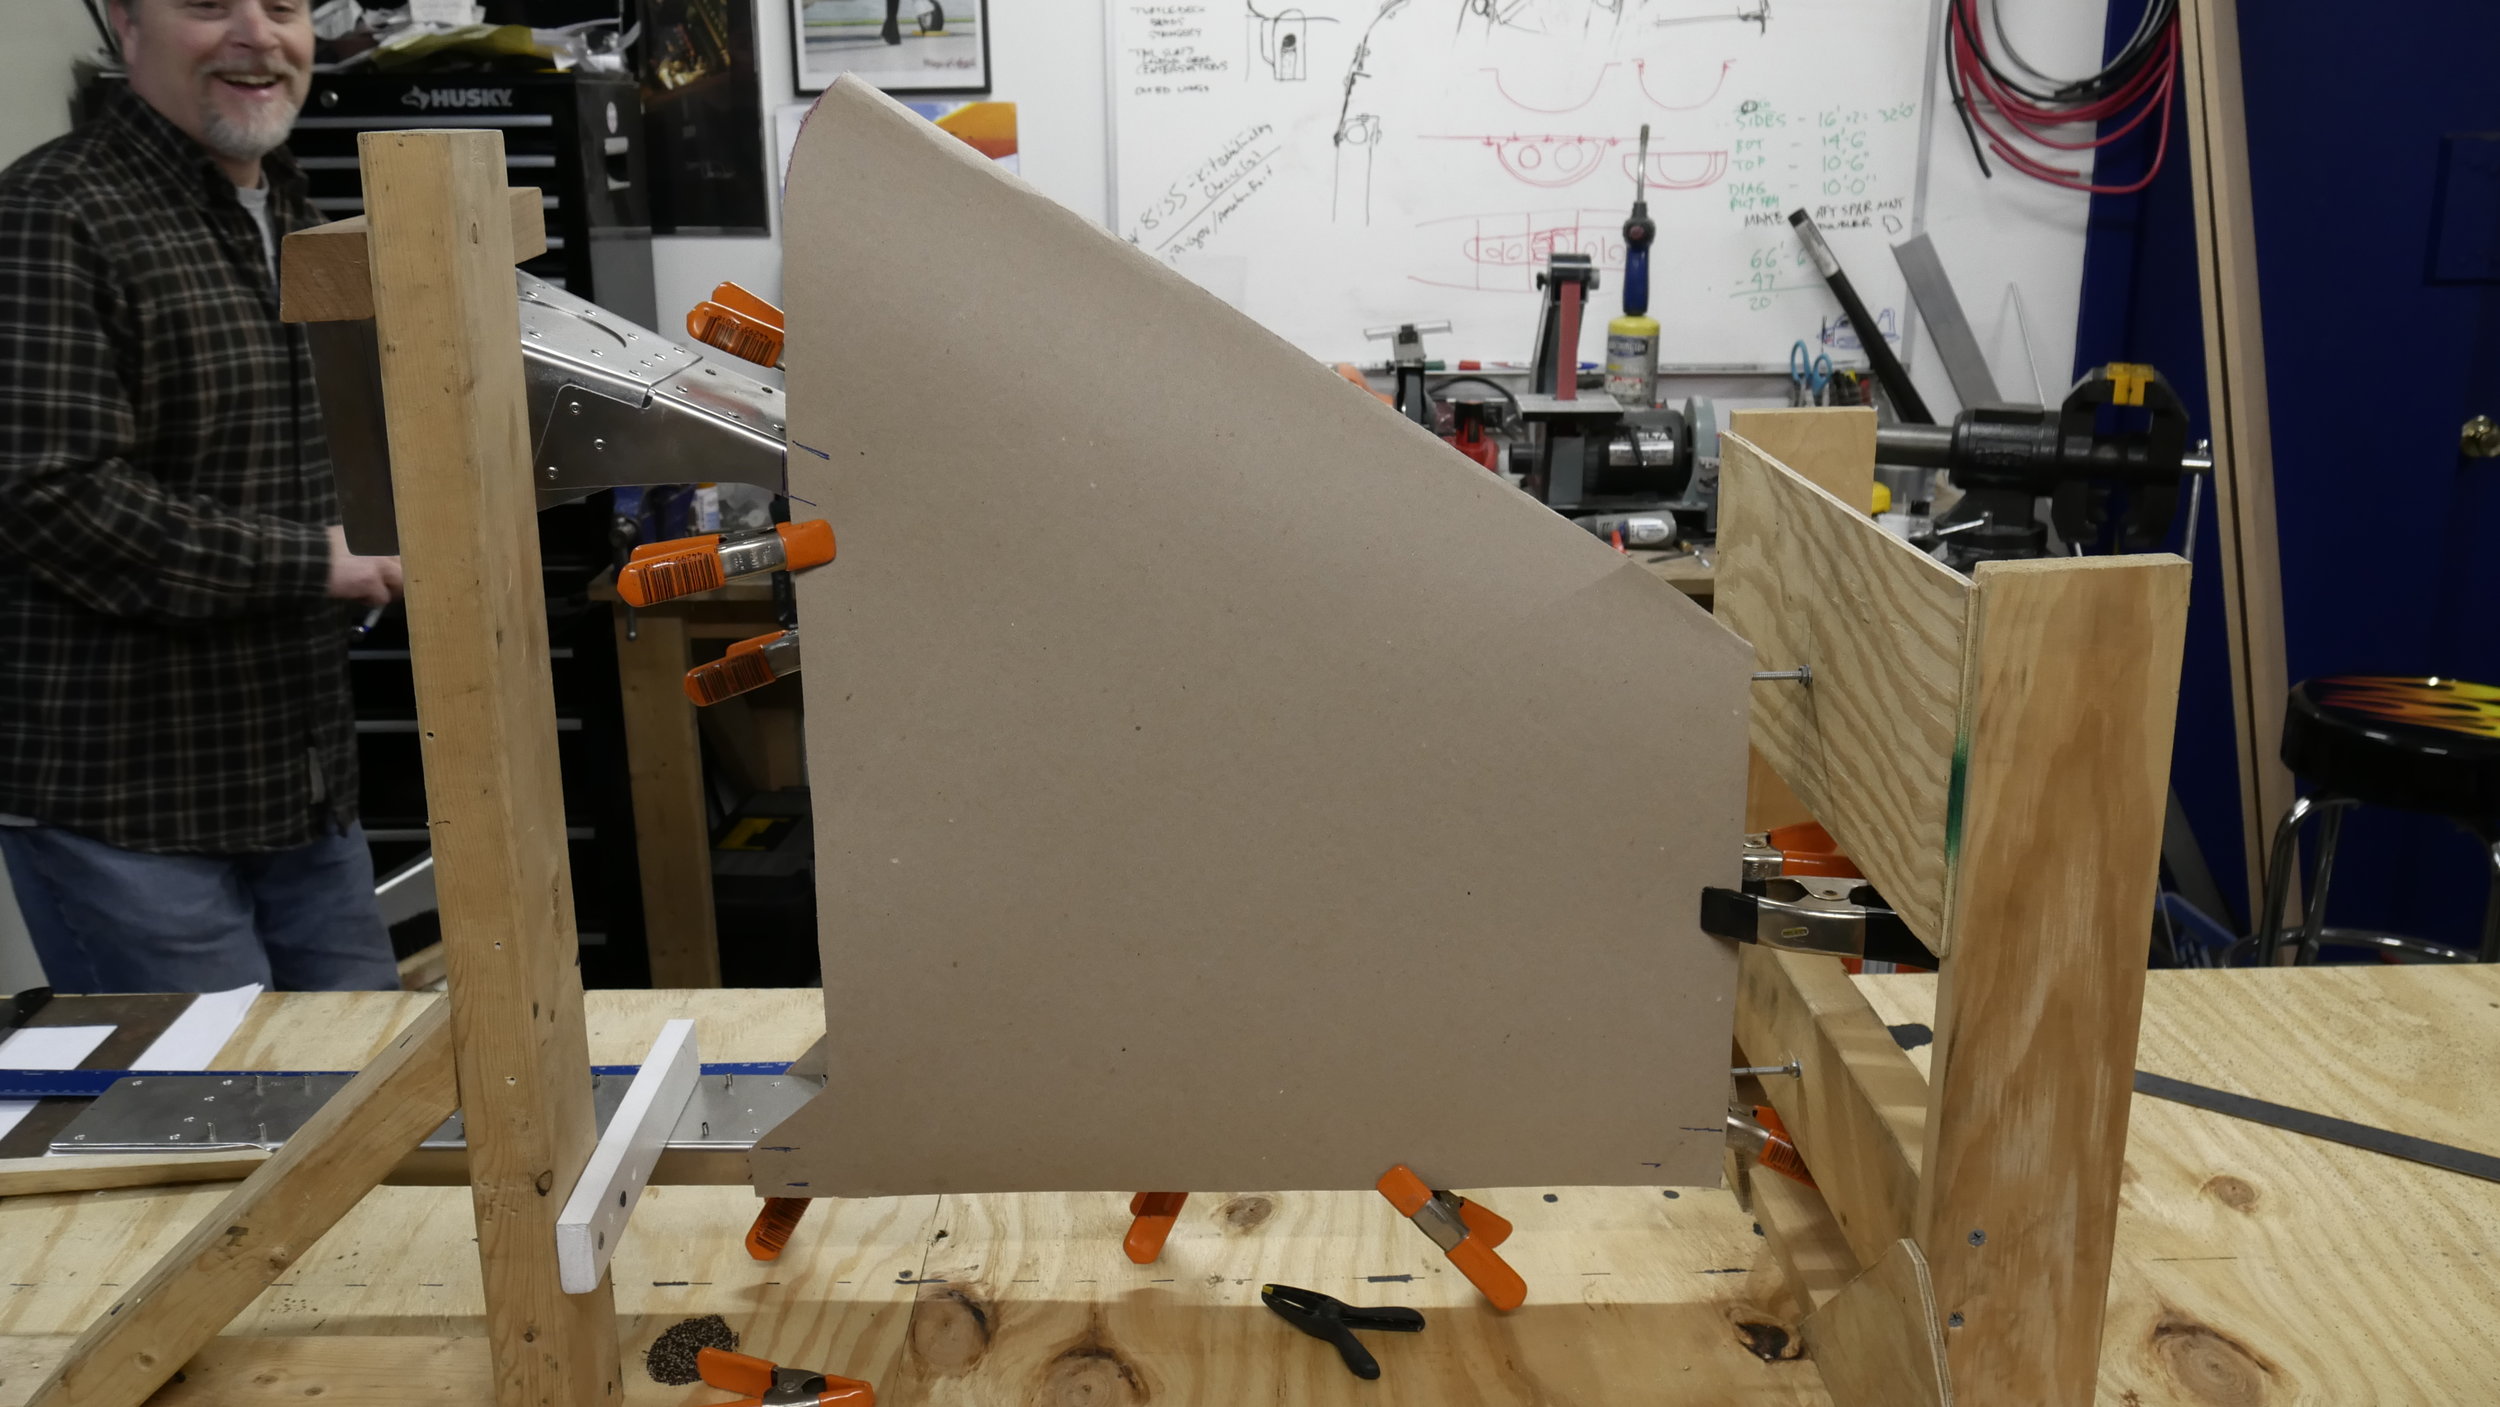
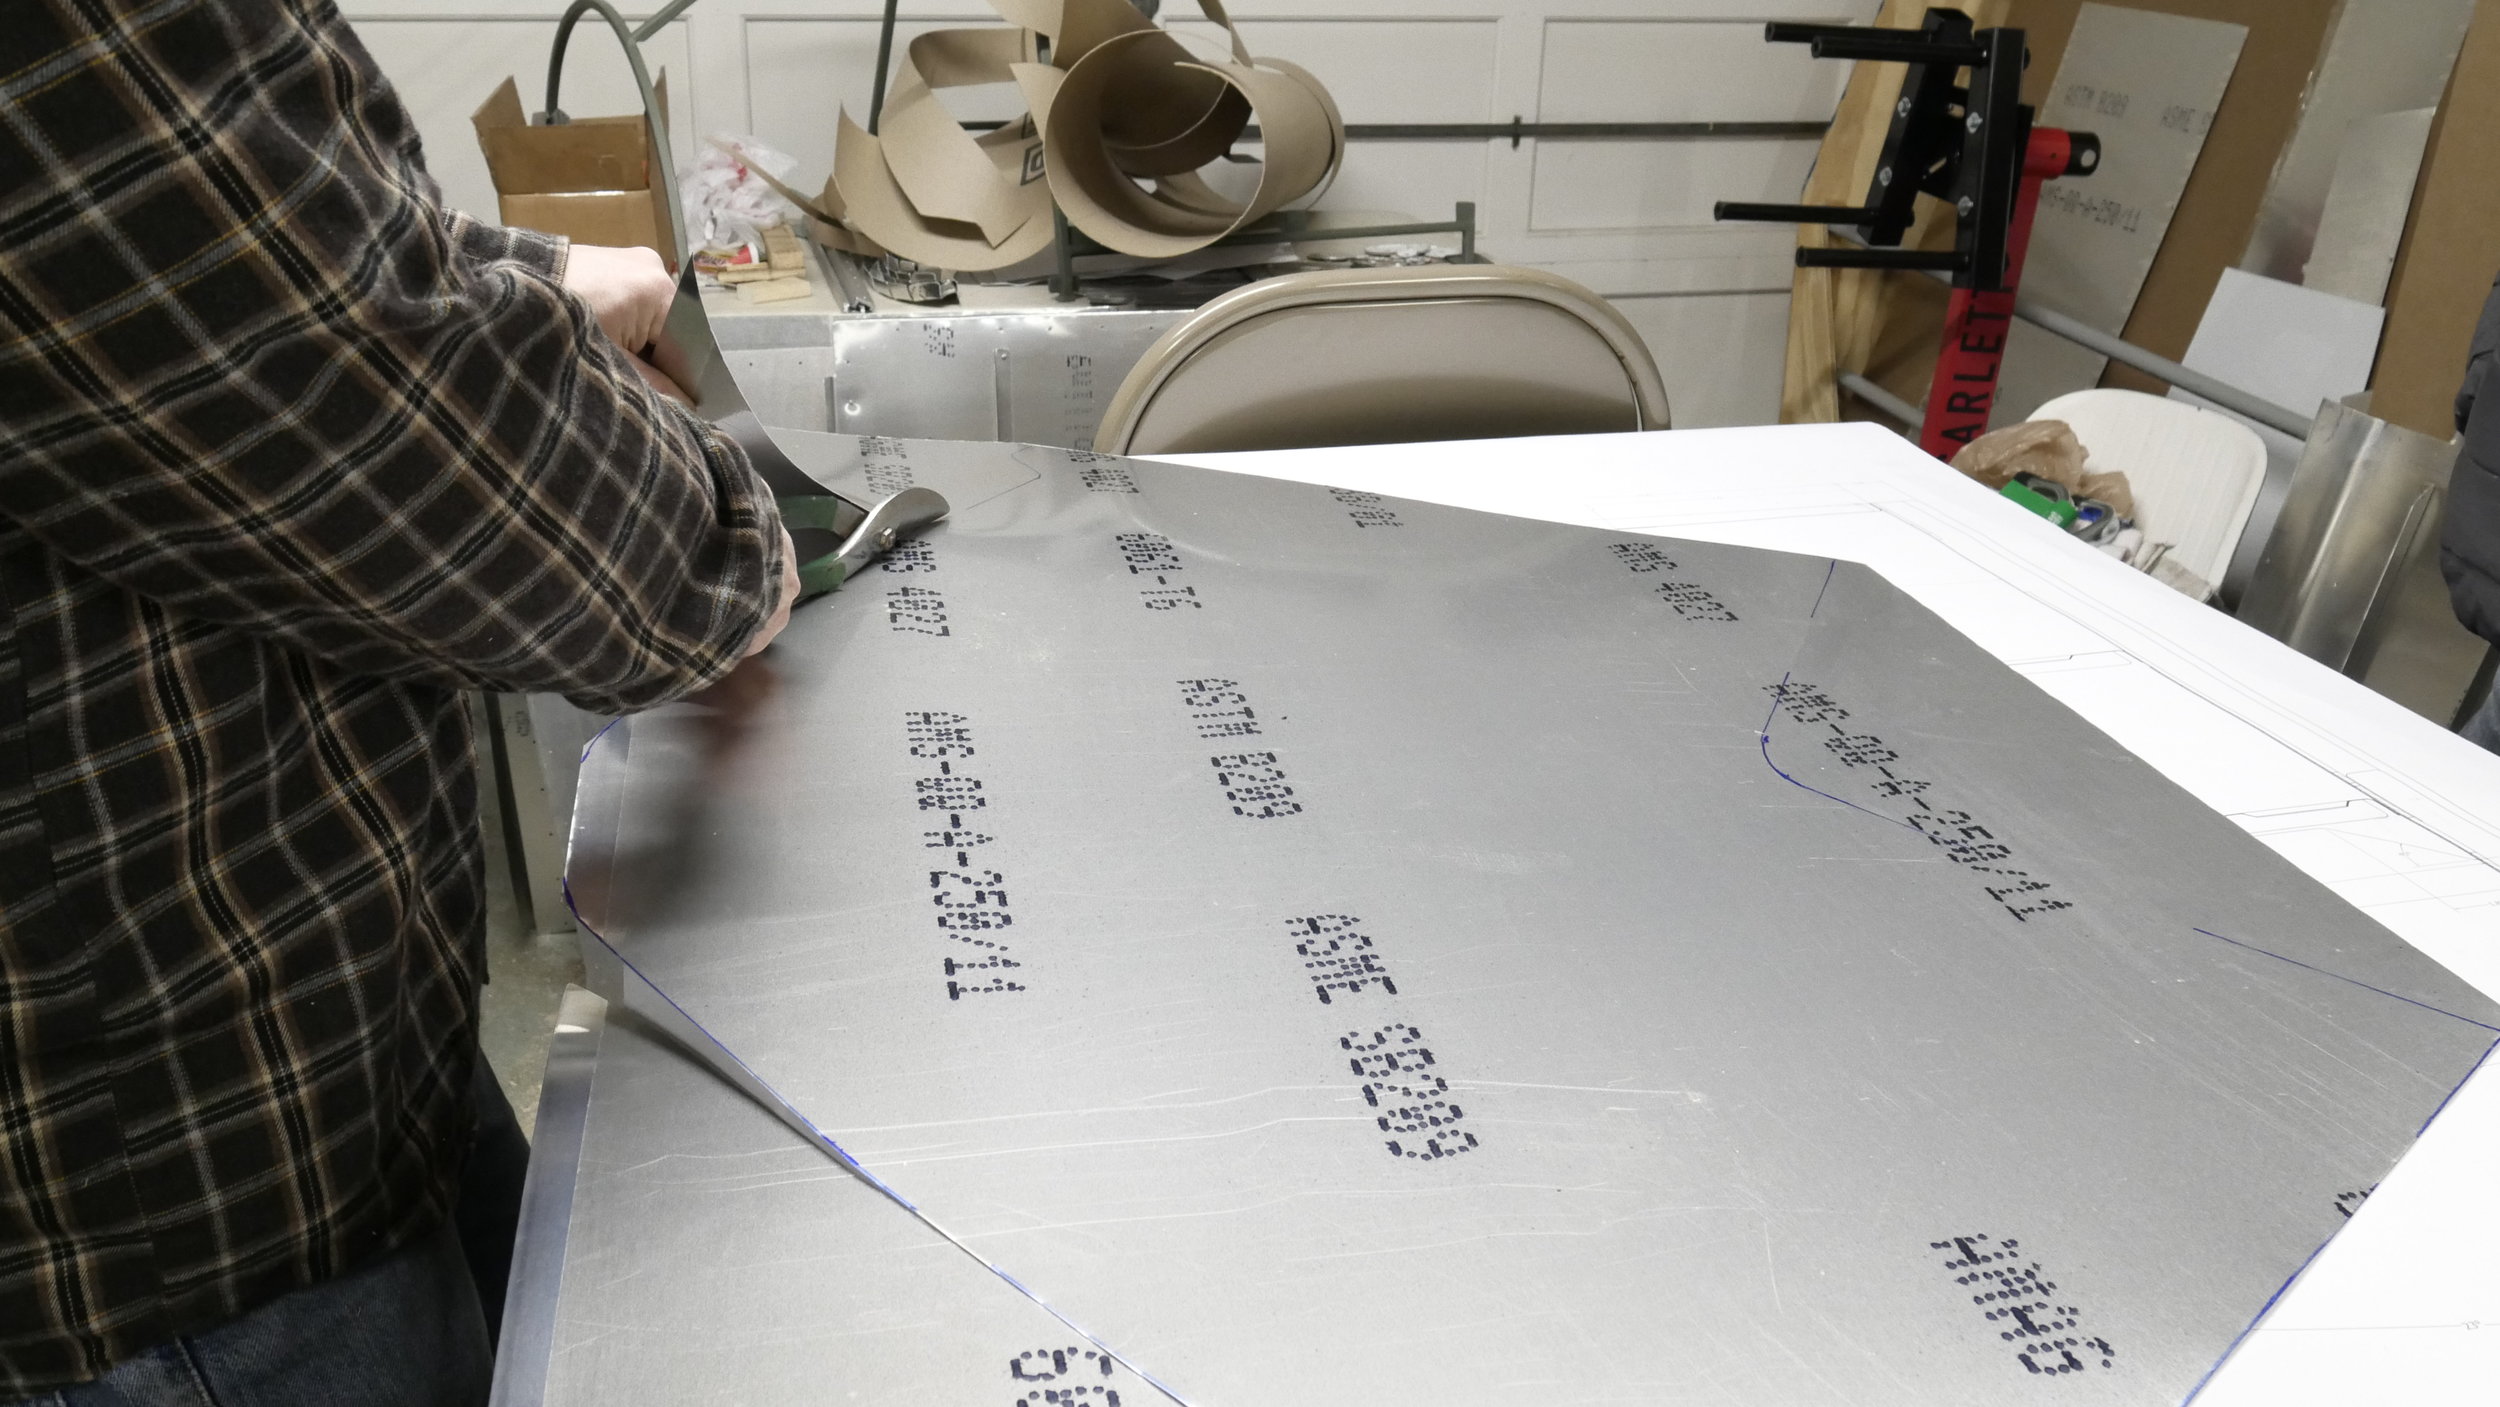
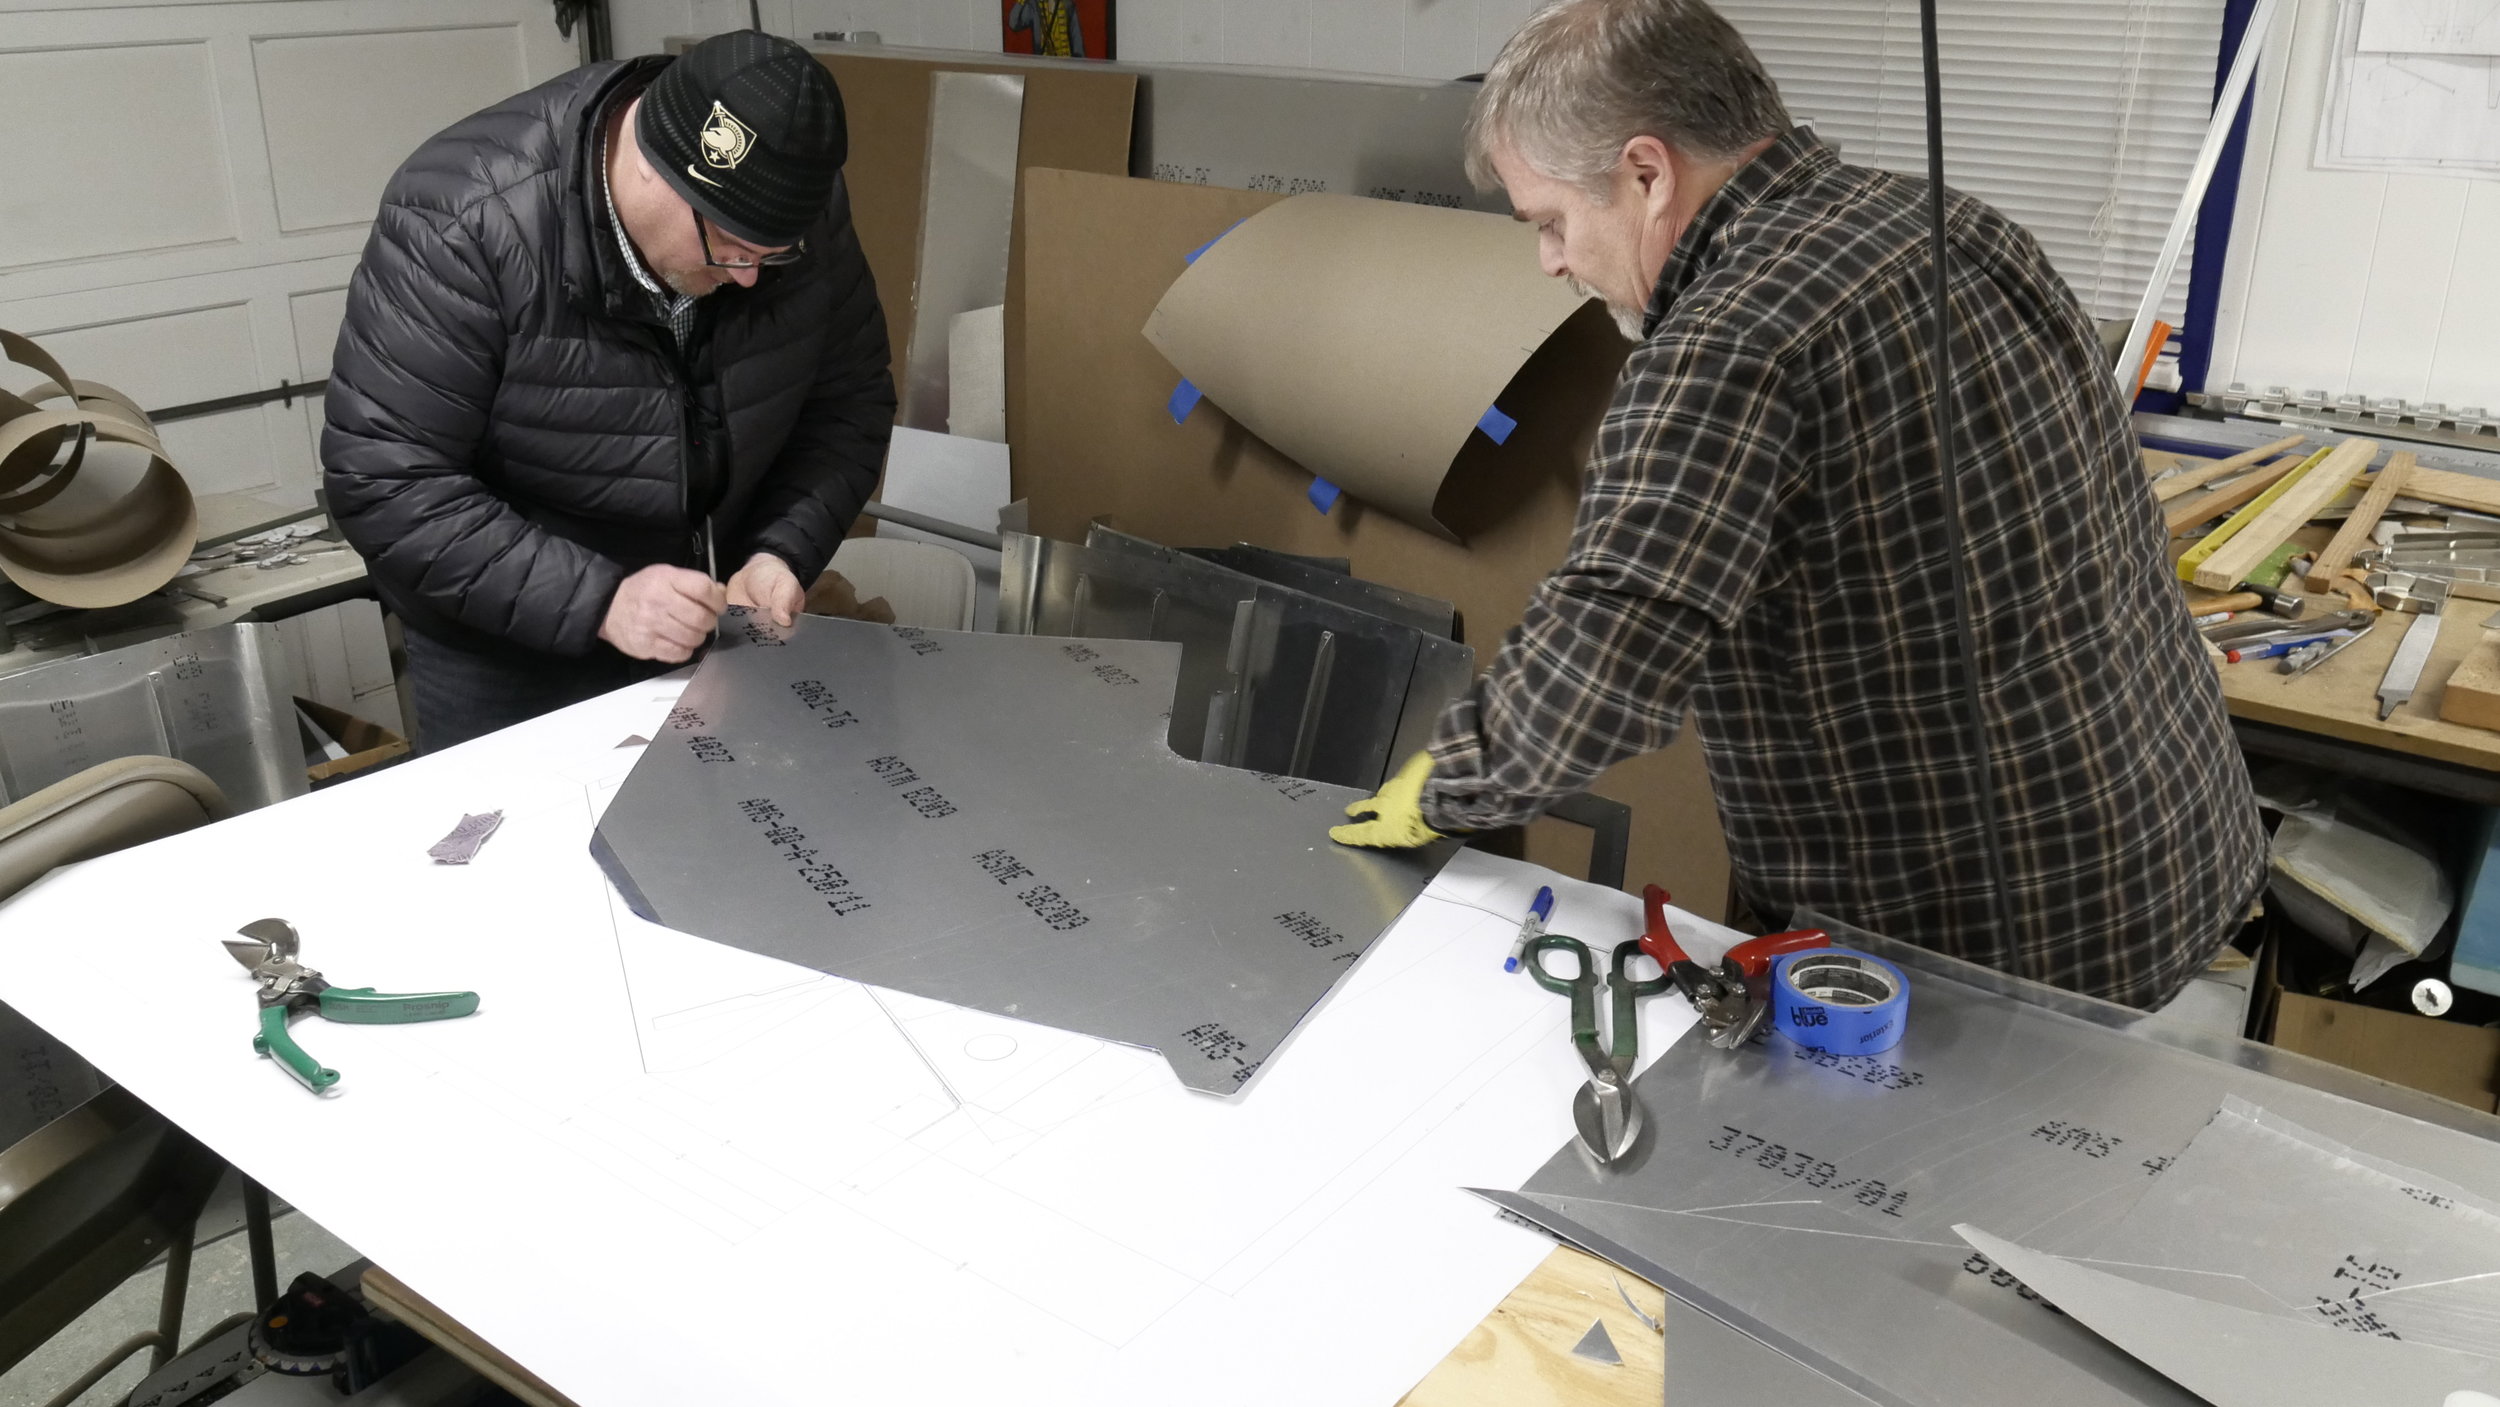
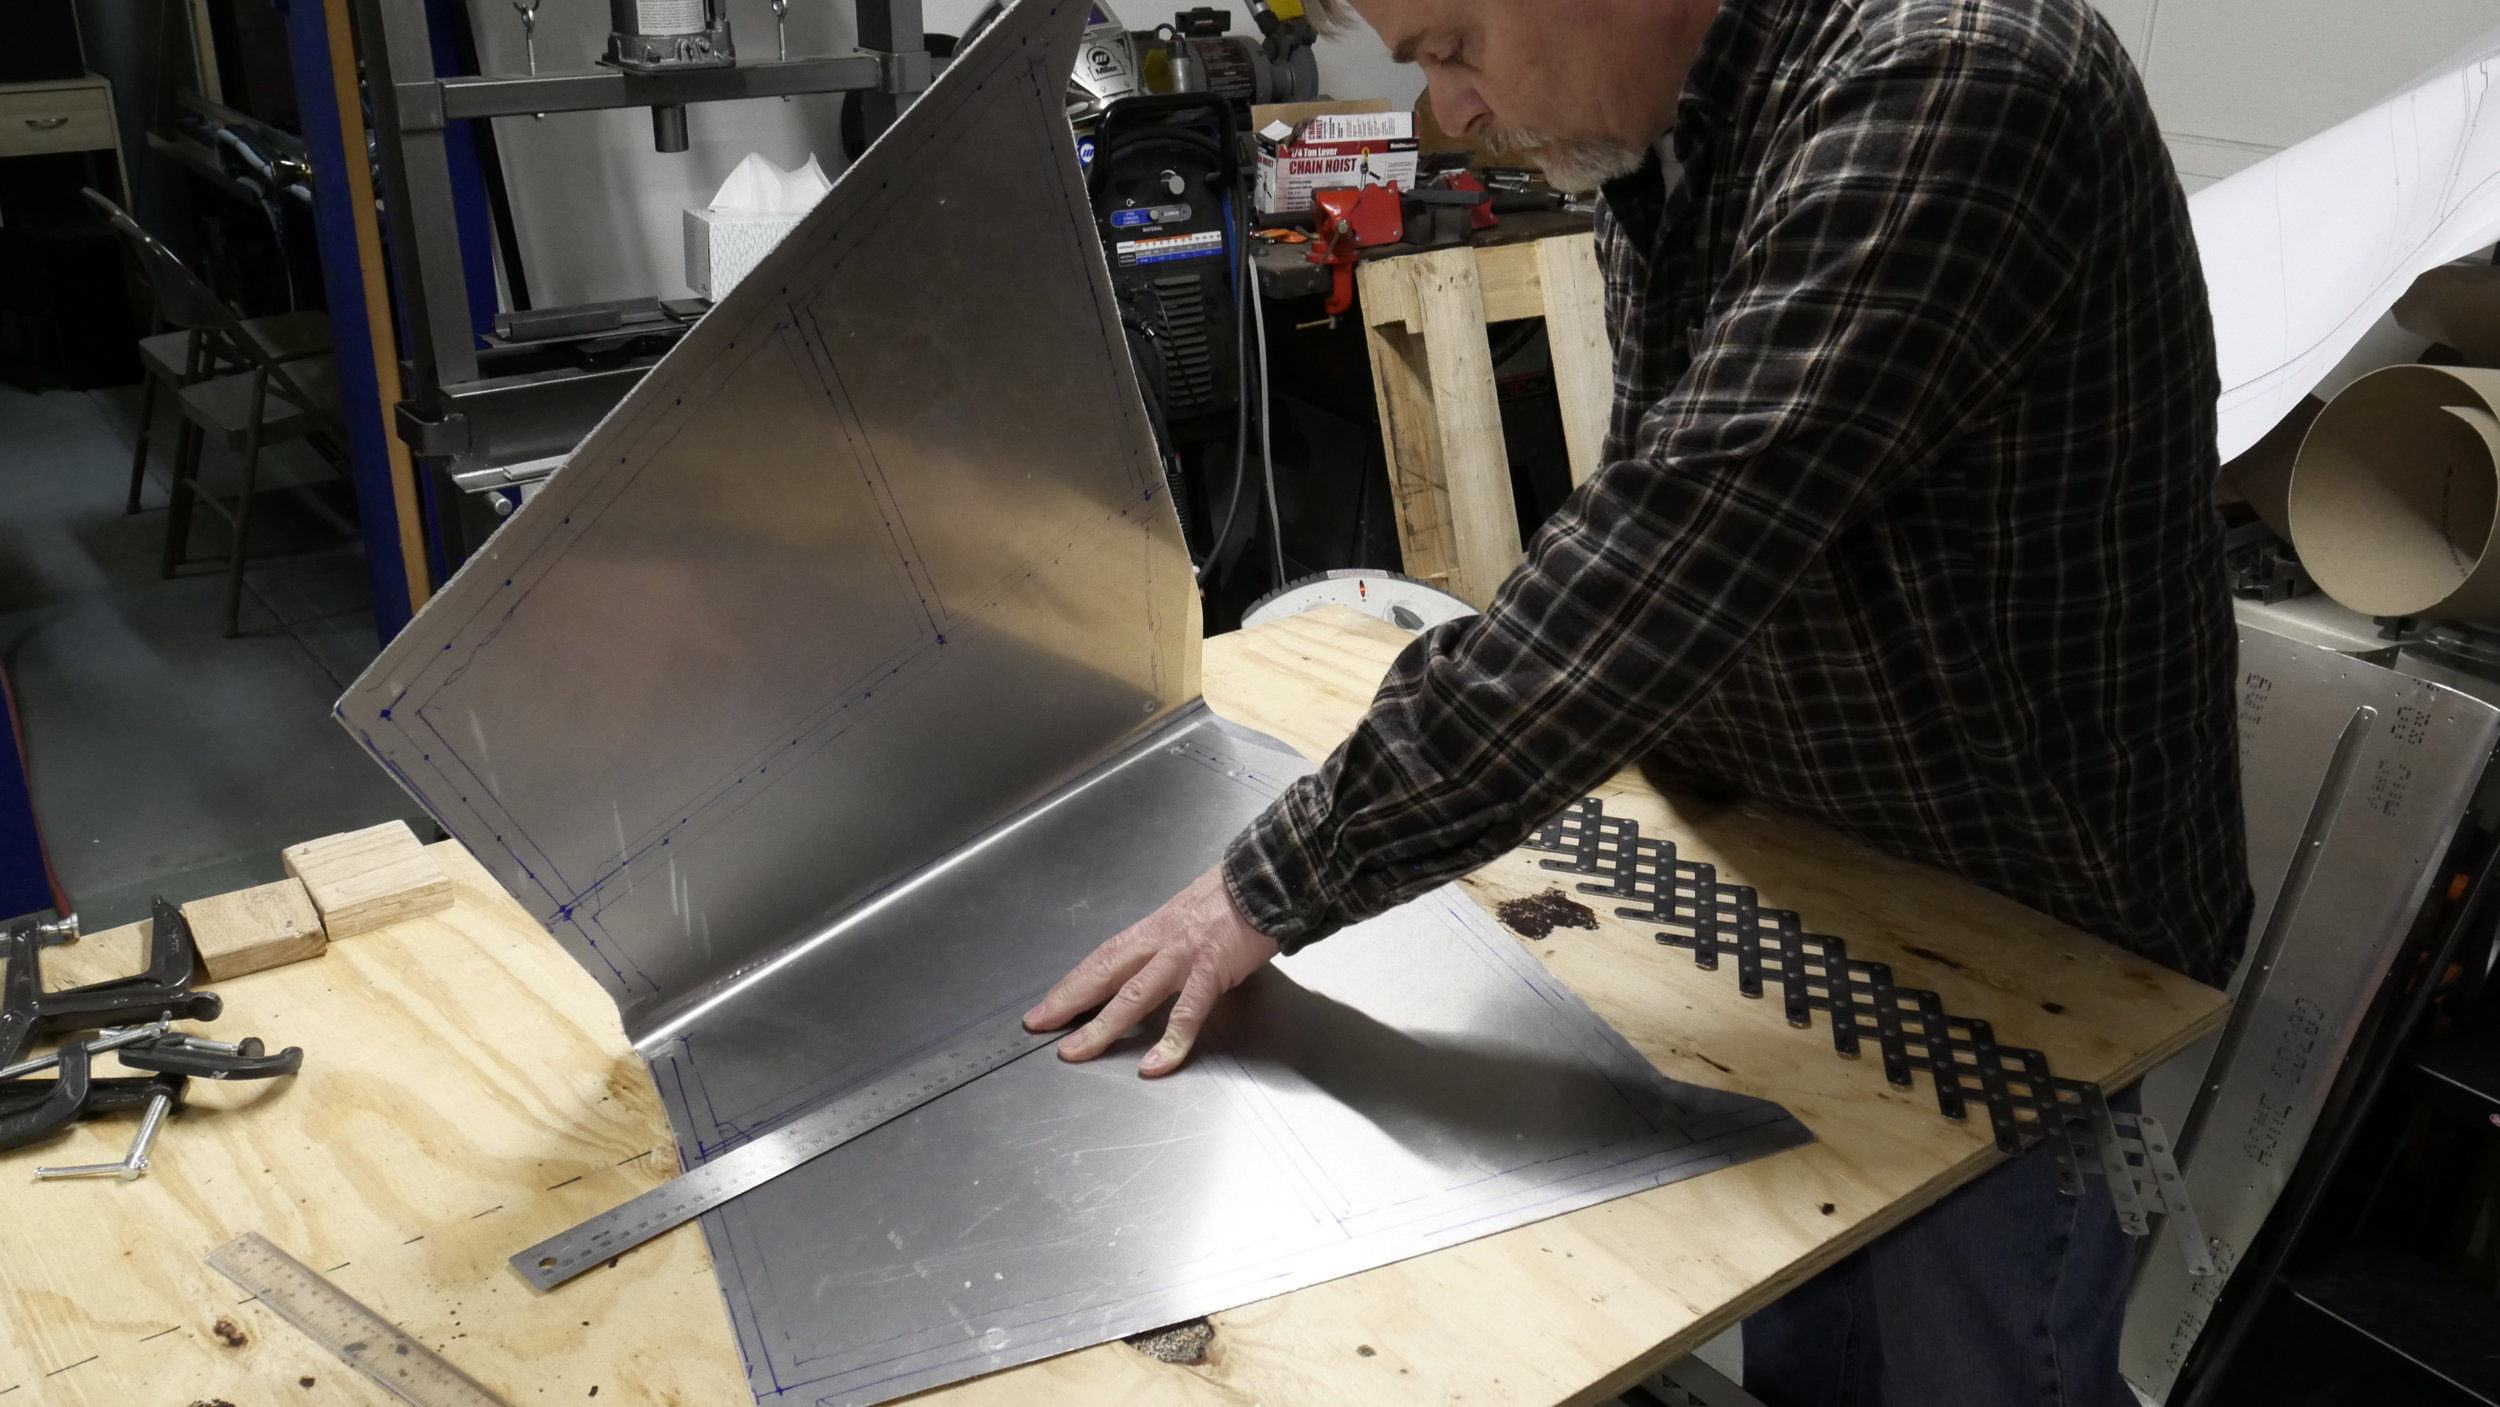
Riveting the spars went quick enough, just pull and go, the skin had yet to be made so that is what takes most of the time. The skin was templated out using chip-board, and fitted several times to get all the curves just right. Then lines all got transferred to the .020 thick skin. We cut that out by hand and filed the edges smooth and straight. It went well and was quick and easy to do after working on the fuselage skins which were similarly hand-cut. With a sharpie, the centerline for the leading edge bend was laid-out on both sides of the sheet skin. A 3/4" solid aluminum rod was duct taped to the skin and and trailing edges got folded around and matched up, then clamped to the bench; almost like making a paper airplane. Hand forming the LE bend was done by one guy pulling each end the rod, keeping the skin tight, and another pressing down on the skin with a flat board to tighten the radius. It's by no means a machine-formed bend, but that method does work well on small parts that need a tight rounded nose.
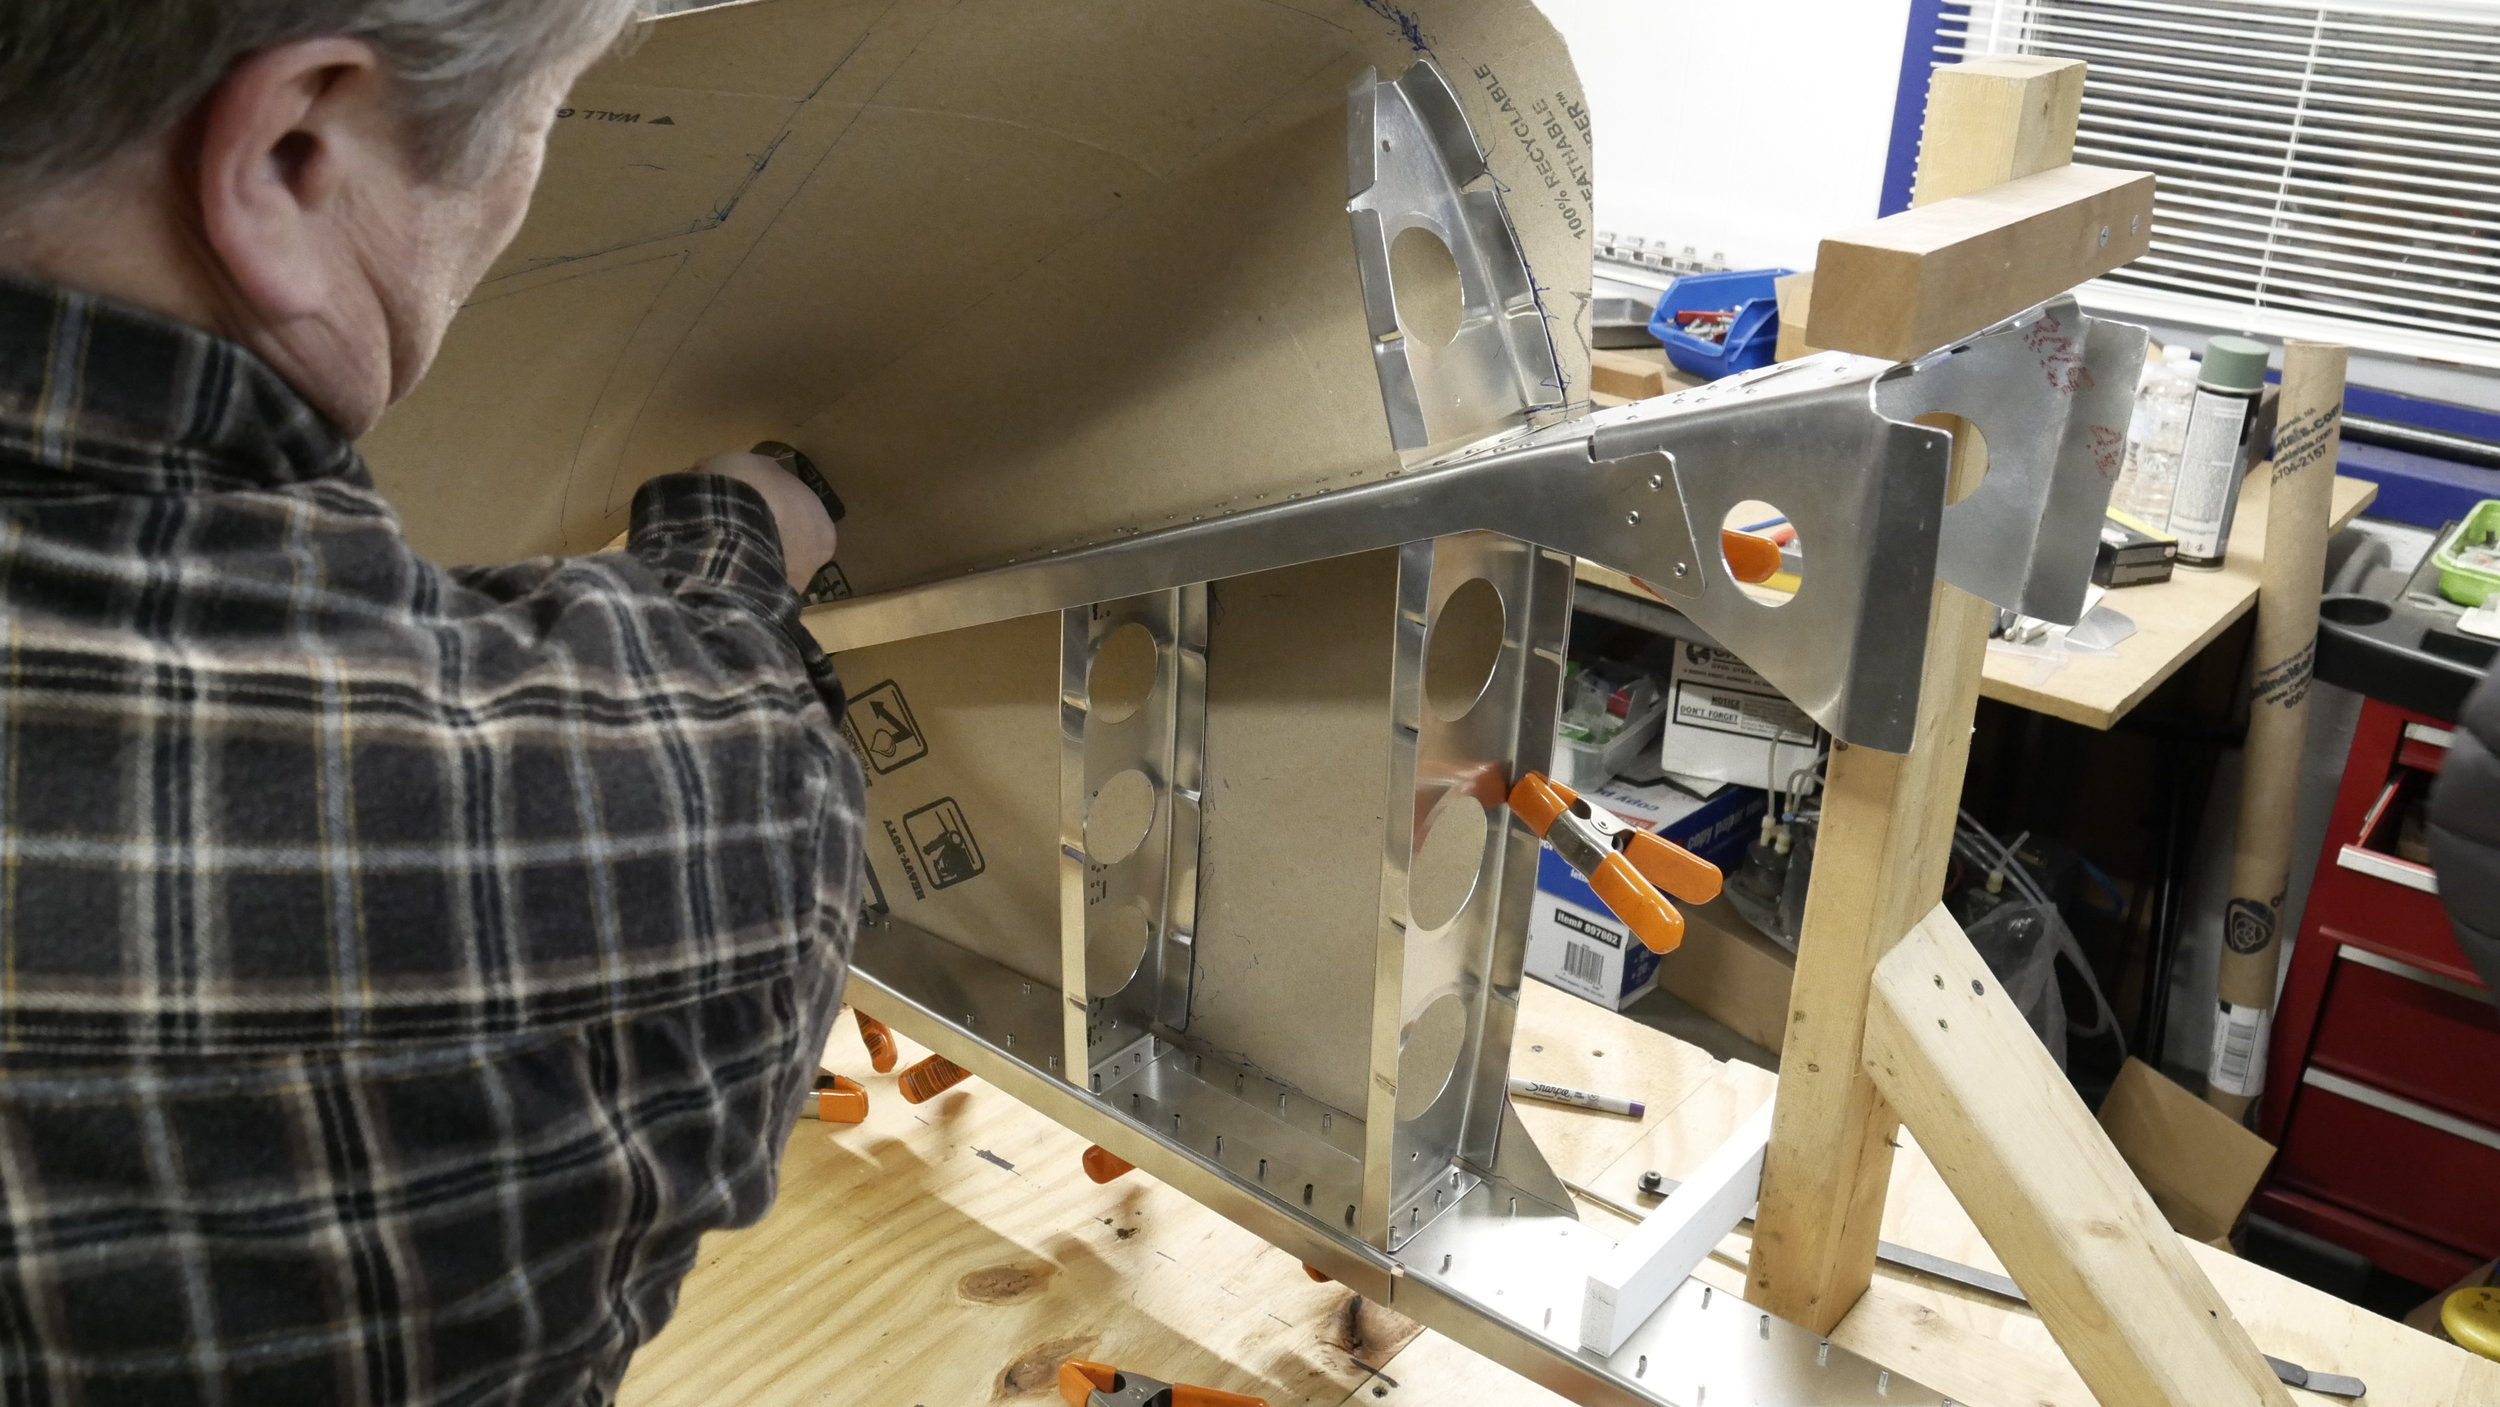
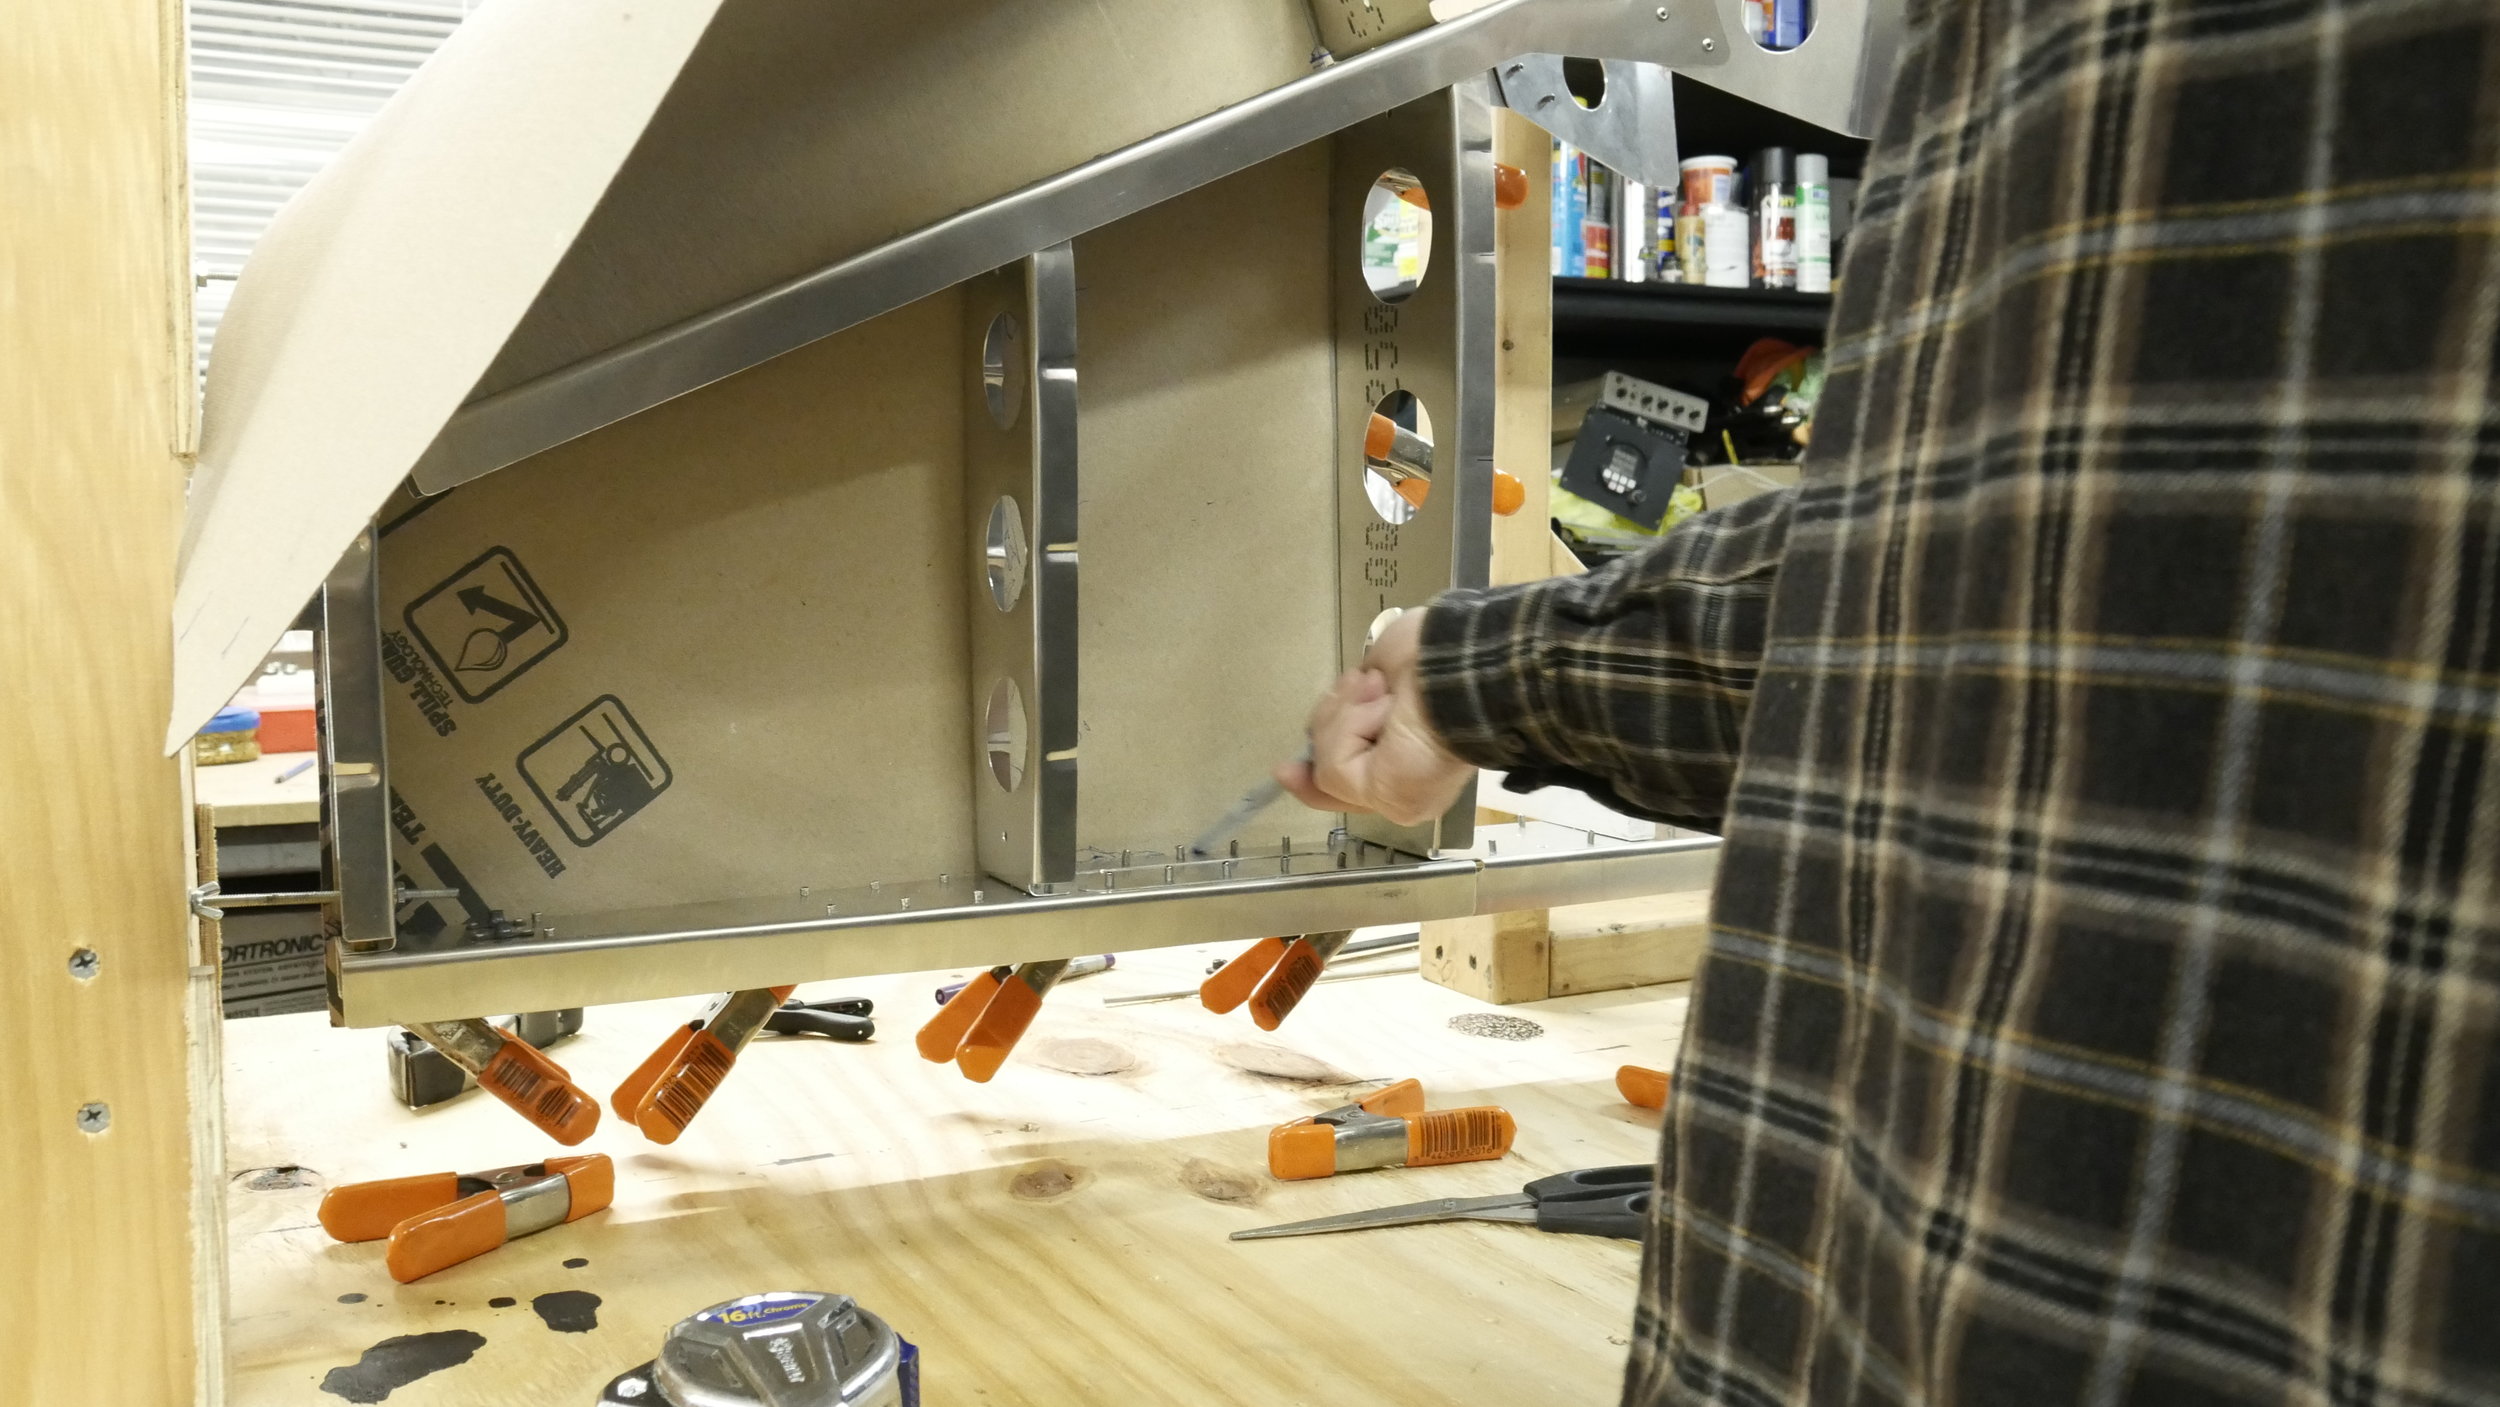
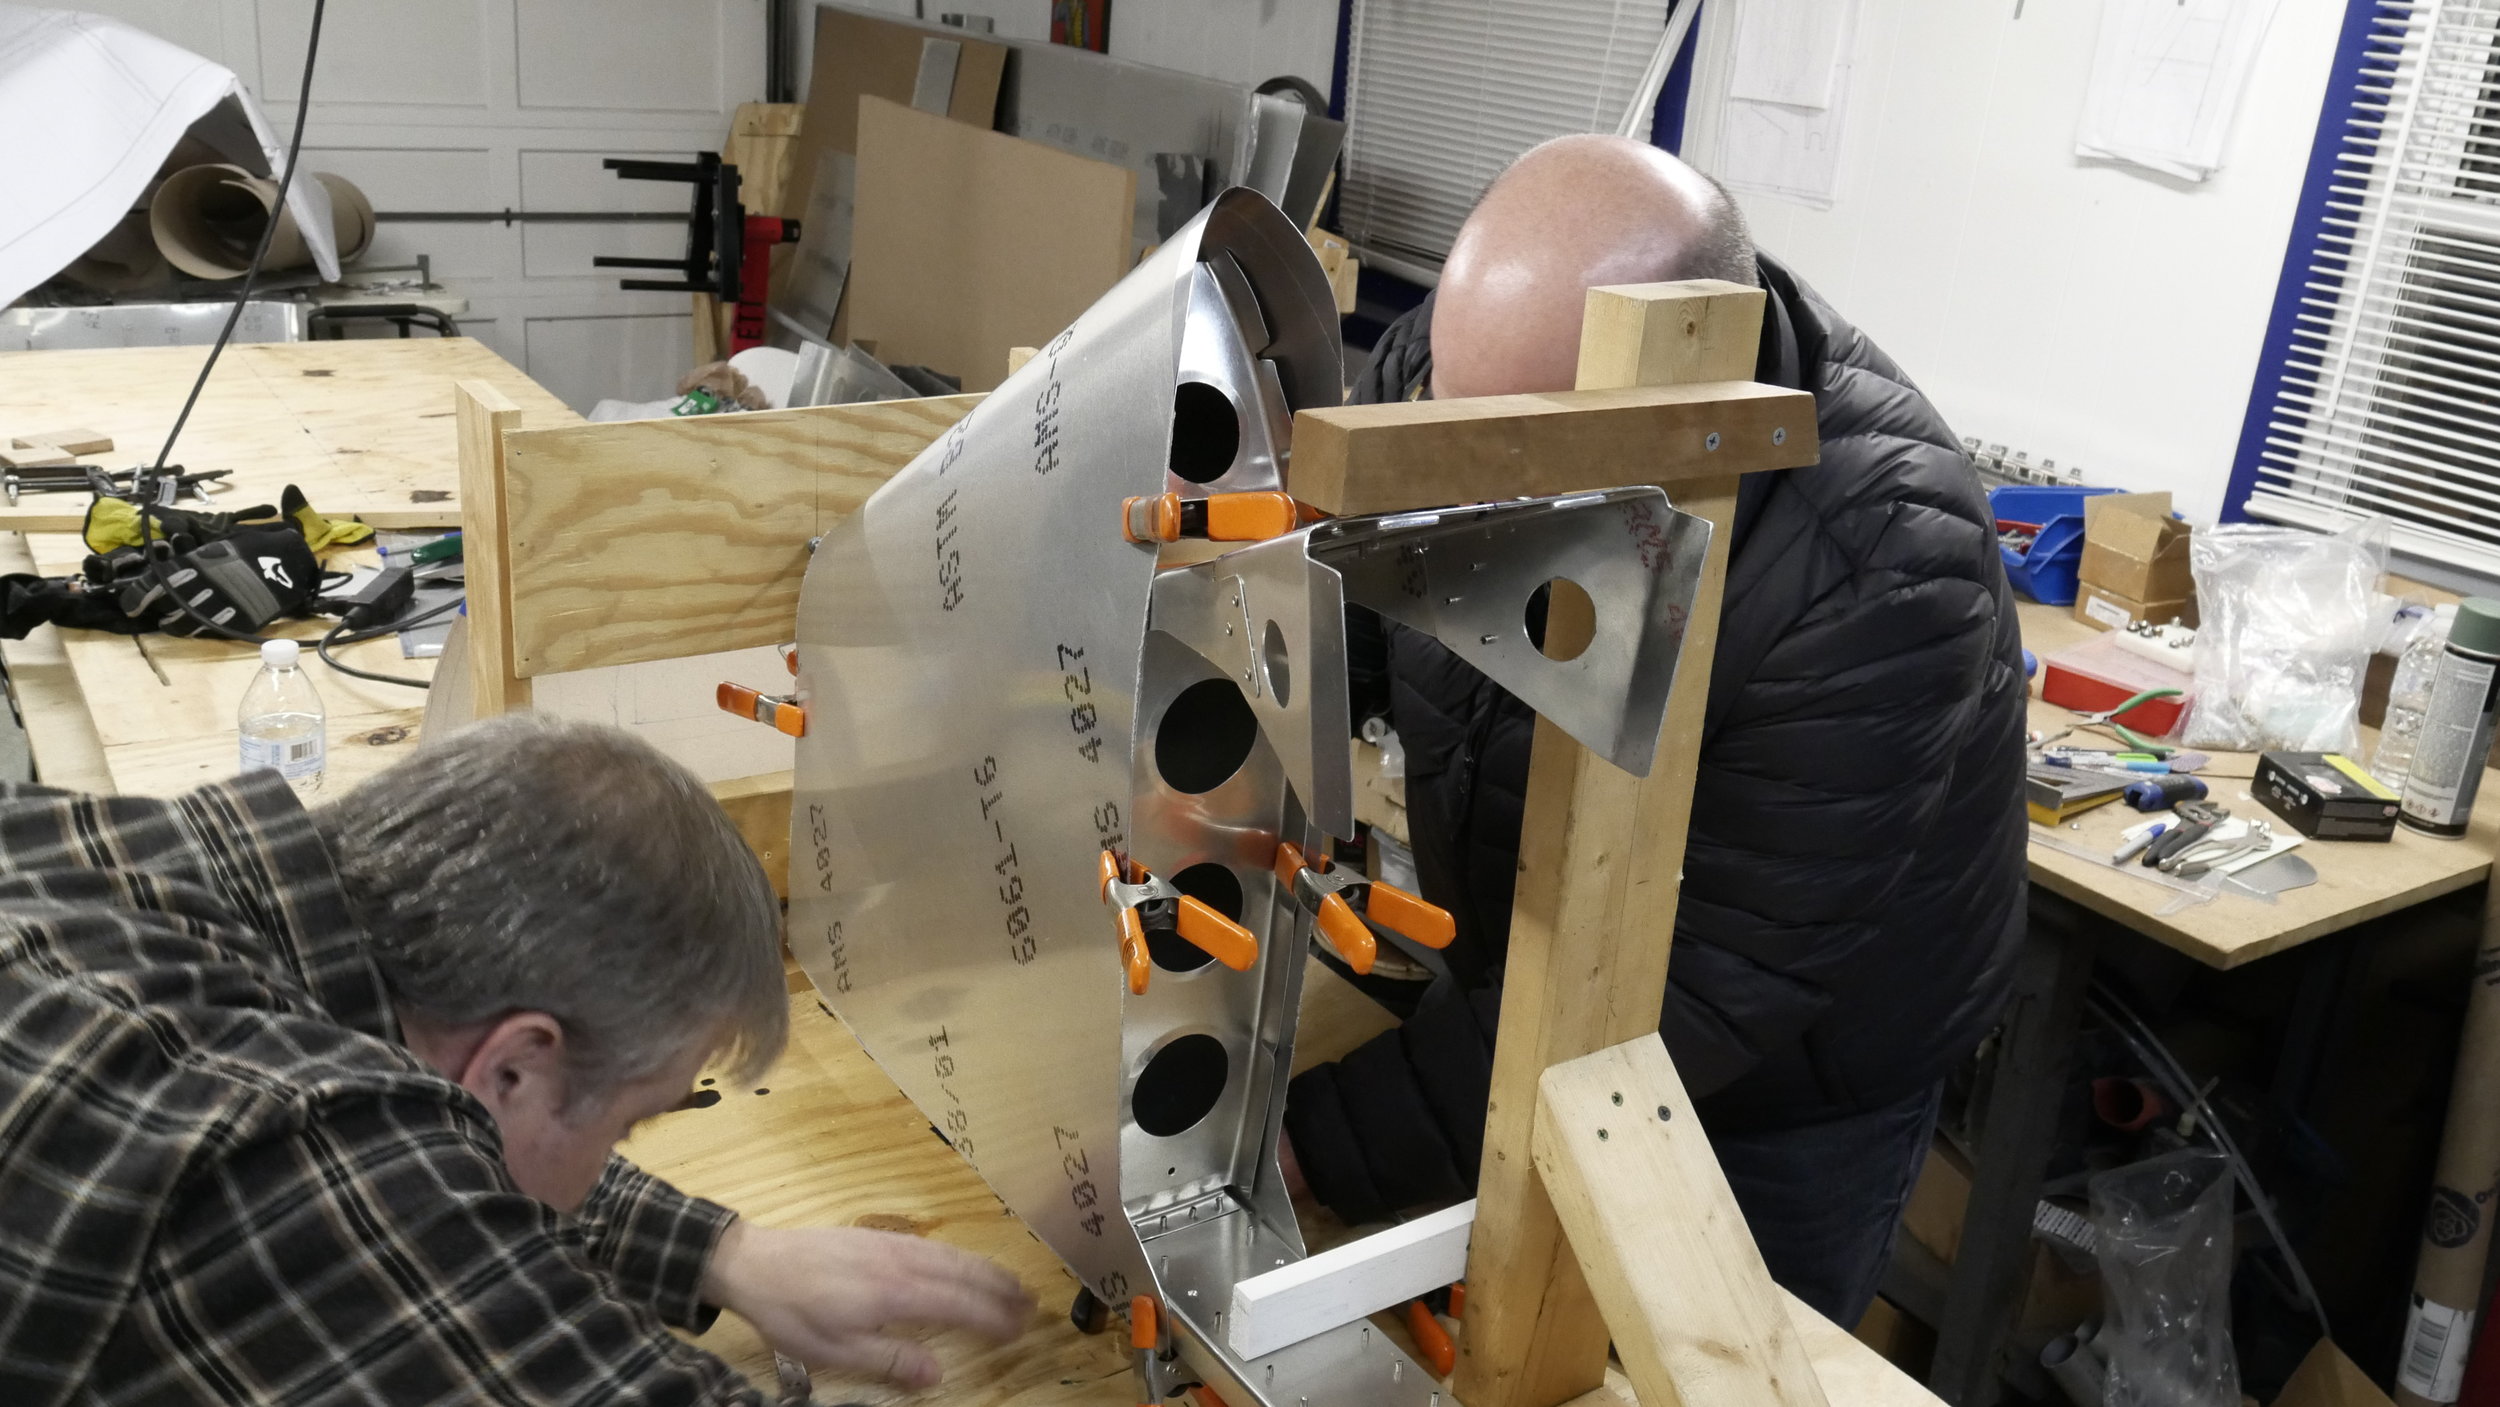
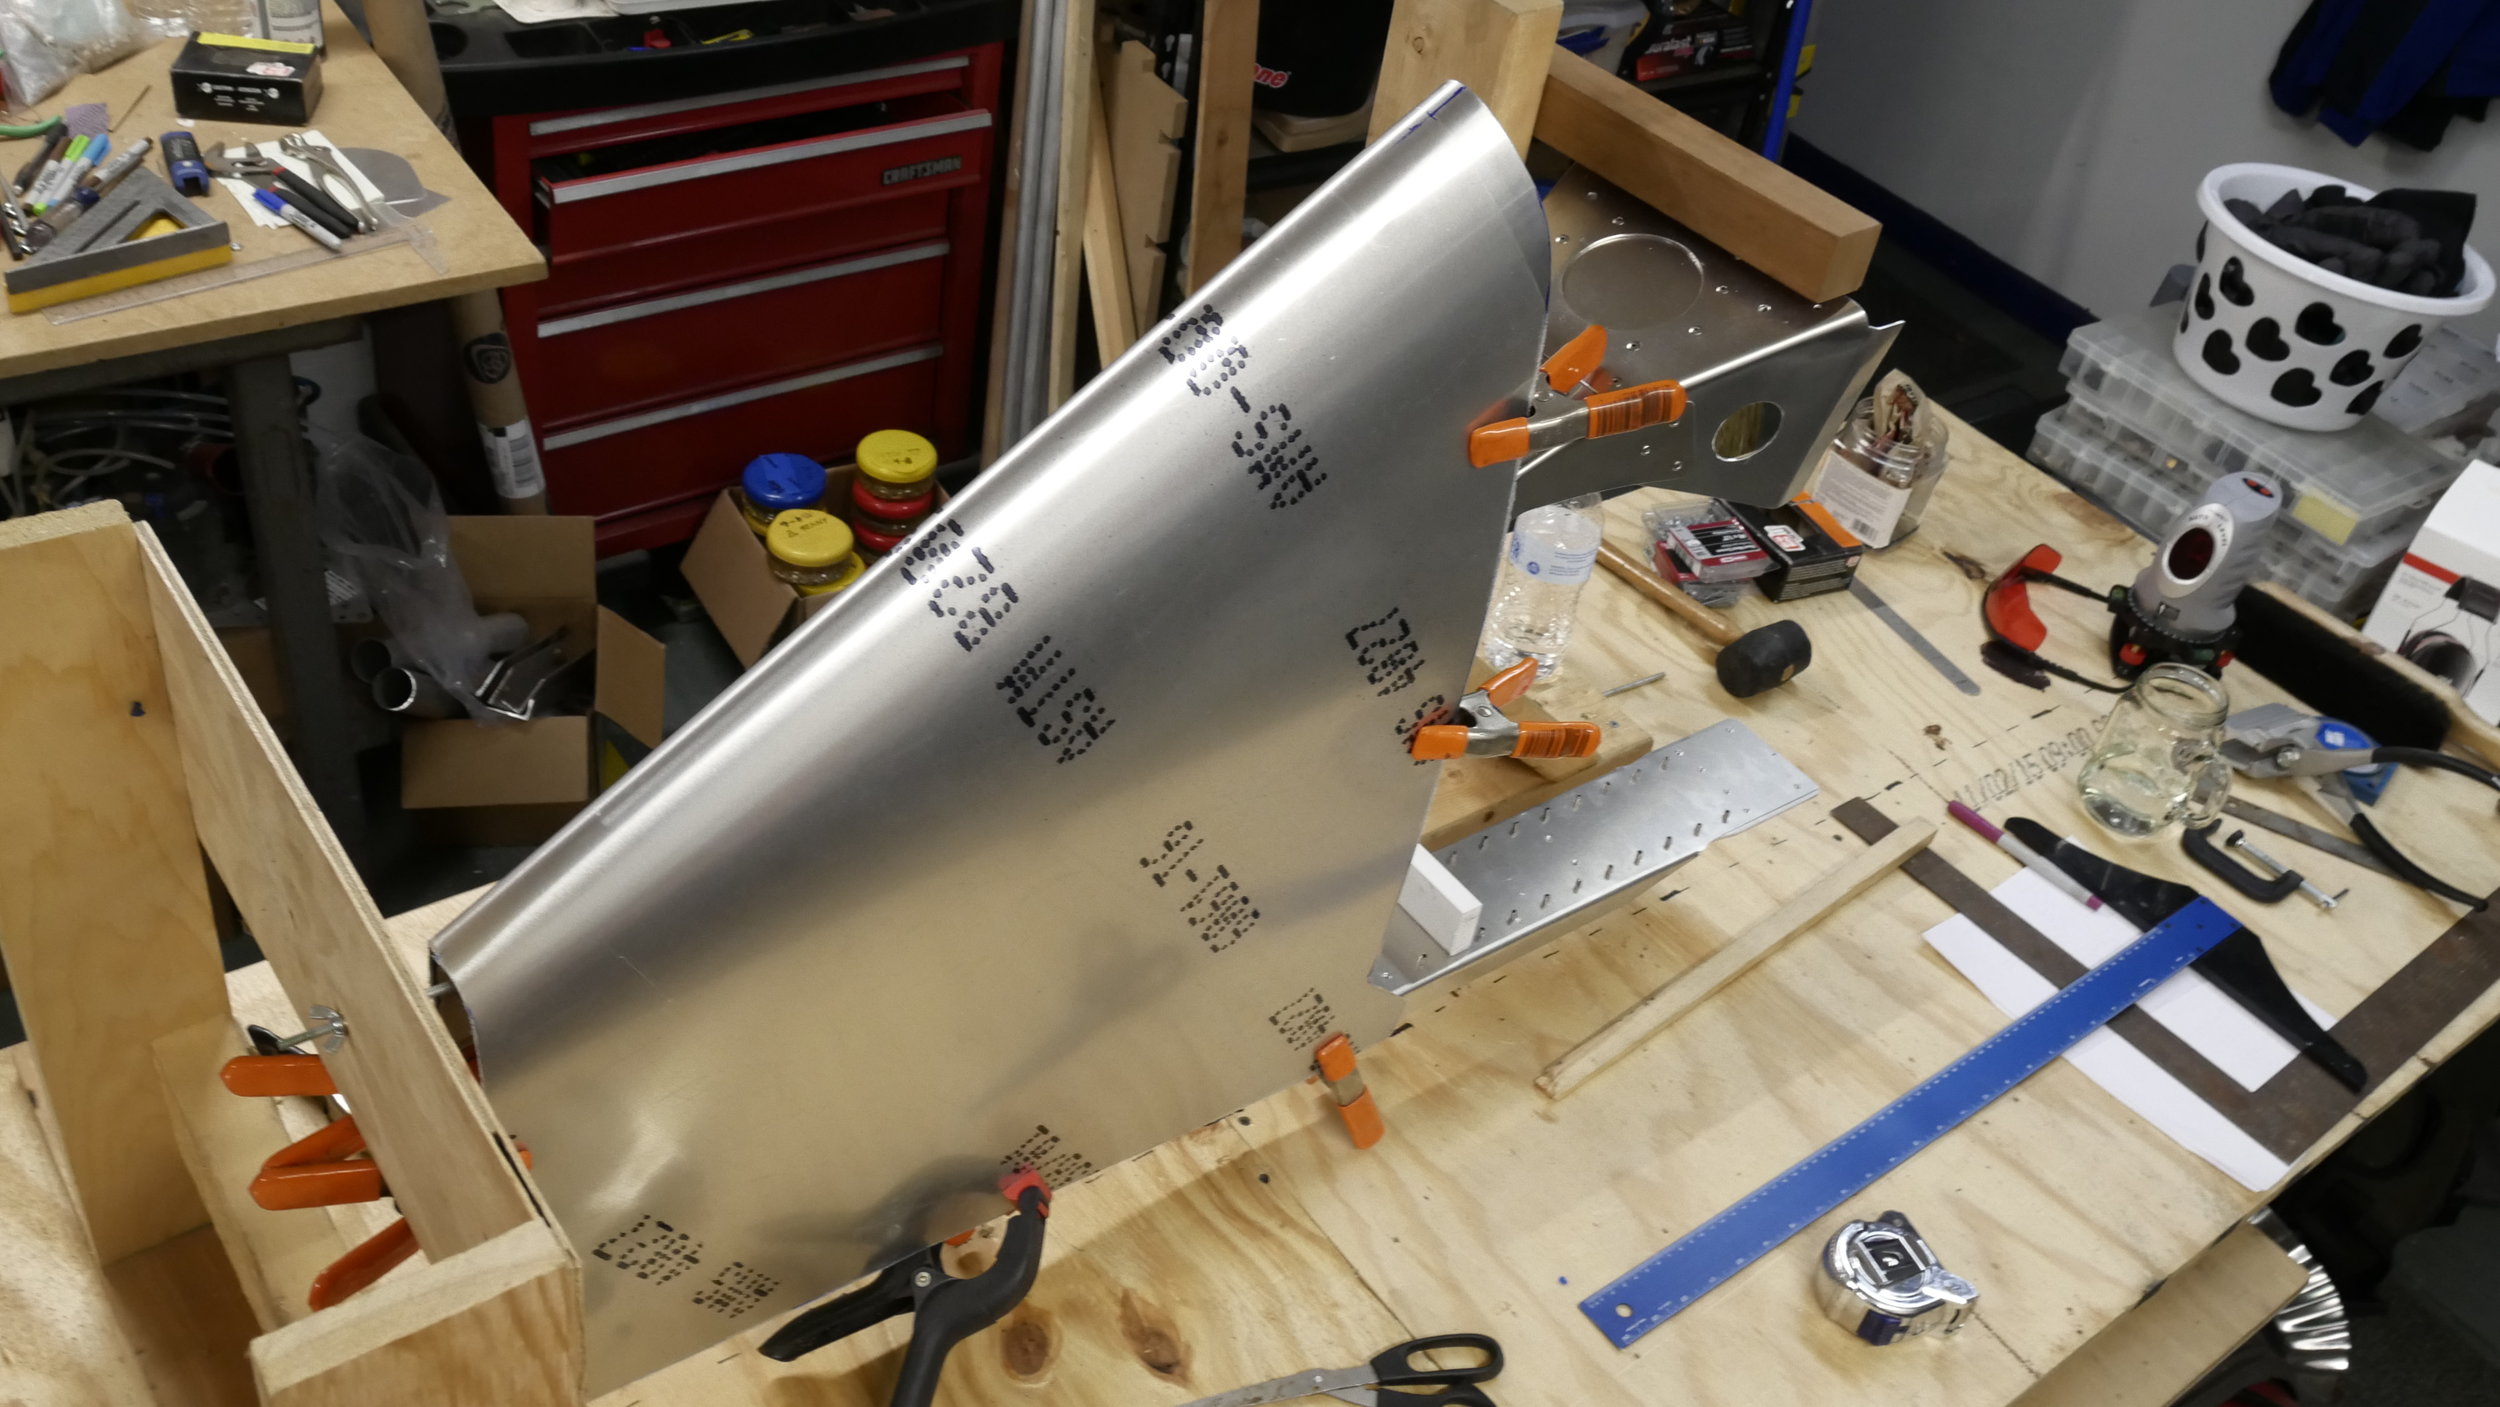
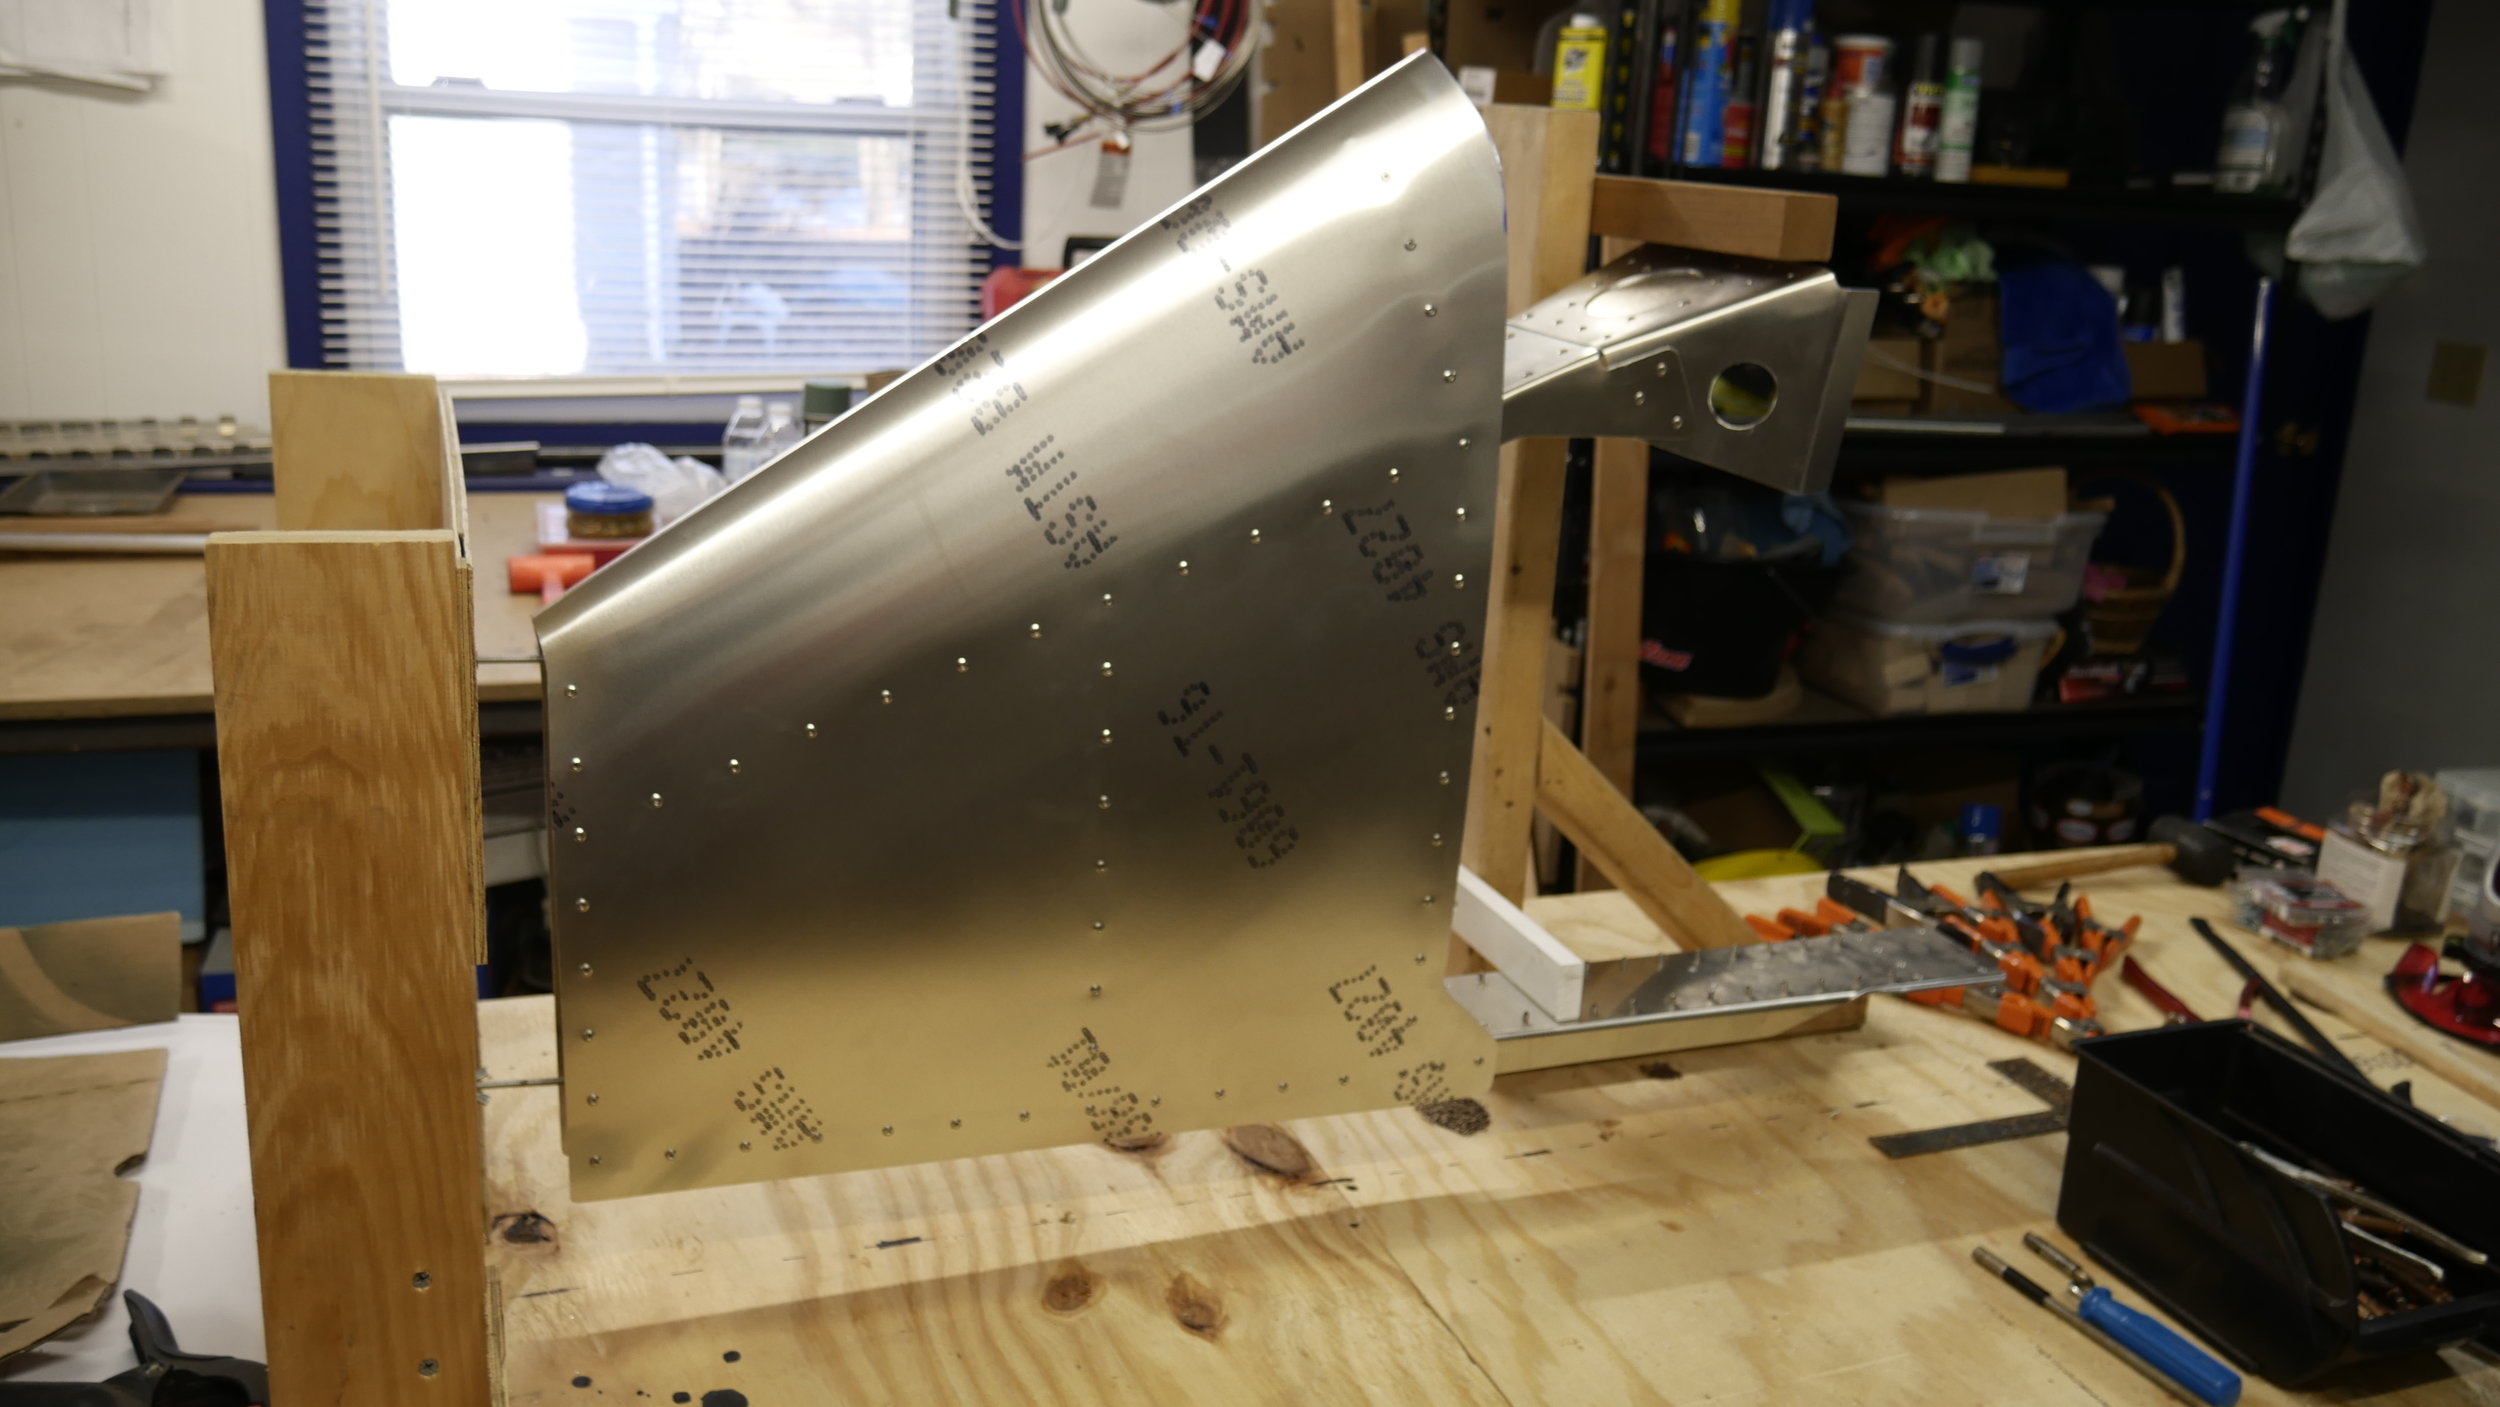
After fitting and clamping the bent skin onto the stabilizer frame, we un-clamped one side at a time to mark the frame onto the inner skin surface. The rivet lines and spacing were then marked onto the inner skins and drilled. Re-clamping the skins in place on the frame and drilling through the rib and spar flanges. Cleco's are installed to hold the skins tight as it was drilled. Then deburred all the new holes, and re-clamped the skin to the frame. The pull rivets are fun to do and so easy it is, well, anti-climatic to a degree. Another major airframe part done just as it was getting started!


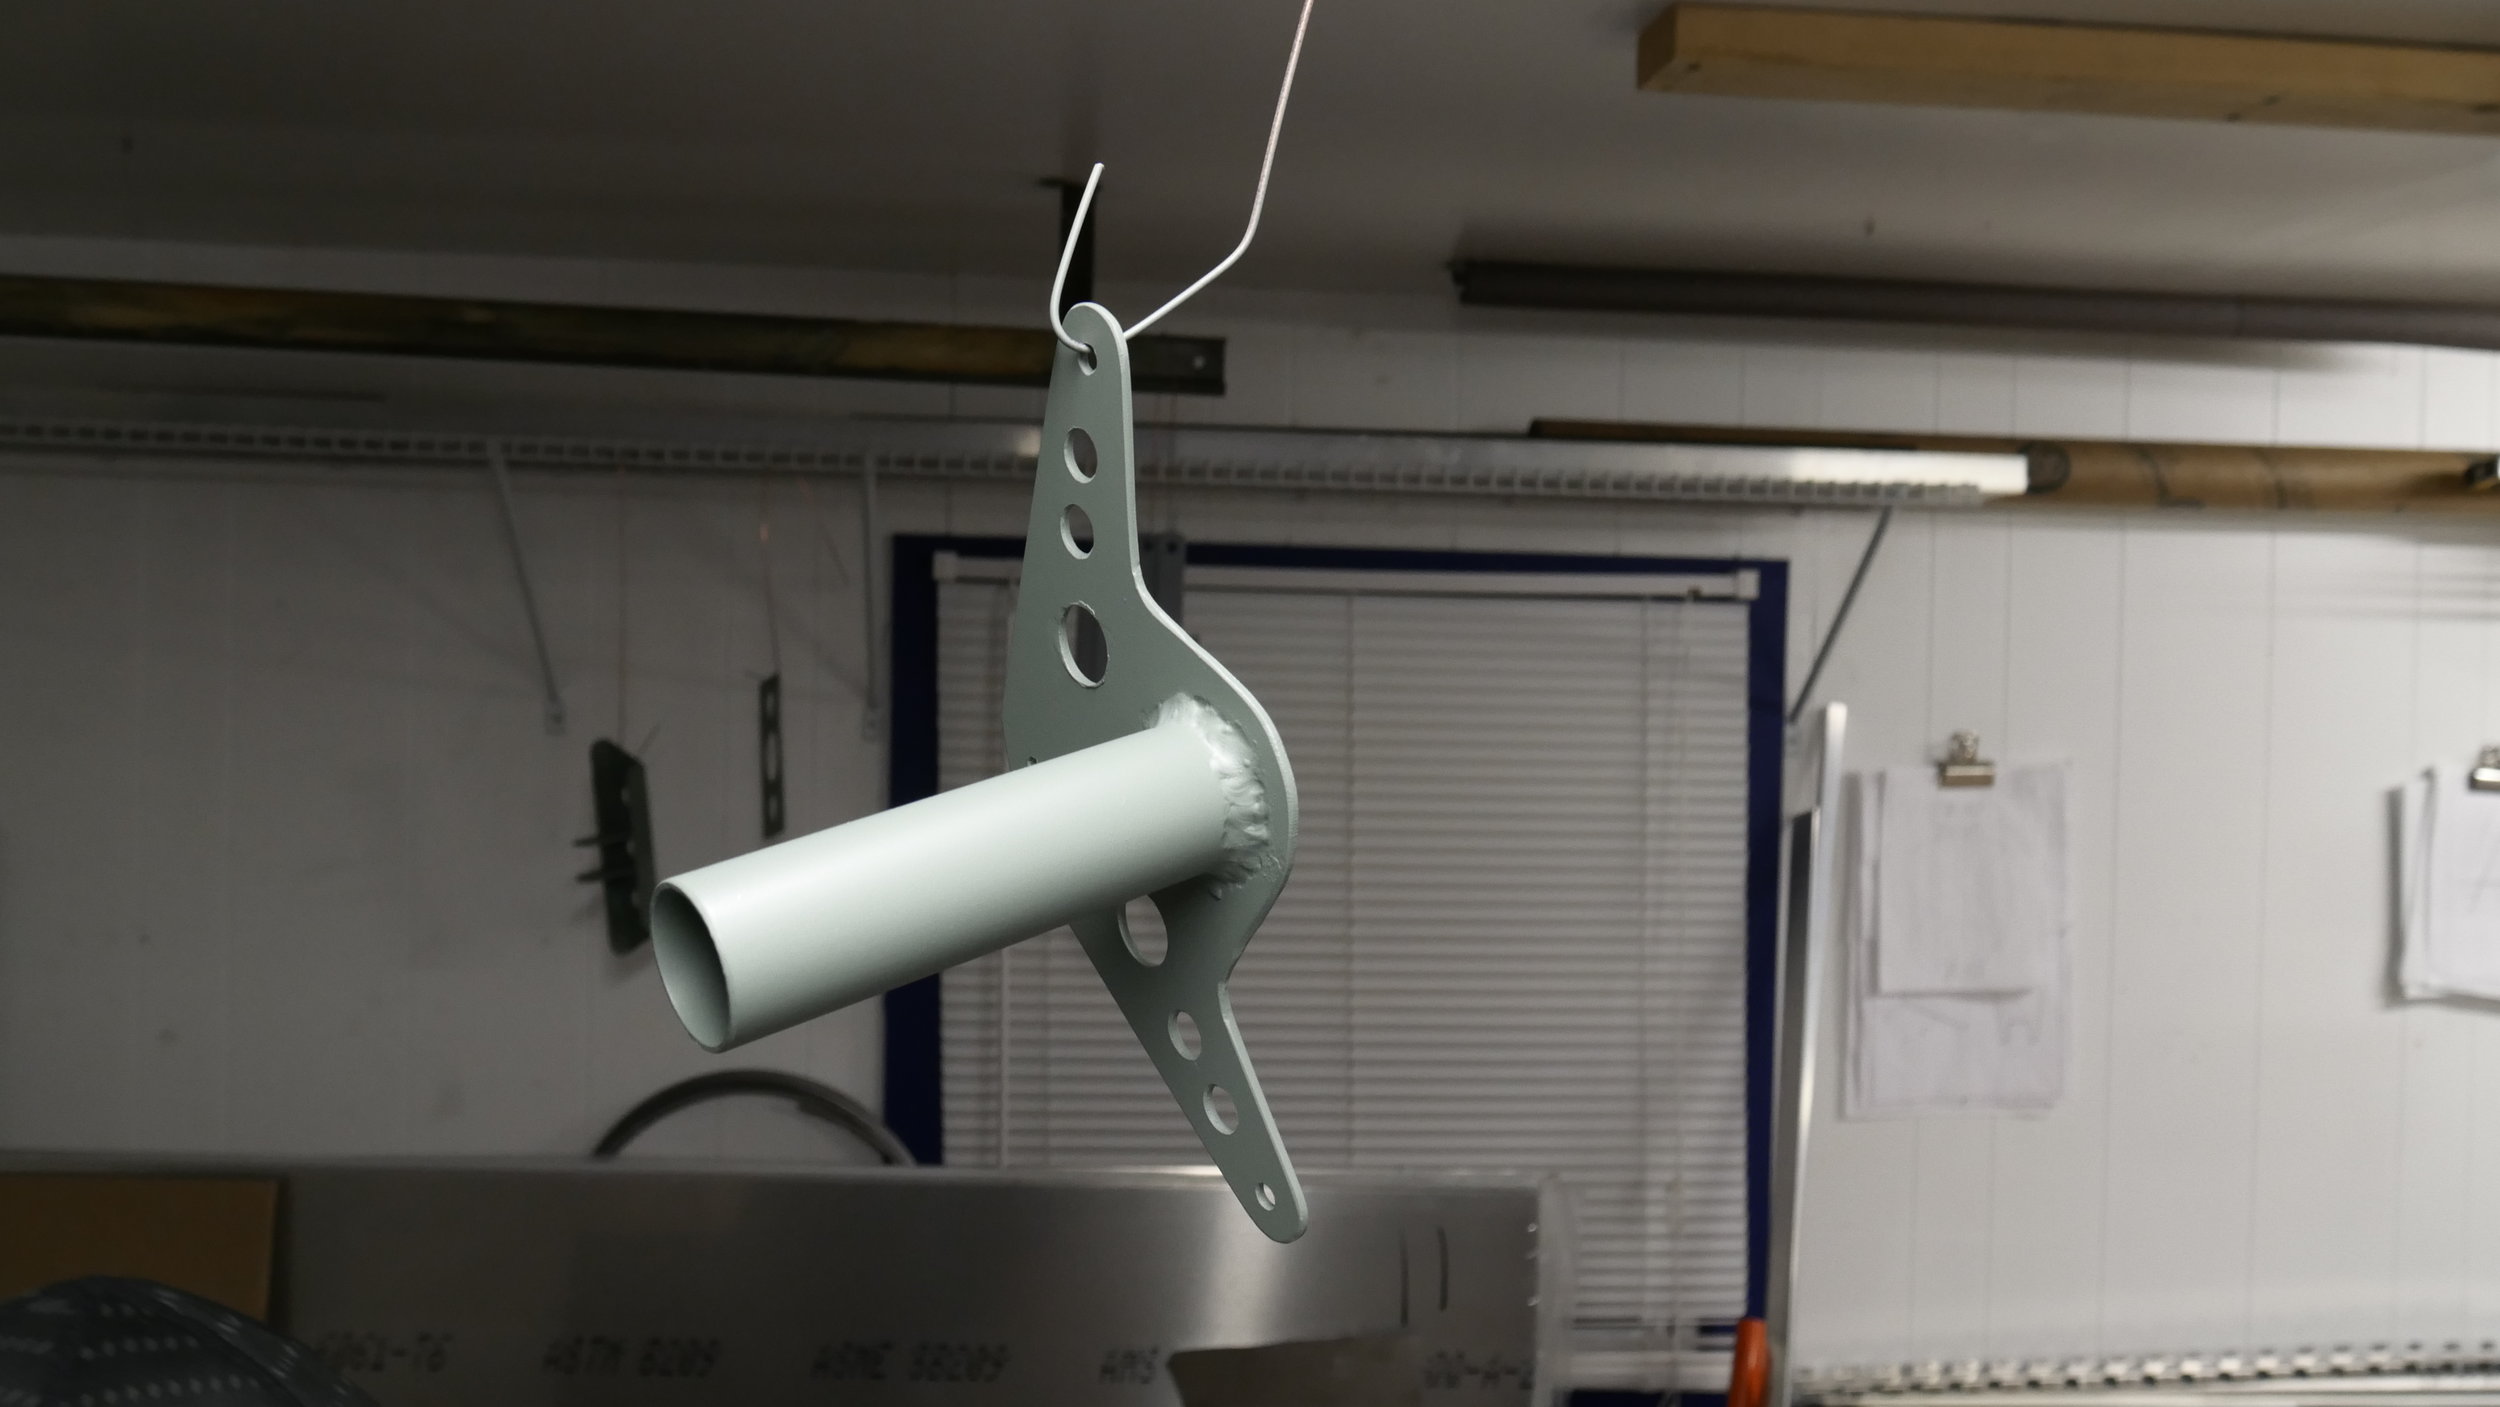
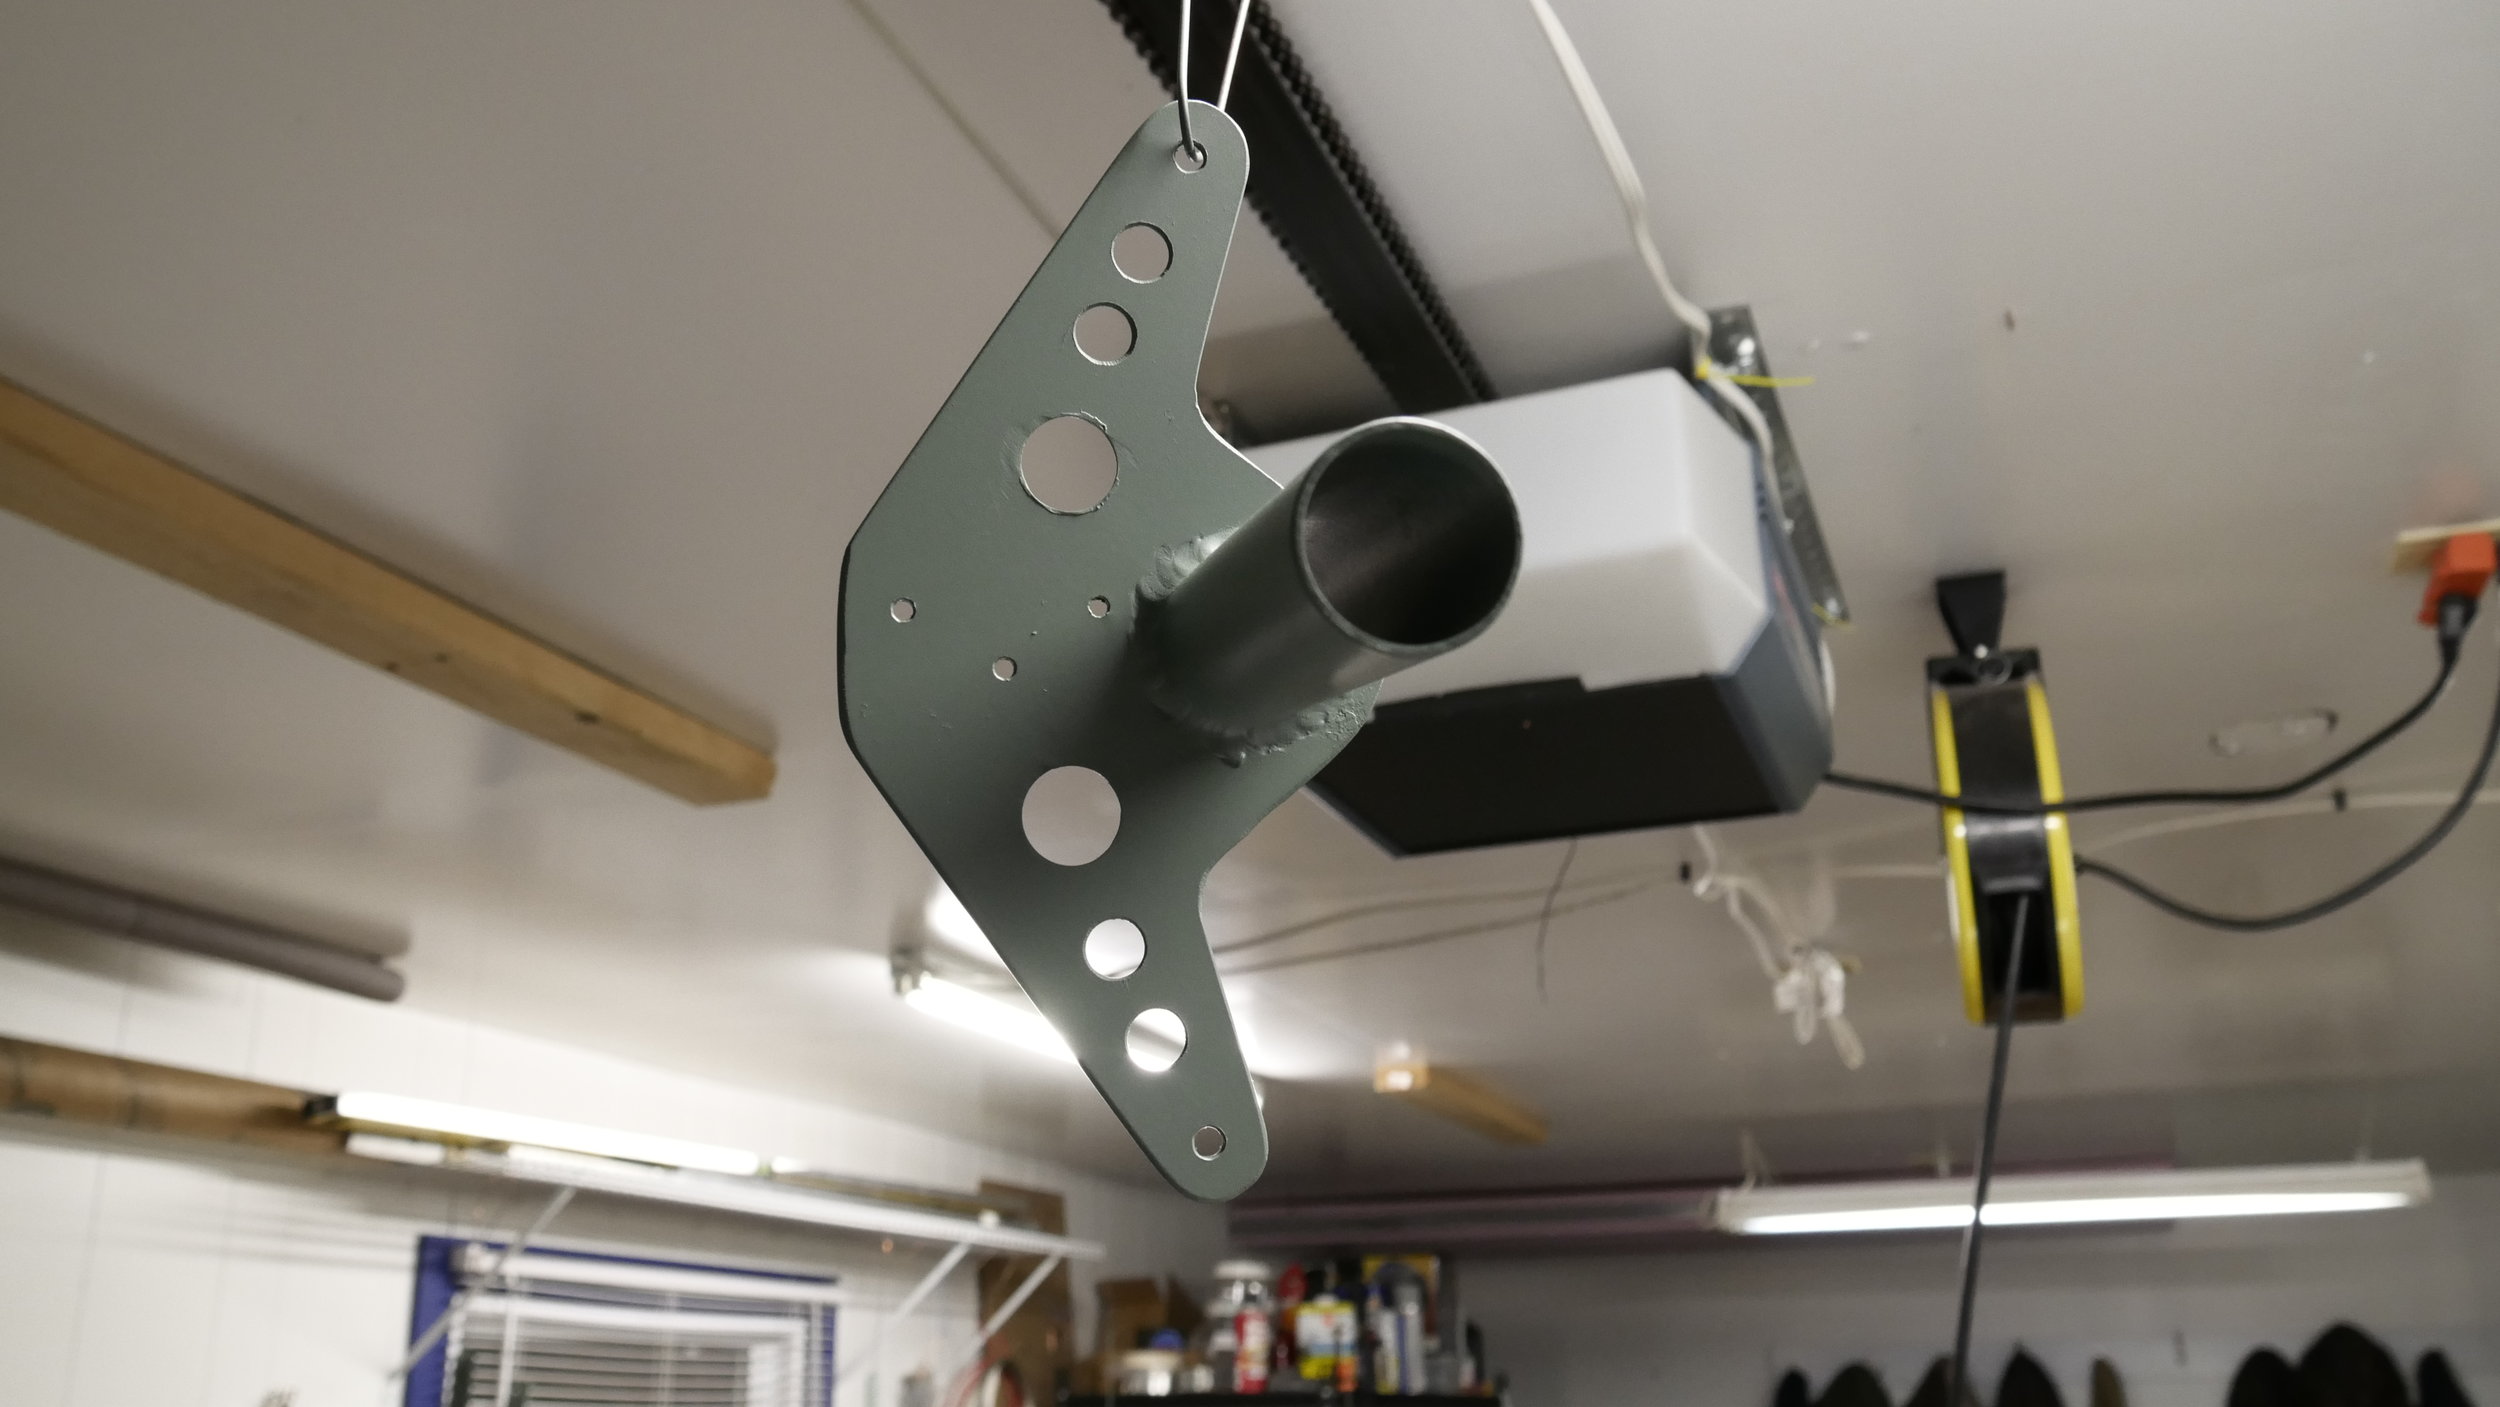
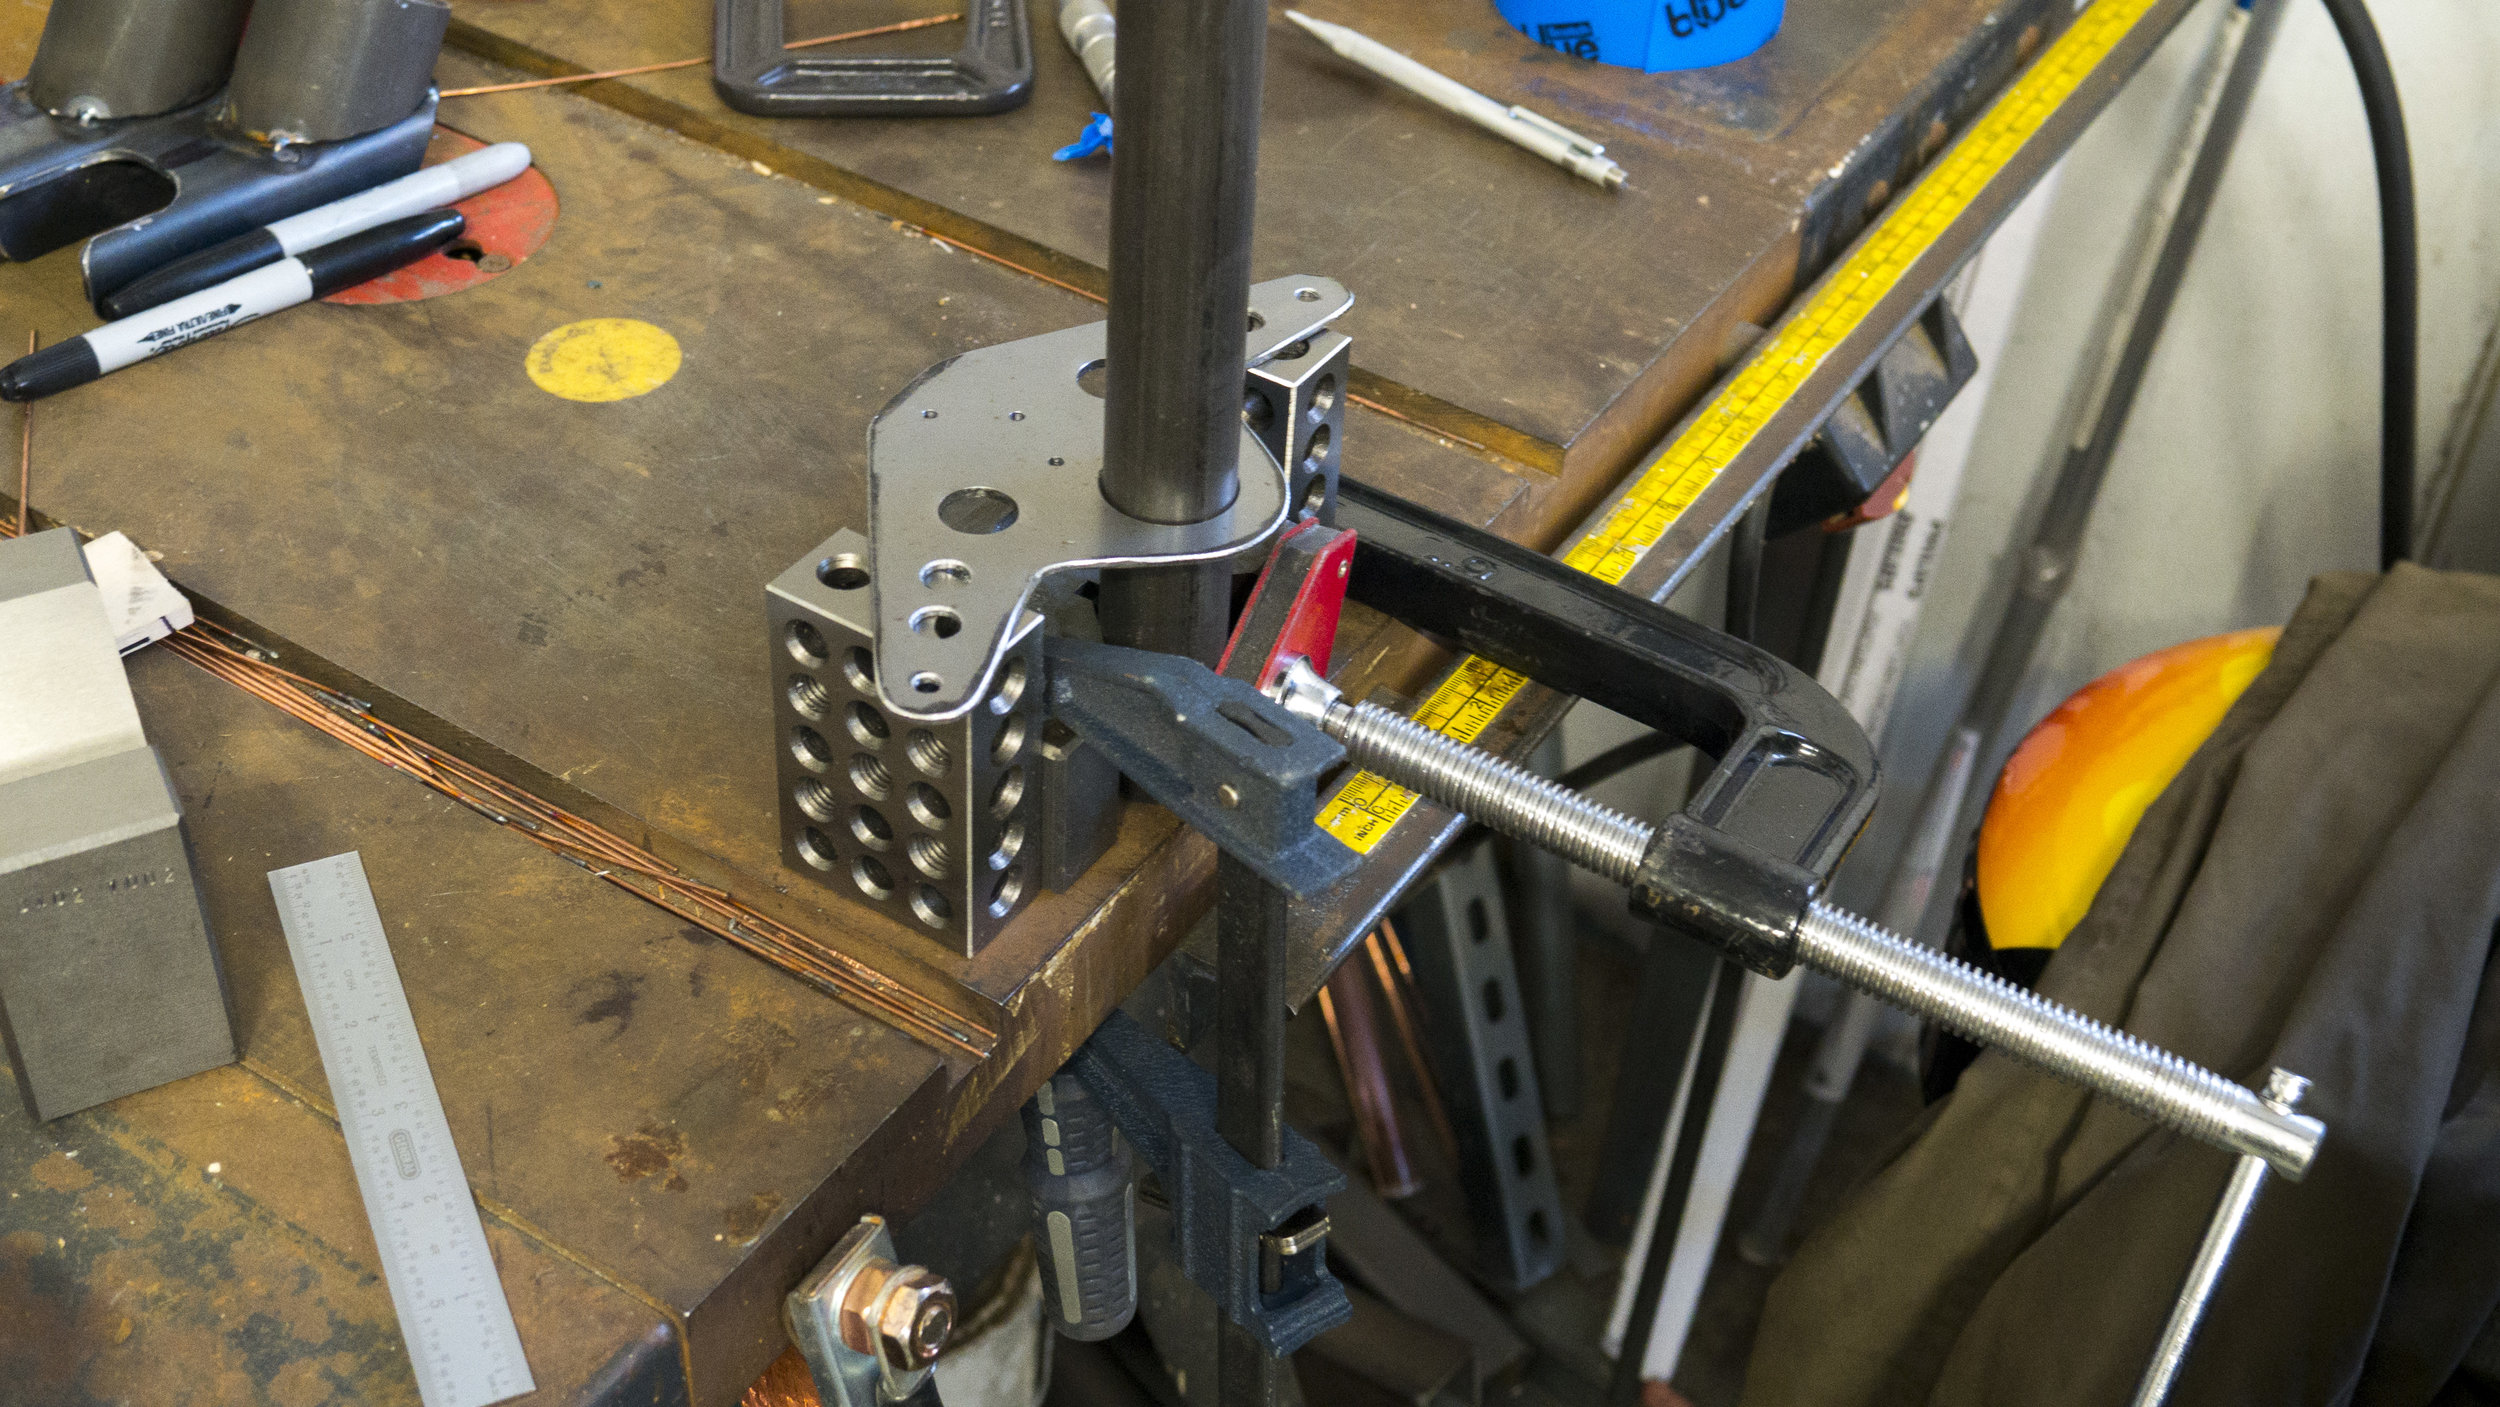
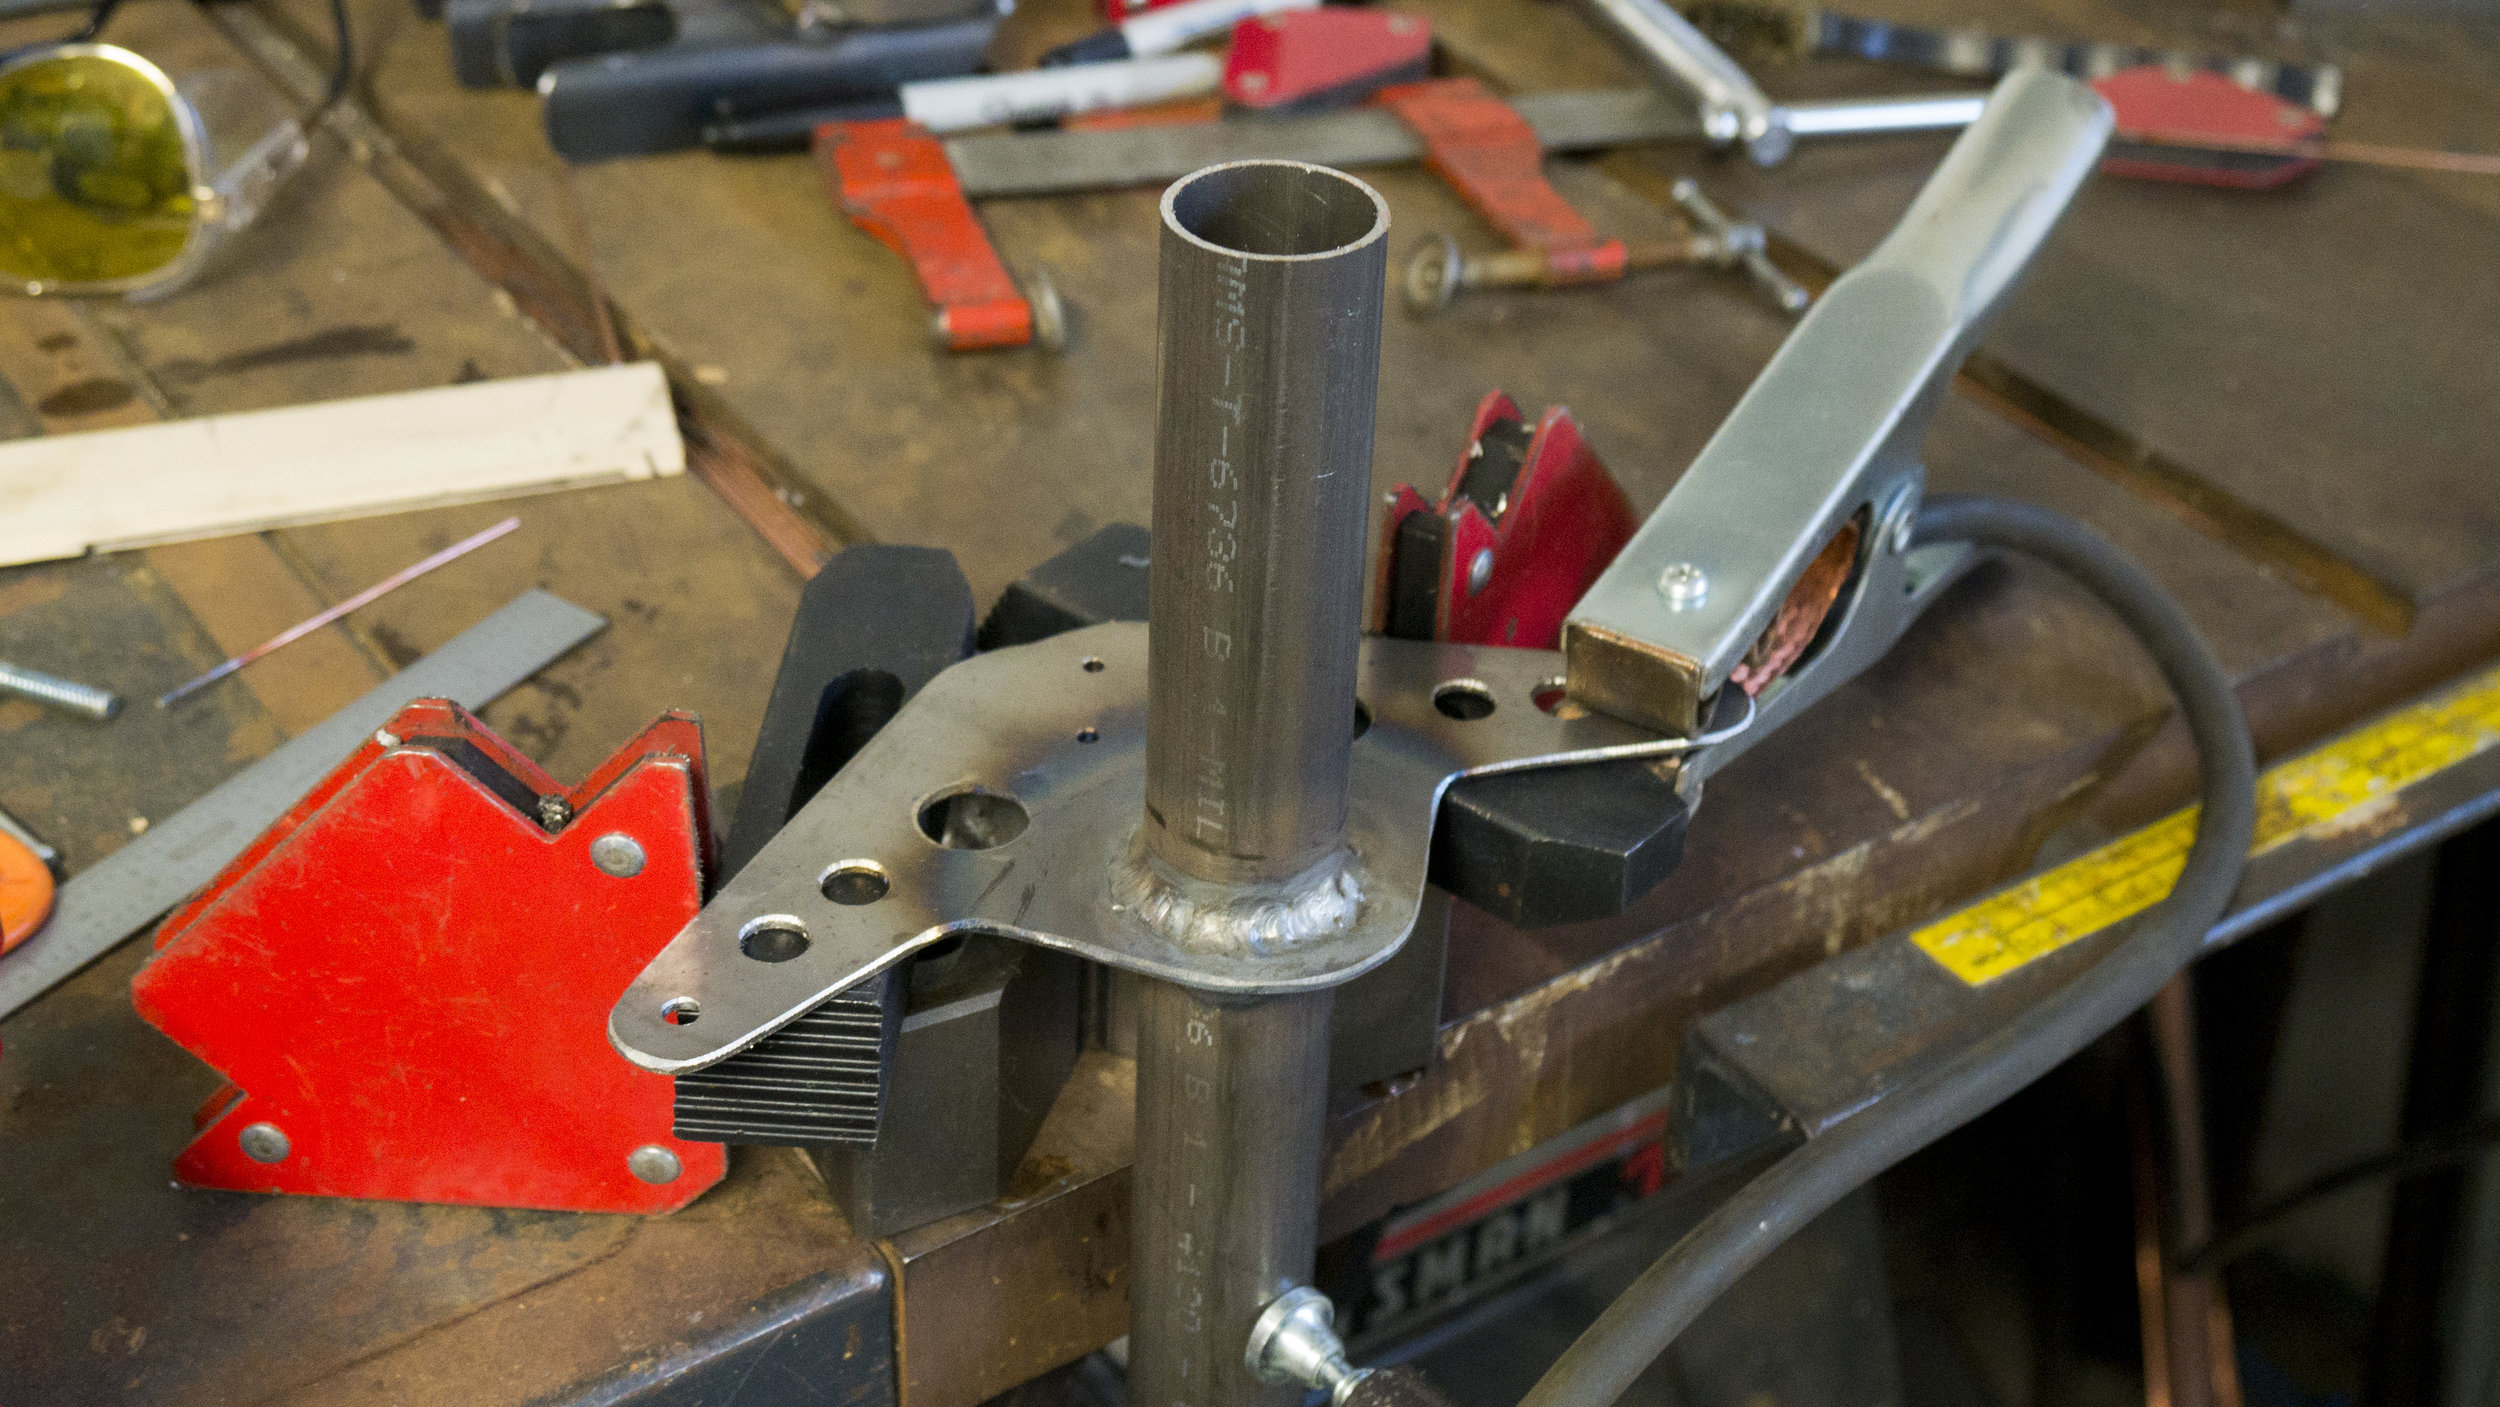
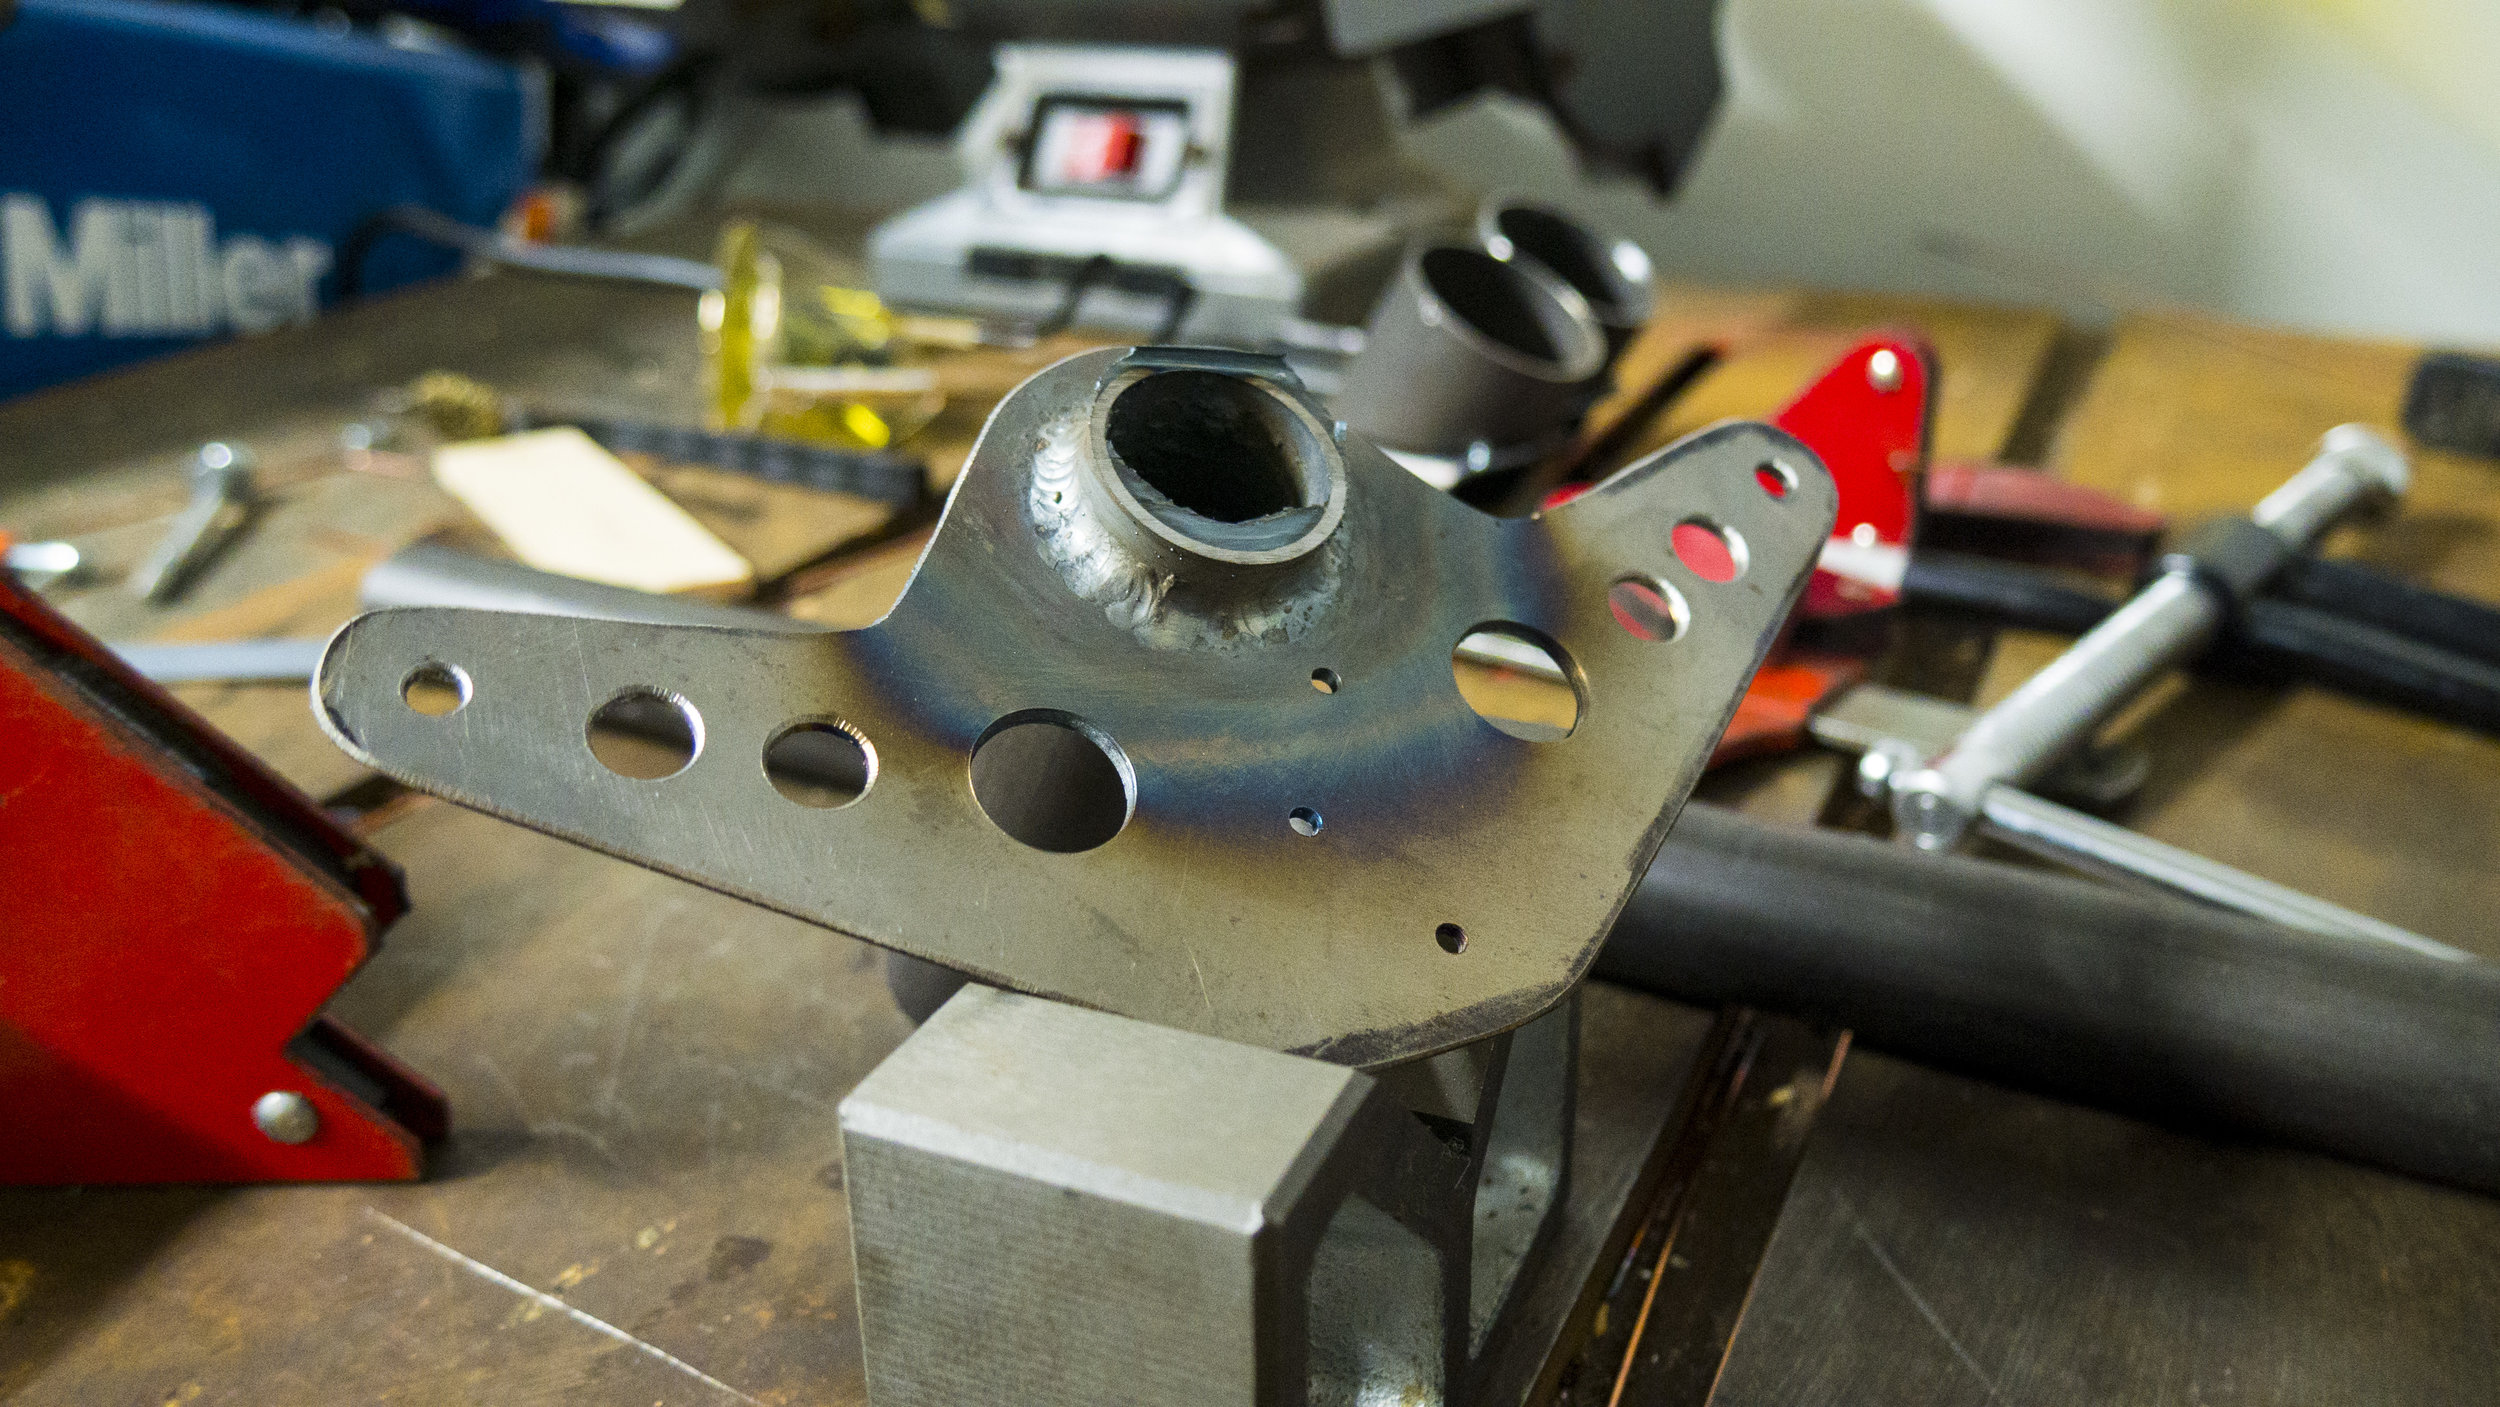
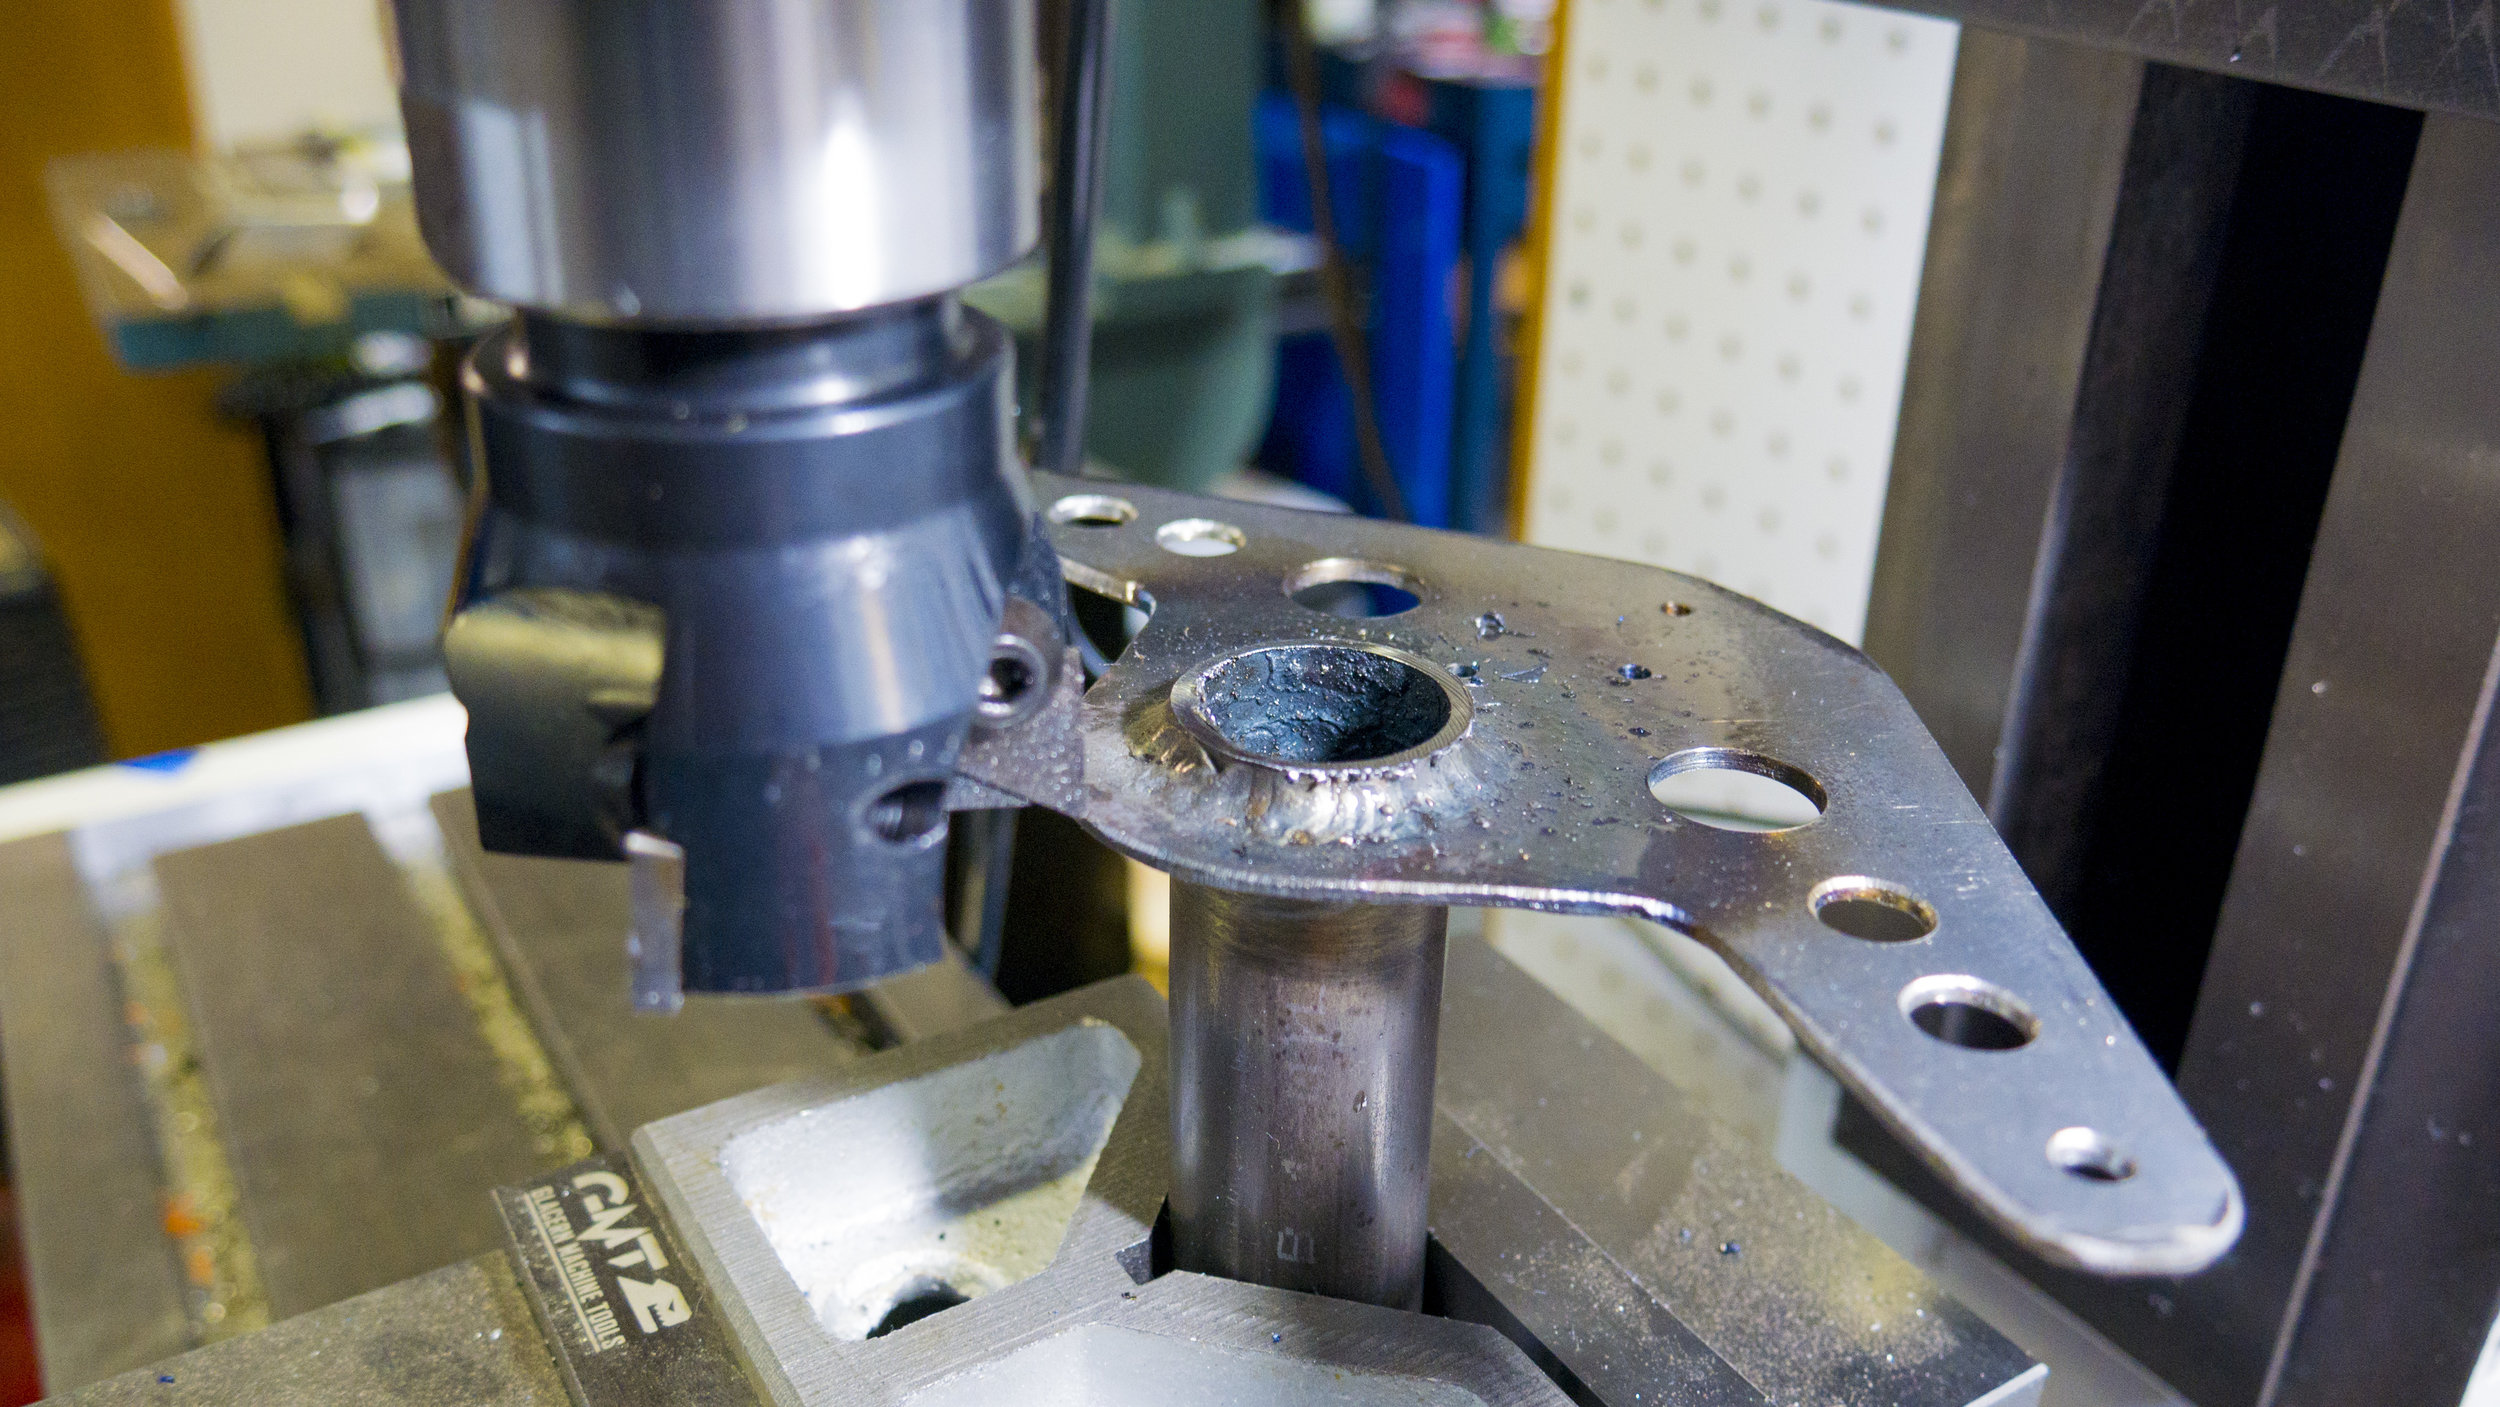
Next up is the rudder build! So far laying the groundwork. We made the rudder ribs already, need Scott to turn some bushings from delrin for the hinges, and I made the rudder horn from 4130 steel by way of hand tools and drill press. Our CNC router table can't really do steel, (Spindle spins too fast for the machine and the bits just burn up. Good way to let the smoke out) Even so, I just did it via the old school method in about an hour. With the trusty Miller, welded the horn to the torque tube adapter with some fillet welds all around on both sides. Then on a critical surface Scott used the mill to flycut the end down square and true. a little primer and she looks right proper! Now we are designing an assembly fixture for the rudder and will get you that shortly. Take a look at all the build pics, please let us know how we're doing, and have a great day!
