Rudder and Vertical Build
Hi all,
It's been a while since the last update, but we have been making progress in the meantime, and have a chance to show what's been going on with the Hellcat. The following post will show the builds for the Vertical and Rudder. With these parts finished, we have built one complete empennage worth of parts, however you may recall that our Horizontal was built as a test-load sample and we will eventually build a 'real' one. Up next for the project is going to be another test article, for the tailboom portion of the fuselage frame, and that will be going together this week and weekend. So, without further elaborations:
Rudder:
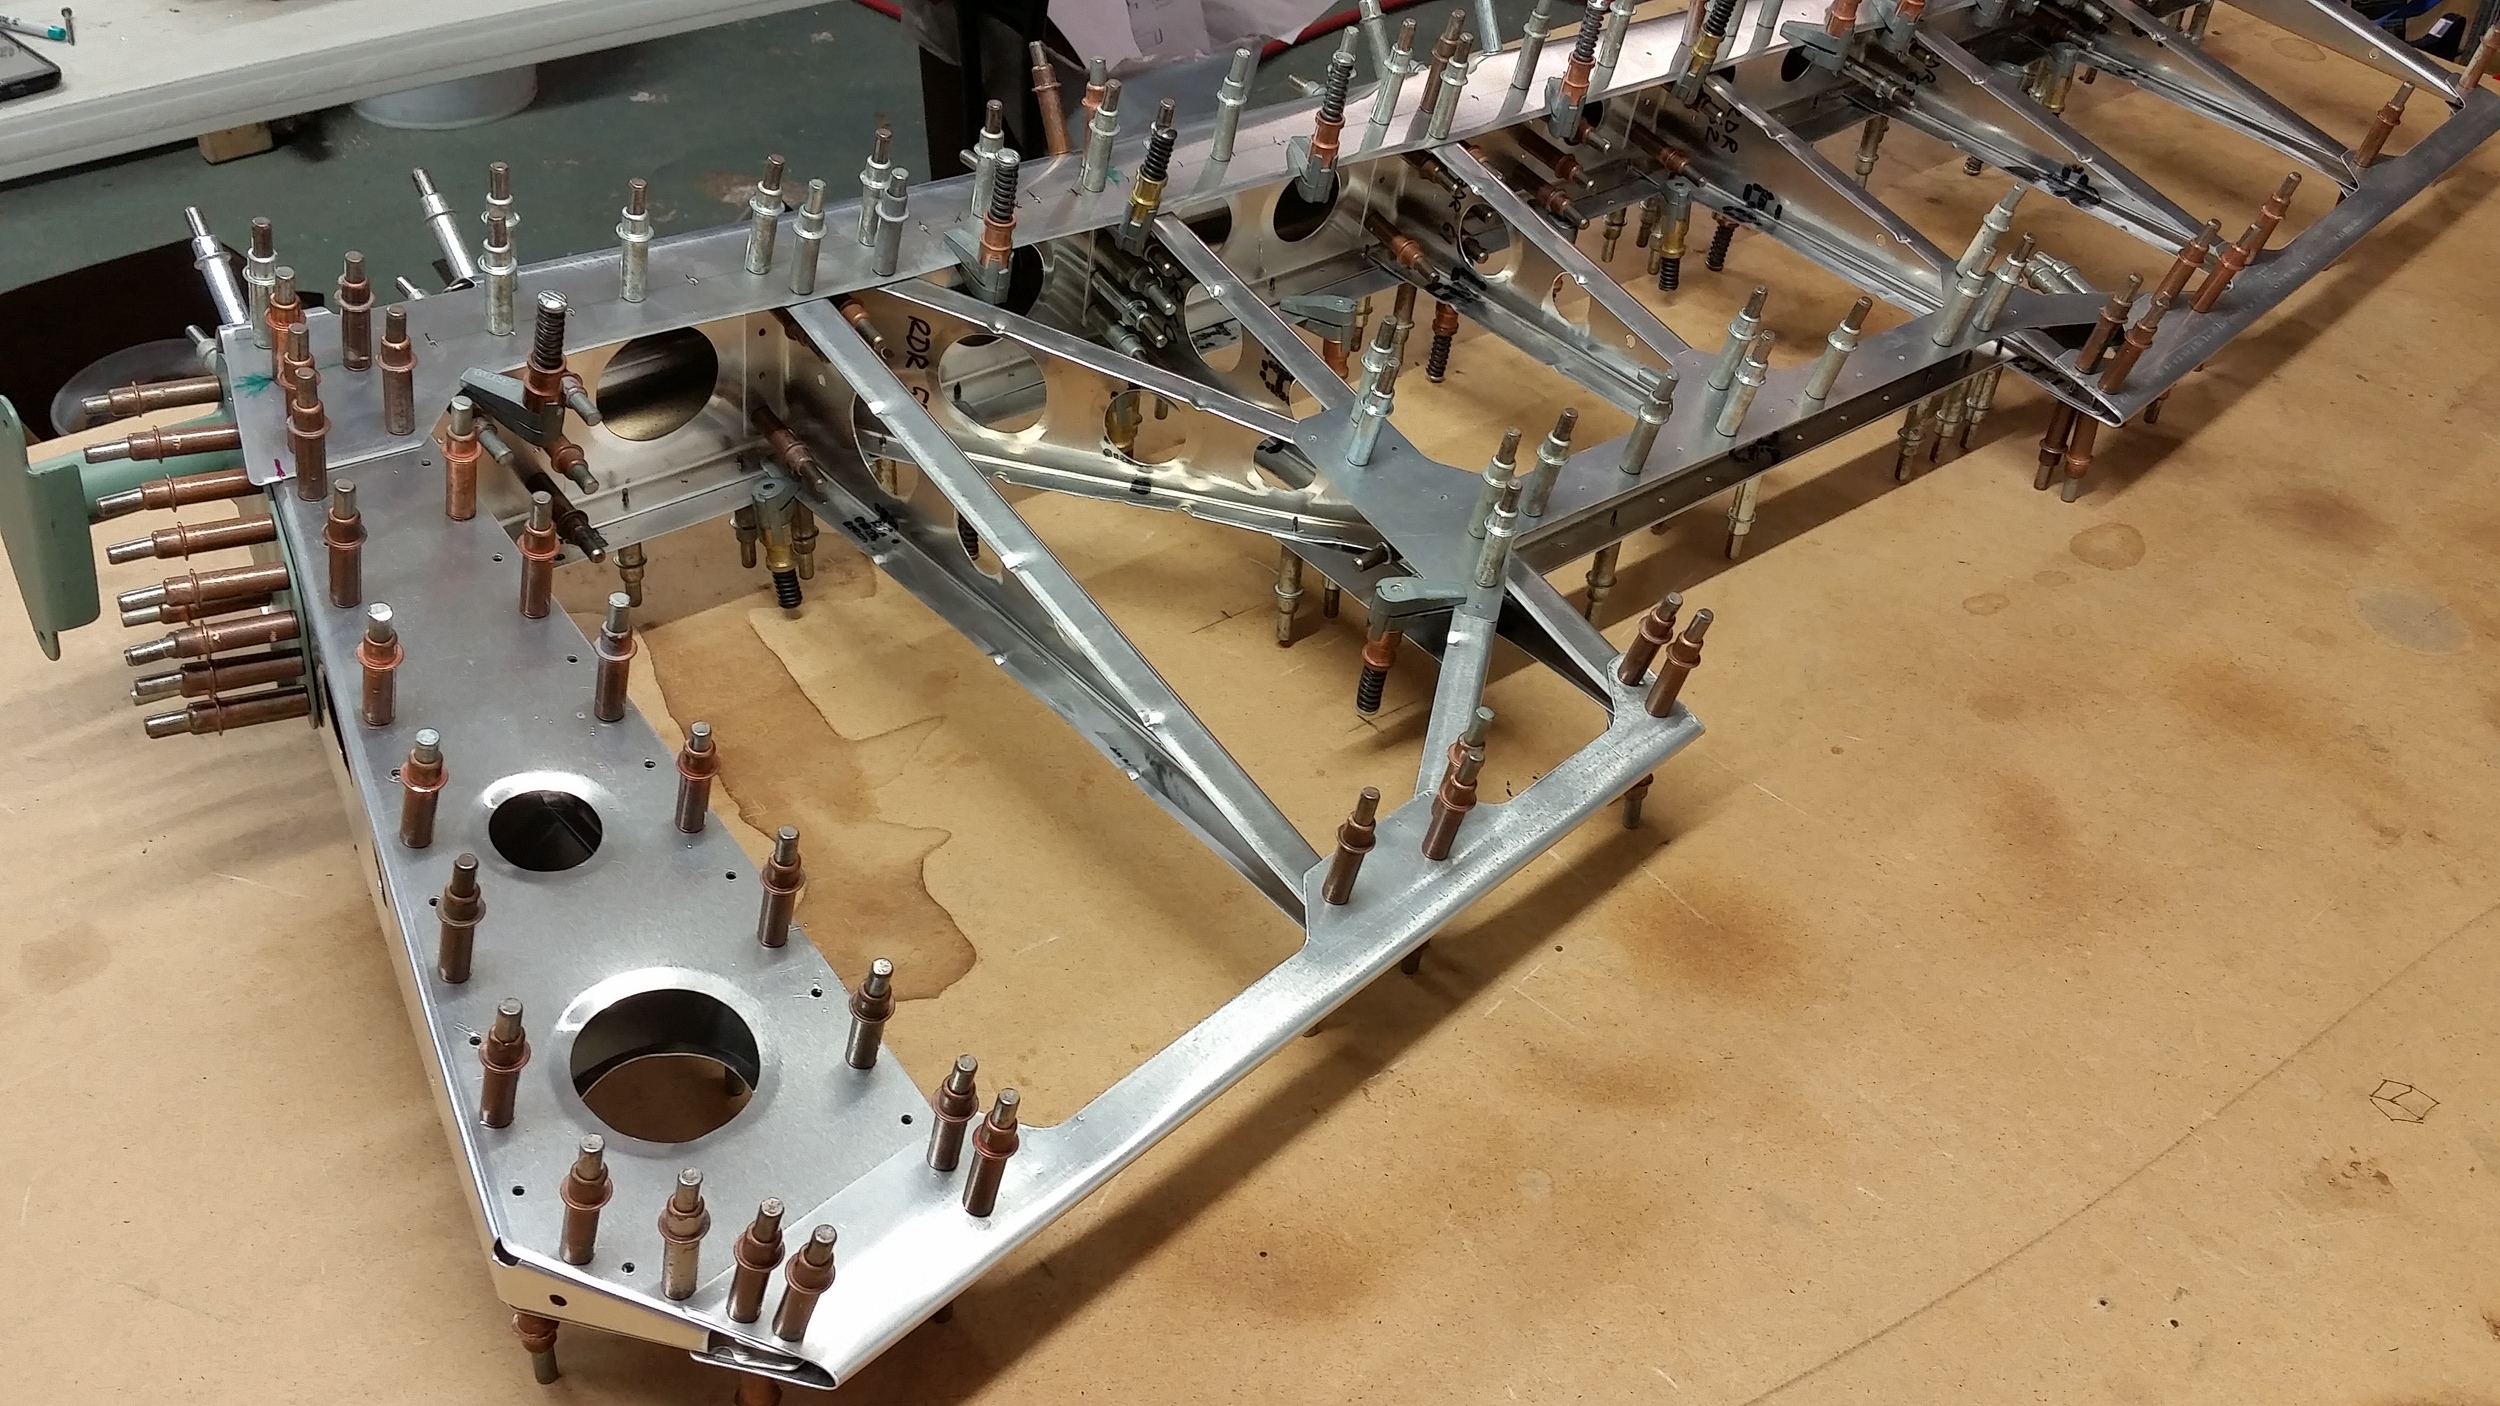
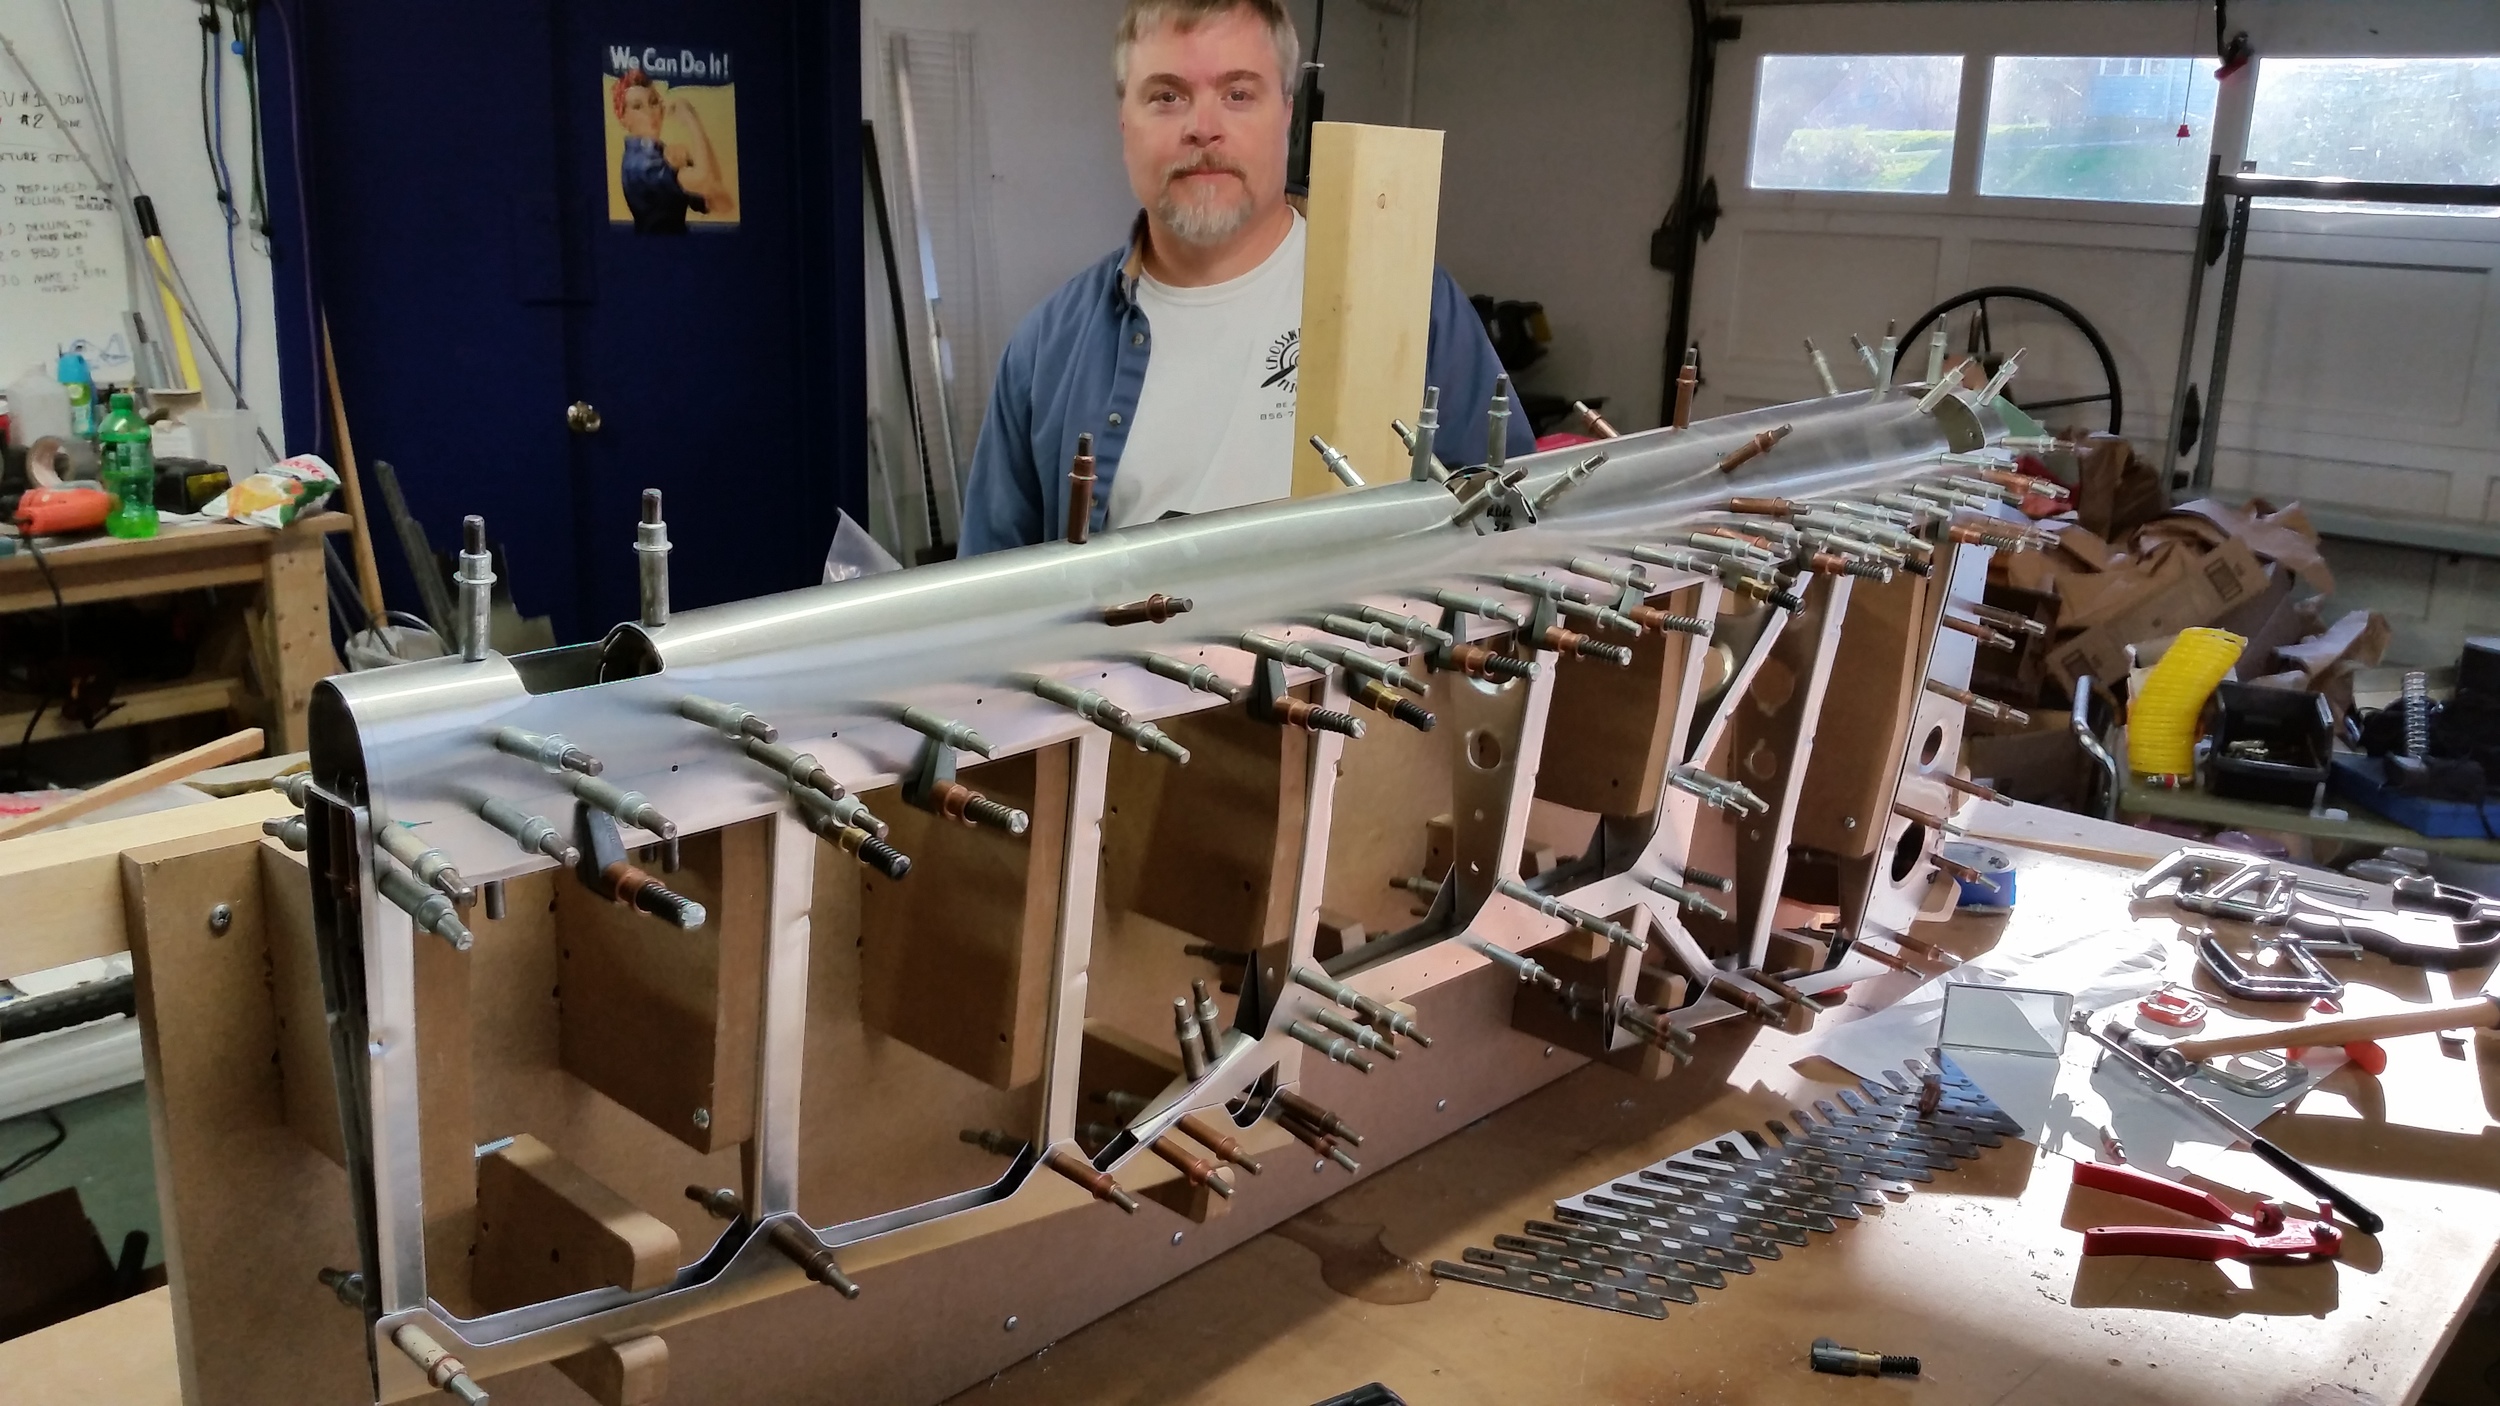
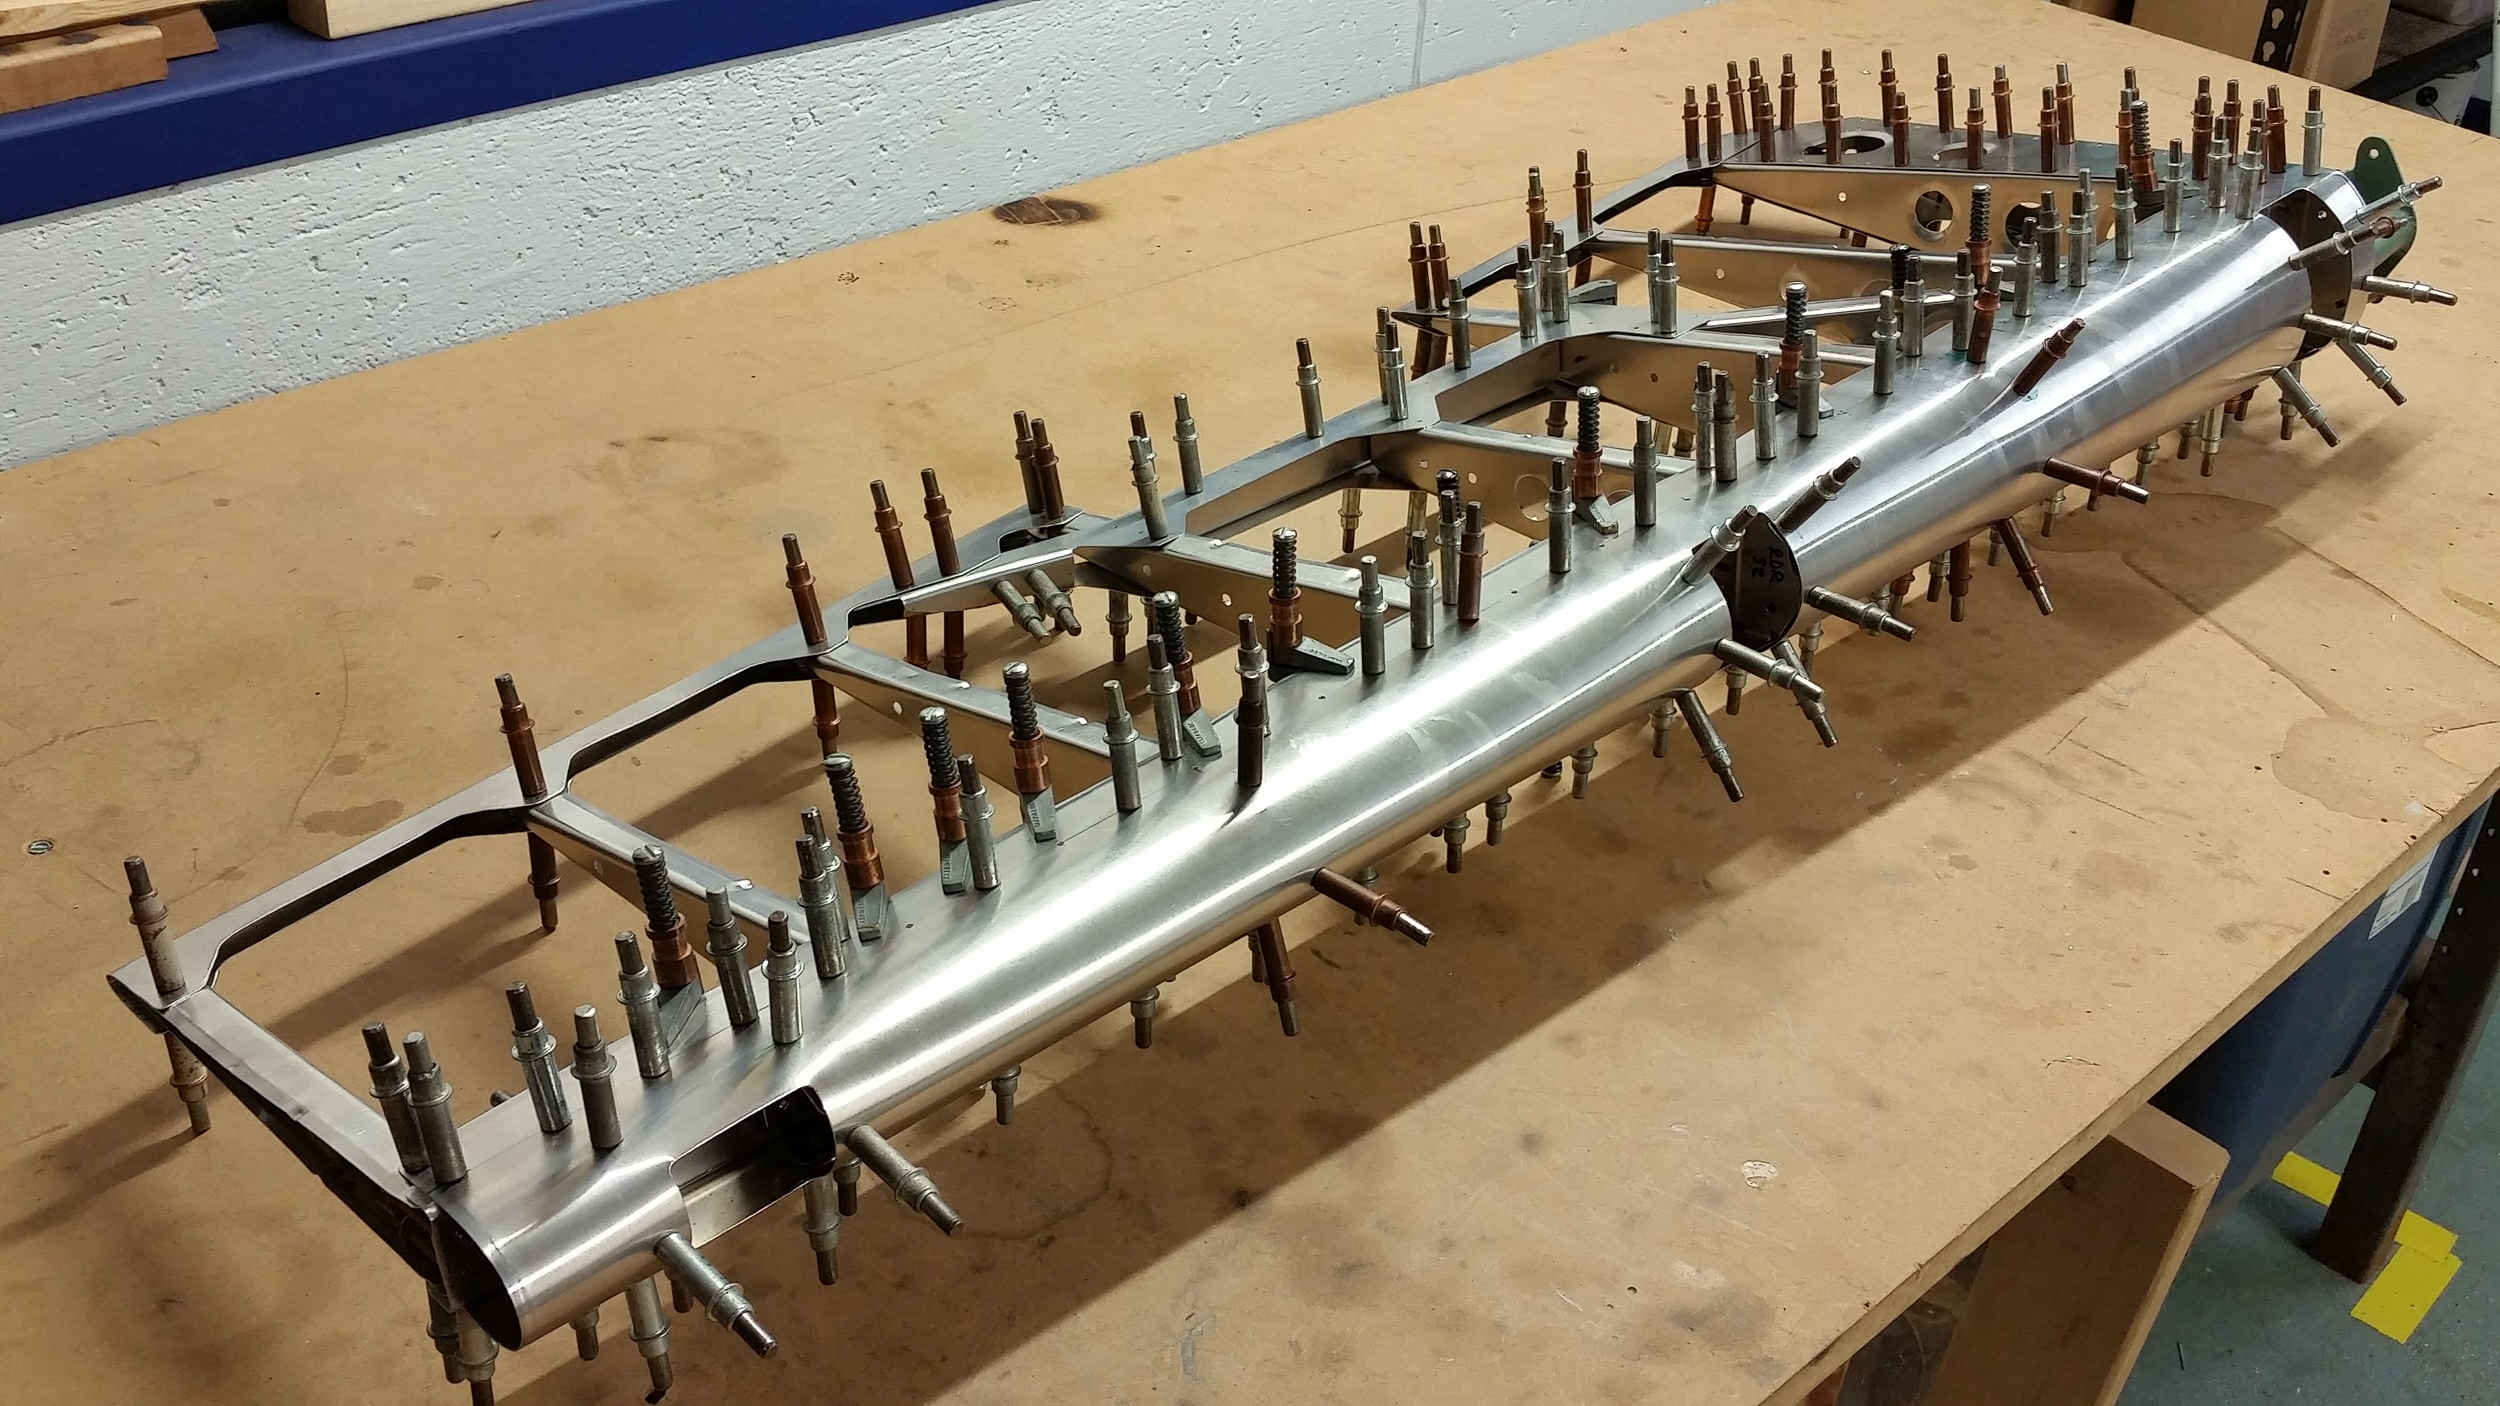
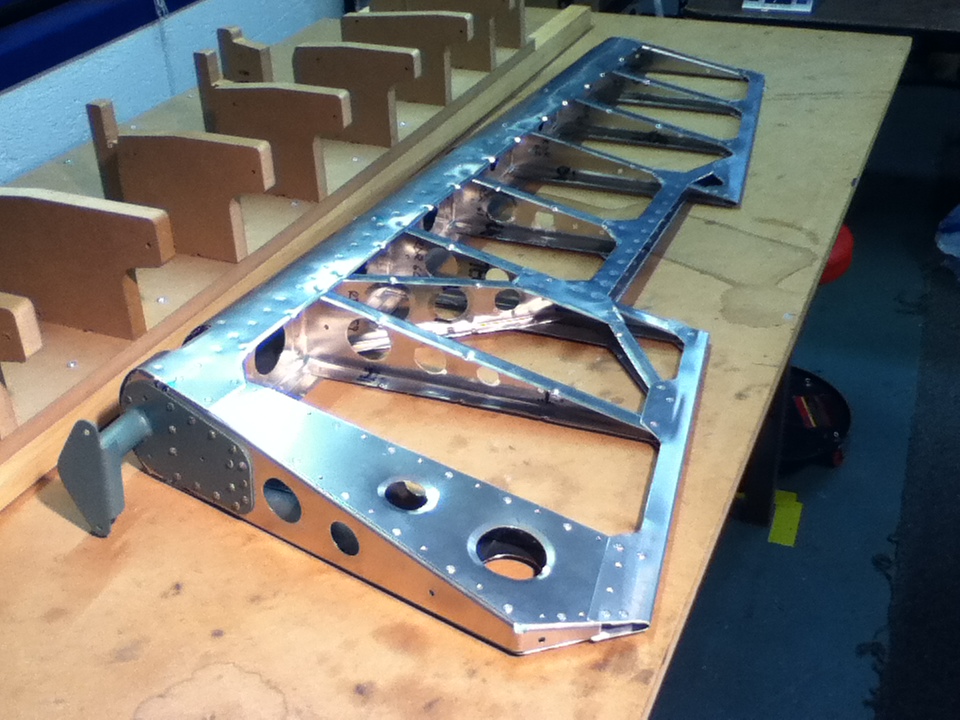
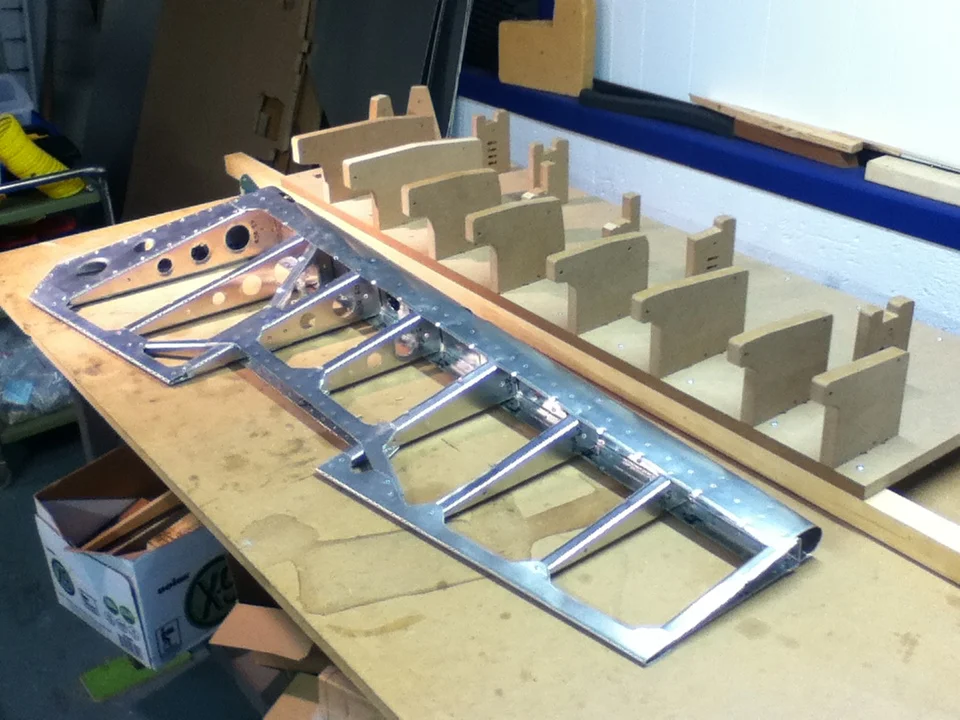
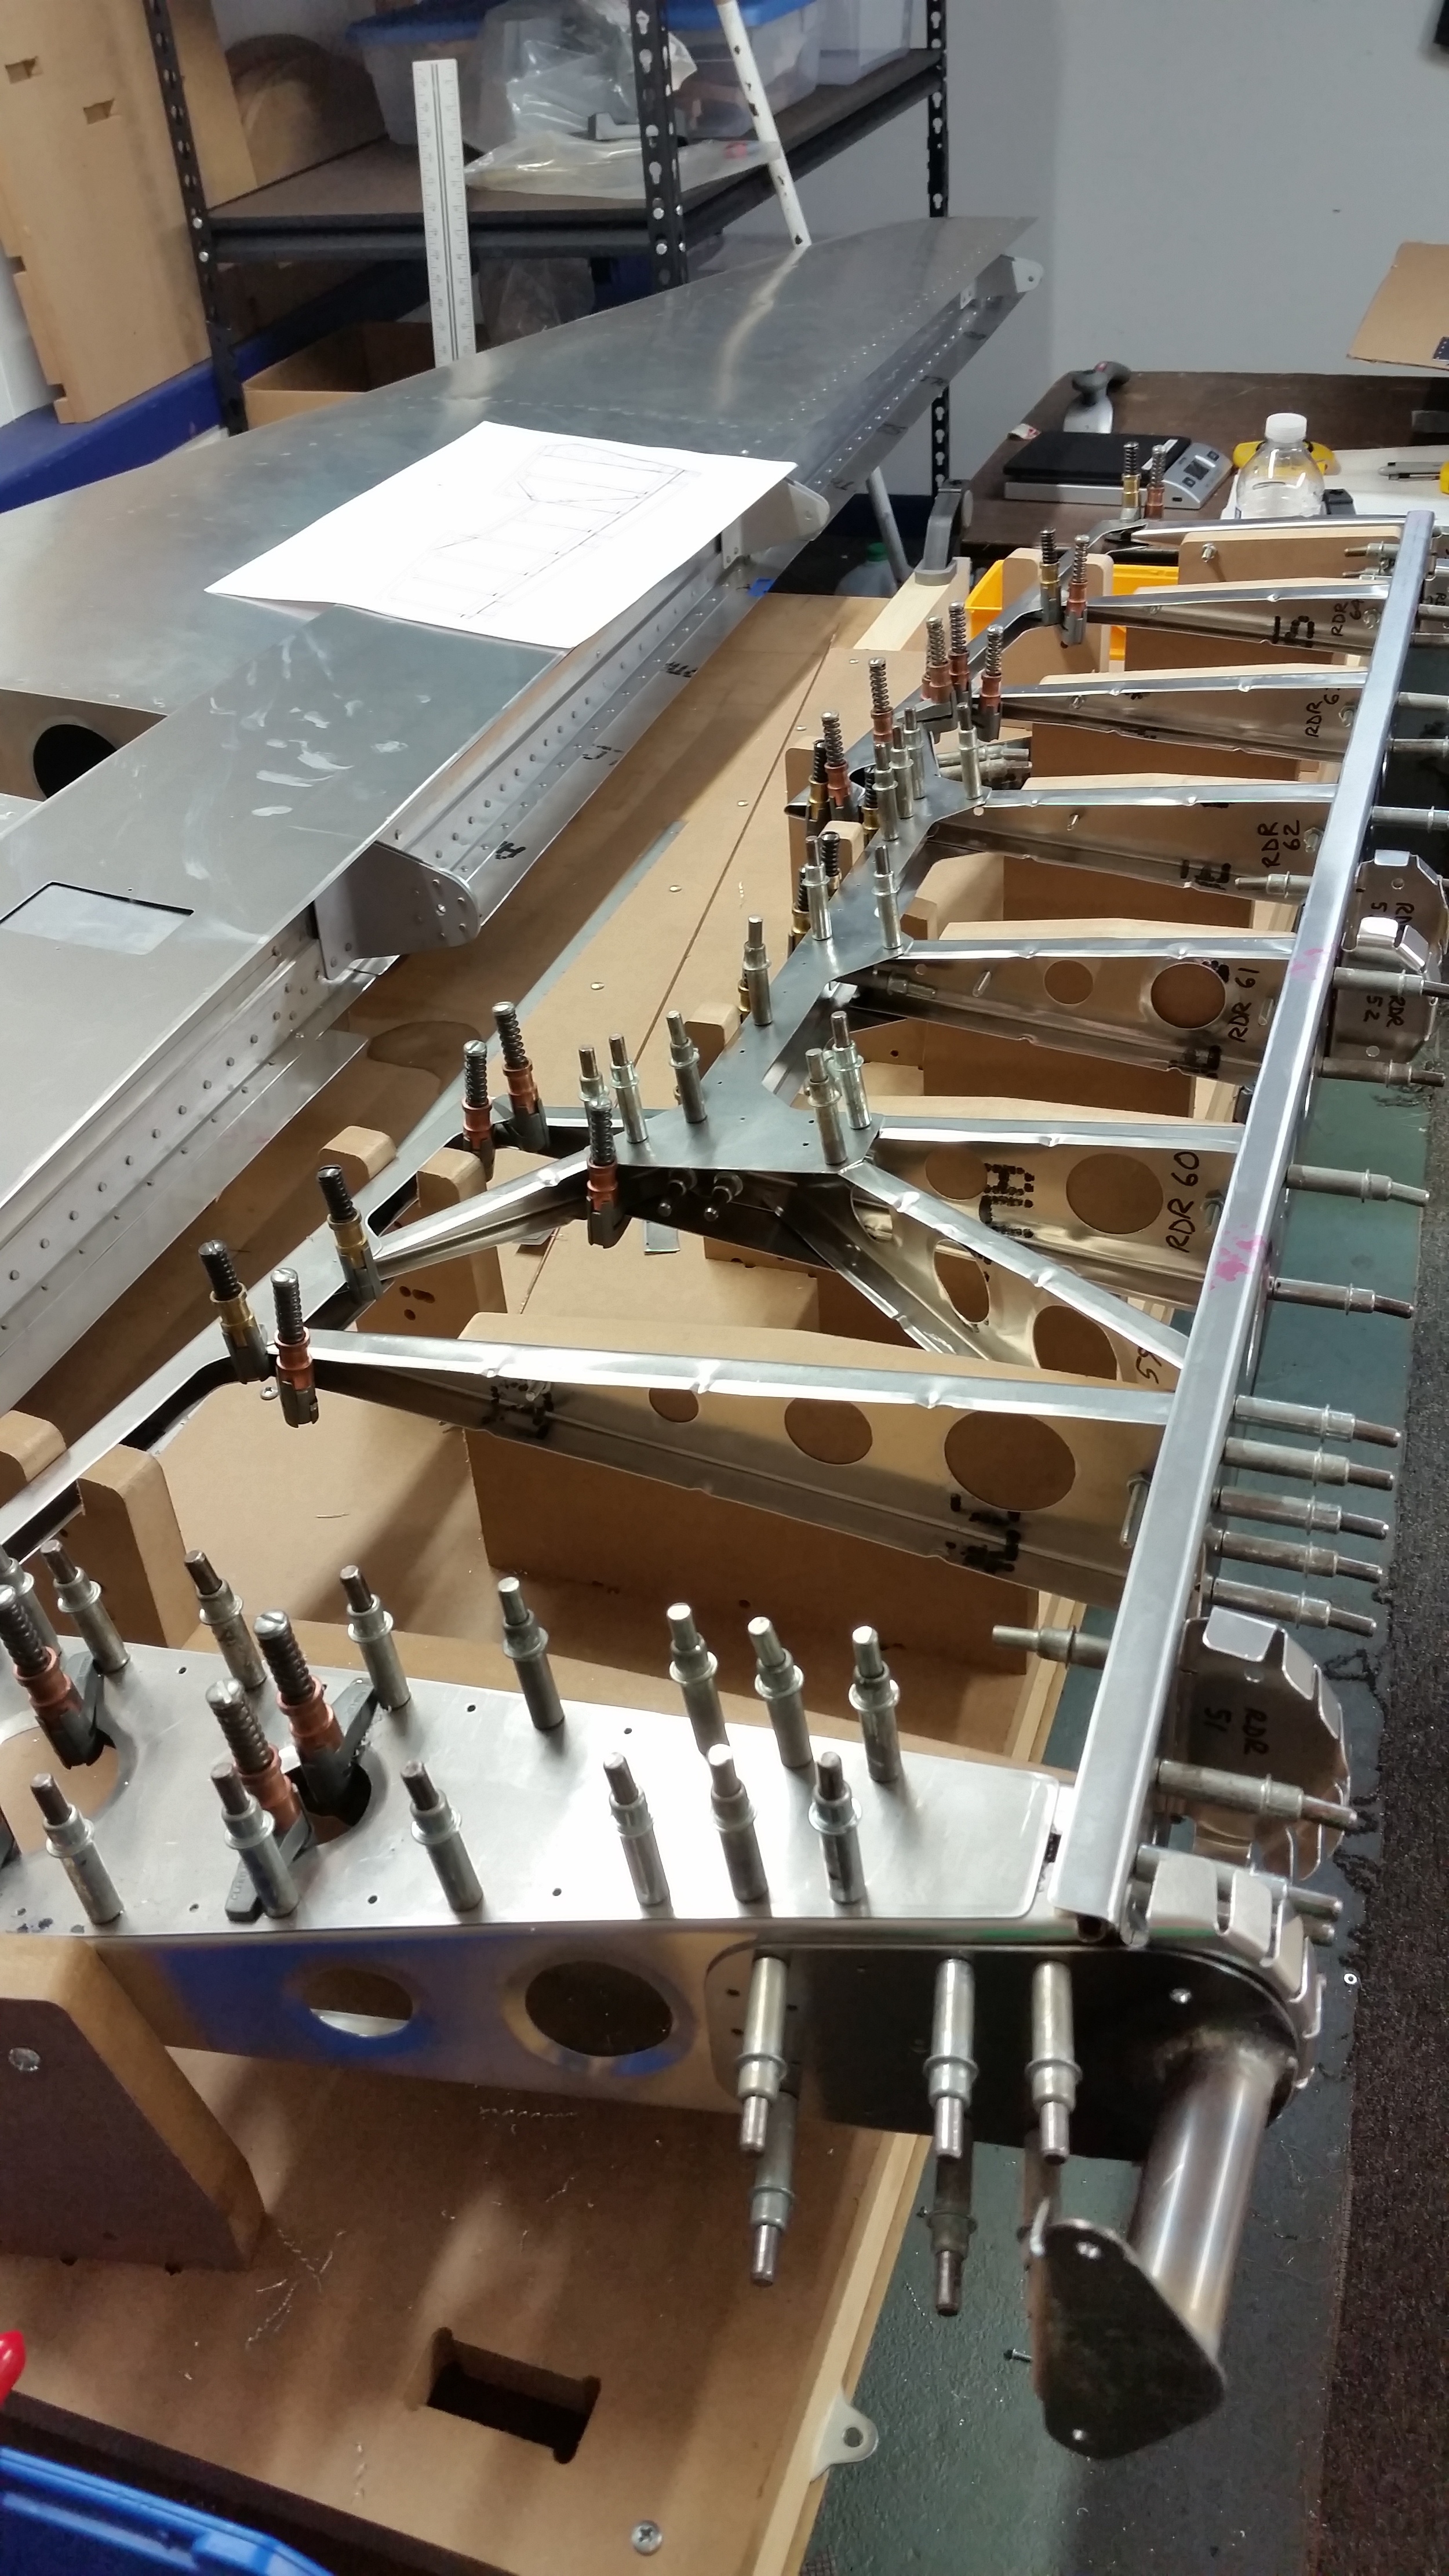
After the elevators were built, we went right into the rudder build. It was very similar in construction to what we’d just finished, as you can see, but being smaller and having slightly different features meant that we had enough novel challenges to make it interesting. The fixture was created with lessons learned from the elevator jig; so it was higher above the bench surface and allowed better riveting access to the lower spar flange. The leading edge skin was pretty difficult to bend compared to even the elevator skins. The airfoil section is completely different at the tip compared to the wide lower ribs, it’s not just a taper but a change from a single long ellipse to a two wide ellipses. Without having a dedicated mandrel, it required three separate bends to get the part correct. The ribs were fairly easy but flanging the lightening holes with a roller-tool is tedious and imperfect. It would be great to have a hydroforming capability but for now it’s all by hand. A major change from the elevators was to reverse the direction of the spar flanges, the idea being we would buck the entire assembly using solid rivets; but found-out that it was almost impossible in a few areas, so we bit the bullet (in pride and finances) to finish them off with Cherry Maxx rivets (@ 0.32 cents a “pop”).
No matter, it's strong and will look good covered, and that's what's important.
Vertical:
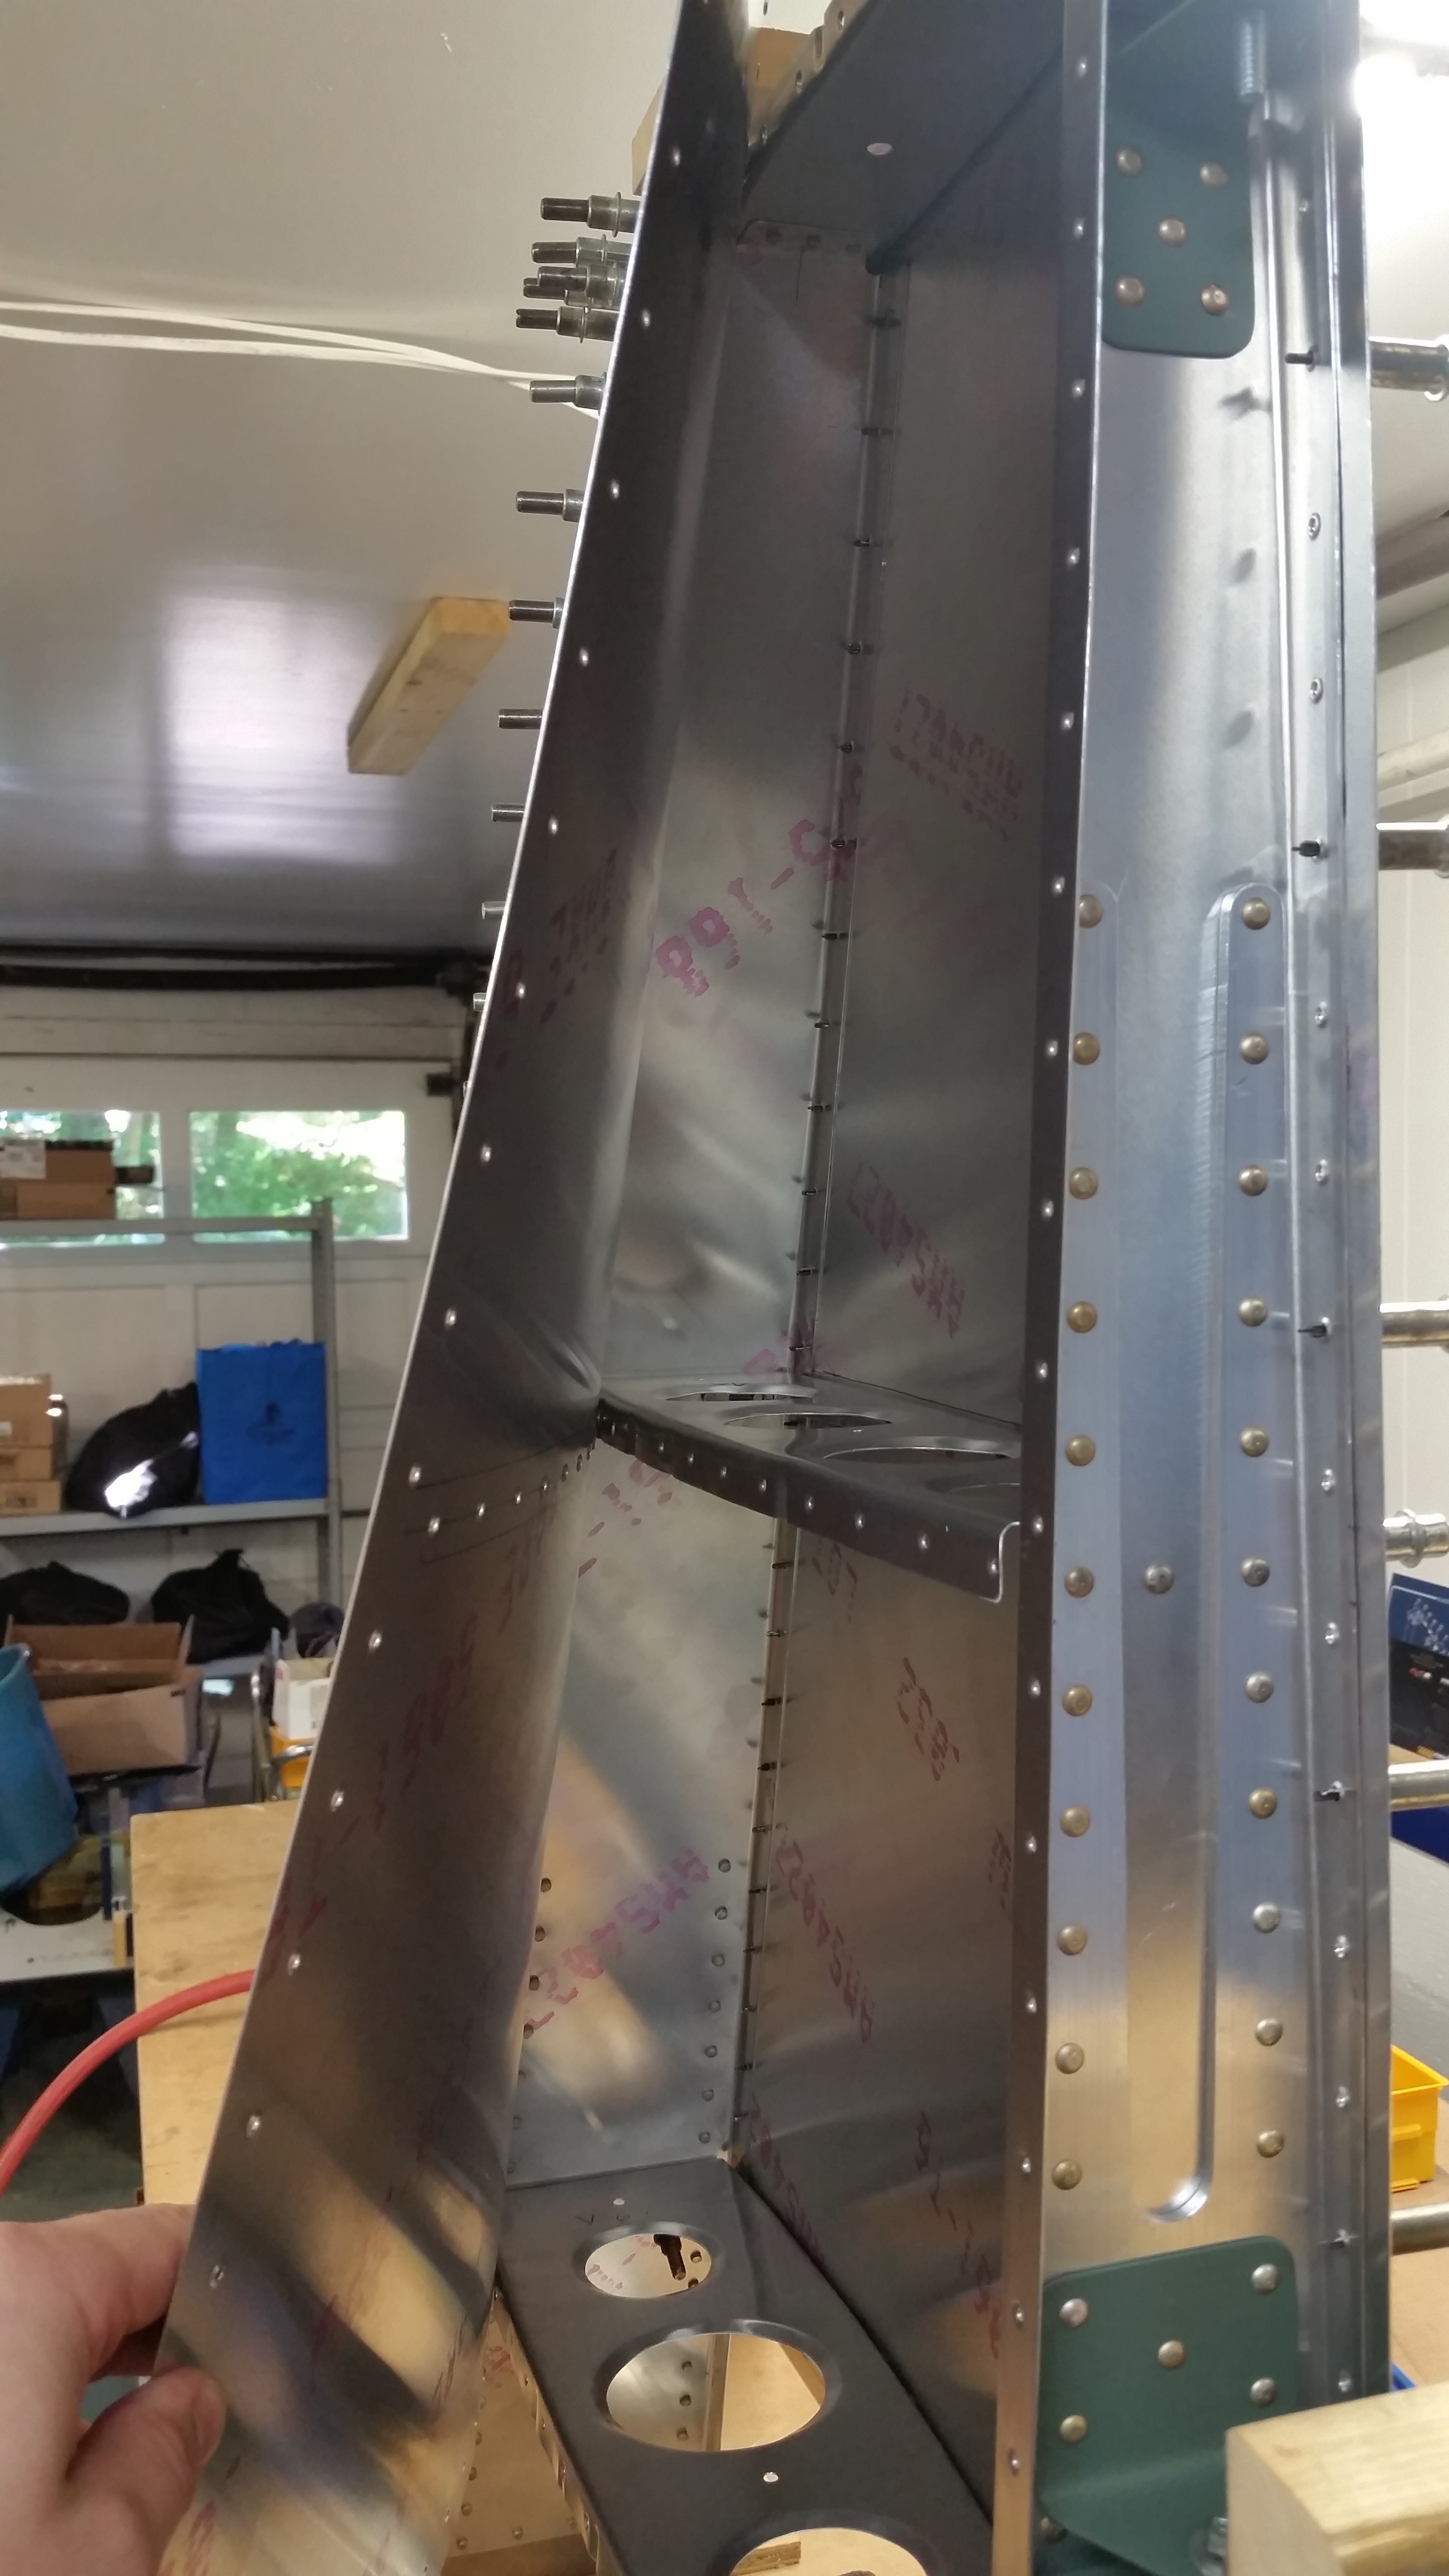
The all-metal vertical build was completely different from the fabric covered tail surfaces. This was very much like any other metal homebuilt in its construction, RV owners would almost be able to do it without looking at the instruction manual. With only a handful of parts, the vertical was an easy component to build and went fast in comparison to the control surfaces.
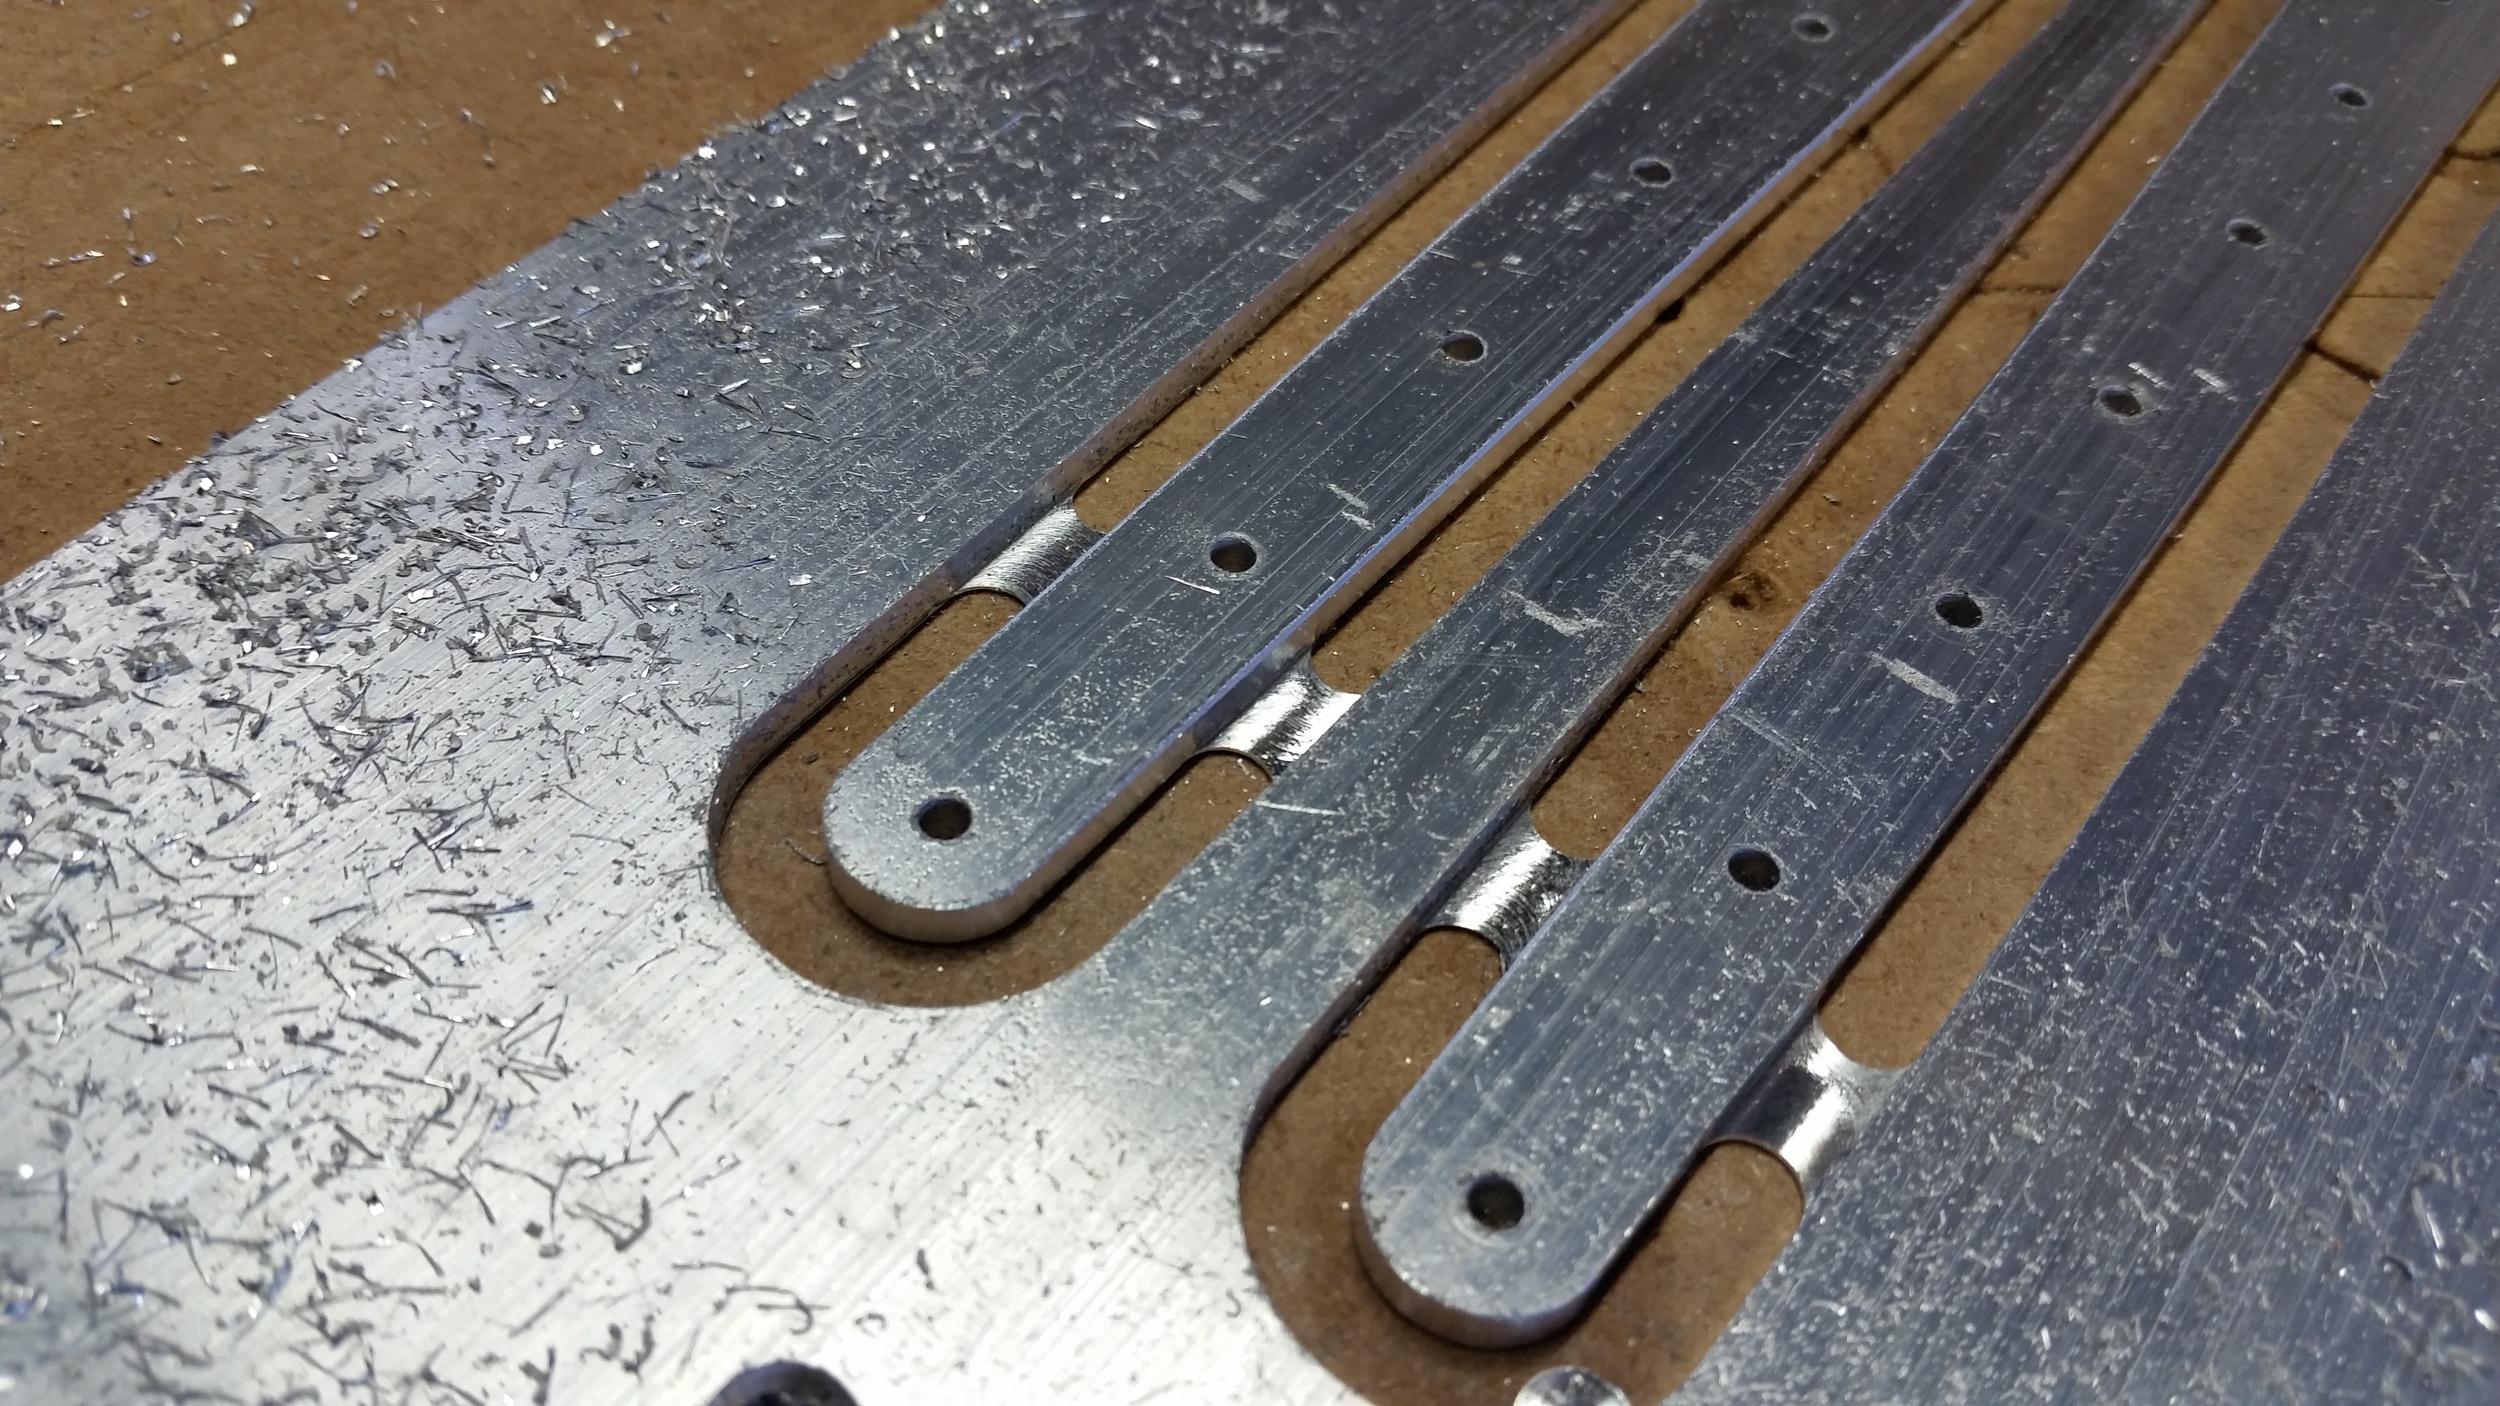
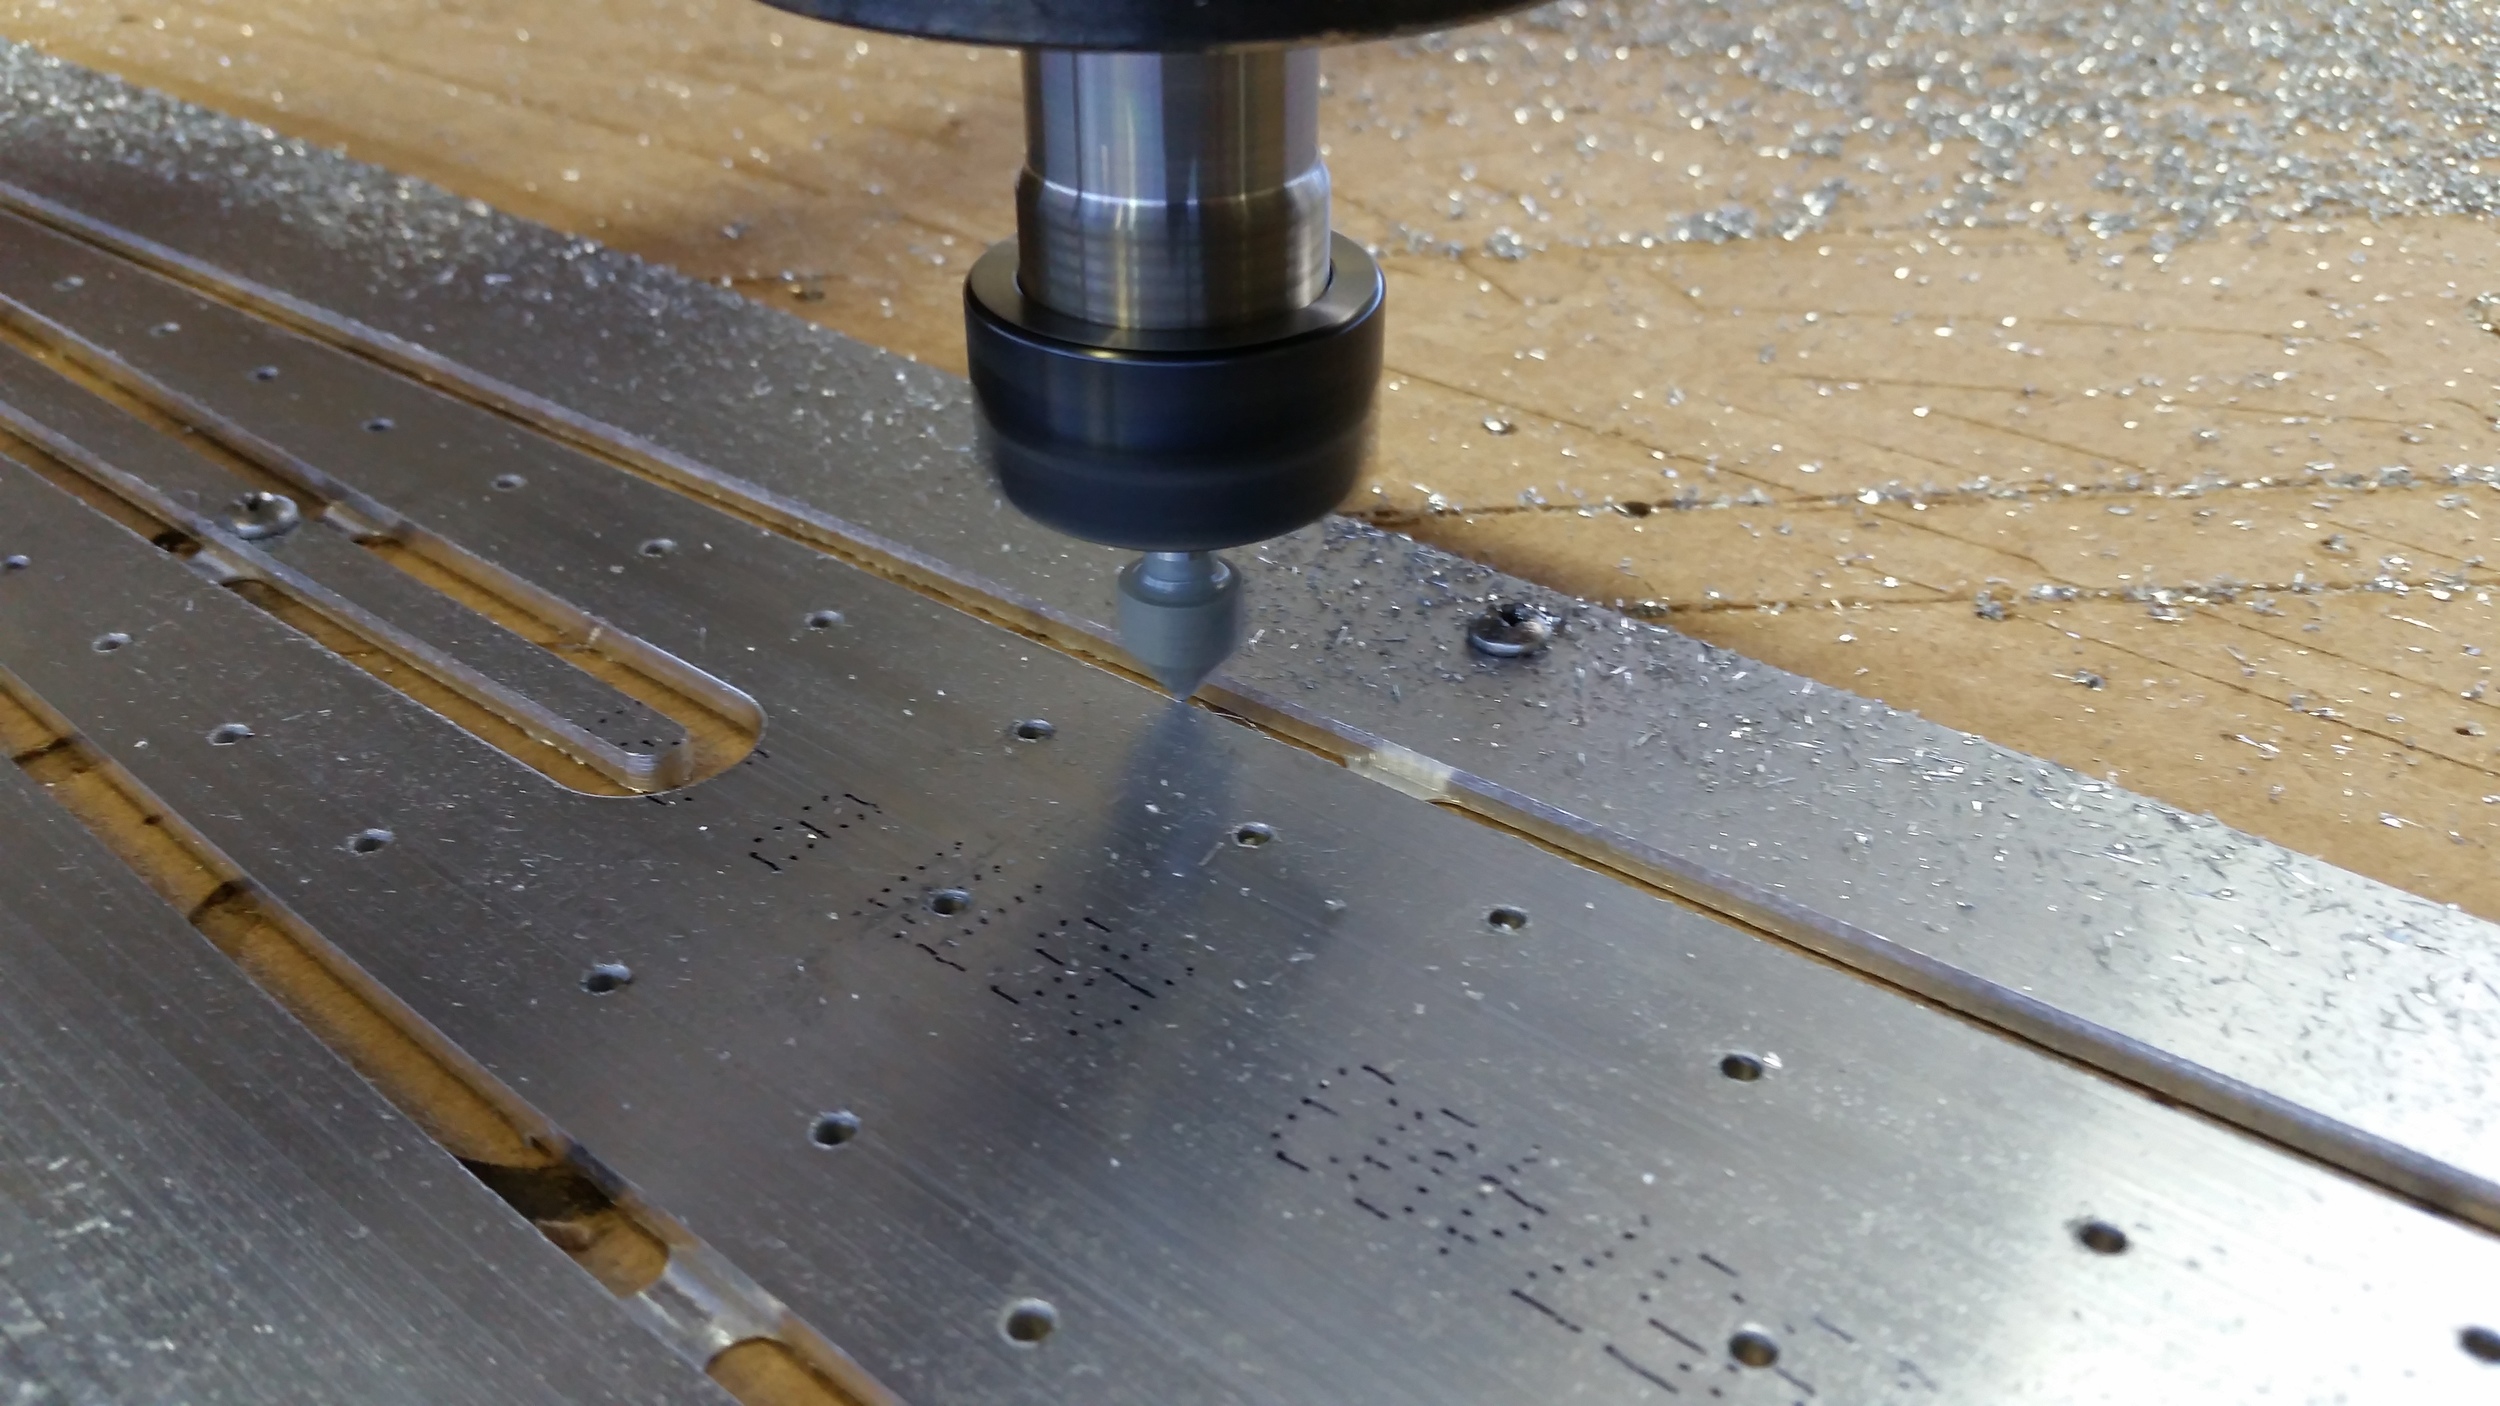
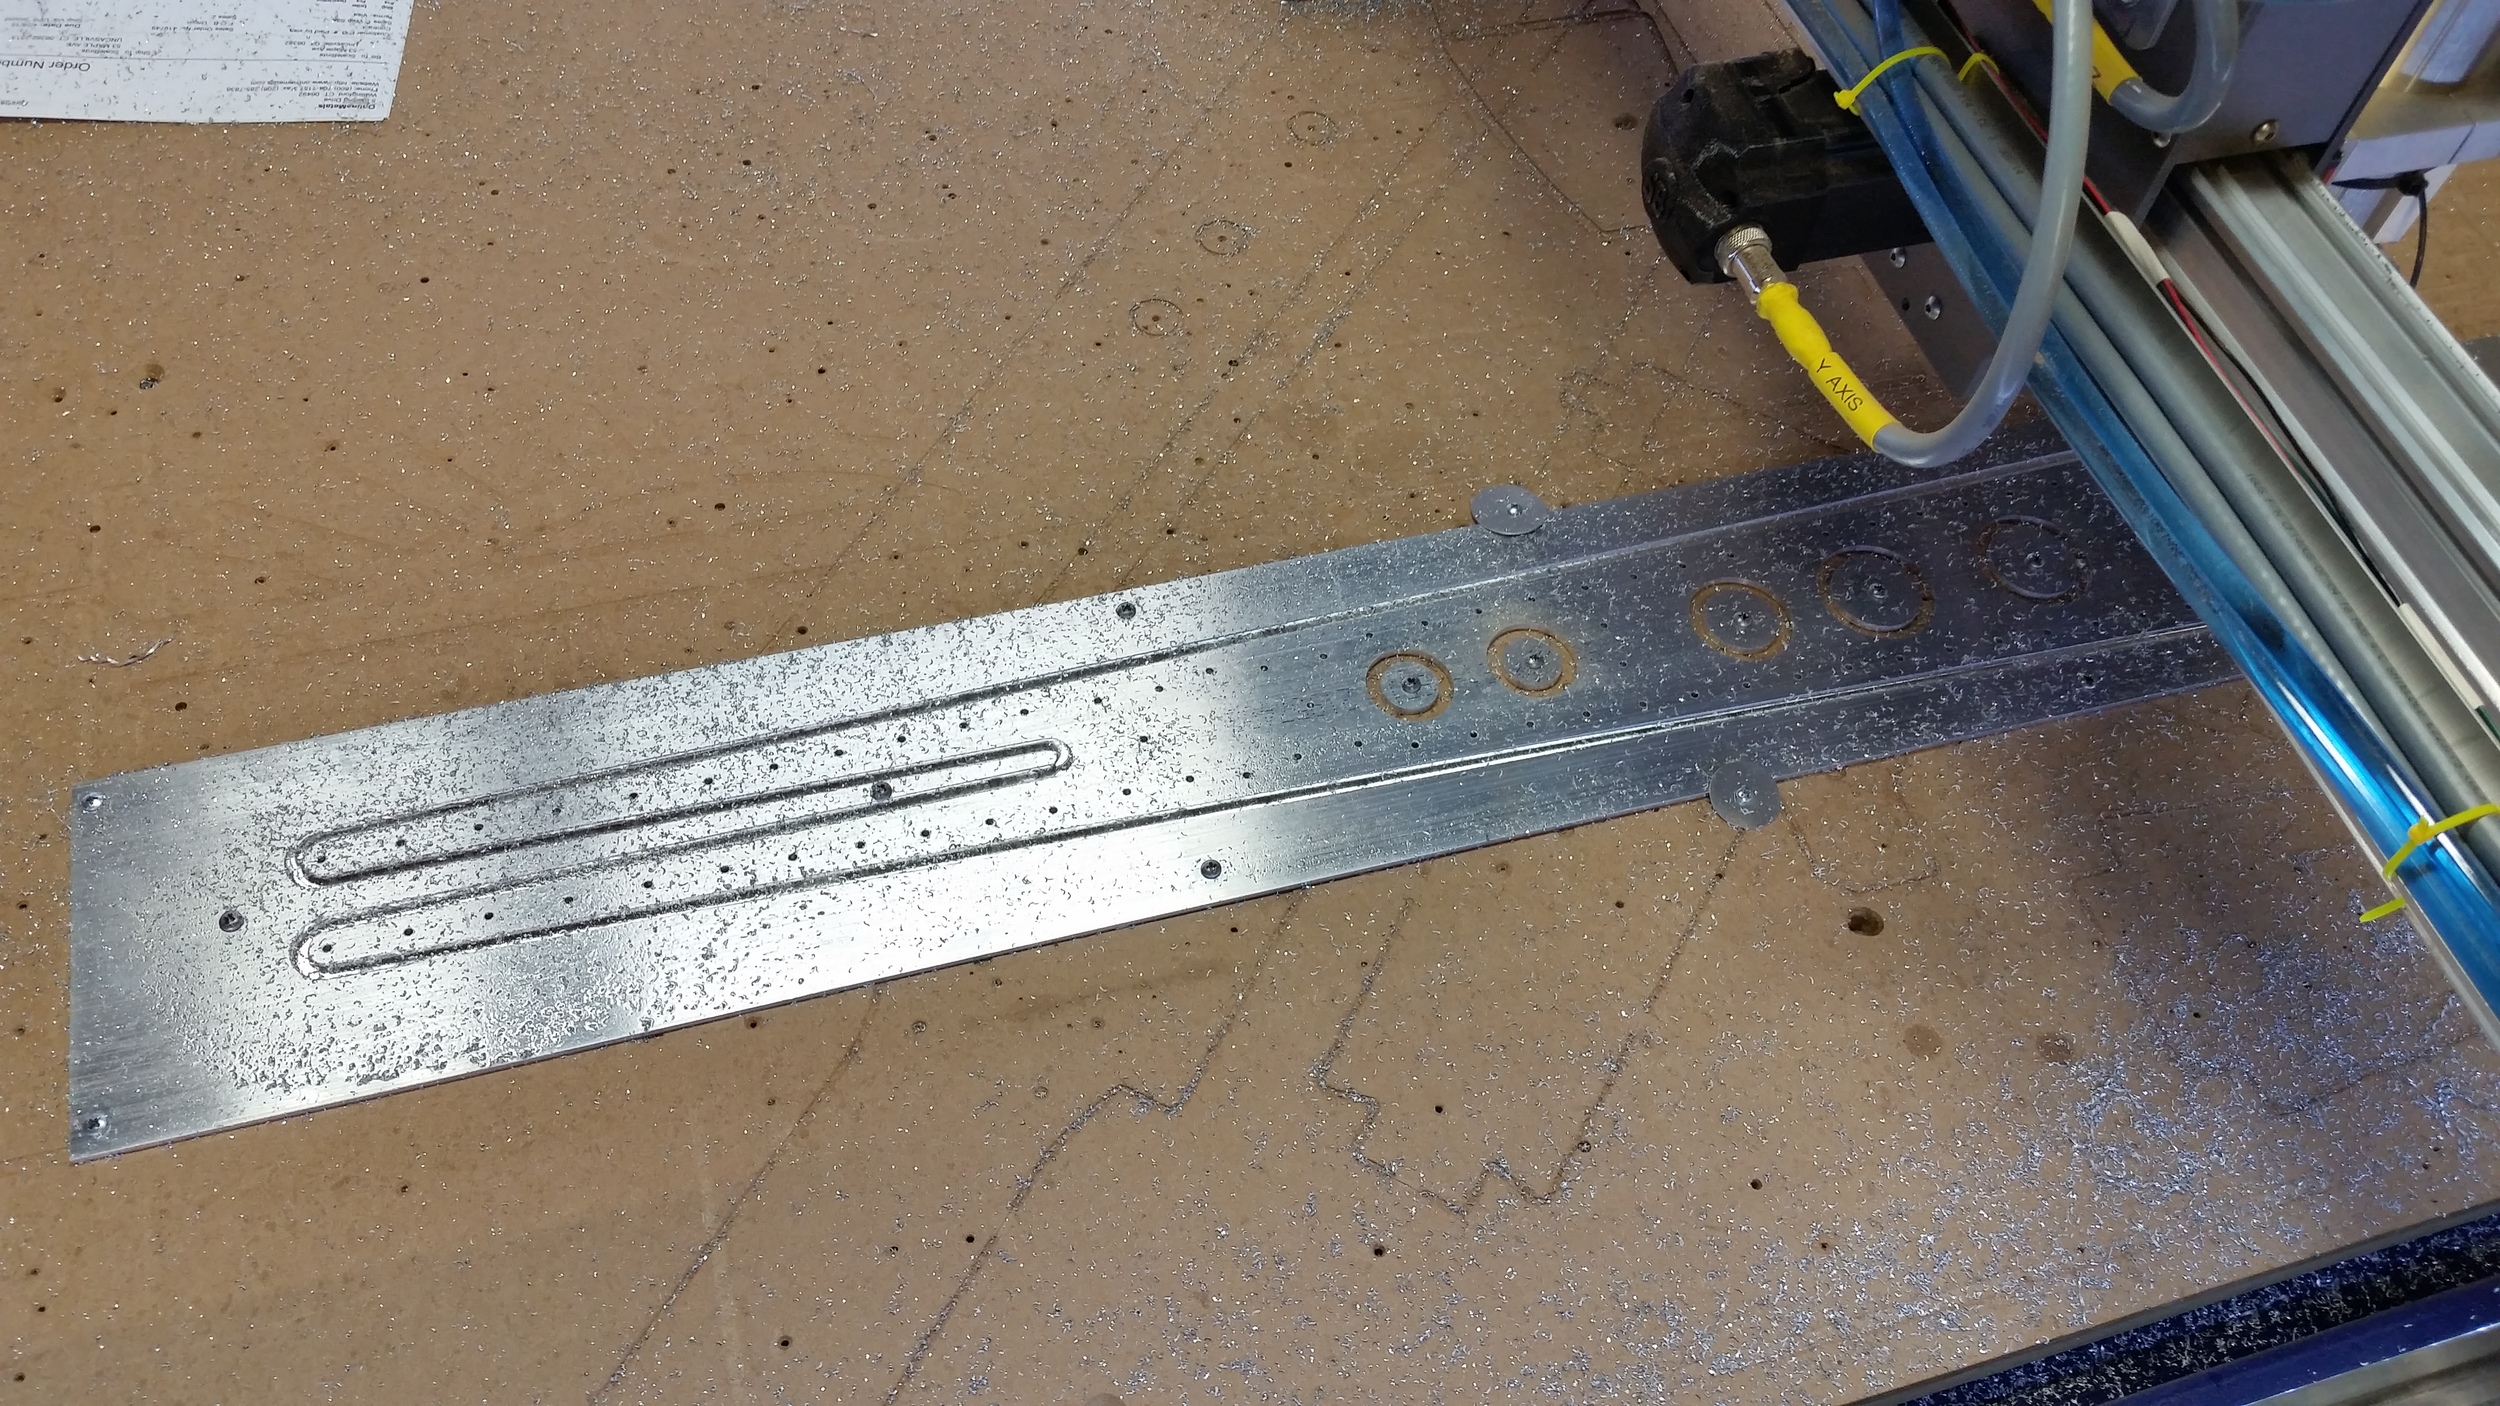
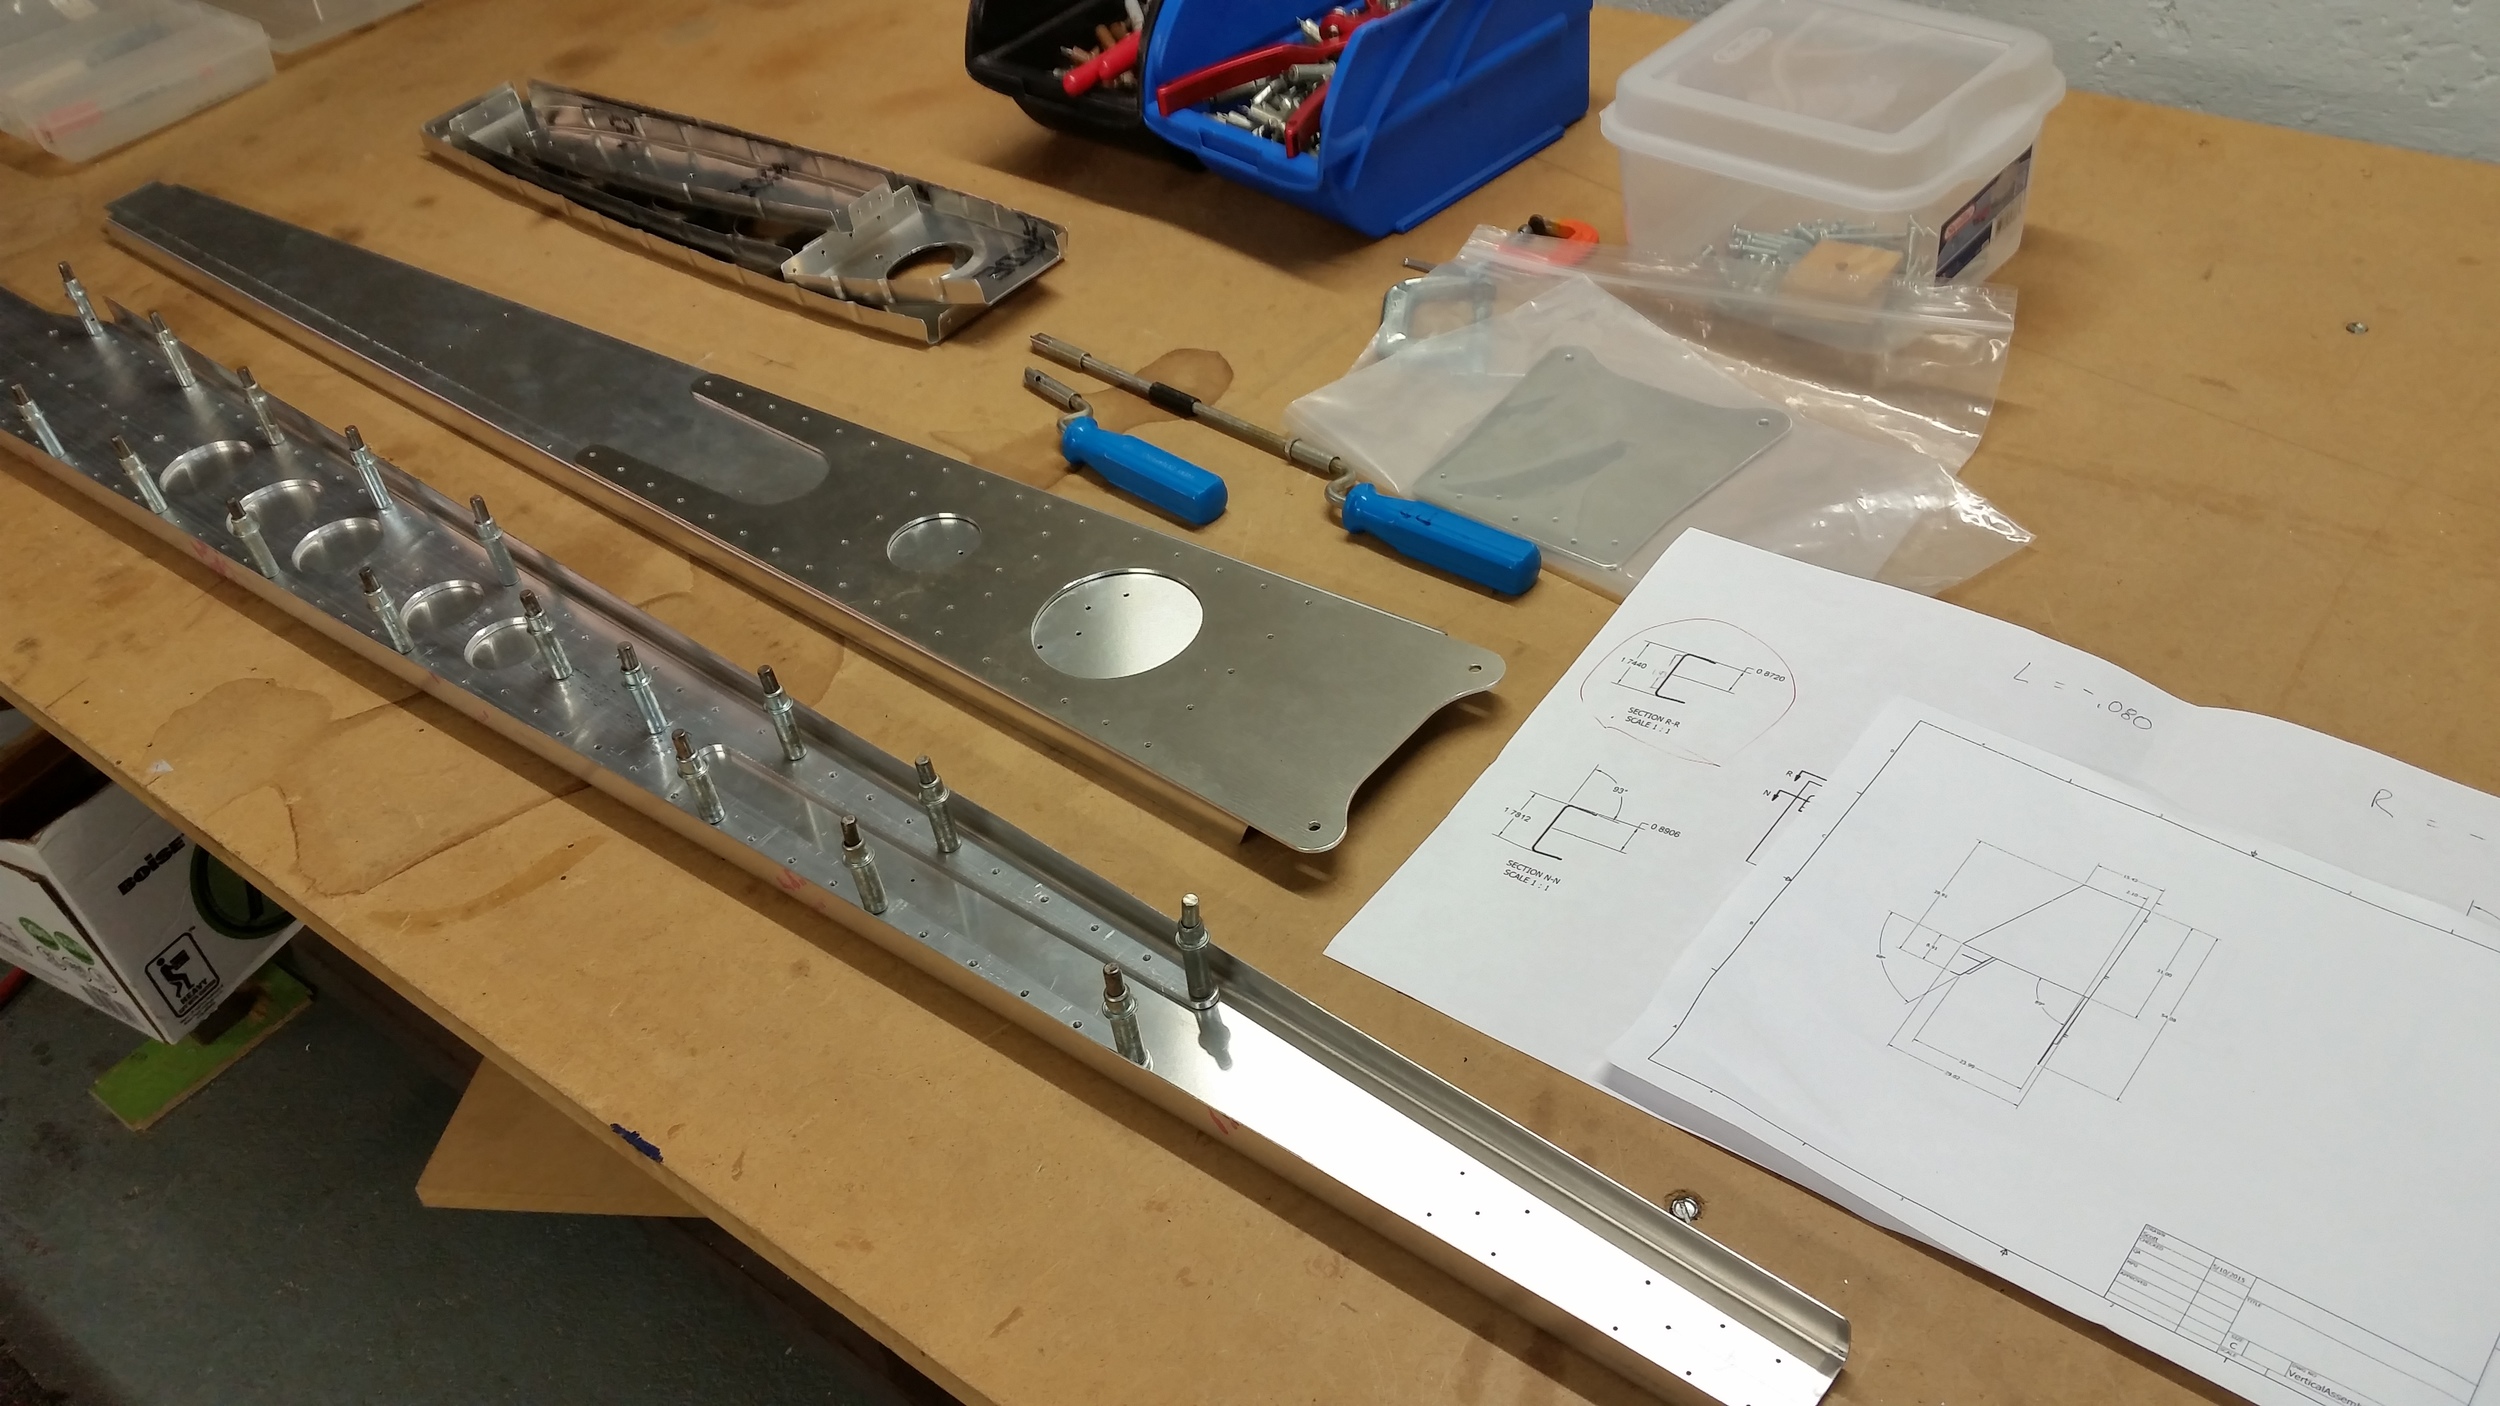
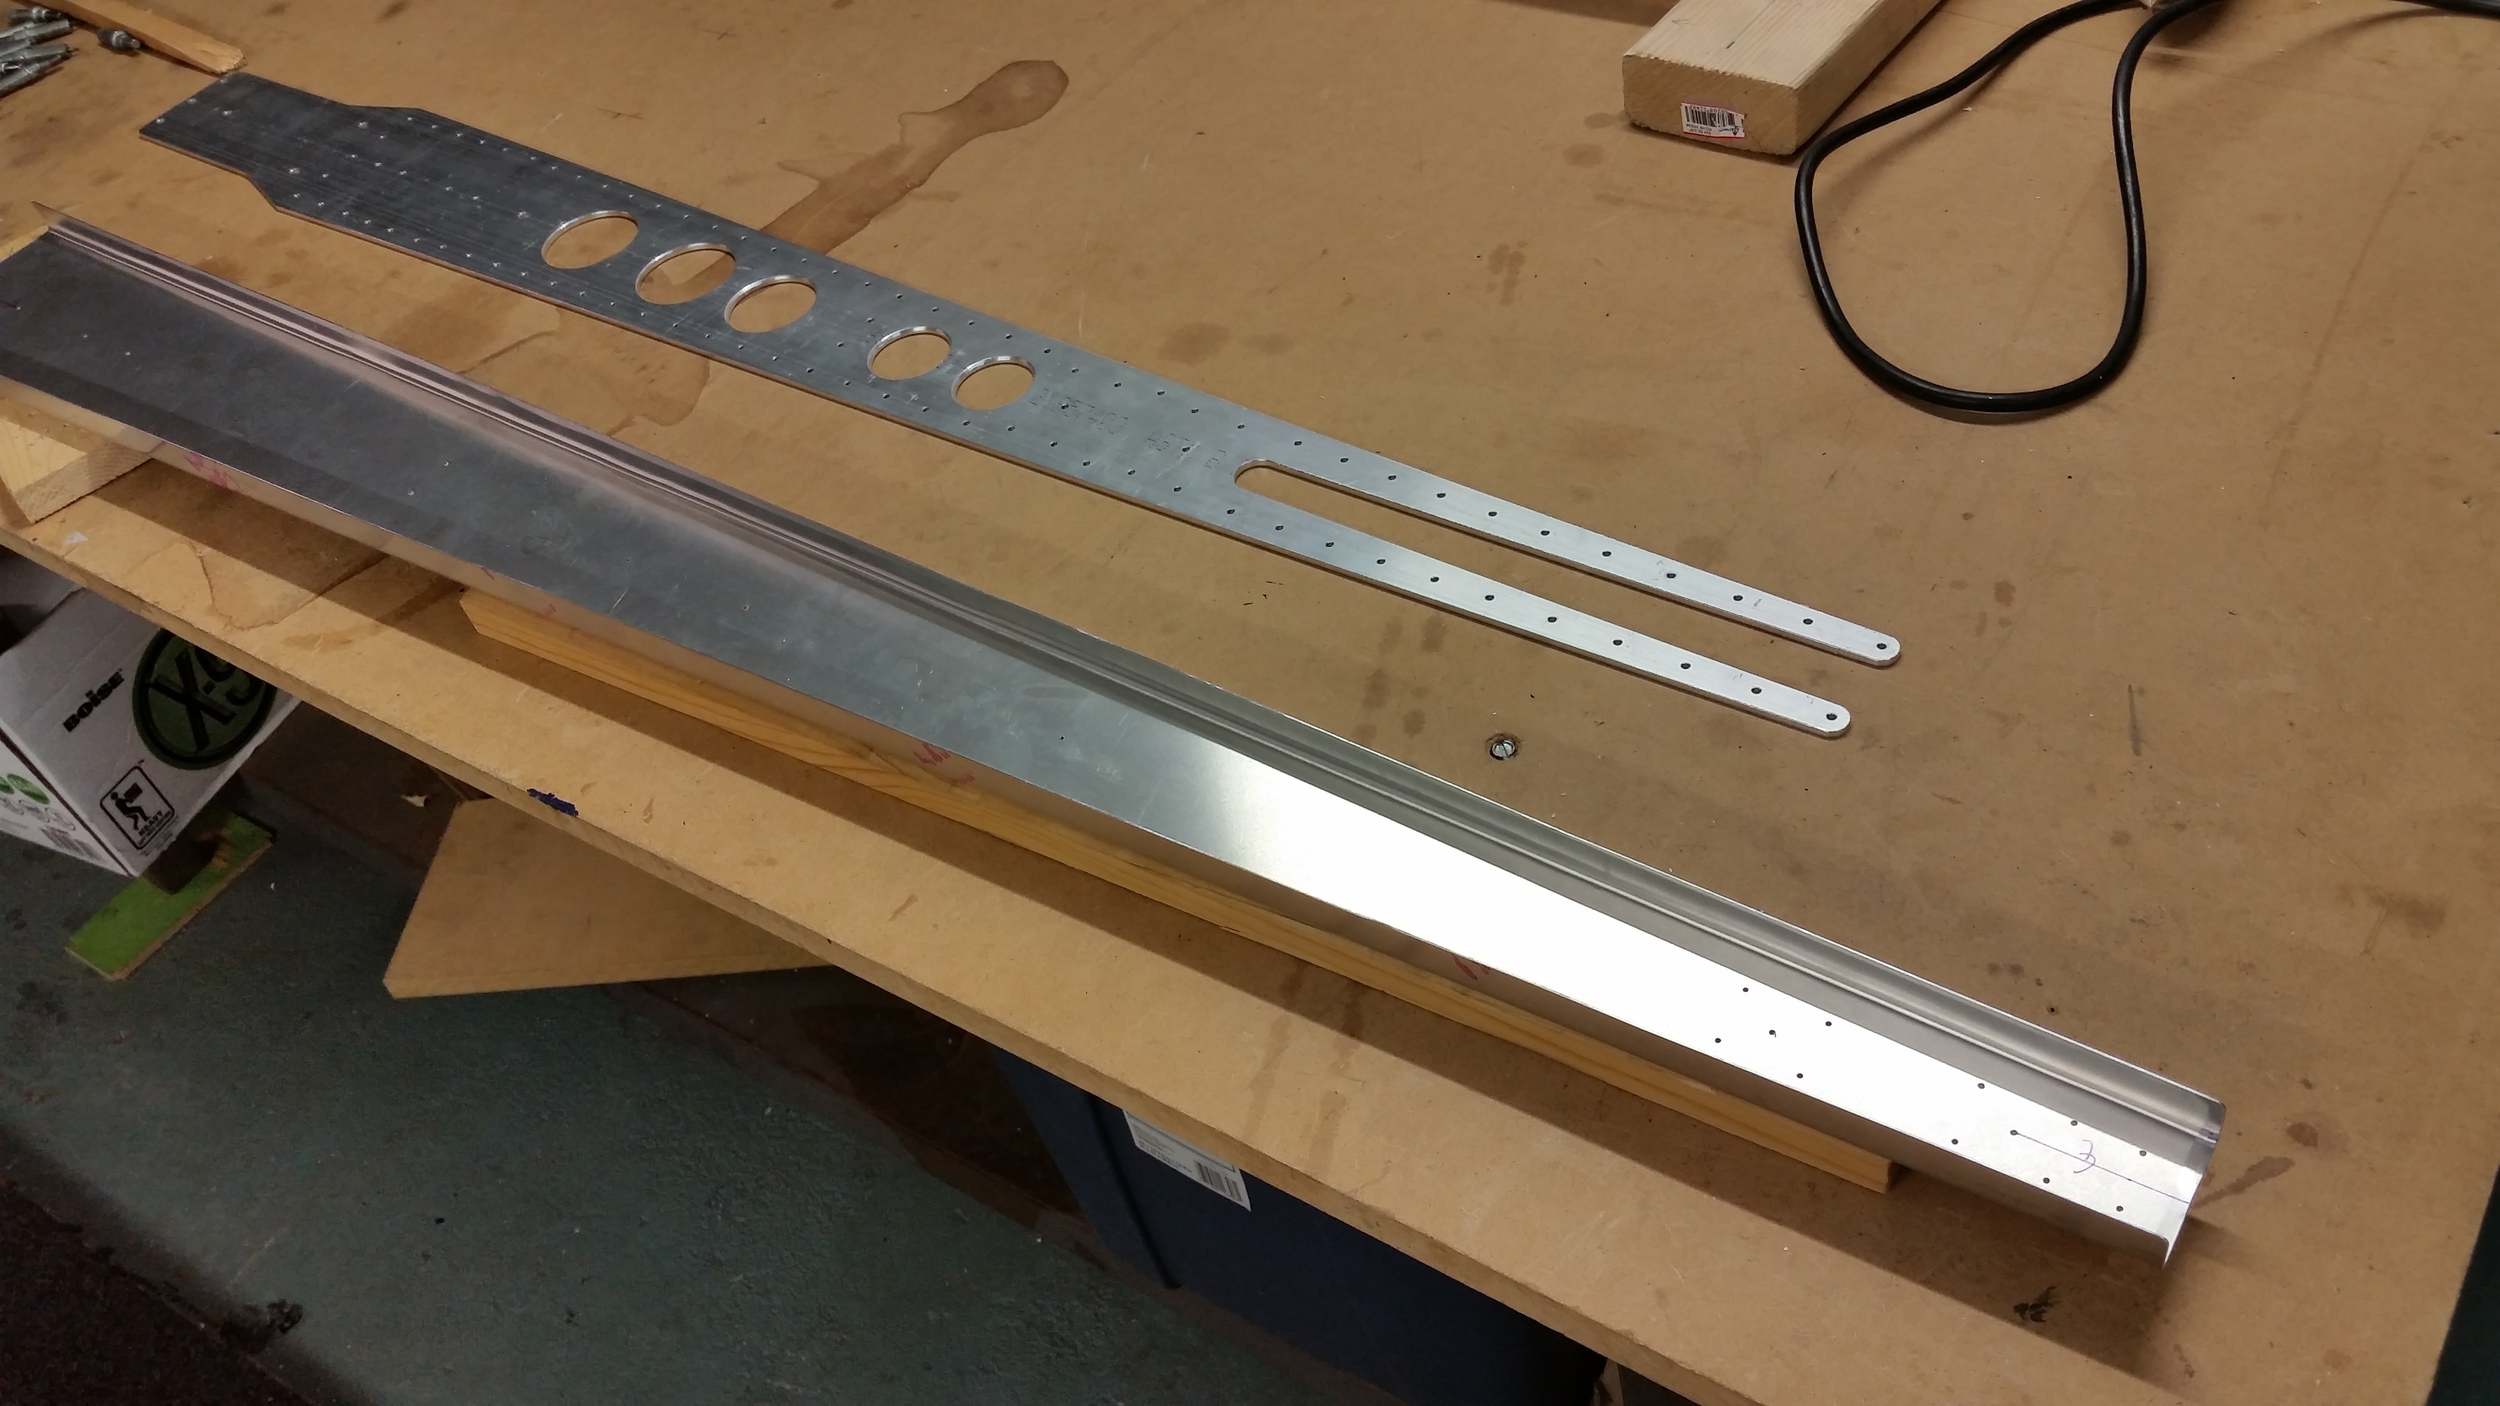
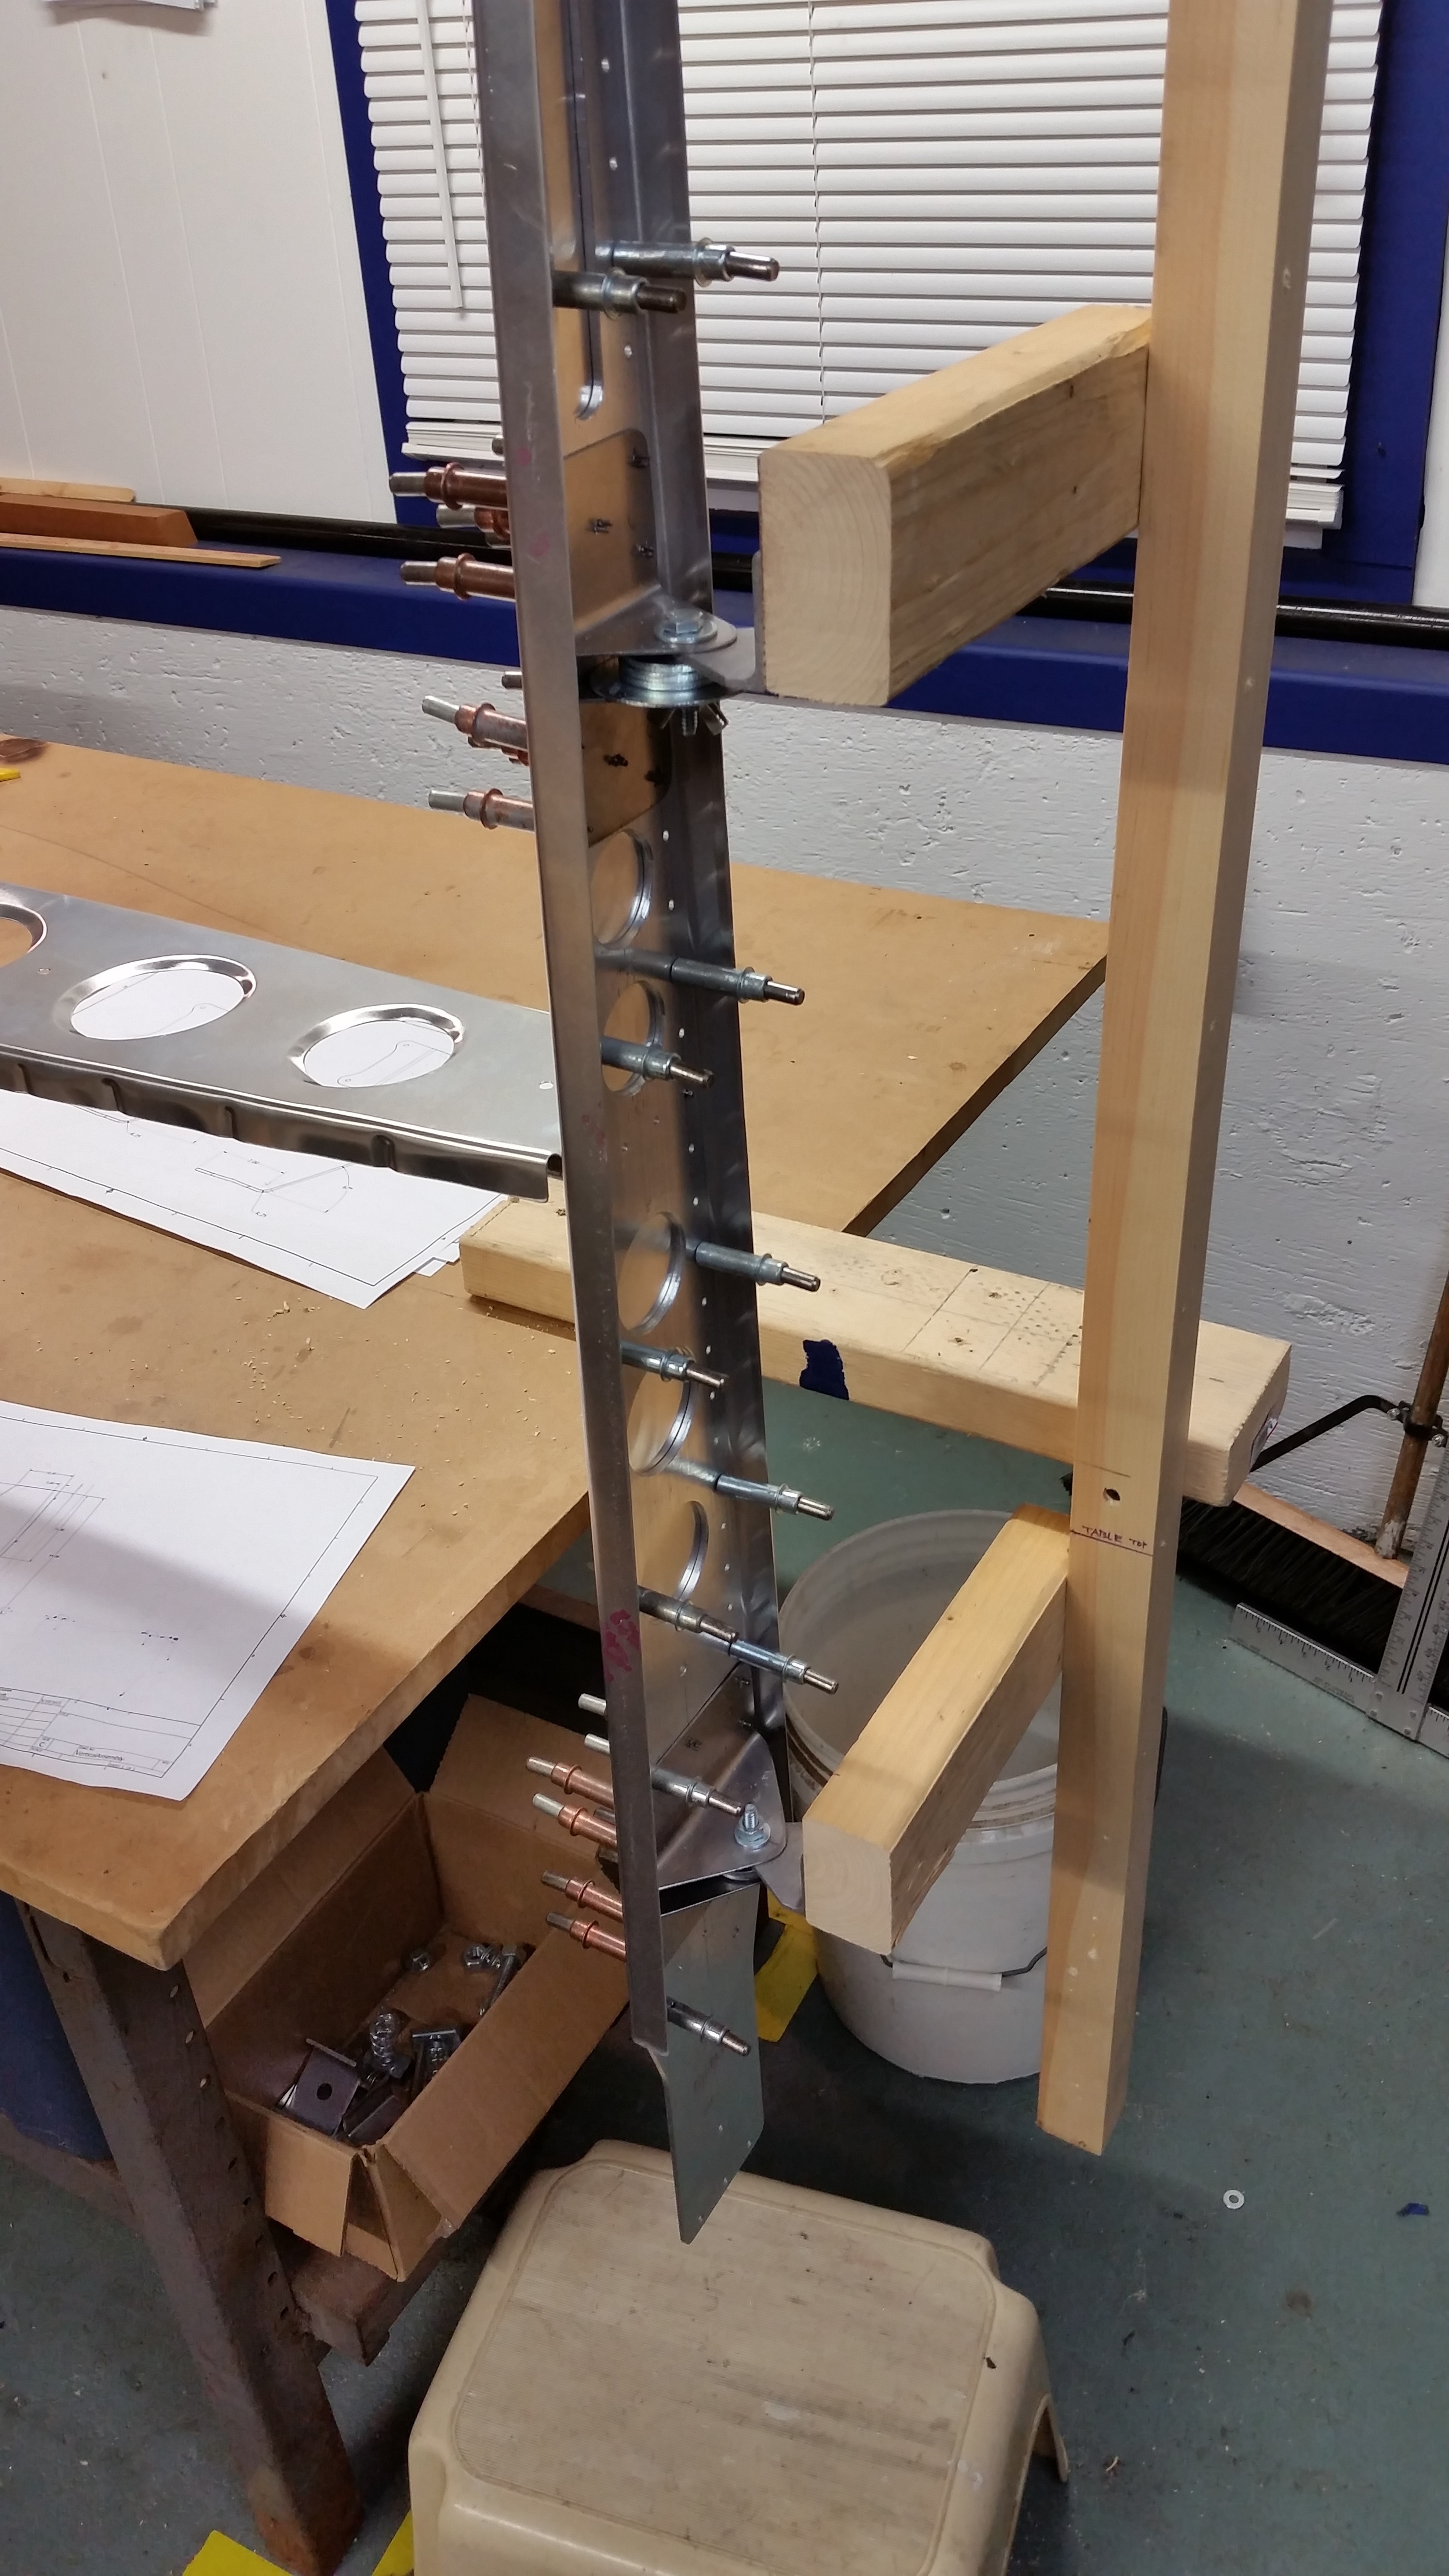
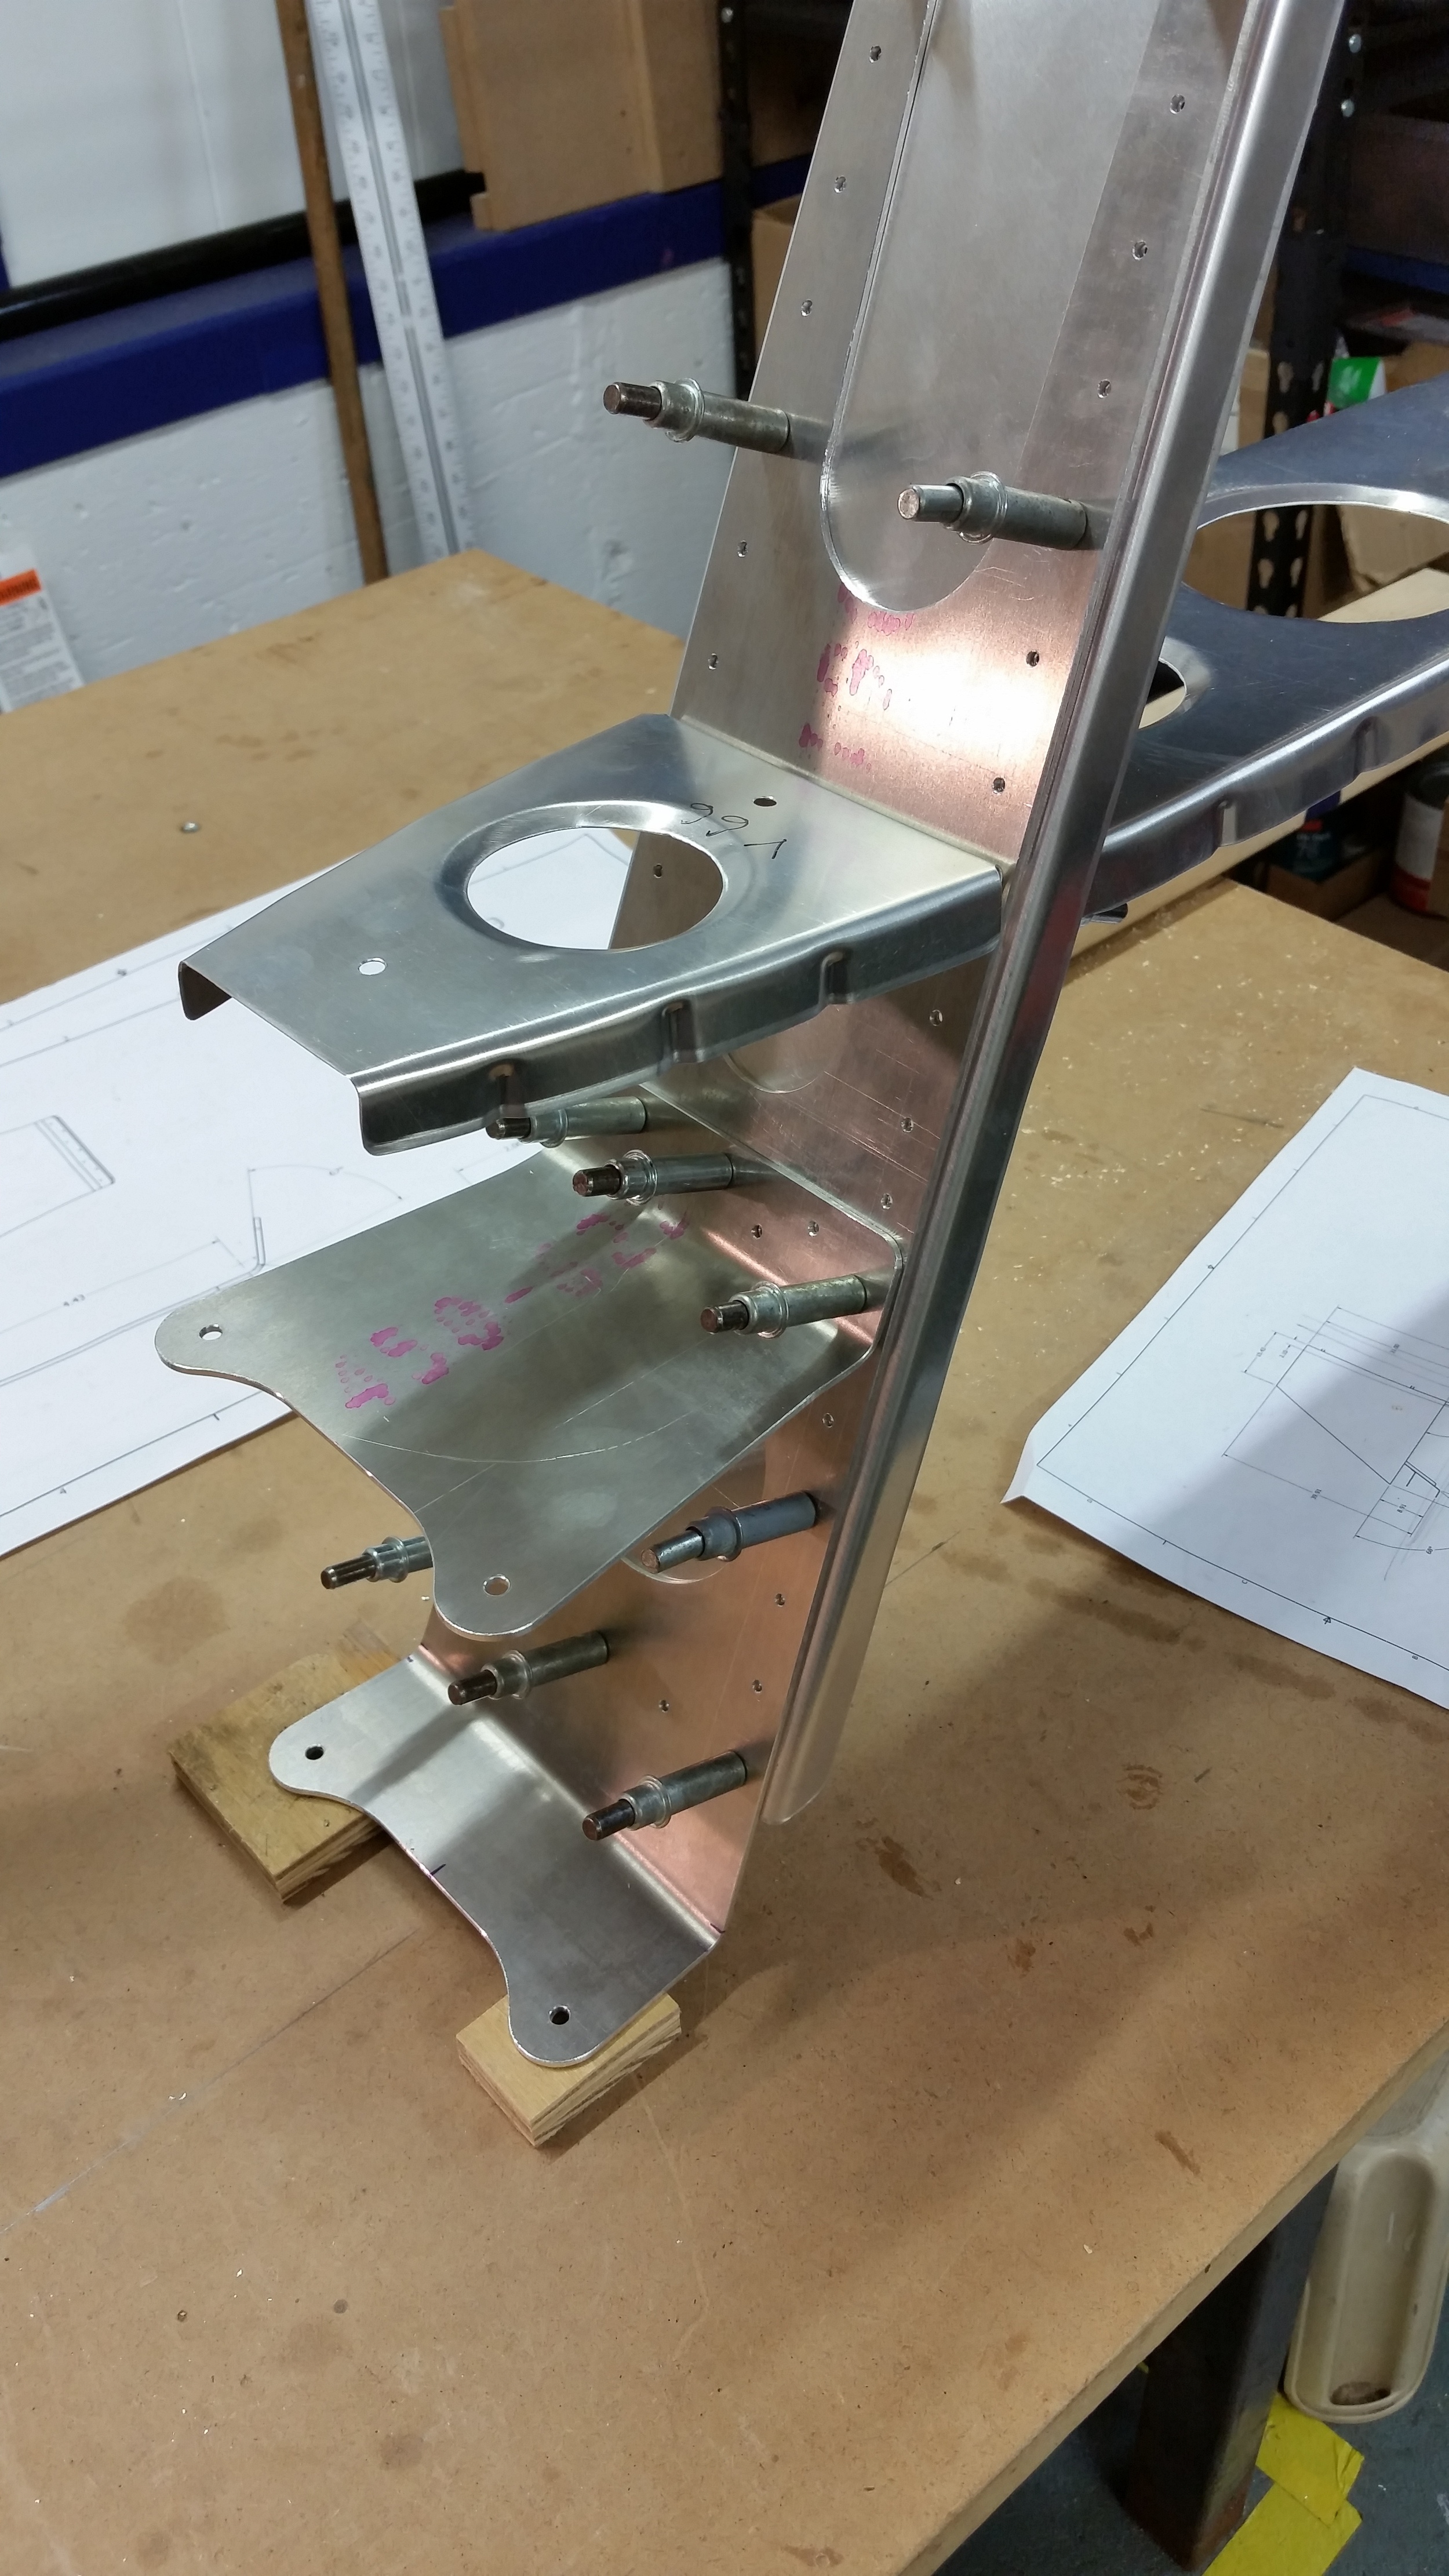
First, came cutting out all of the spars/doublers. Above are some pictures from cutting out the aft spar doubler on the CNC router, a nice thick chunk of aluminum that extends a good ways up. The router makes it rather easy to get the part cut and nice, but there was still some hand-work involved to clean it up. With the parts cut and bent it was trivial to Cleko everything together and get the structure looking proper.
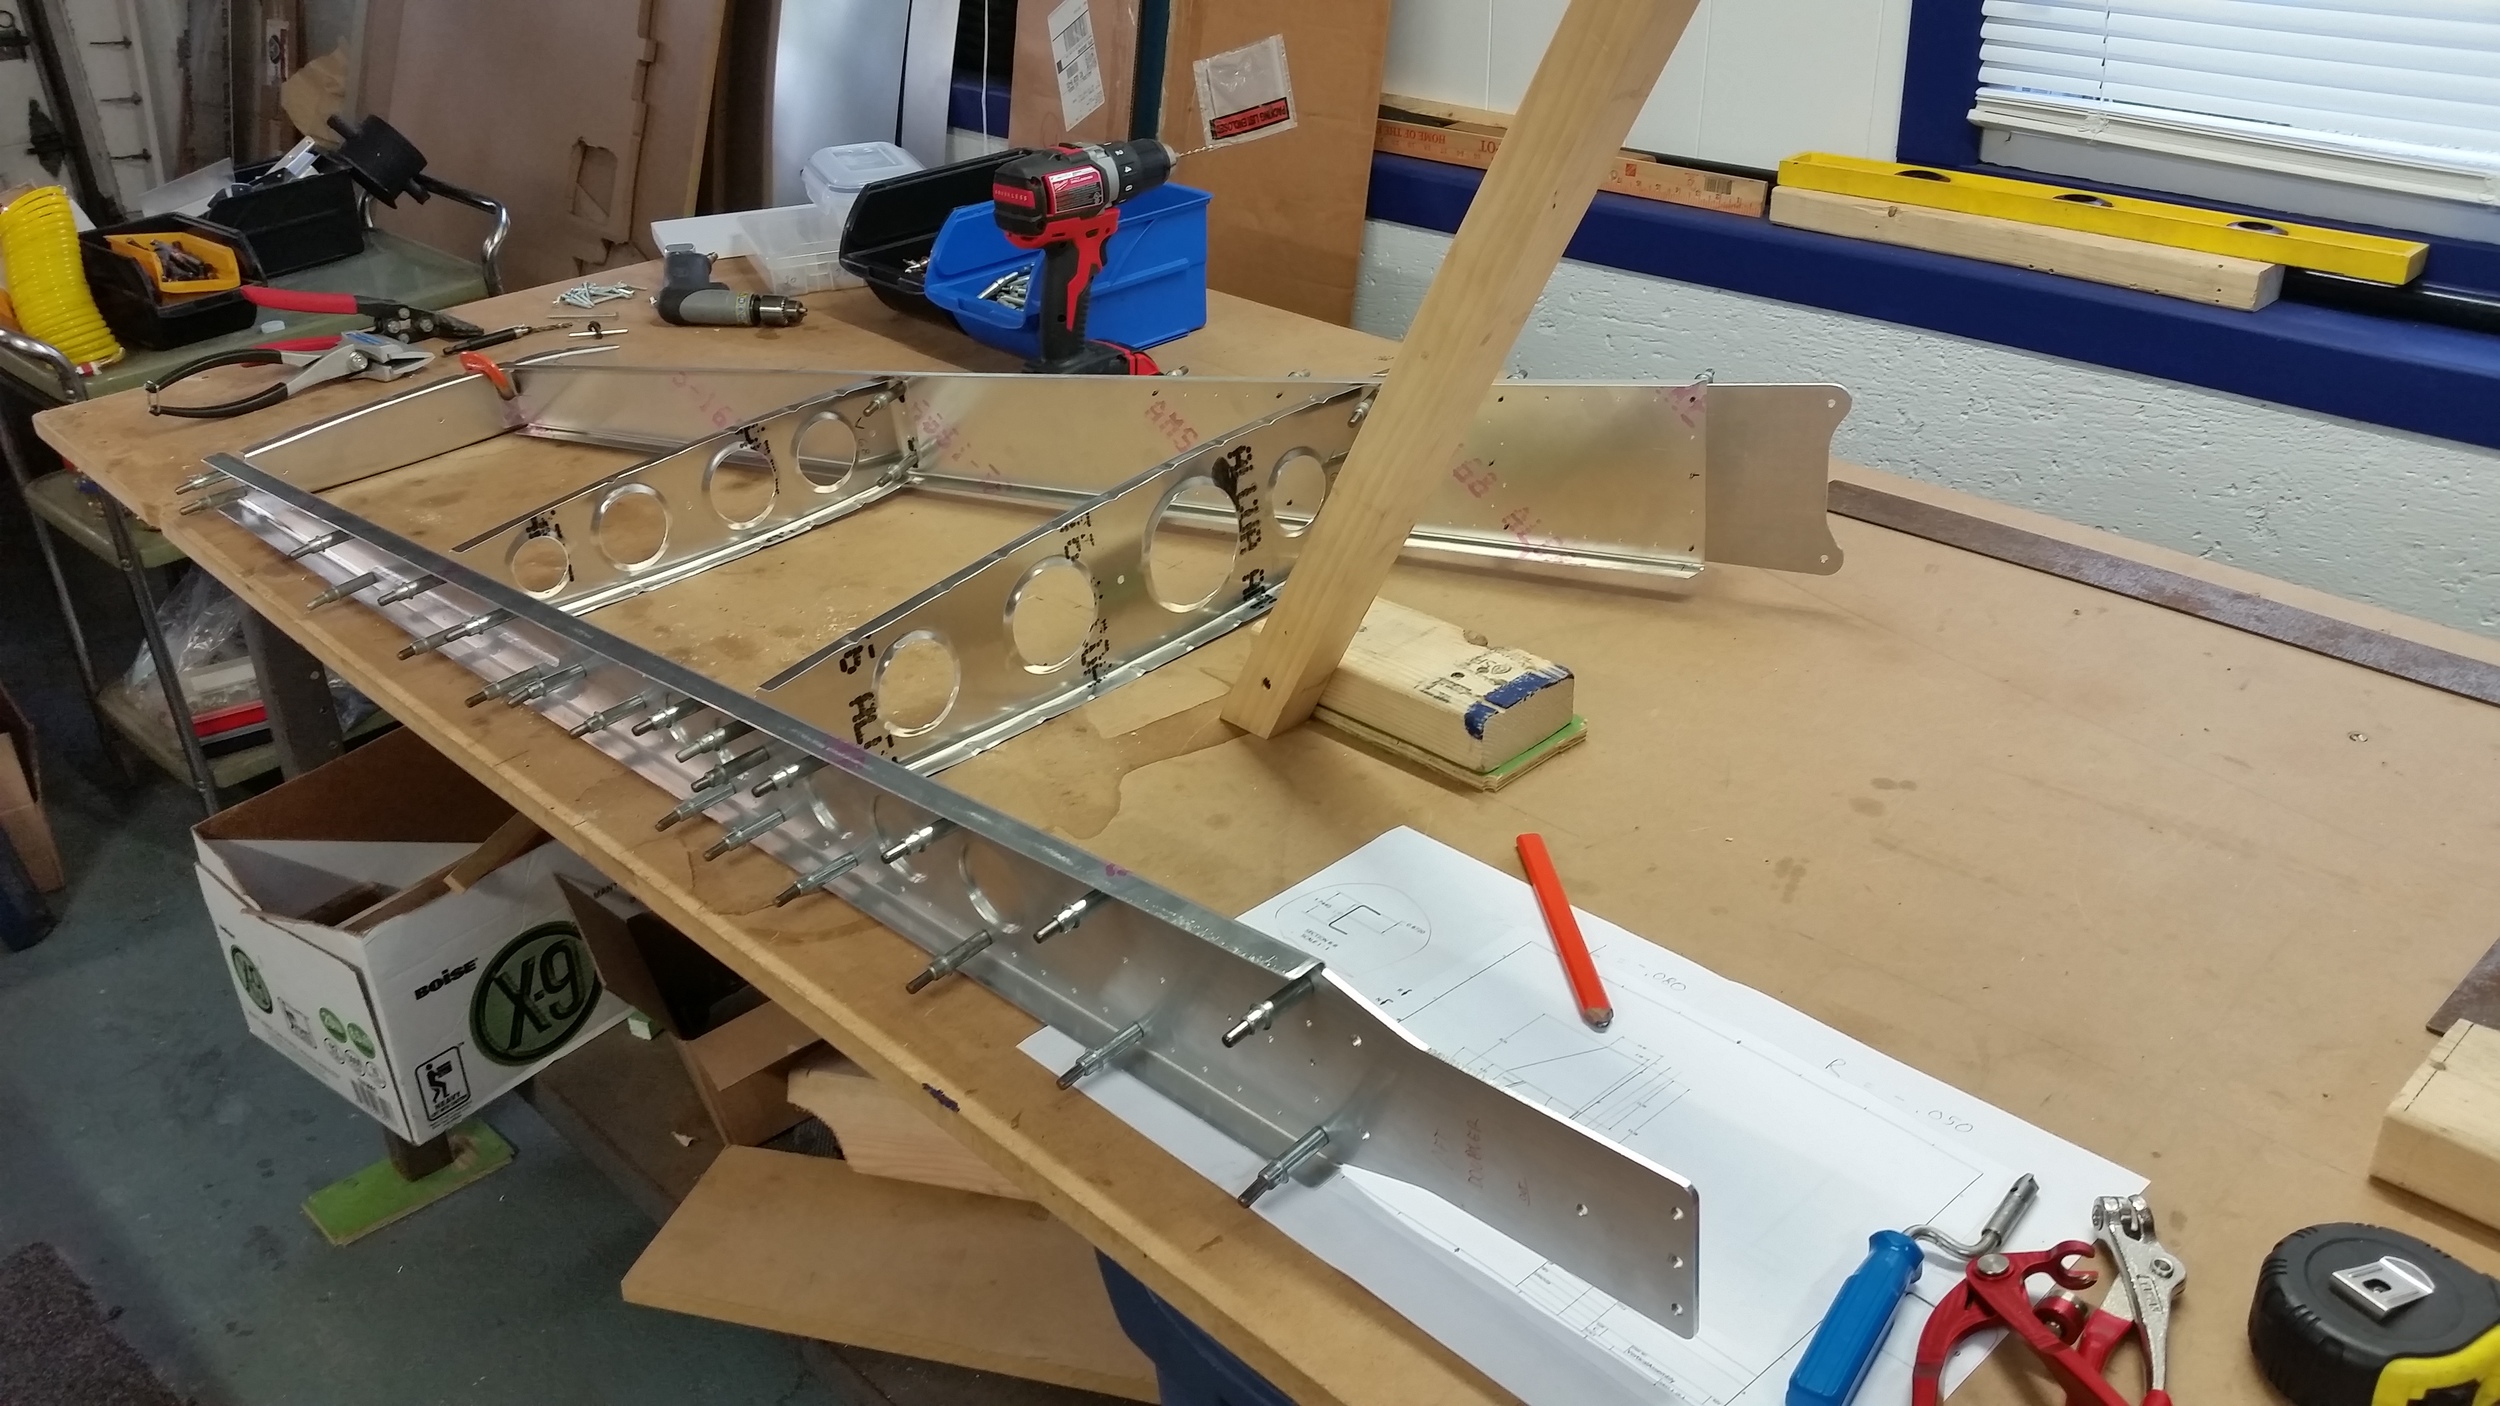
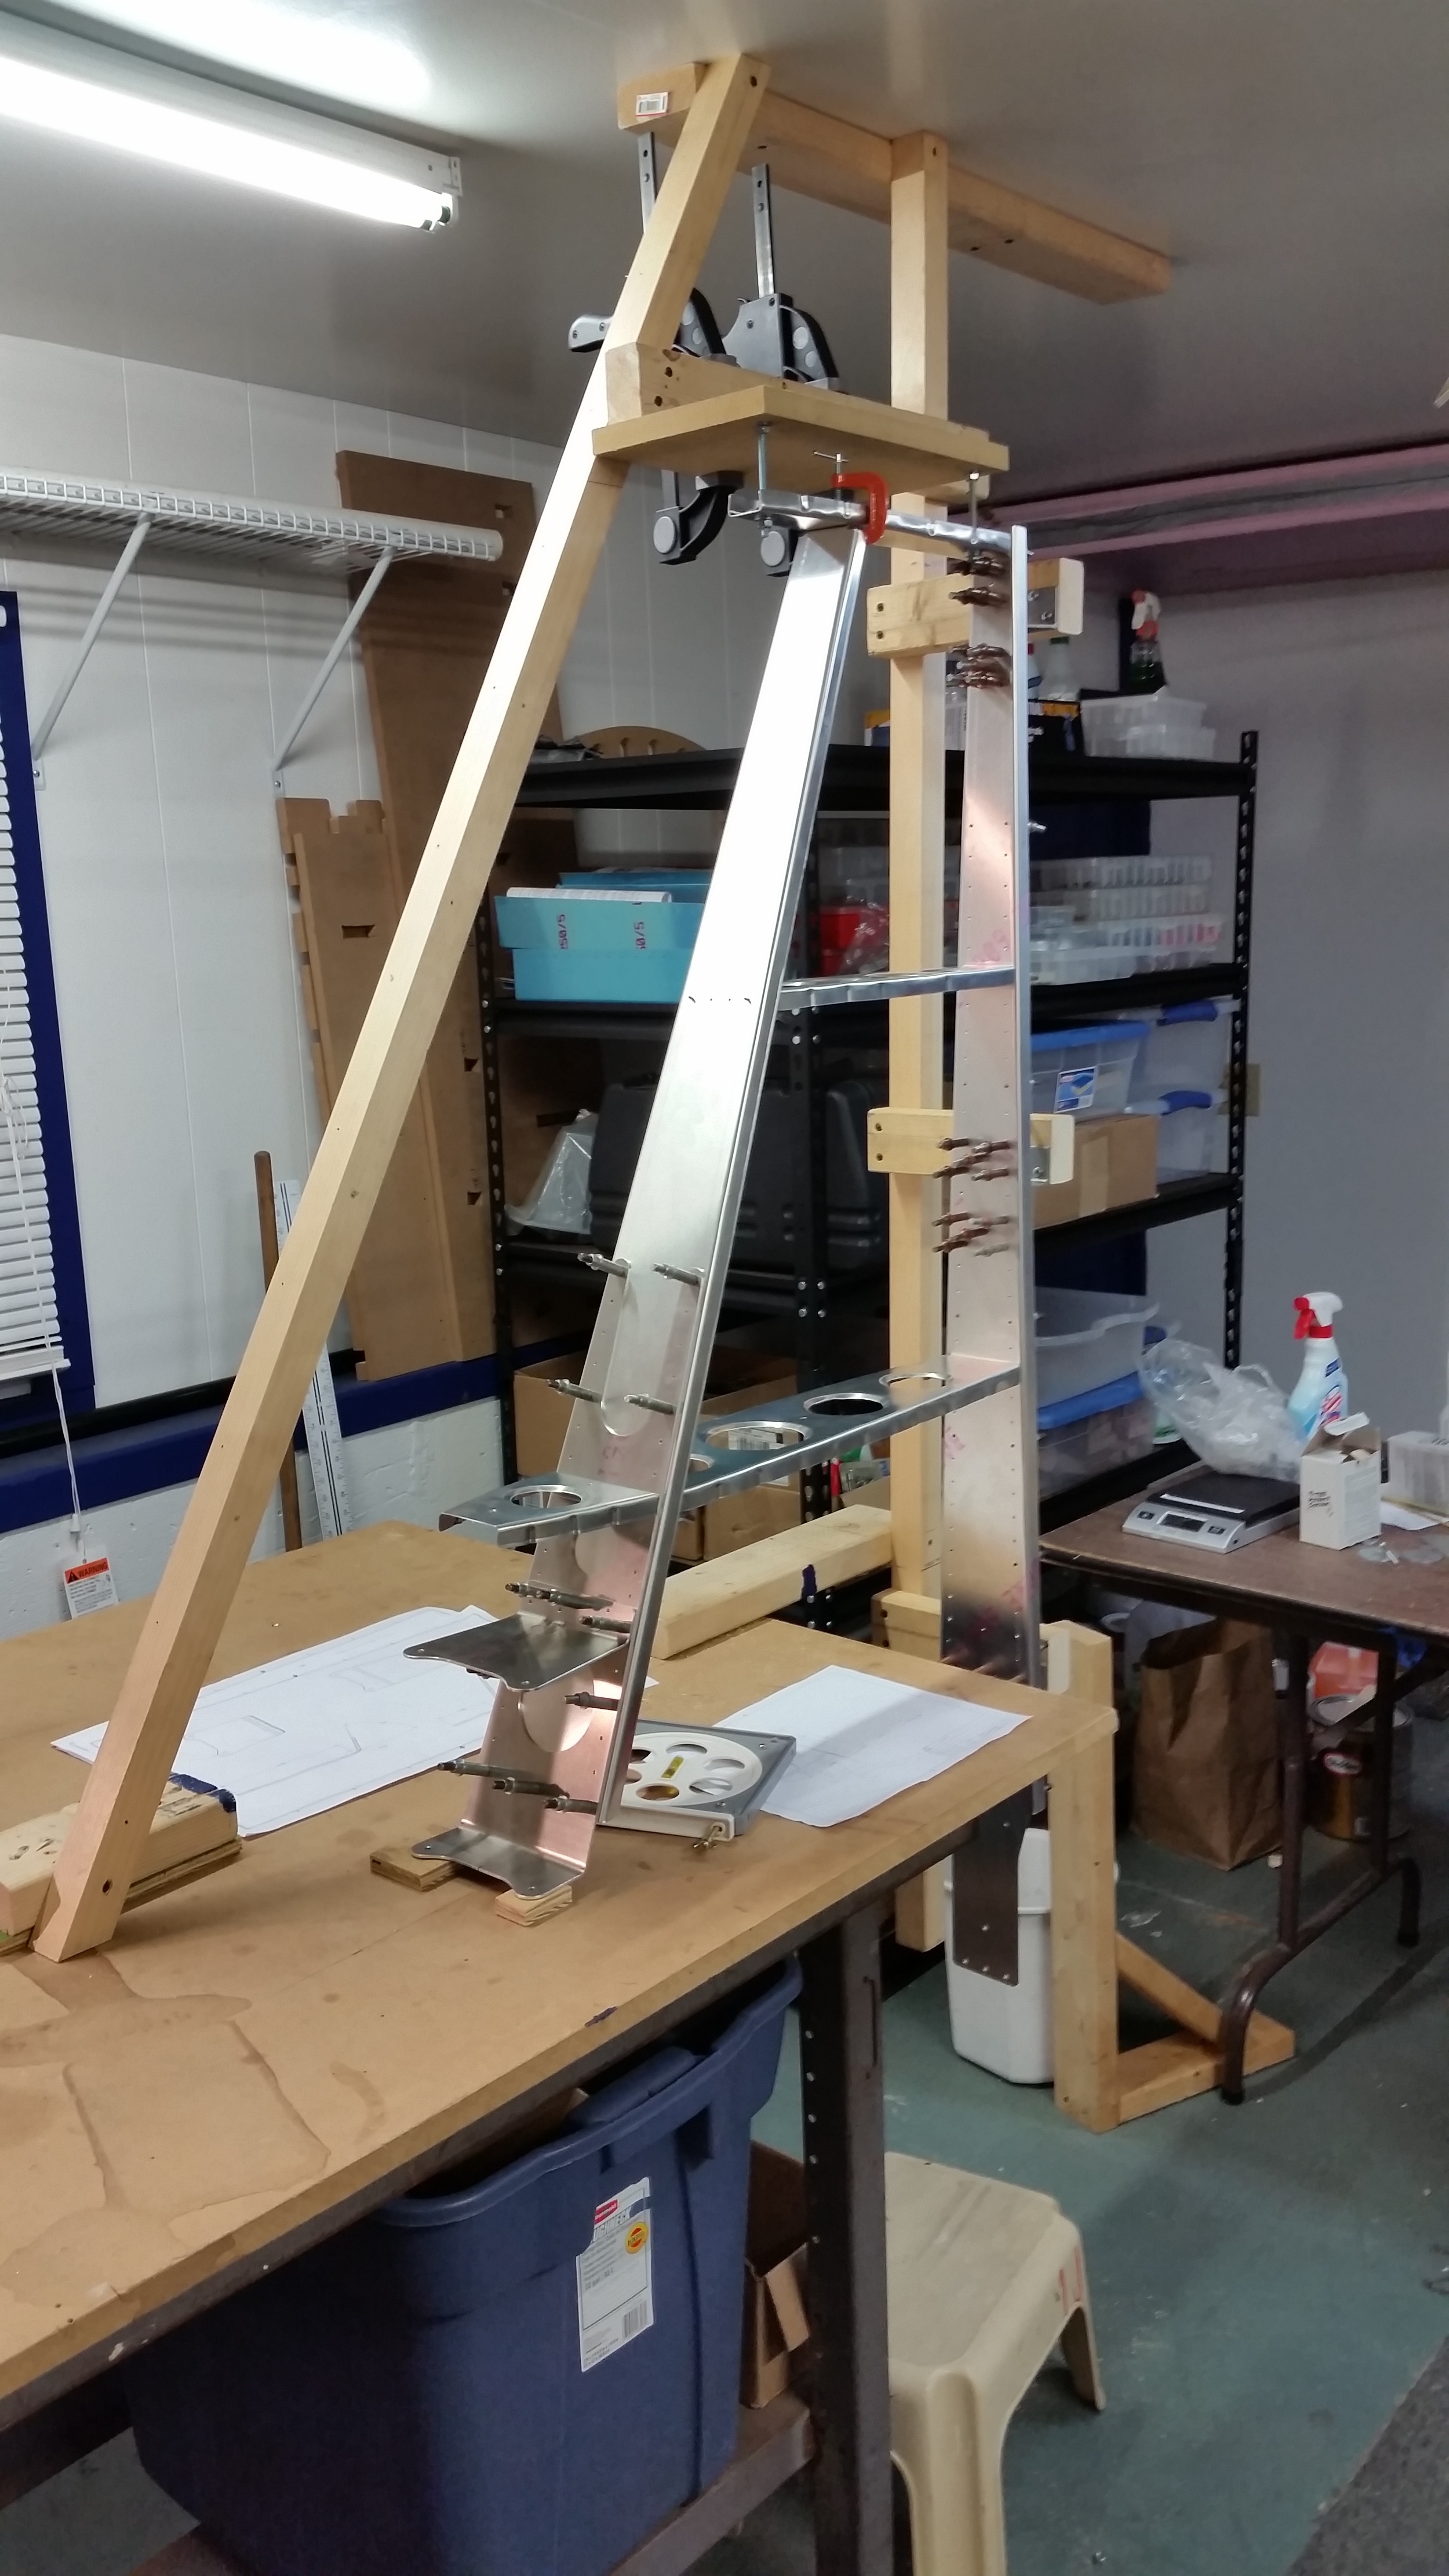
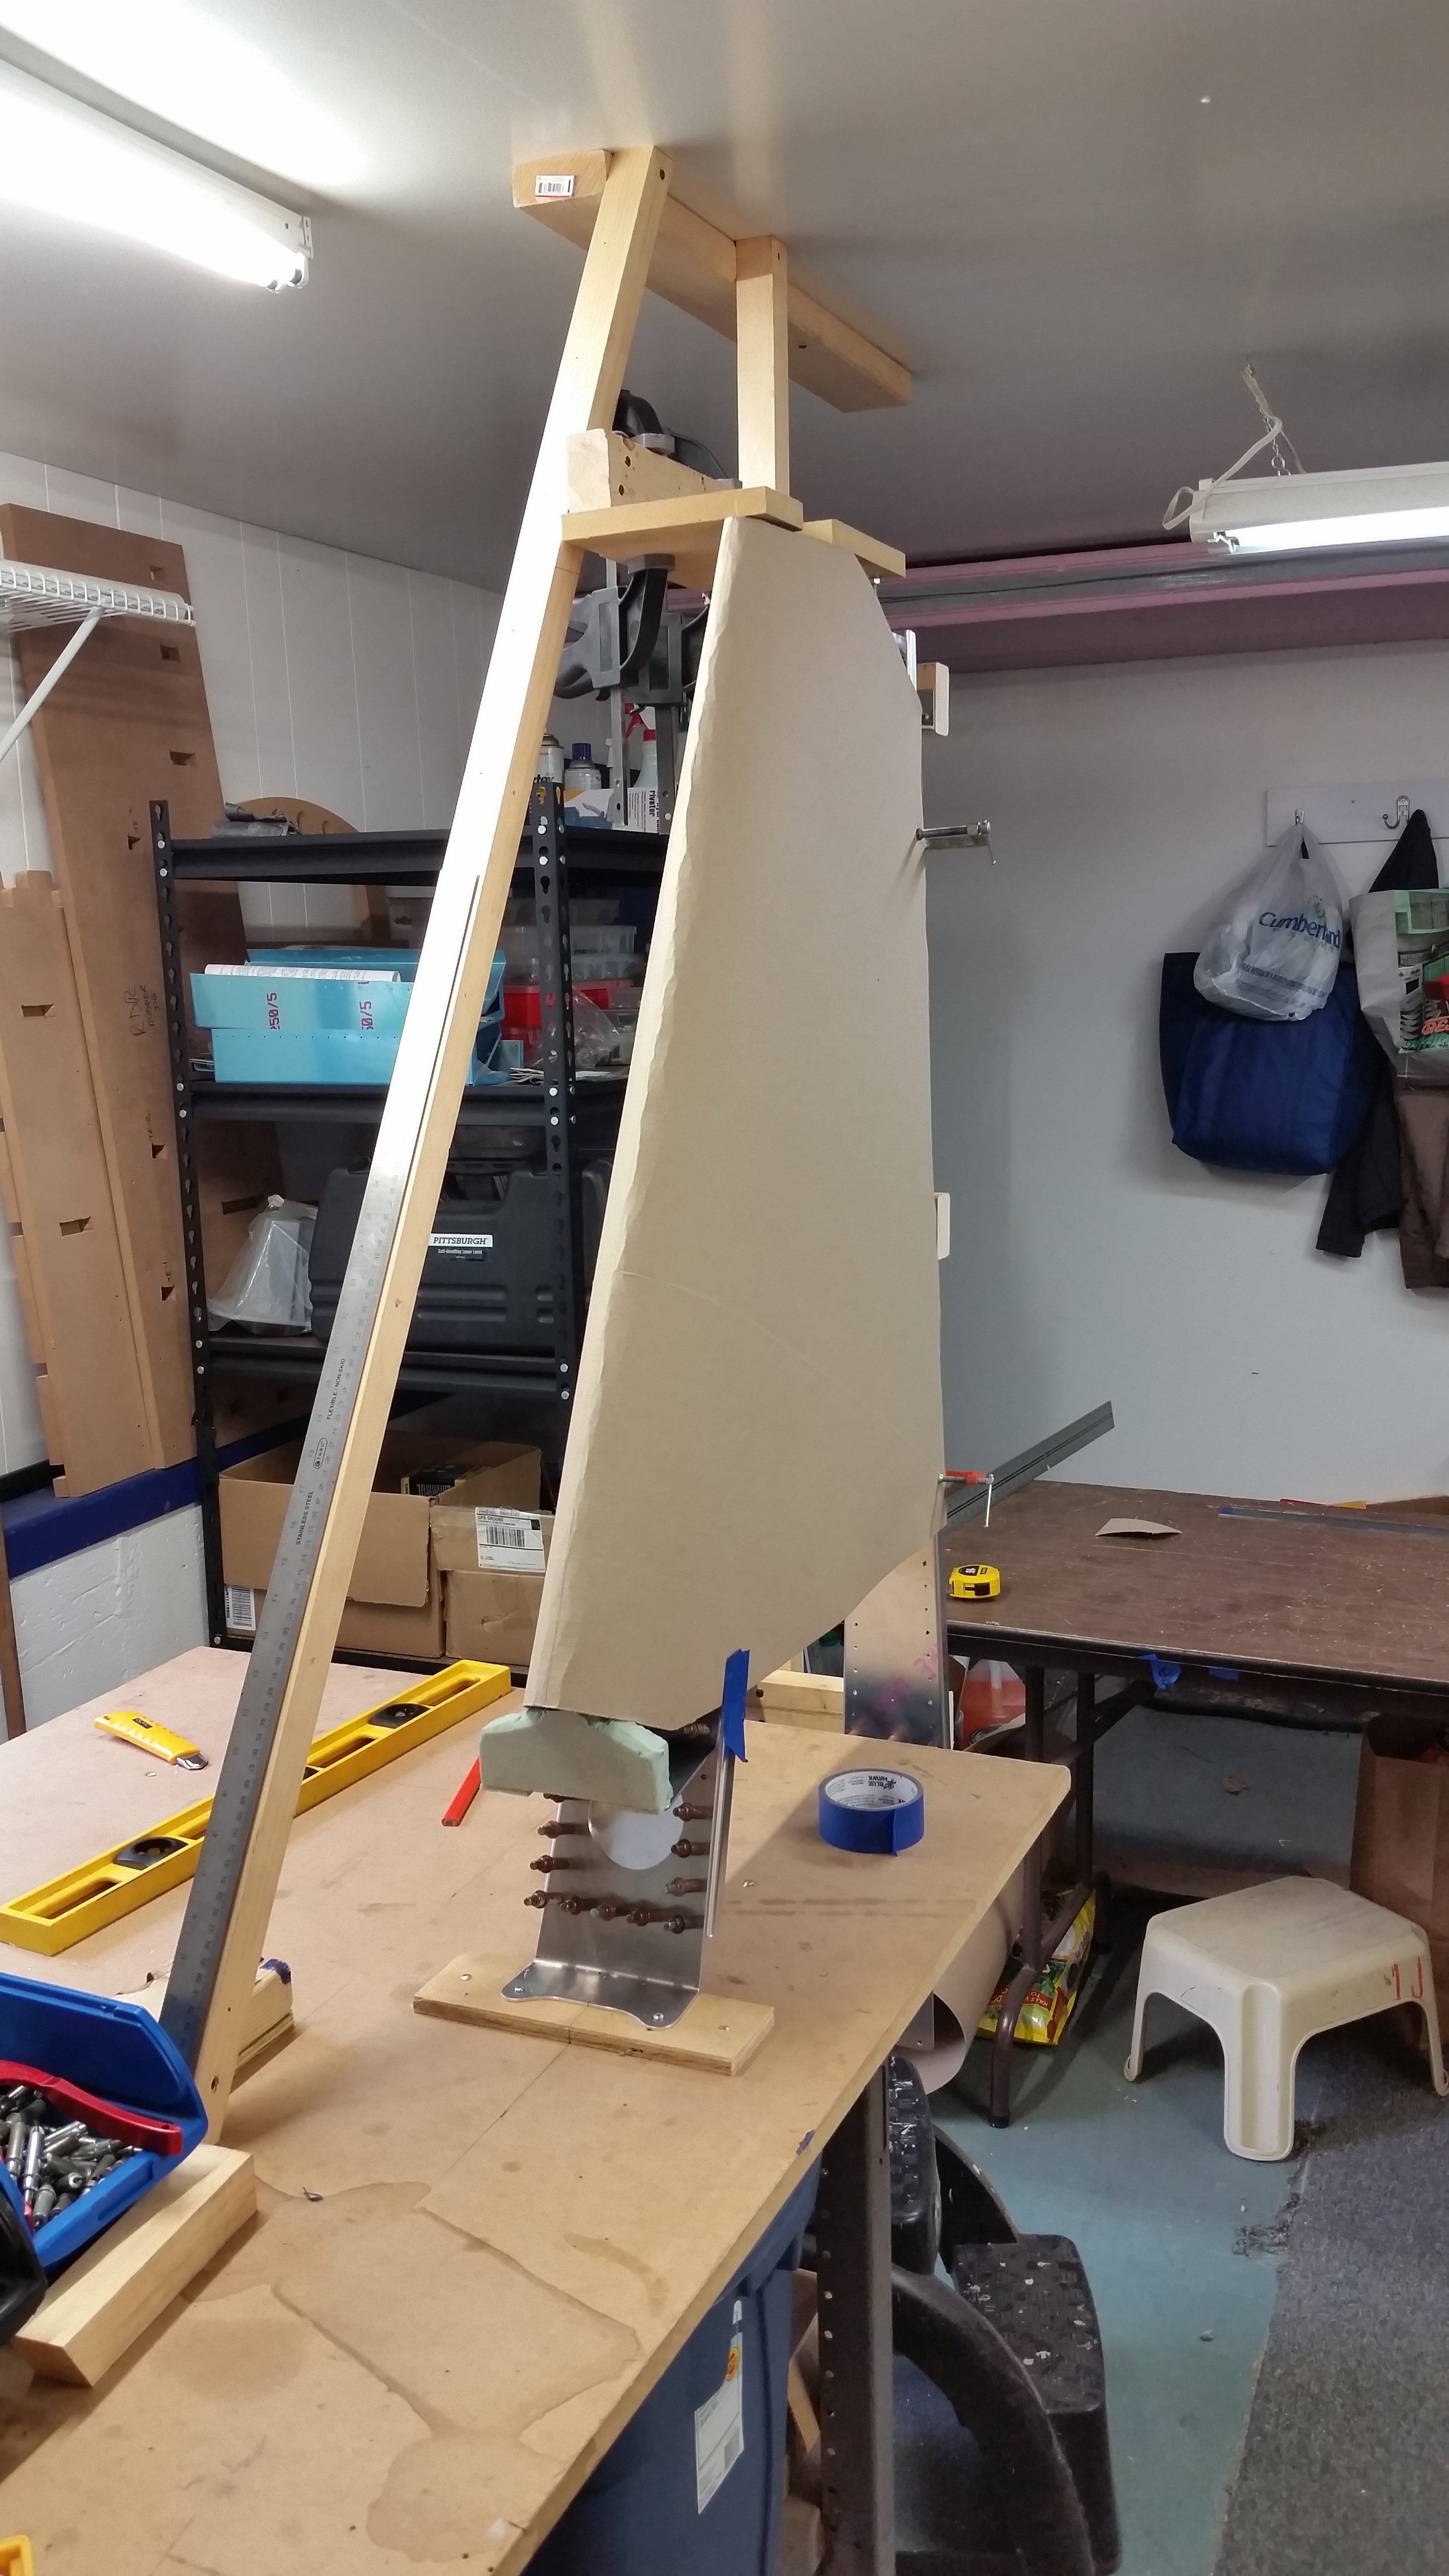
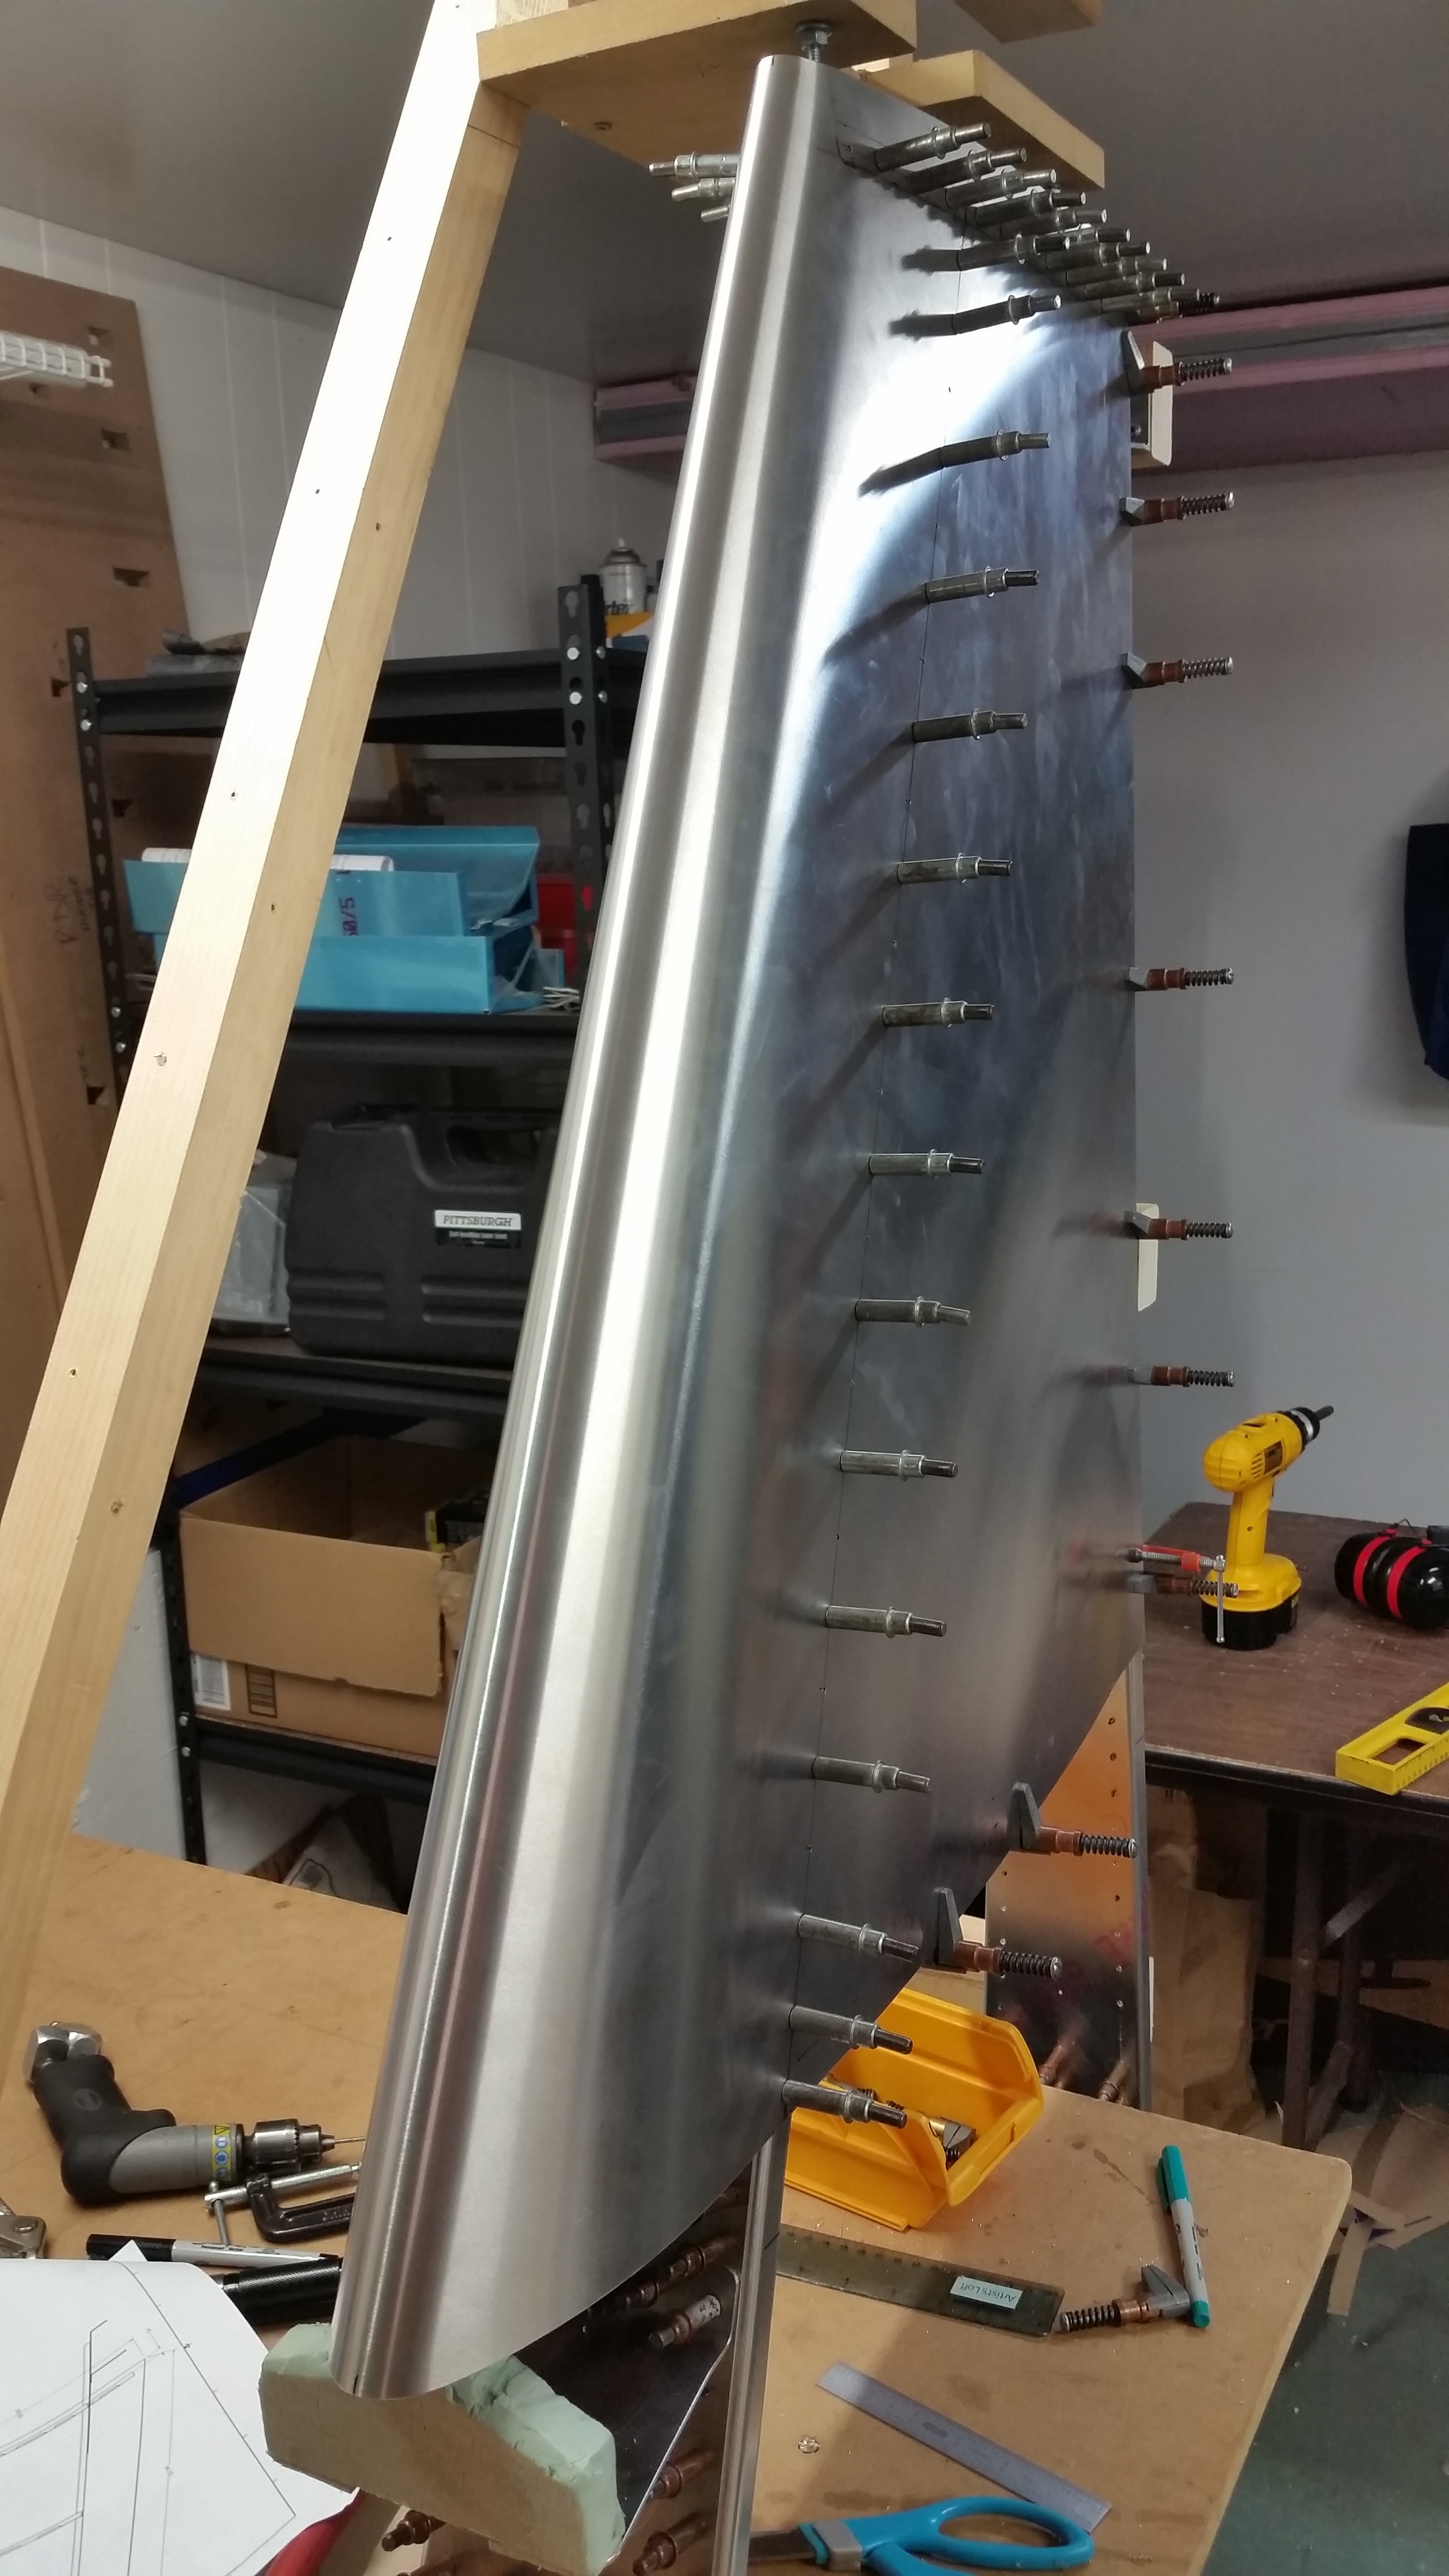
With the spars cut and assembled, we built a holding fixture that mounted to the shop ceiling and bench. We were able to get it pretty darn good using a laser level and some patience. One lesson we learned from building the horizontal stabilizer last fall was to cantilever our part off to the side of the fixture so sighting and visual checks can be unimpeded by support structure, as well as making easier installation and removal of the skin sheet.
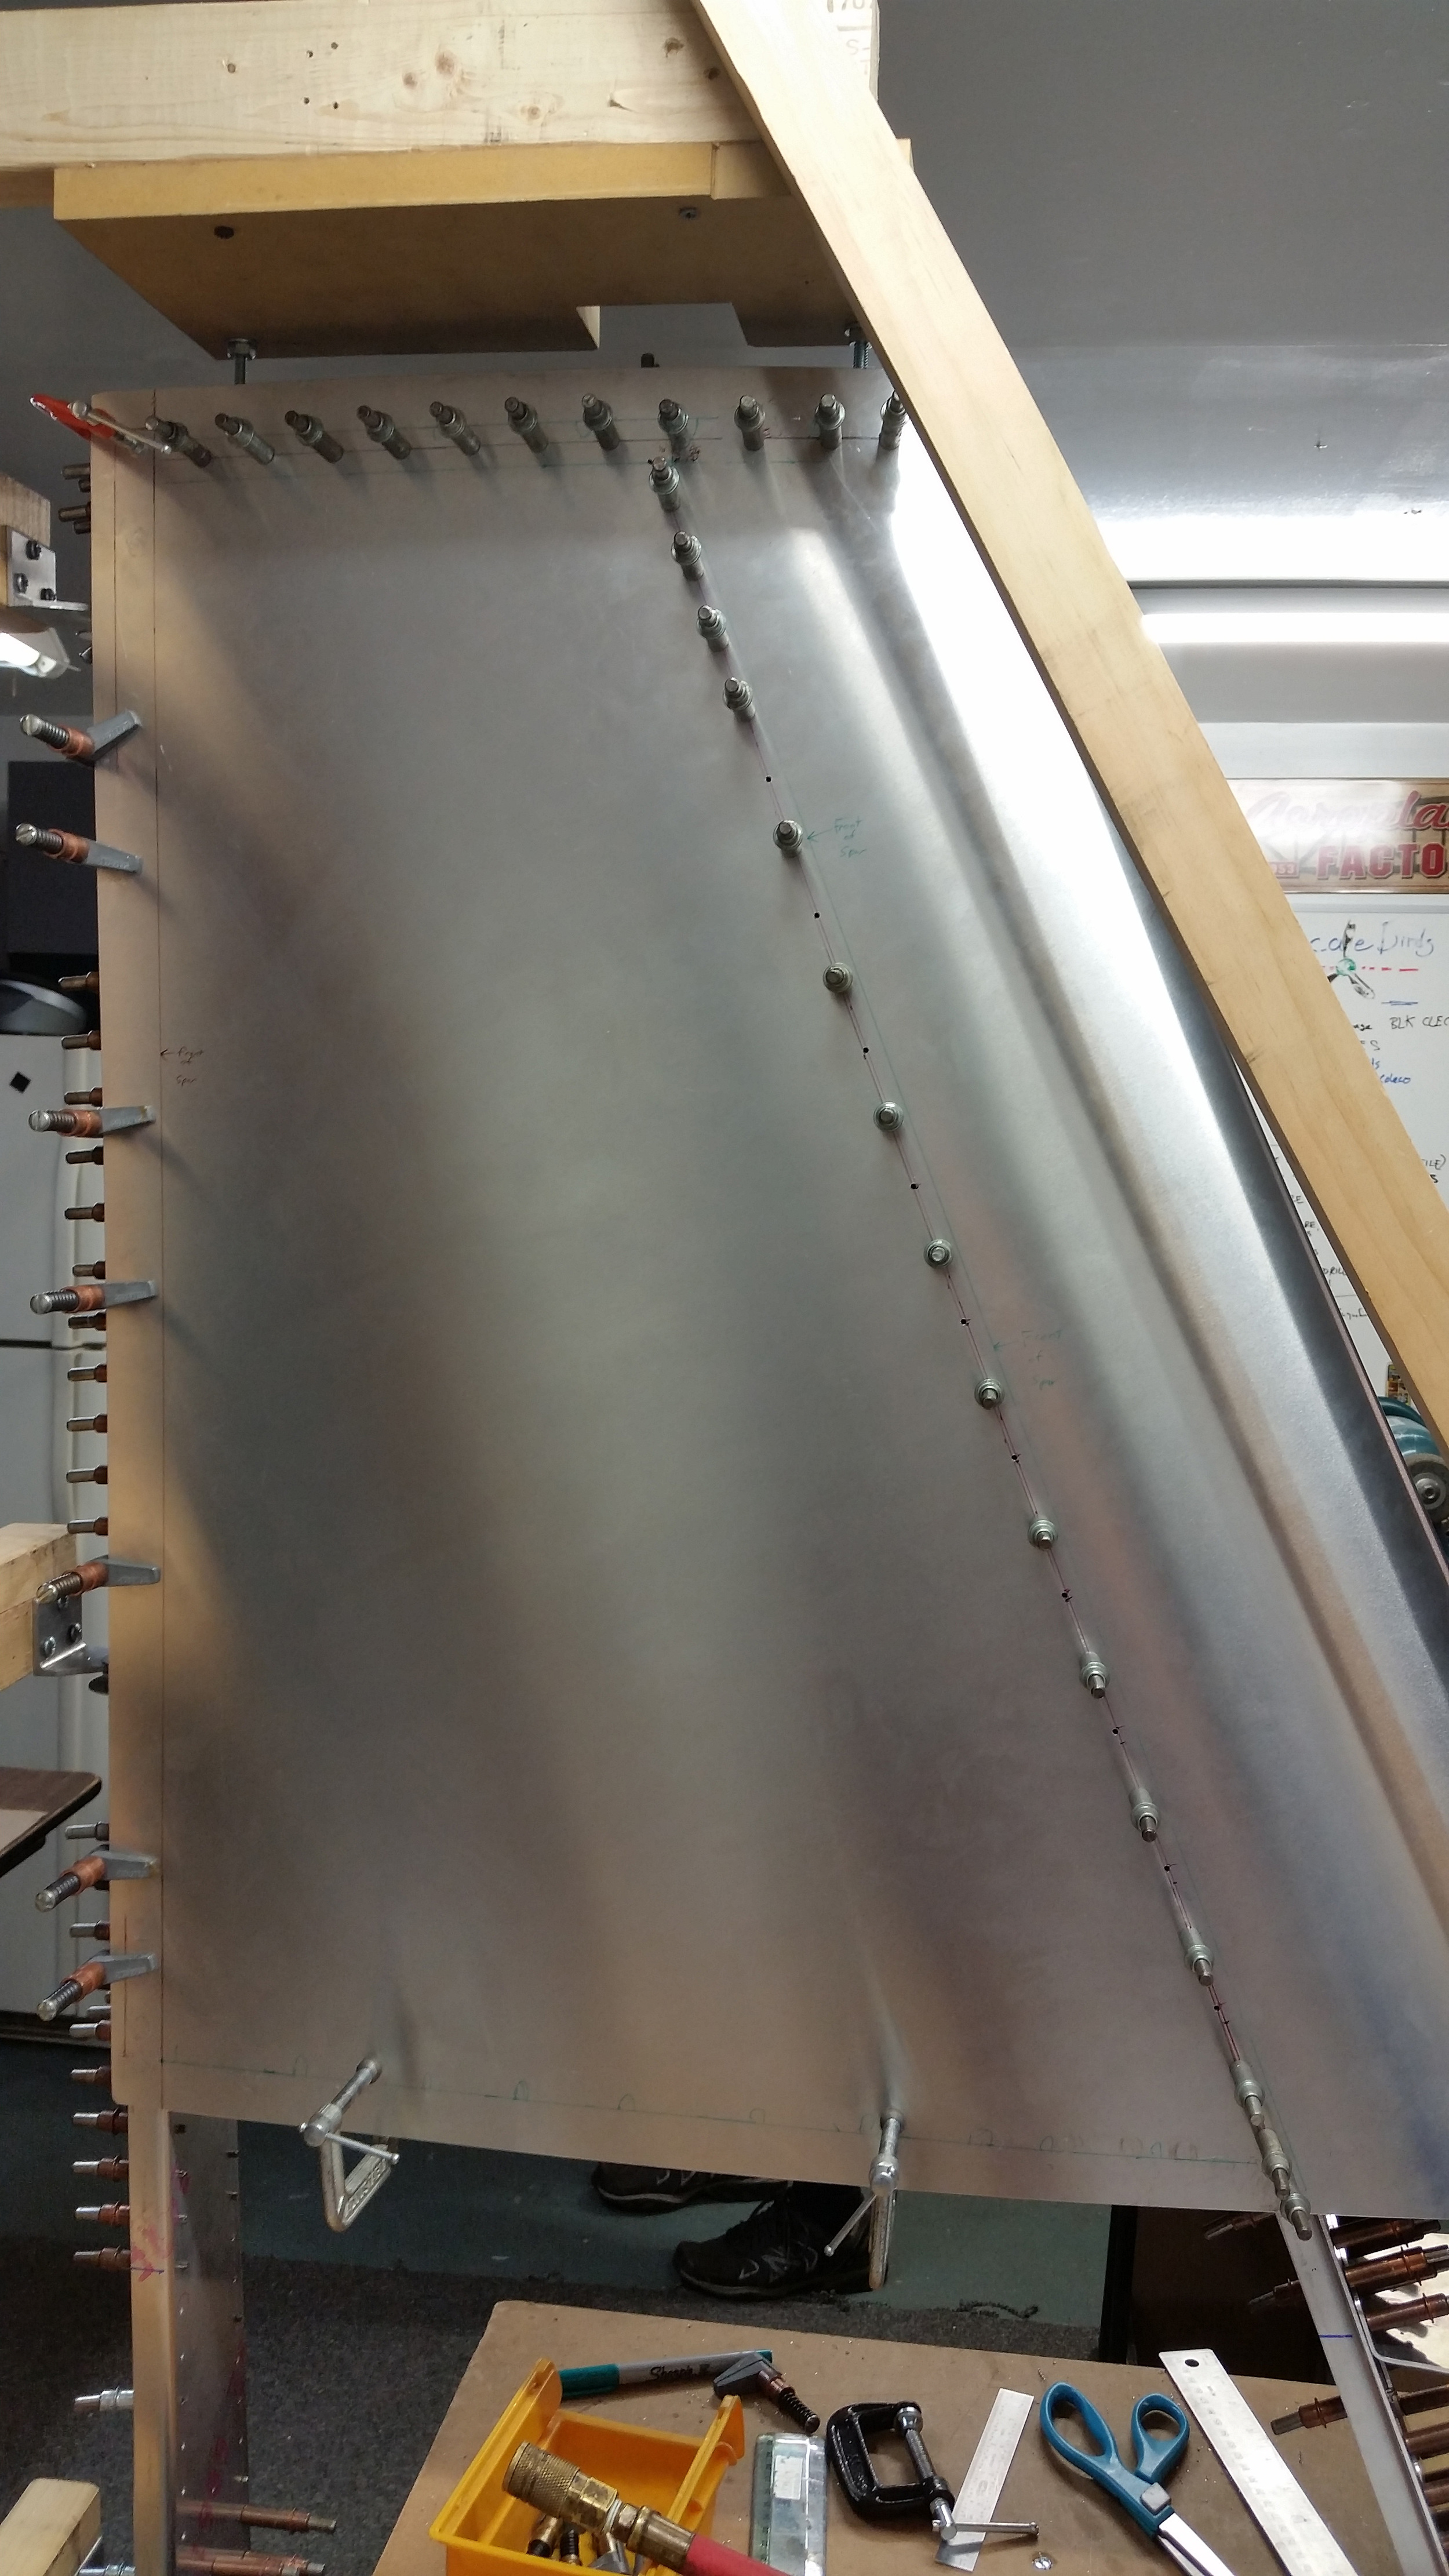
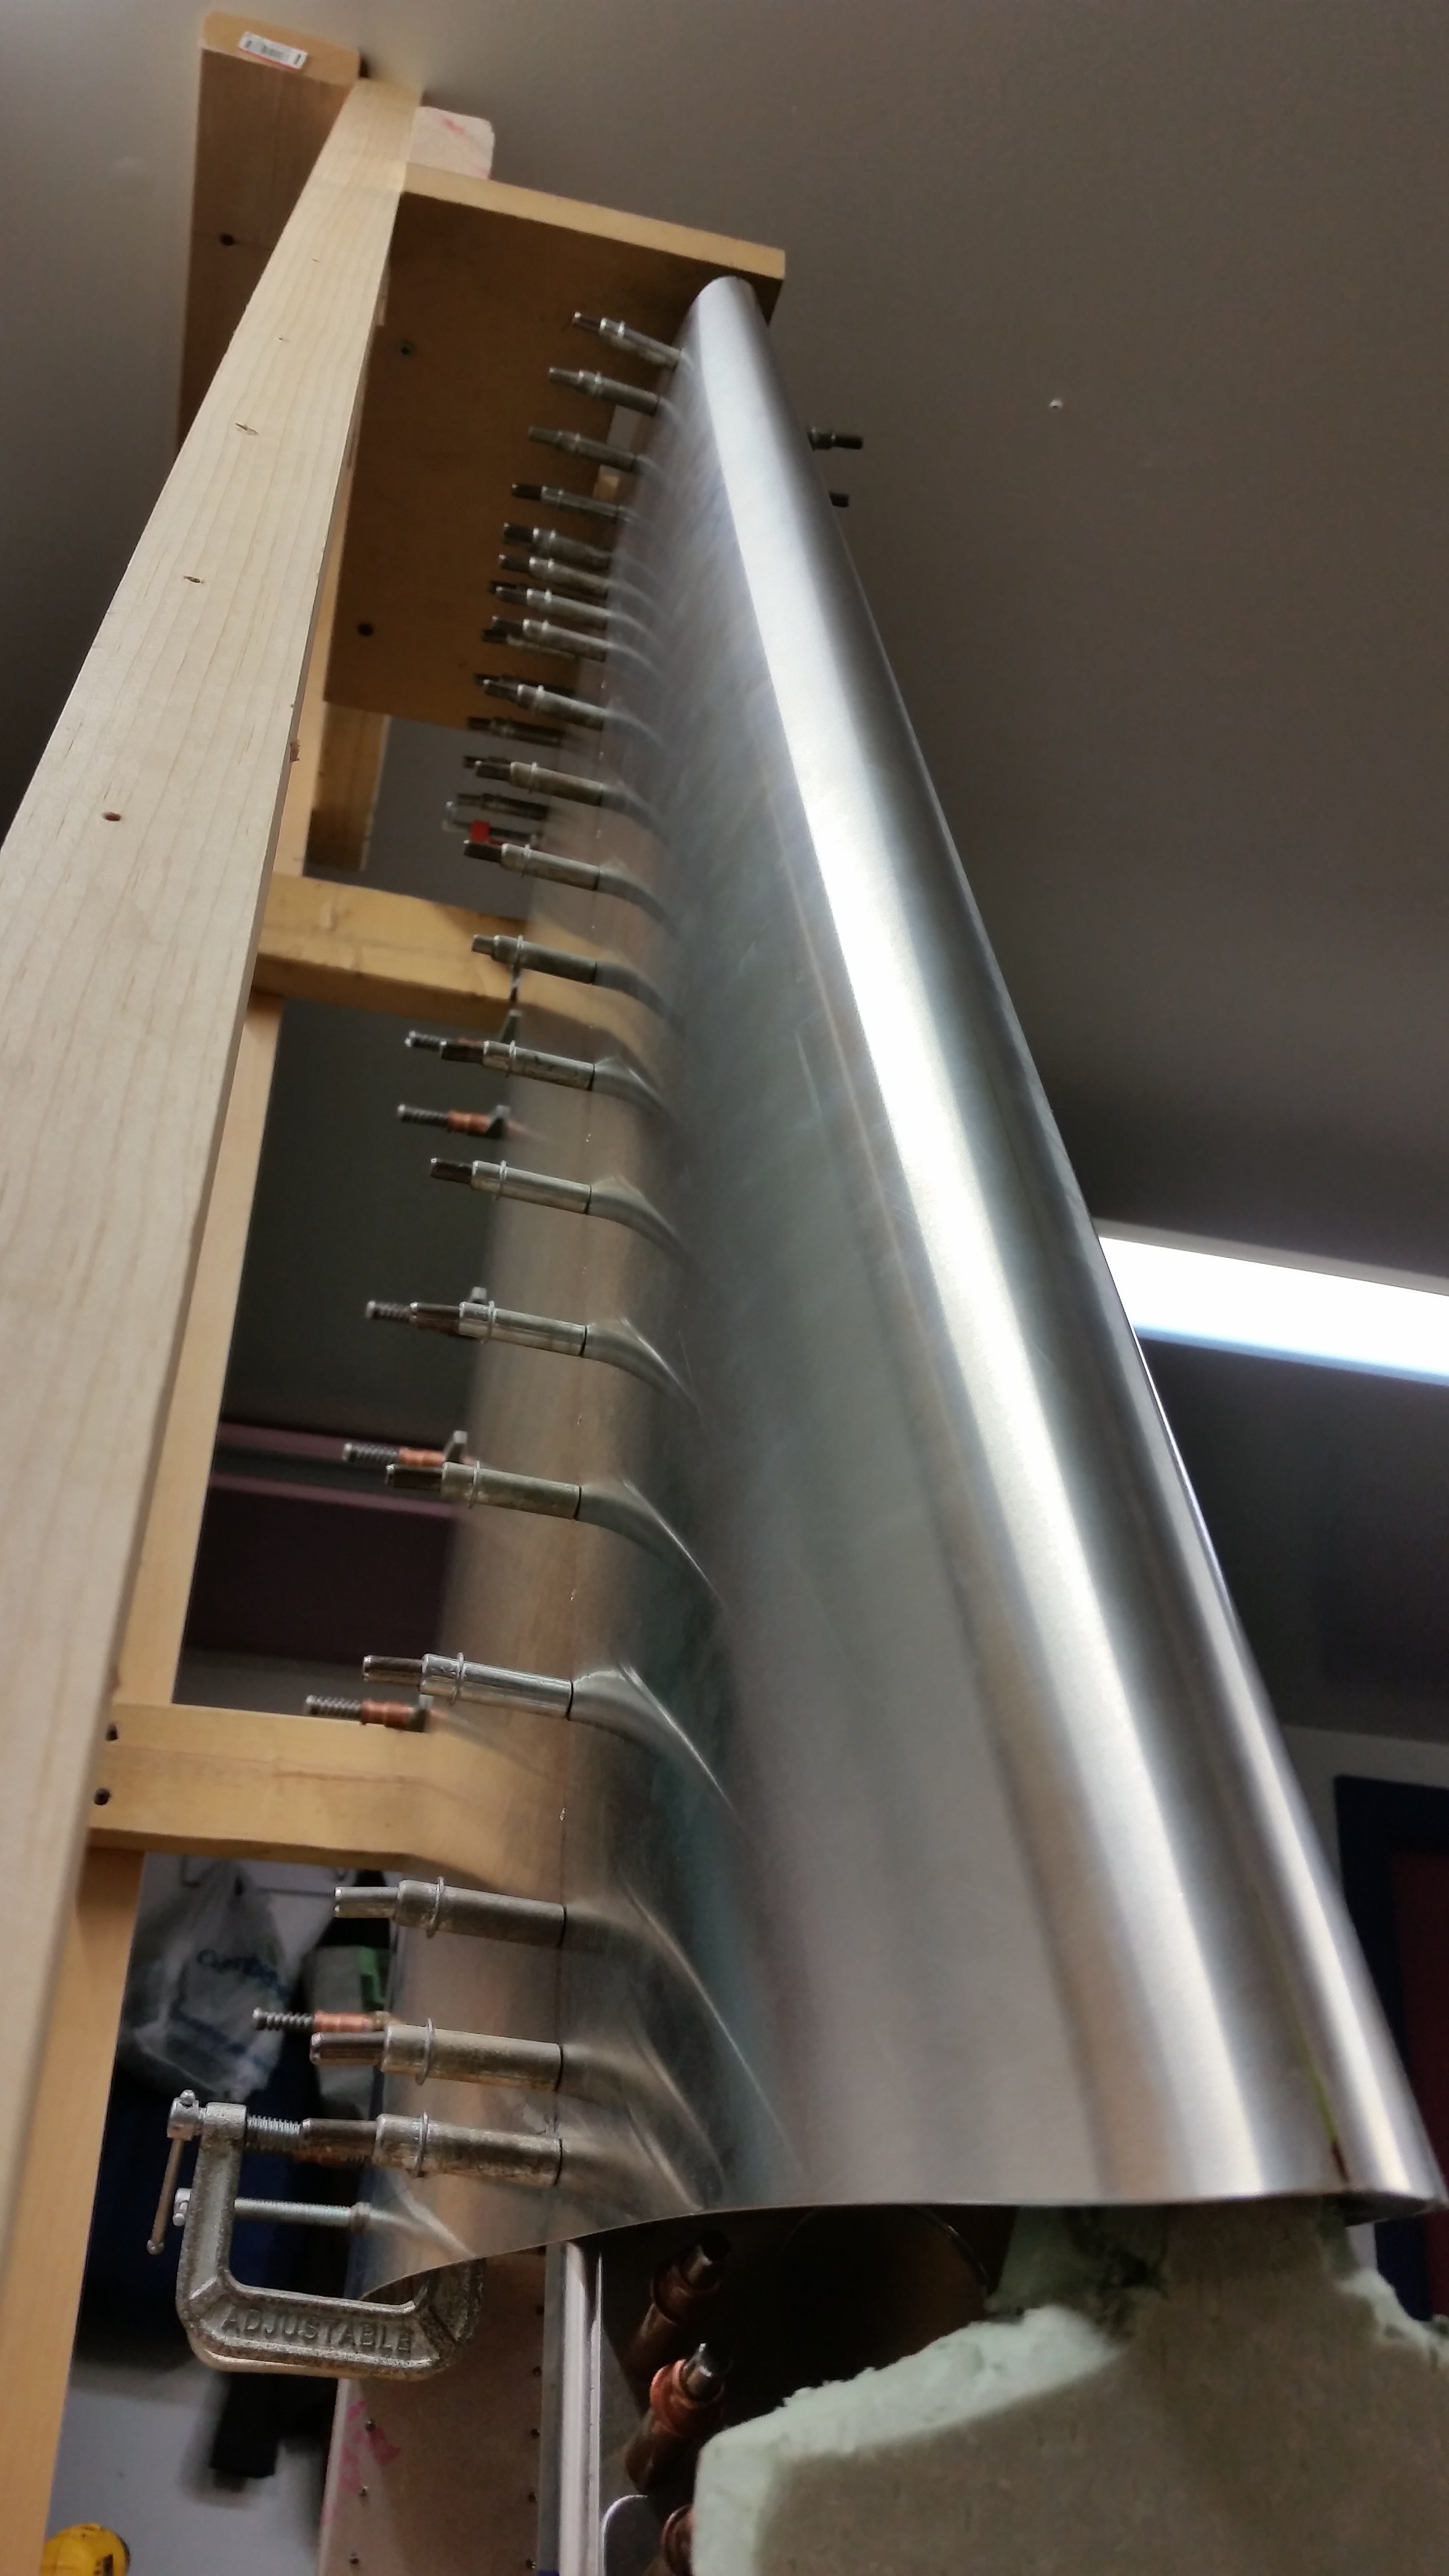
Internally, the ribs and spars are all round-head riveted together which we squeezed with the pneumatic squeezer. Bending the leading edge was a lot easier this time due to the length of the sheet giving us some leverage. It didn’t fight bending nearly as bad as the short skins did. Then the familiar dimpling the skins, rib flanges and spar caps to take the flush rivets. We had to use the 24” C-fixture and a hammer to get the skin dimpled. The stabilizer skins are all flush riveted per the real Hellcat, gotta have clean surfaces here. That riveting was easy too as we could hand buck everything. Then, the perimeter goes last to seal in the vert.
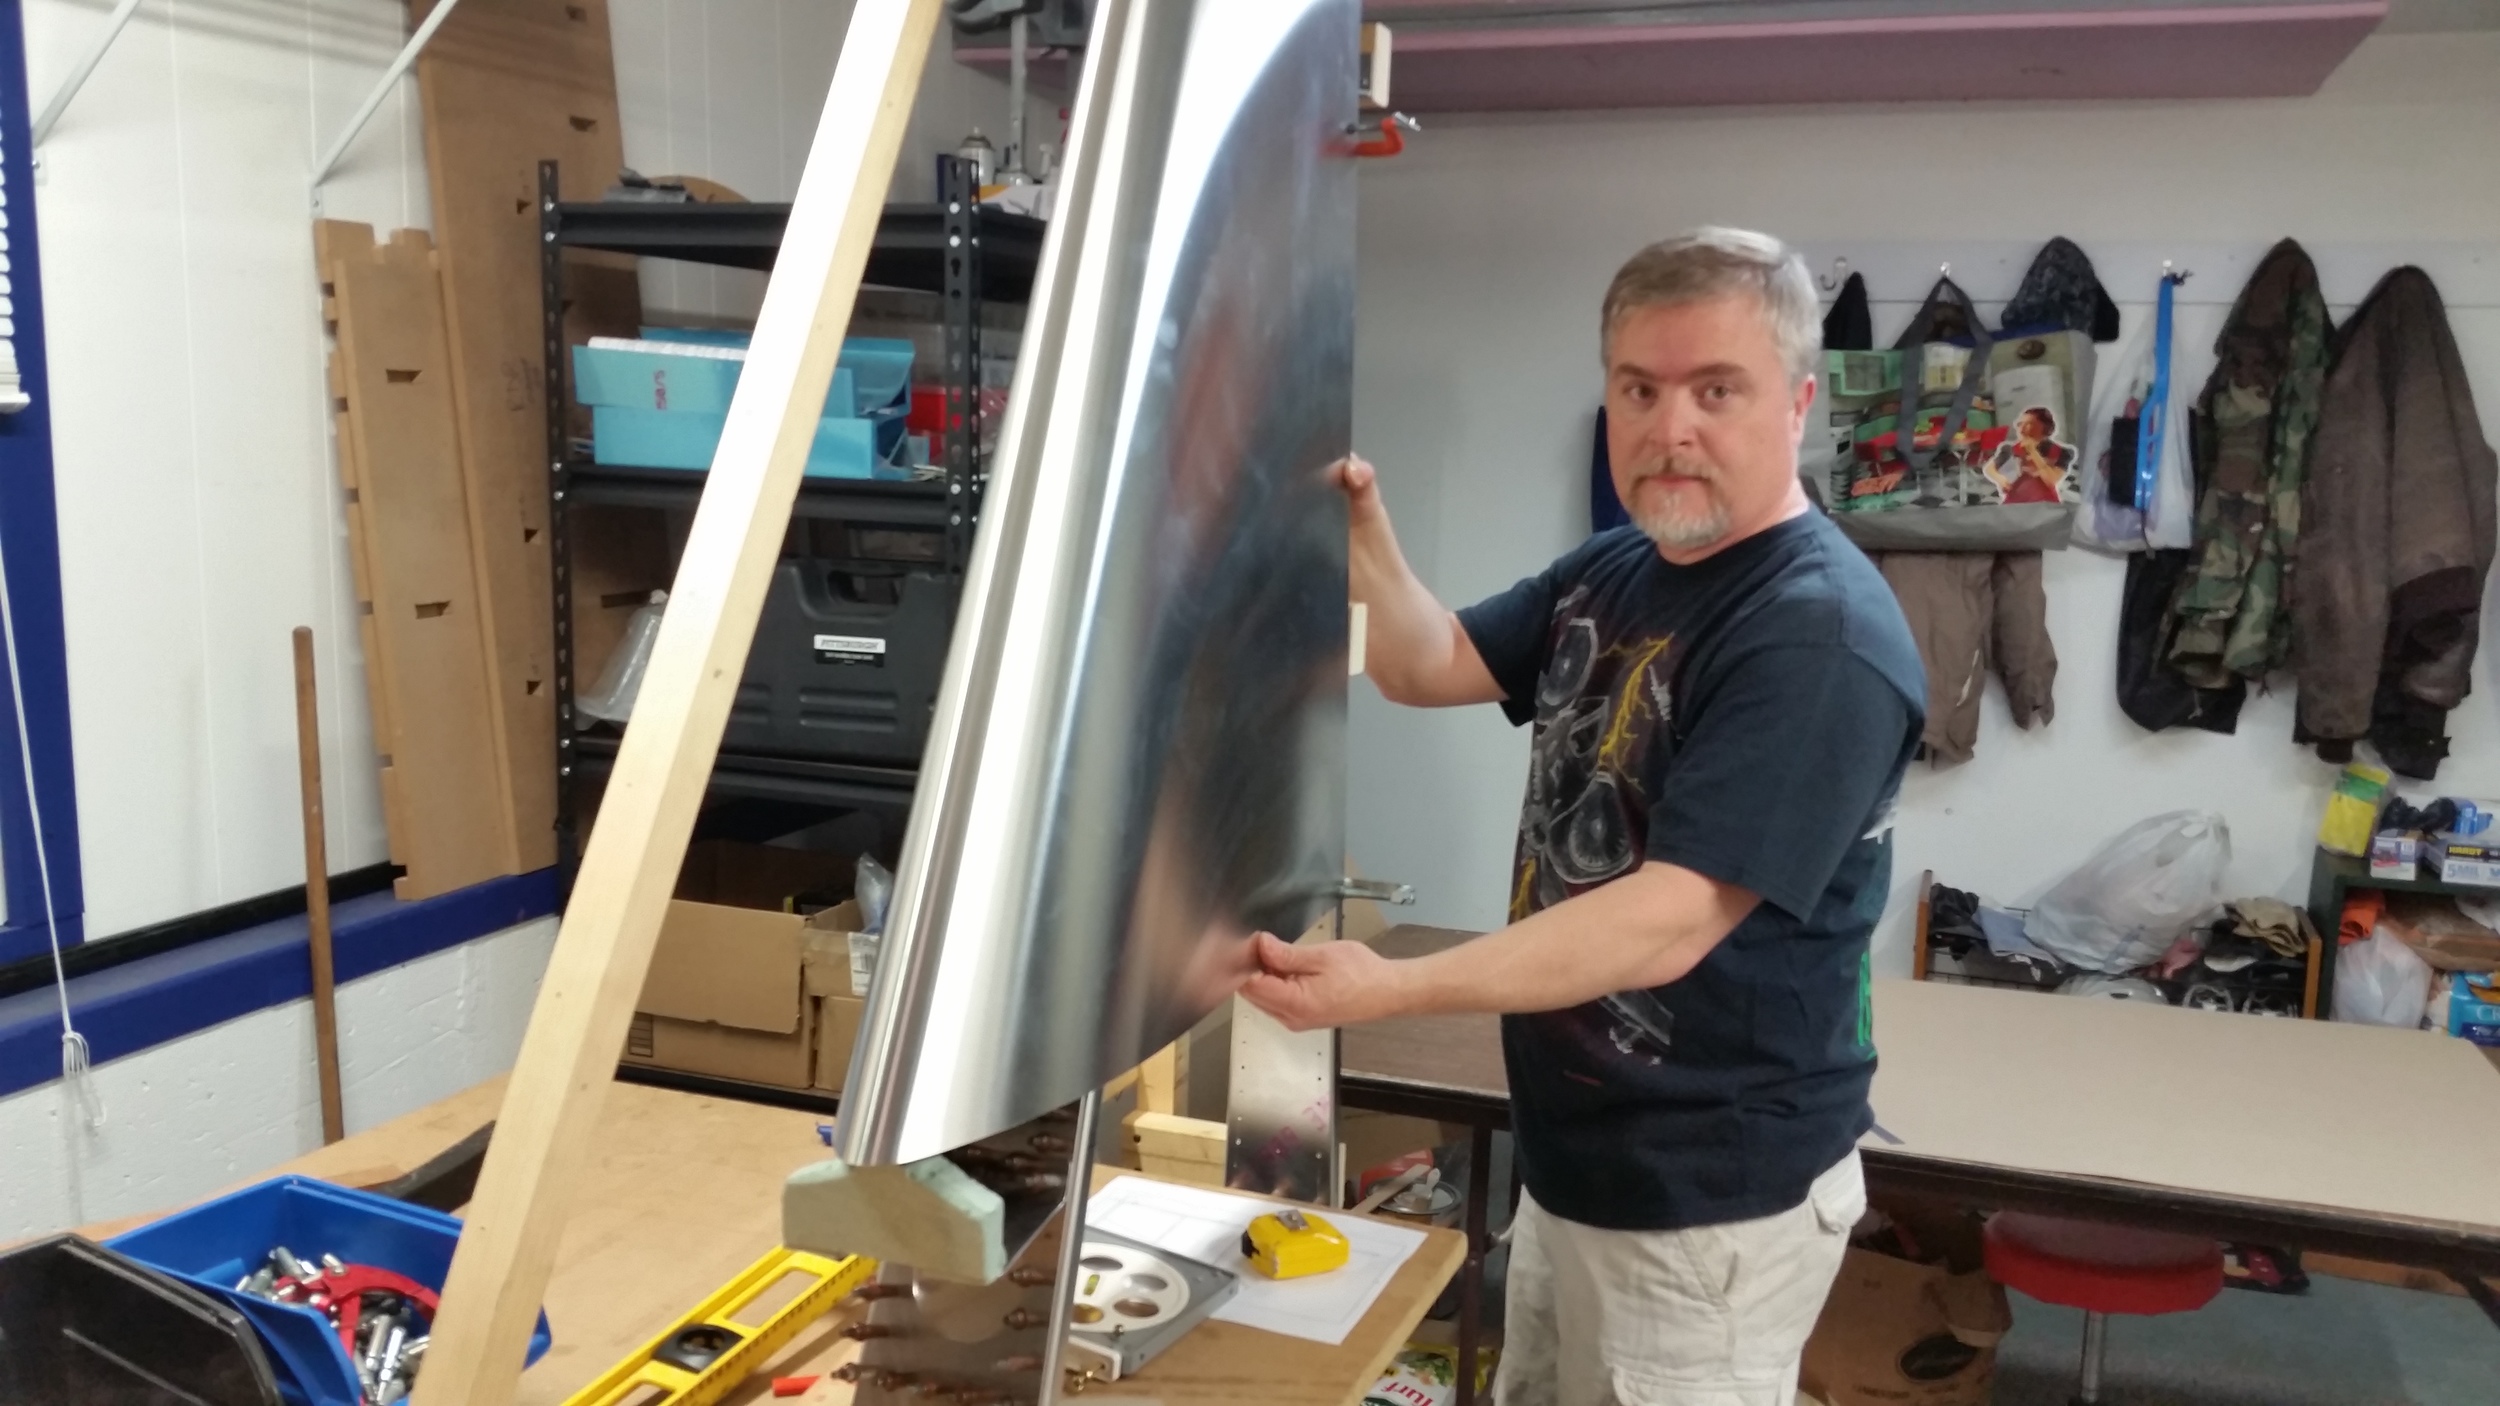
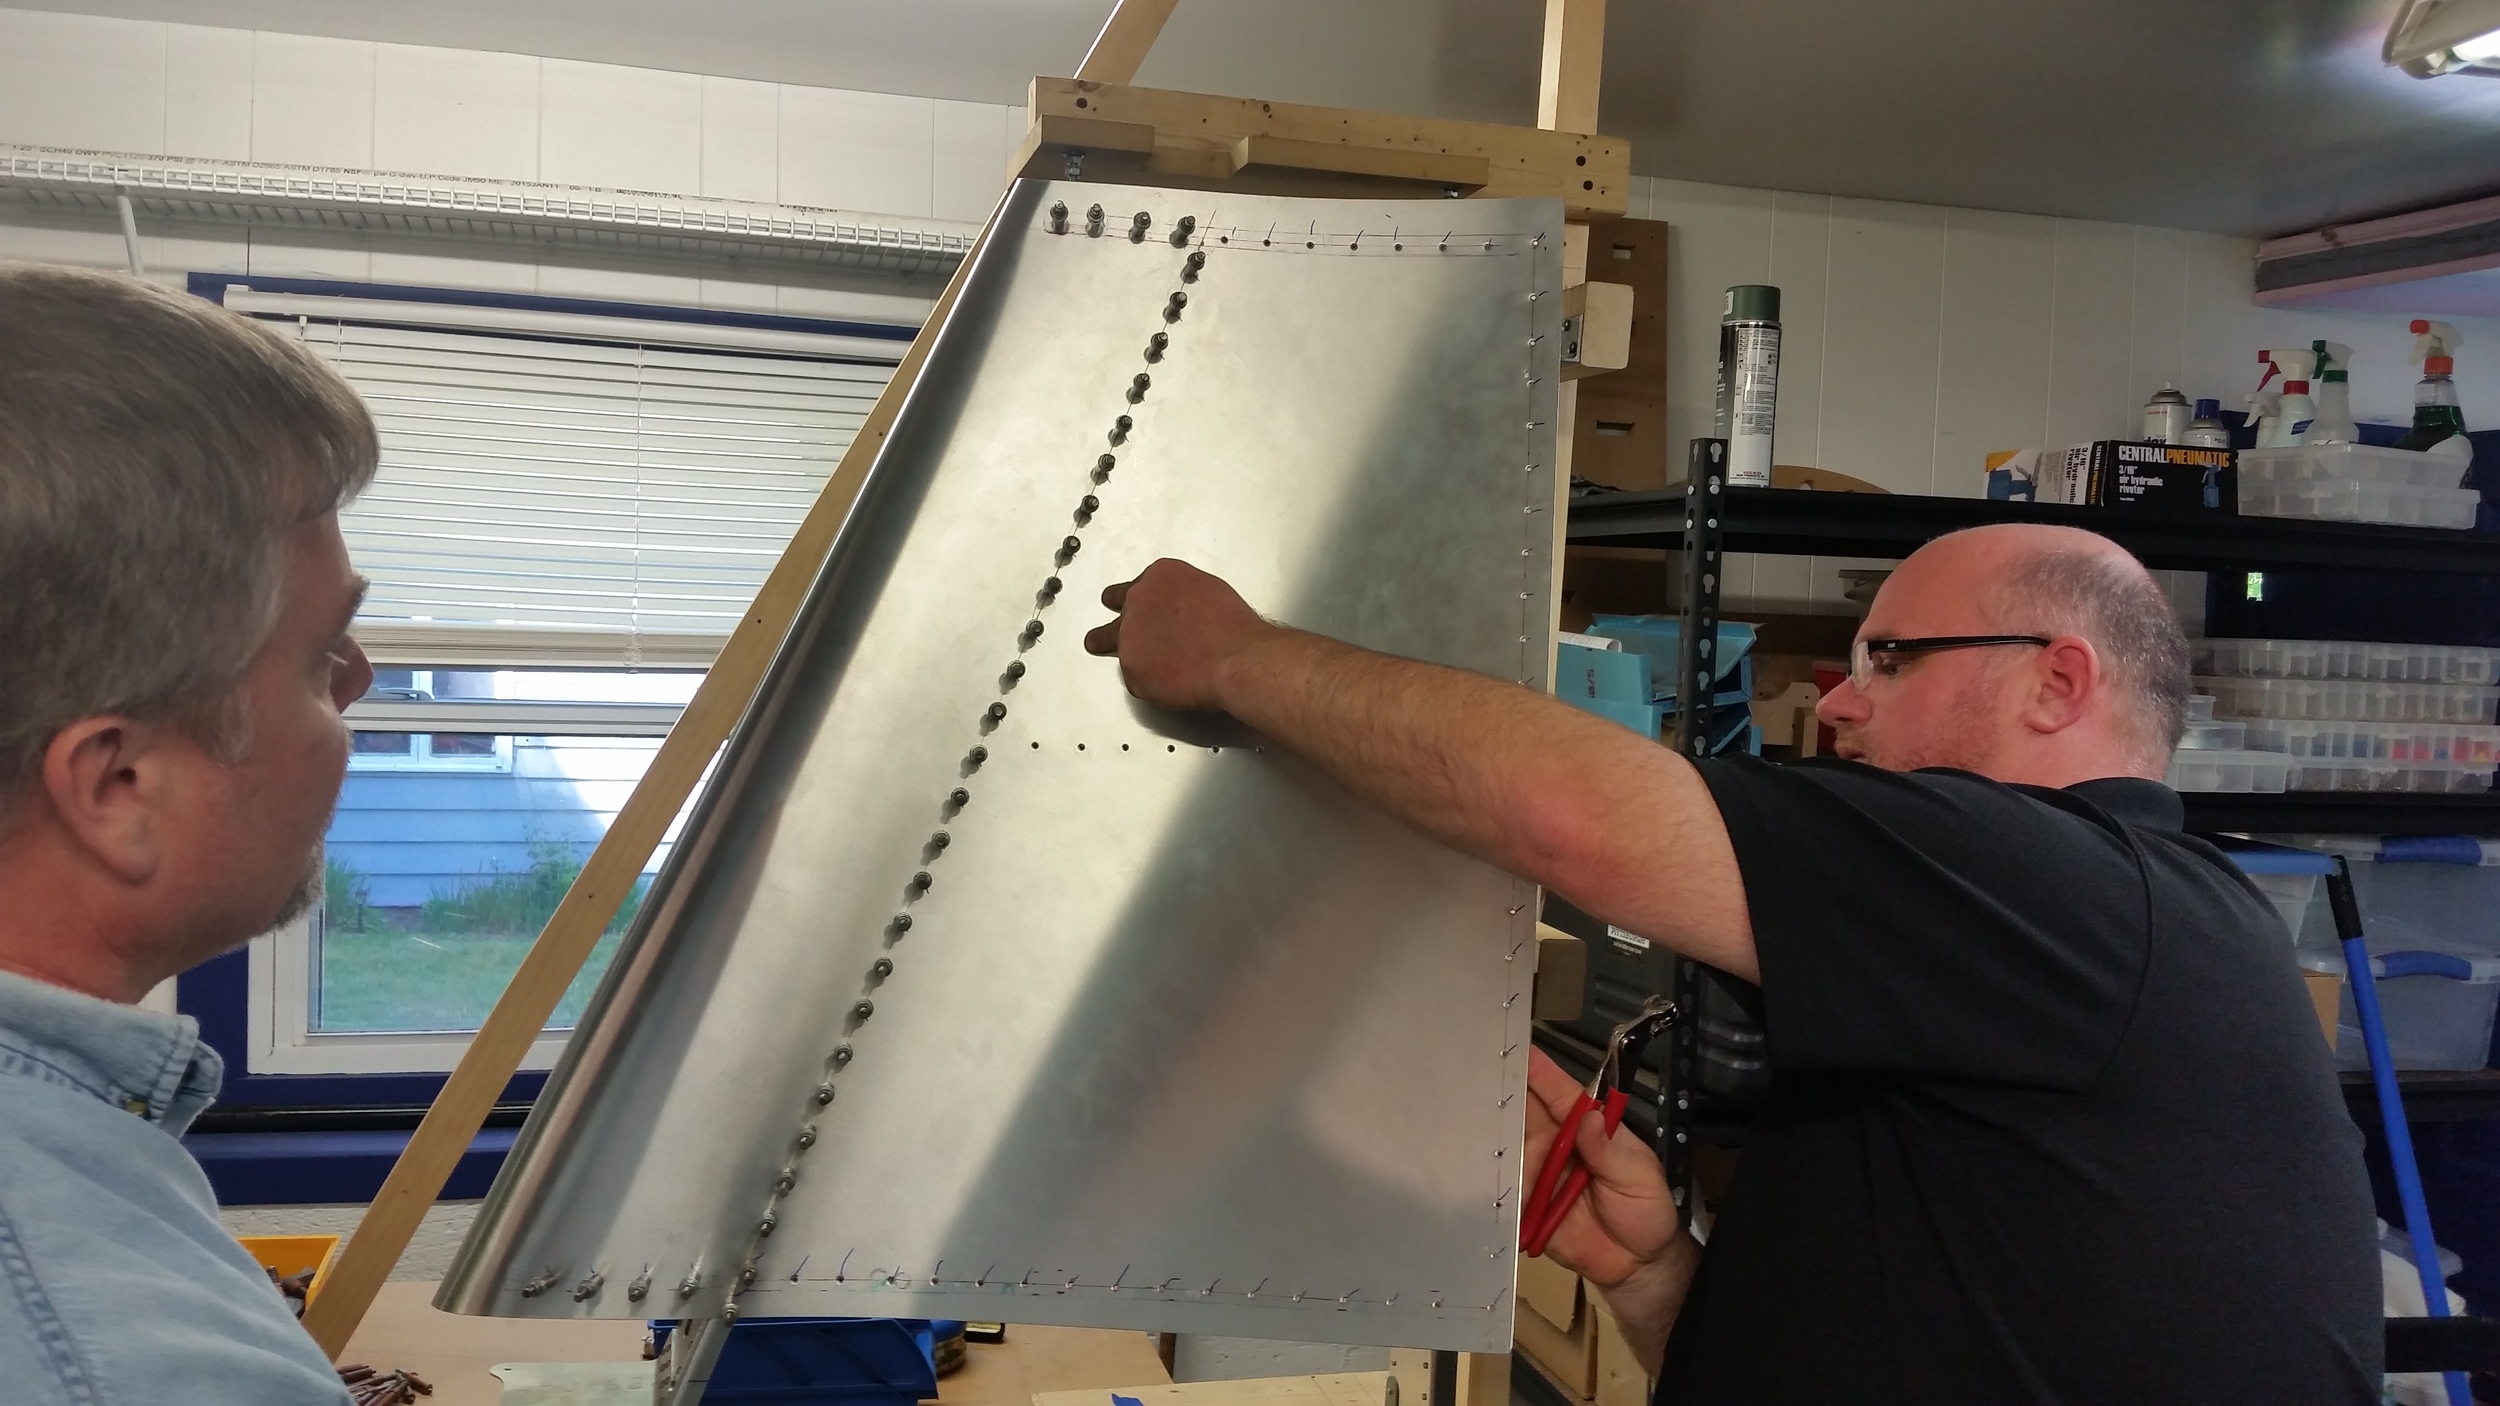
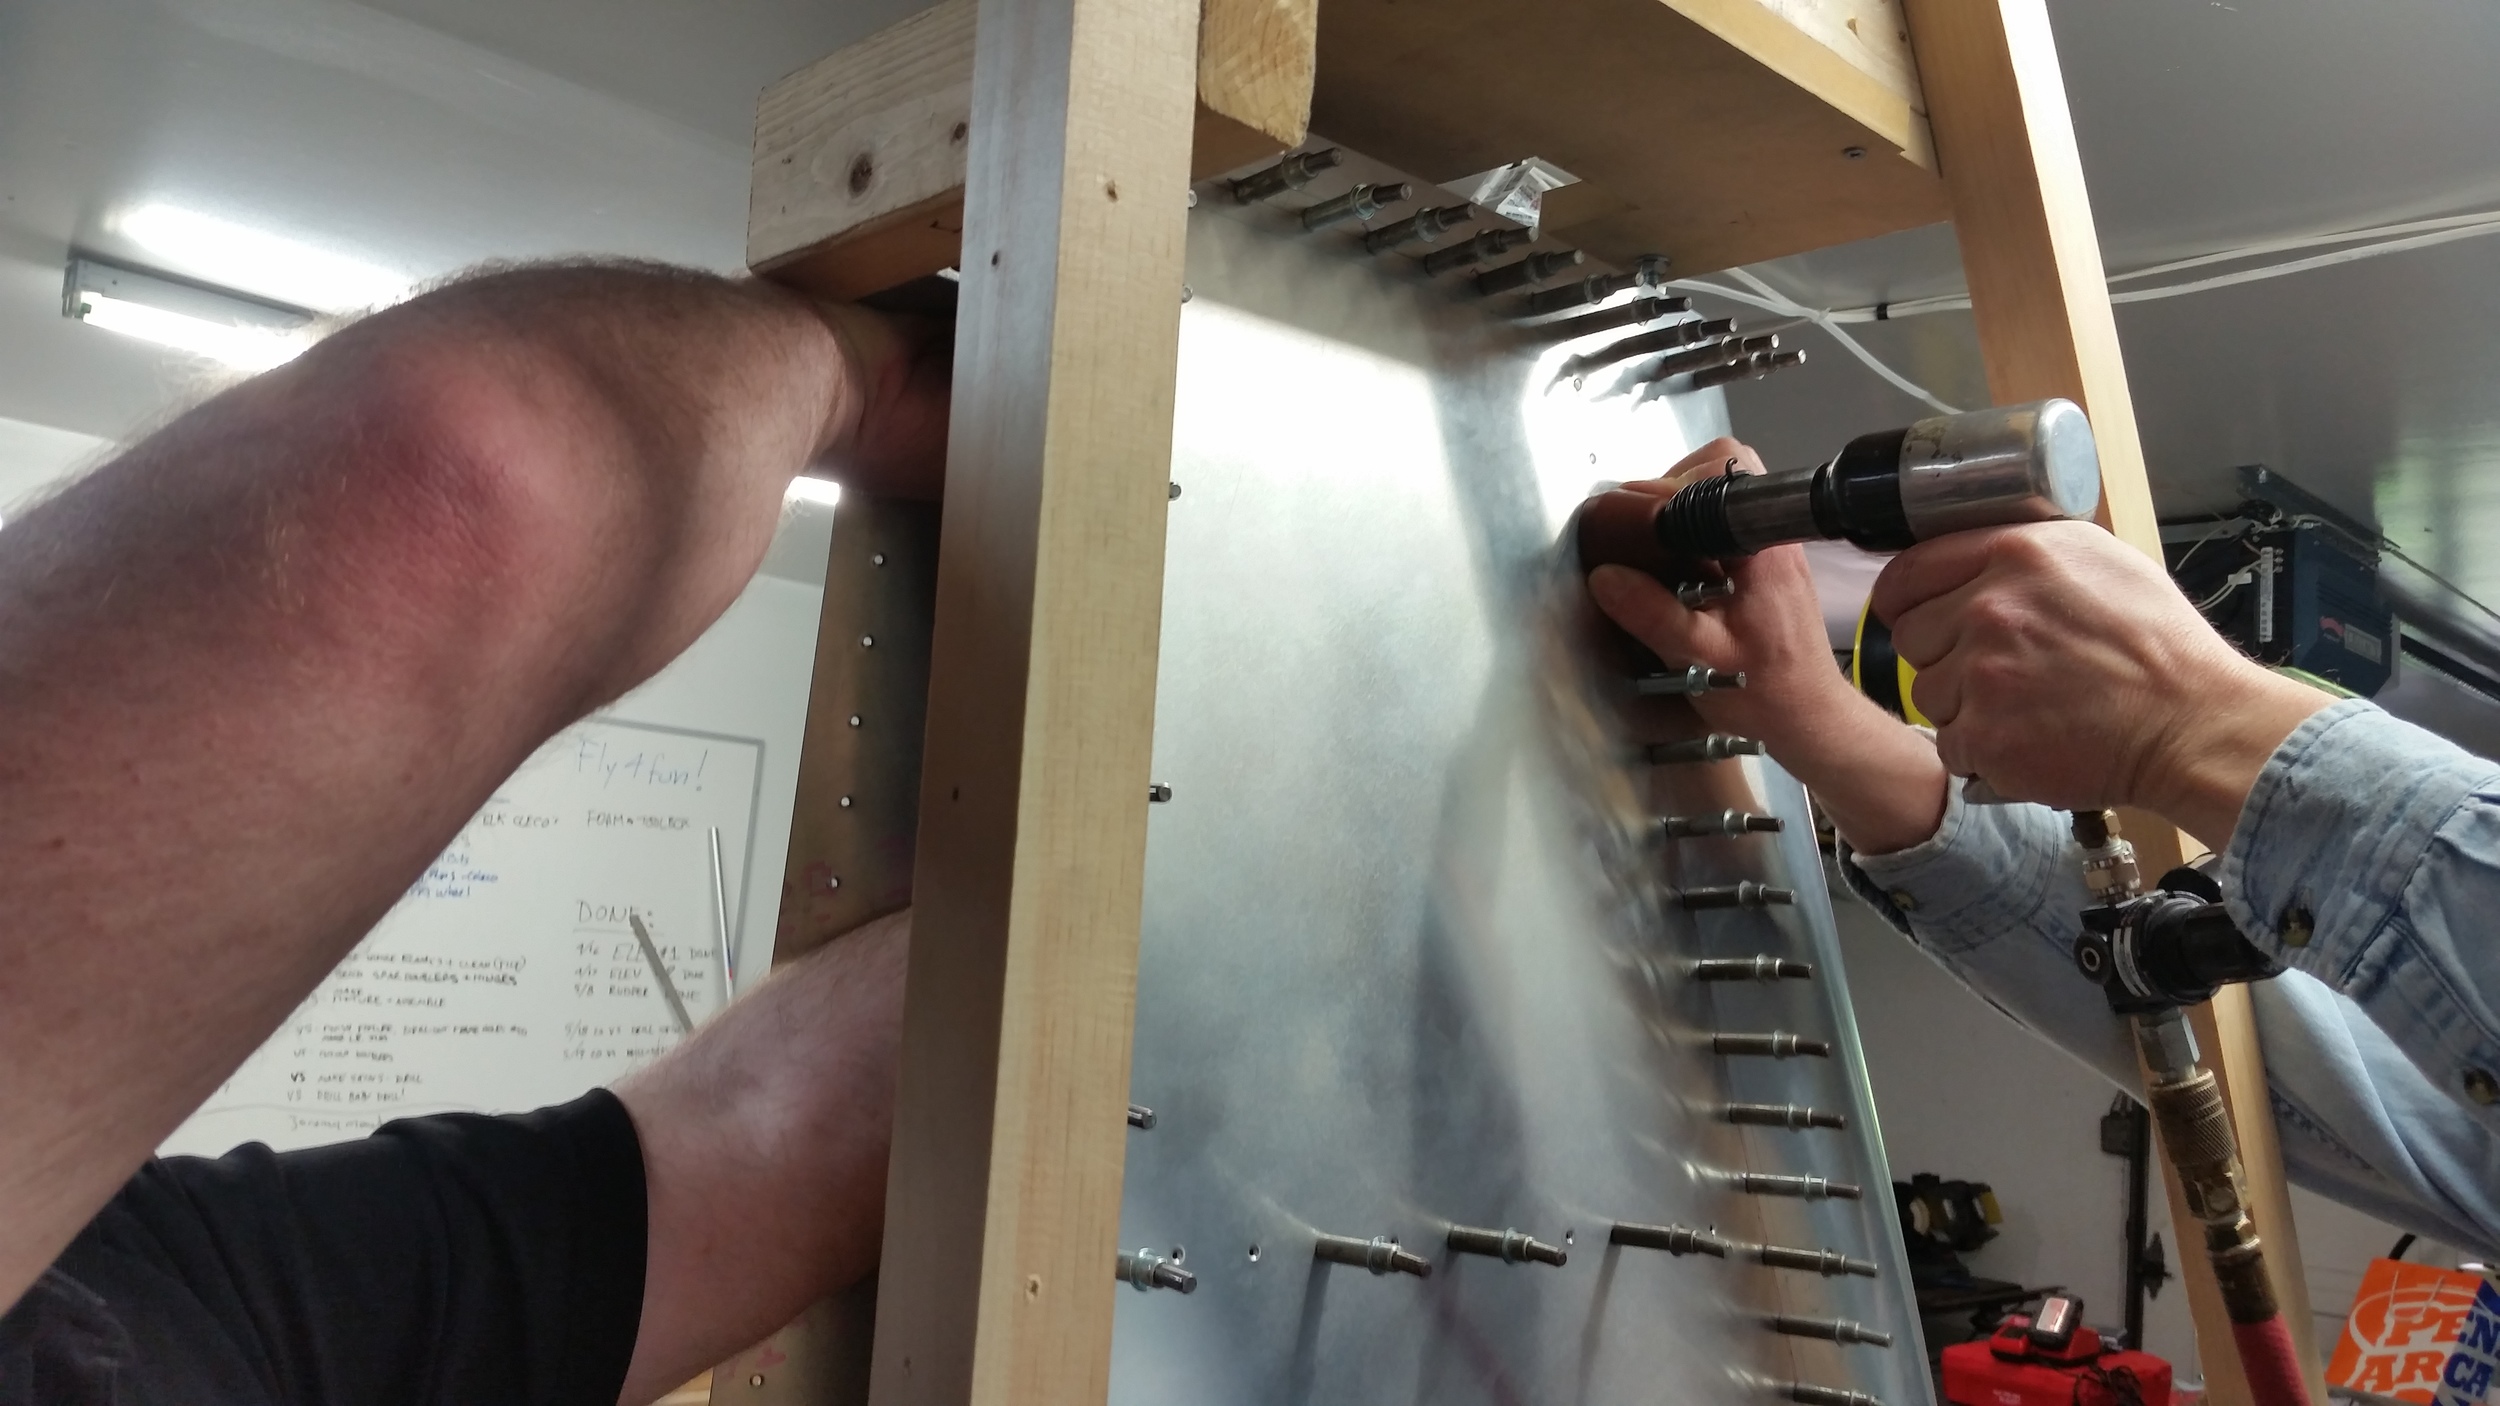
We’ve left the trailing edge of the skins a little long, those get trimmed to fit the rudder. We cut the skin on the CNC, but we didn’t have an exact sense of exactly how much the skin would stretch when we bent the leading edge which is why there were no pre-punched holes. The vertical and rudder will get their composite tip fairings later as well. We finished the vertical the third week of May 2015.
As mentioned at the start of the post, since finishing the vertical, we have been getting ready to start the fuselage build. This required we build a new 10ft bench at a good working height, with a flat and true surface to build on (within reason, this isn’t comparable to a surface plate or anything.) For what we put into it, the table turned out well, and in a few days it’ll start to serve its purpose. If all goes well, within a few weeks we'll be doing the 'real' one, at which point the project gets real fun.

