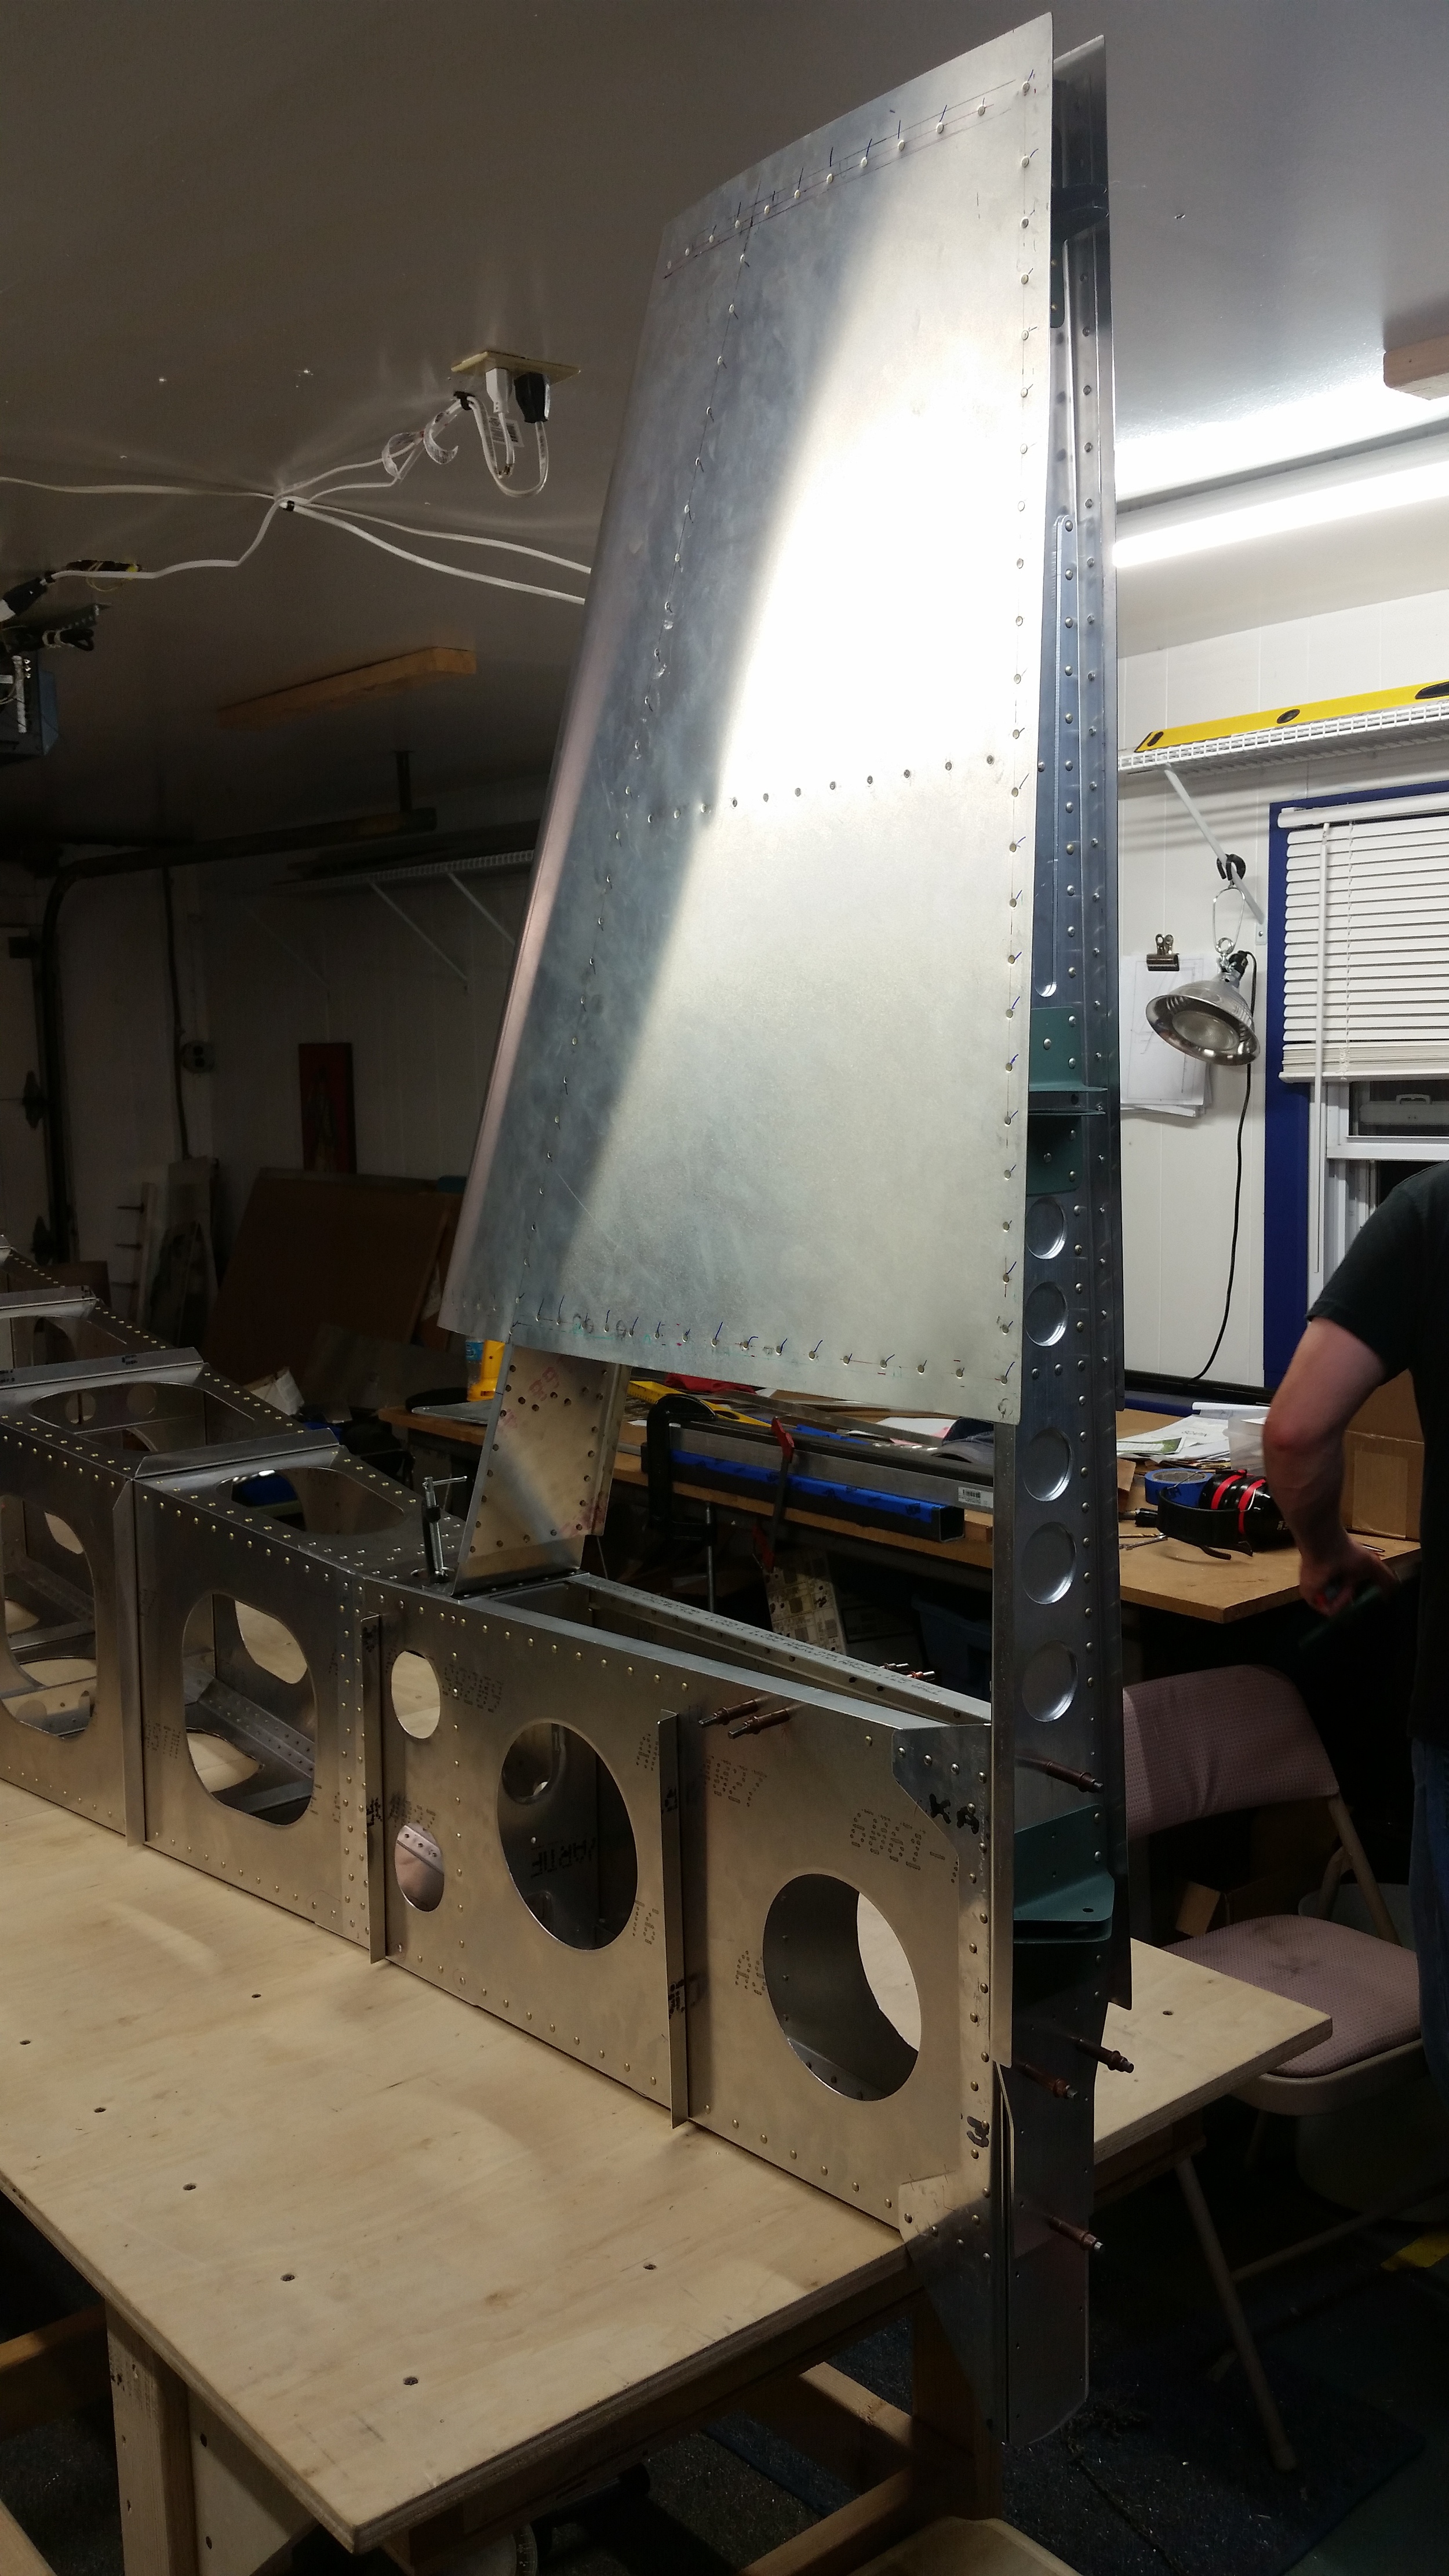
Loading Up

The tail frame is now finished and tested! We’ve been busy pushing to finish the sample frame so we could find out if the design held up as expected. We would have been done sooner except, well, a little thing like OSHKOSH AIRVENTURE 2015 got in our way. It was a great event and we learned a lot and met some cool people. We’ll have more on that shortly. It did put us back a bit though. Also as always you run into some delays for personal reasons and everybody in the team is super busy at home. Anyway, we did it!
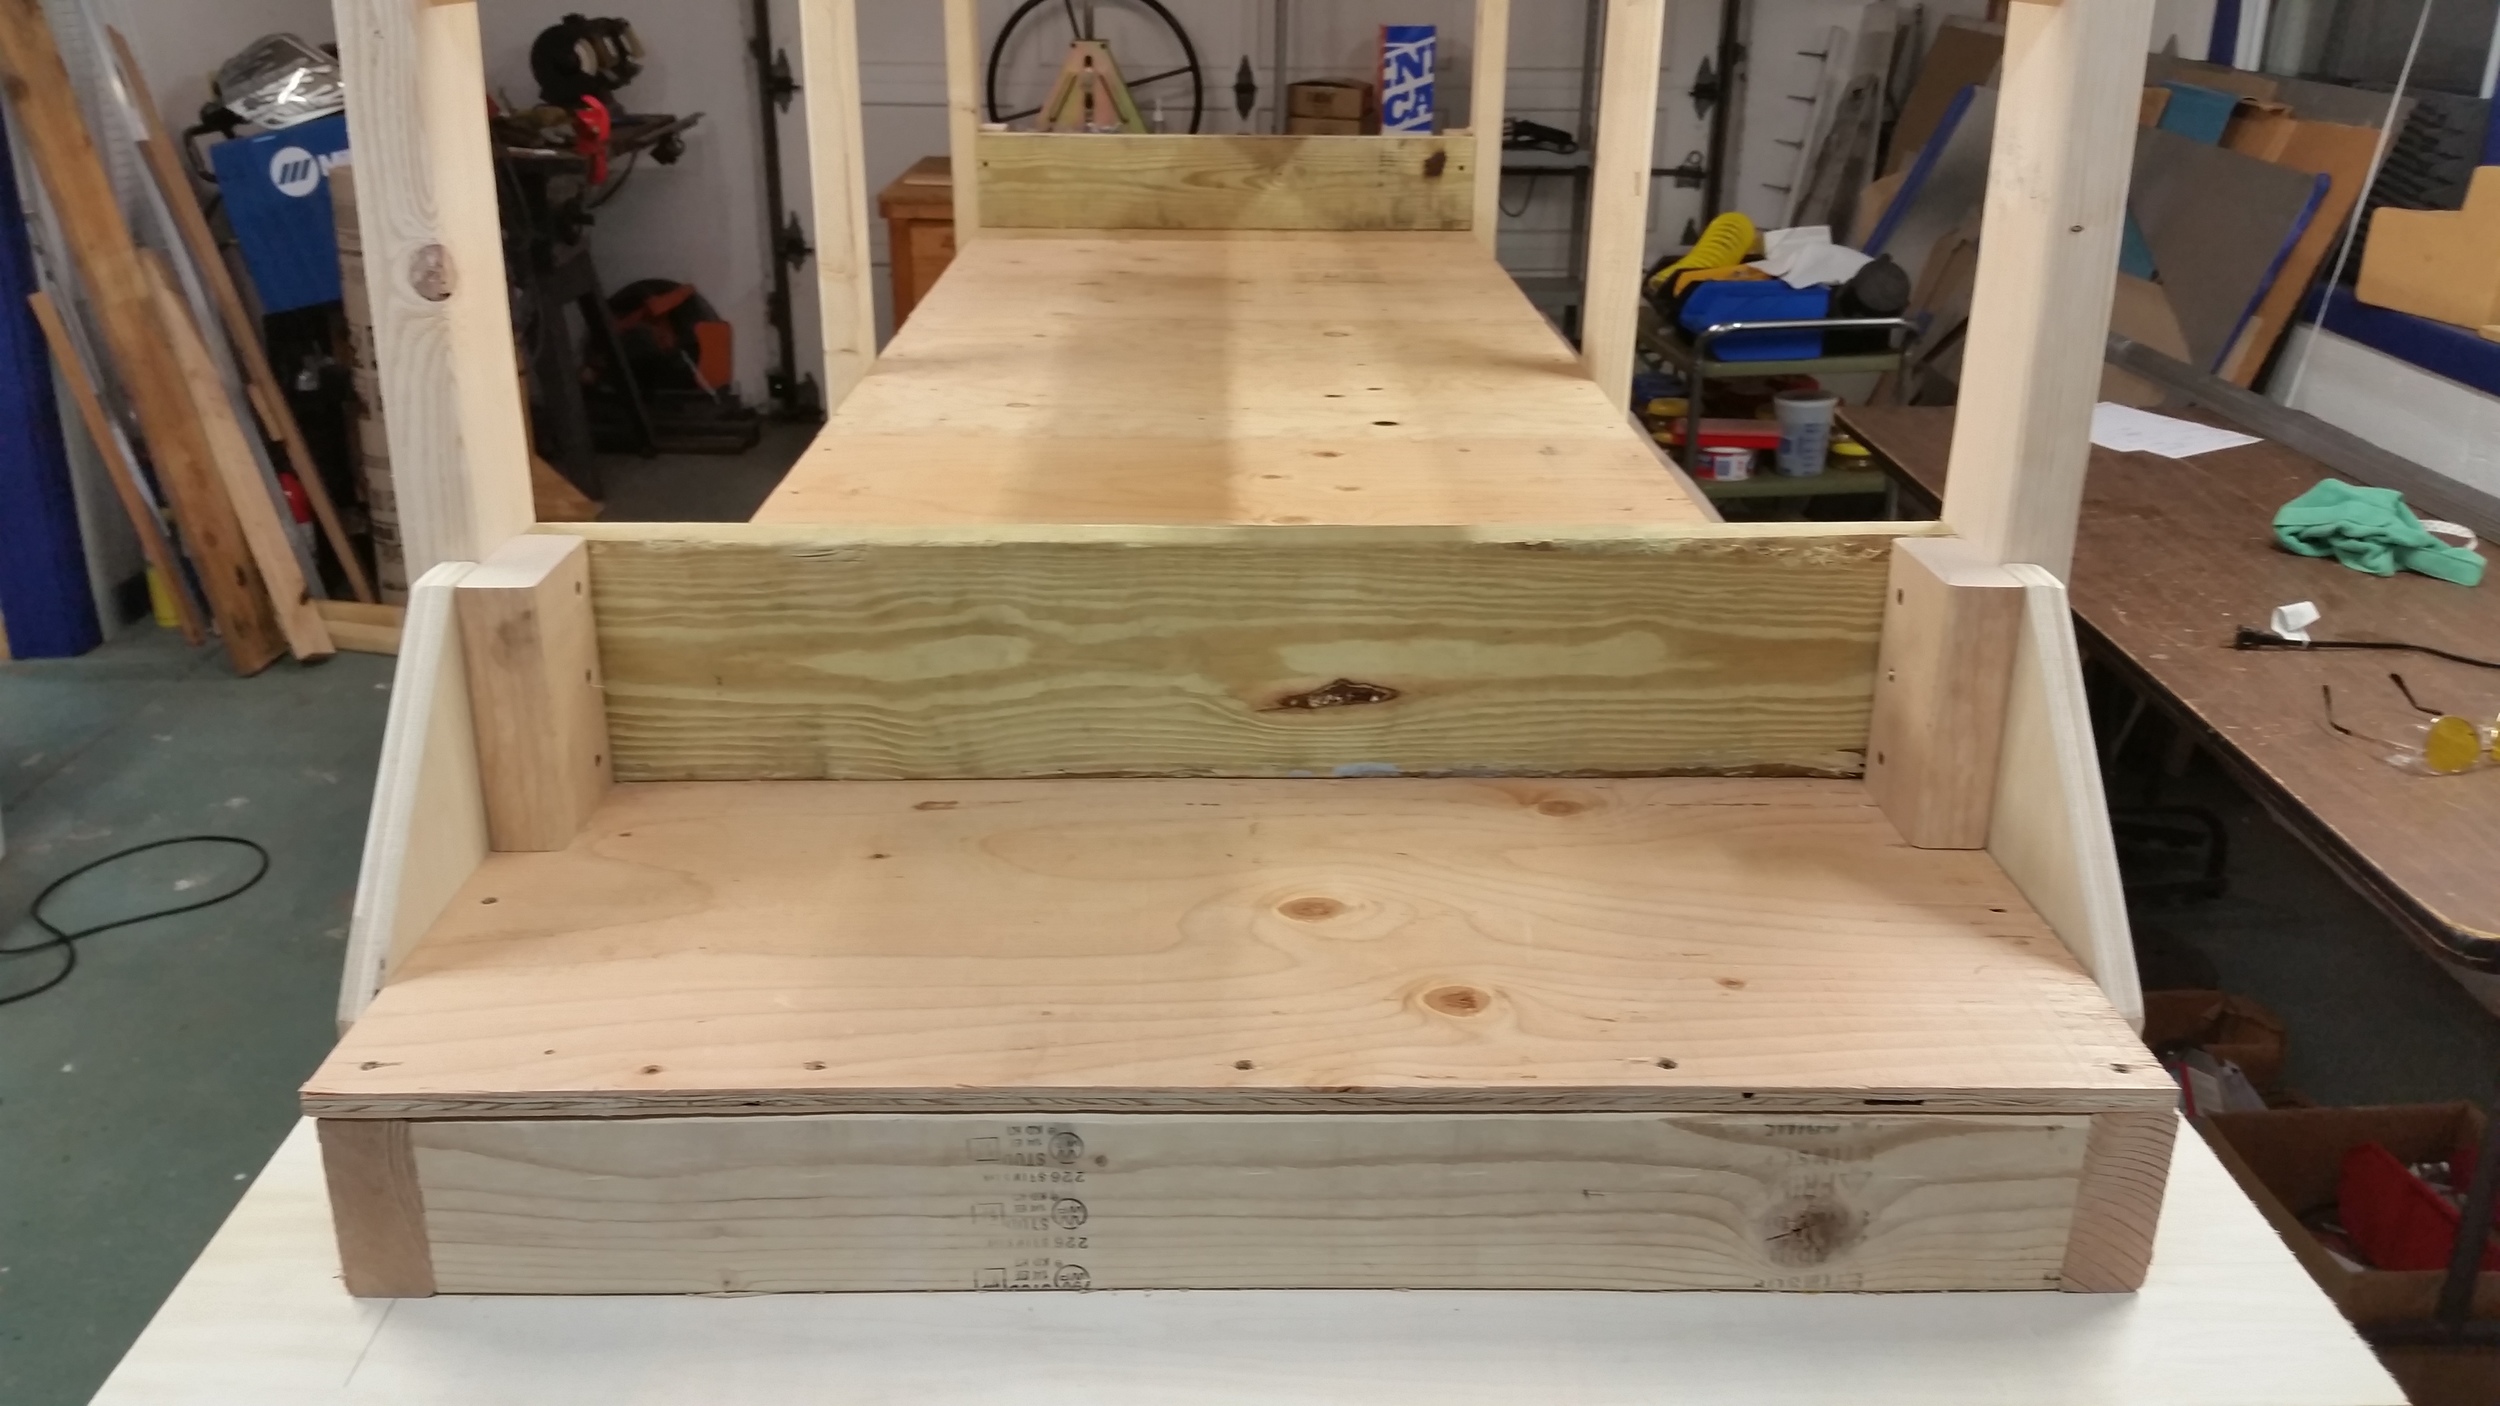
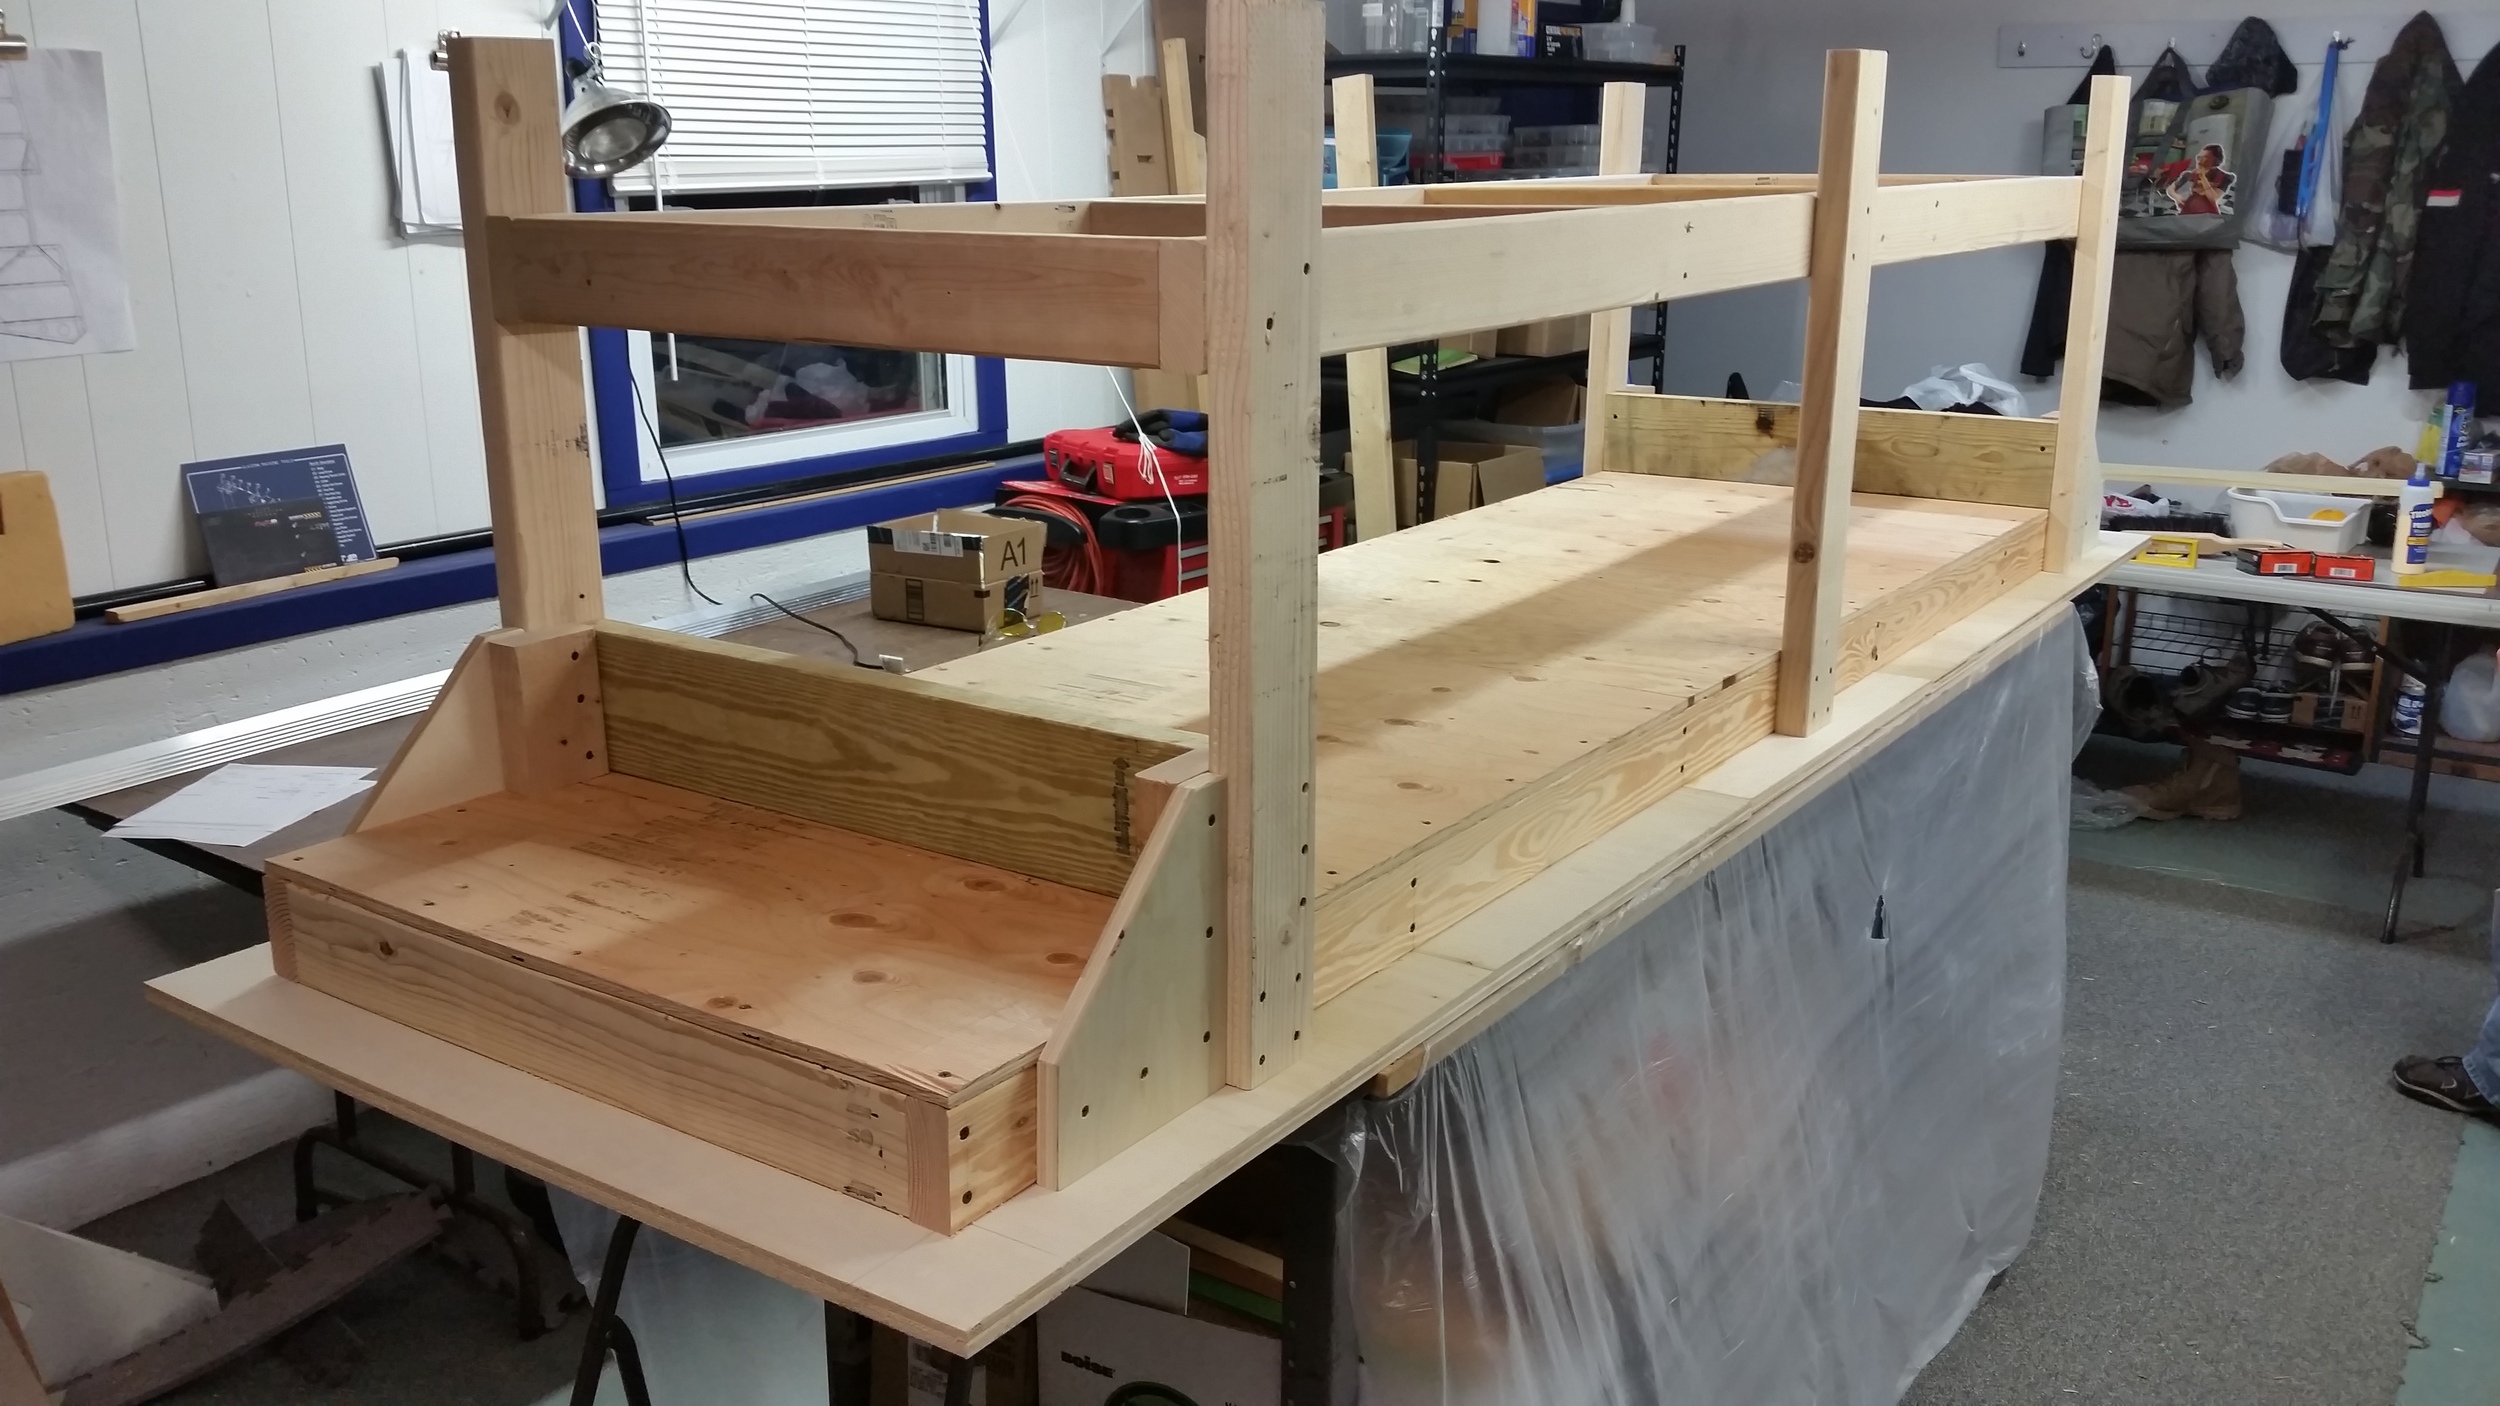
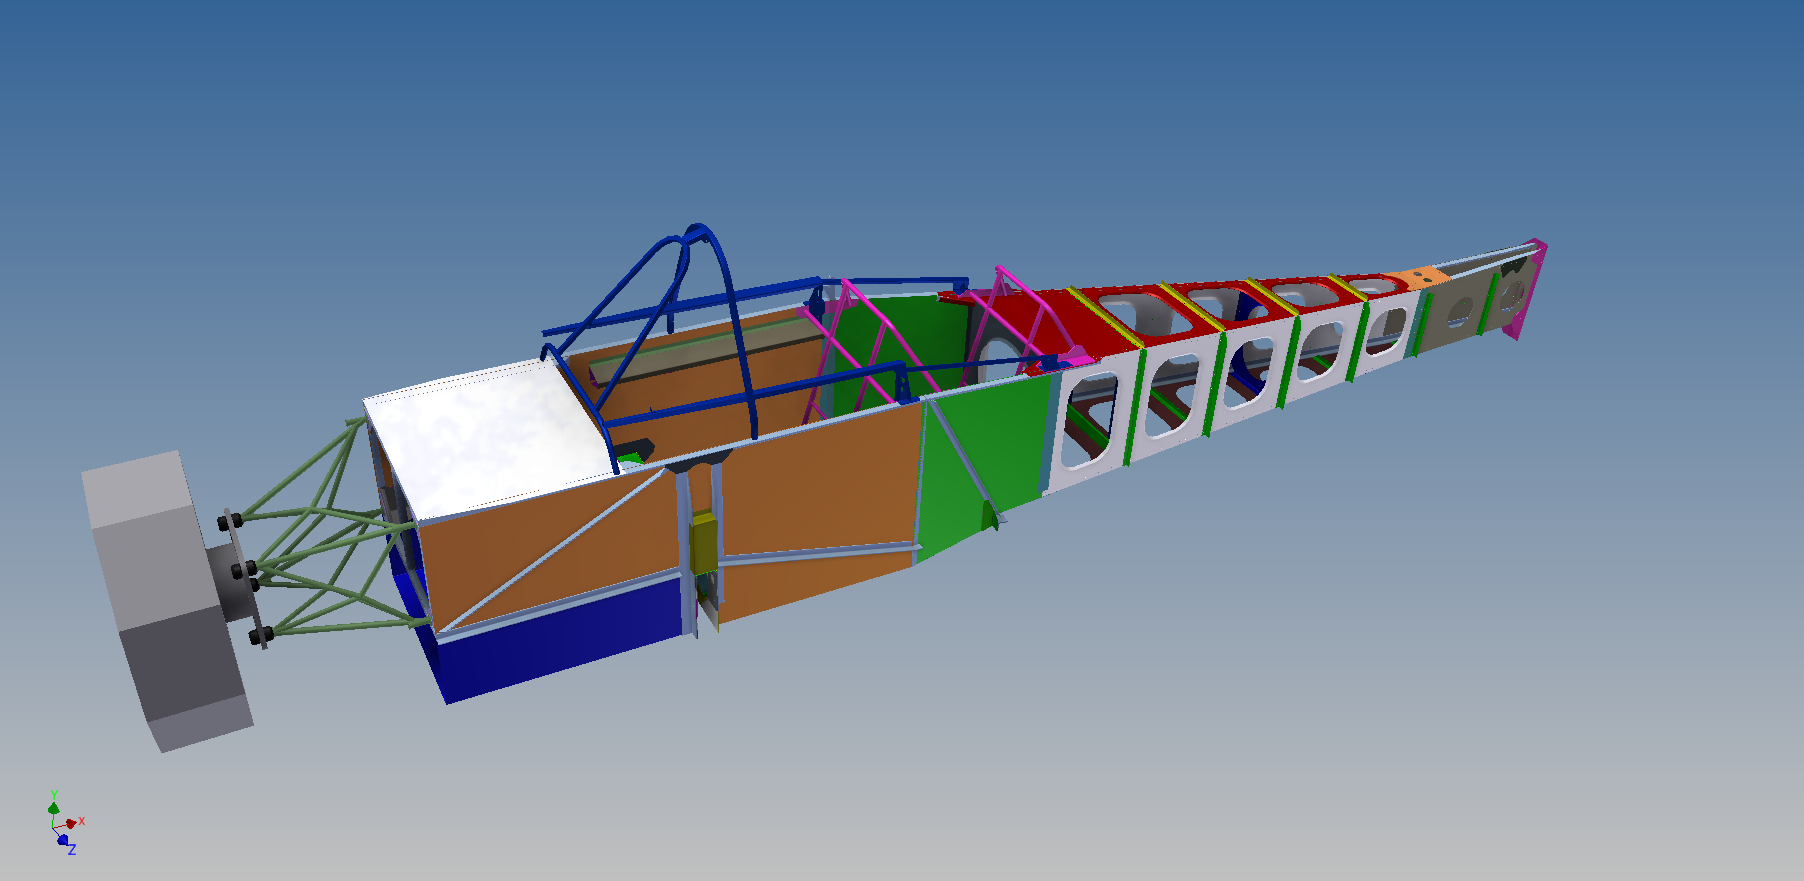
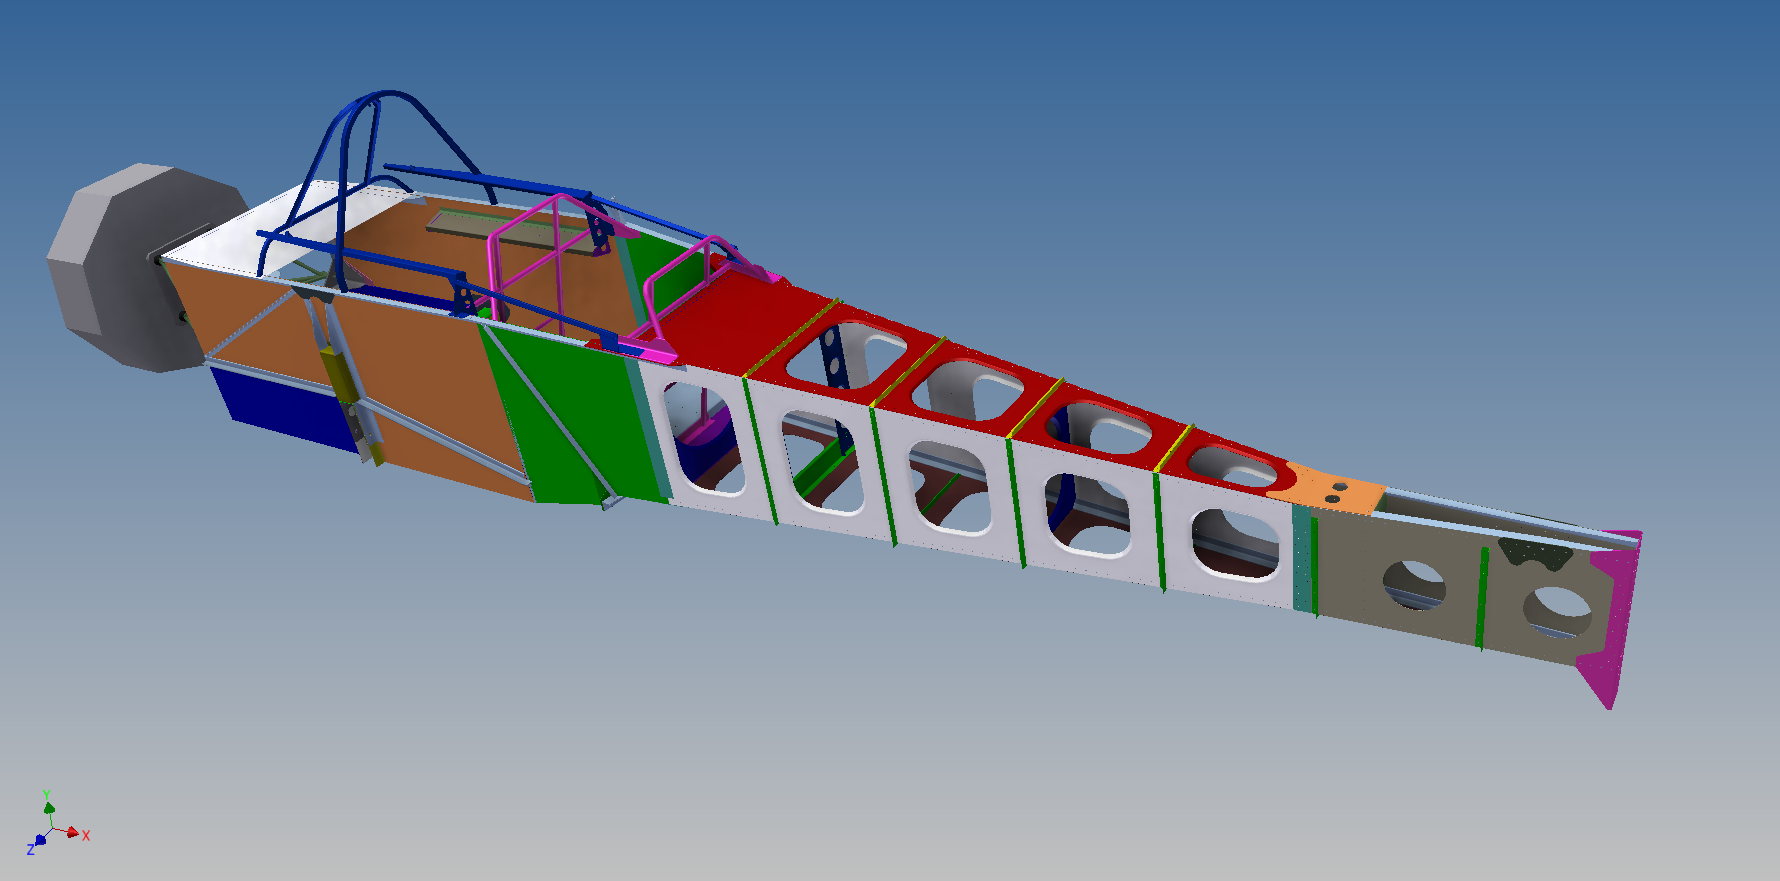
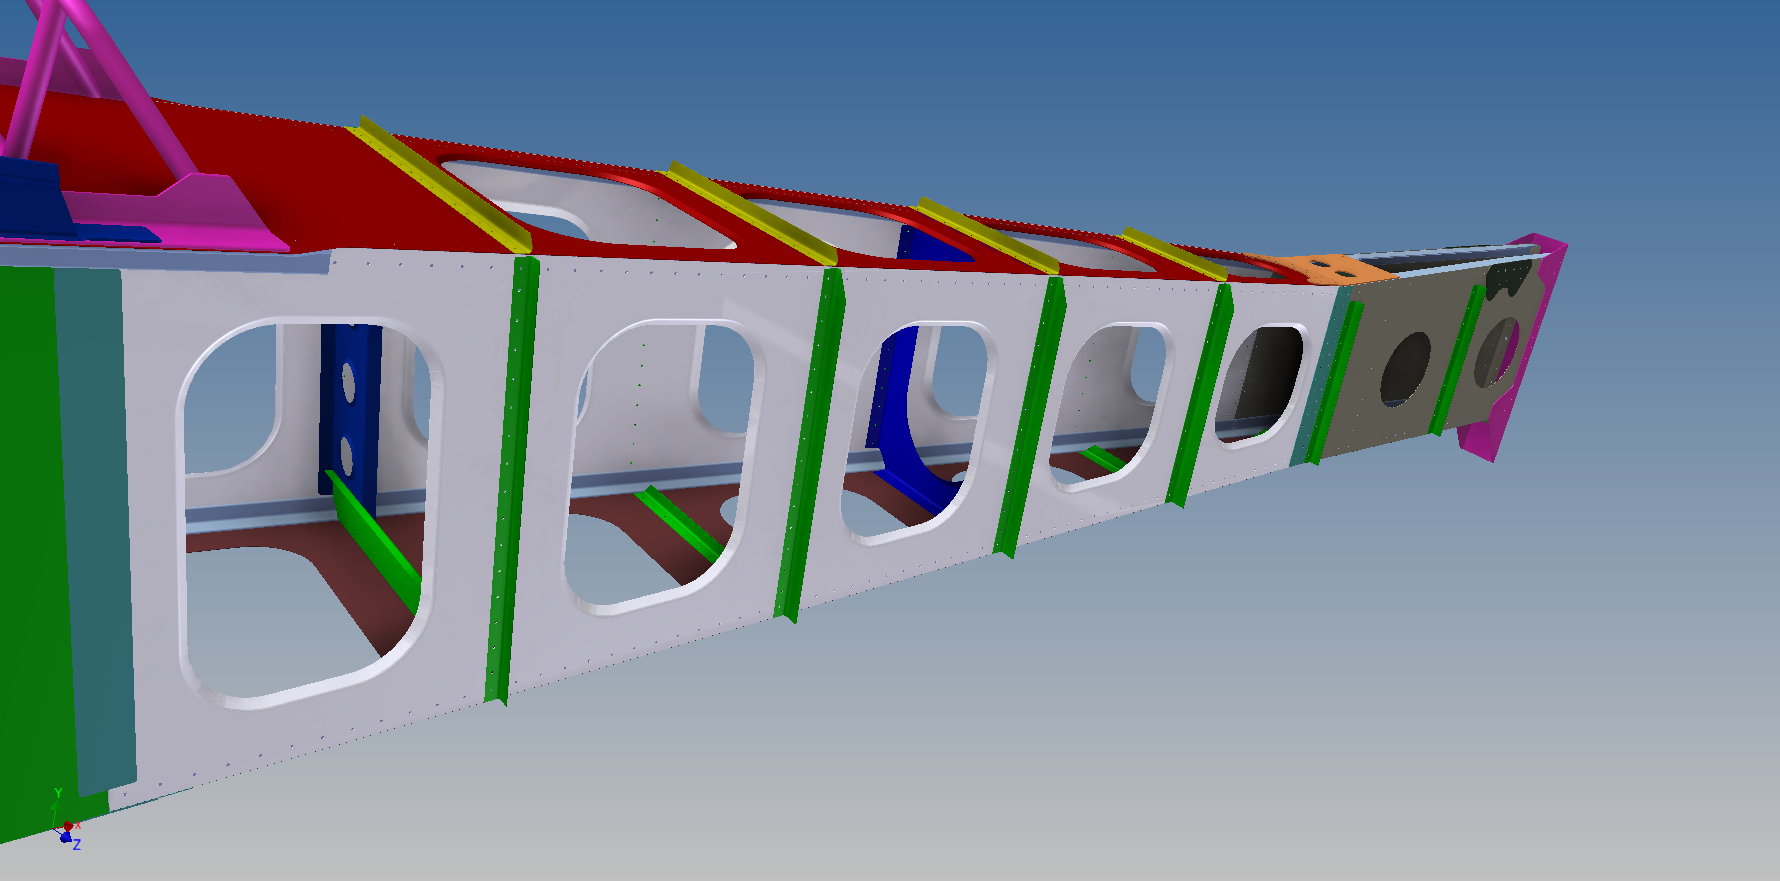
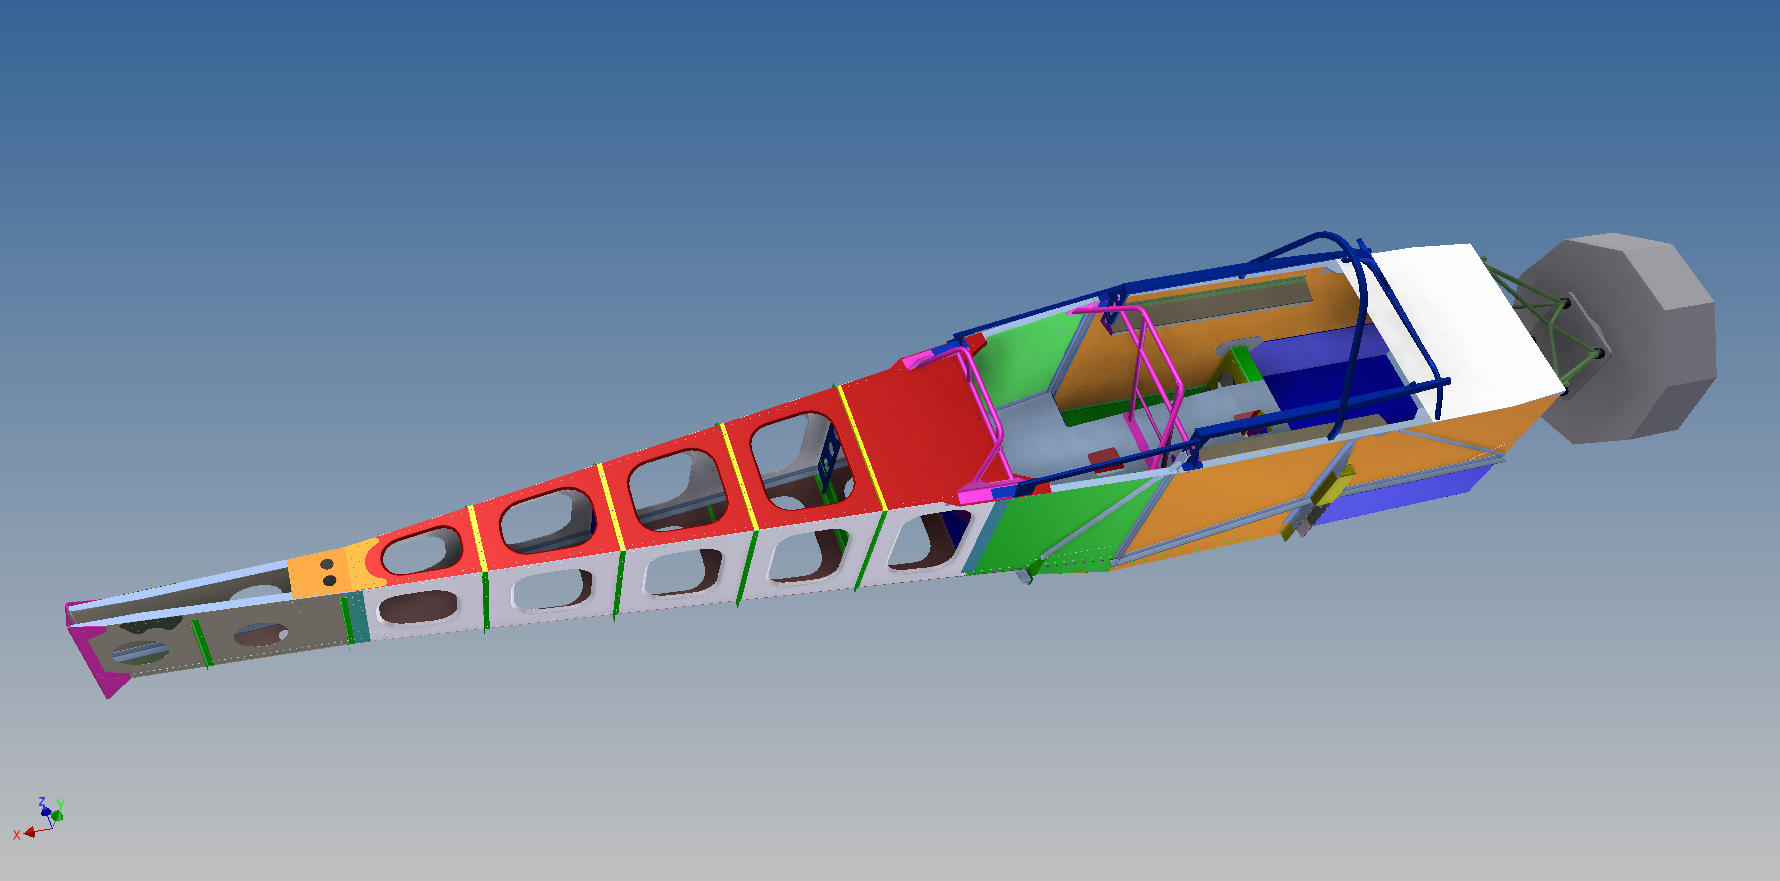
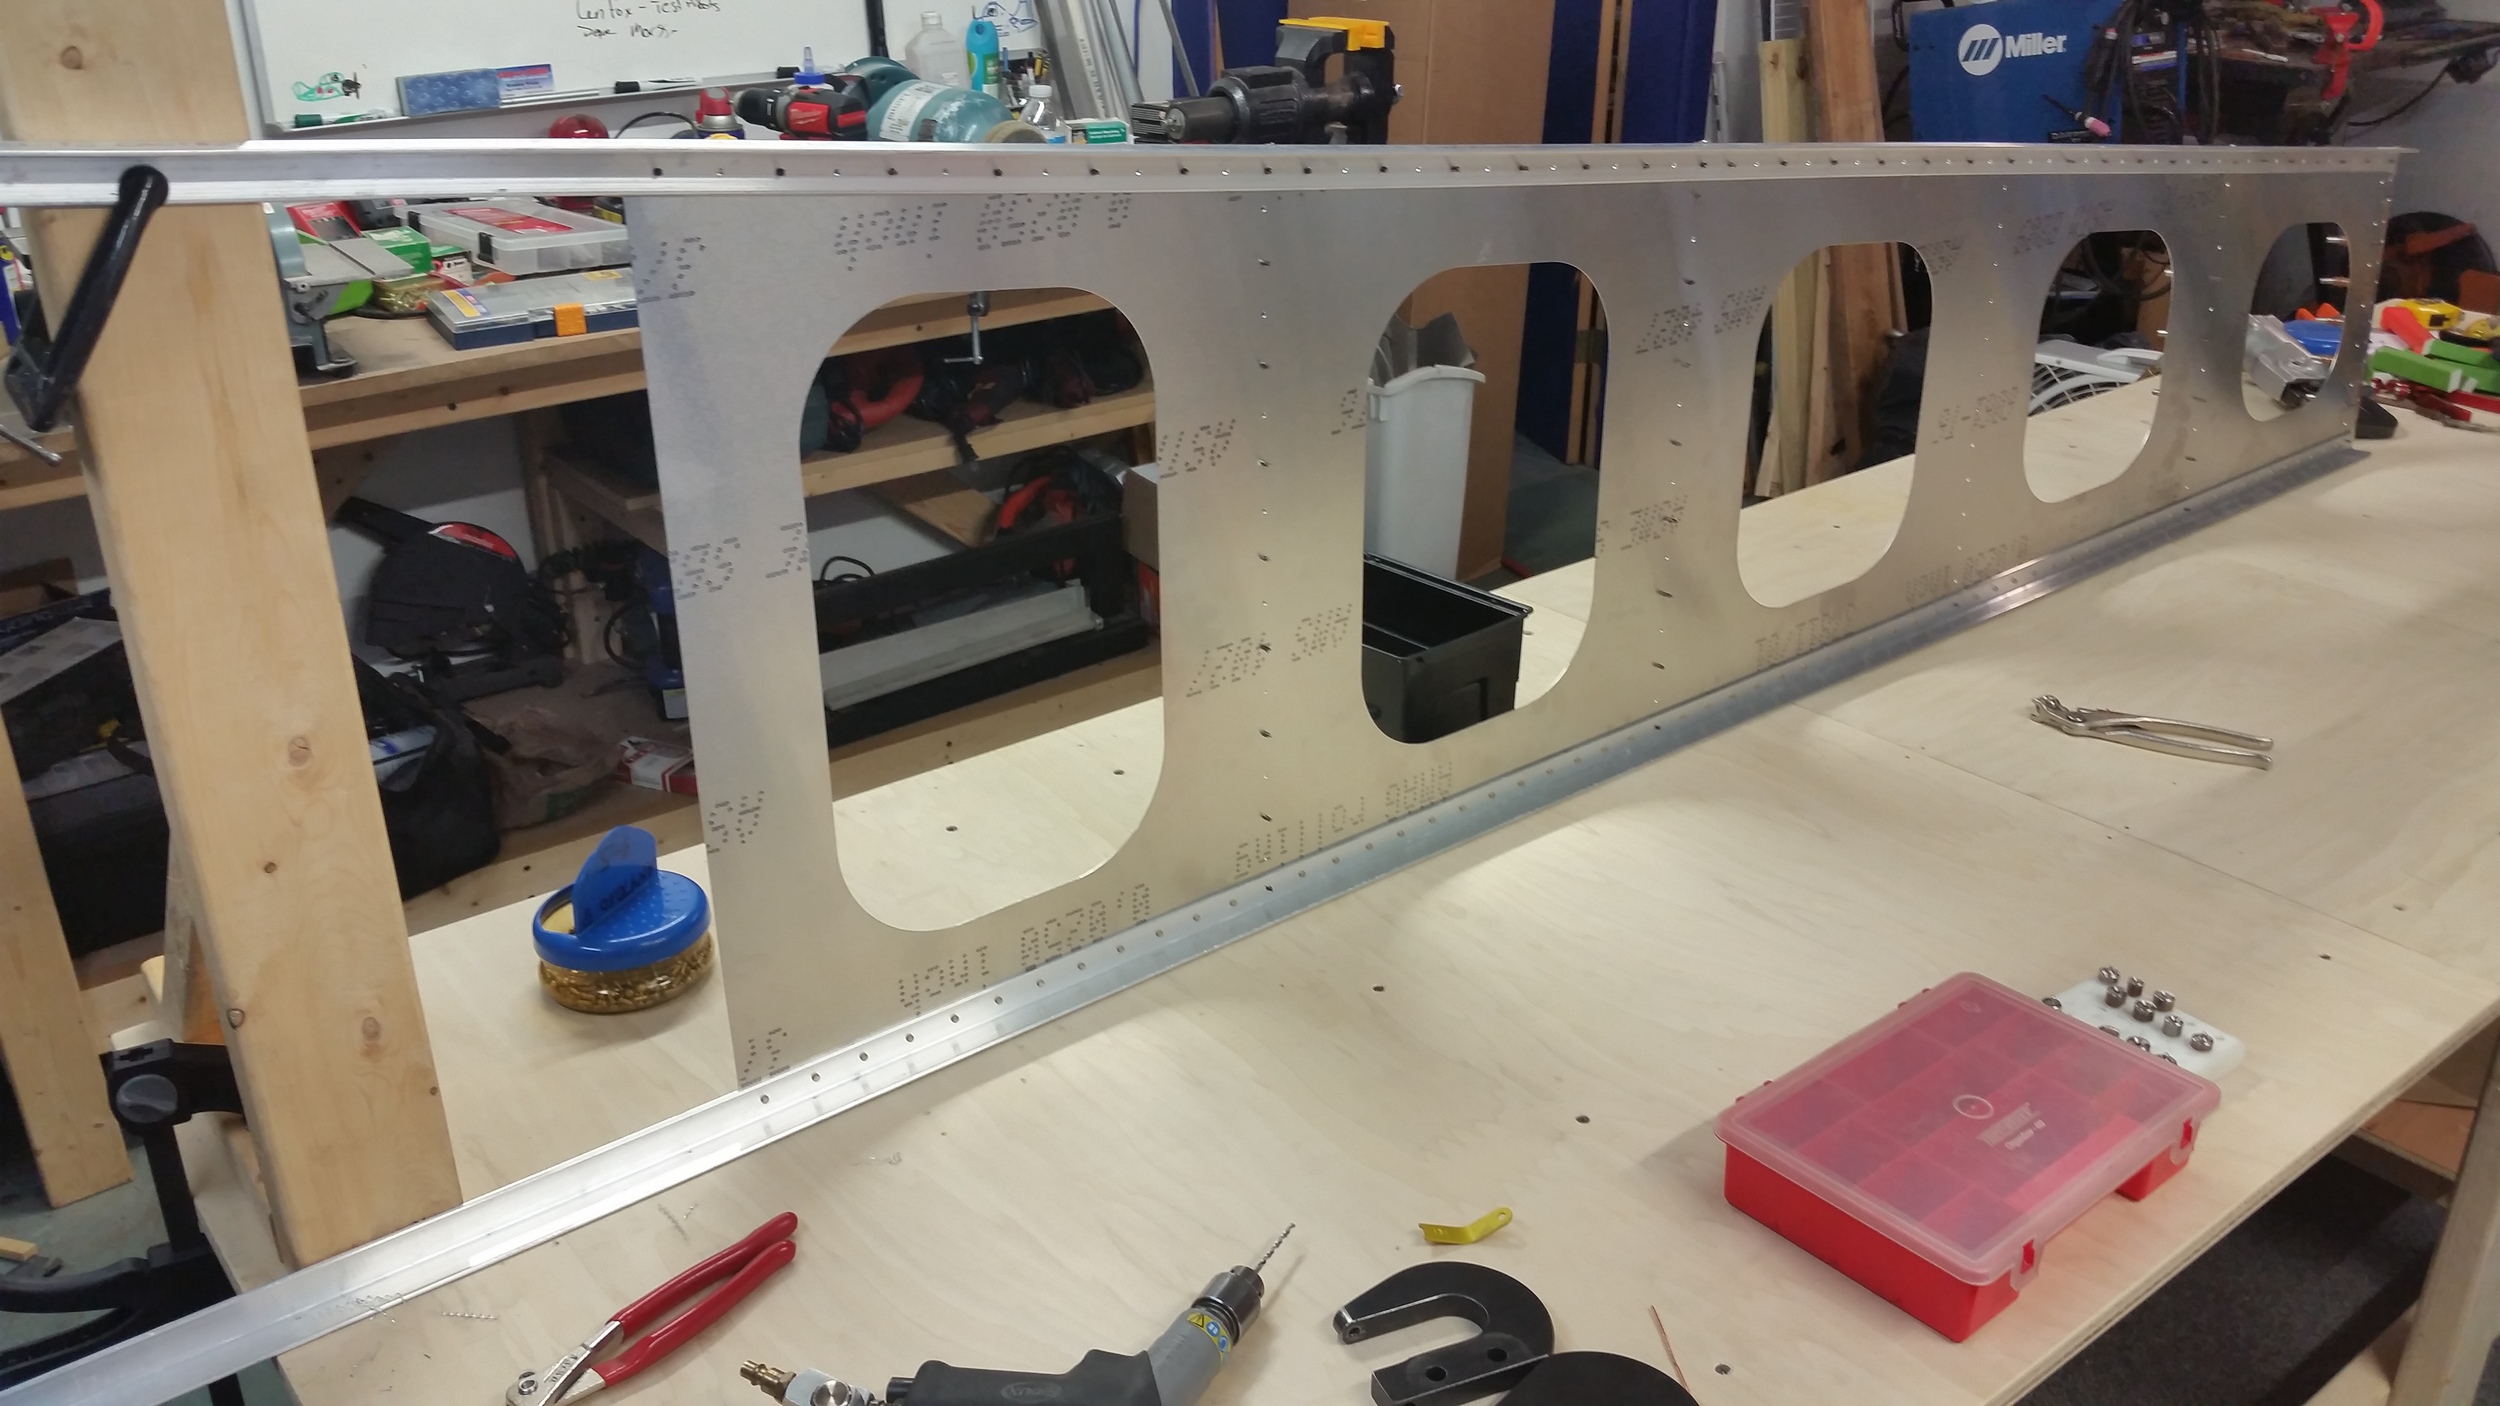
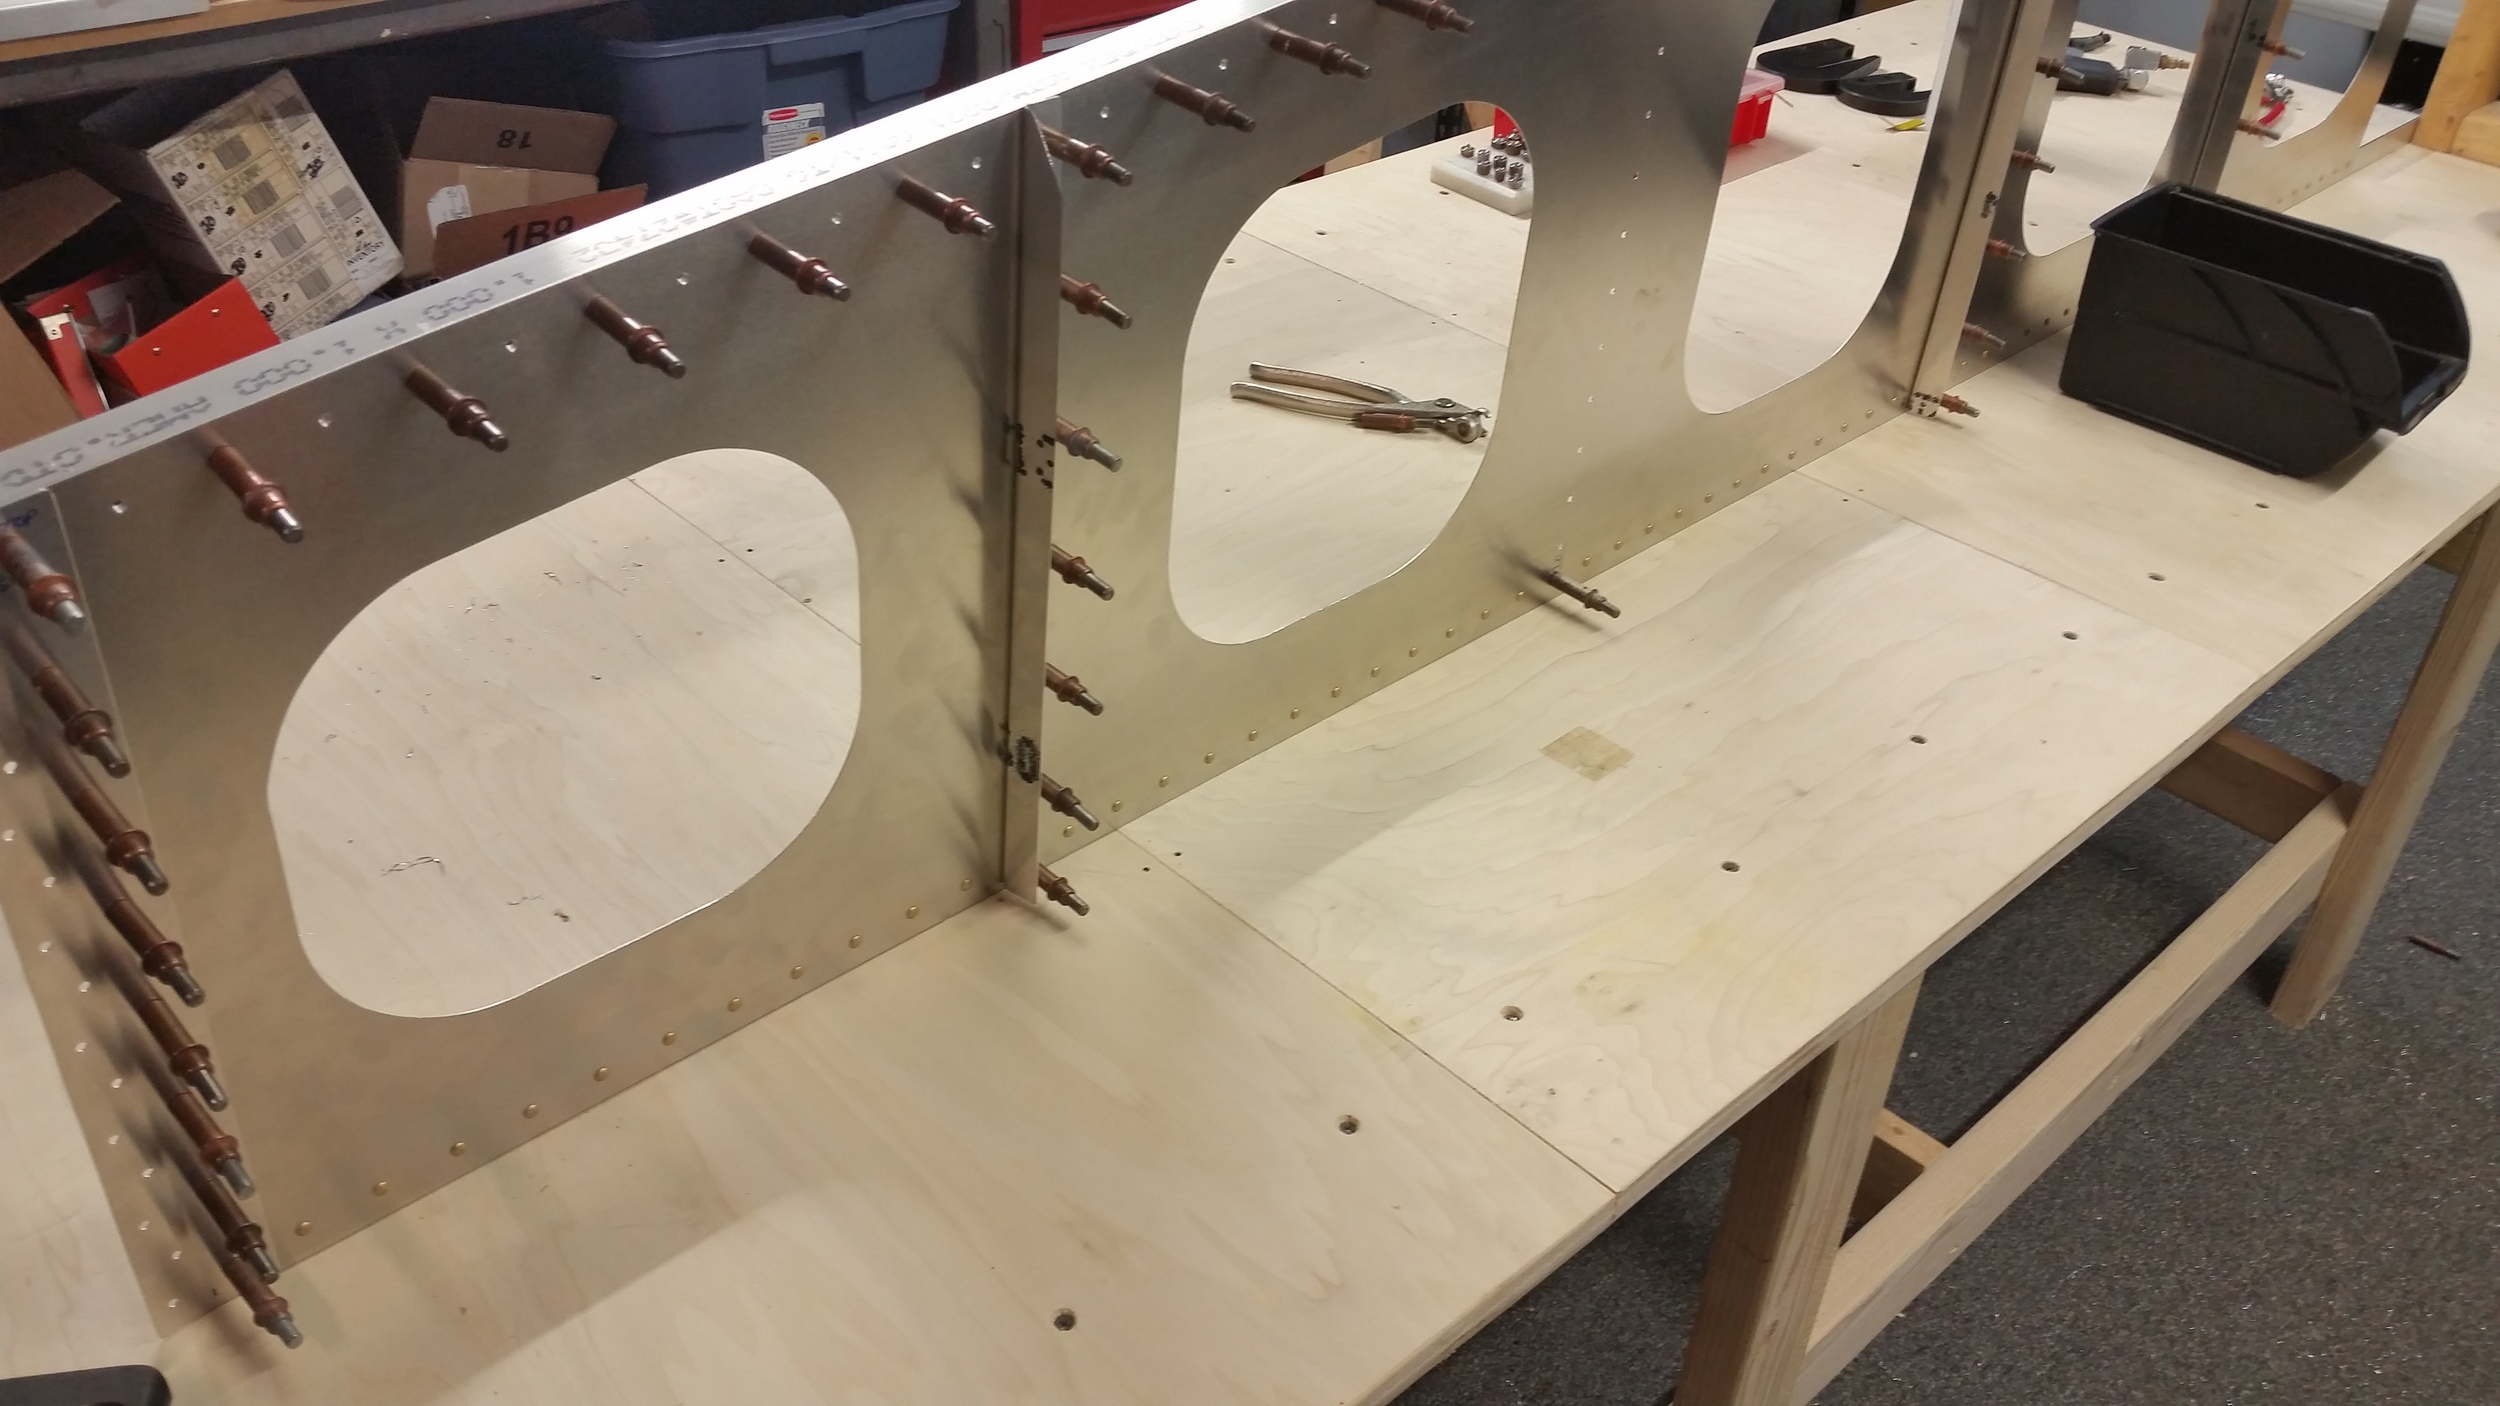
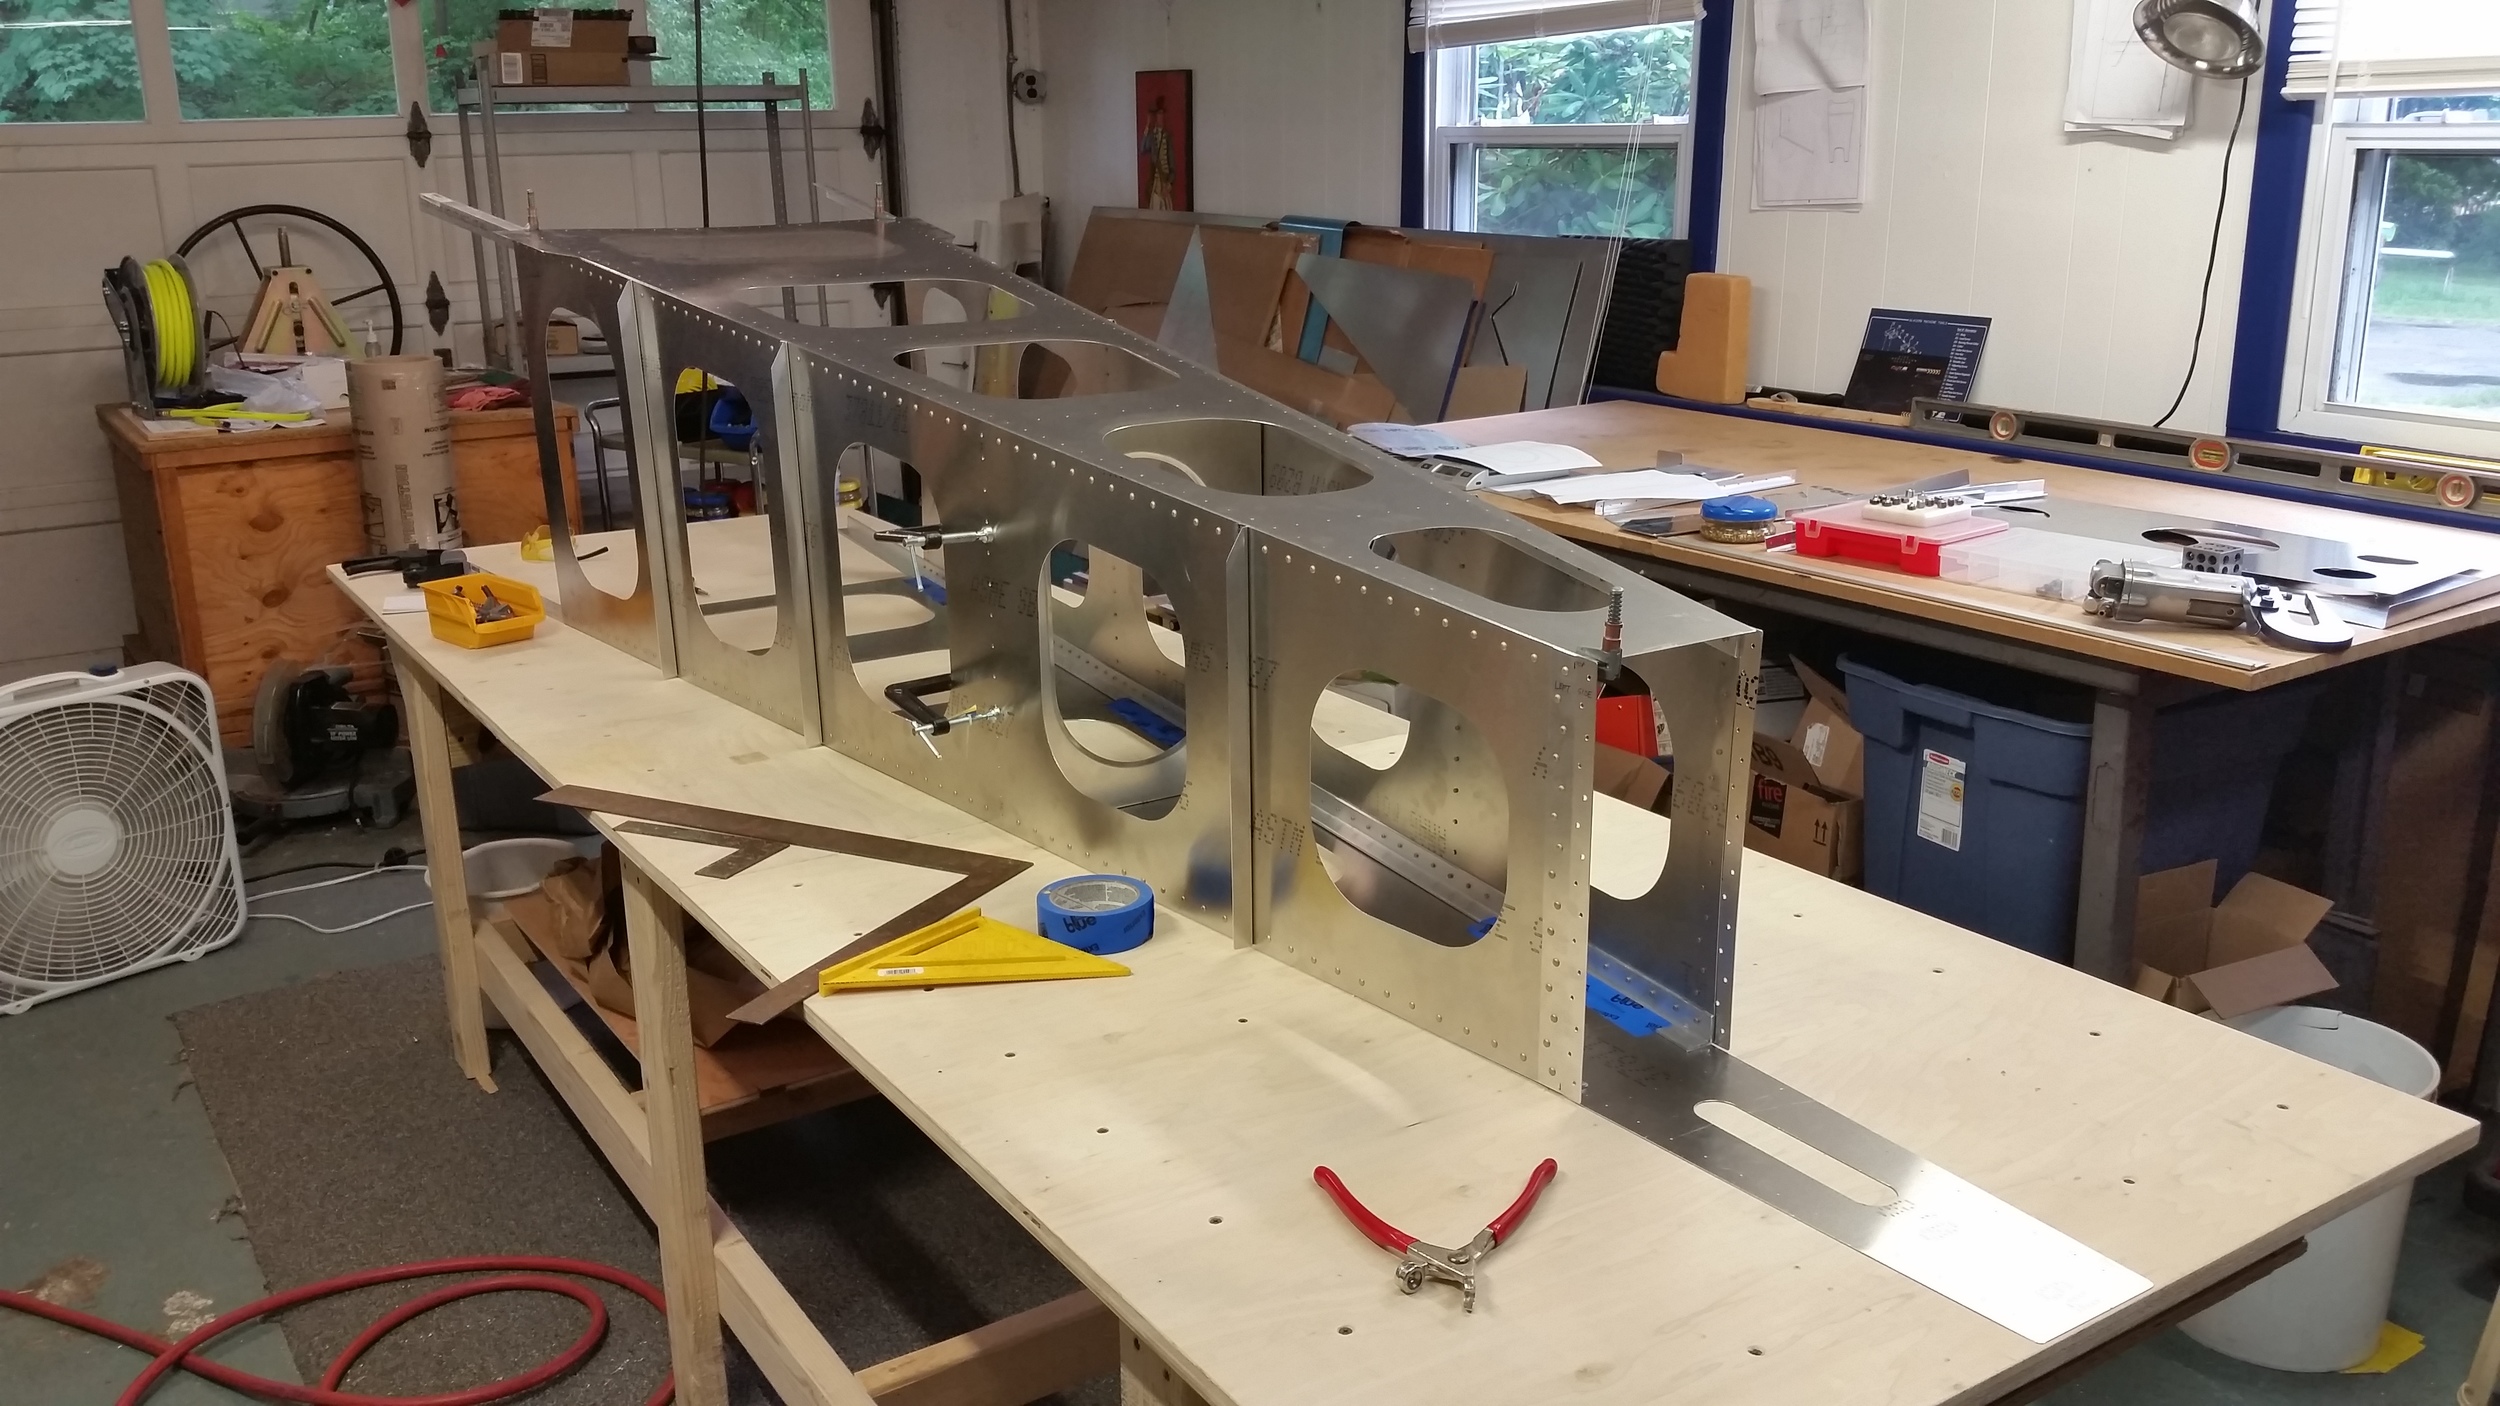
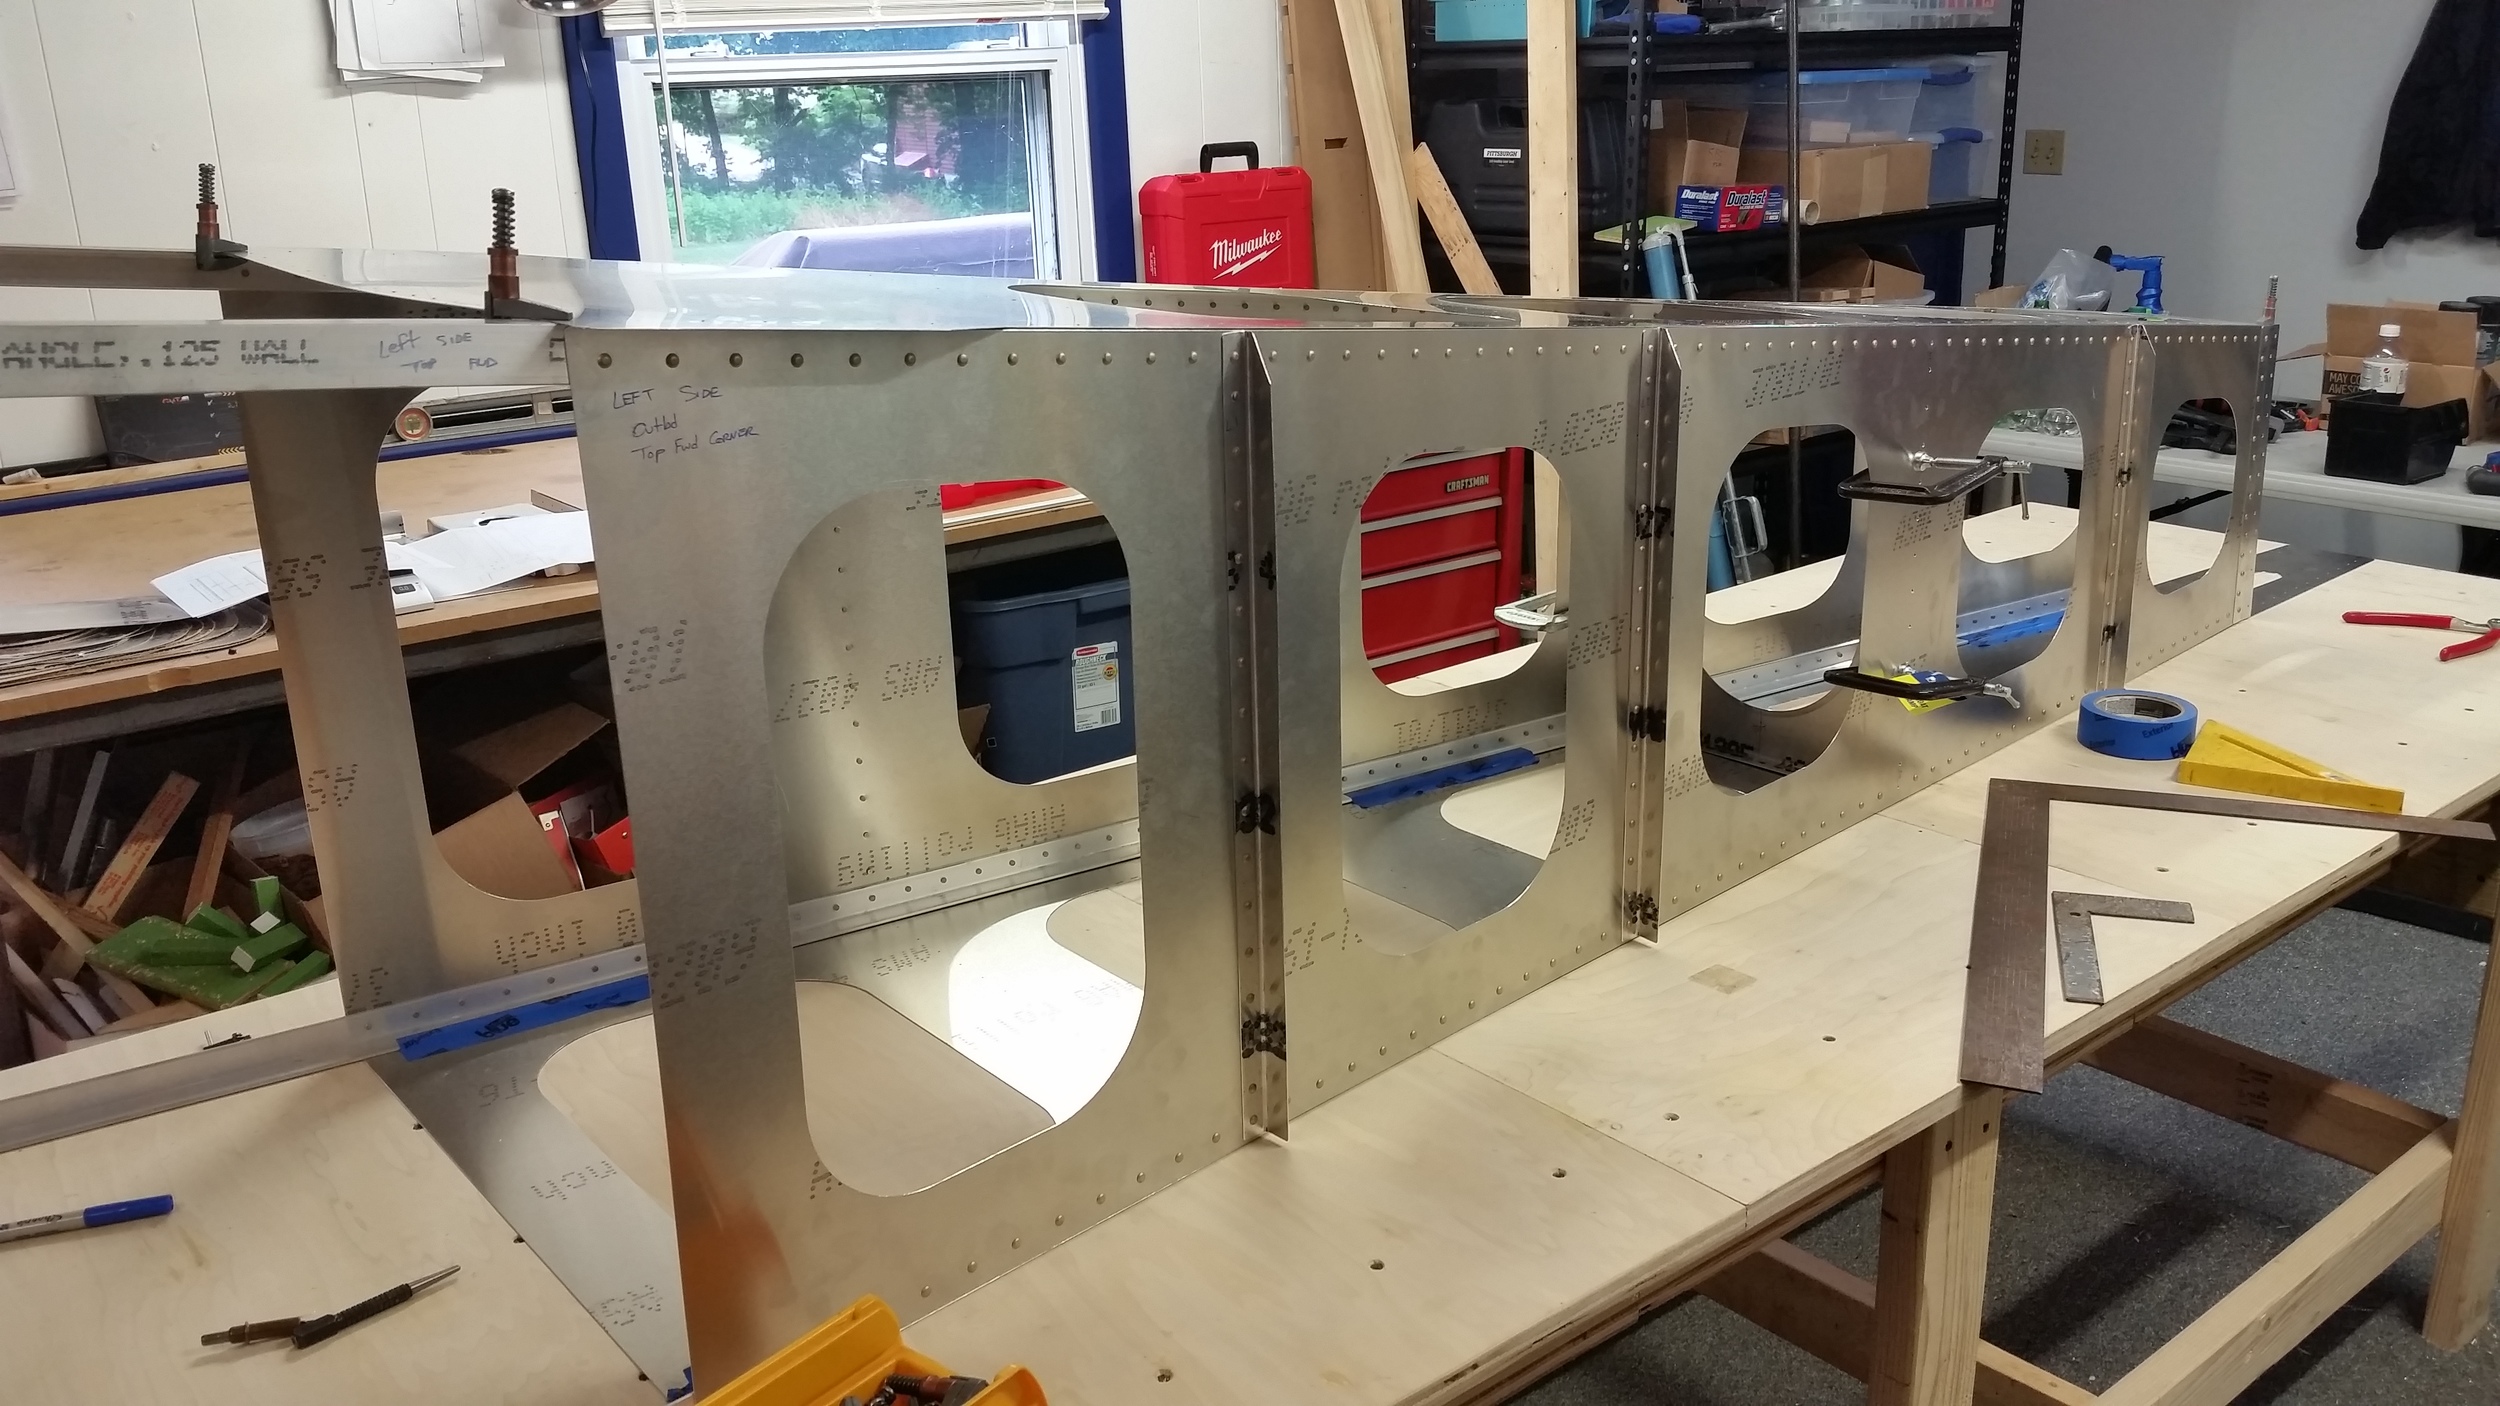
Finishing the Frame
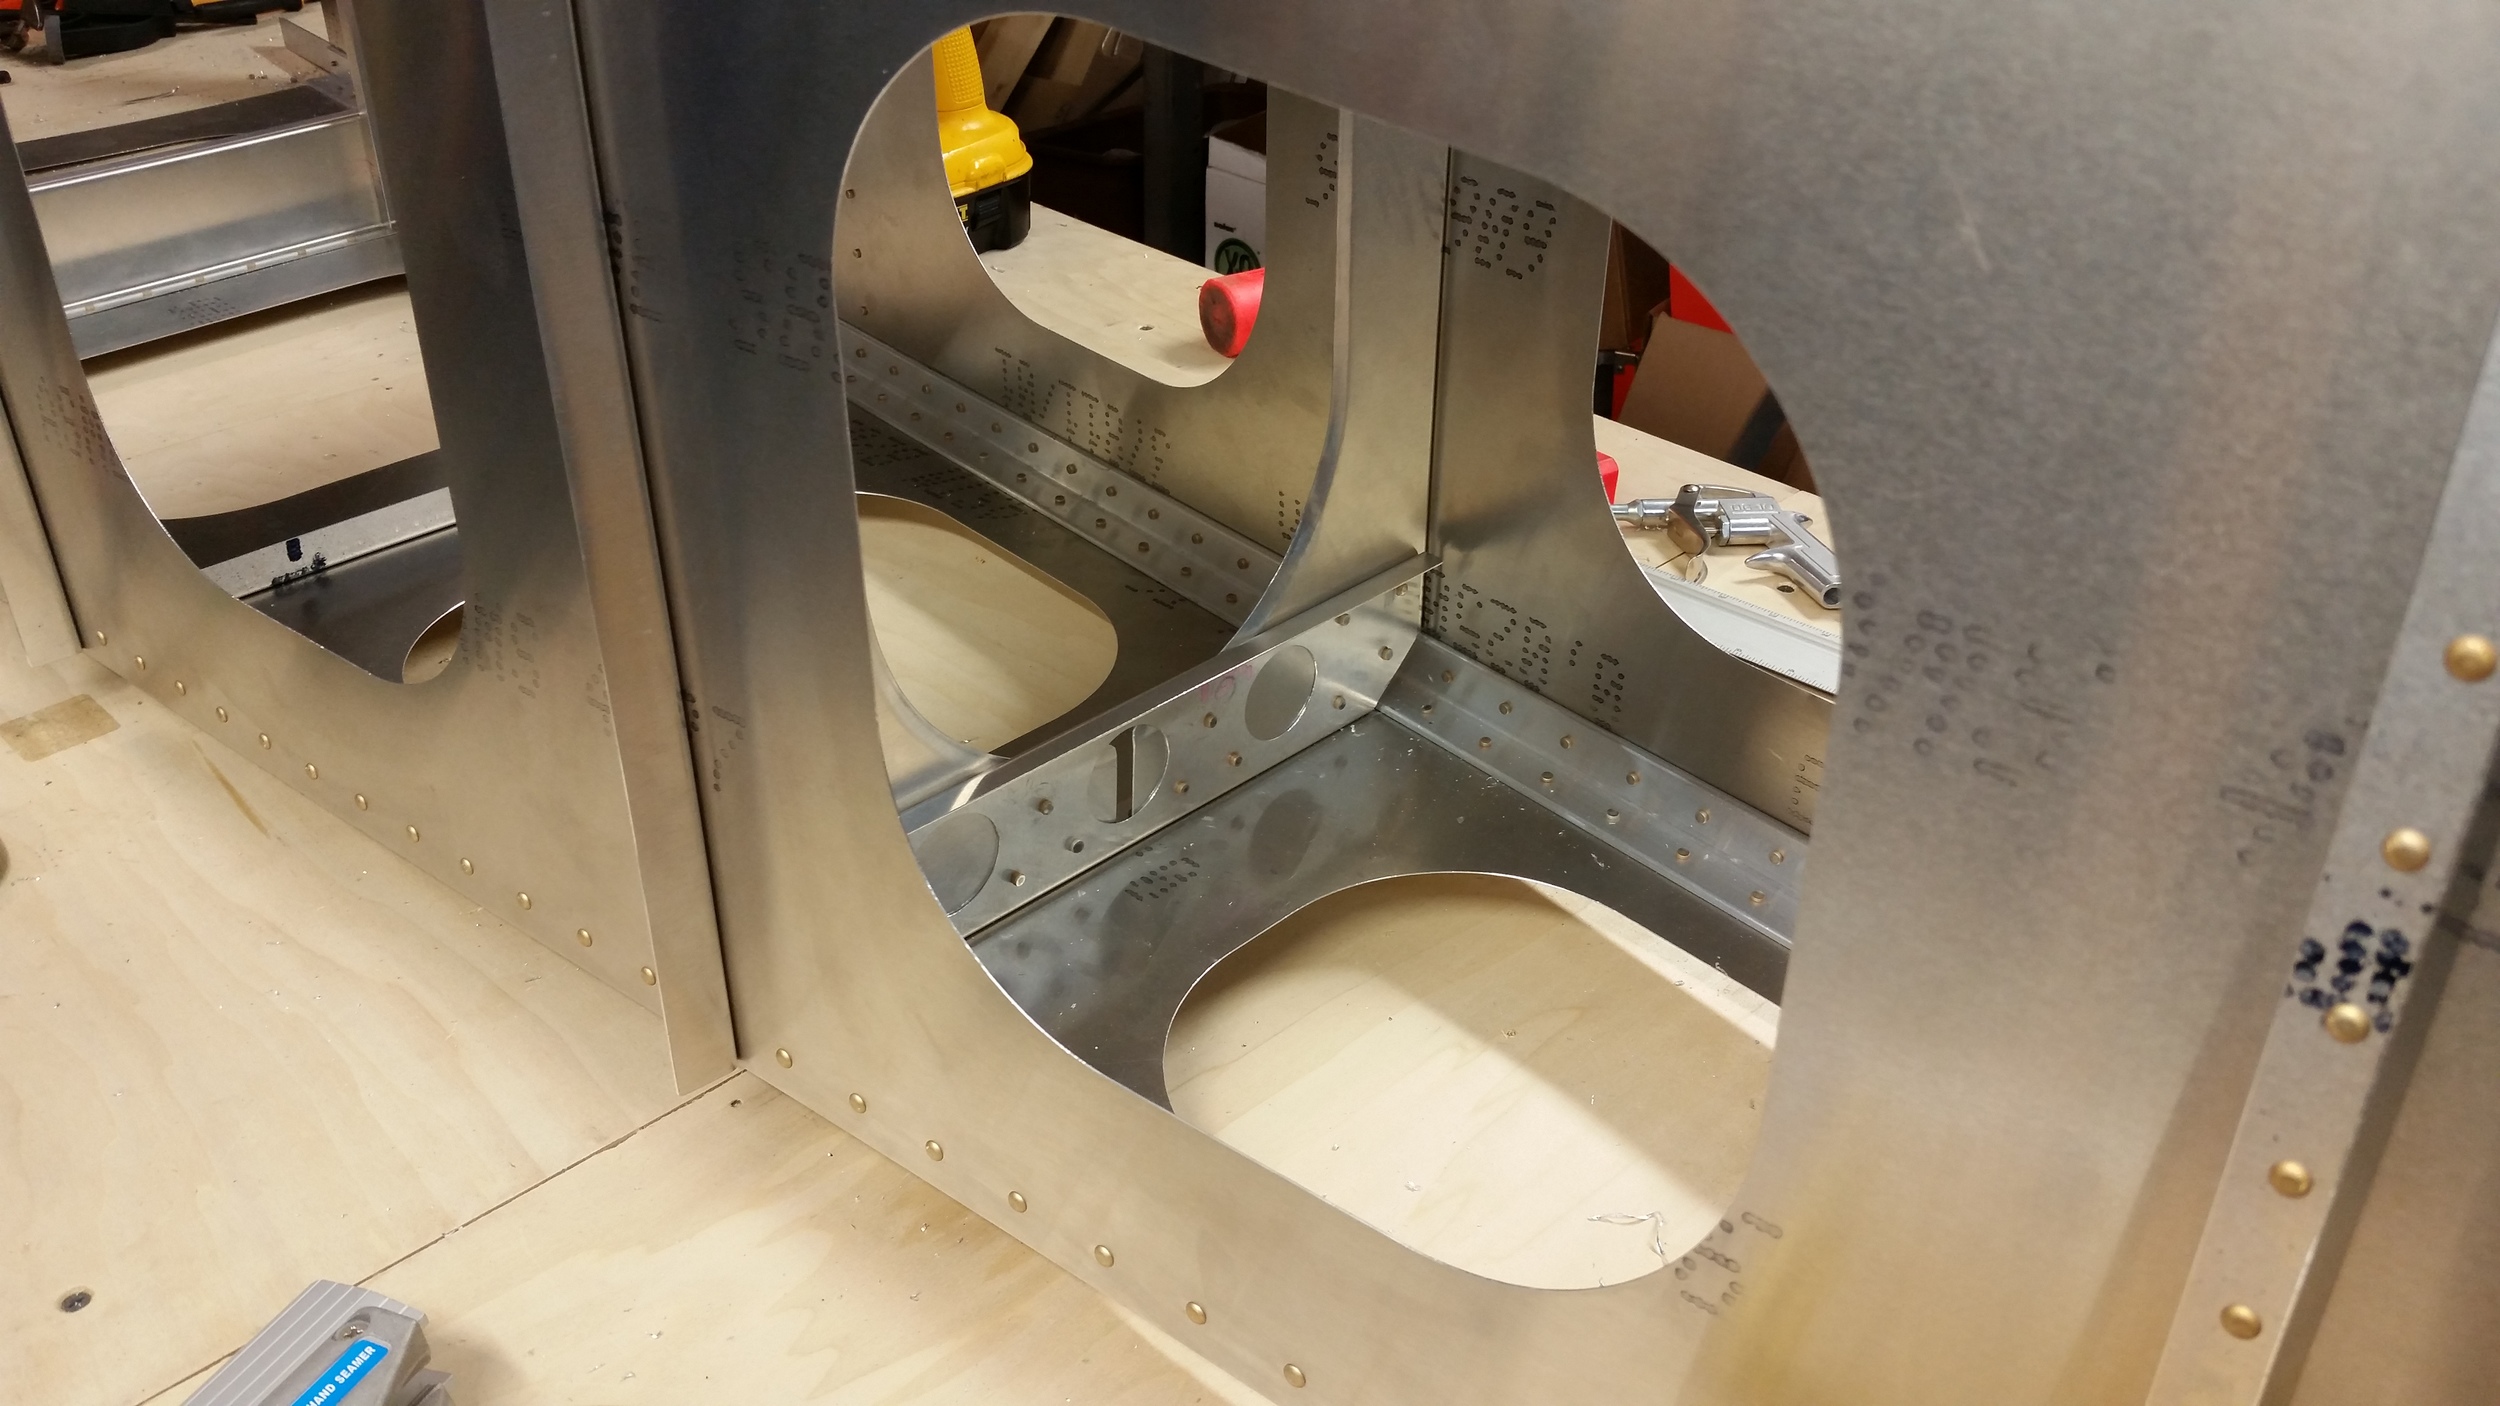
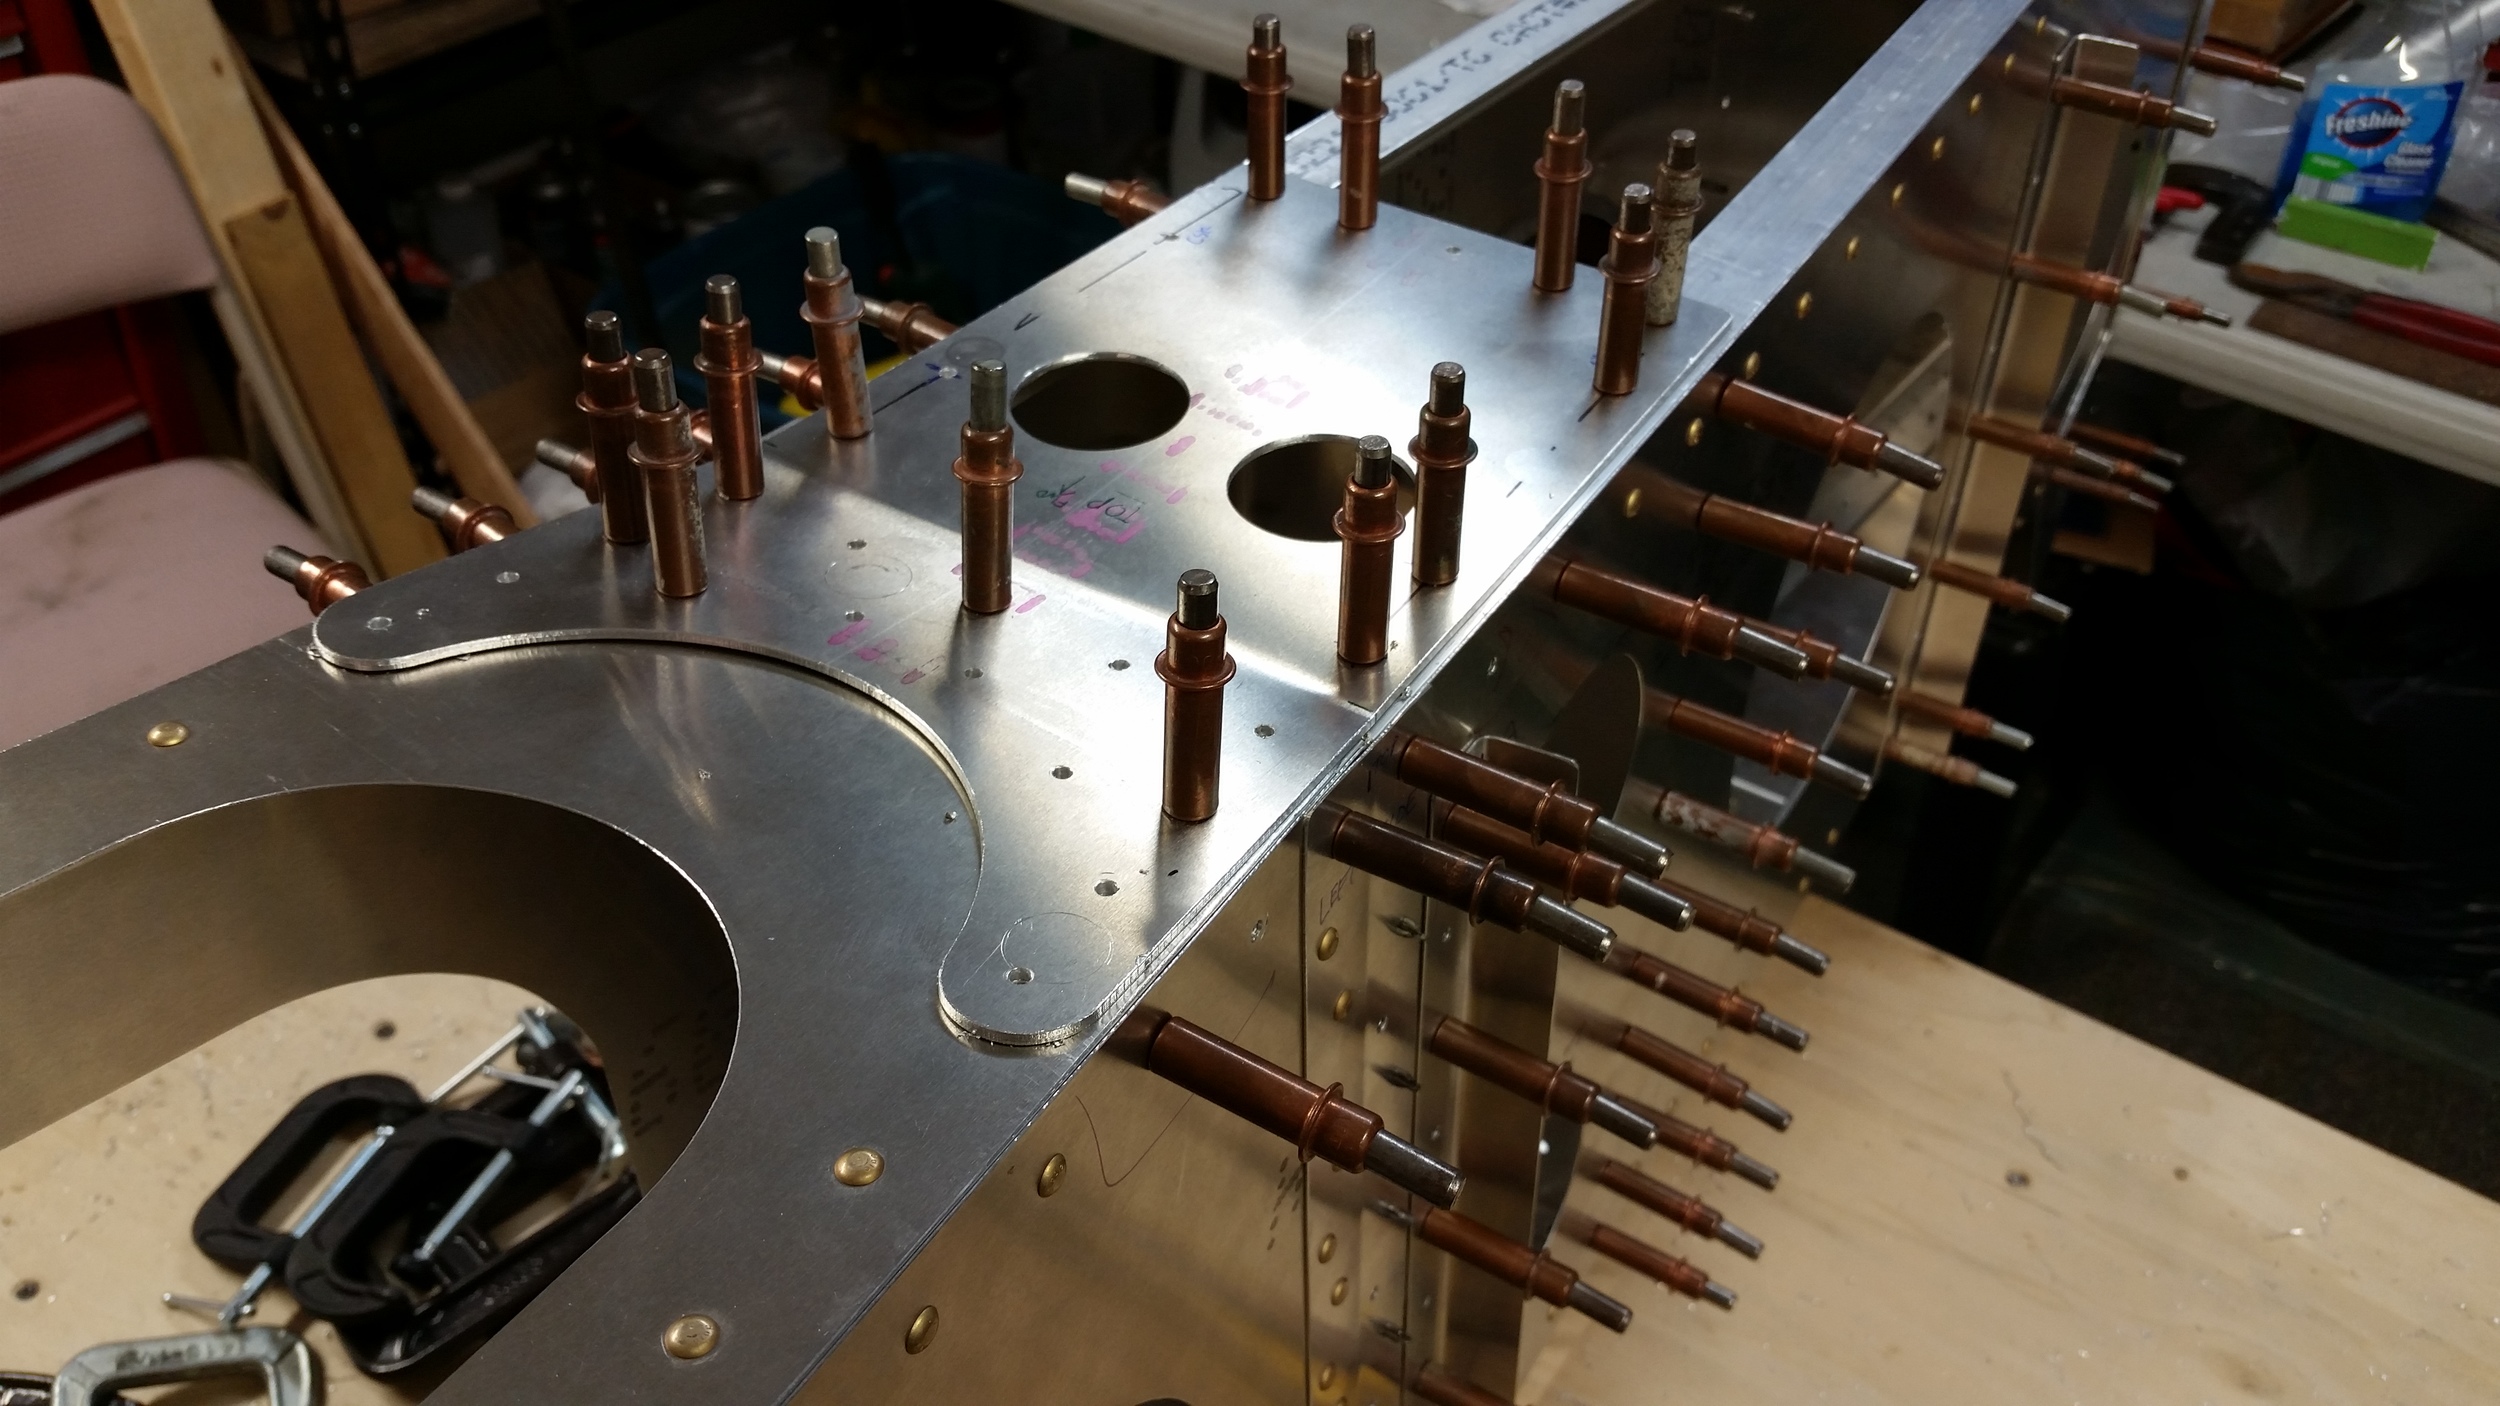
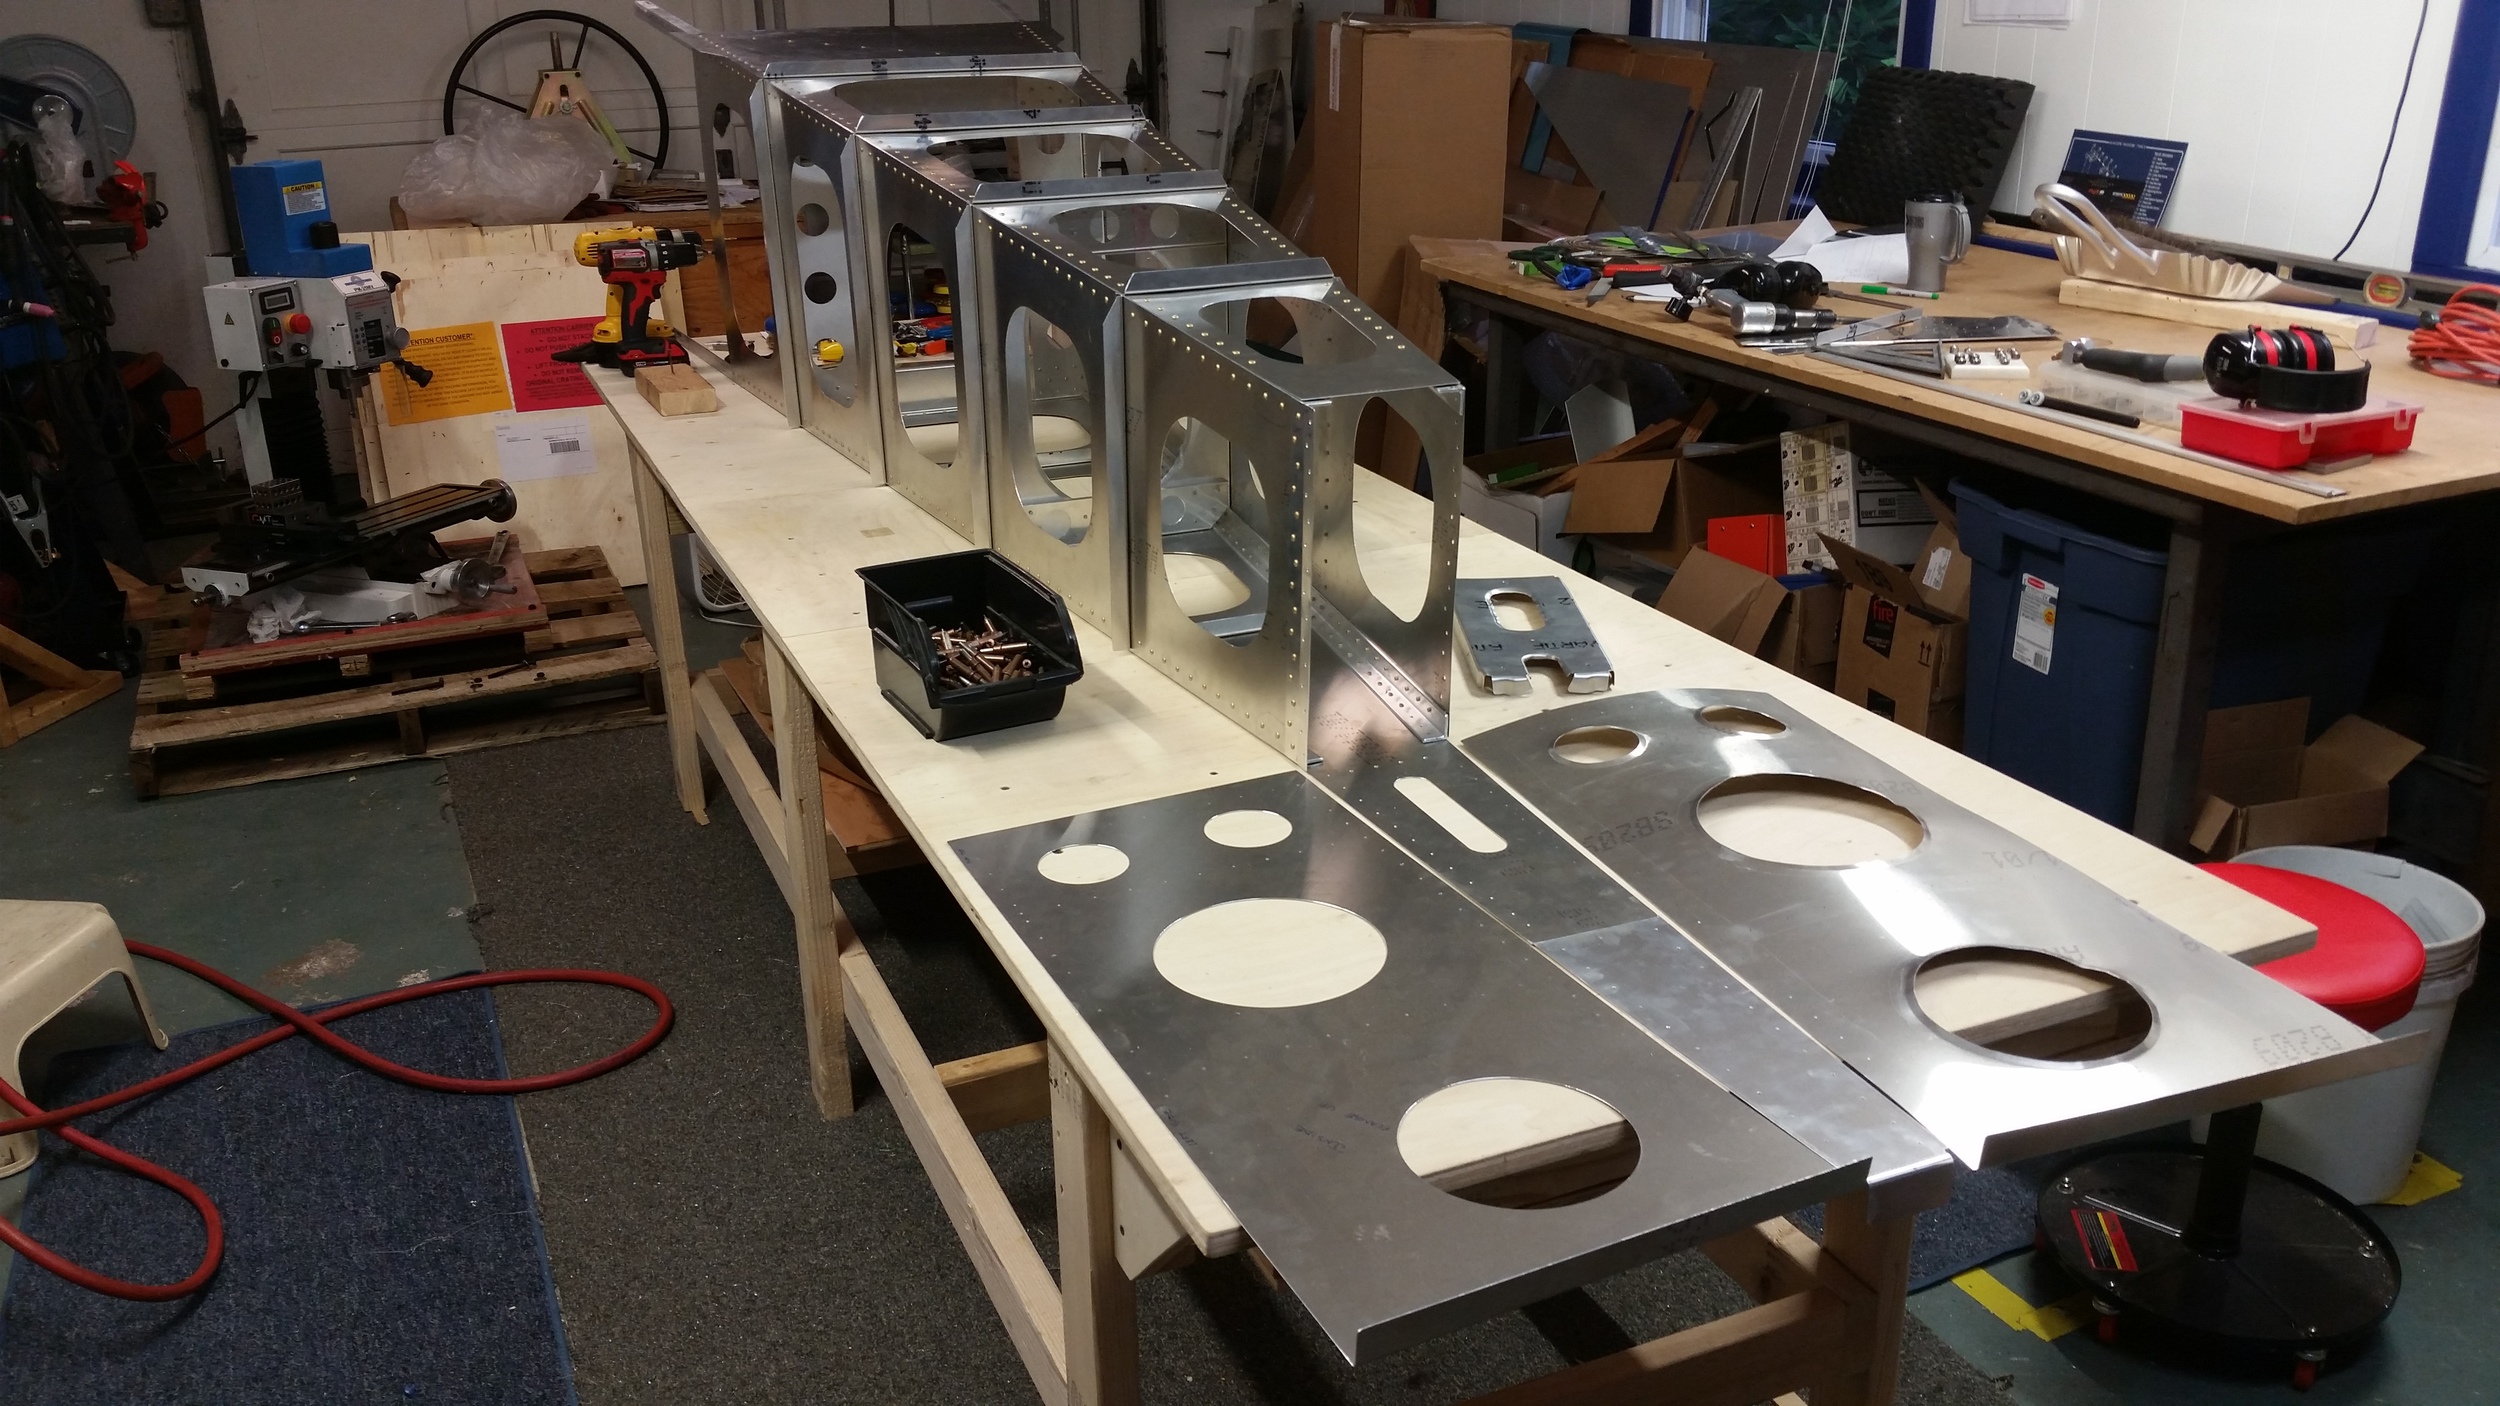
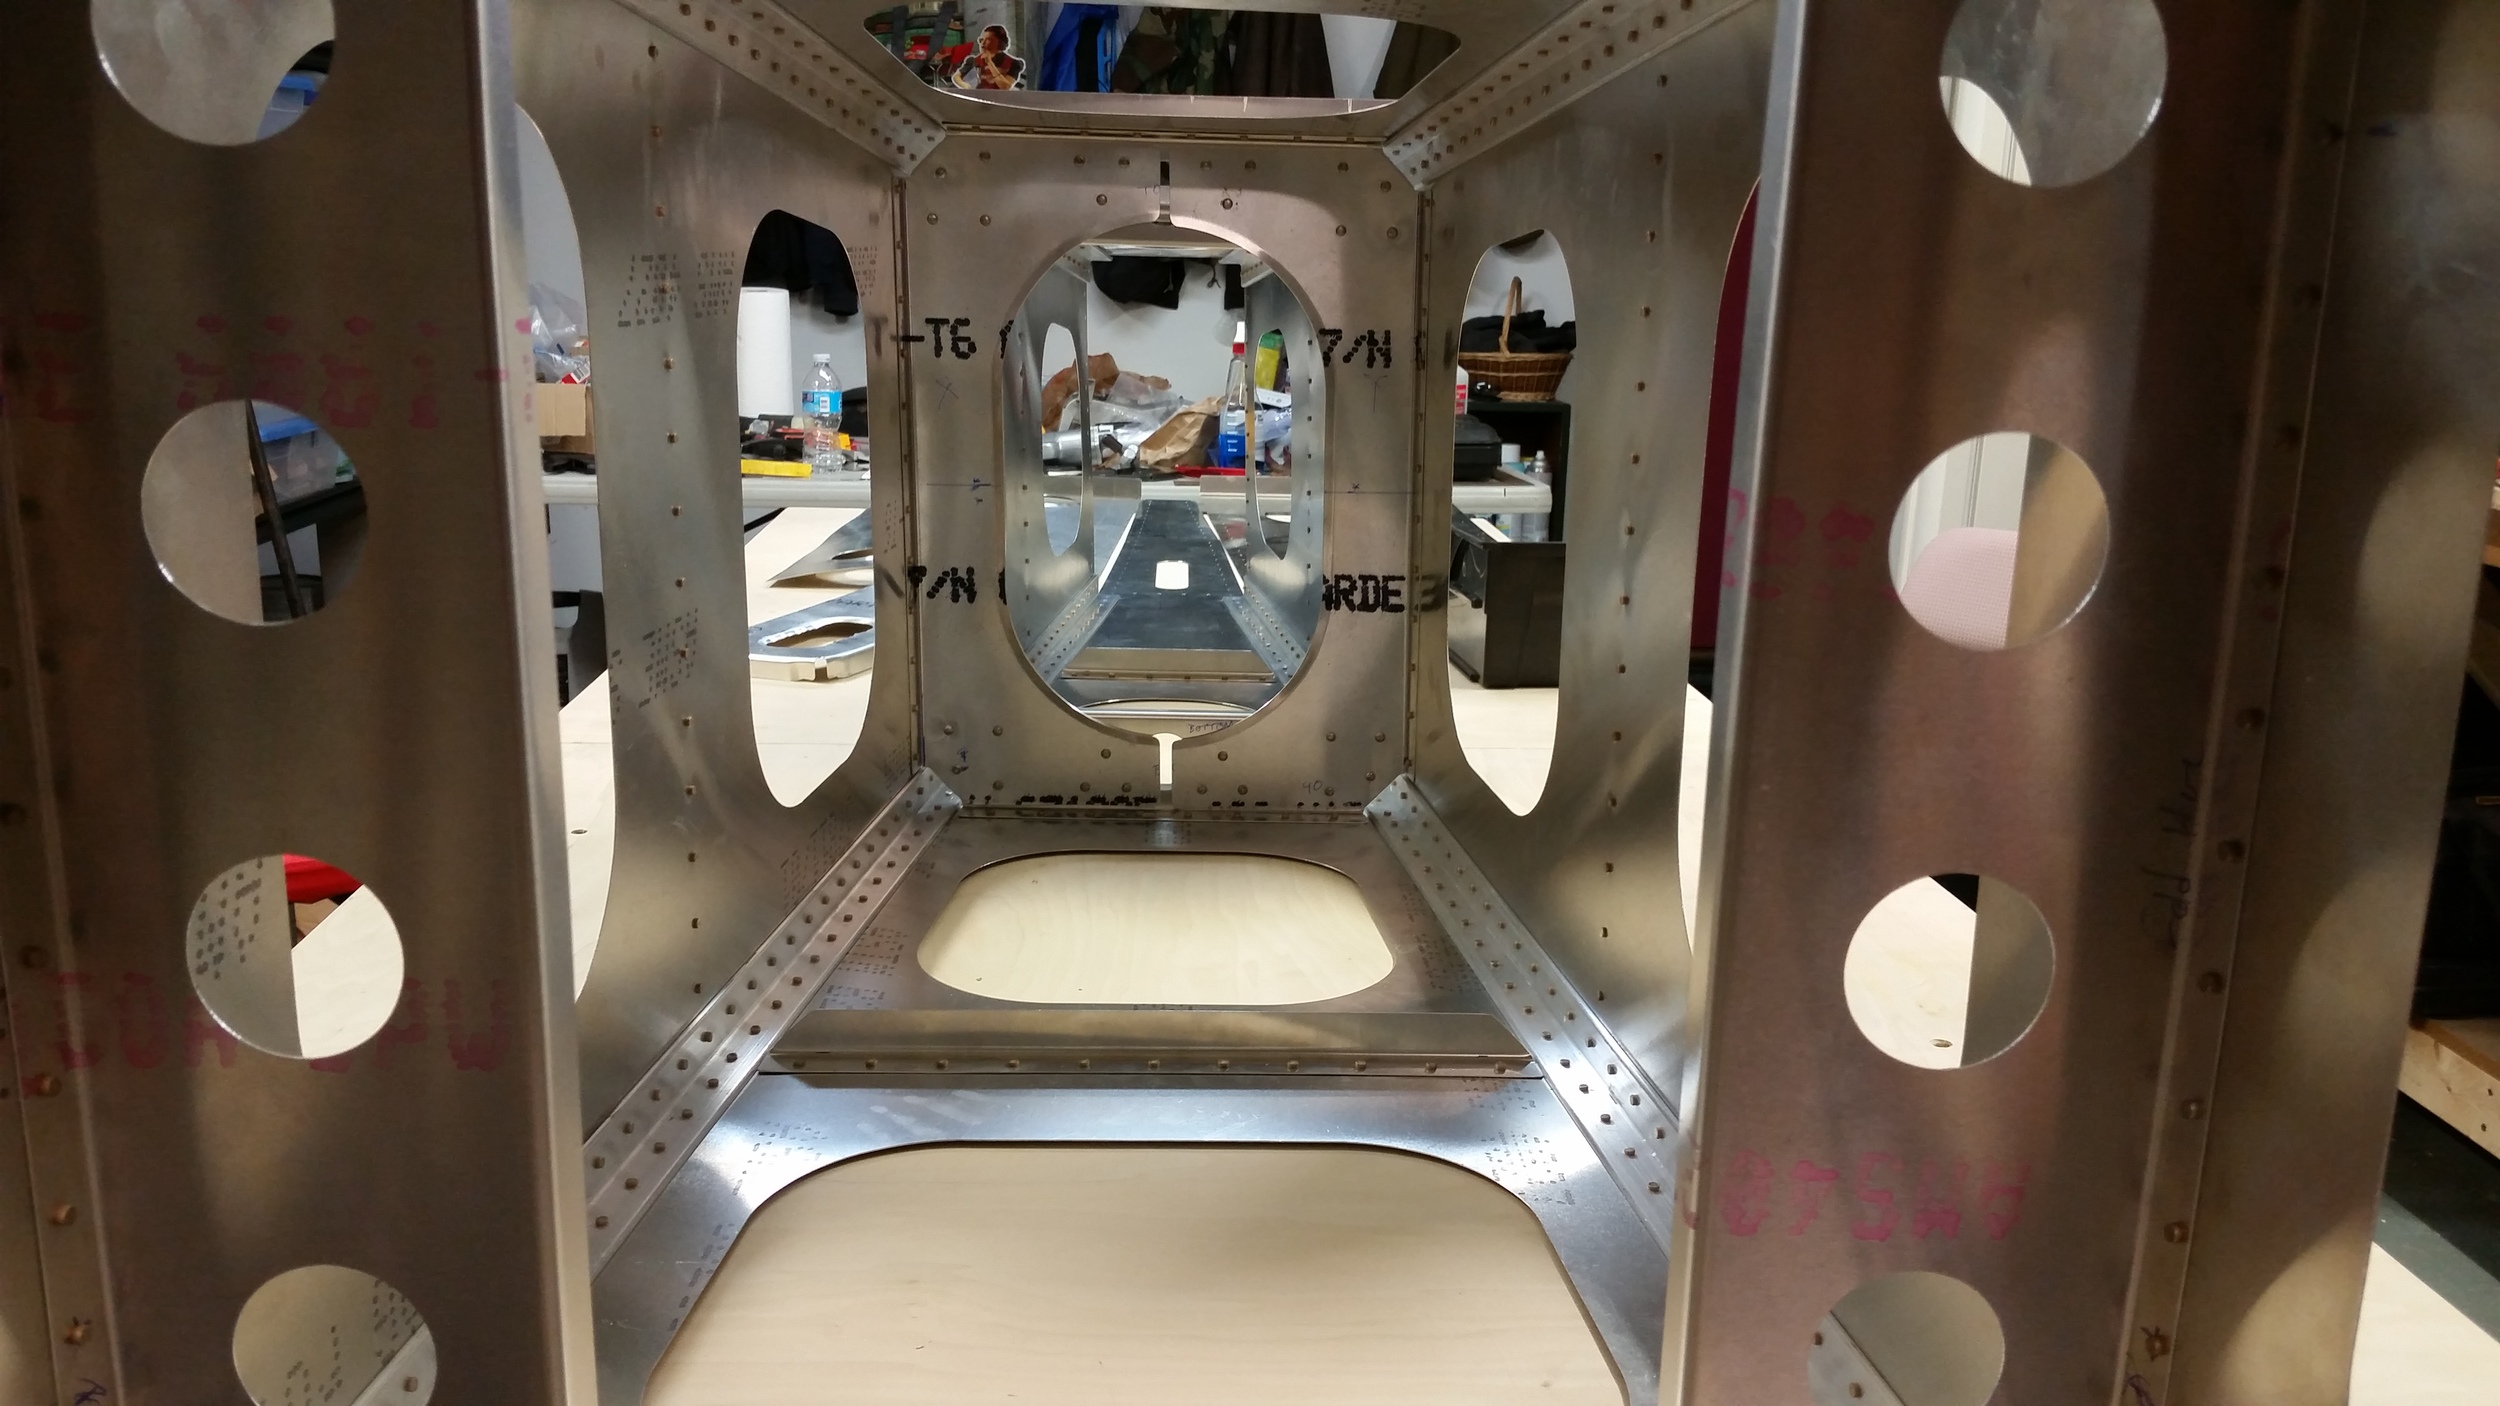
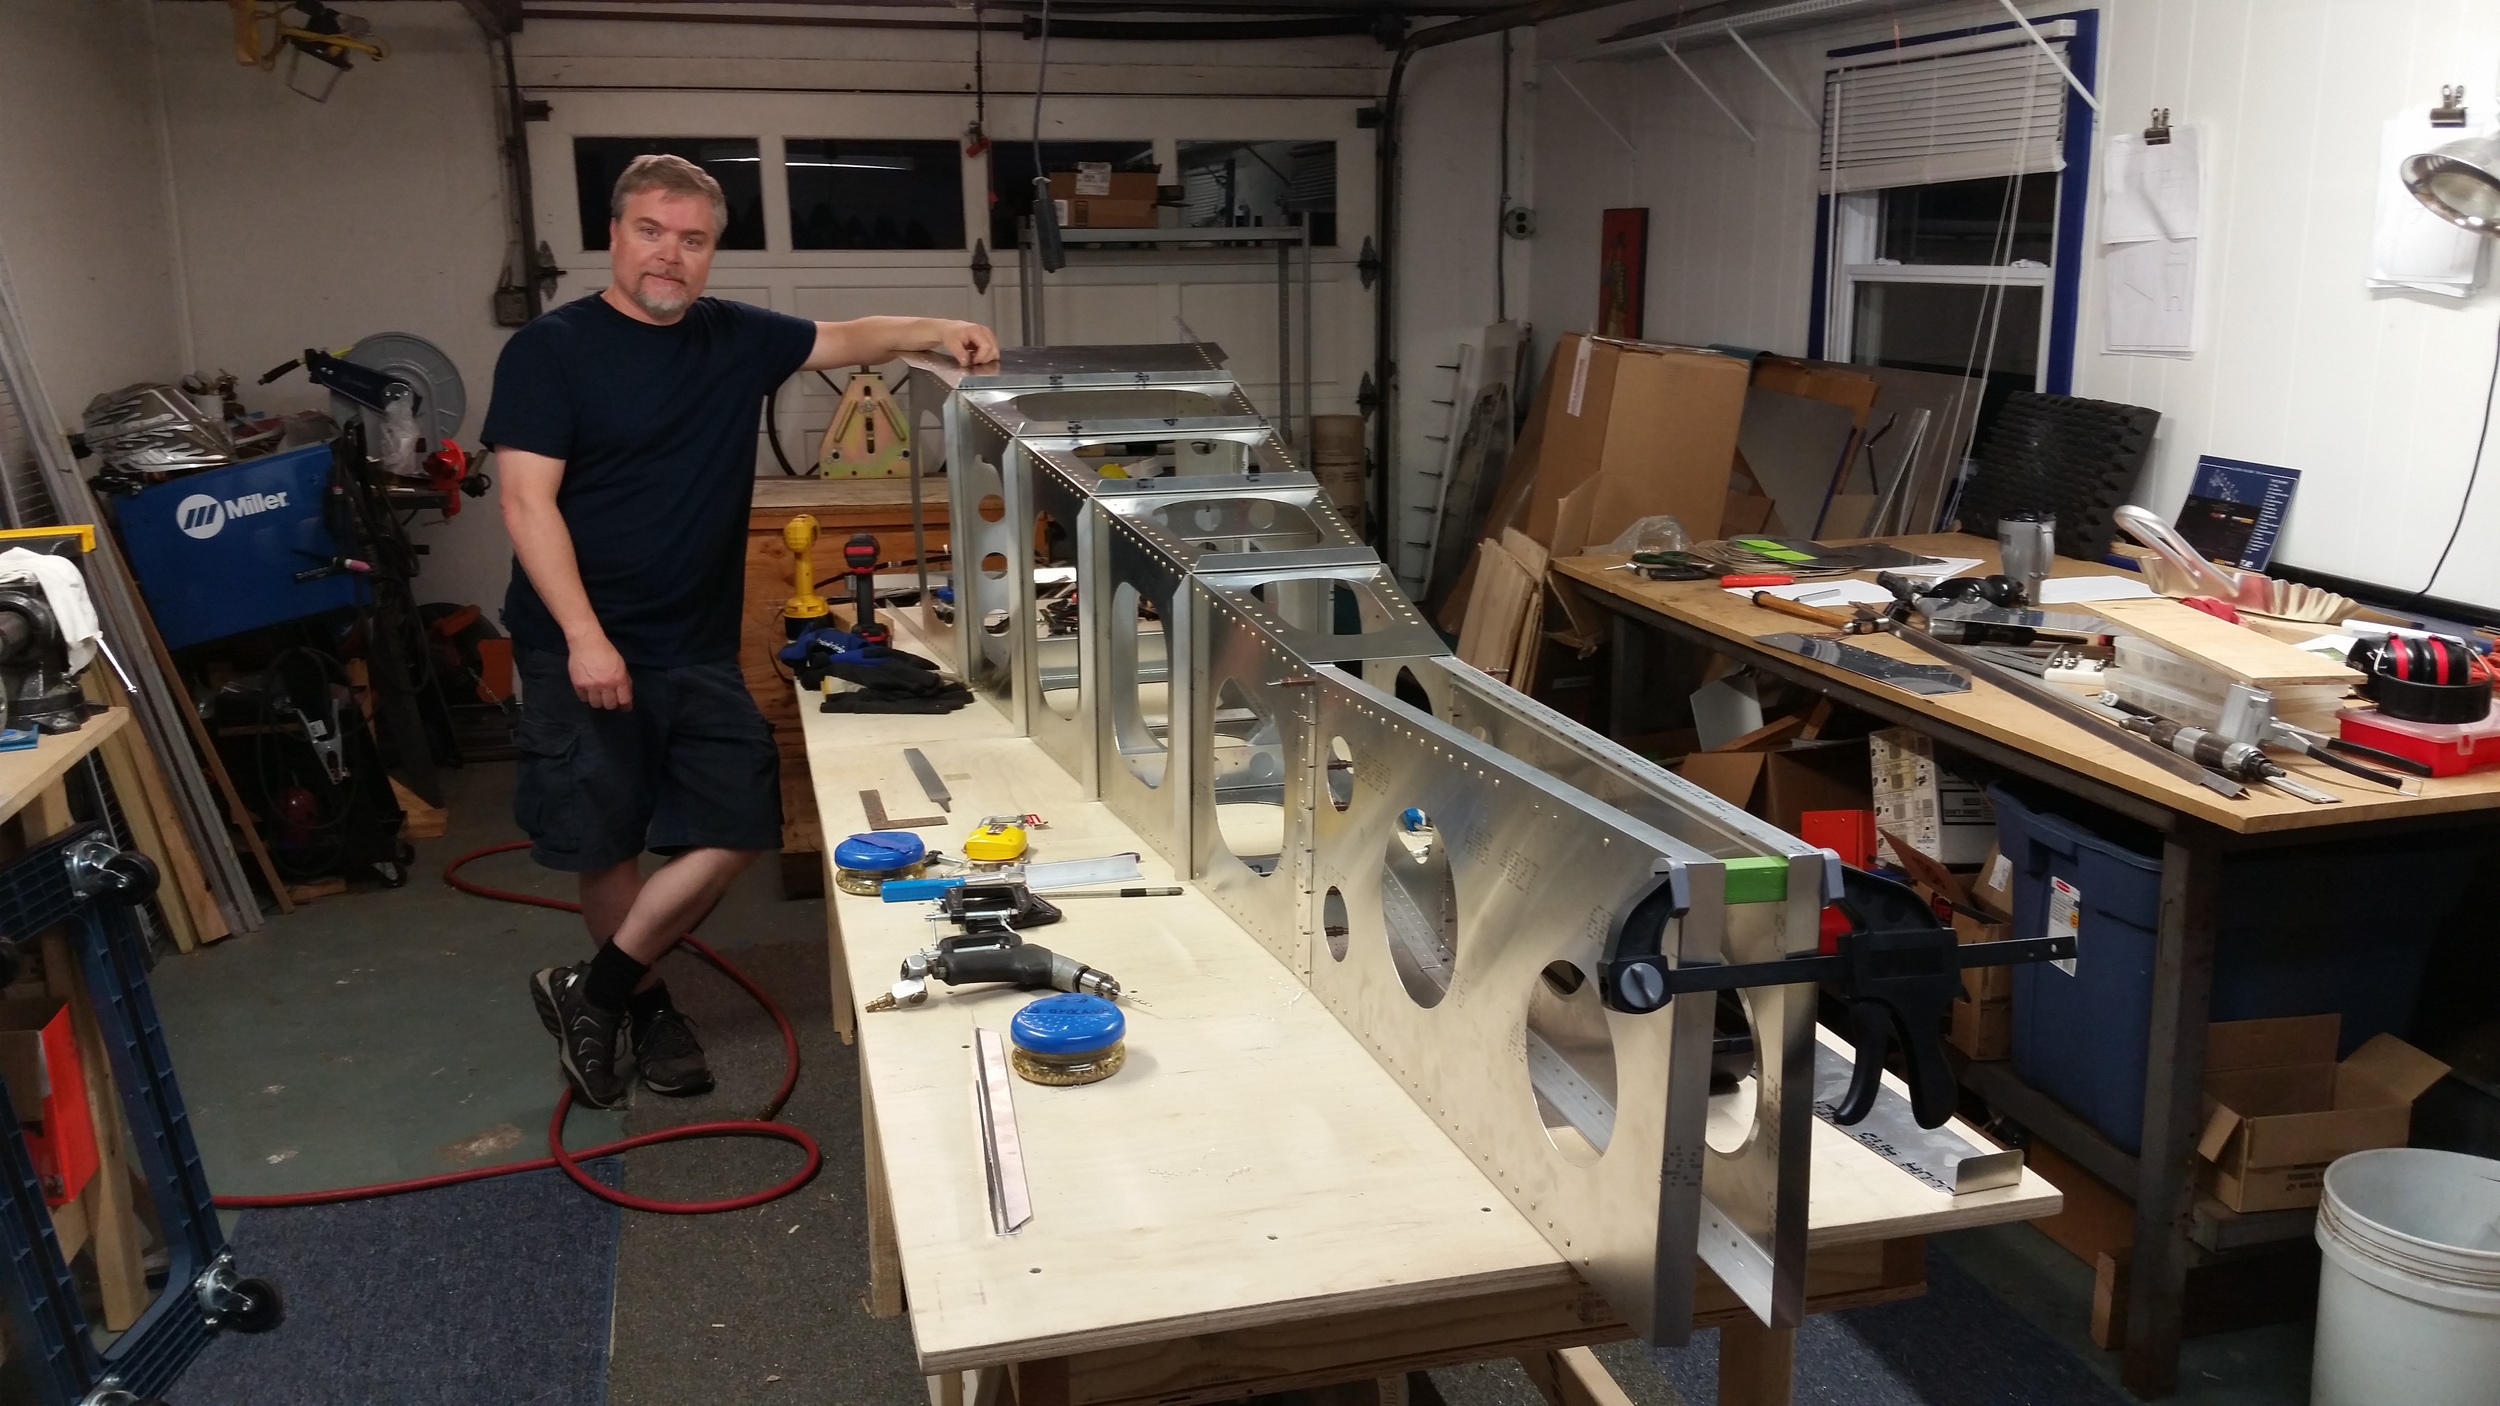
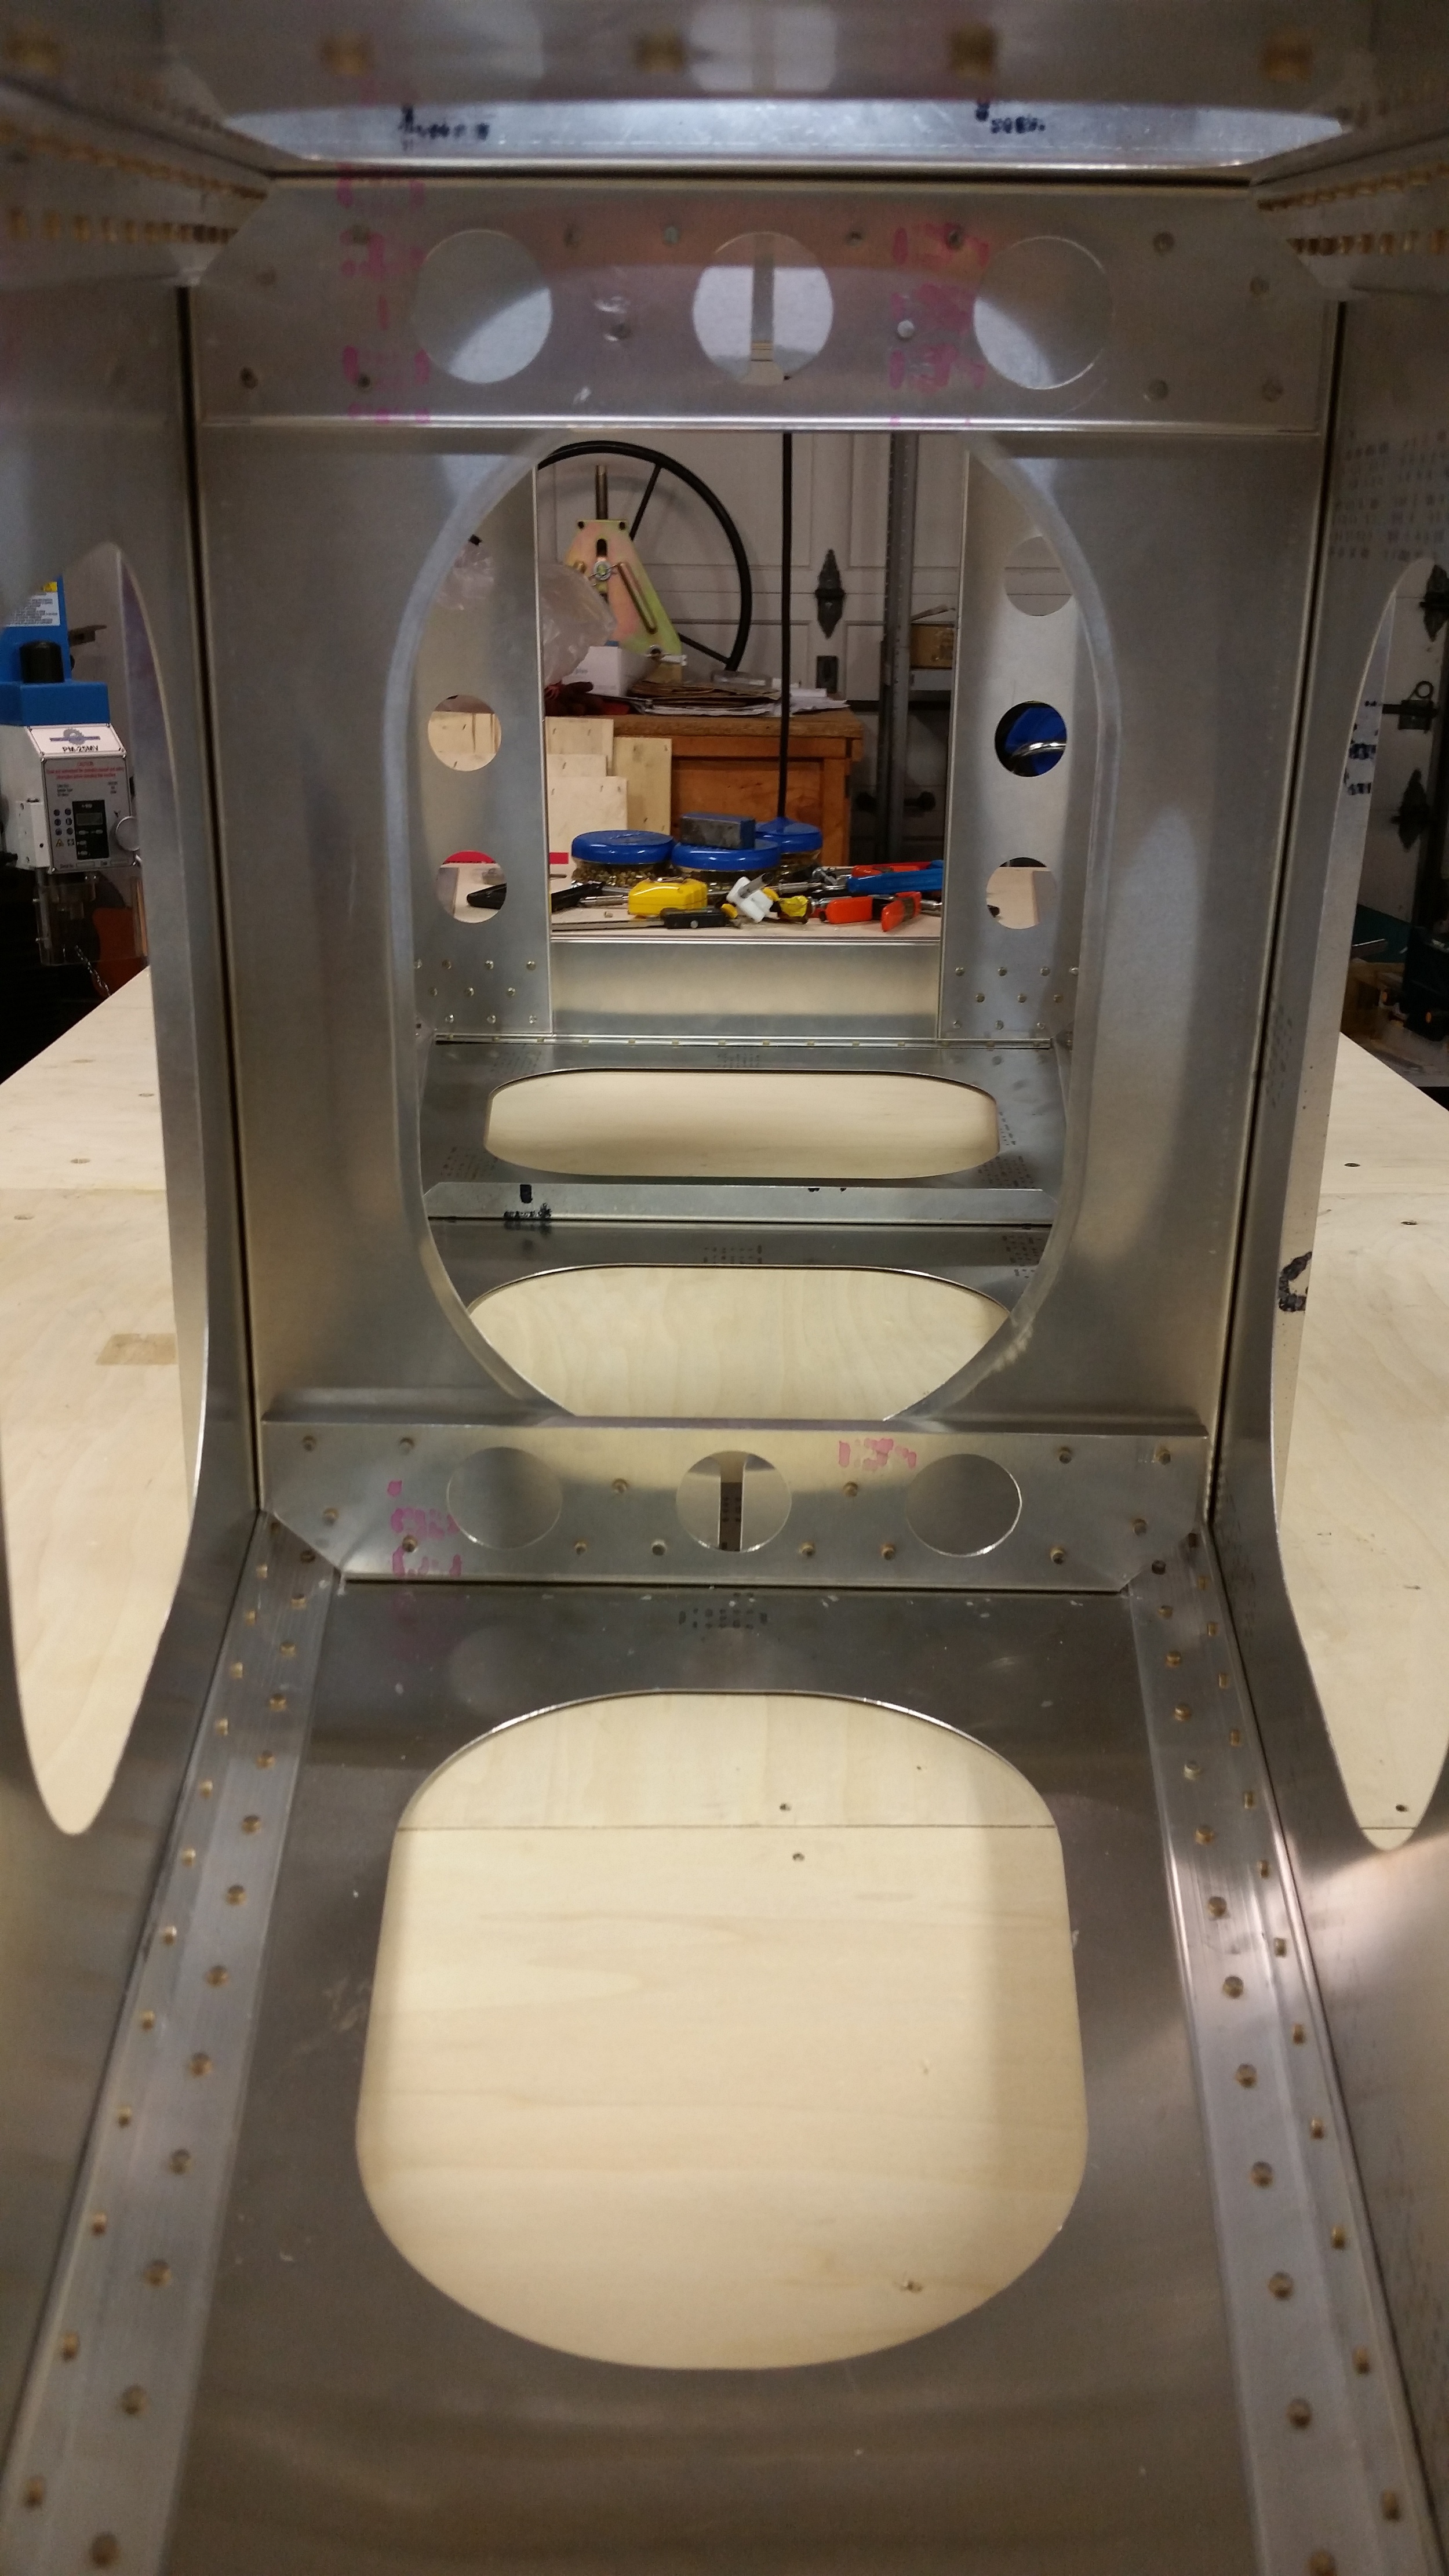
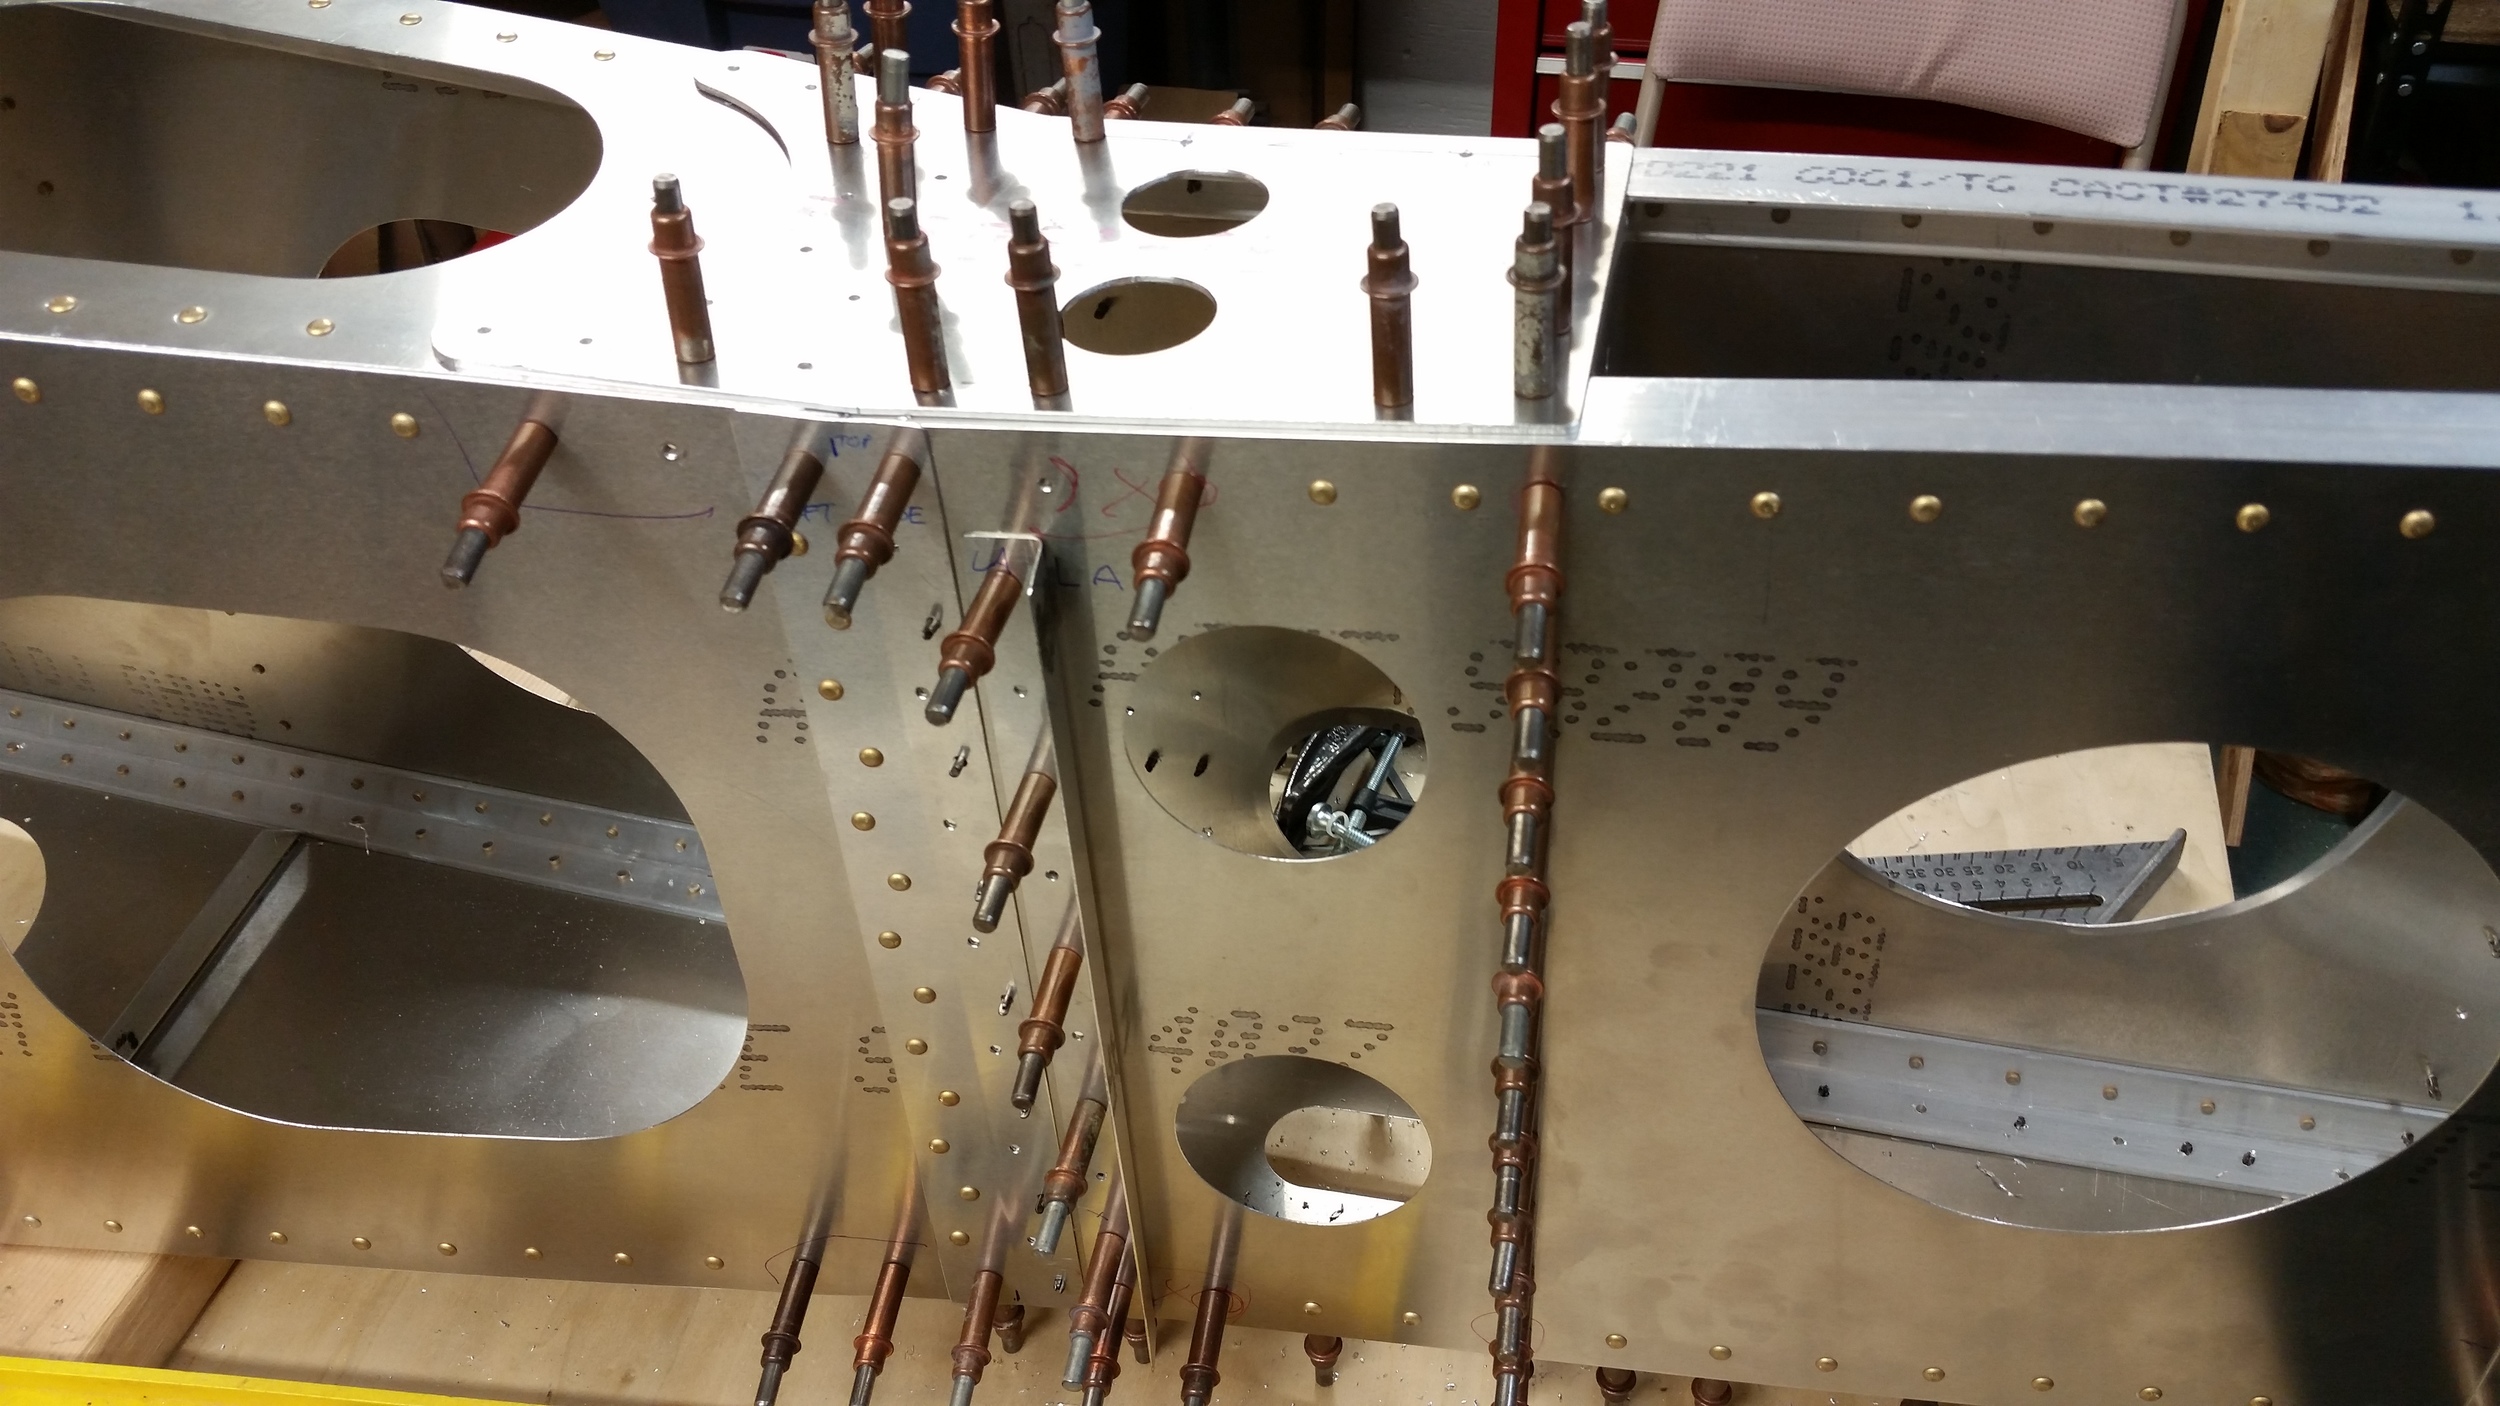
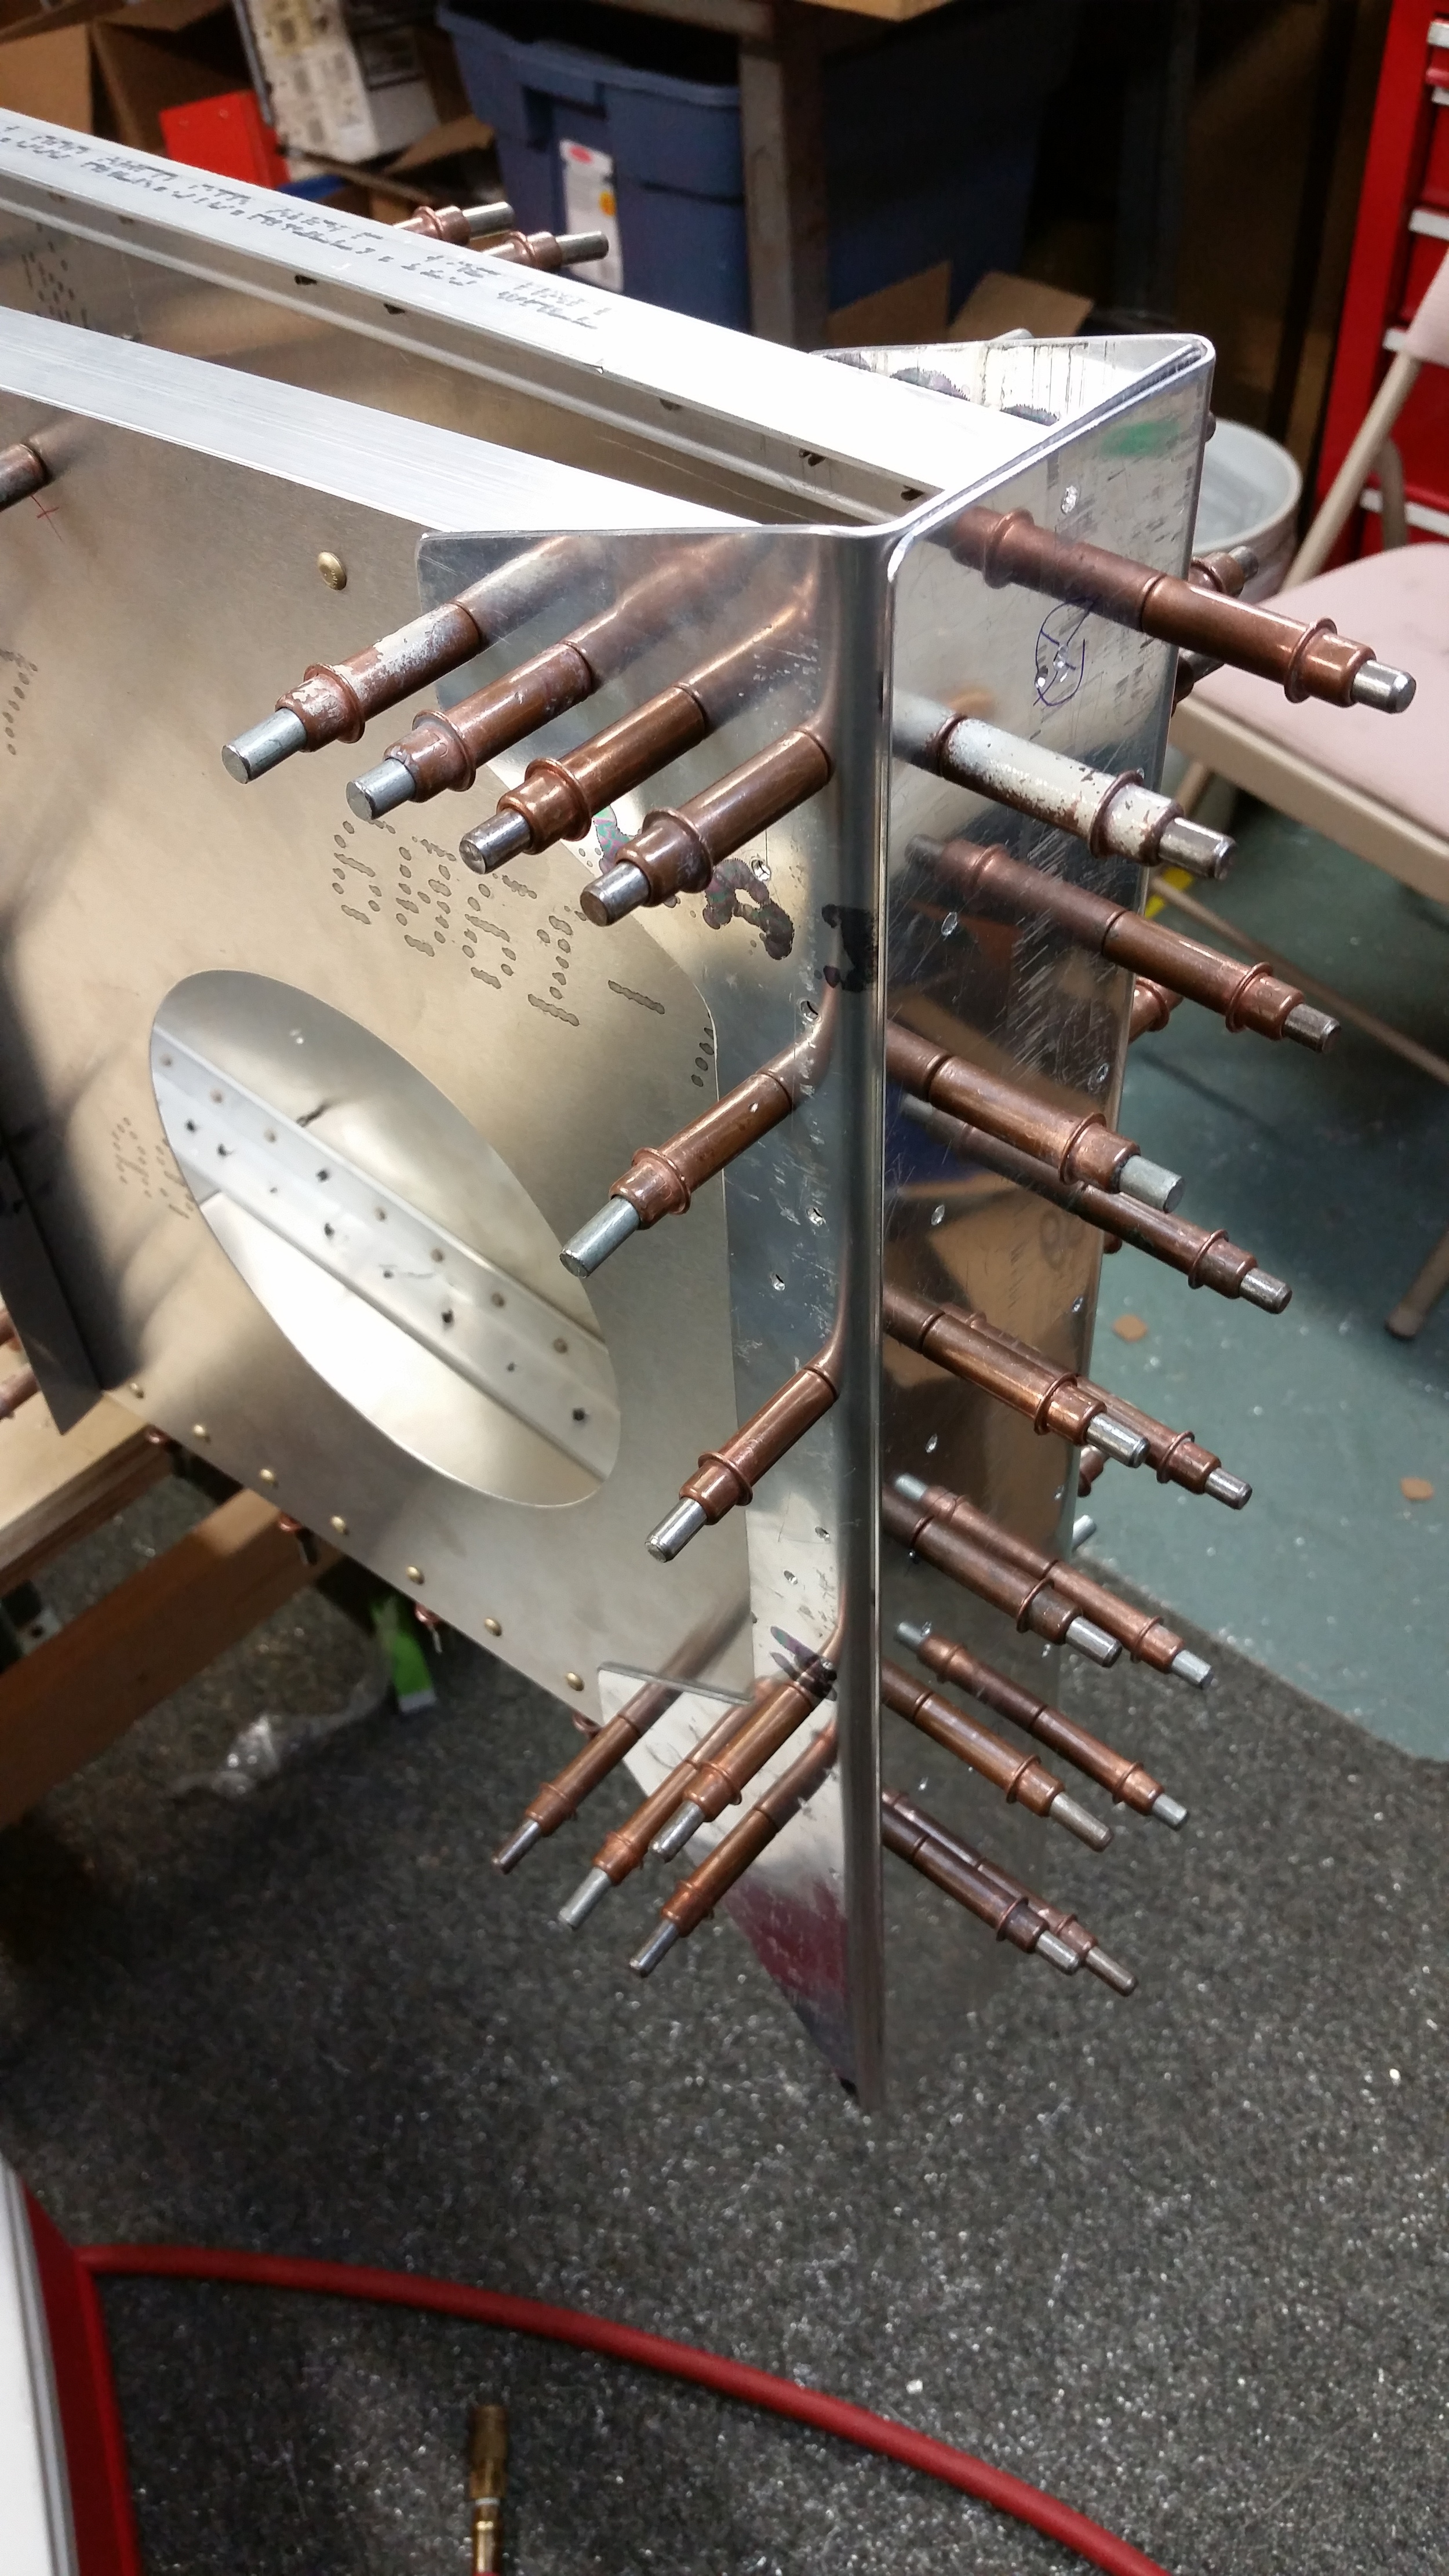
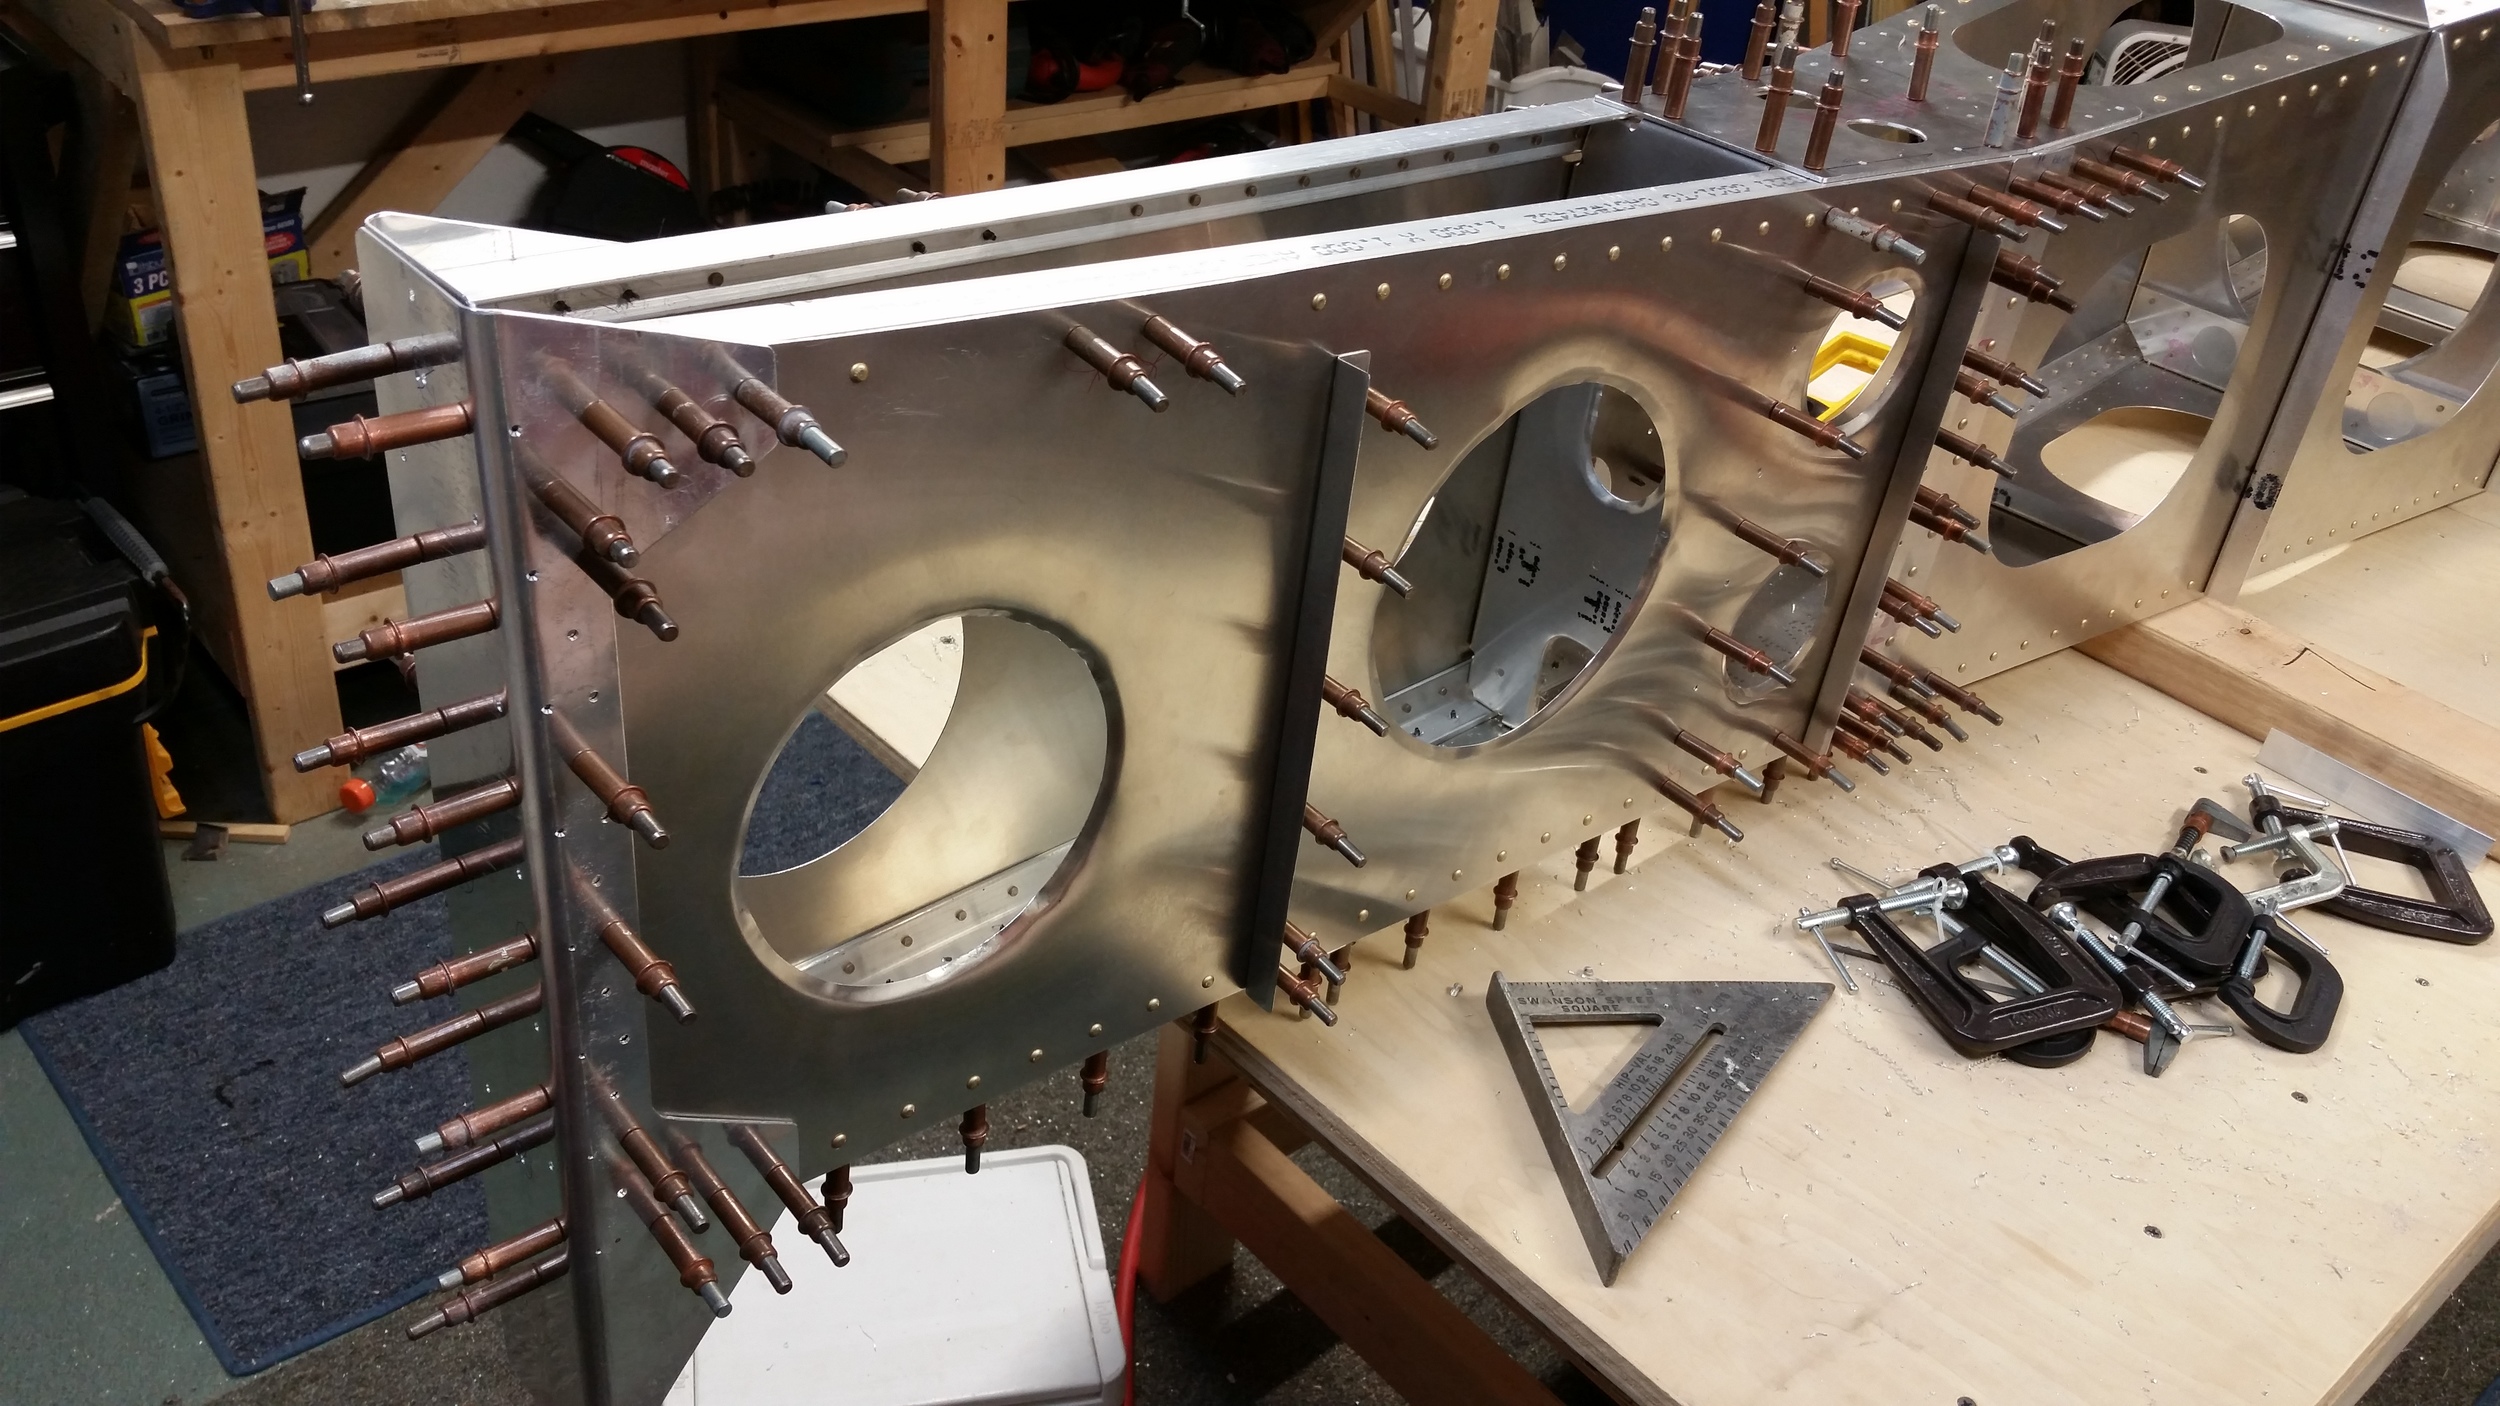
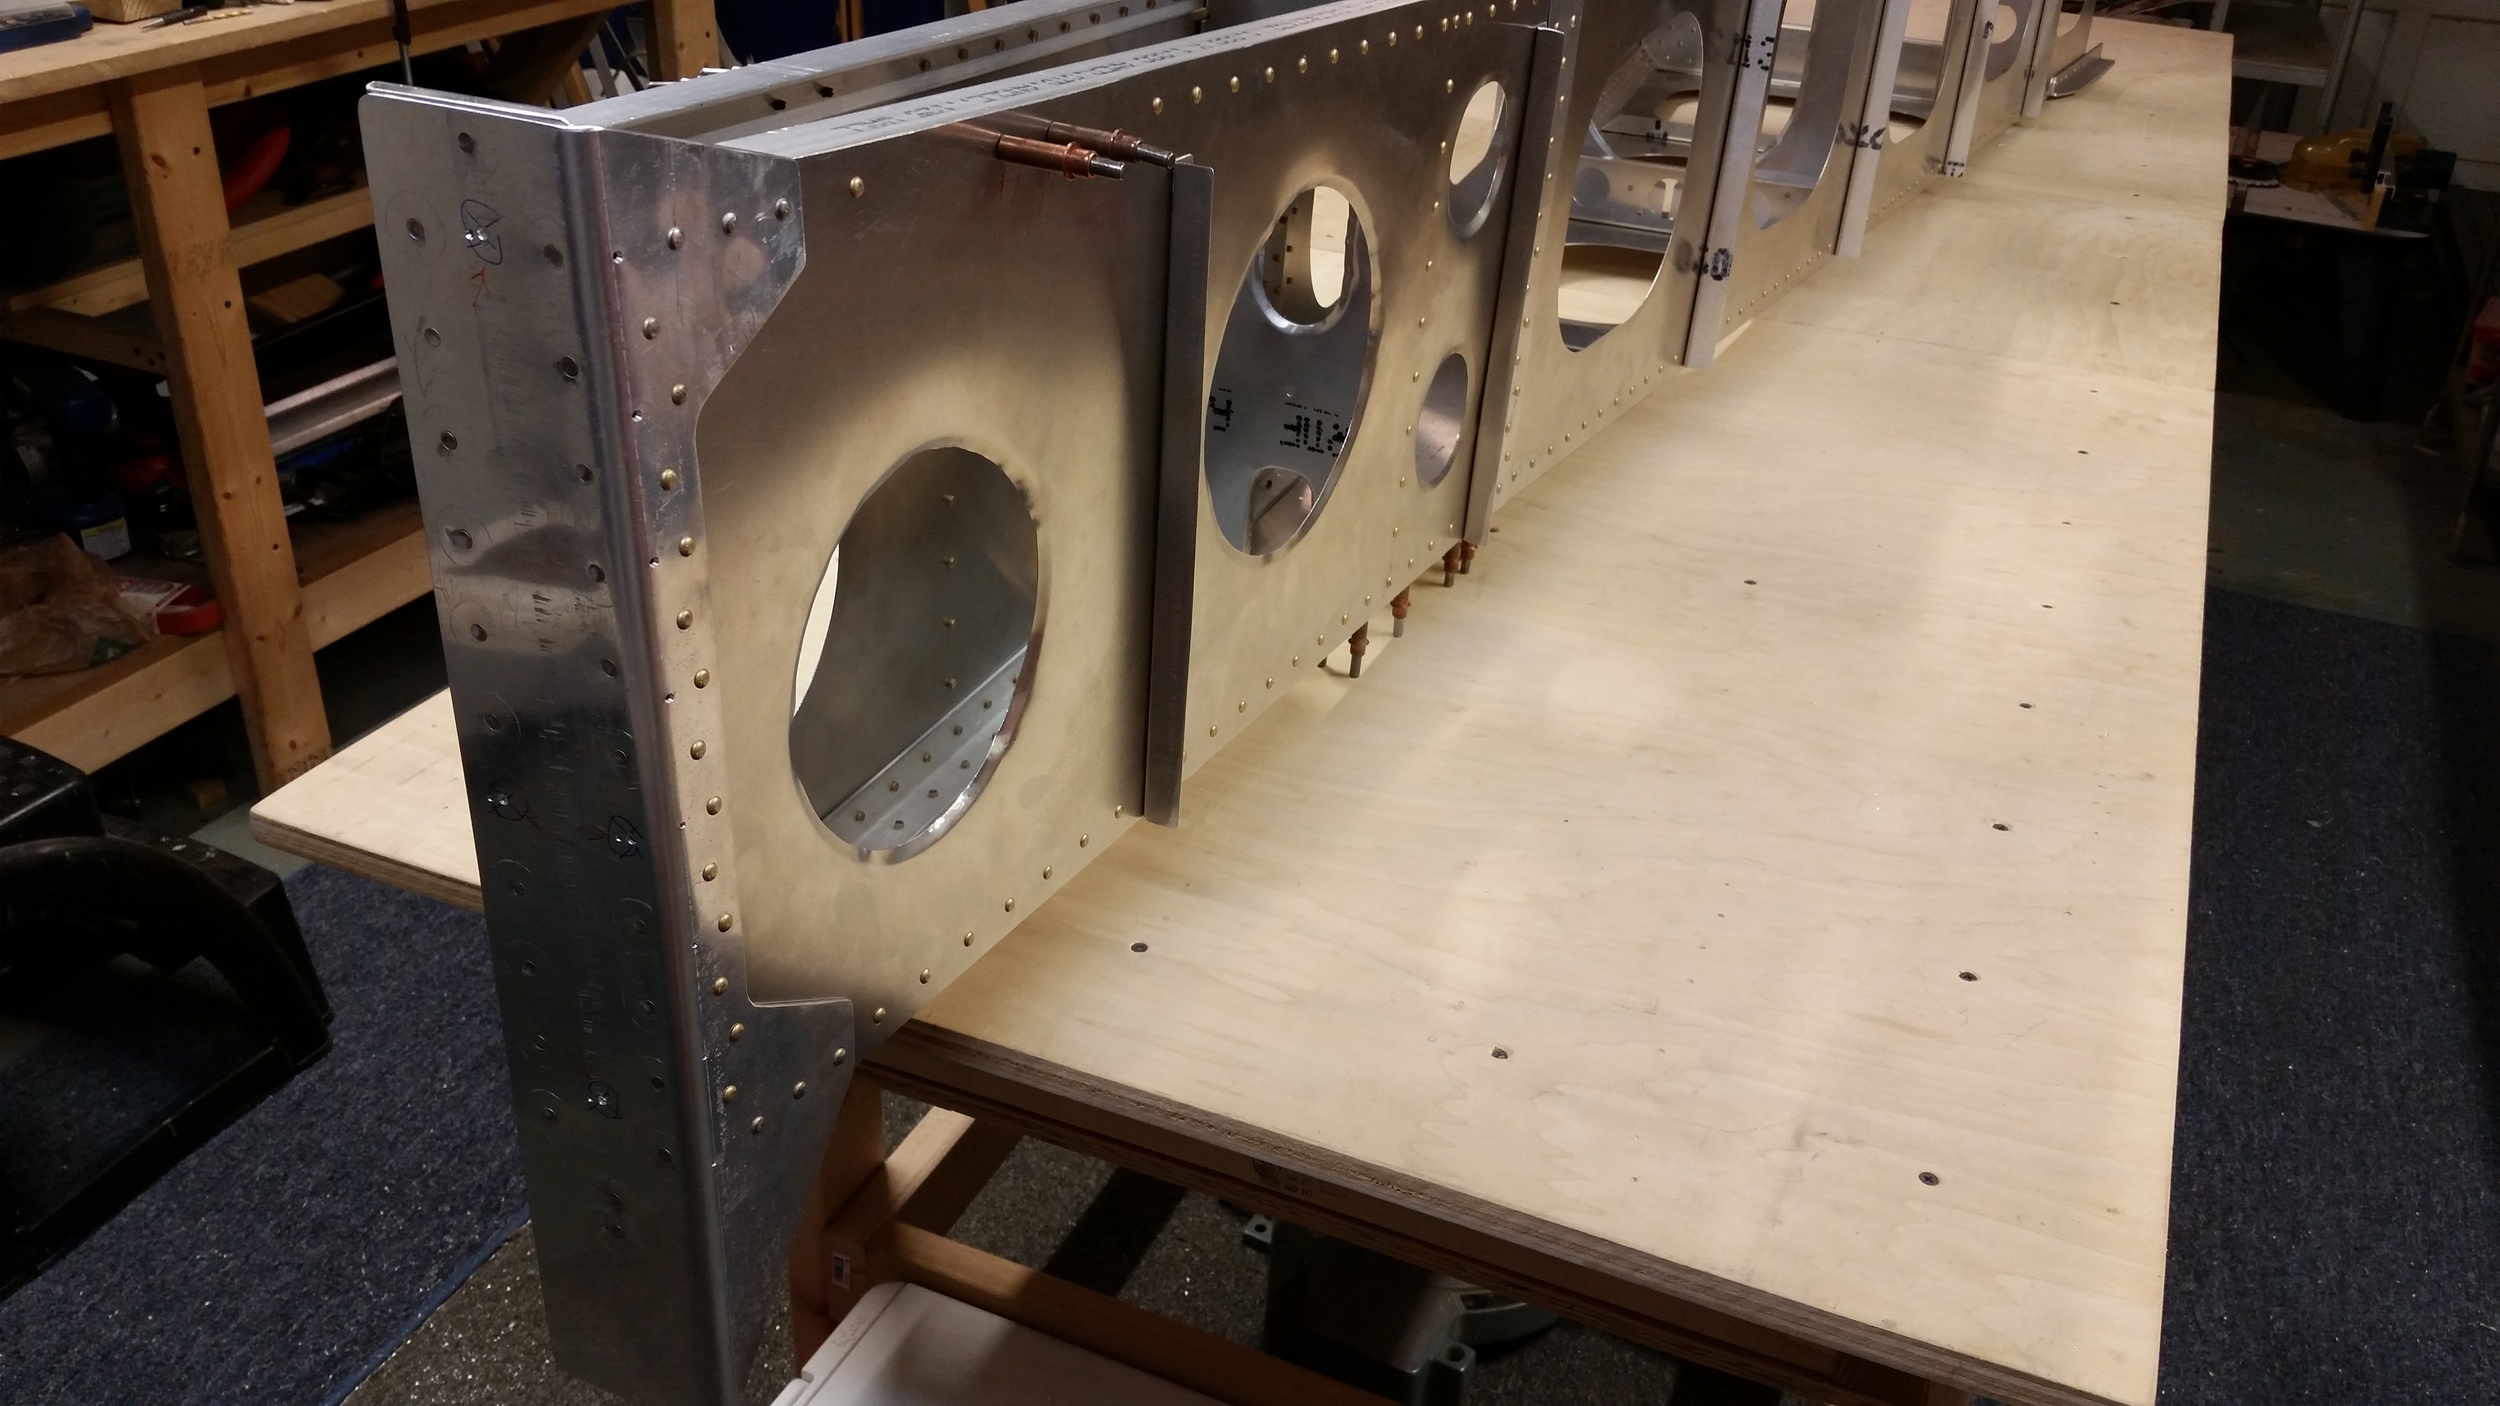
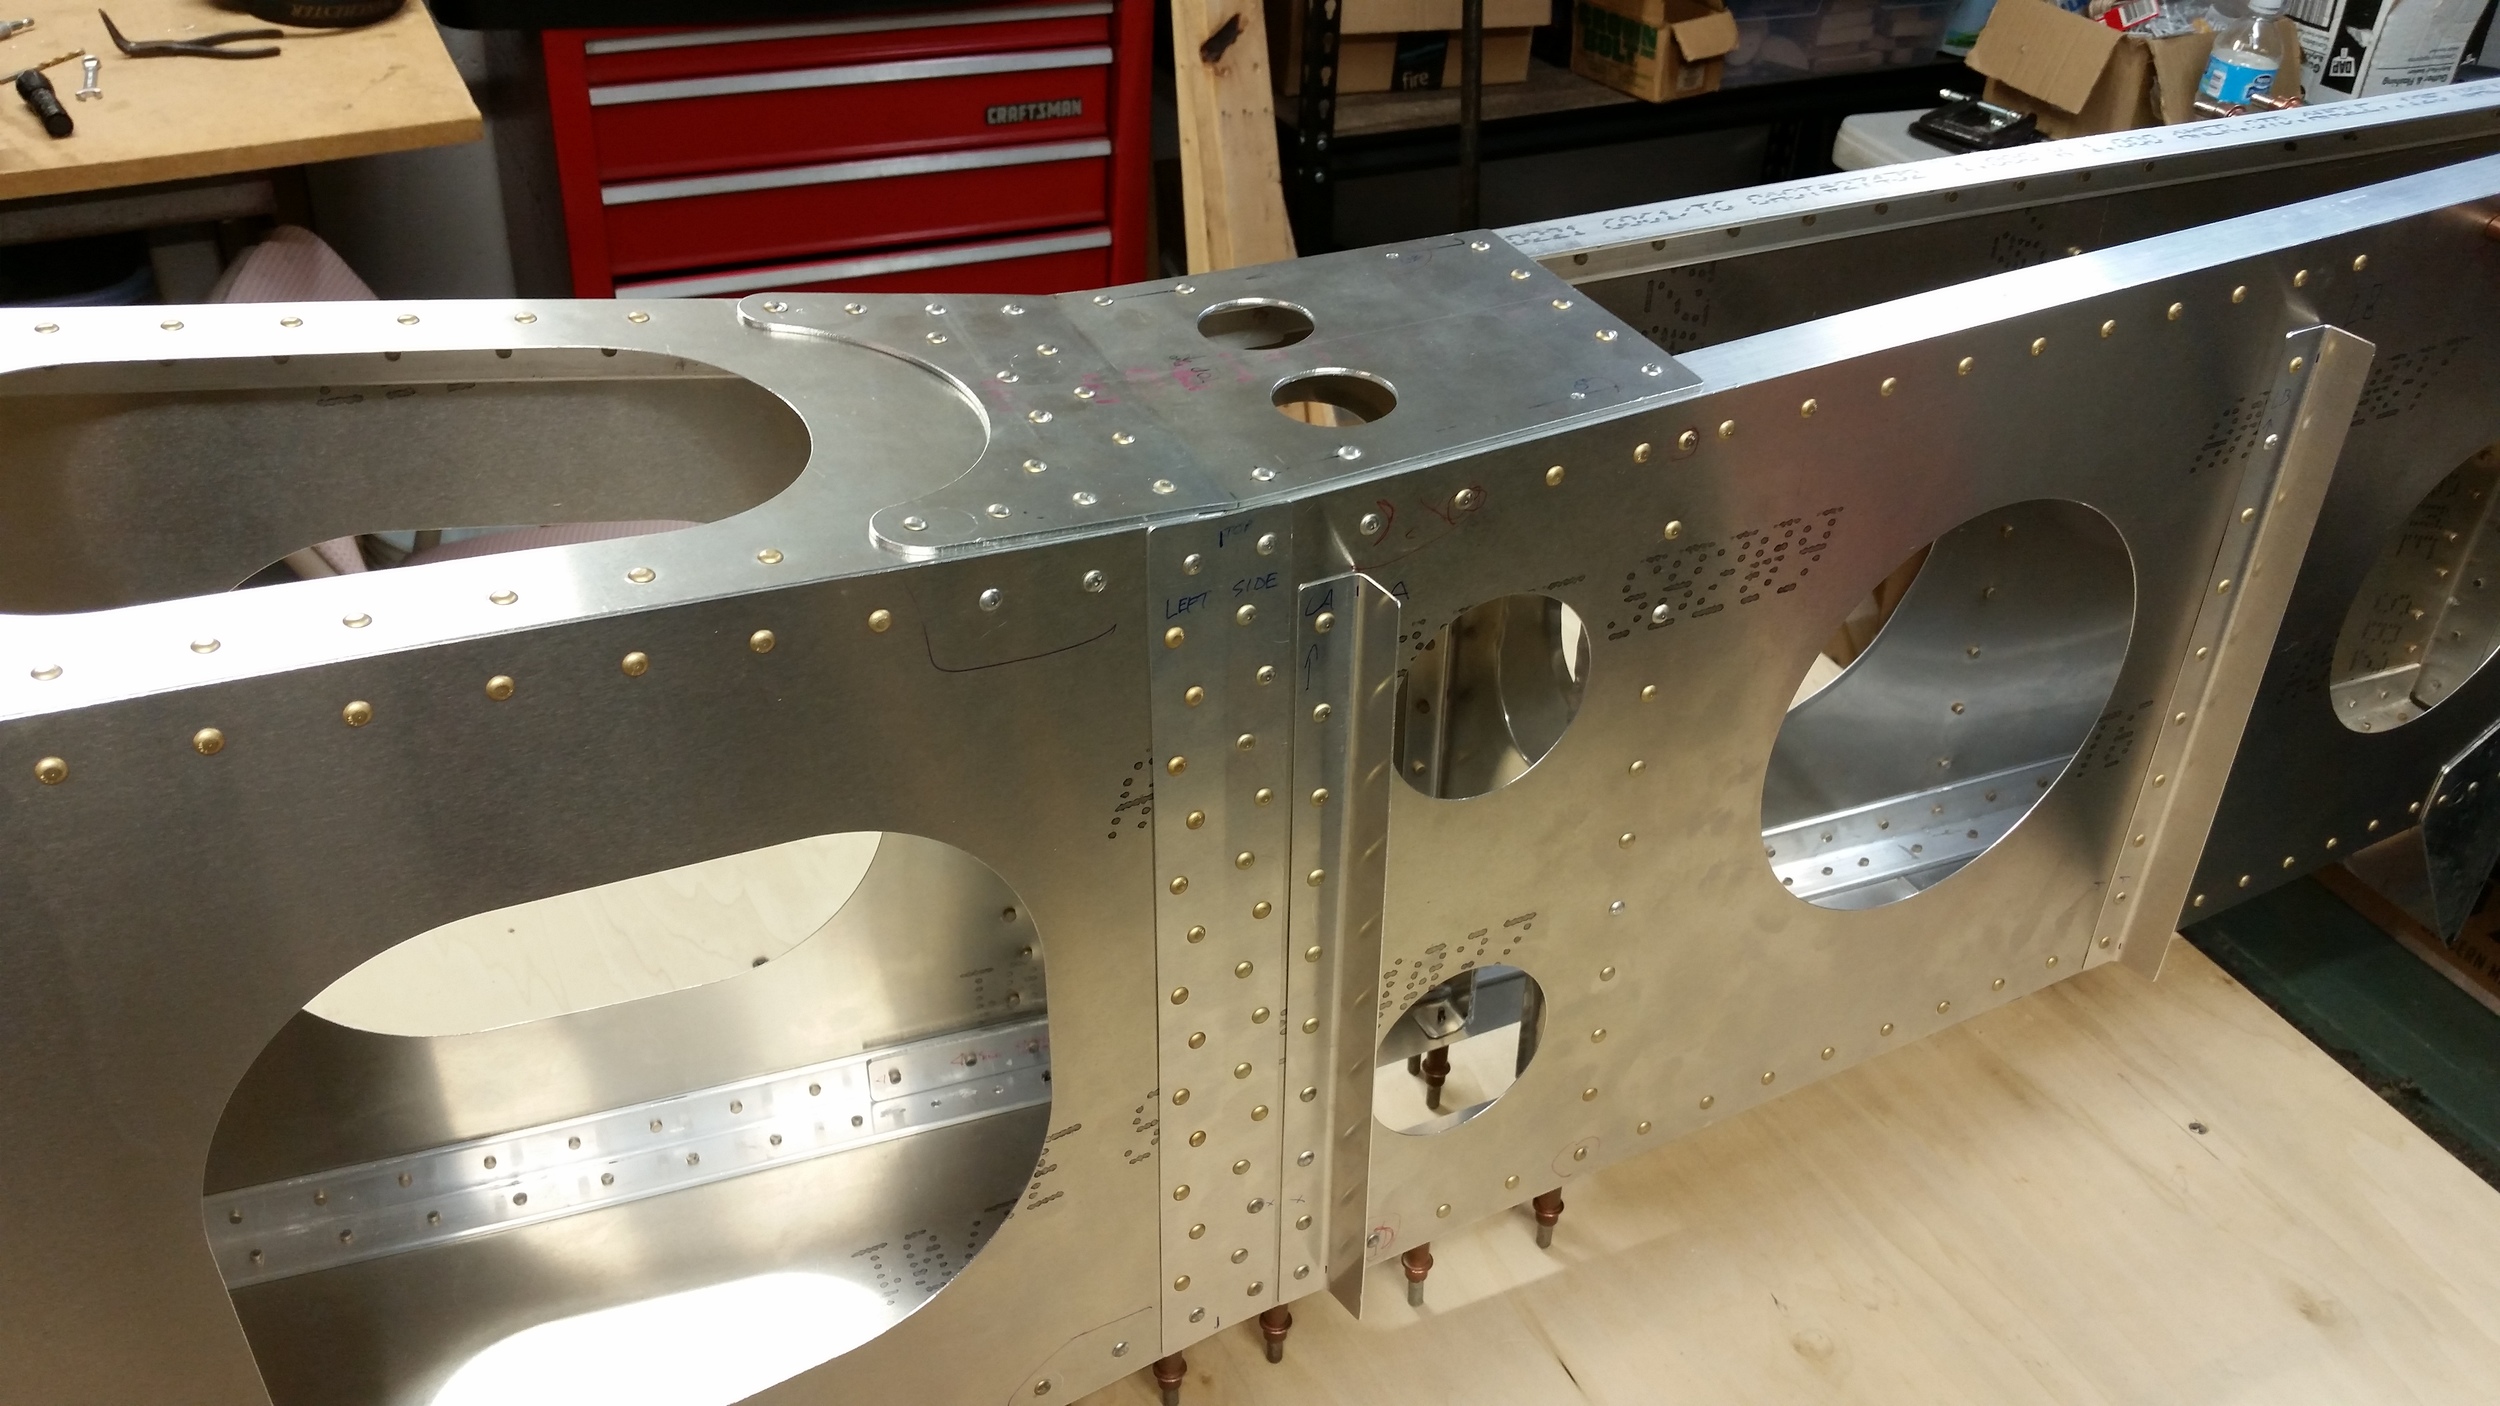
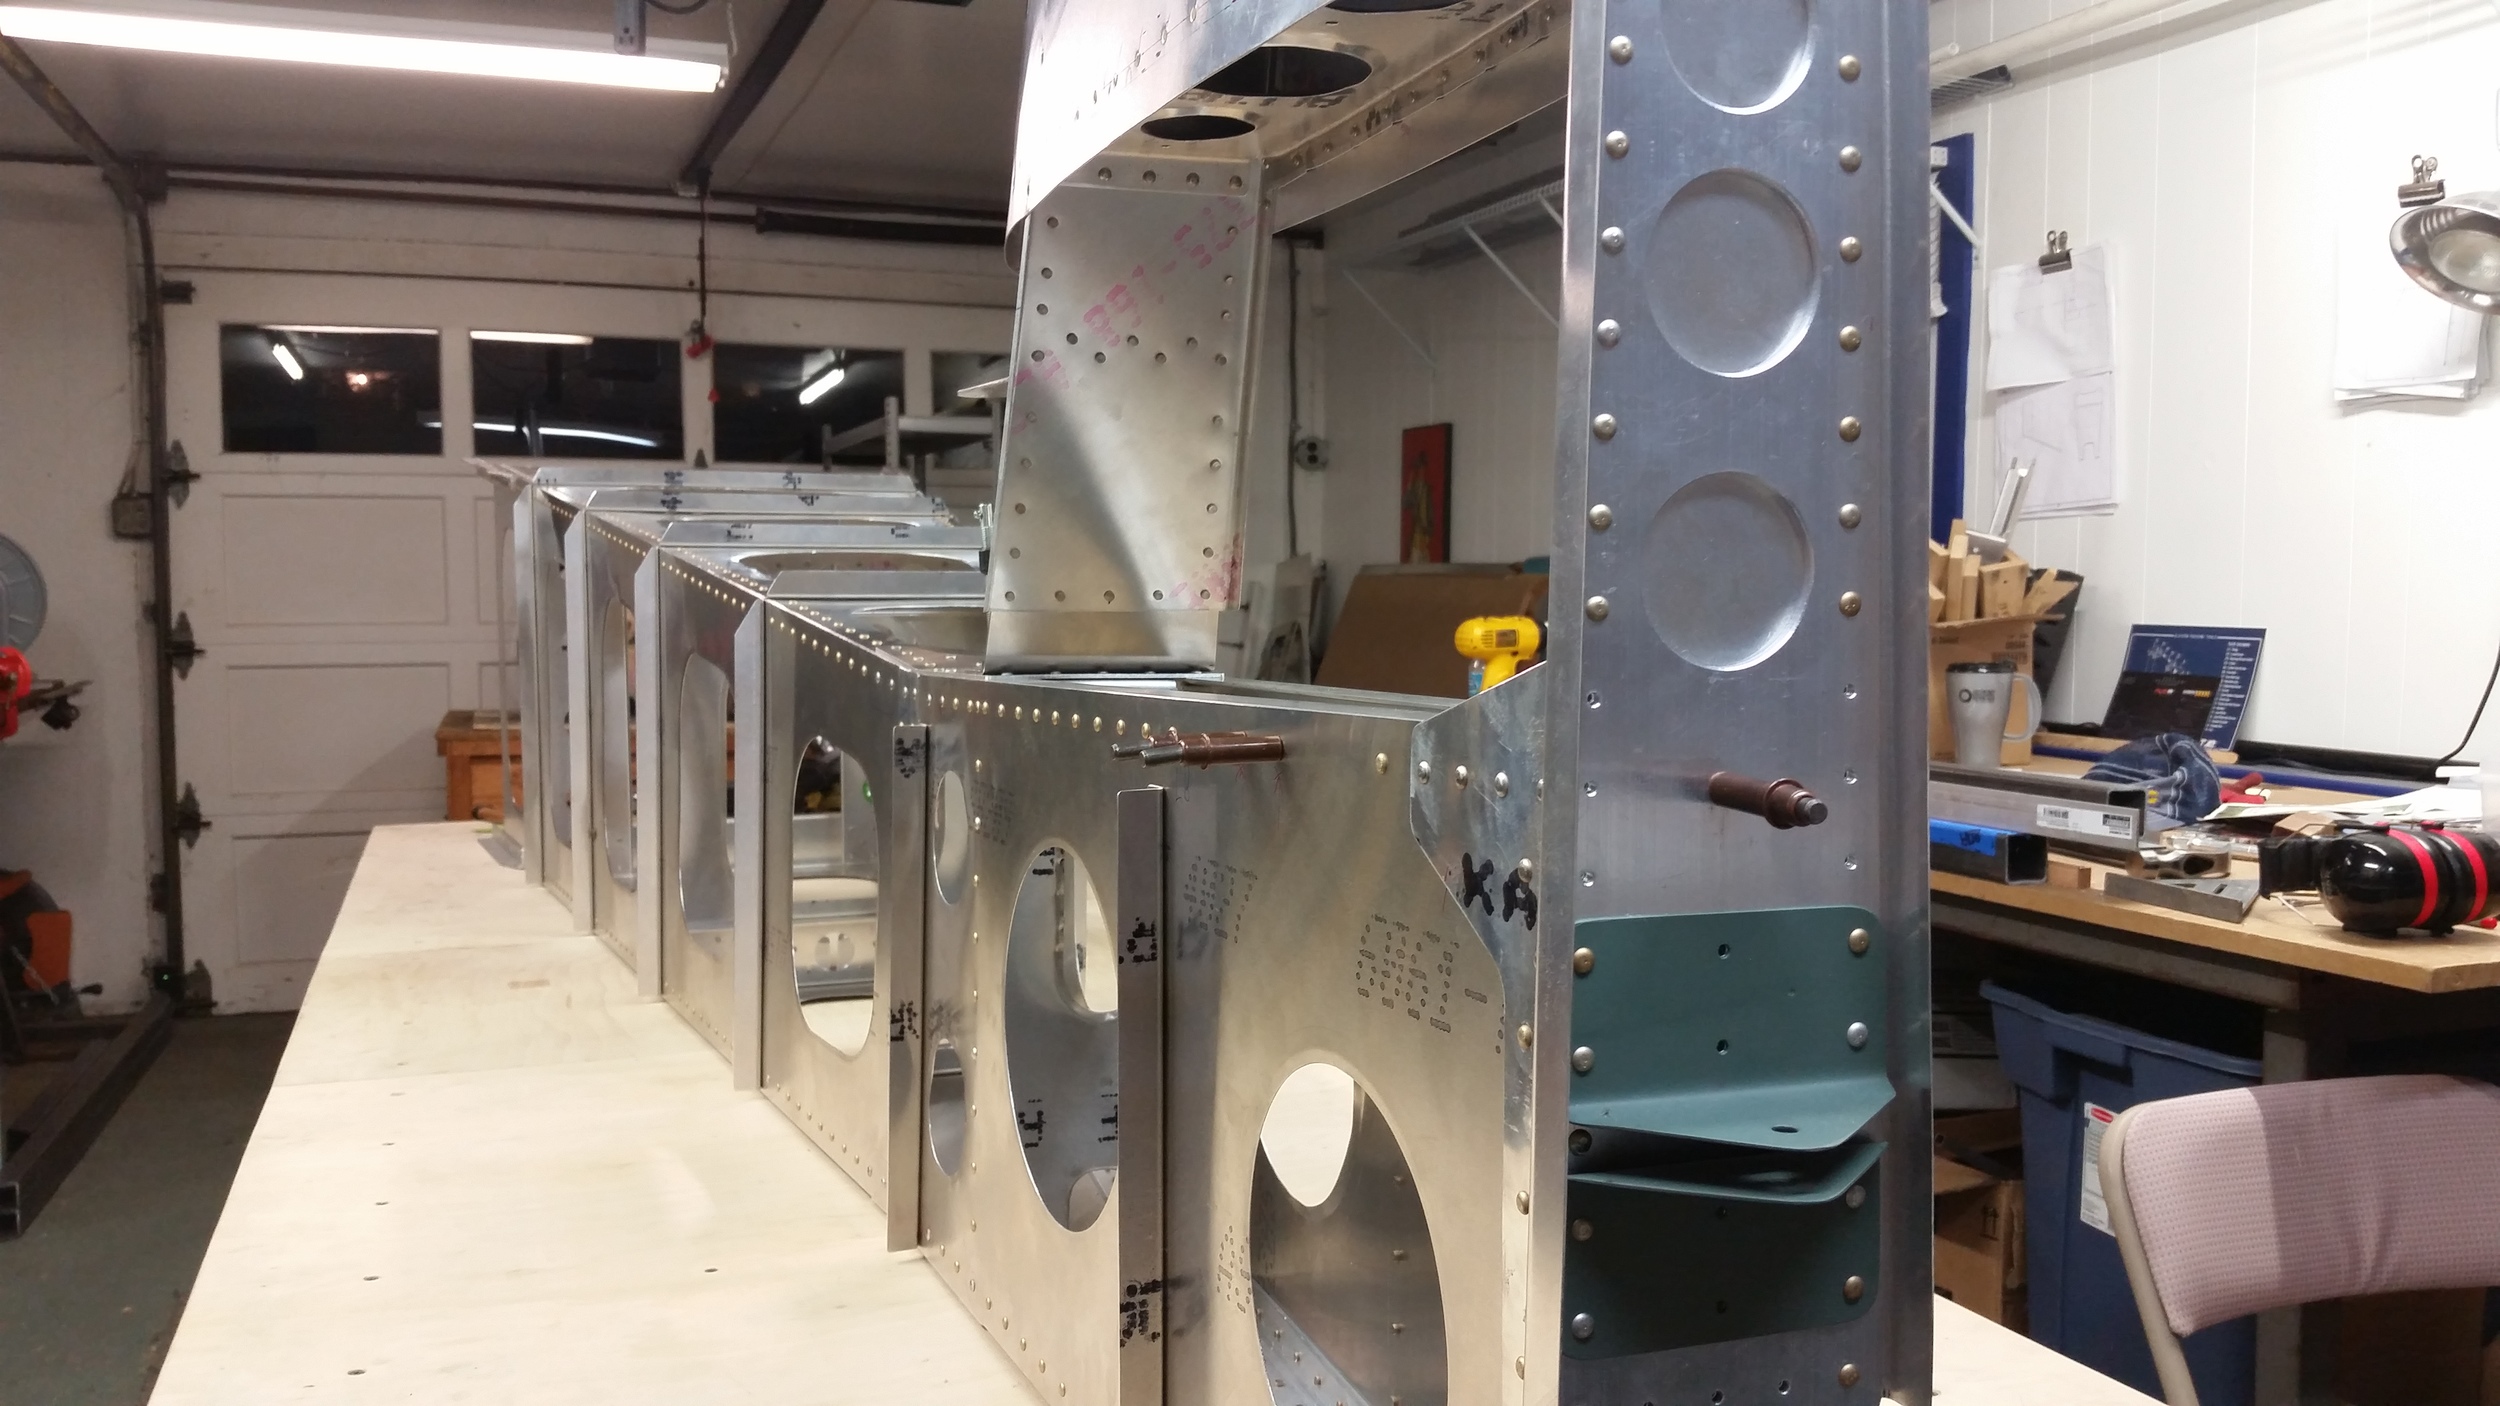
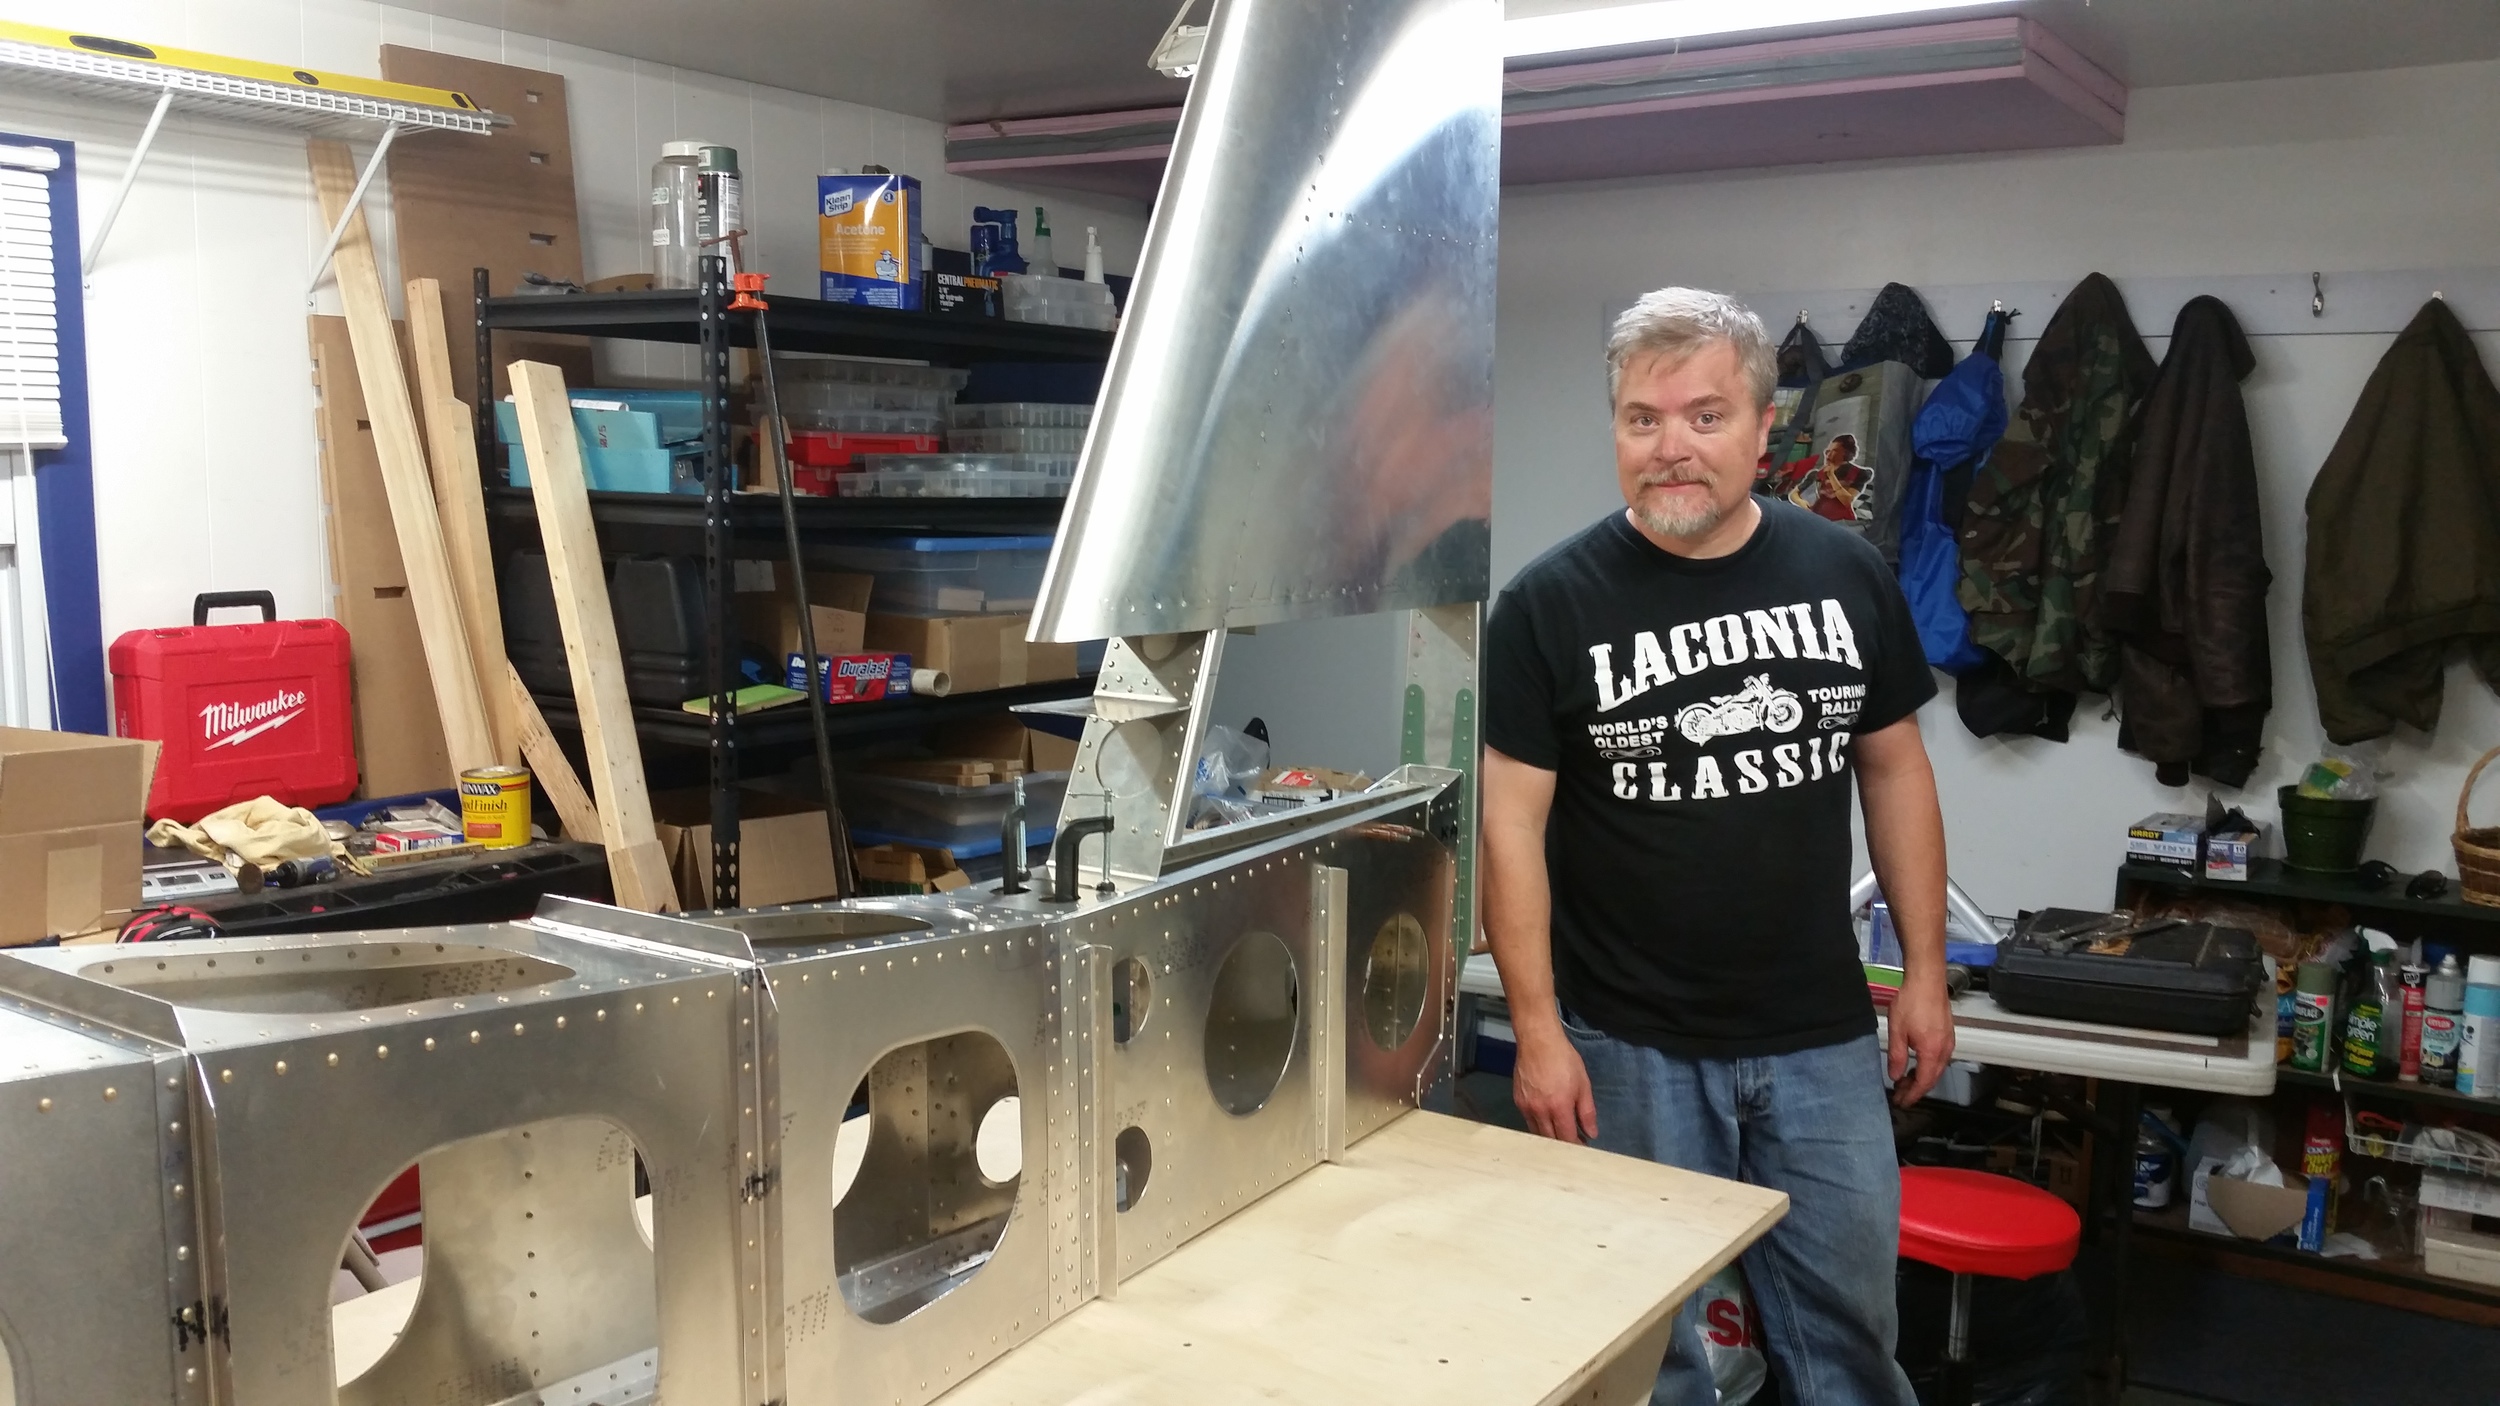
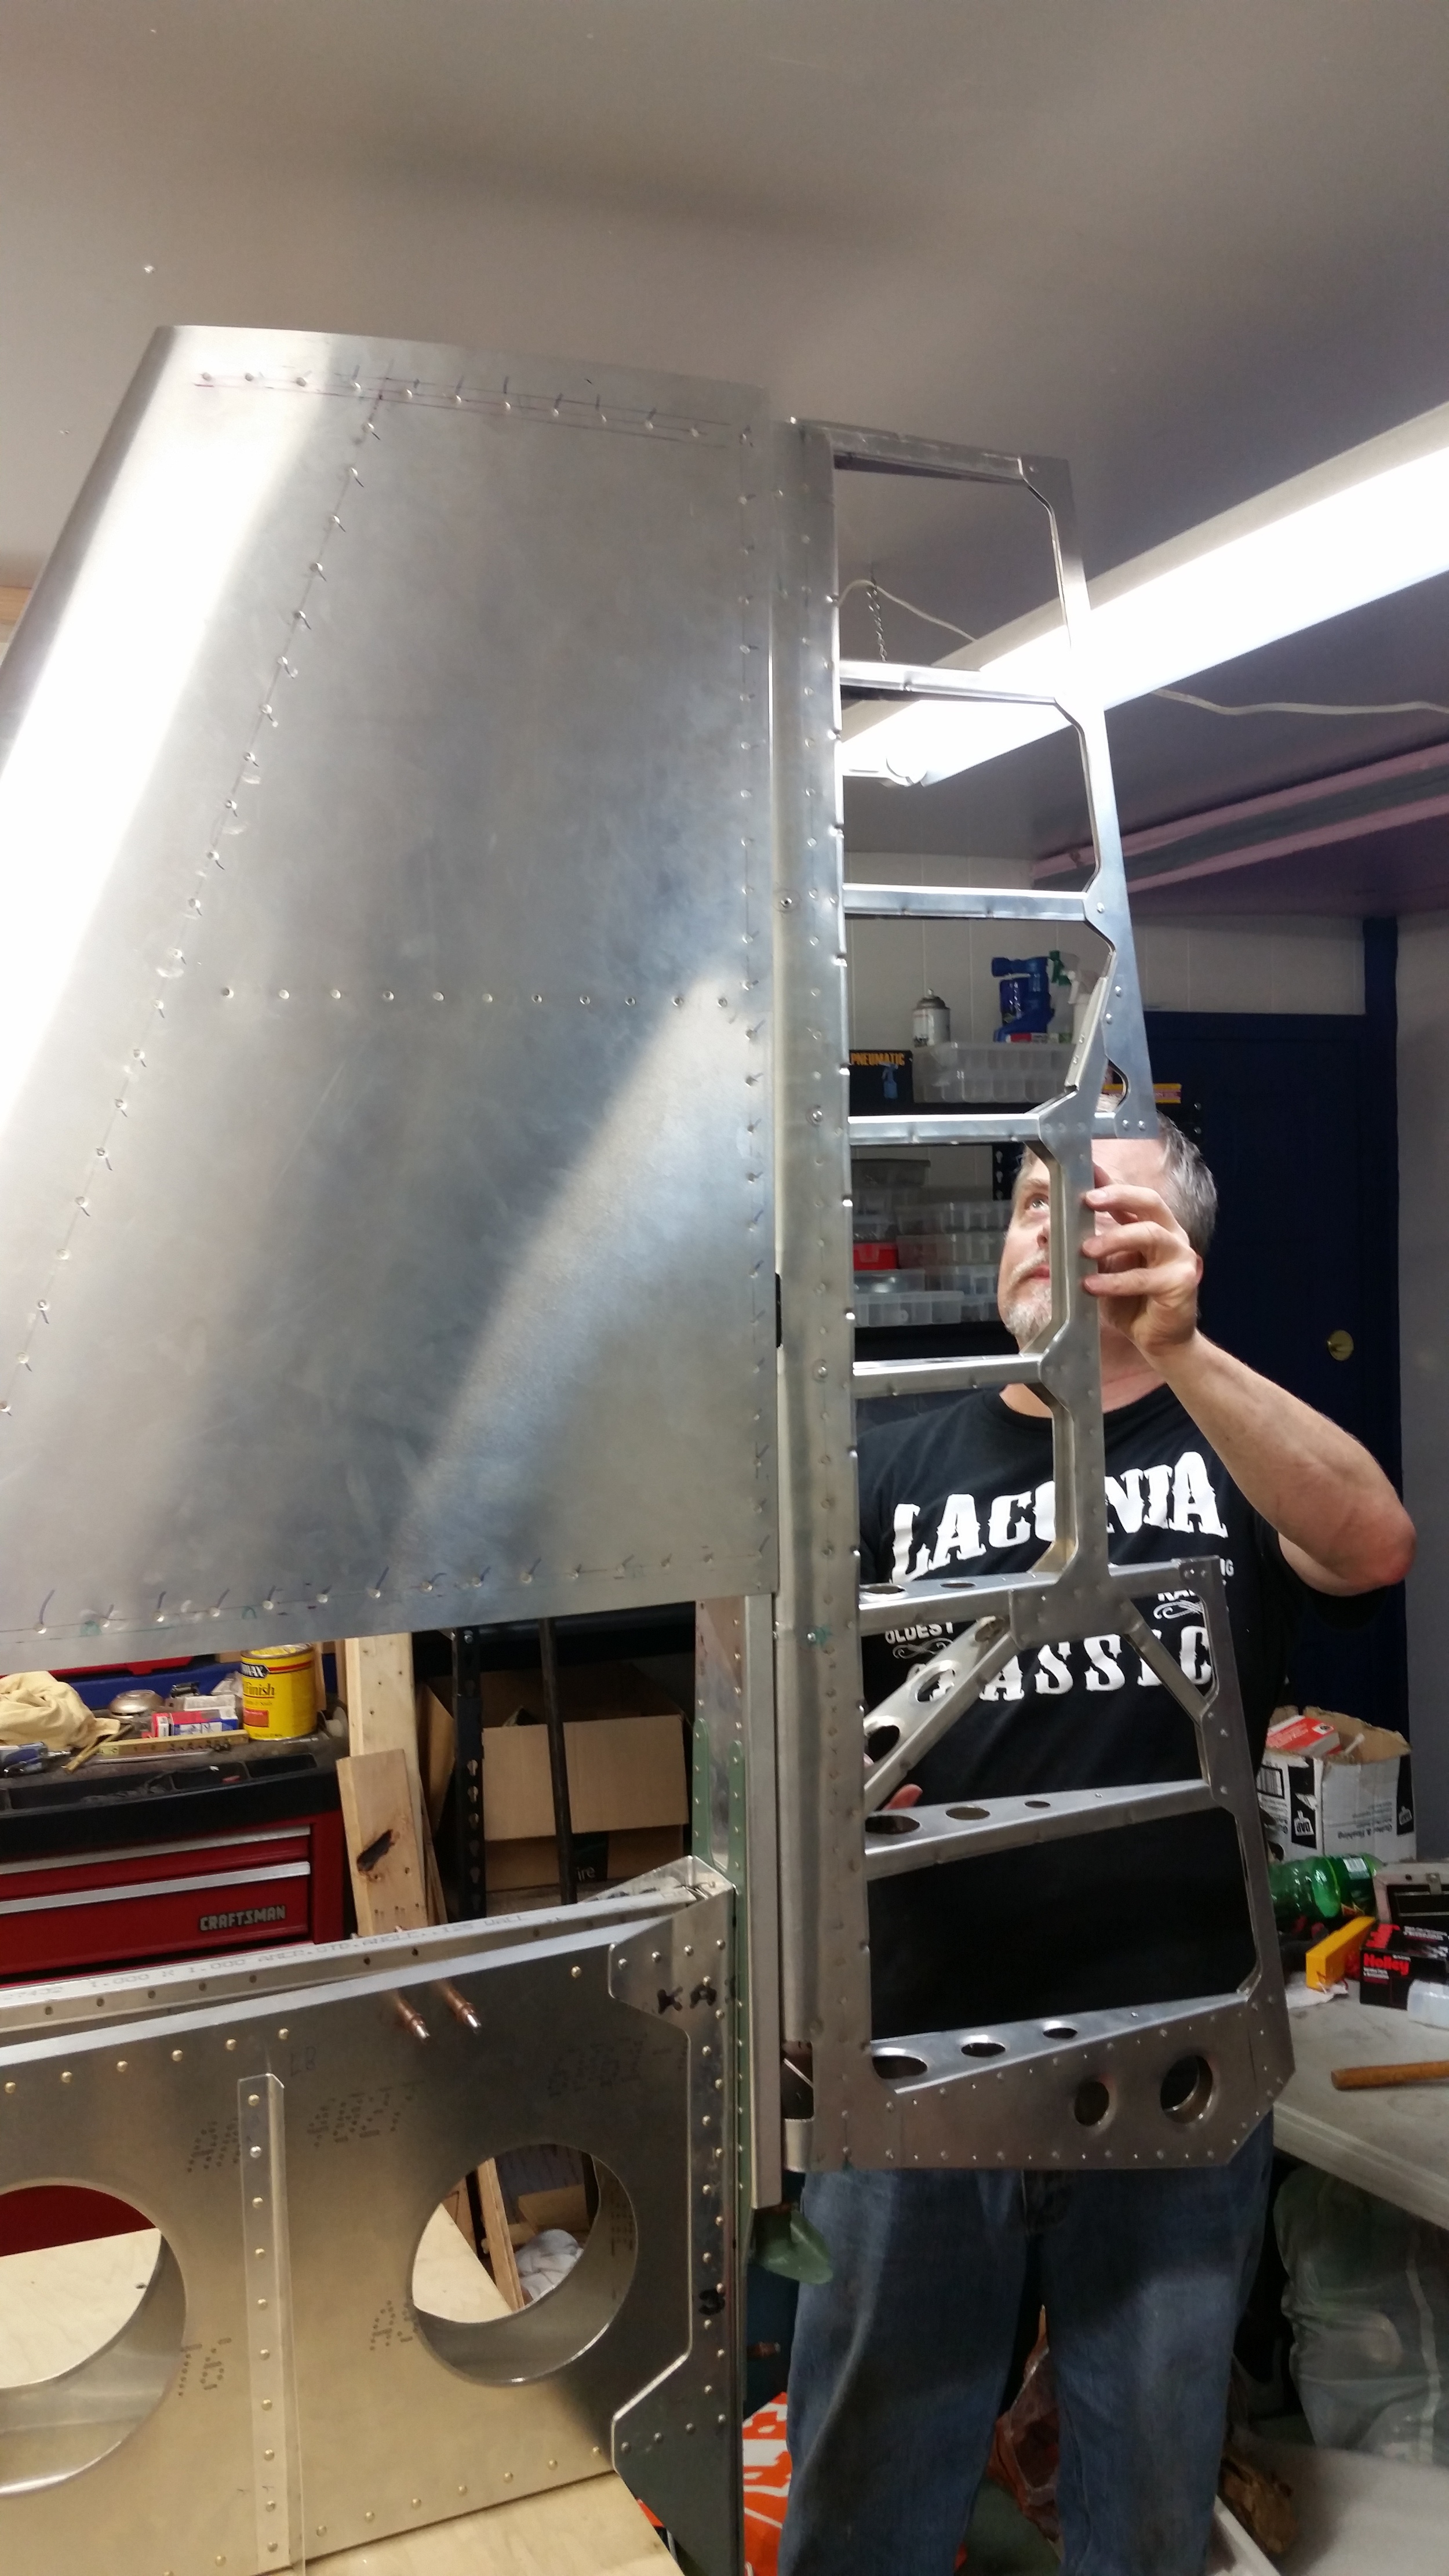
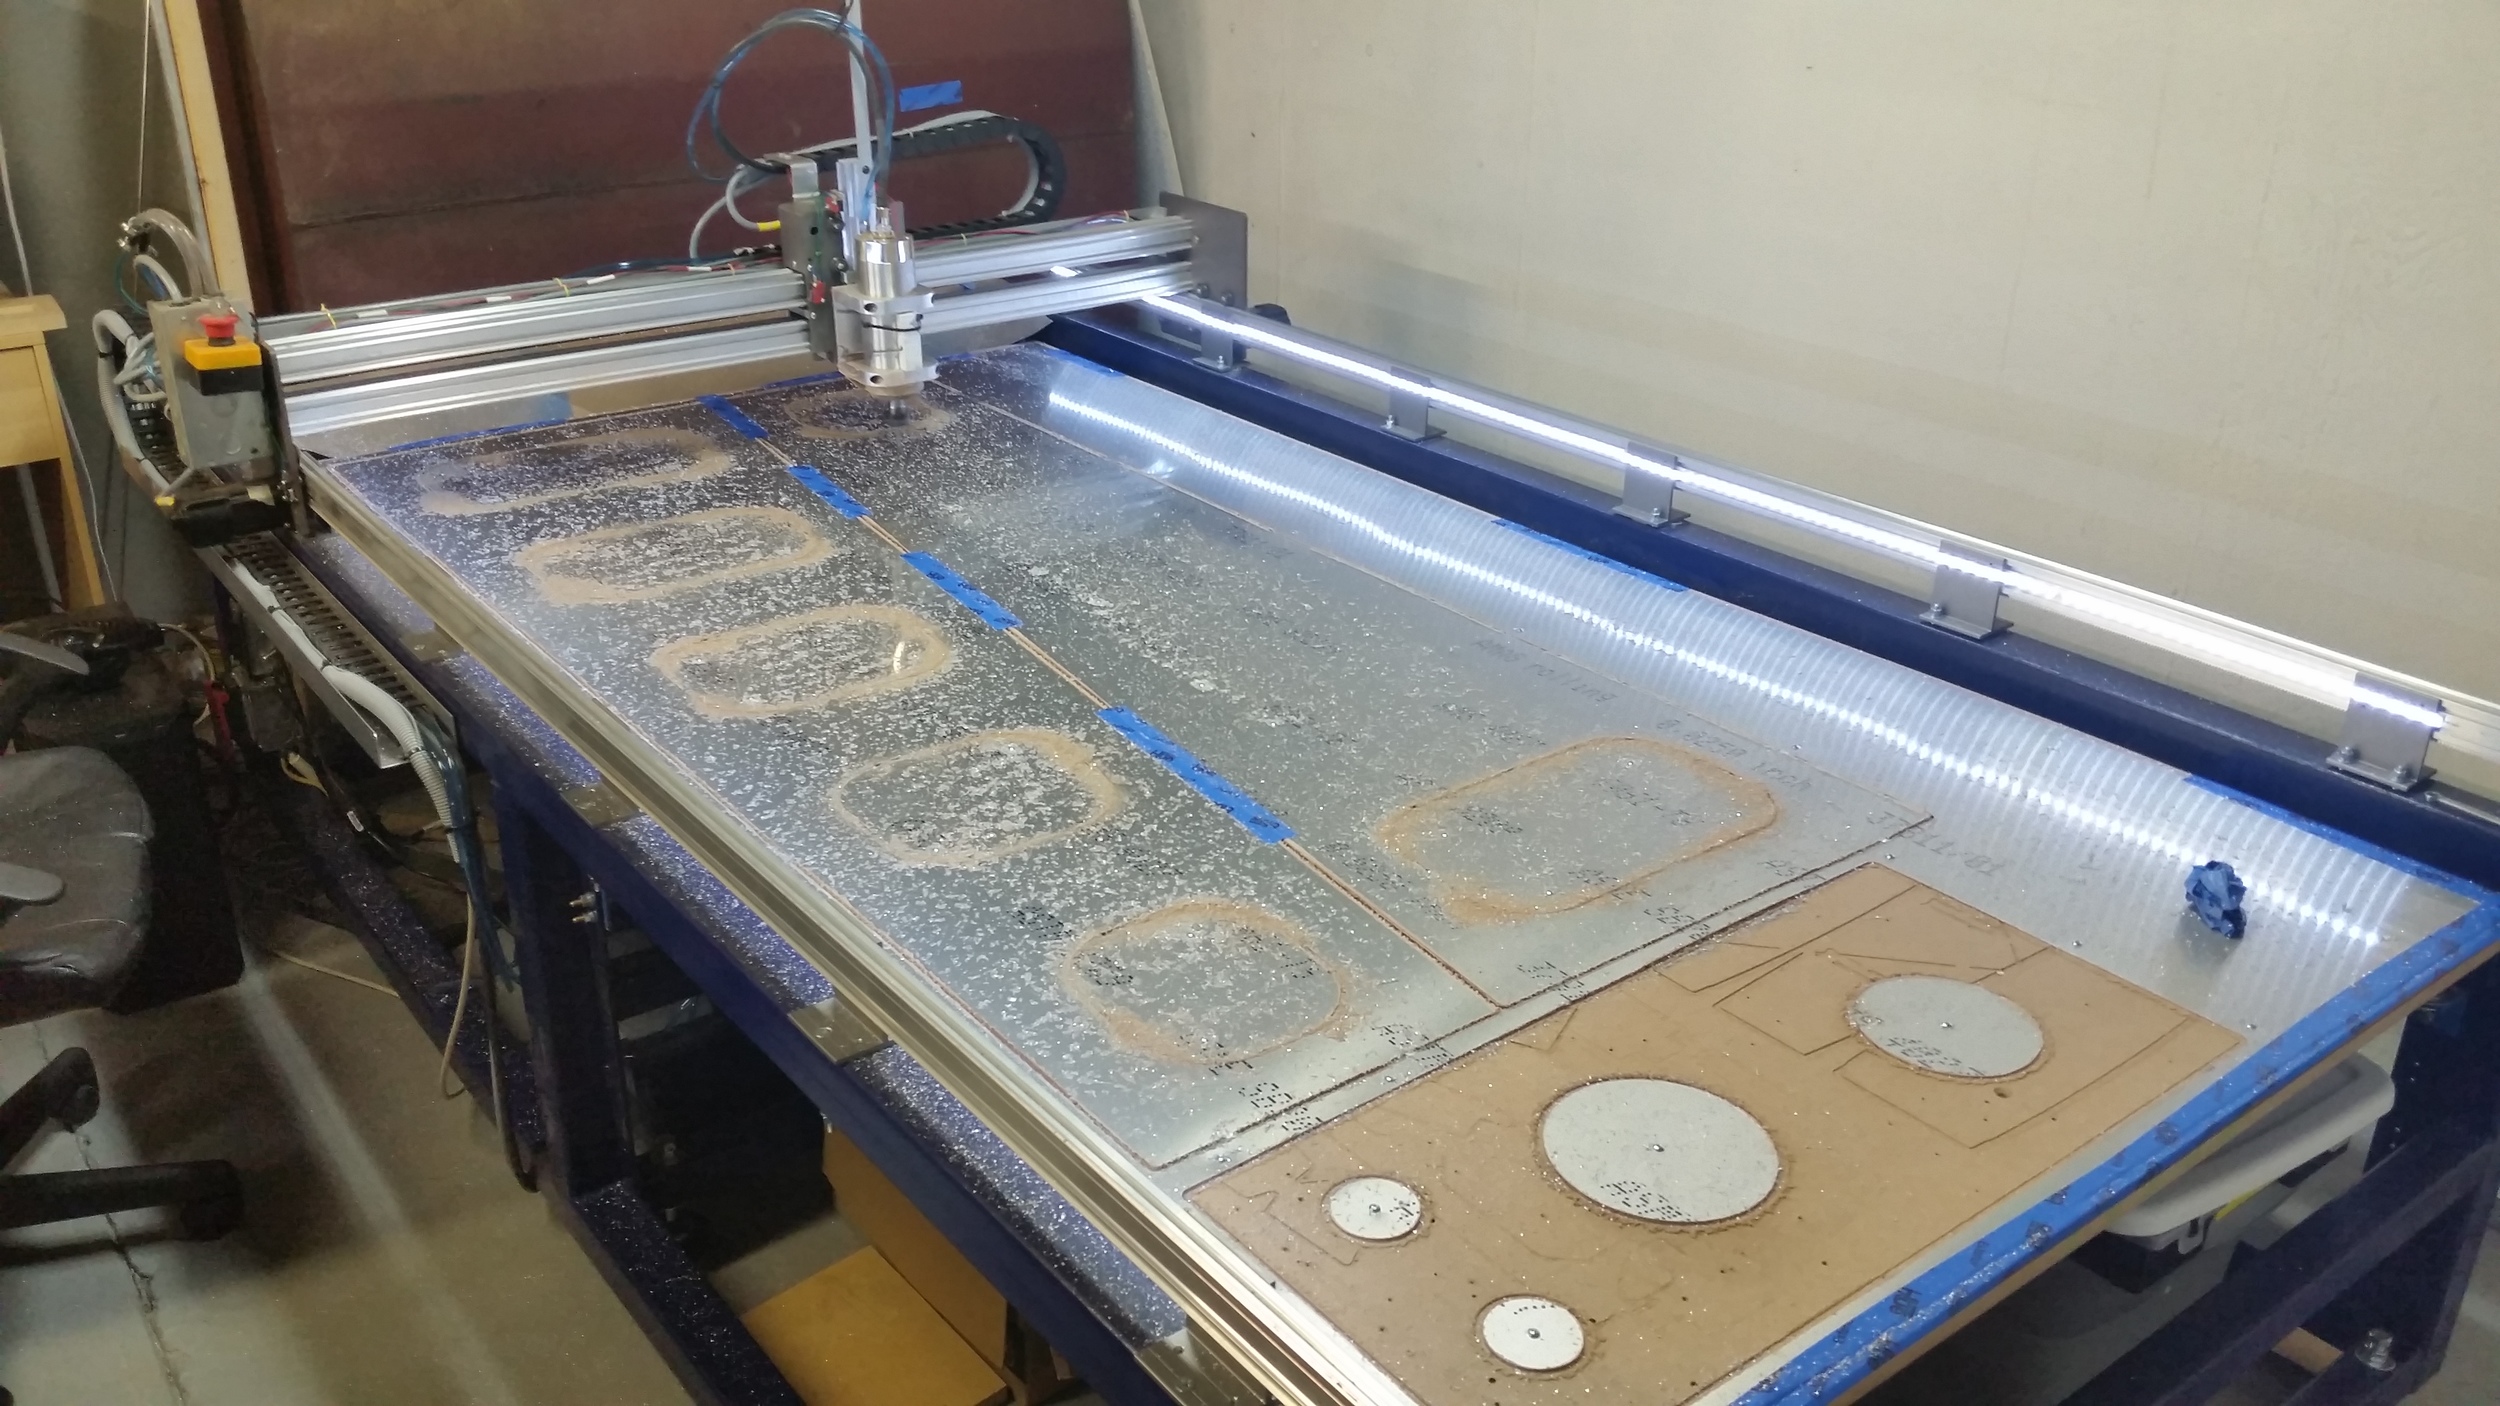
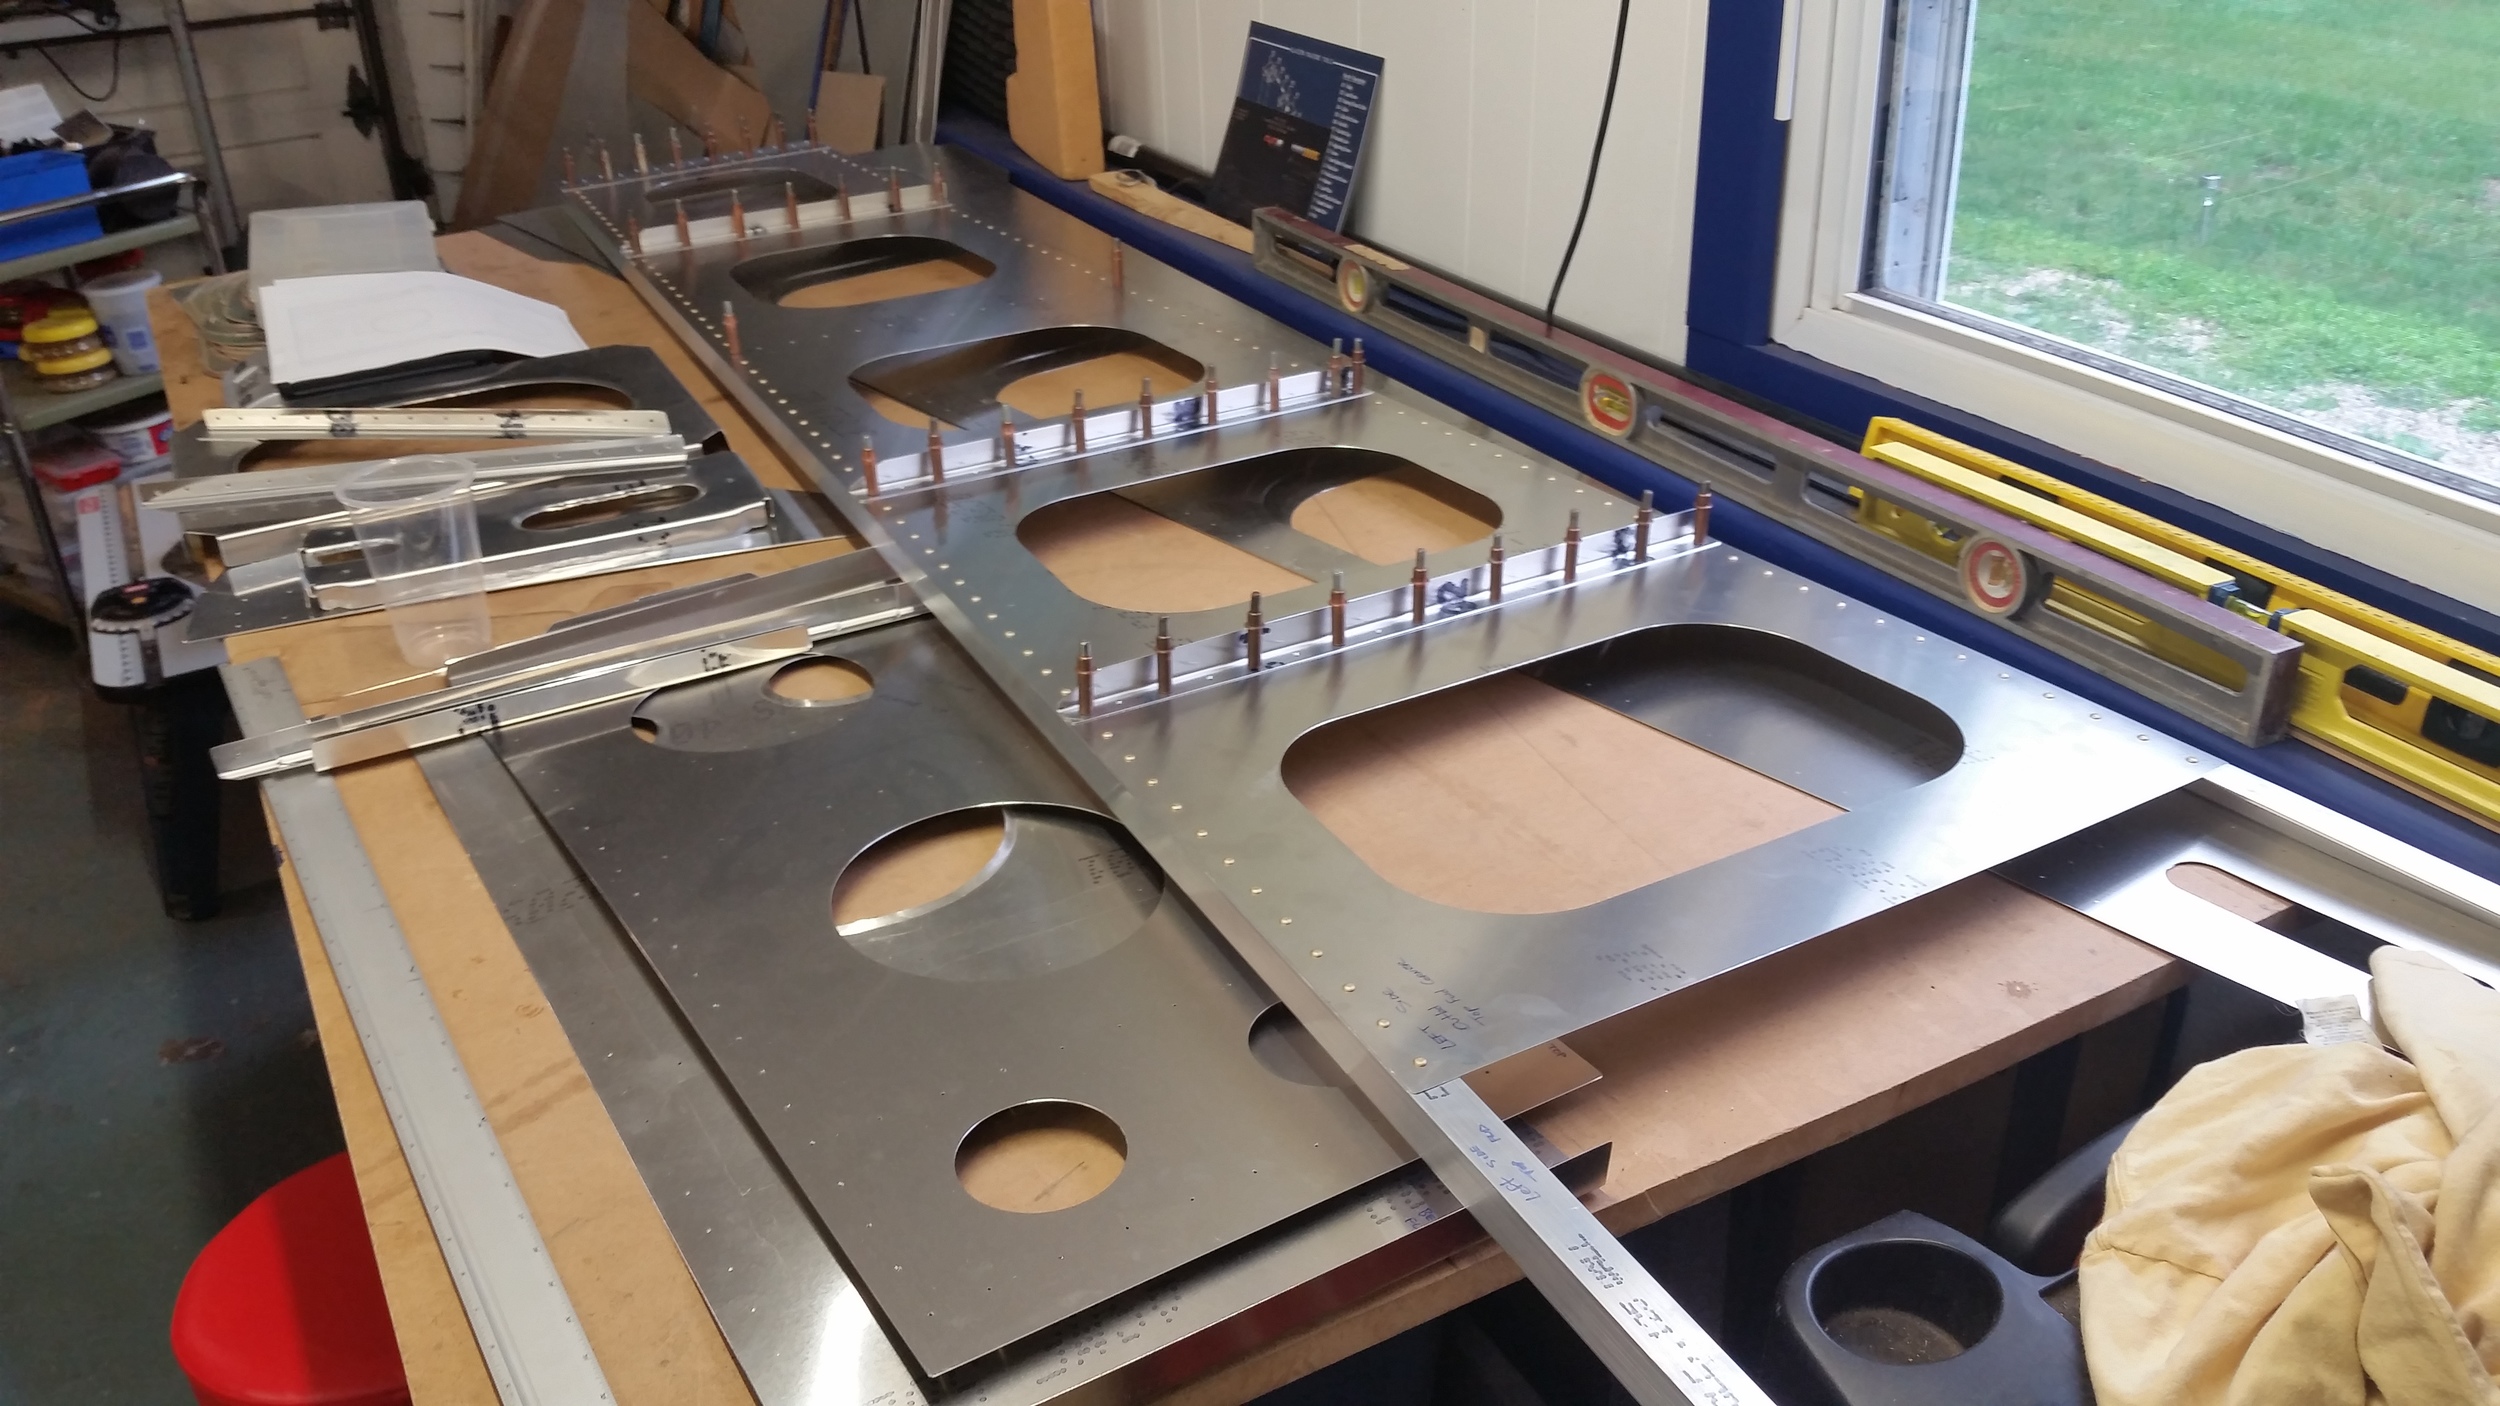
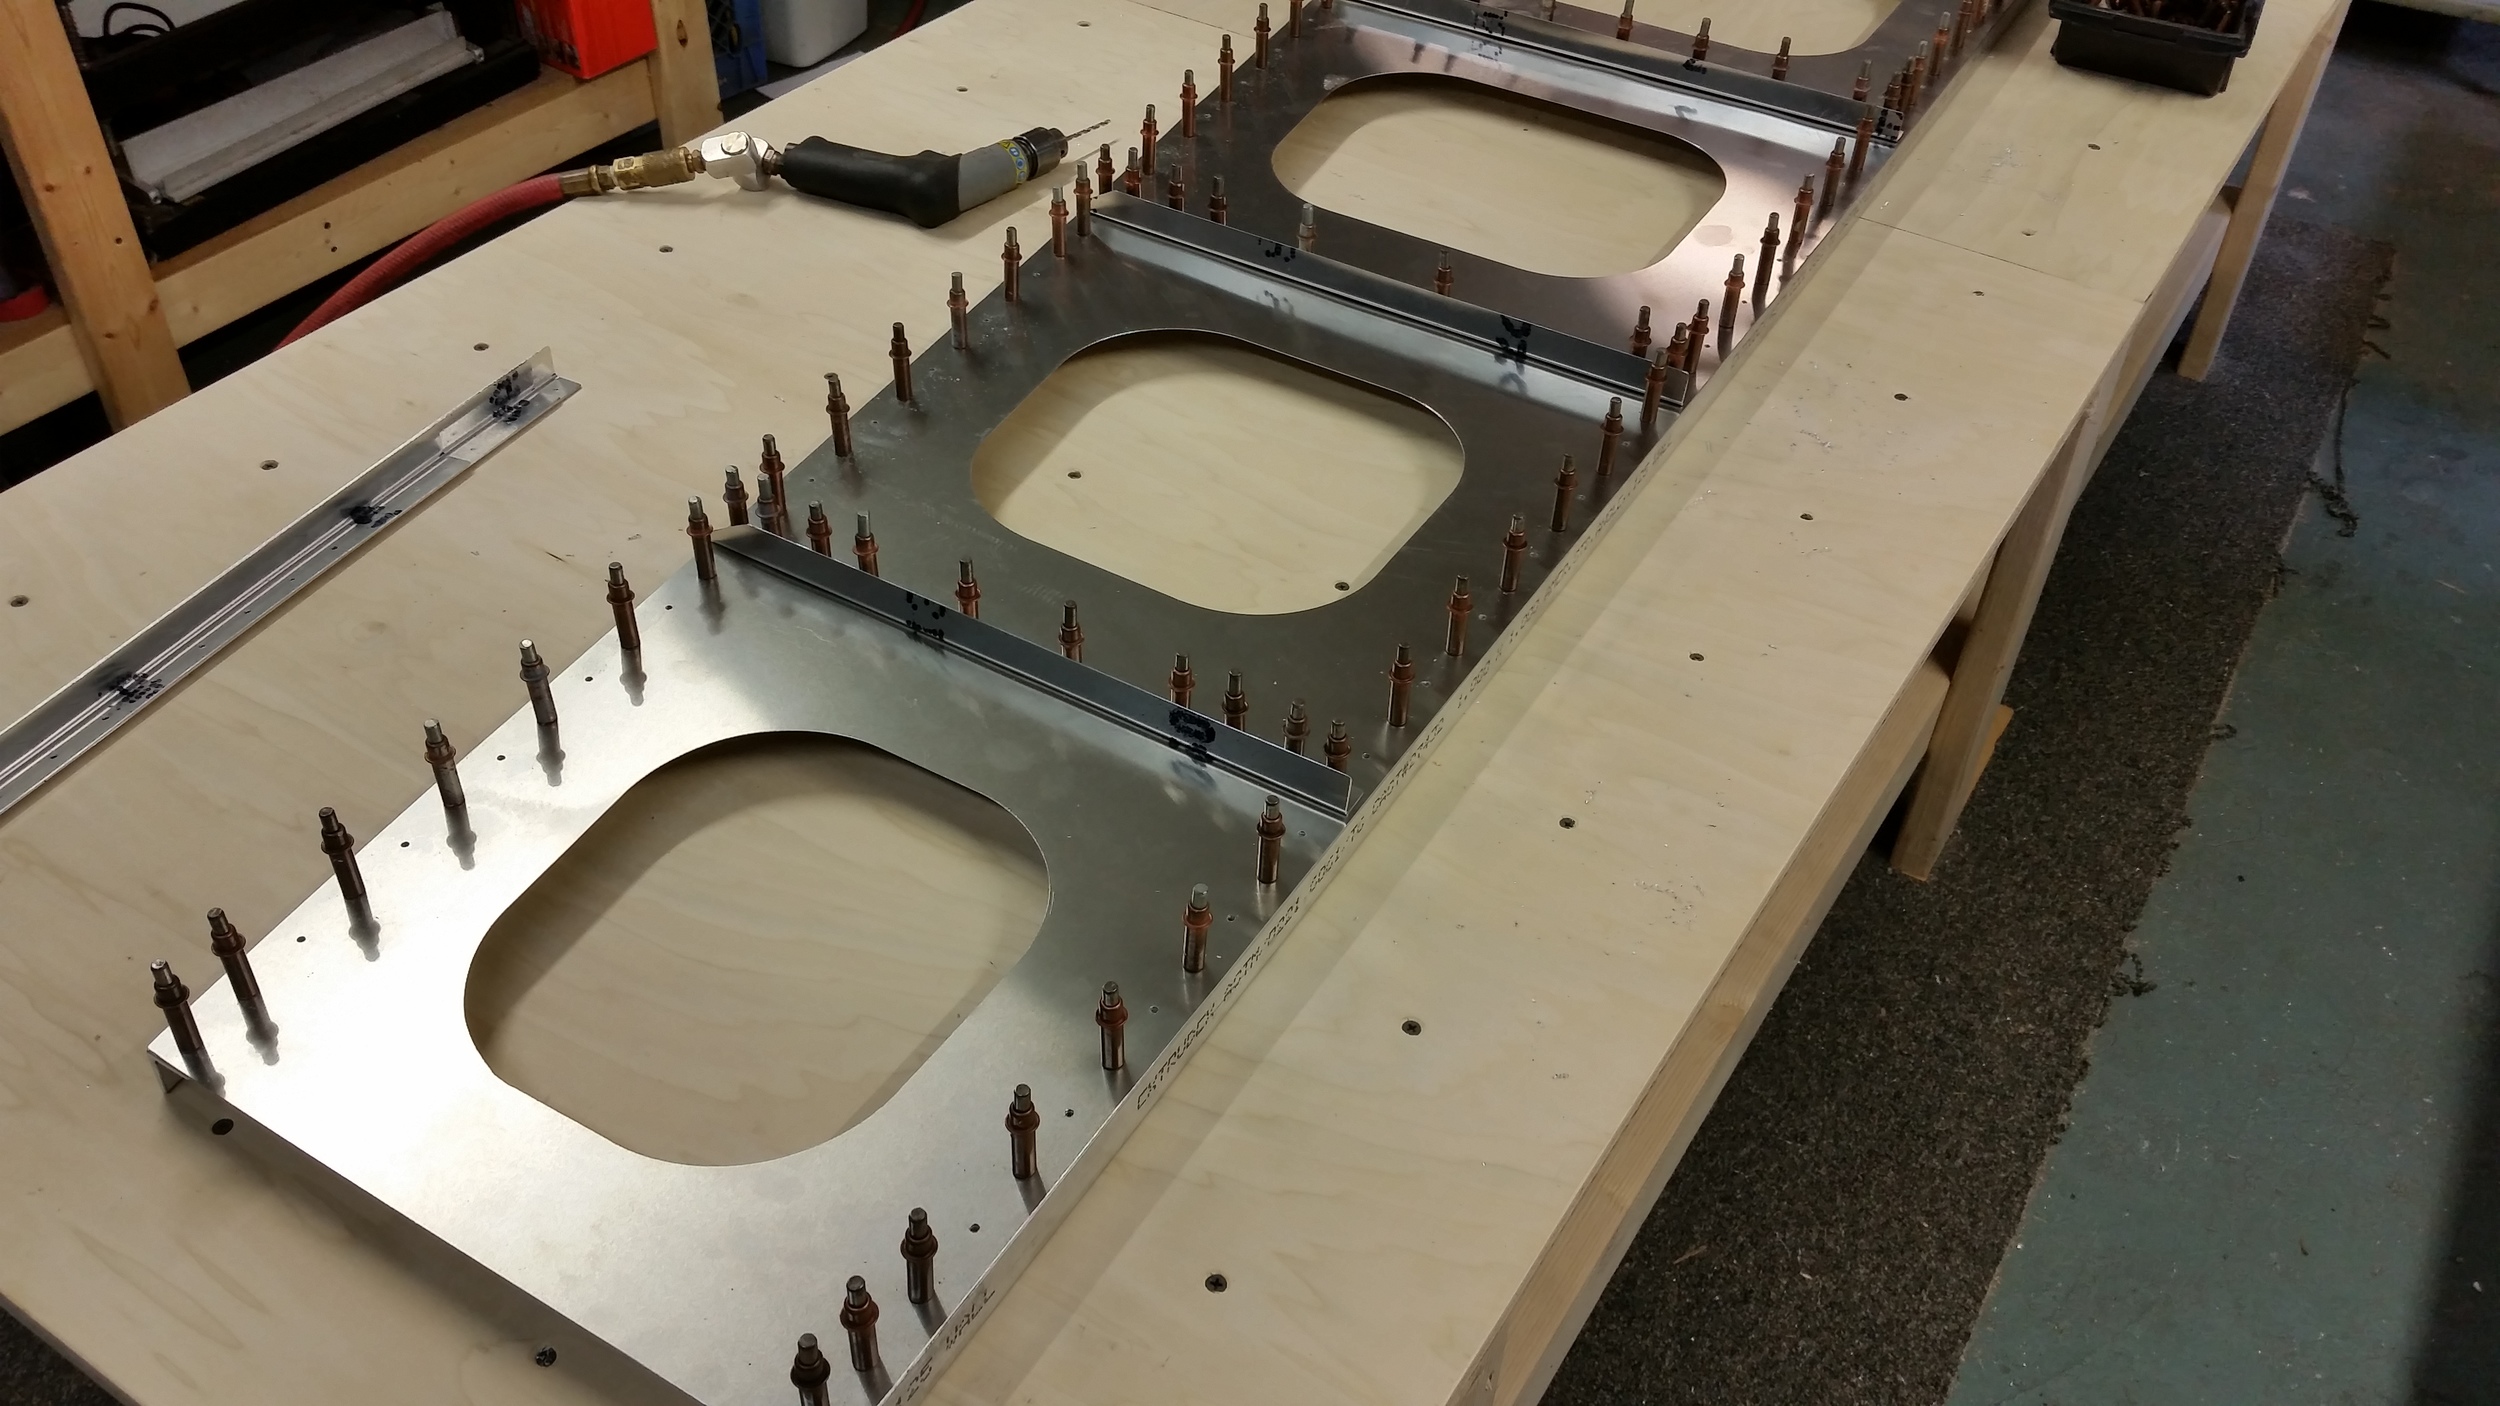
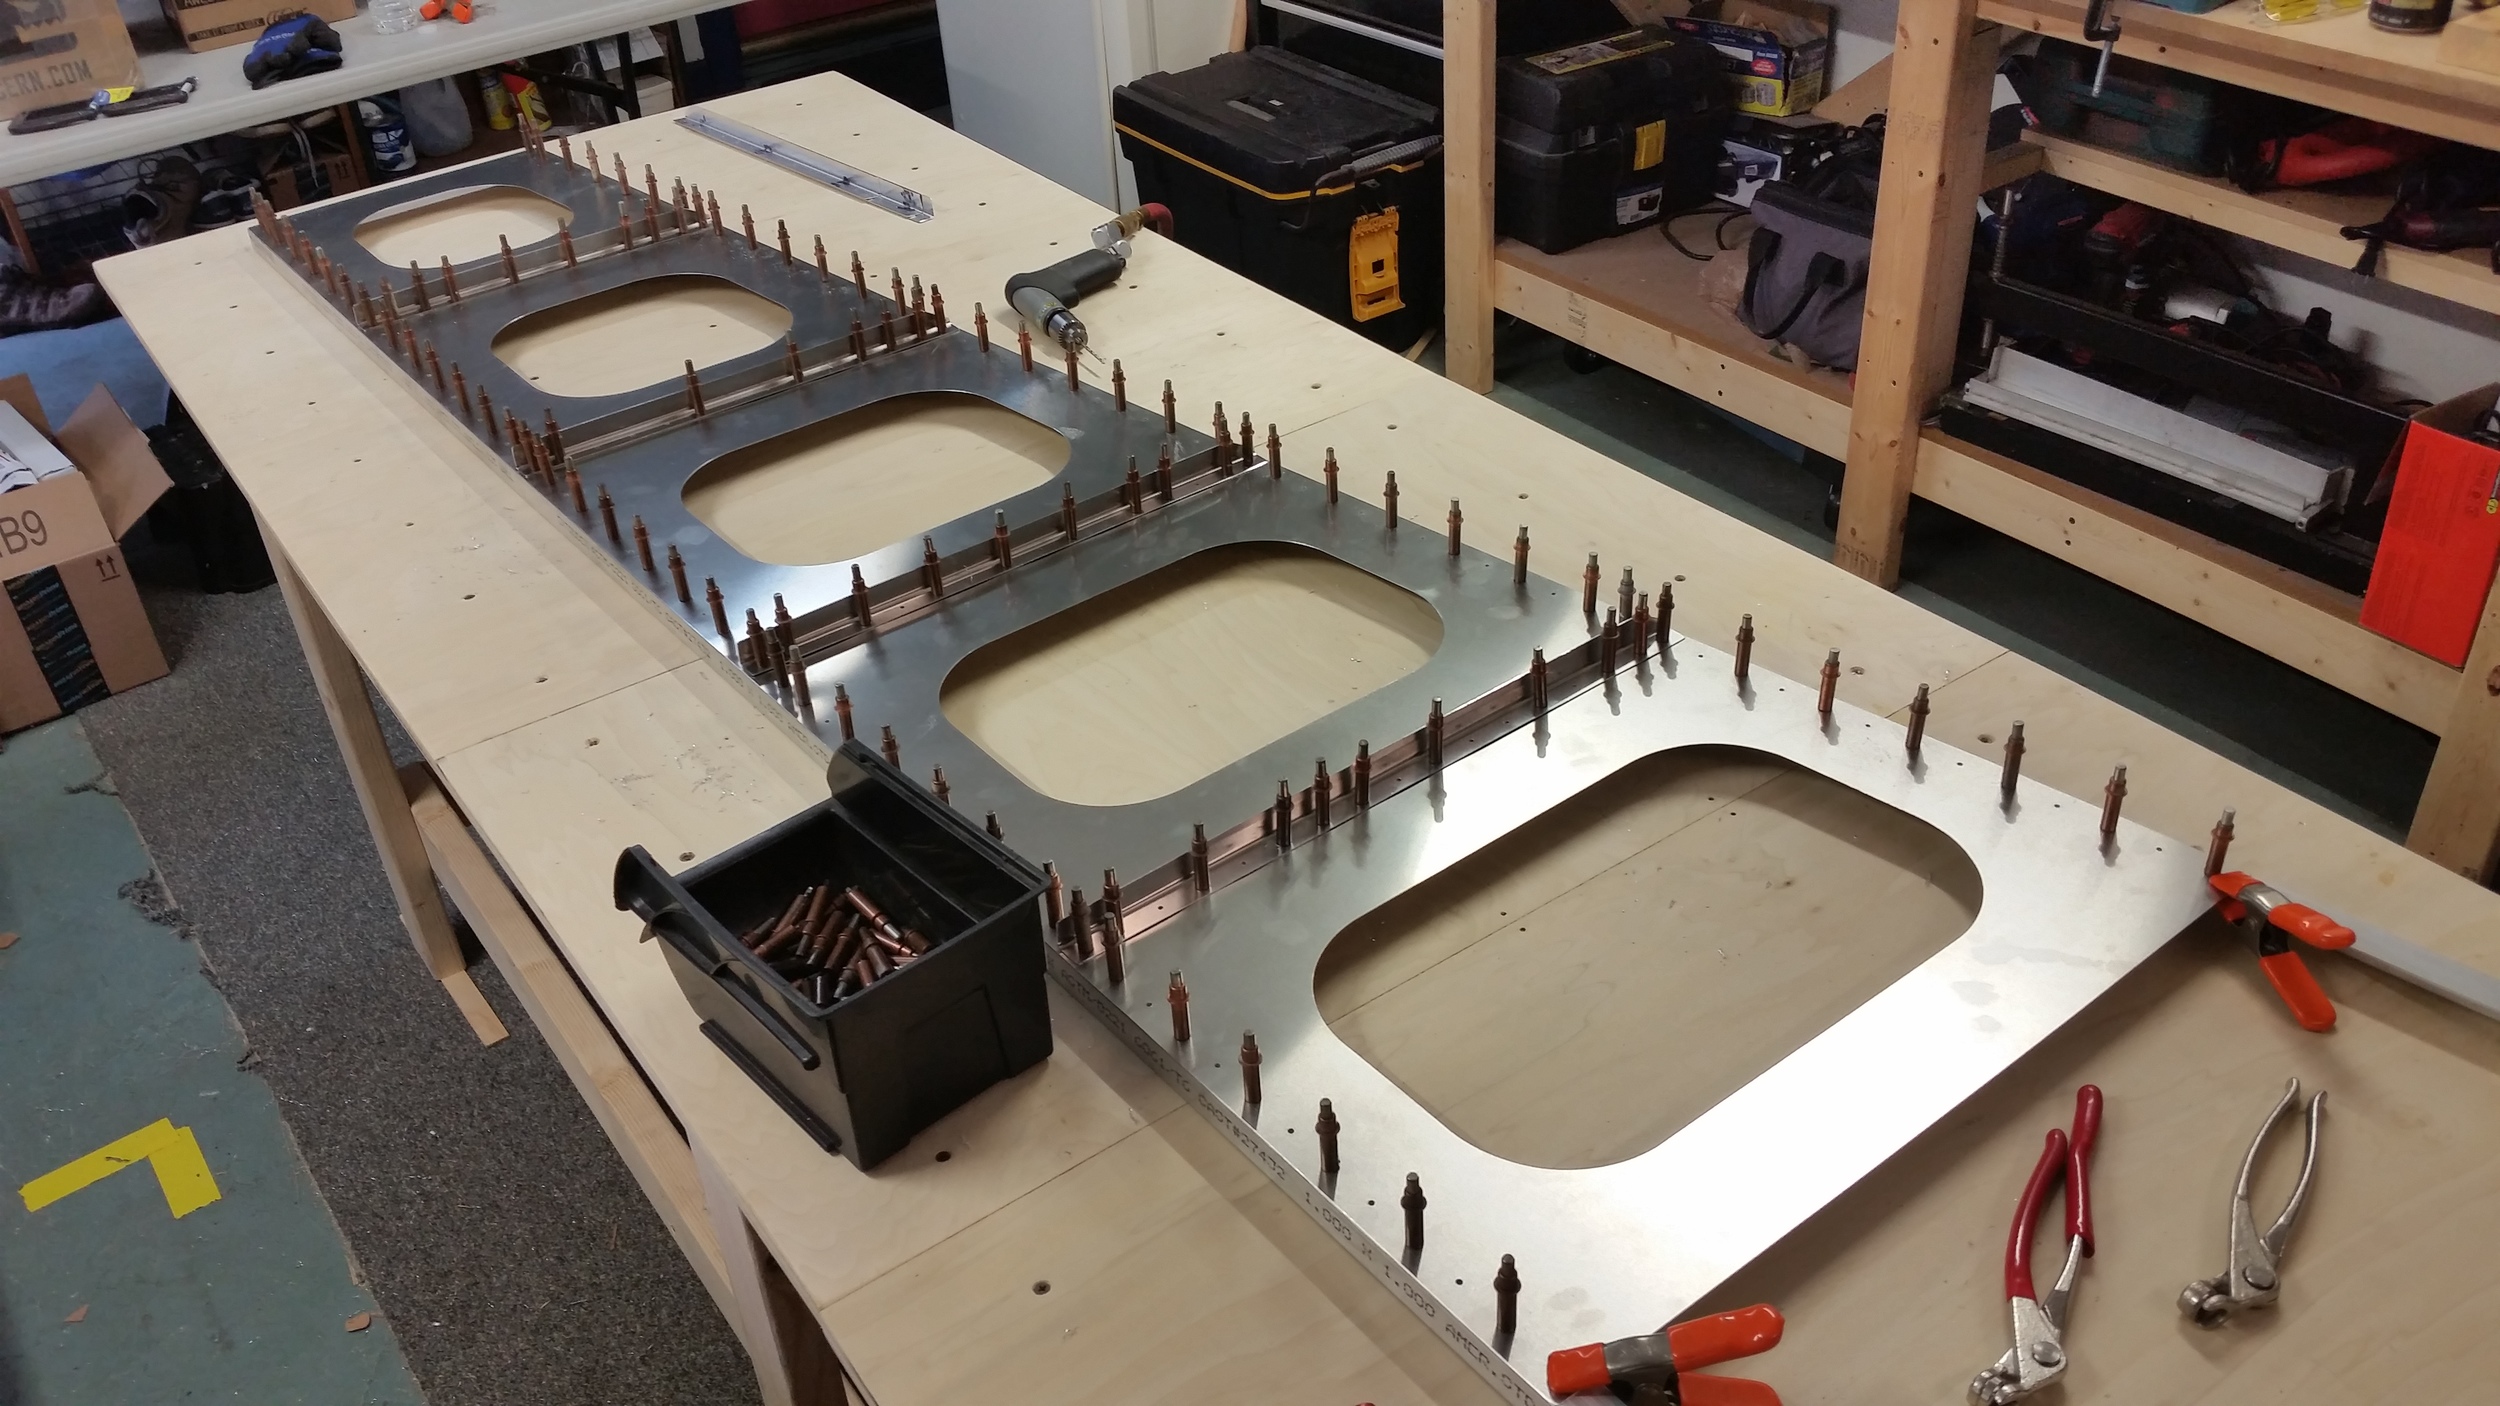
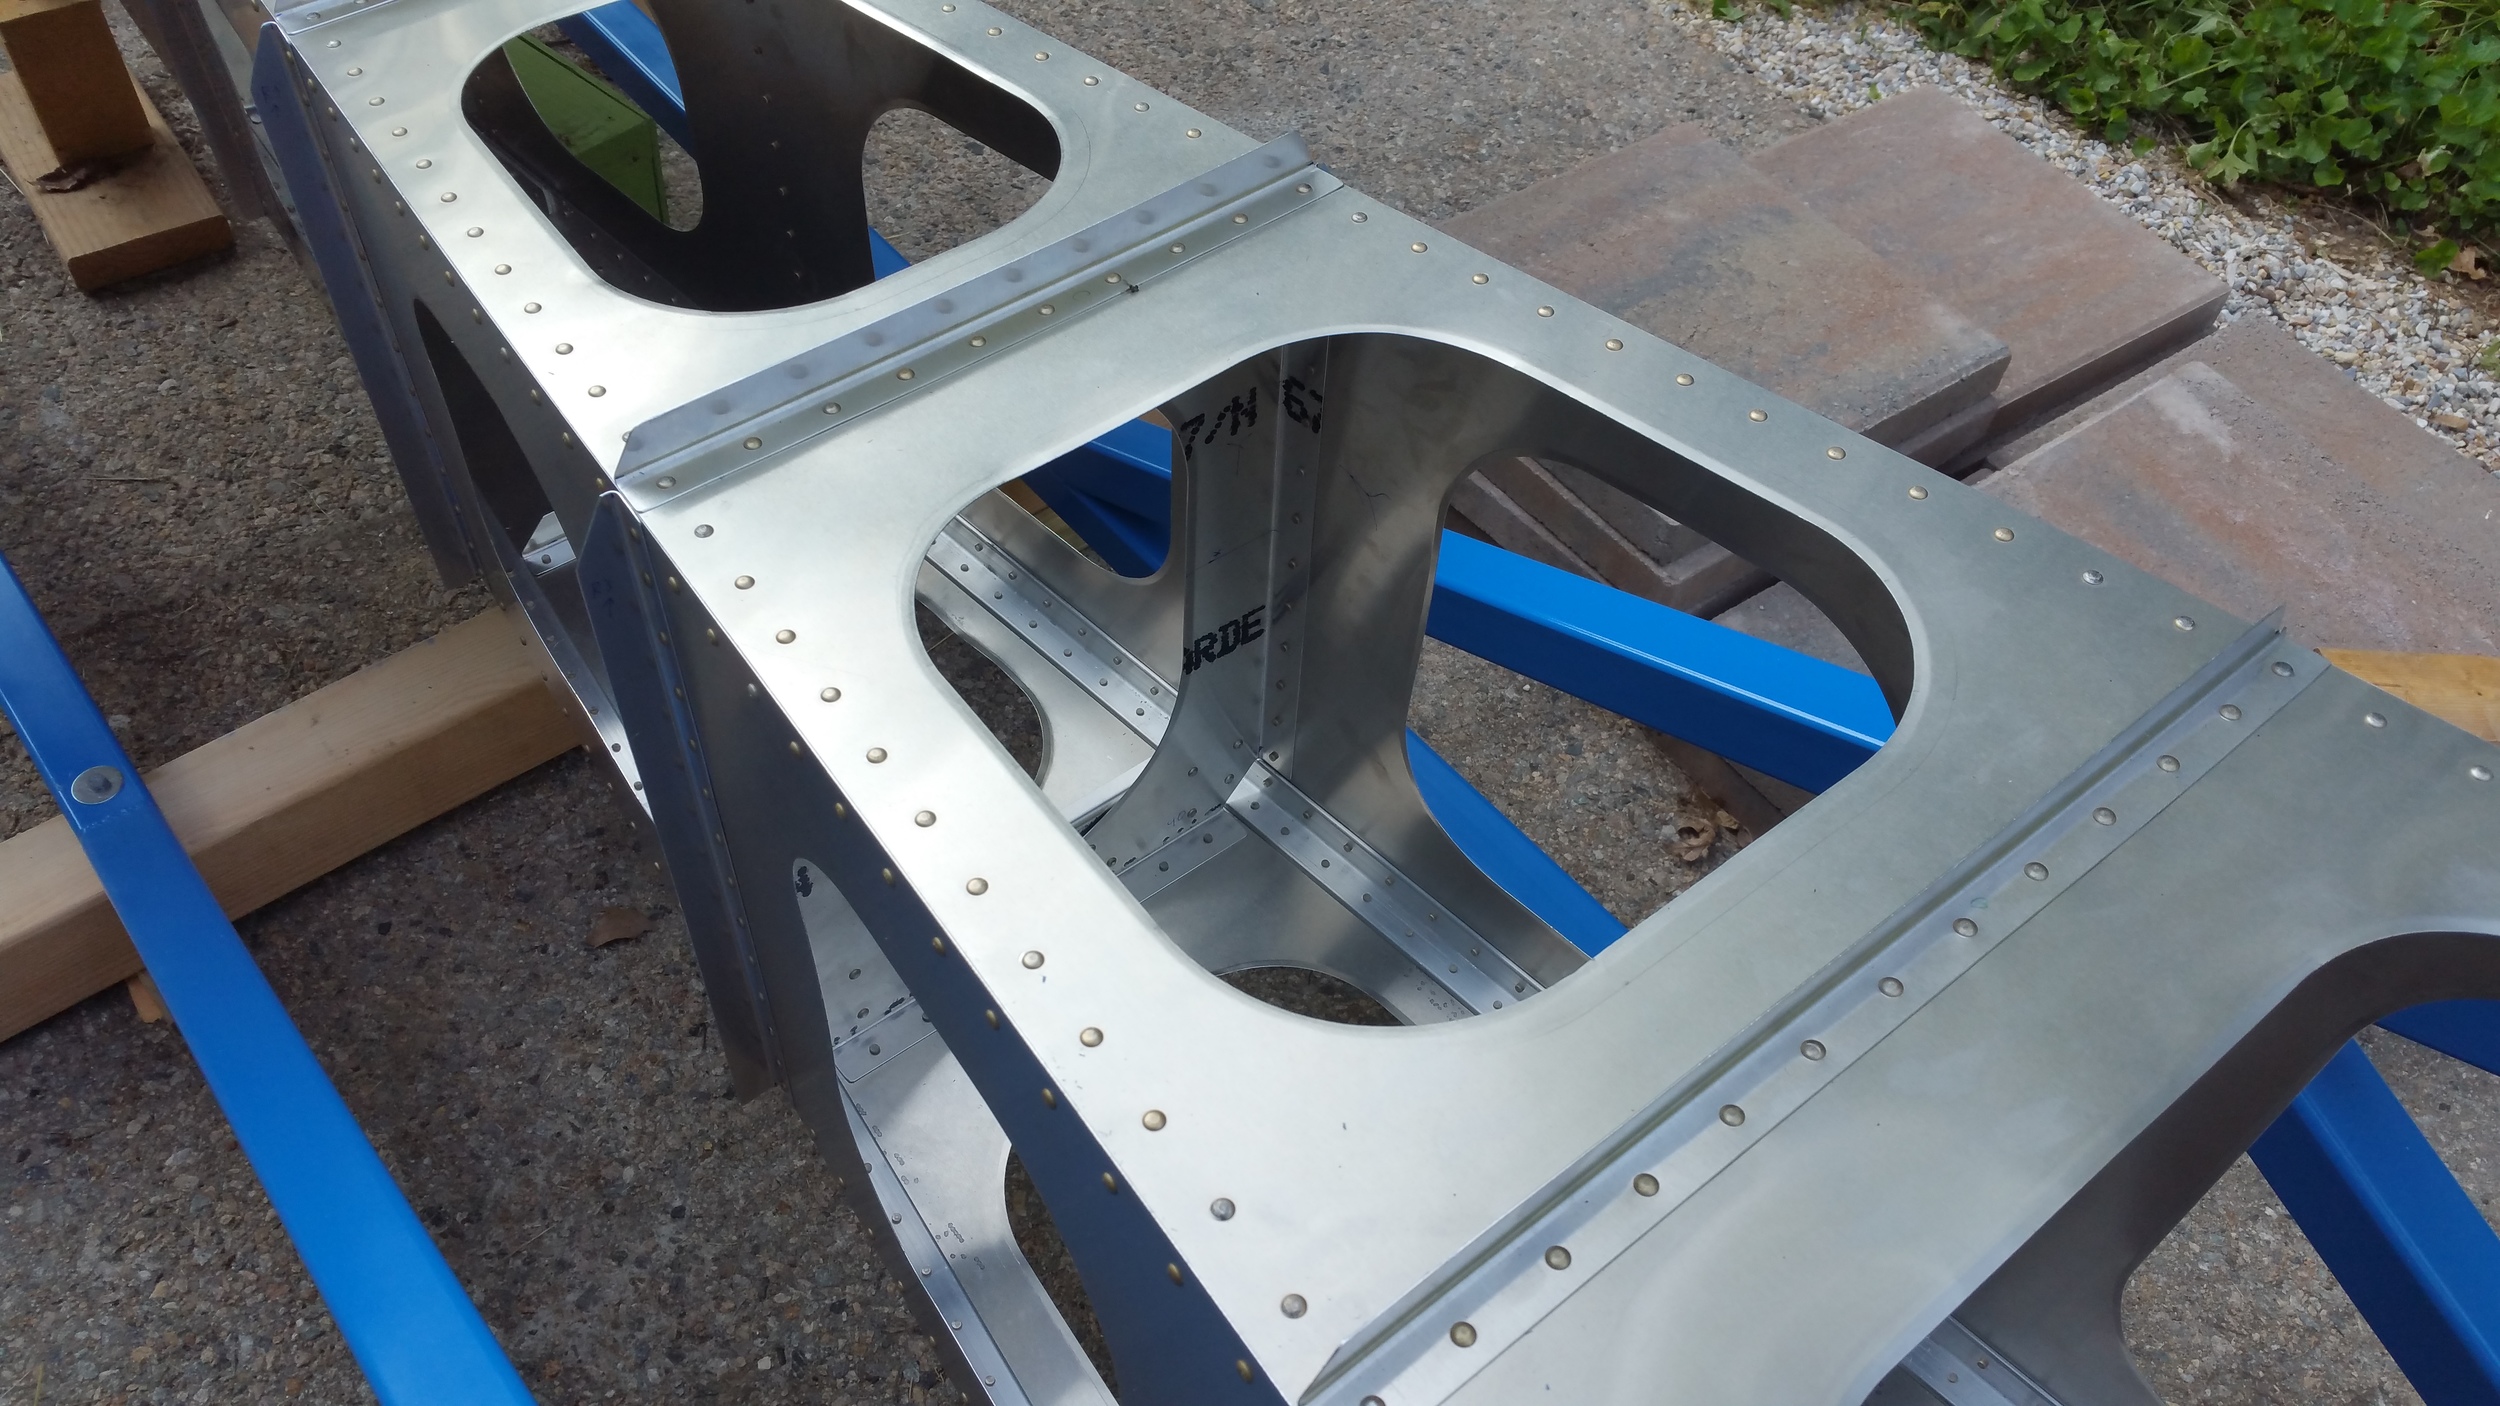
First, we finished the tail frame with some bulkheads and hard mounts for the horizontal. The bulkheads were originally to be single piece with large cut-outs in the middle. Well, if you have a precision CNC bending brake, or a big press with forming blocks, you can do that and it will all fit up perfectly. We don’t have one of those, we have an eye-ball and hand adjusted bending brake, which meant that even with much care there was a little misalignment. So, realizing why other contemporaries seem to have mutli-piece bulkheads, we changed ours to be built with multiple pieces in a picture frame – like the Sonex and other designs do. This method worked out perfectly, as each piece just mates to the skins and then is clamped together for drilling and riveting the corners together, square and happy. Then as mentioned there are the mounting brackets for our horizontal/test load platform. The original design was probably fine, but it had a few potential flaws that could be avoided with a simpler design just using some L-angle. This new approach comes out very rugged and while we had lightening holes in the wrong spot, that doesn’t really matter. The vertical on the other hand mounts up to a heavy-duty end bracket that ties the sides together. The ideal U-bend form of that plate was going to be a nightmare to bend with our limited shop tools so, we made it two pieces and hammer bent each side in a vice with a forming block. It’s not a bad looking install even so, and structurally it really made the aft end super solid.
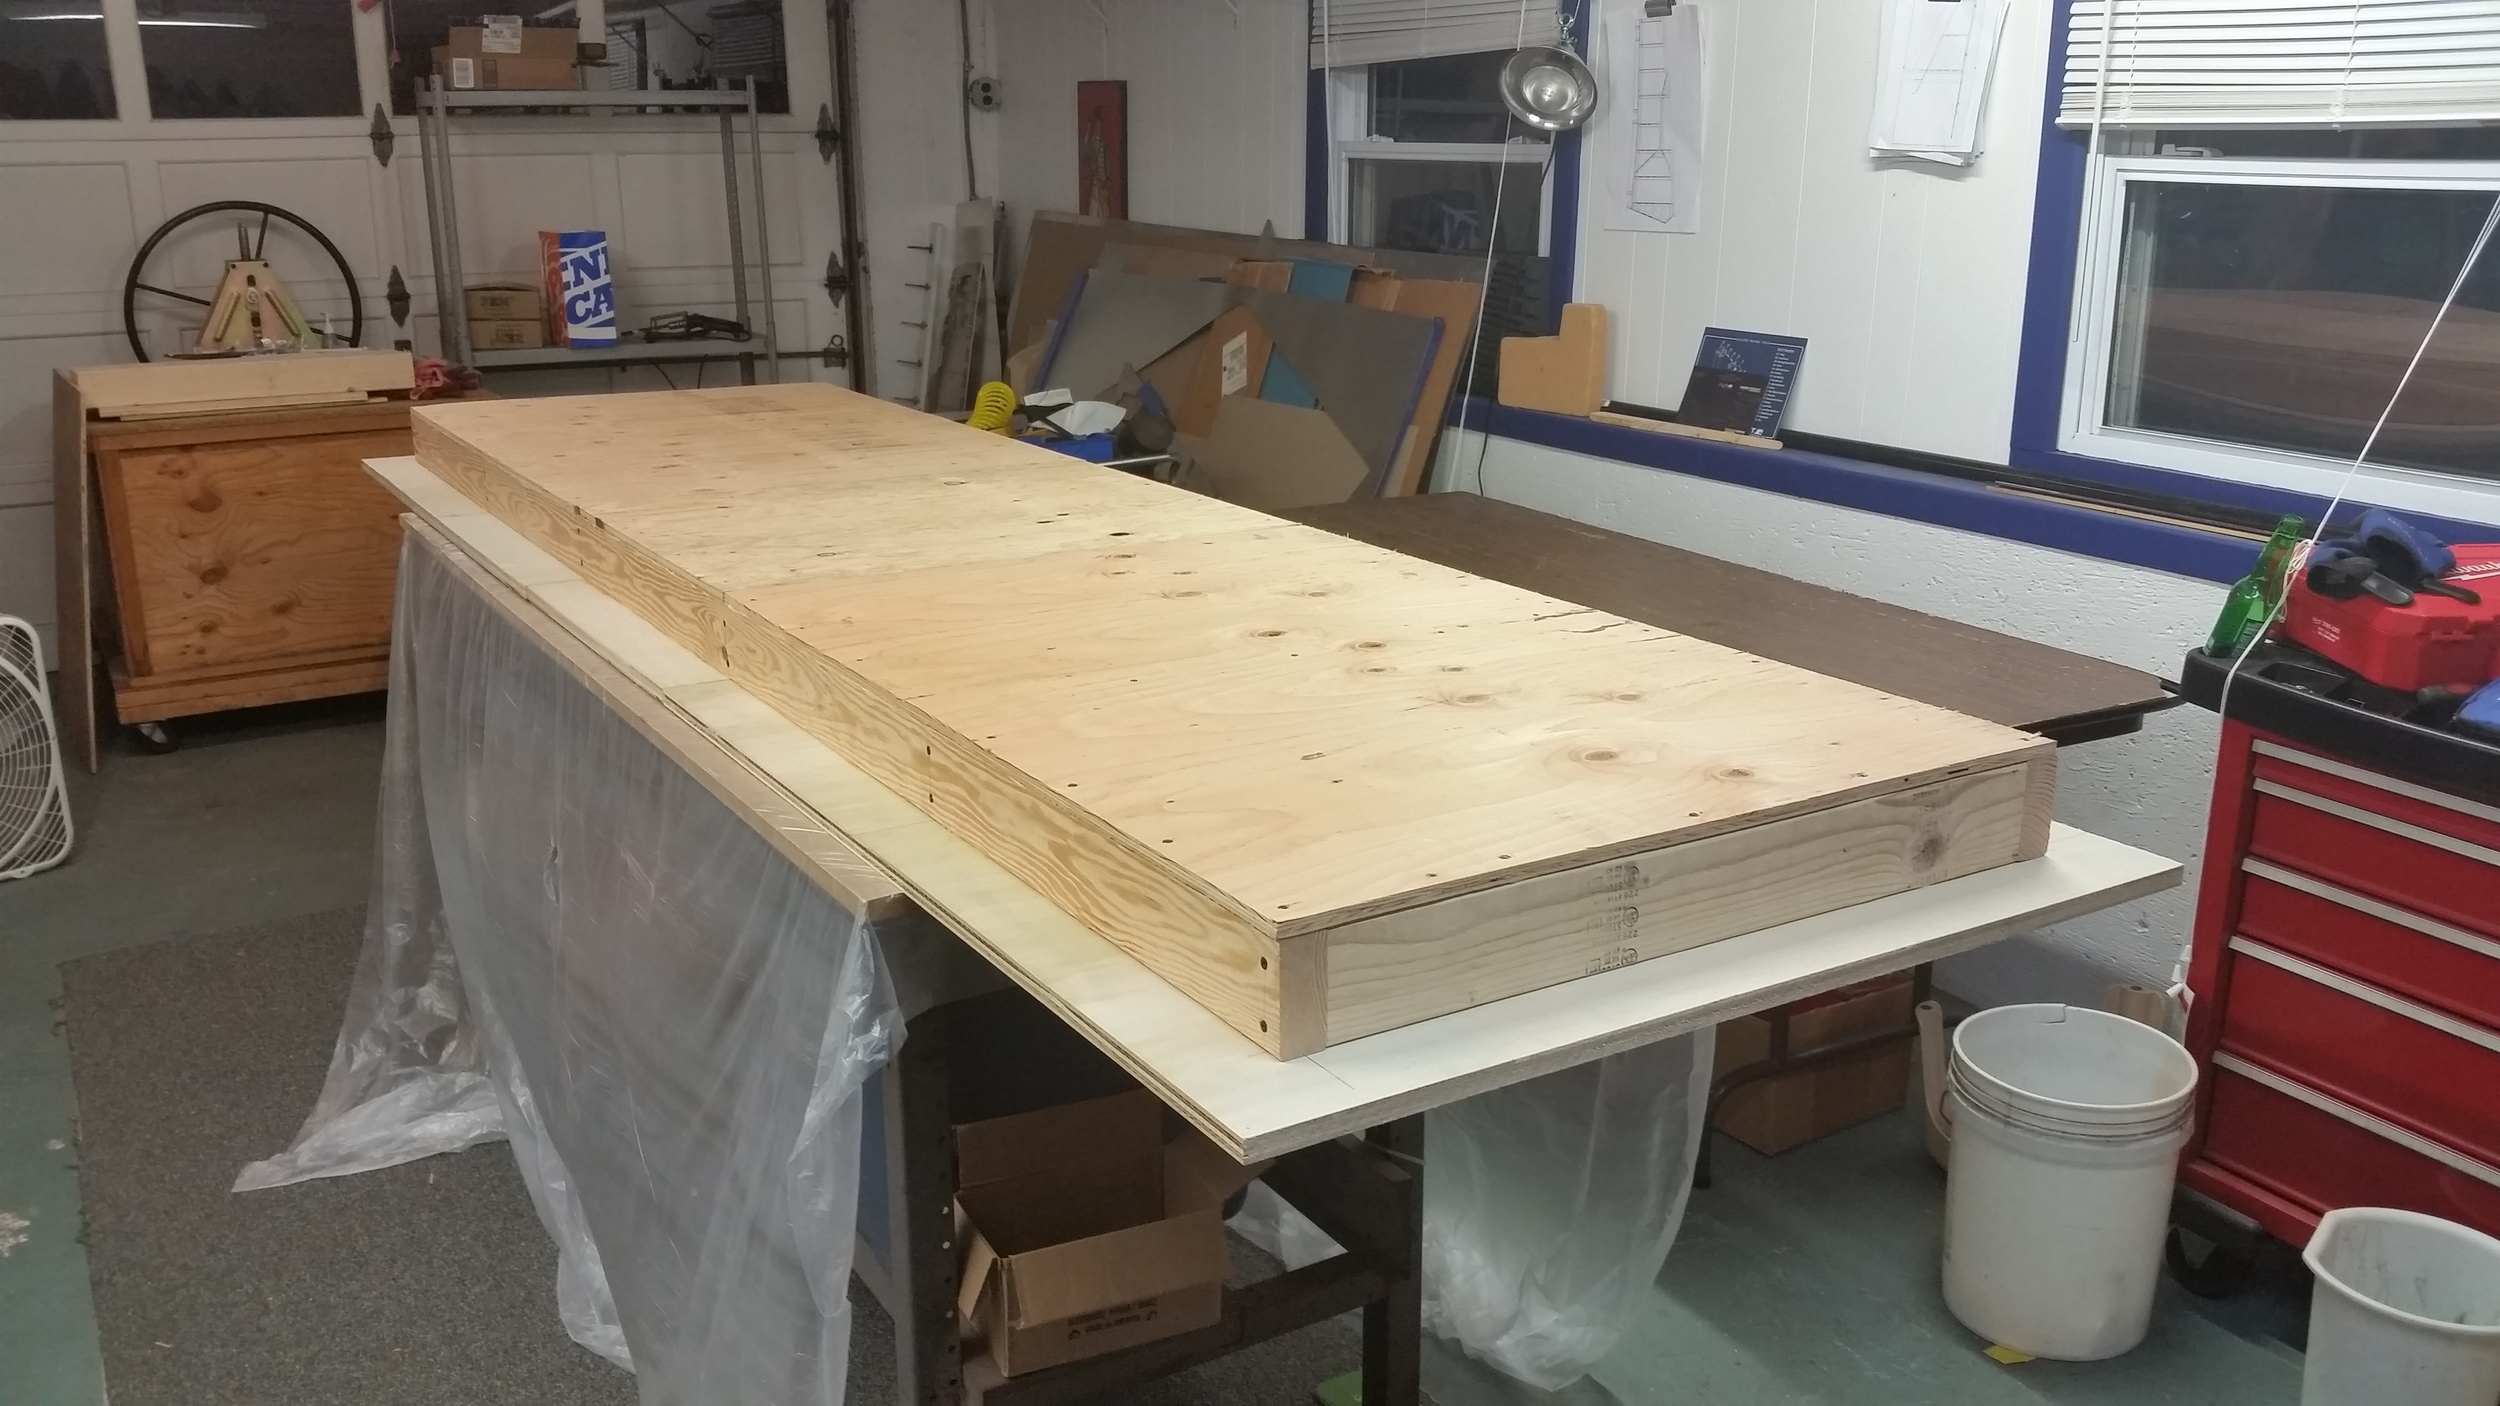
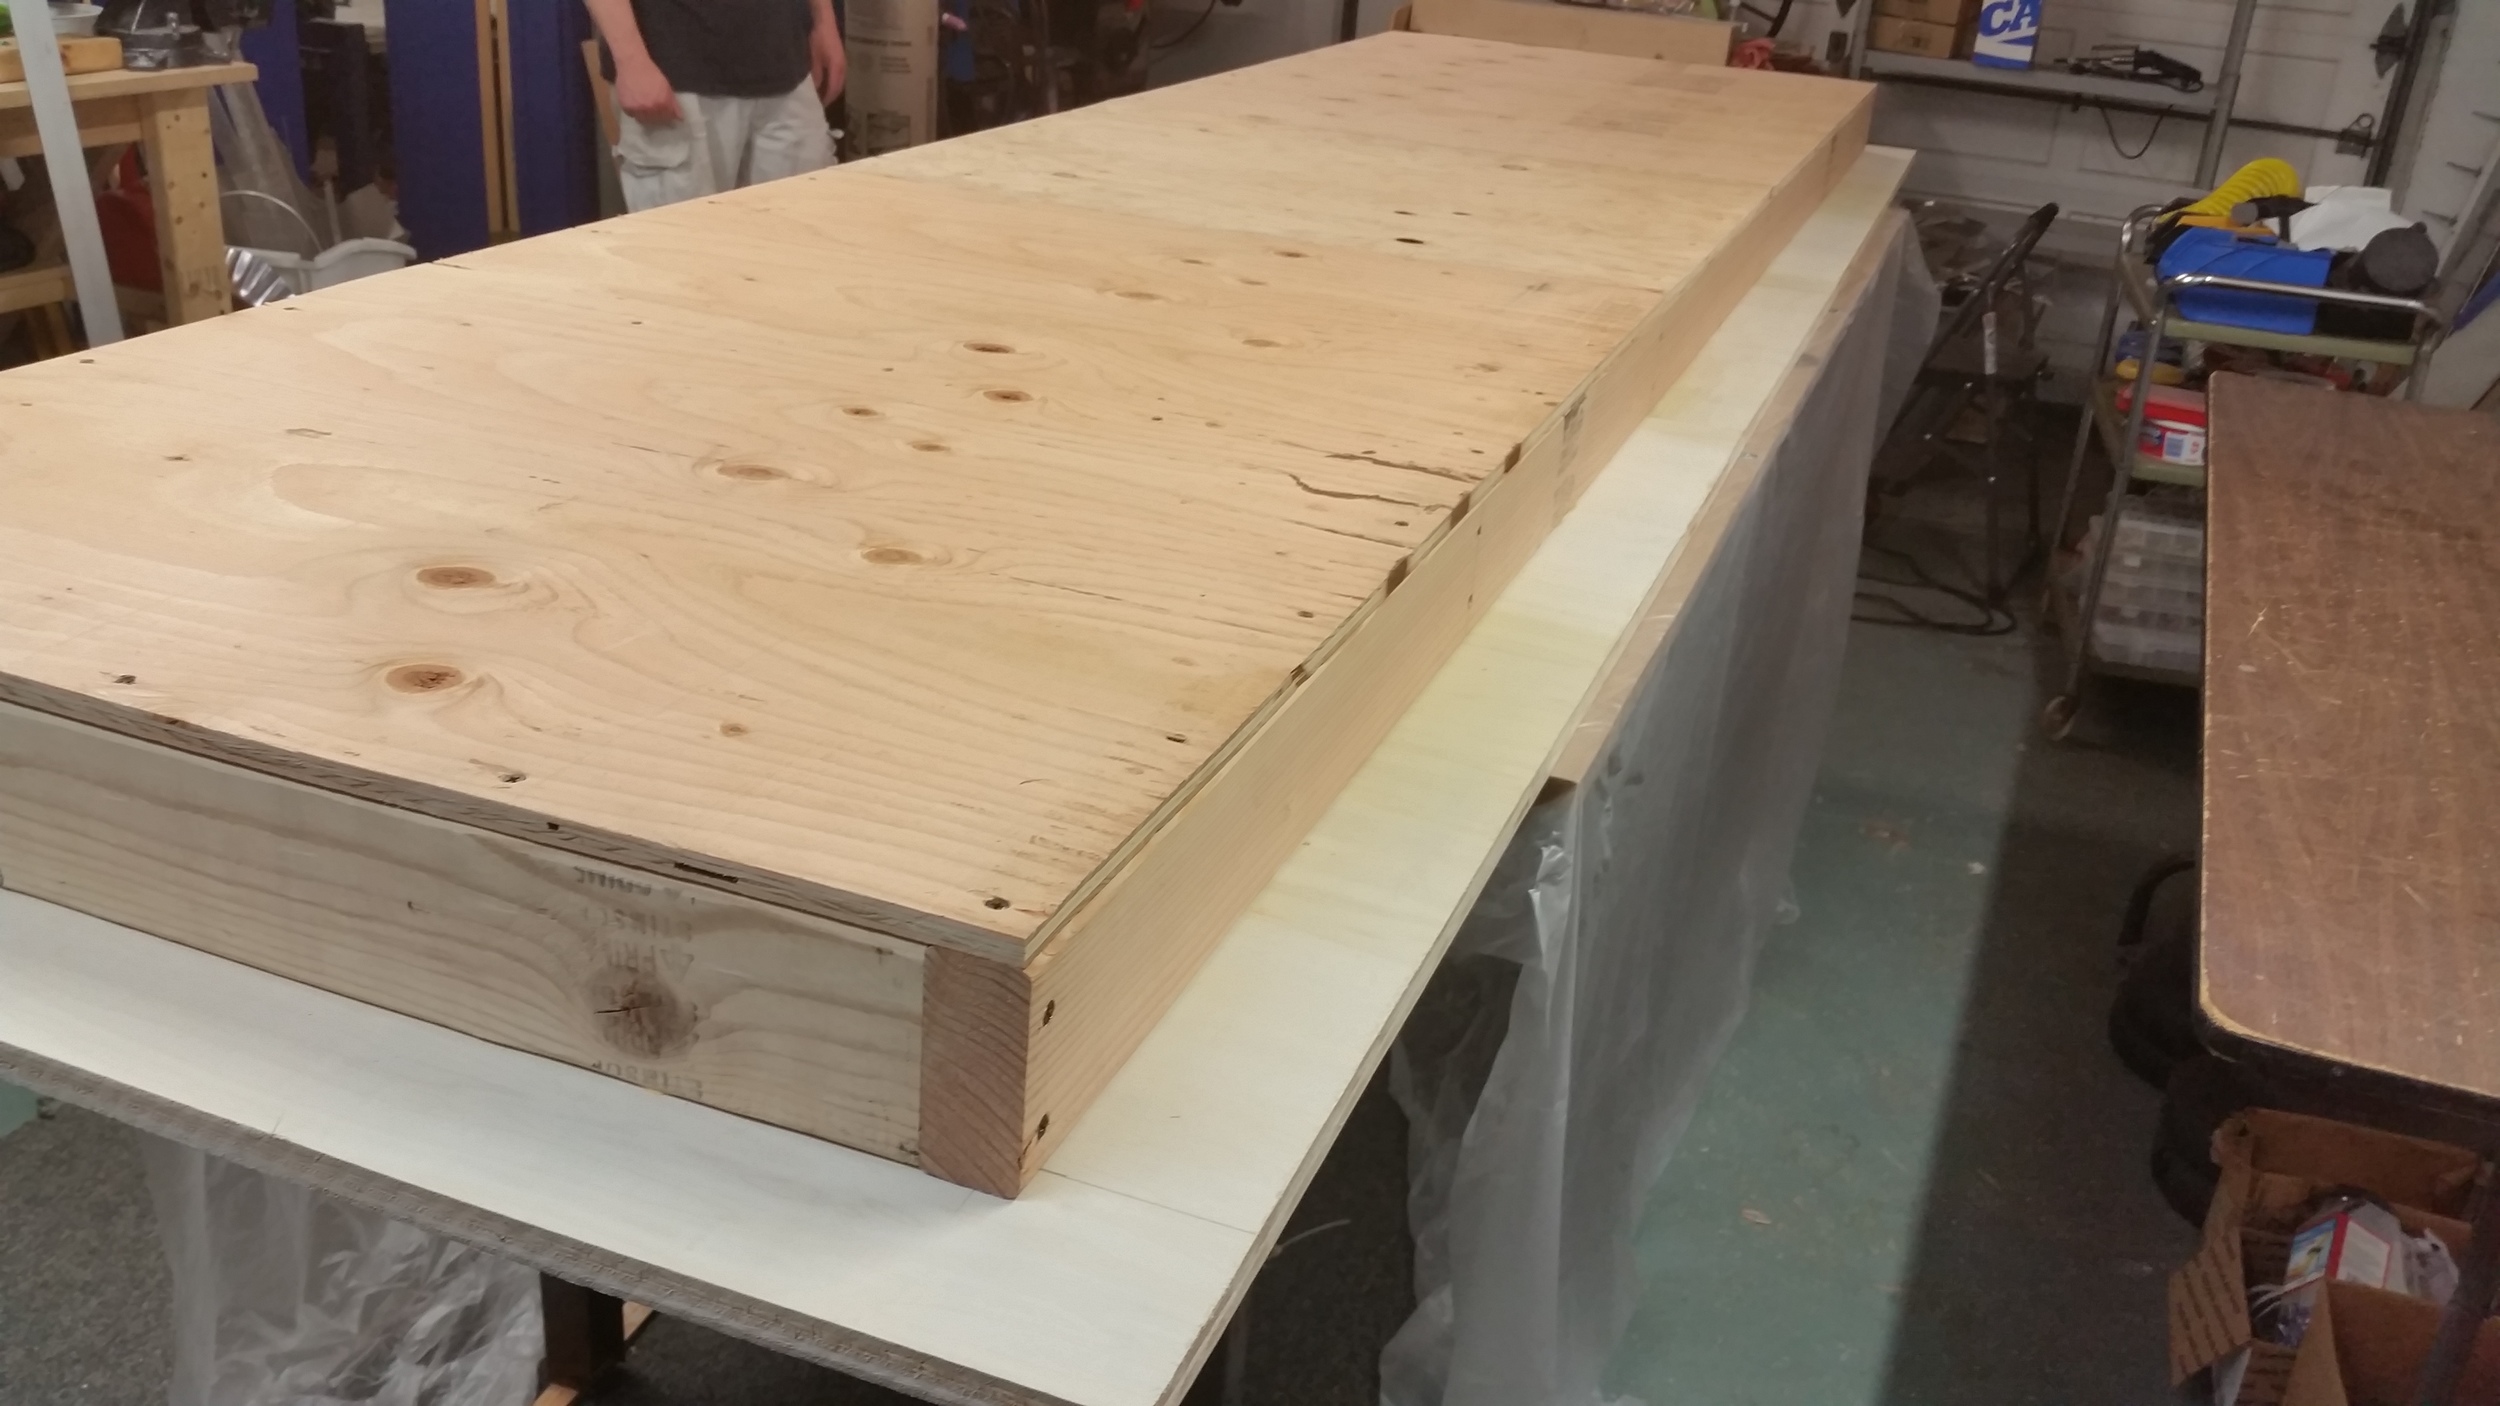
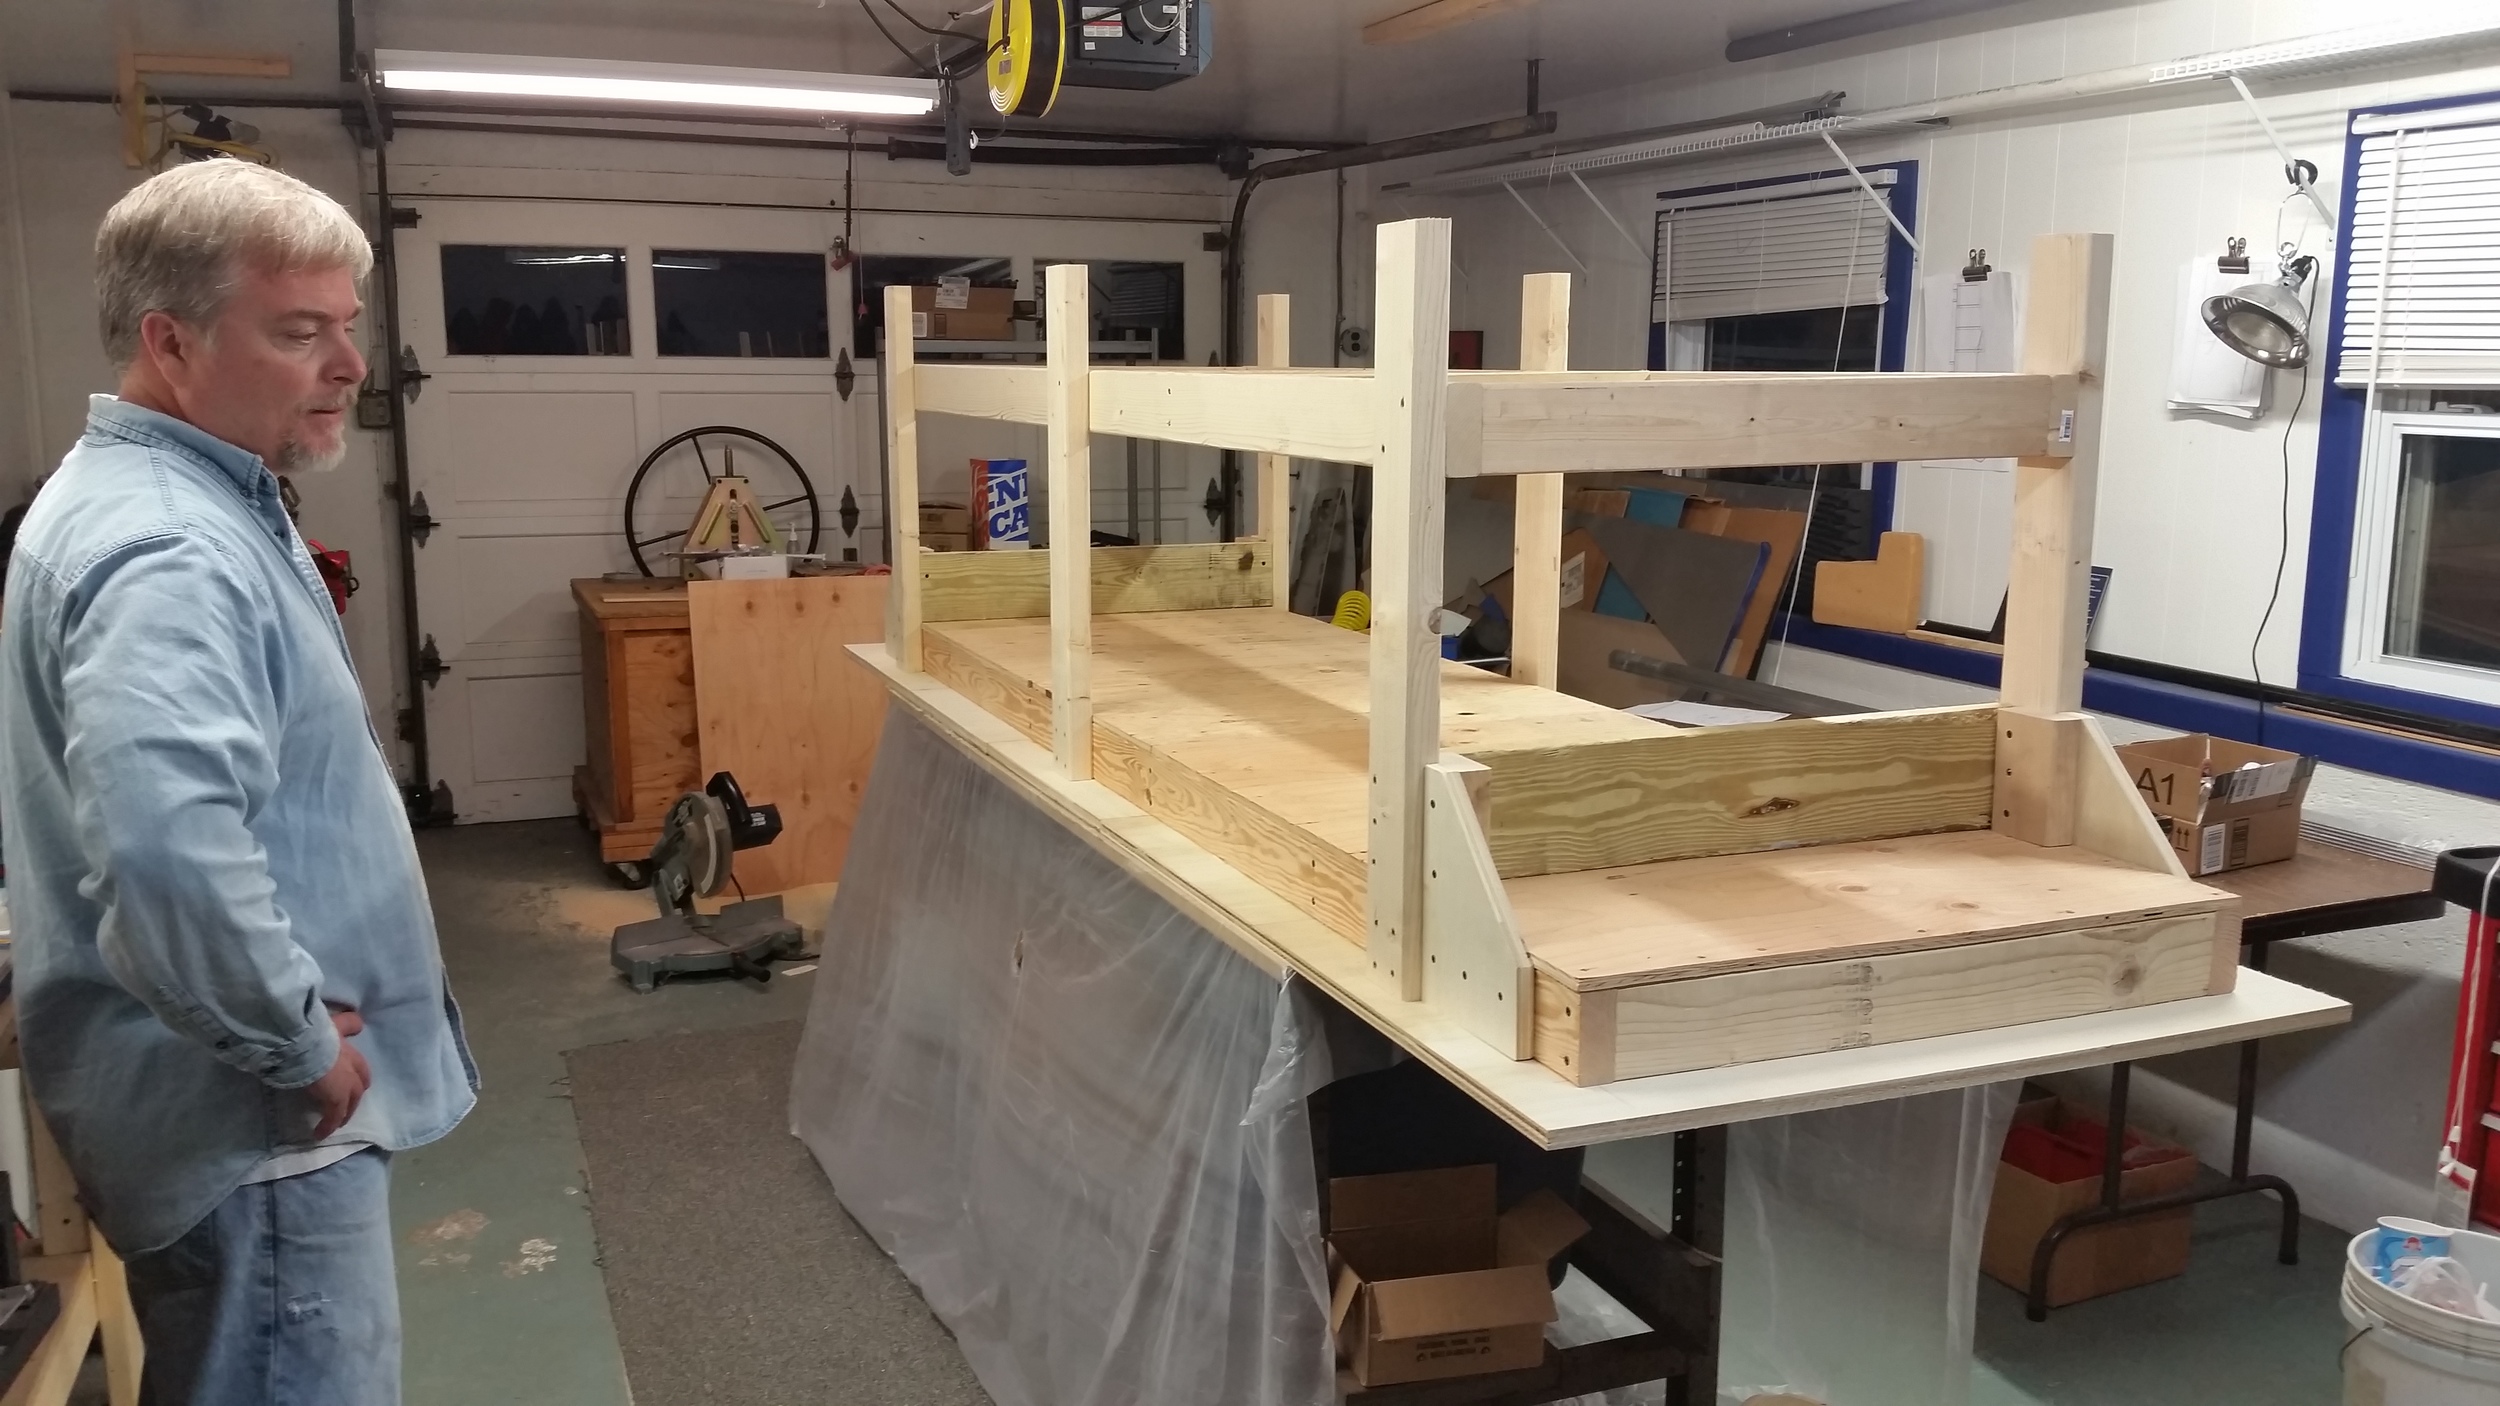
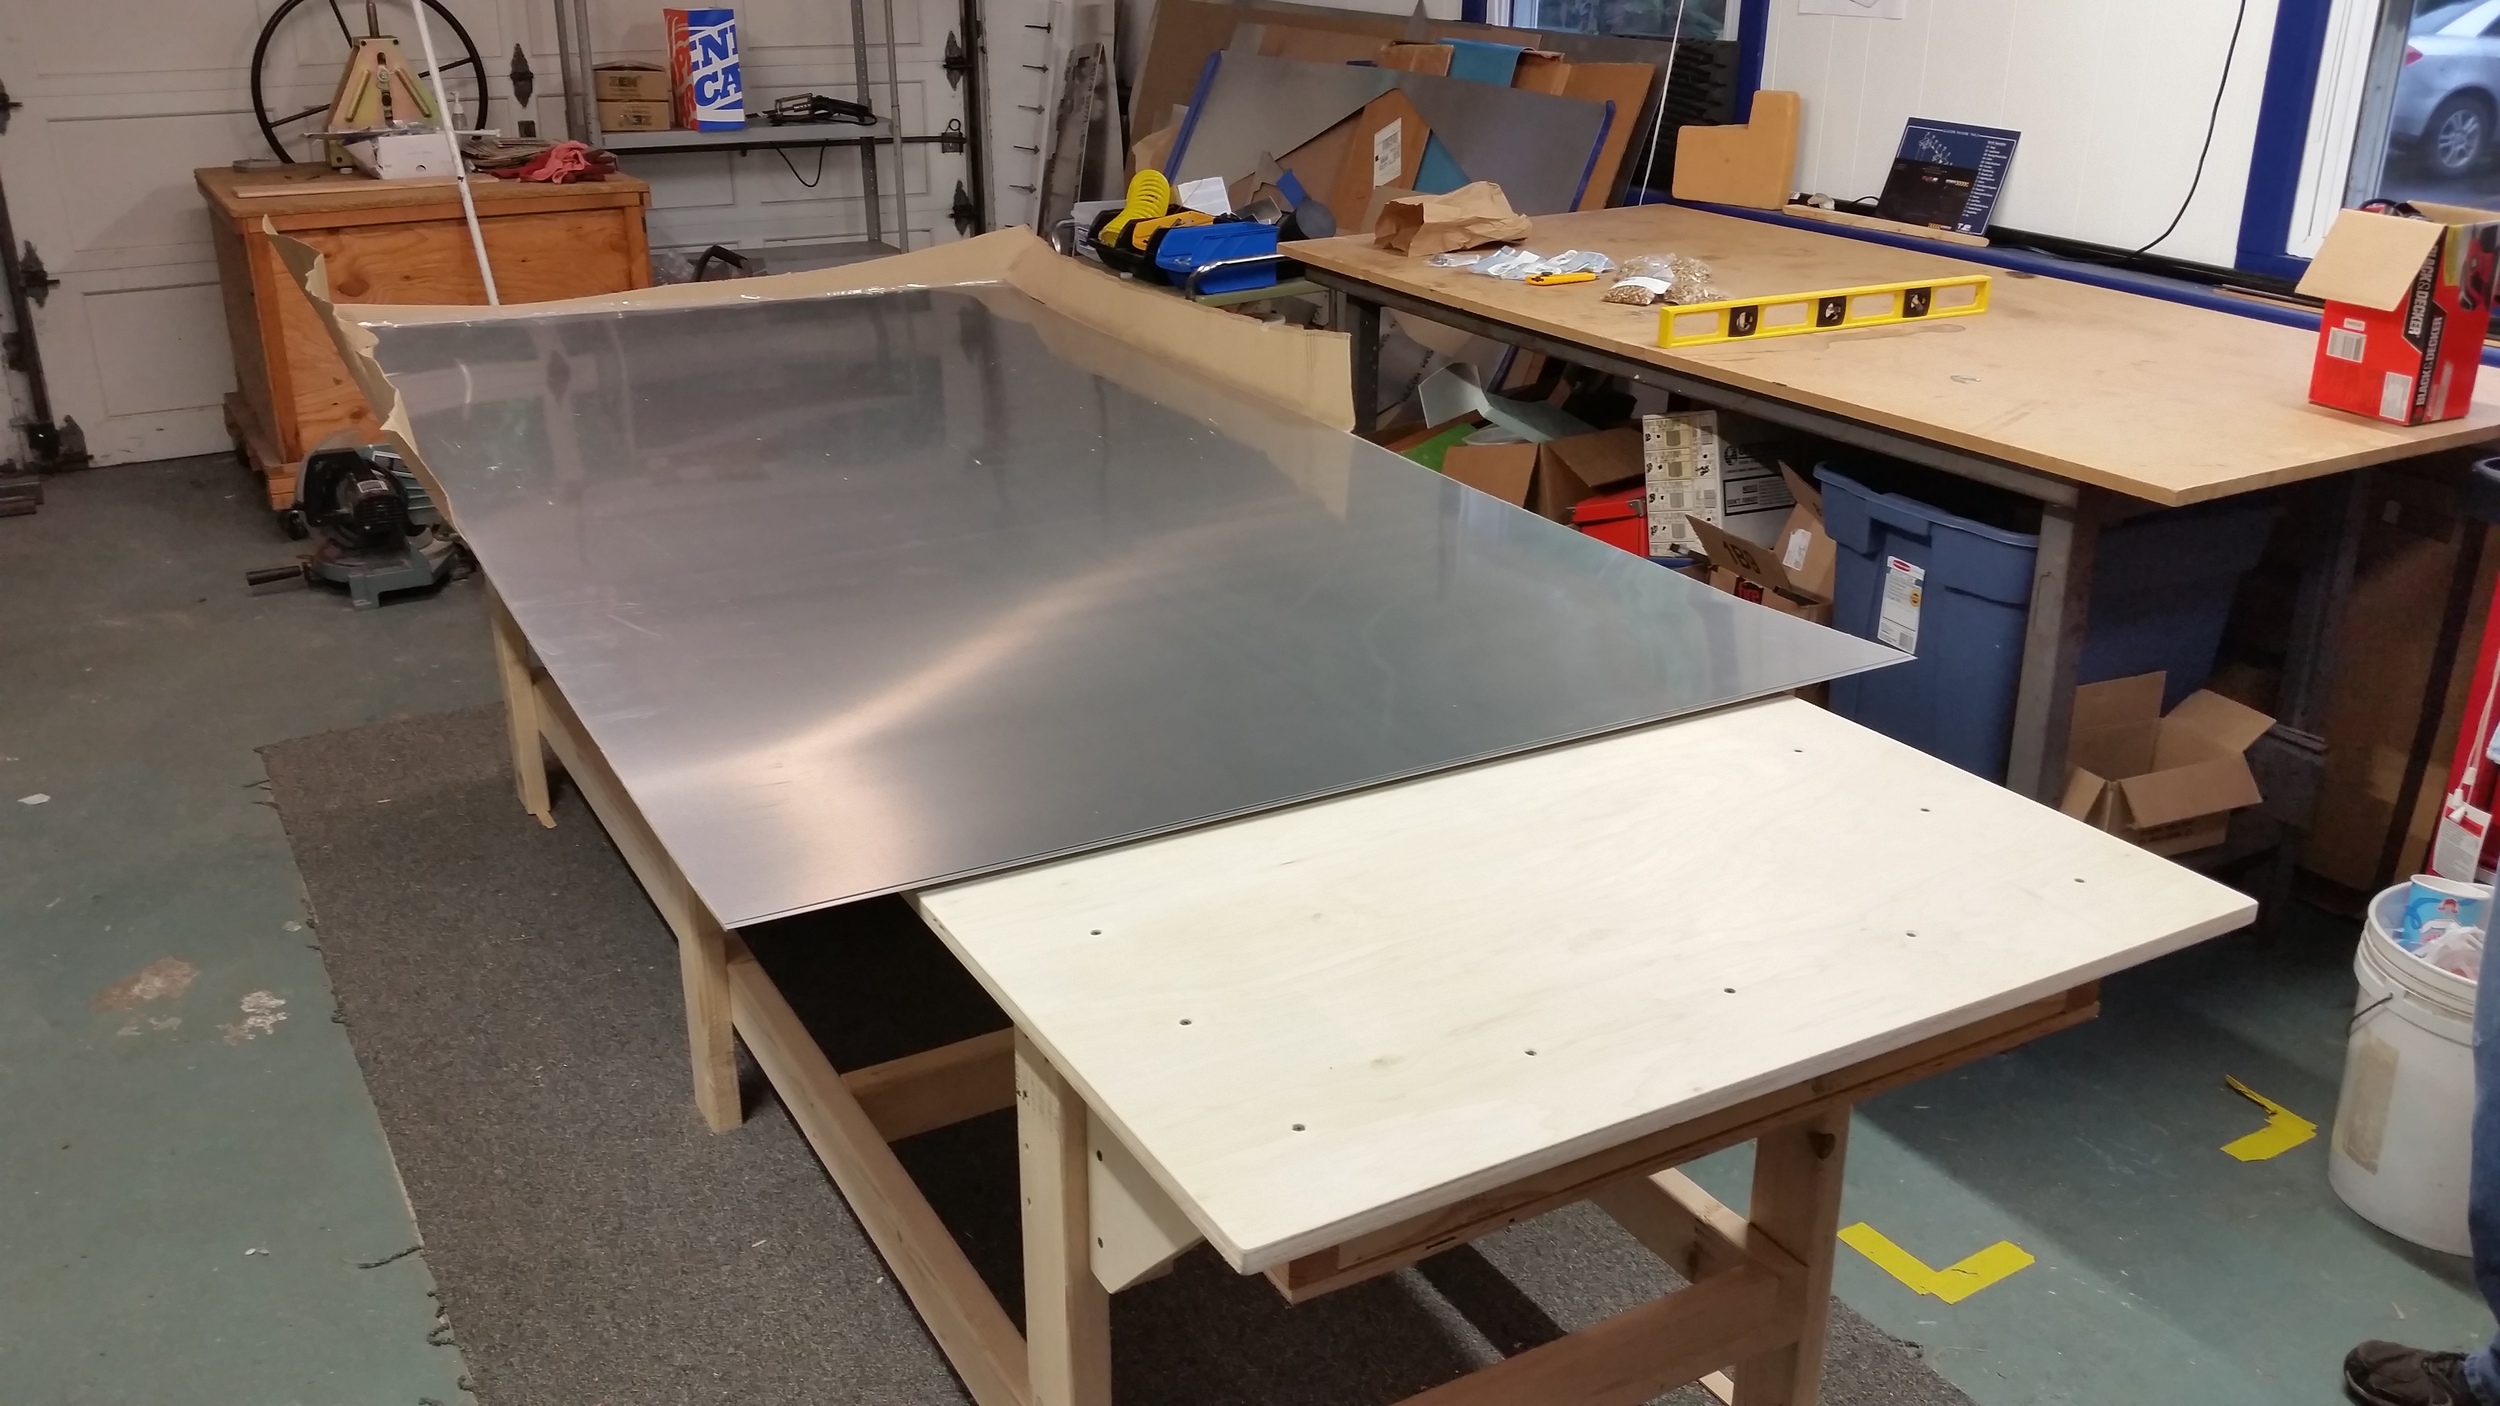
Building the Test Fixture
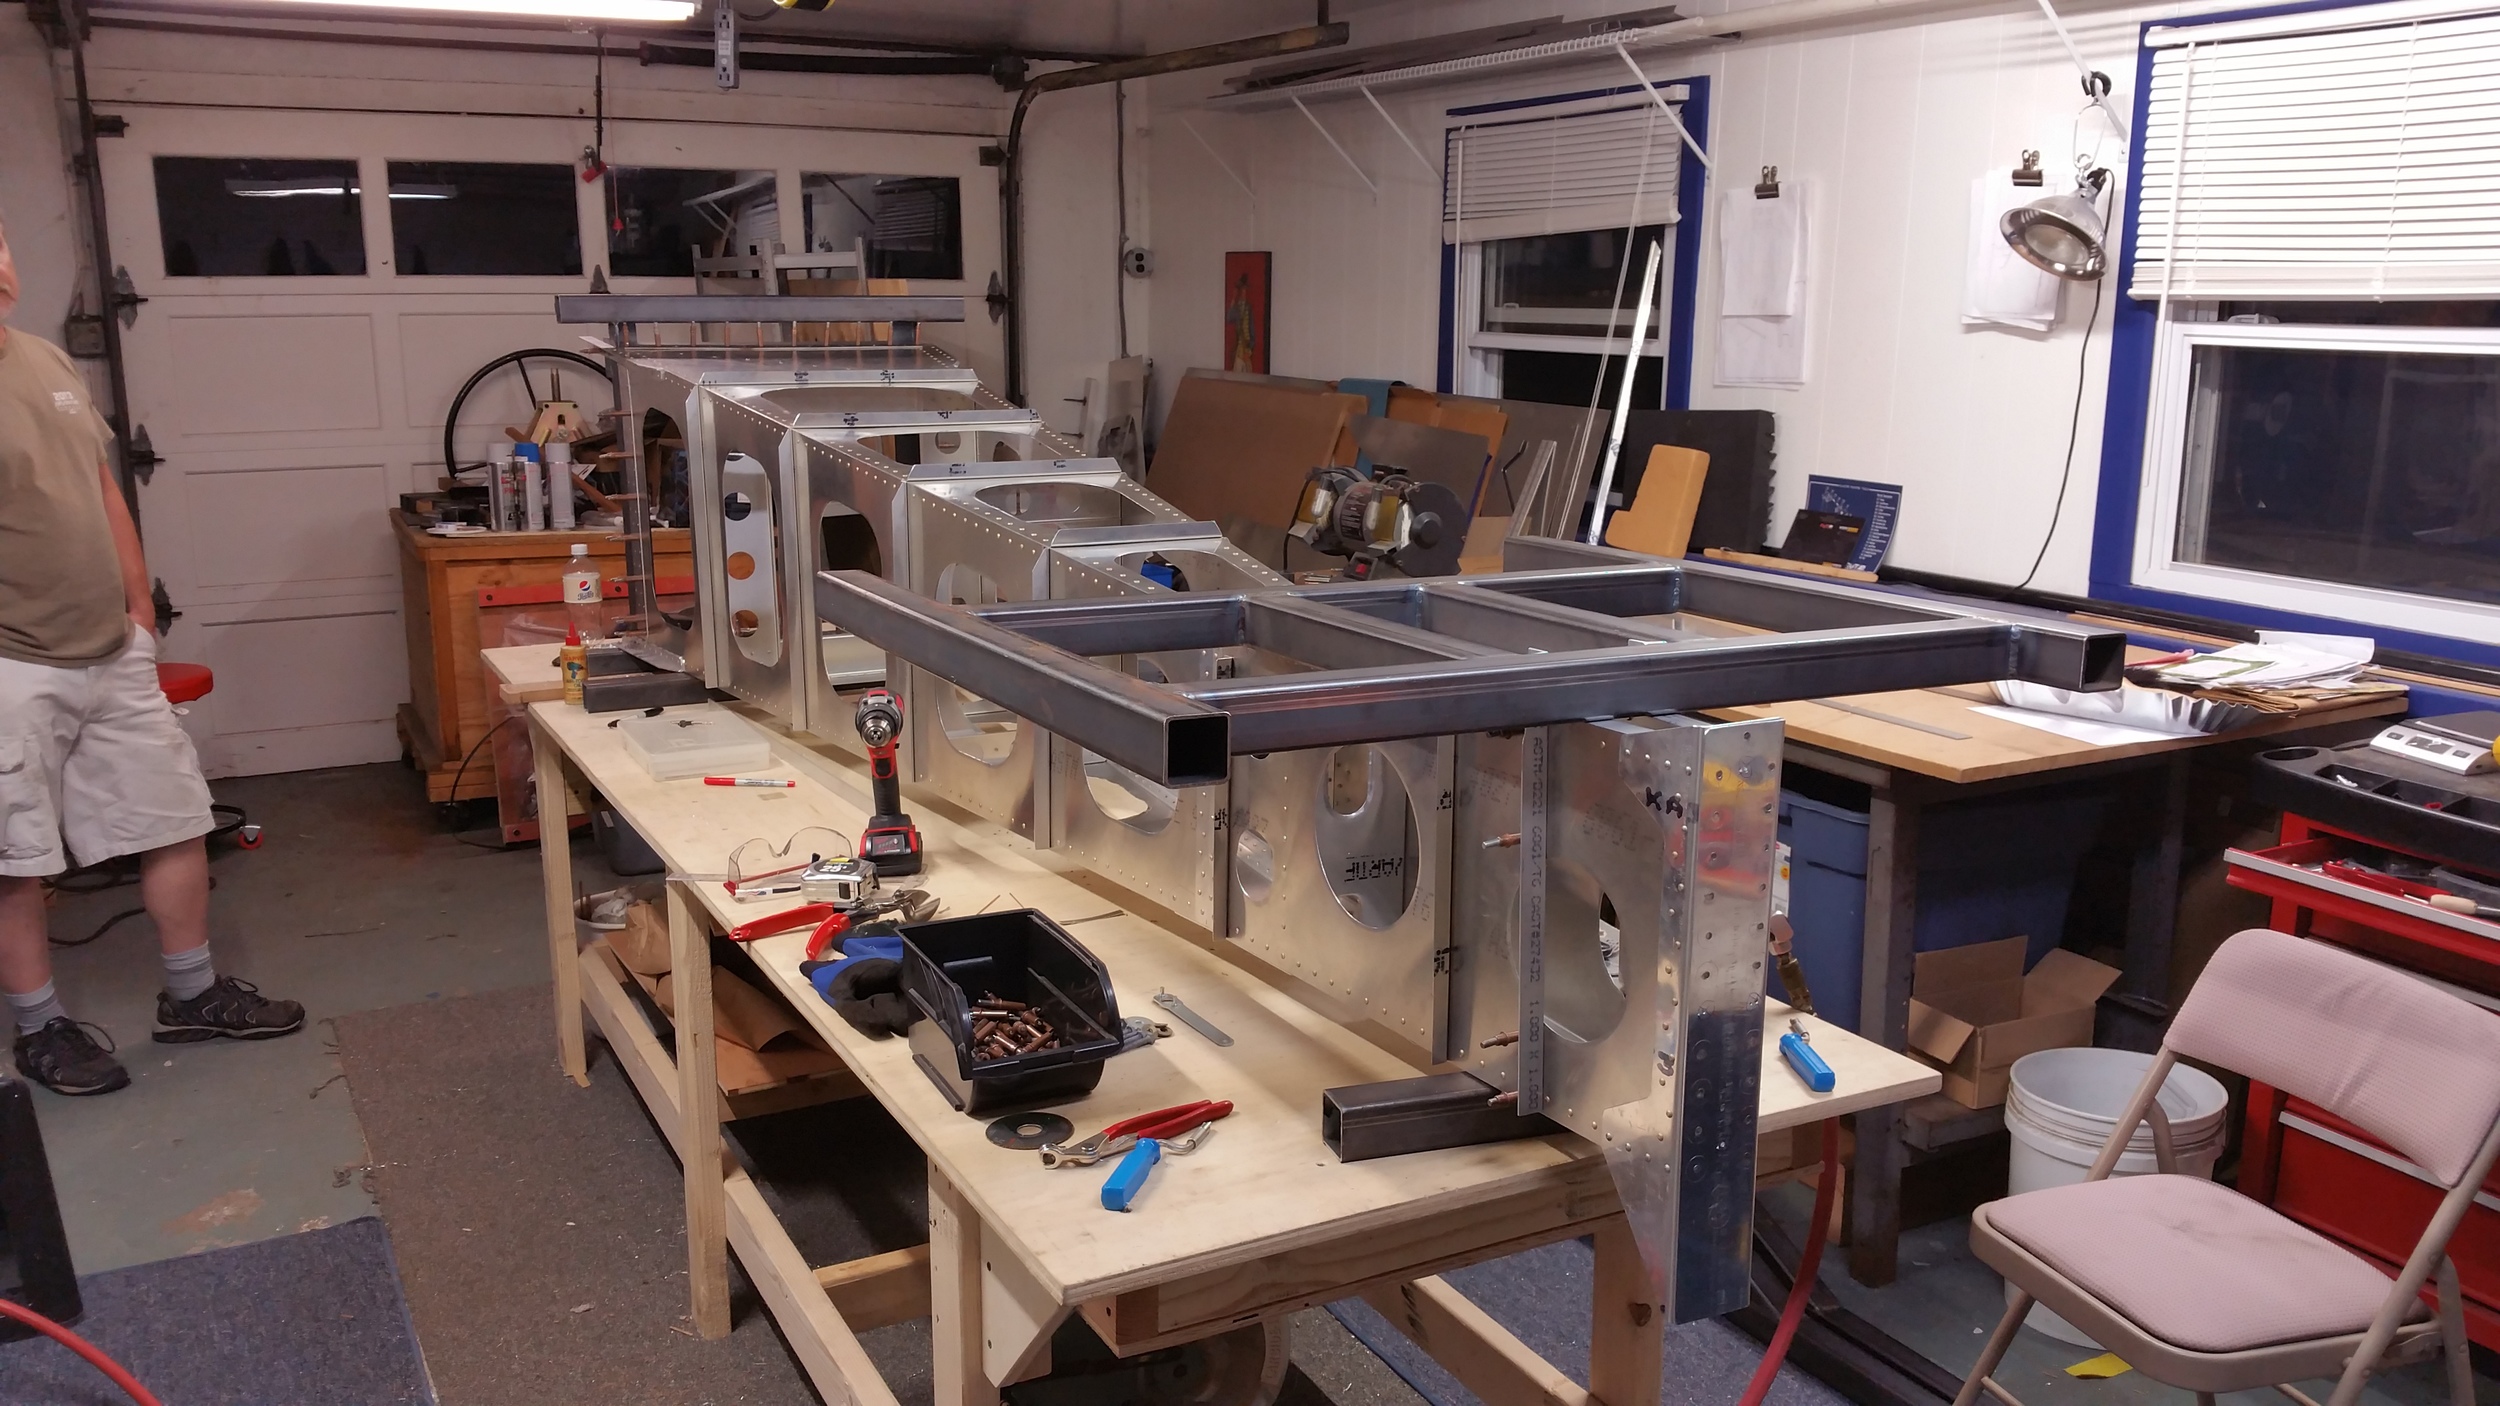
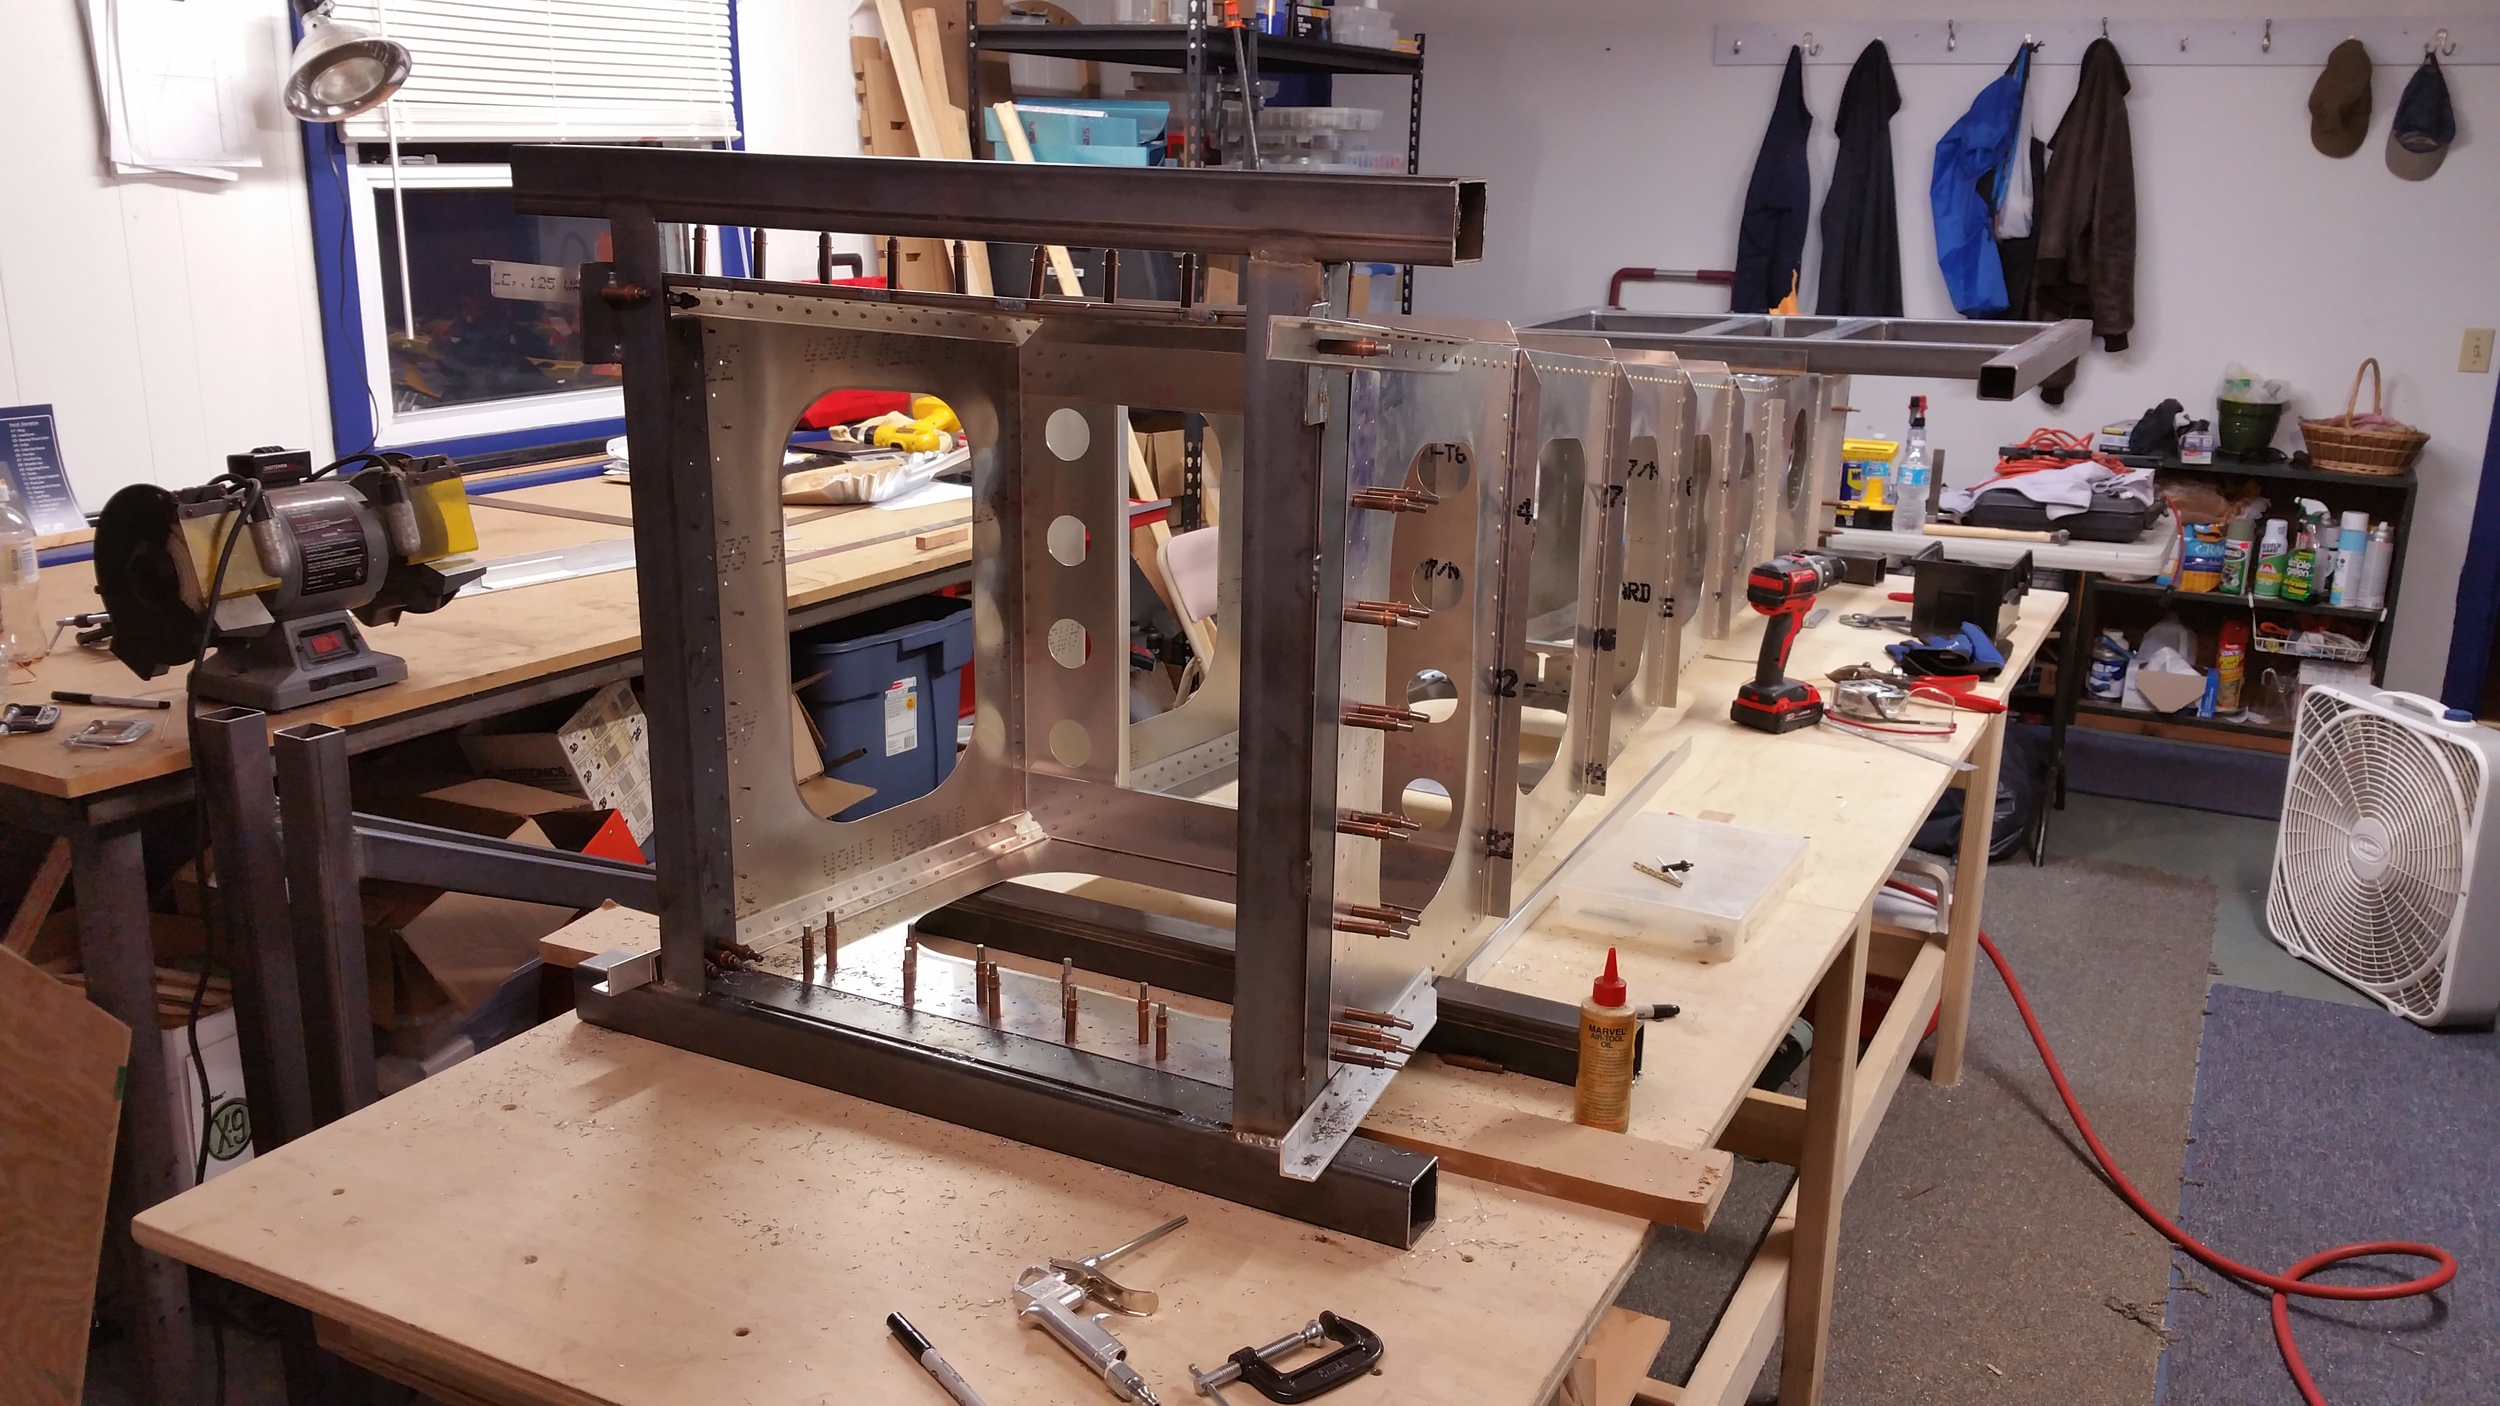
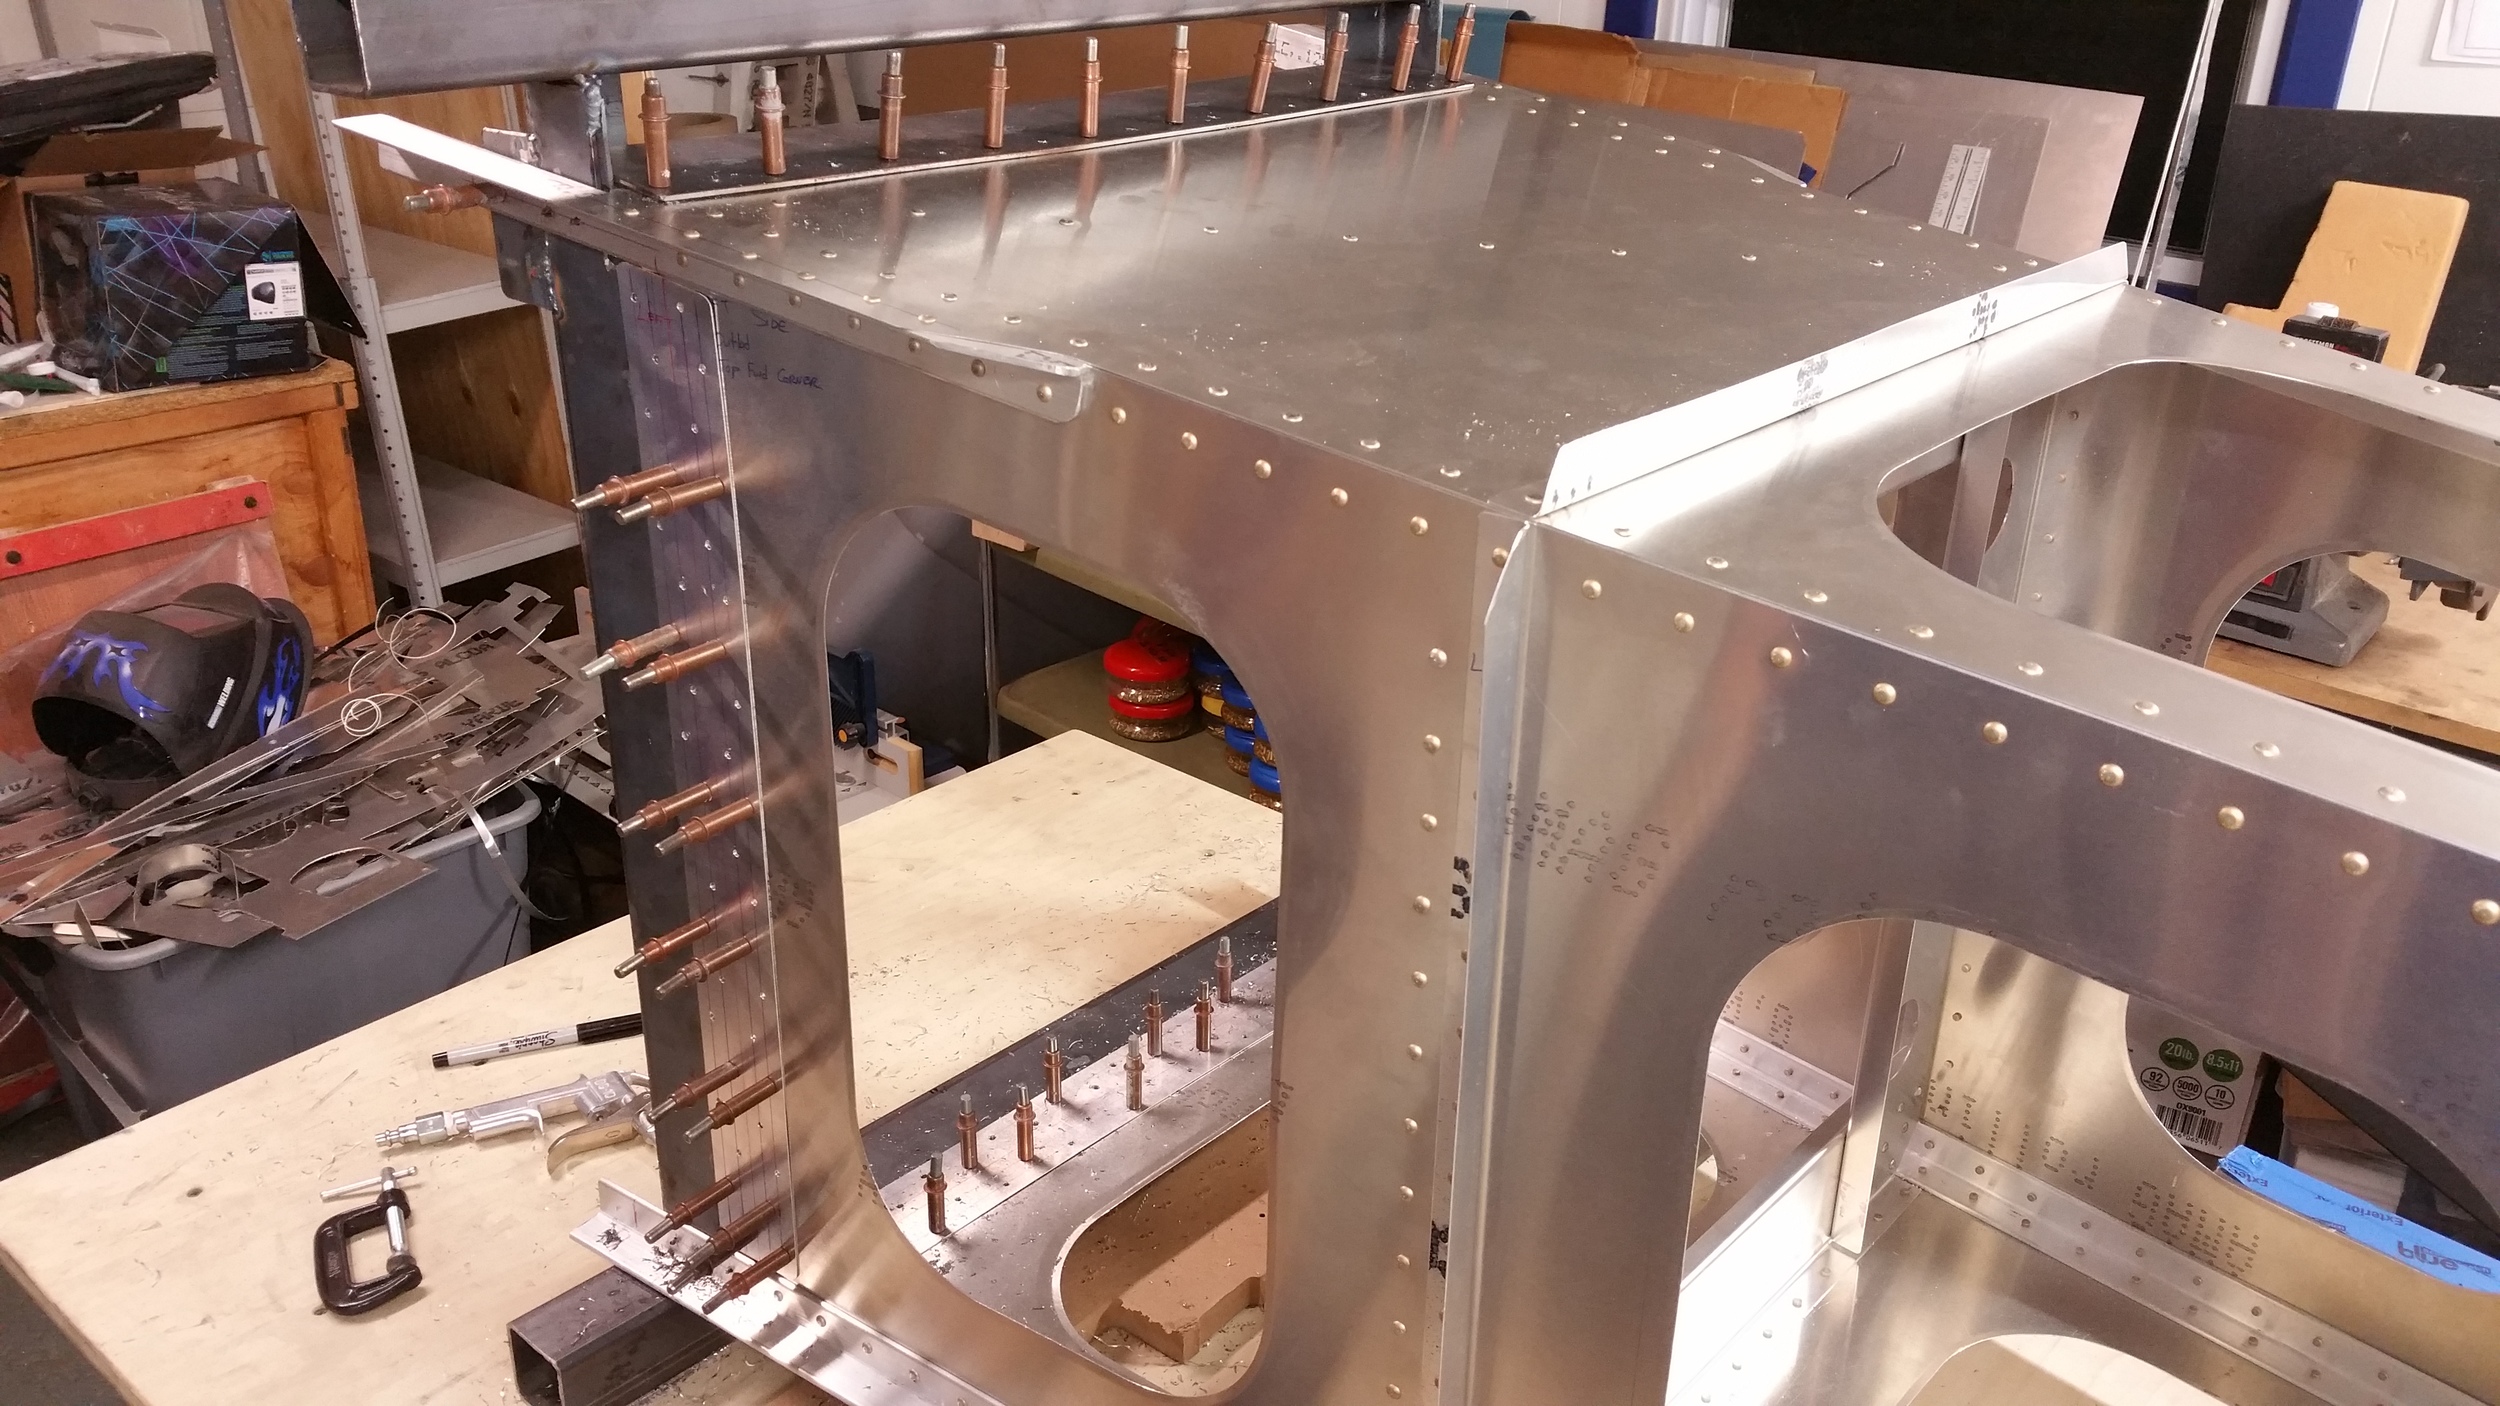
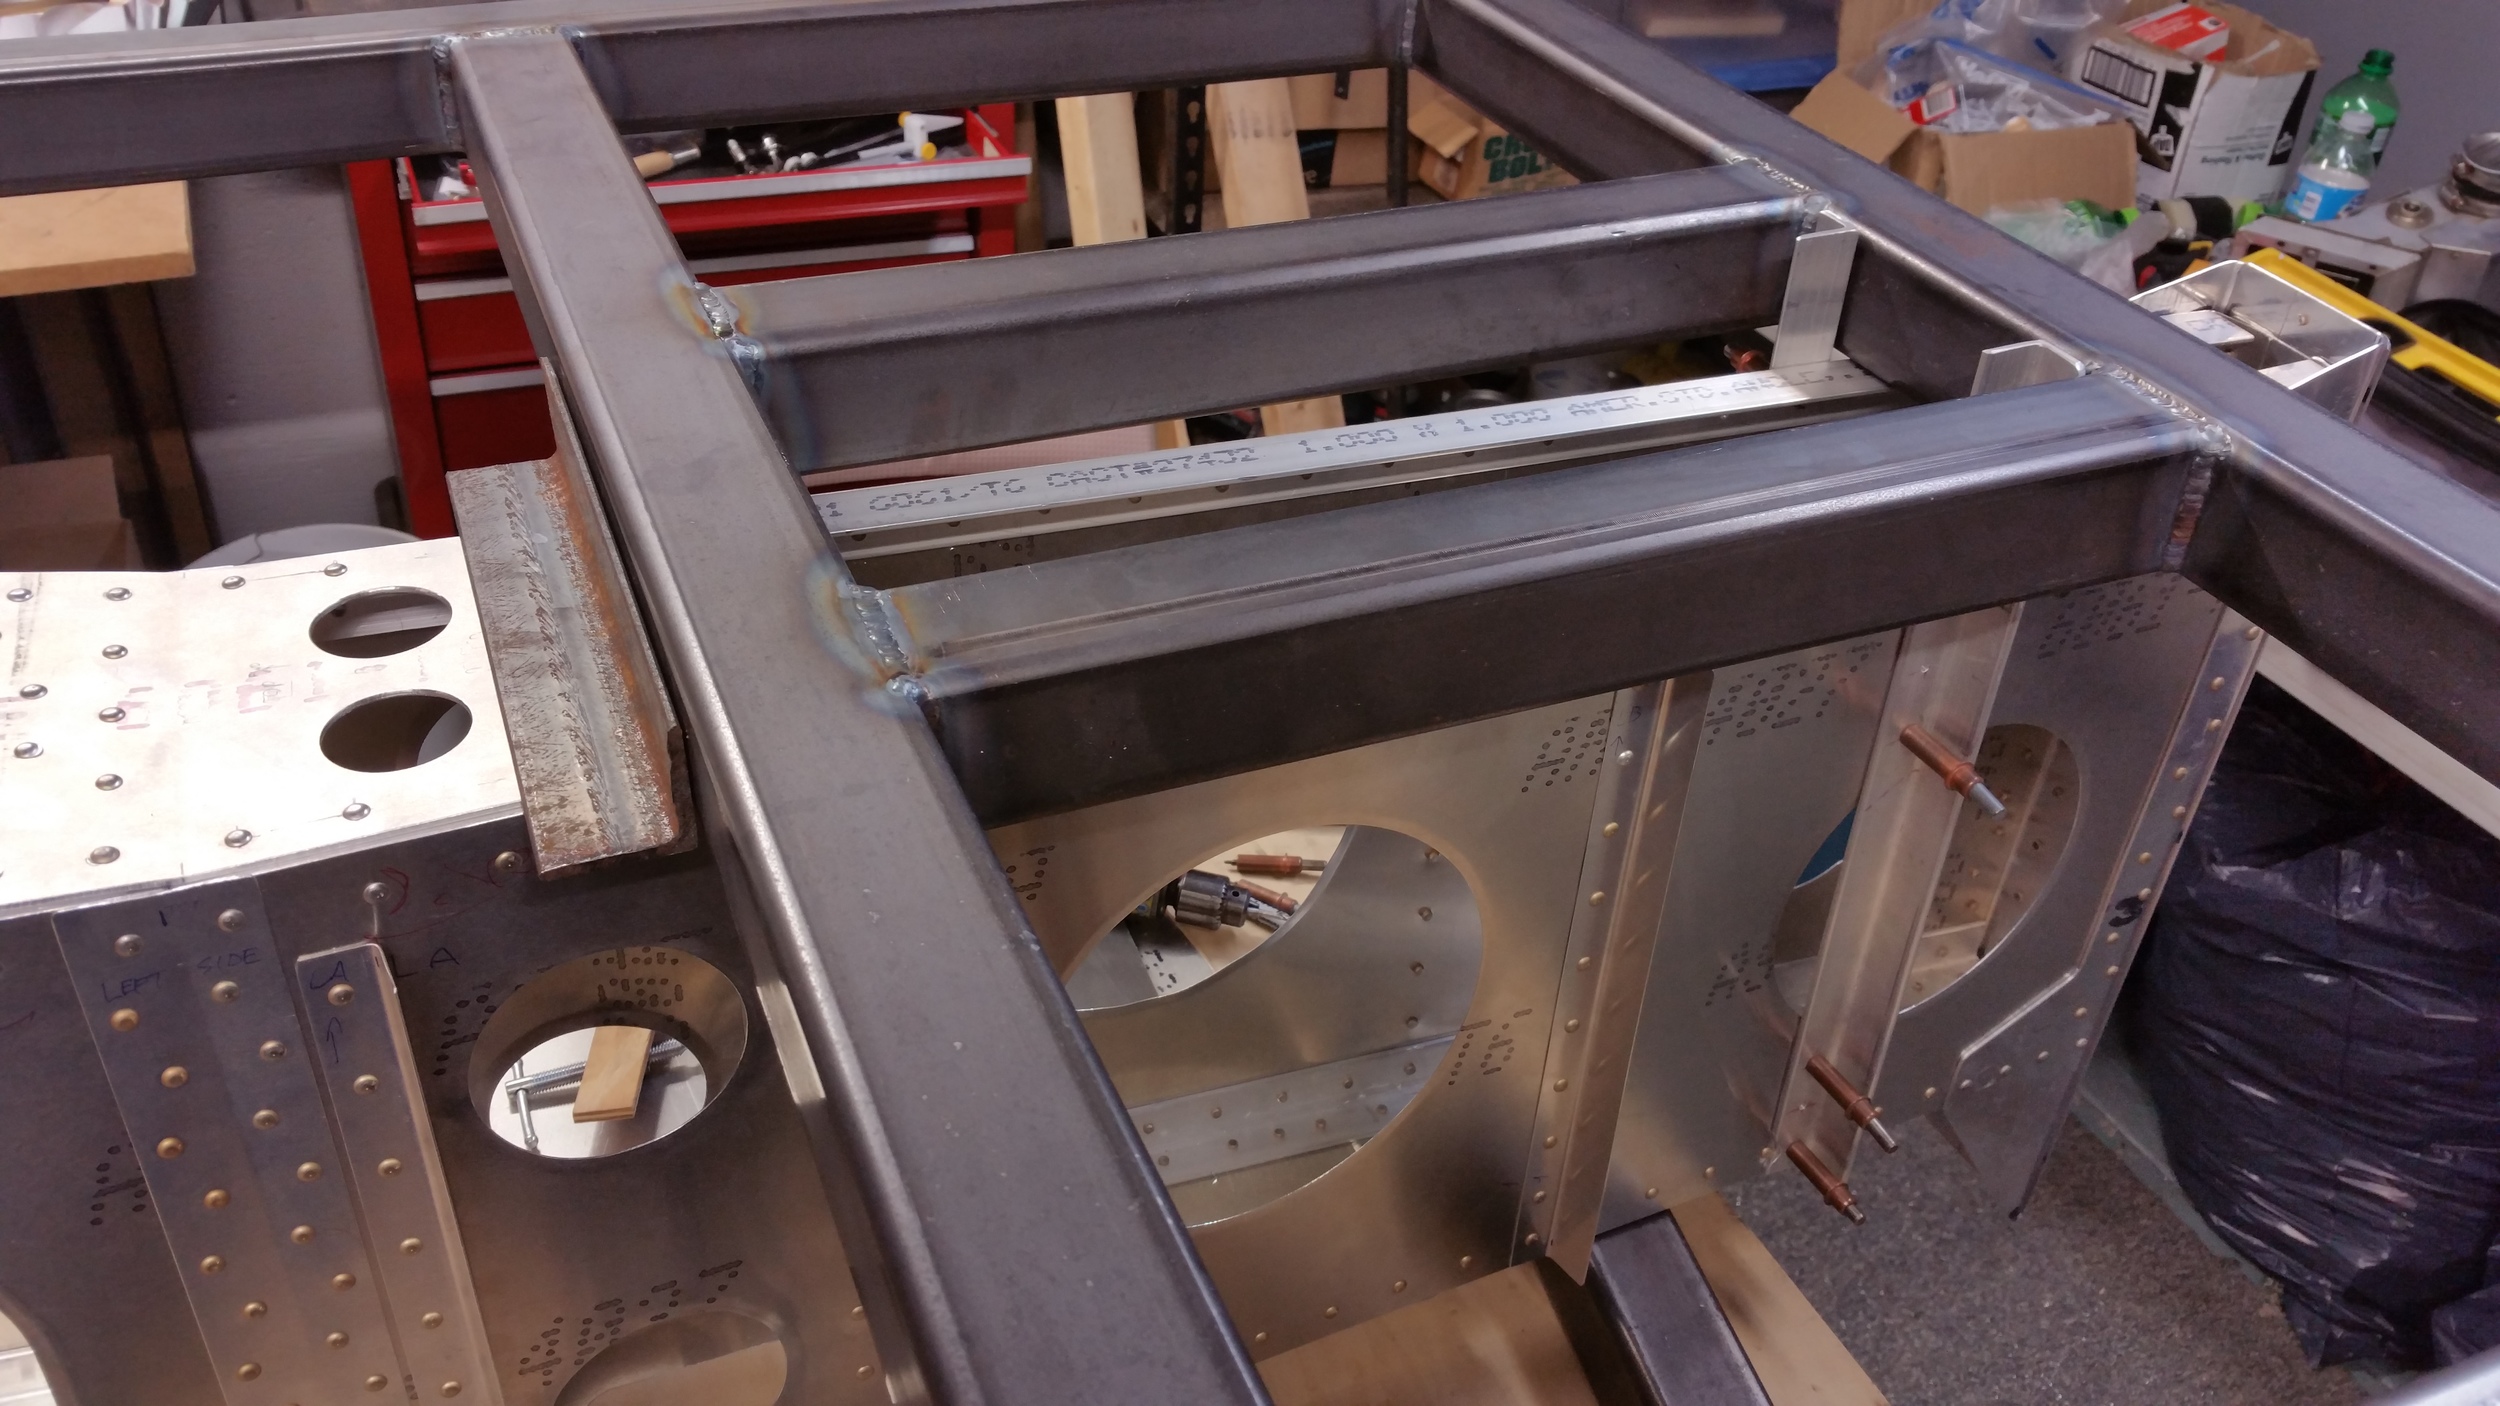
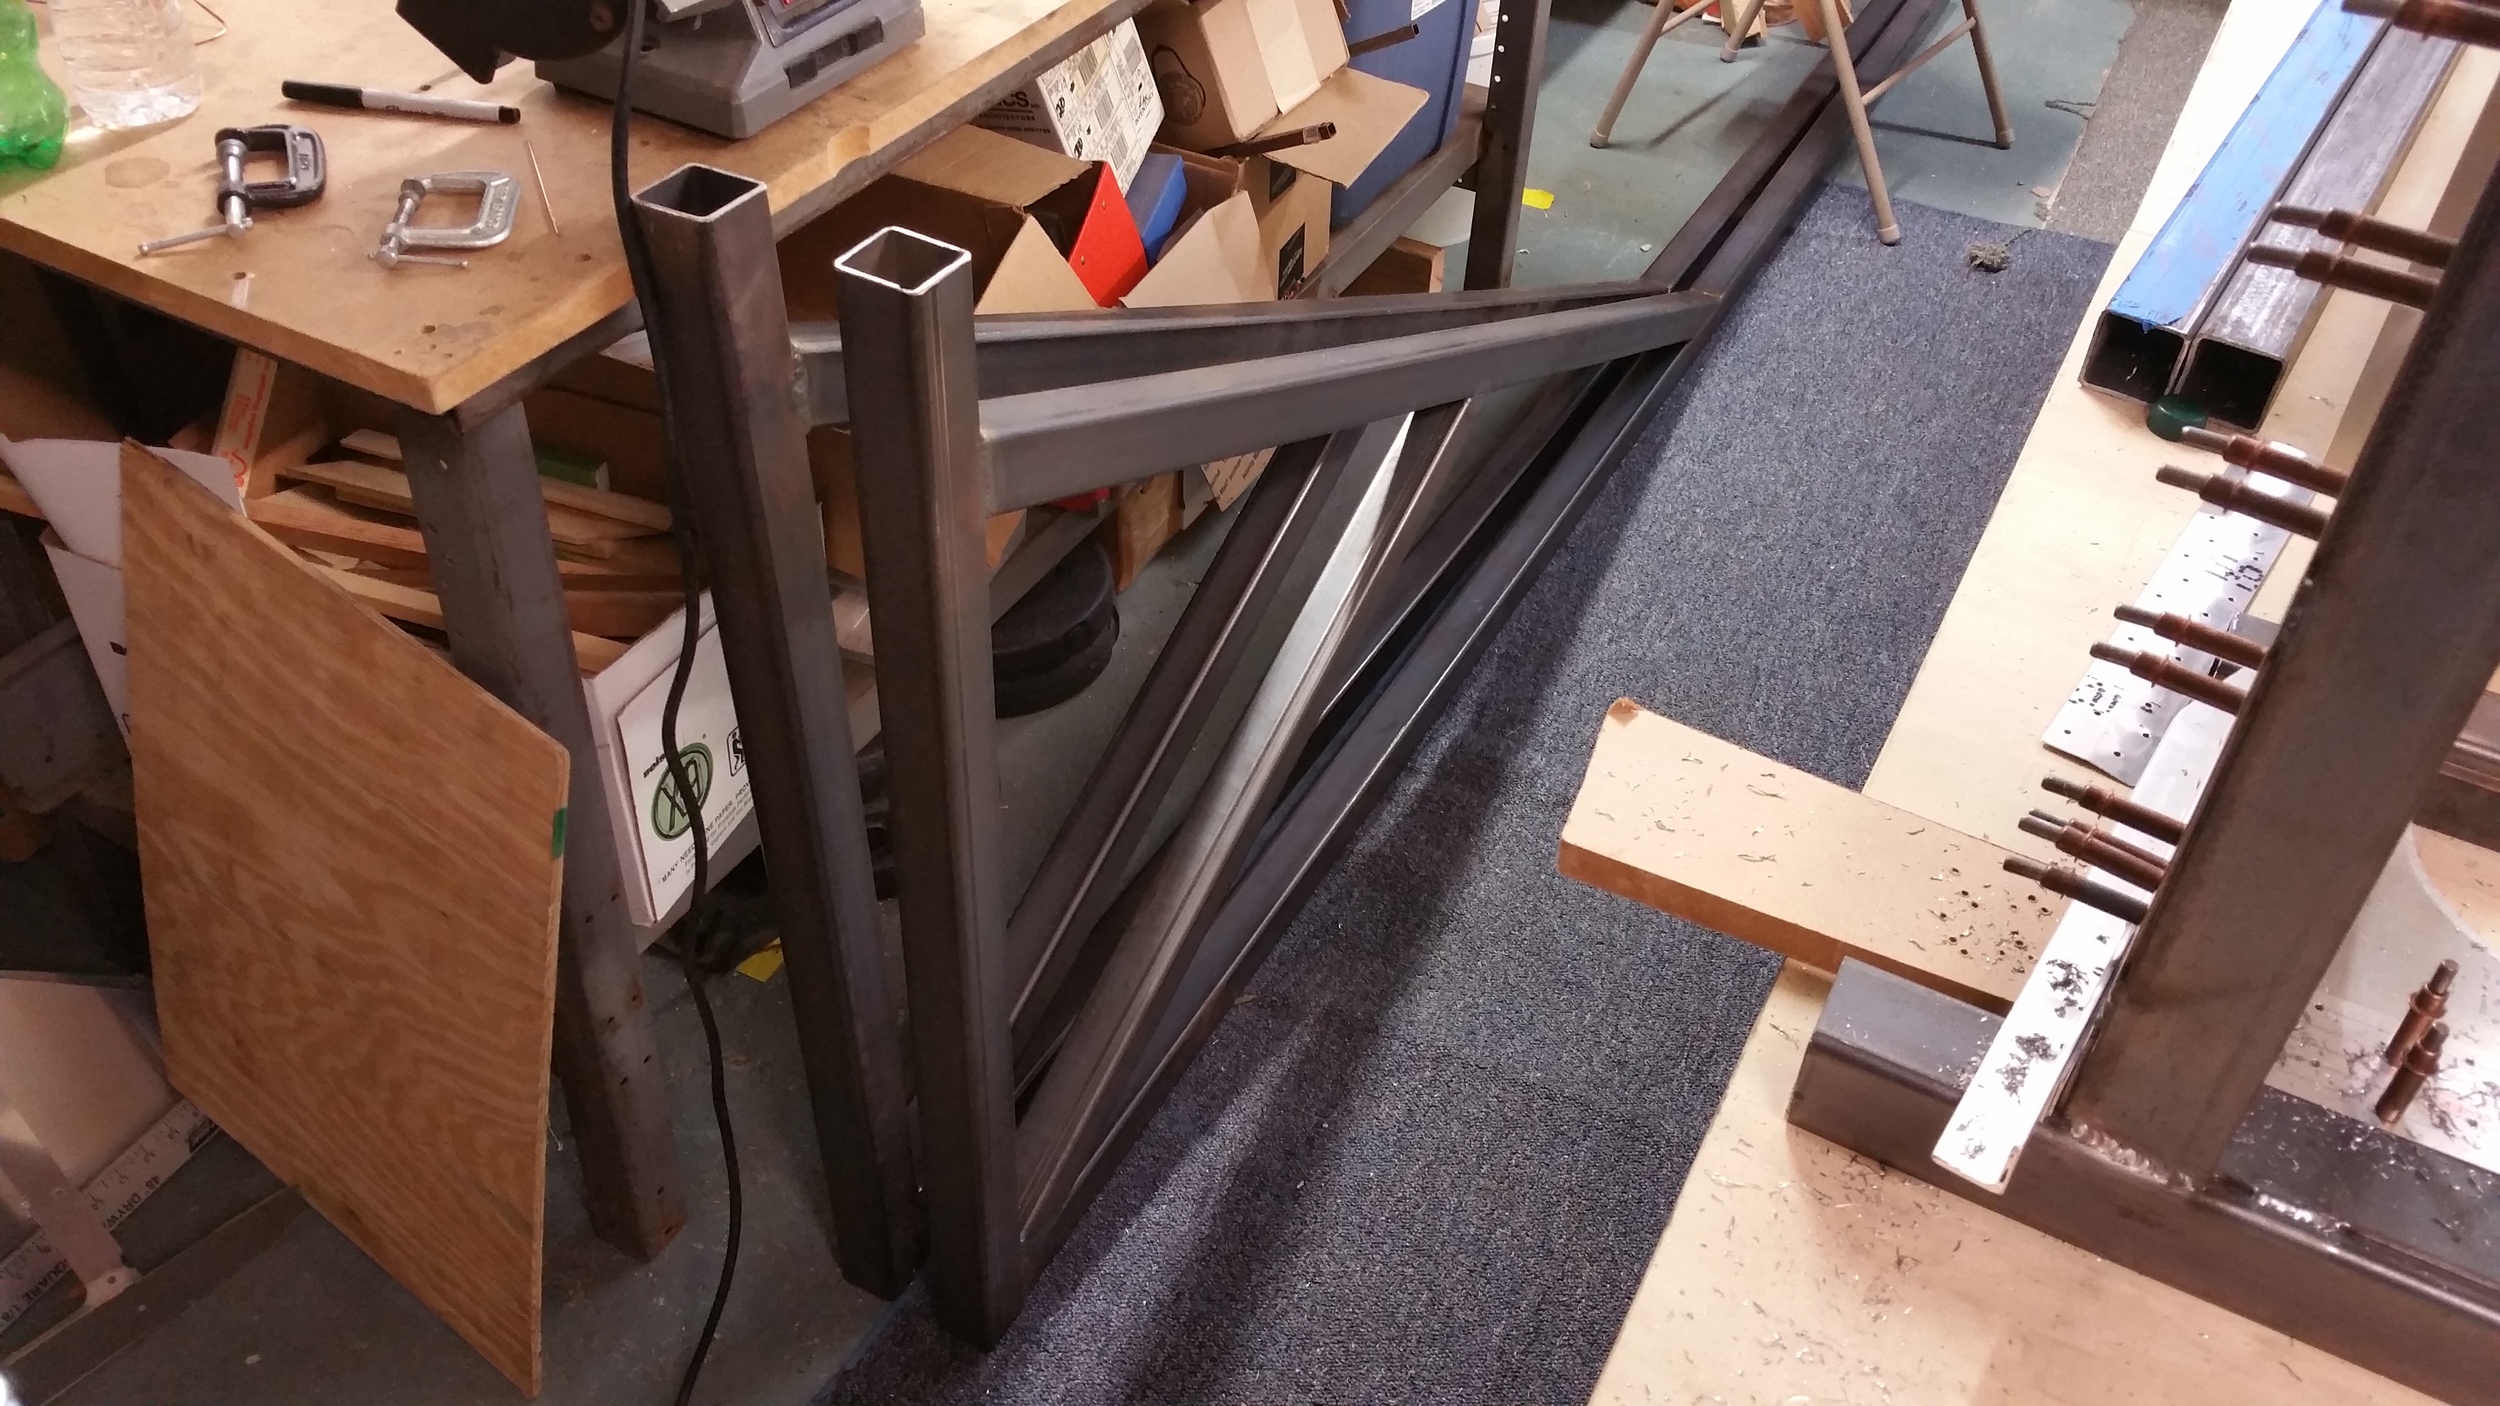
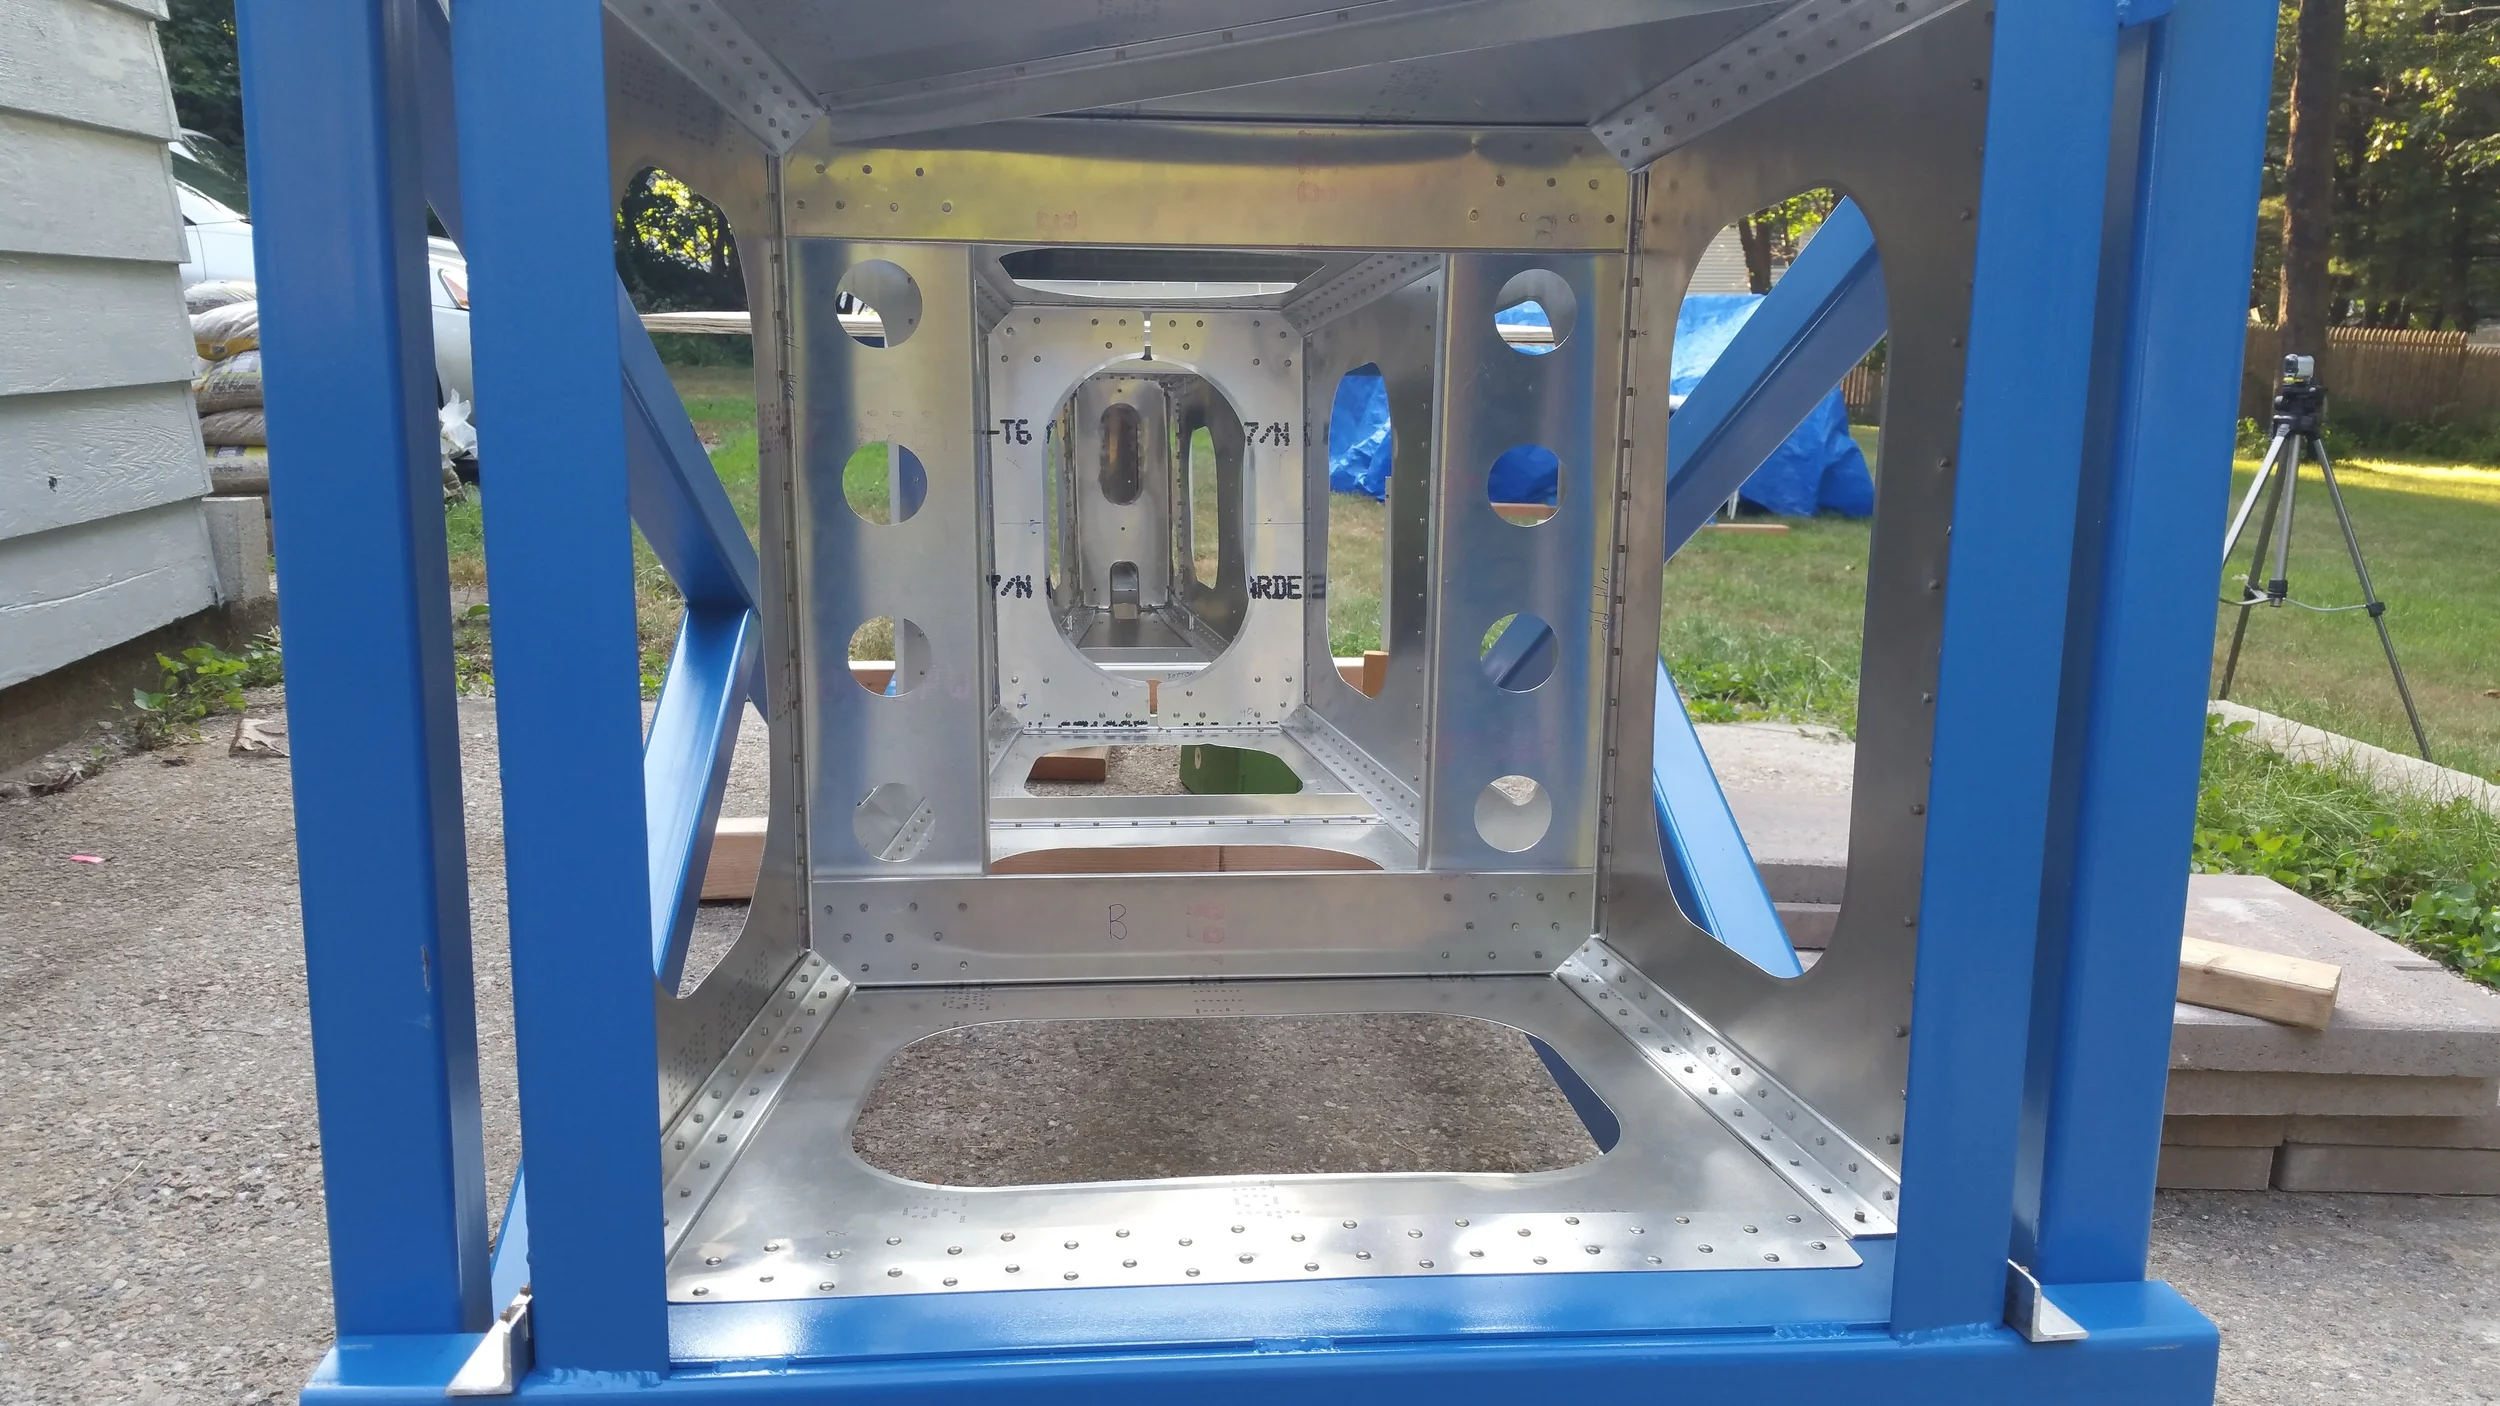
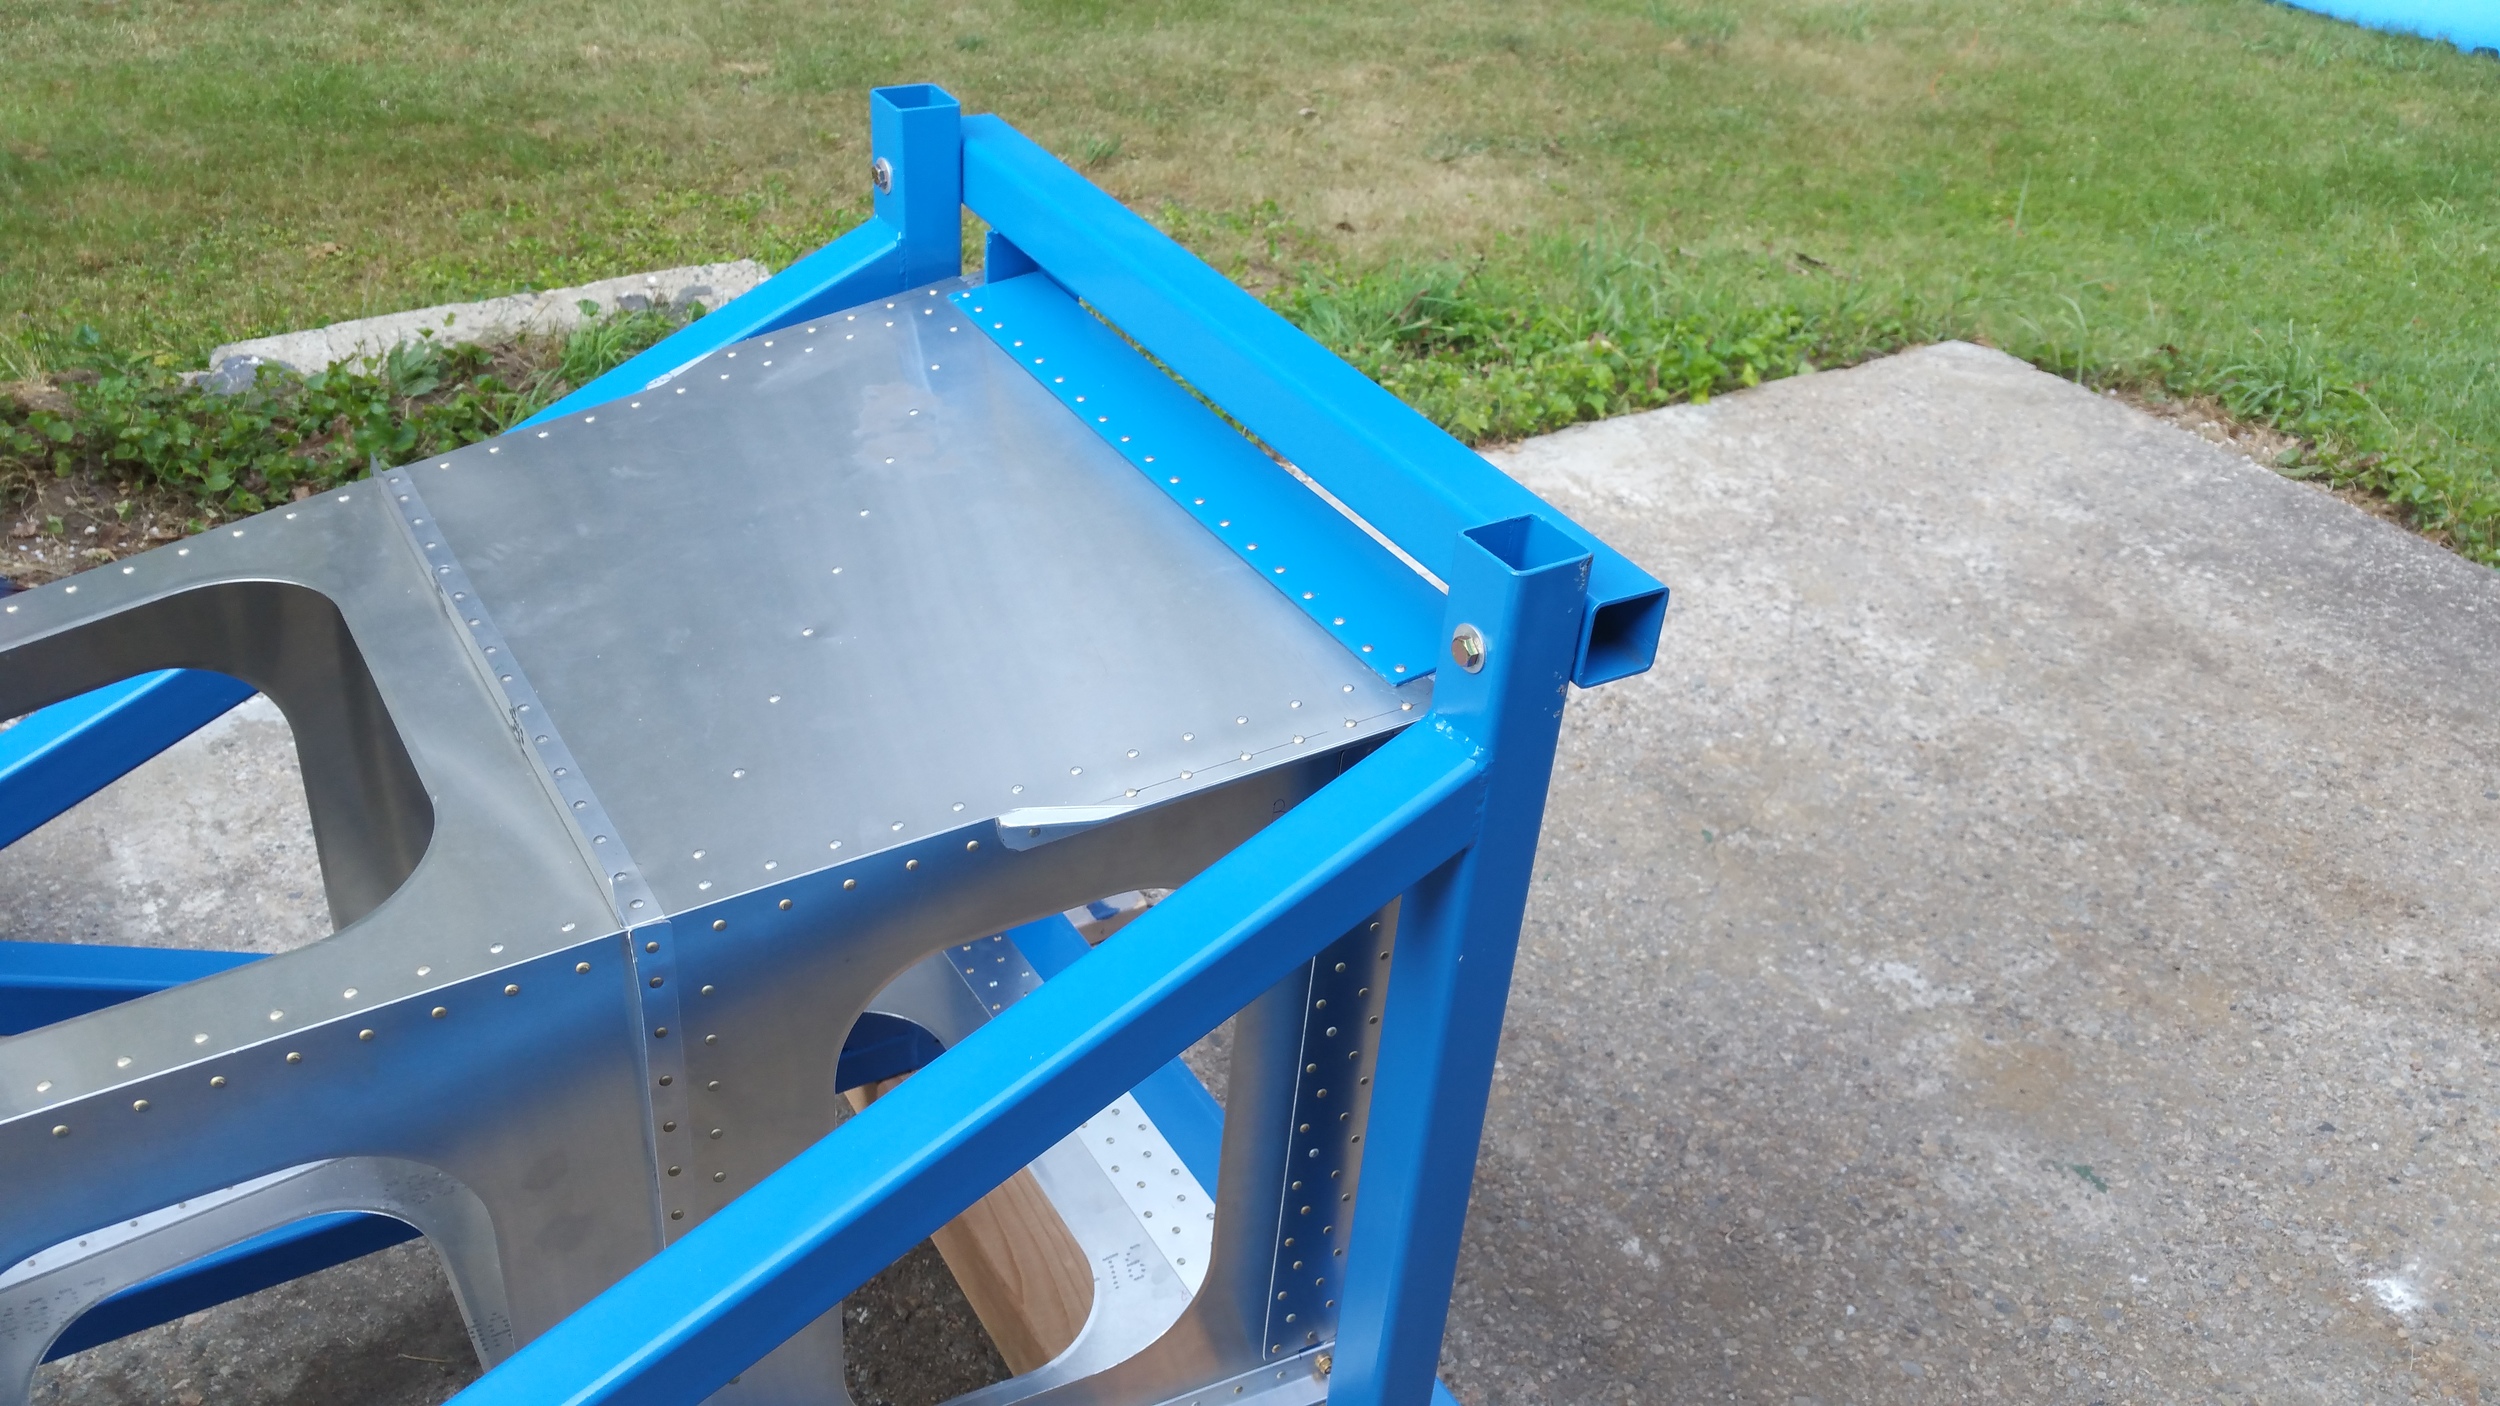
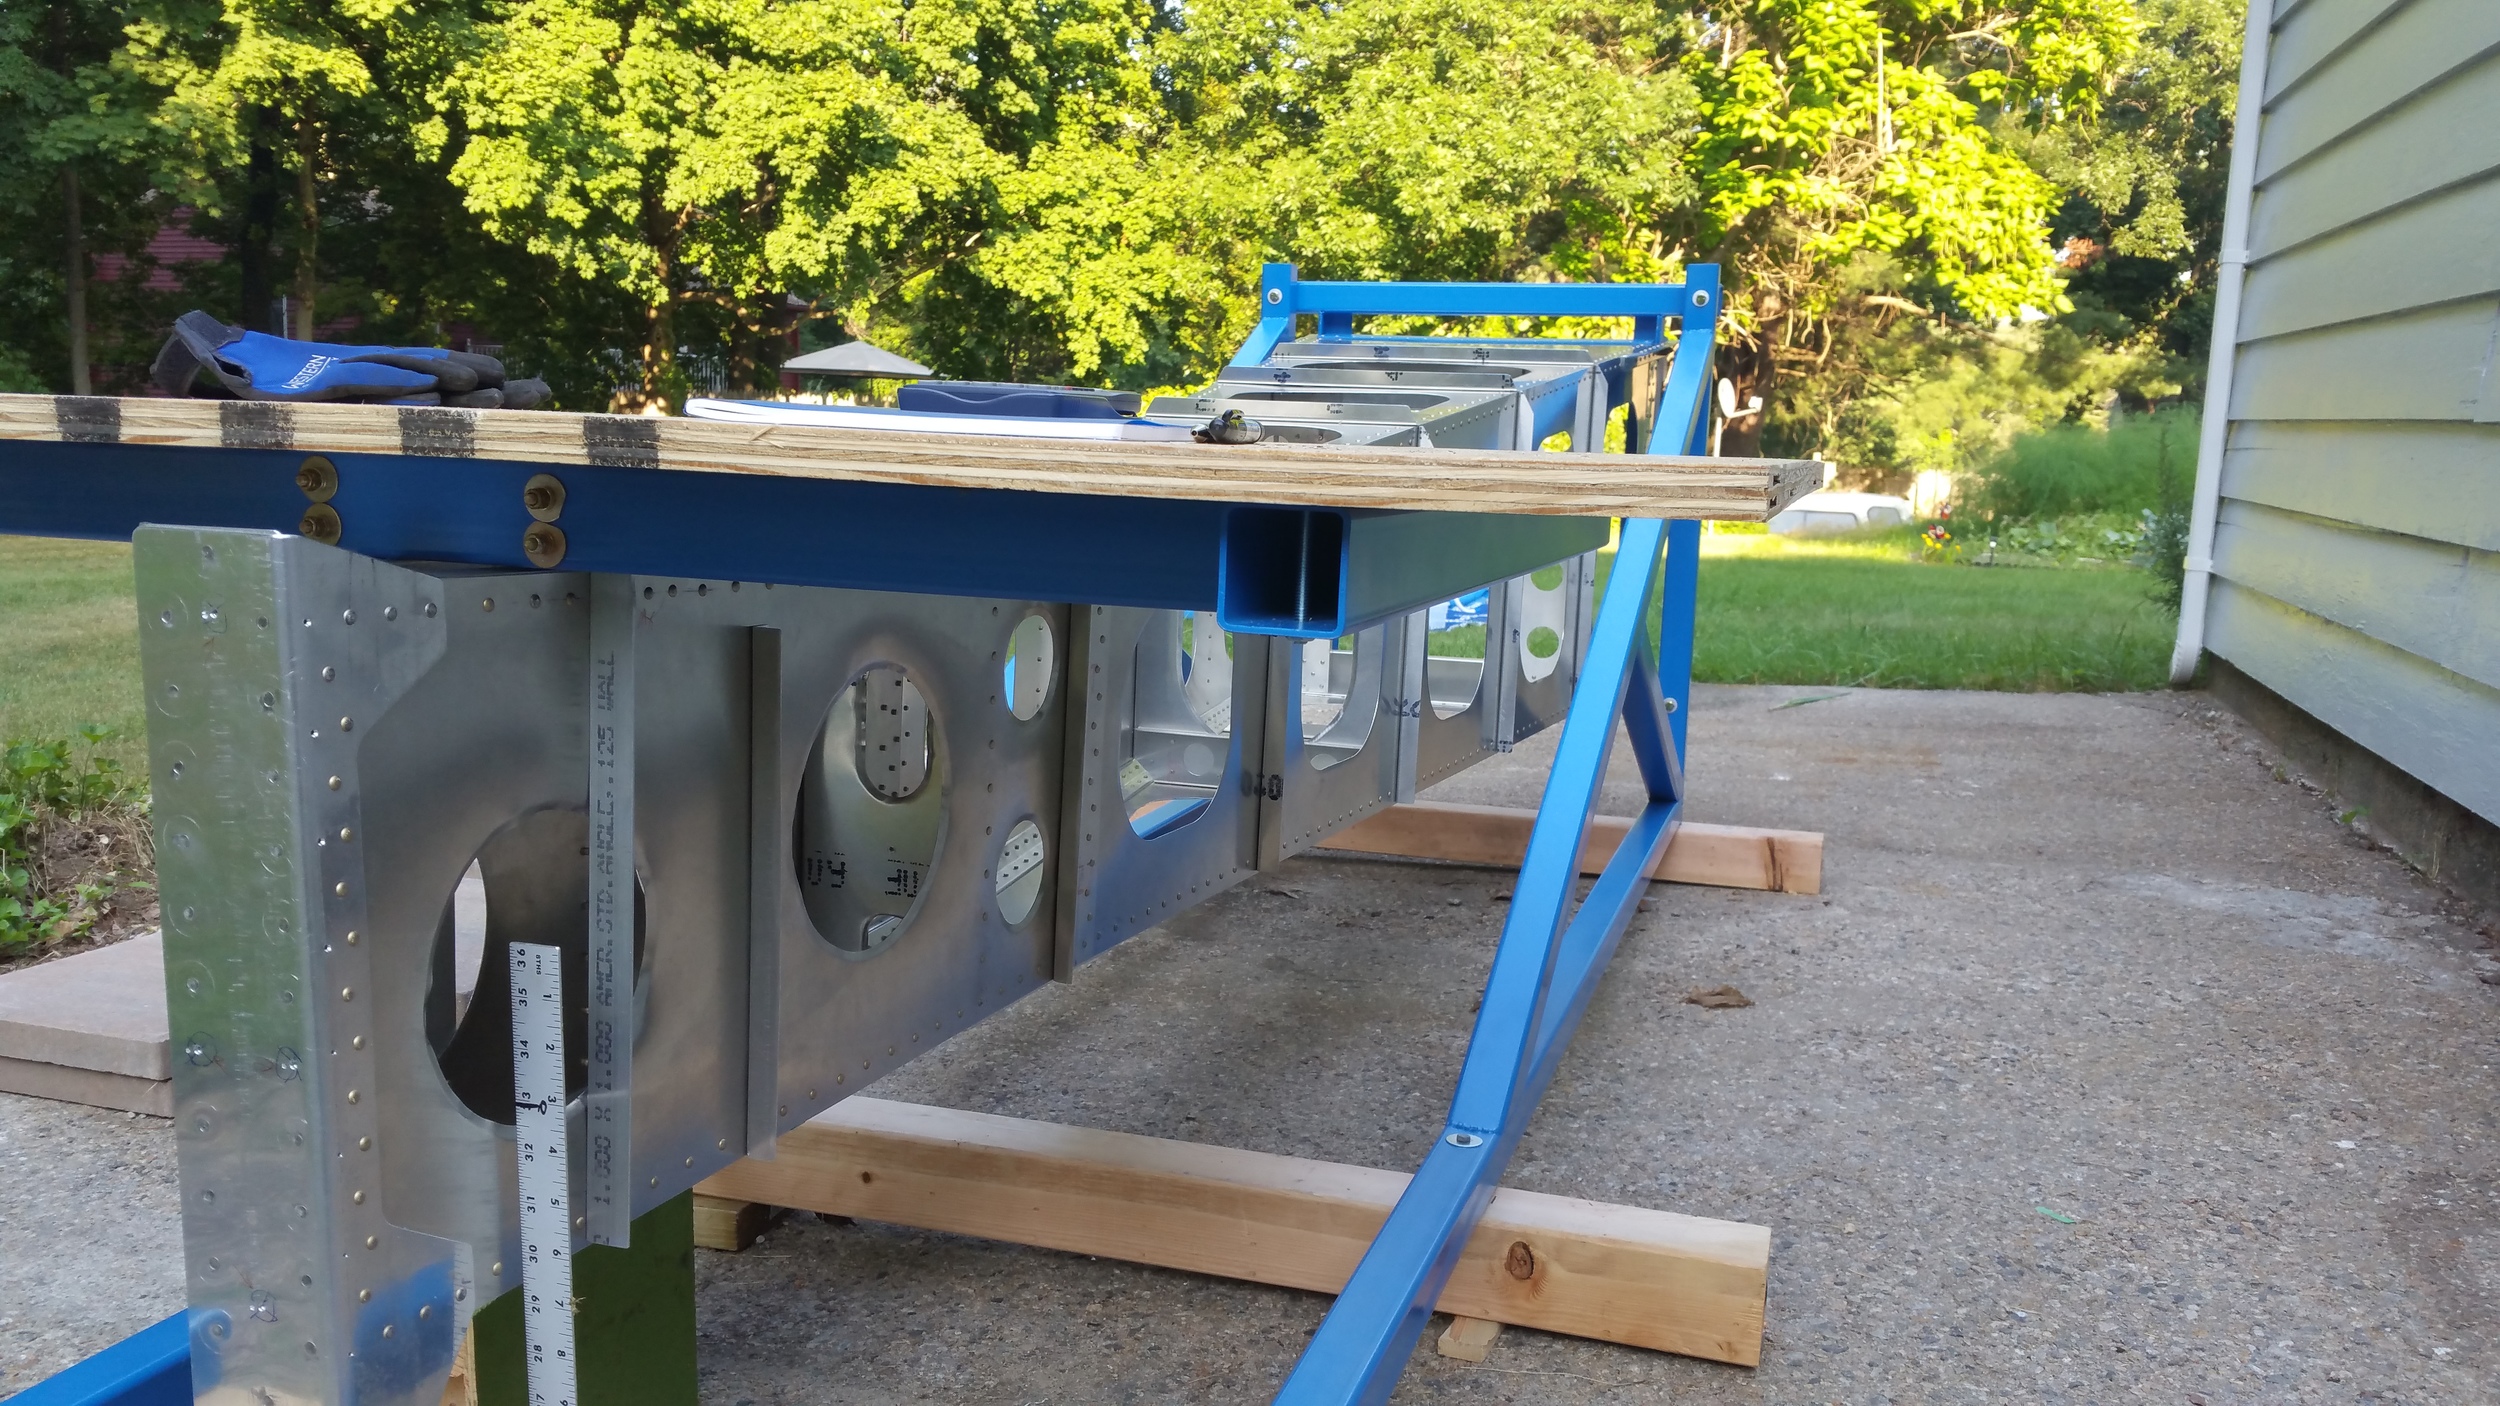
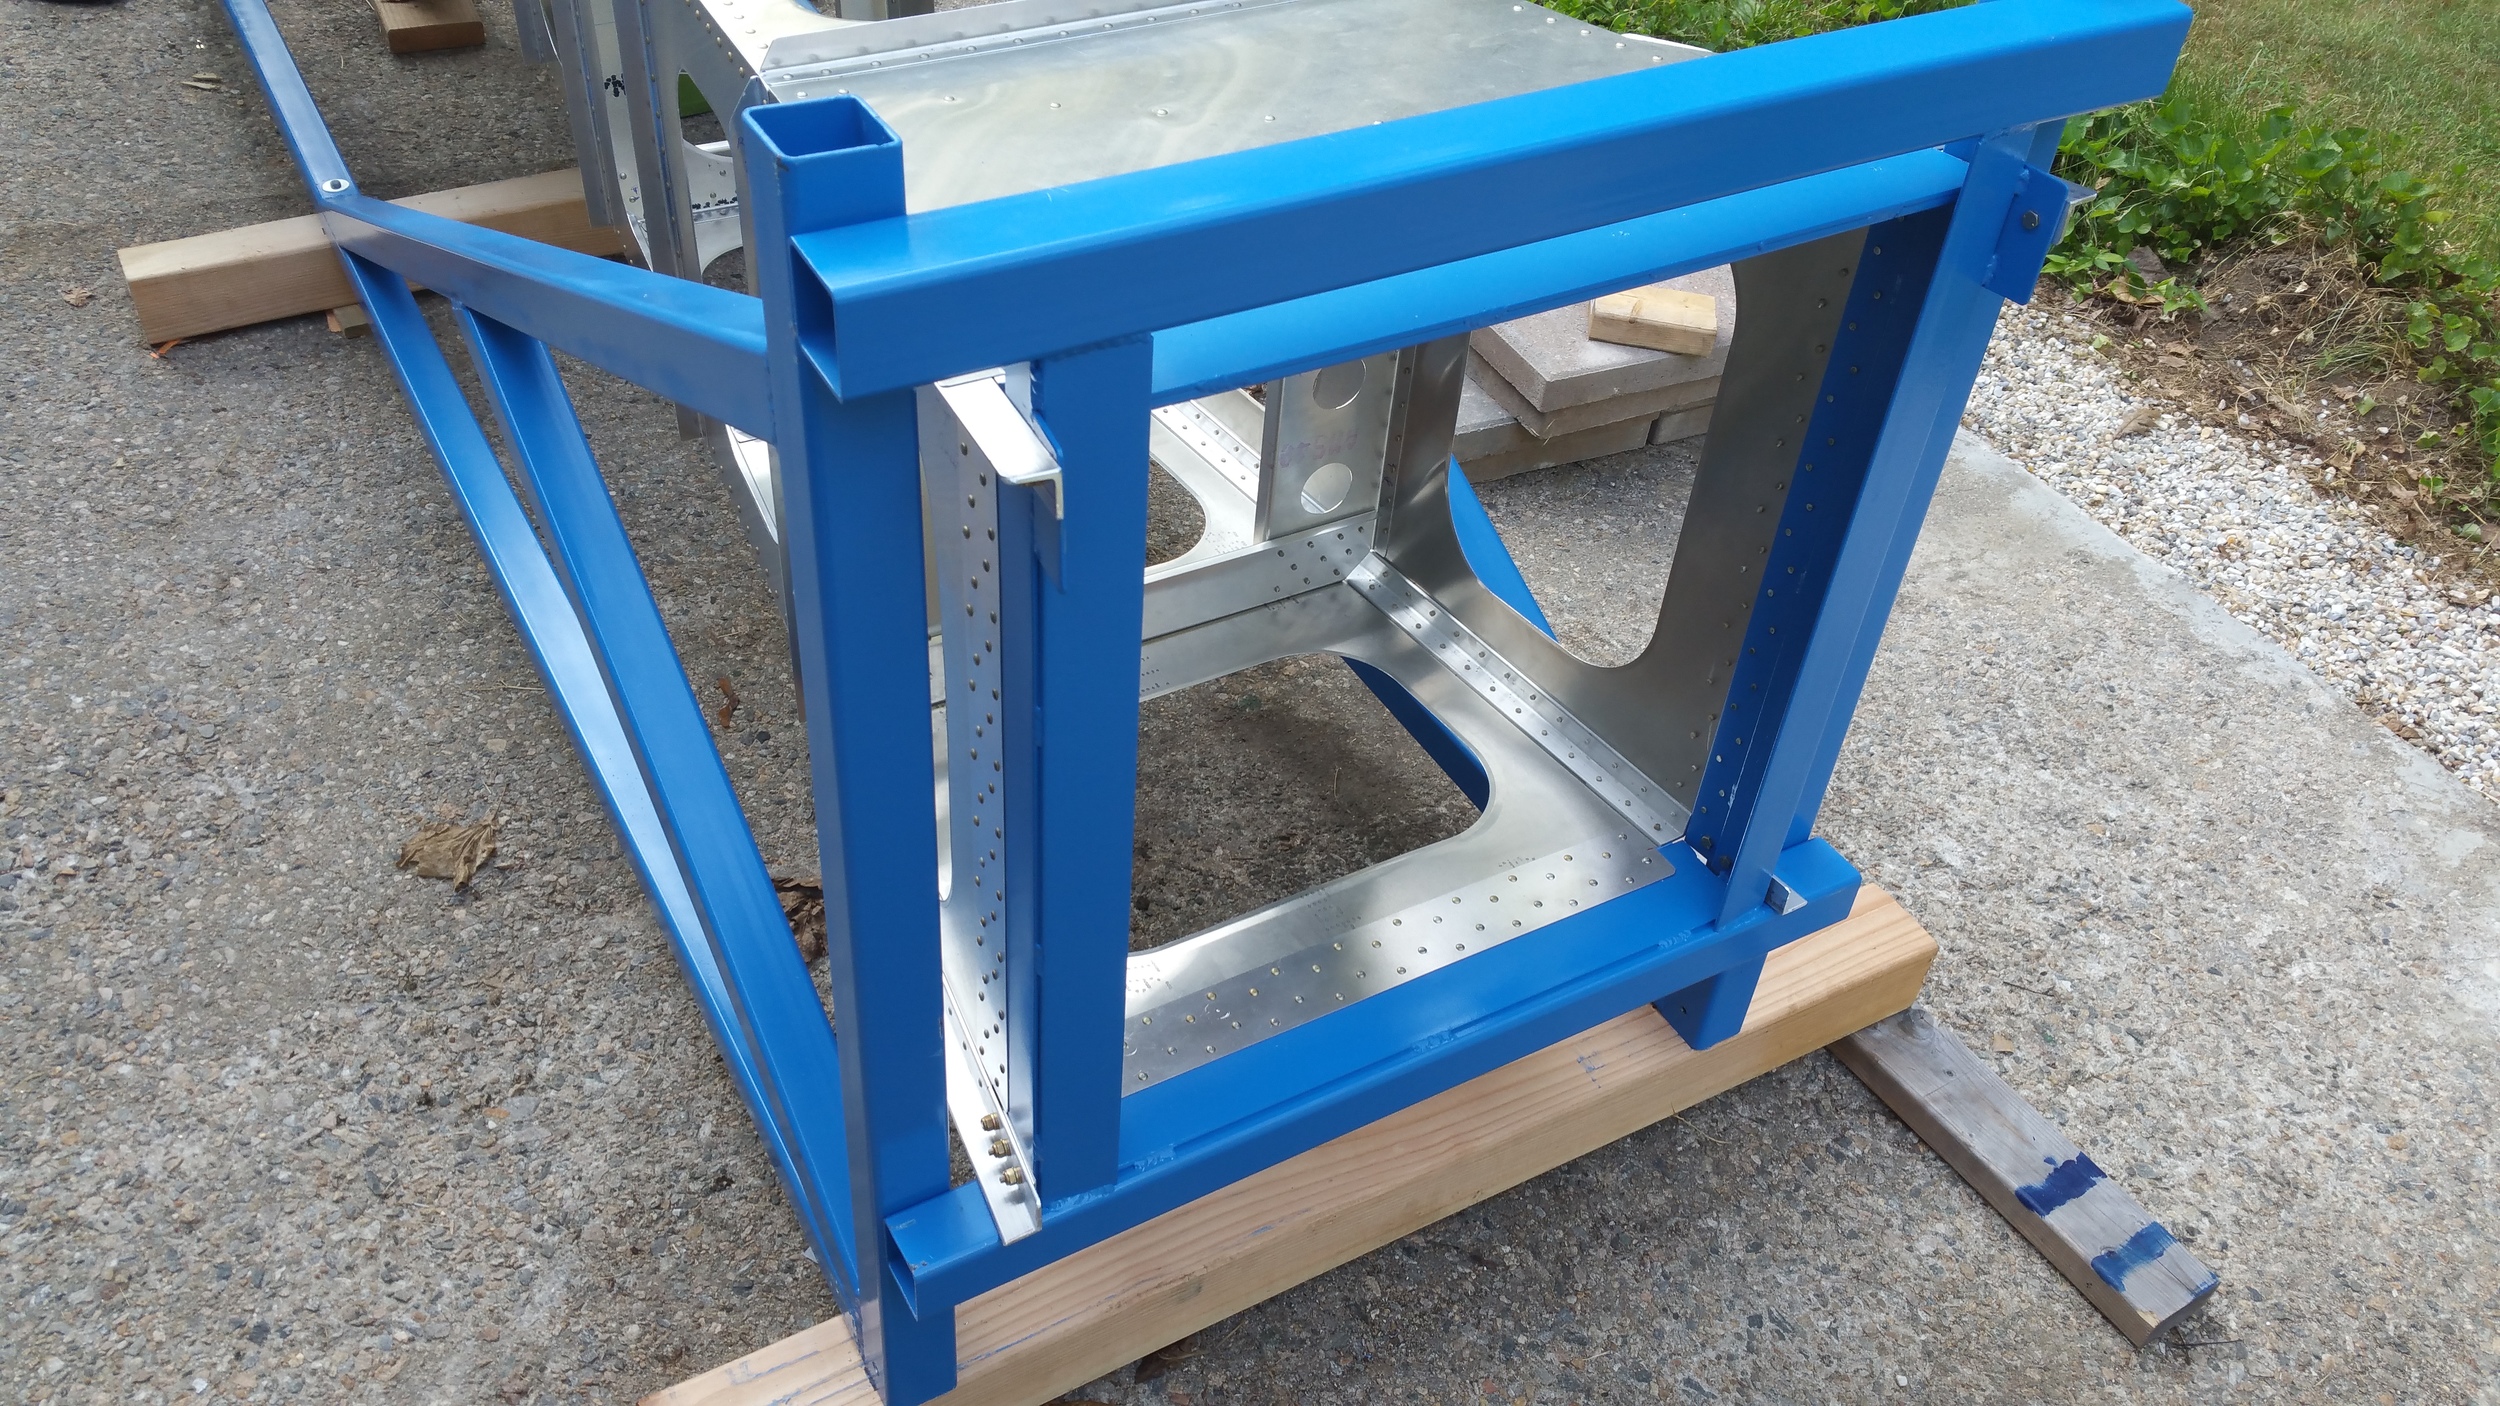
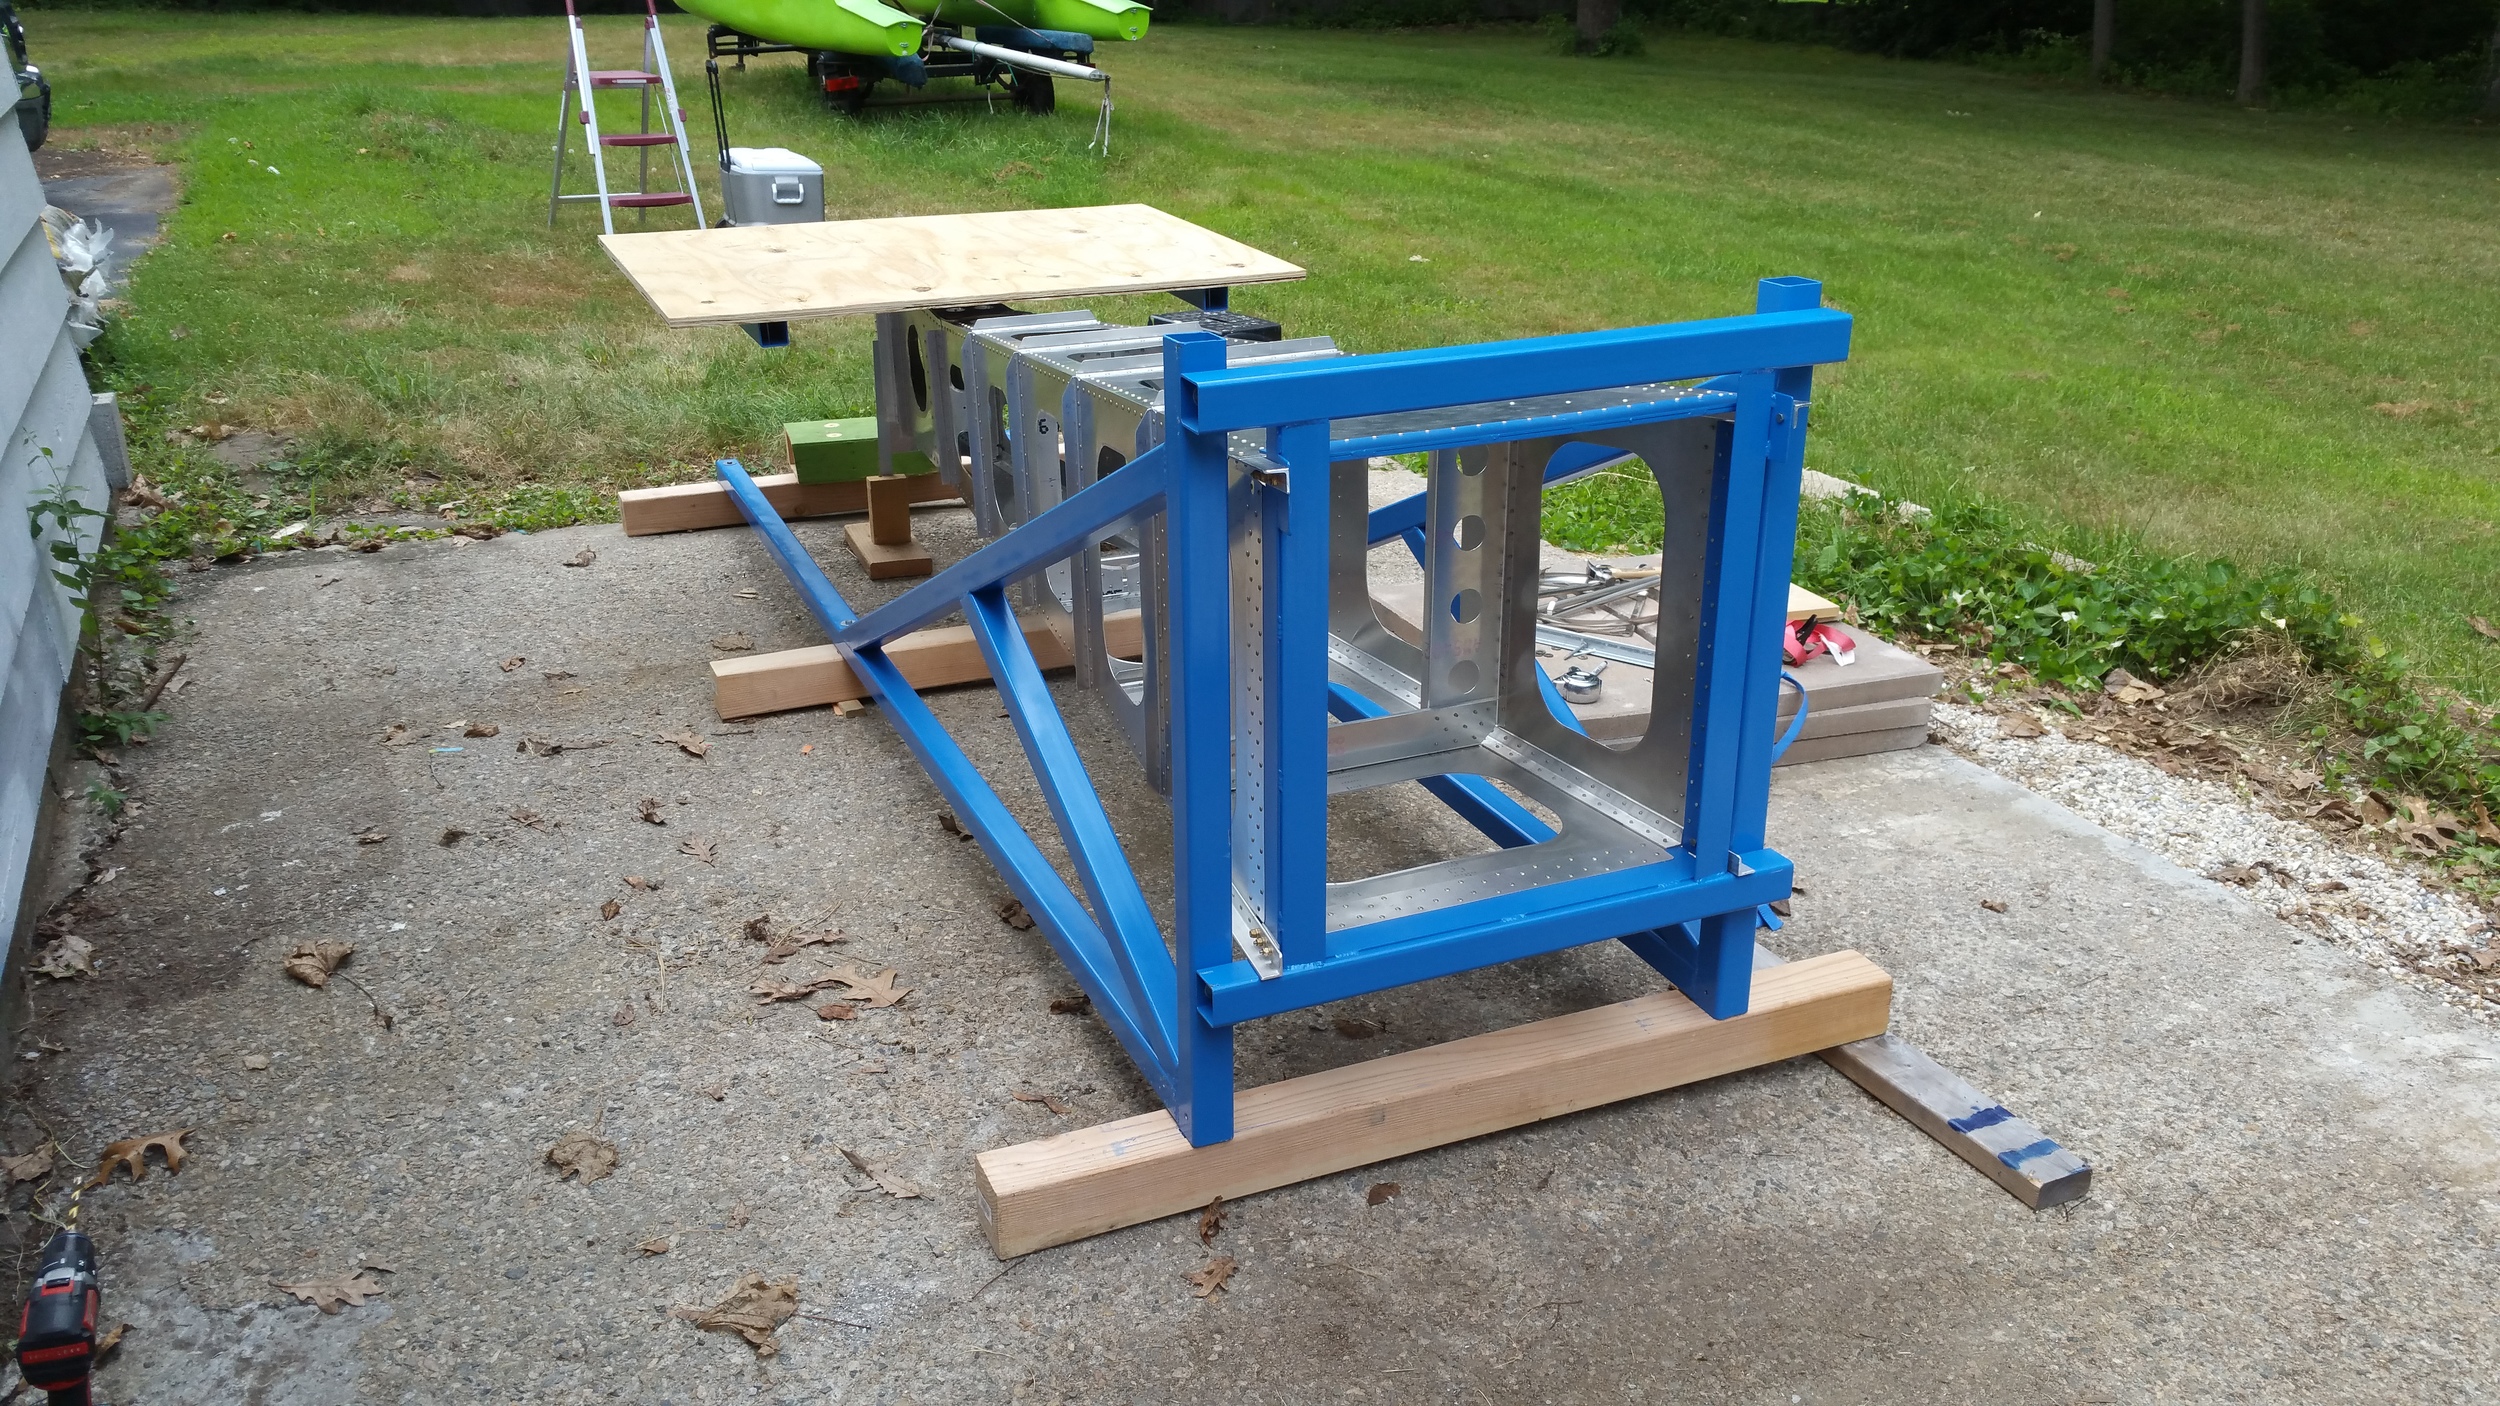
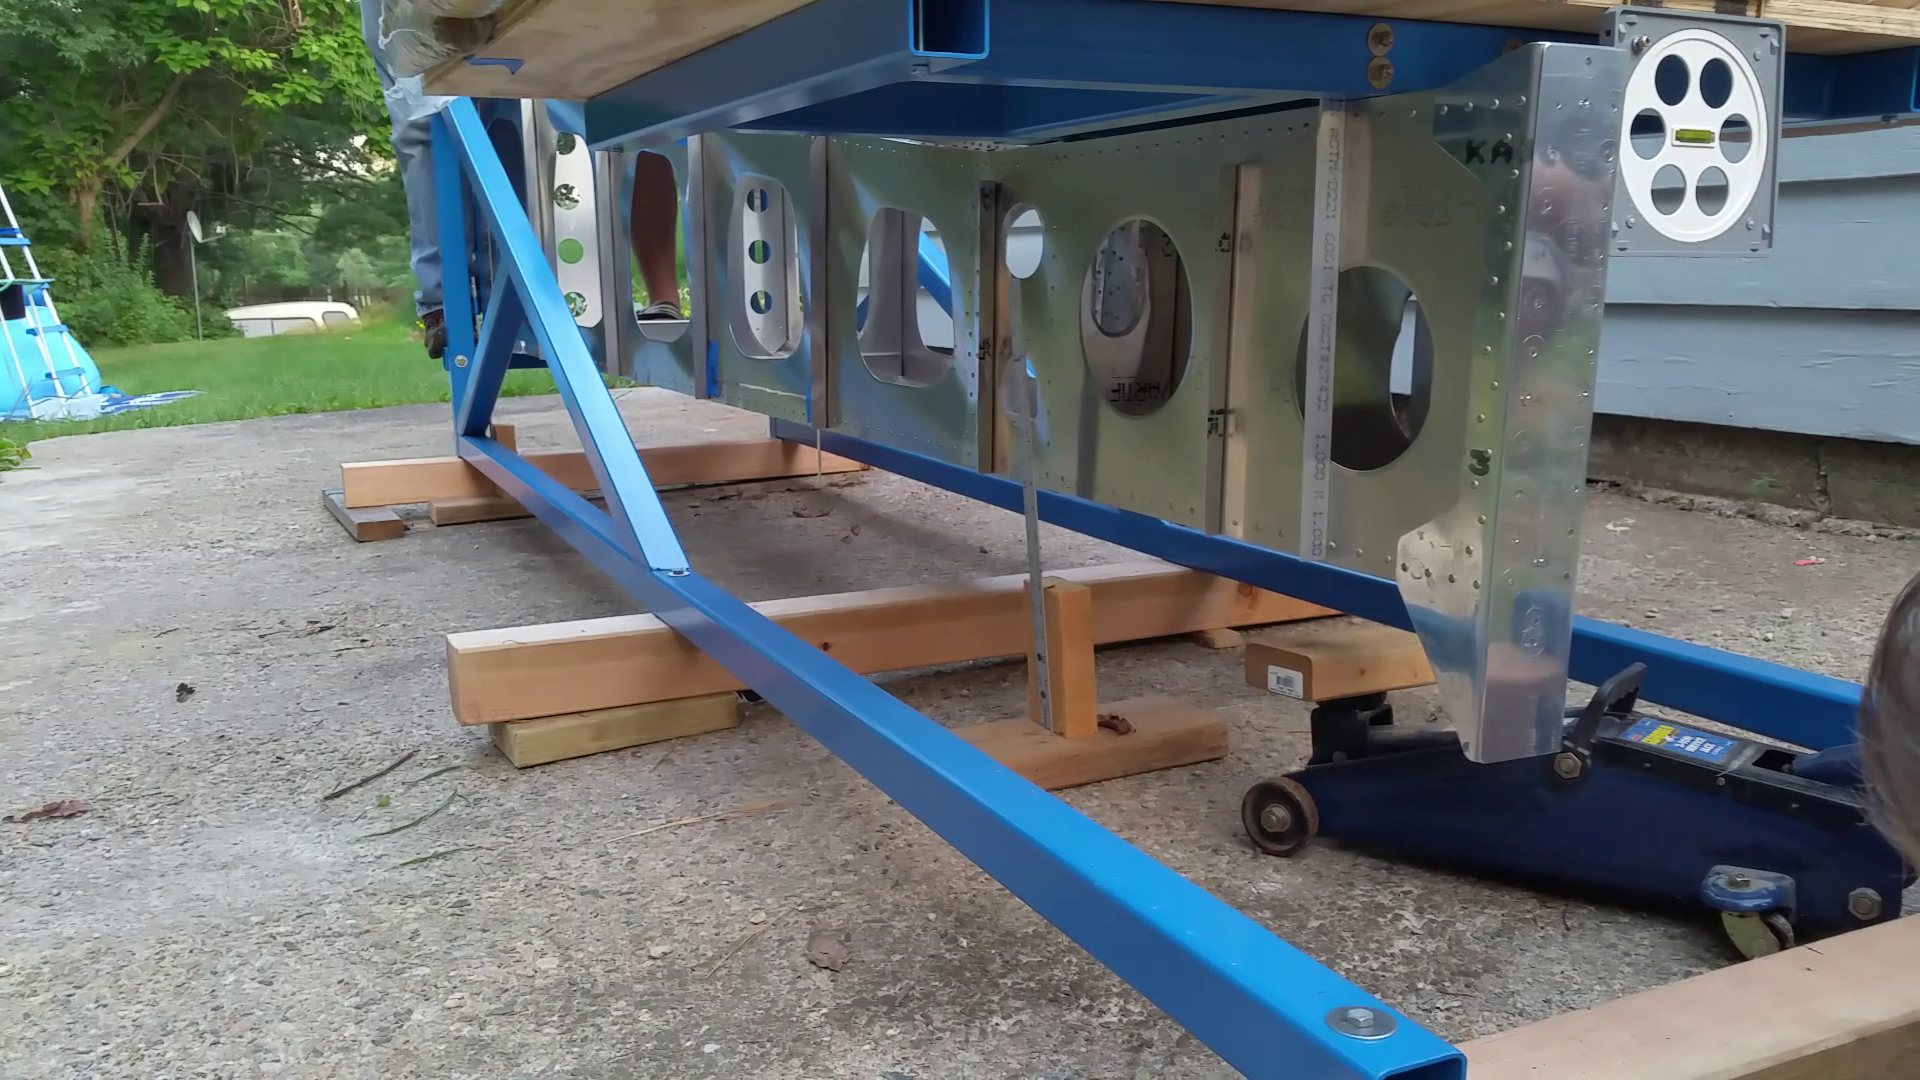
When we finished the tail frame, we needed a test fixture to perform the load tests. We designed and built a frame of 2.5” square steel tubing to support the tail off the ground and keep it stable. To mate the test article to this test fixture, we made a mounting adapter frame. This was a picture frame of steel tubing and plates to bolt and rivet into at the front of the test article. This mounts exactly as the fwd fuselage frame will do. Then, we built a load platform out of the same square tubing and capped with a deck of ¾ plywood sheathing. This is mounted exactly as the horizontal will be and was easier to stack bags of gravel on than the horizontal would have been. Once everything was welded up, it was primed and painted a Rustoleum Rattle-can Blue. When dry, the mounting adapter ring was then riveted and bolted to the test article – permanently – just as the forward fuselage would be. The pieces were set before Oshkosh got in the way. But once we got back it was time to bolt the final assembly together and put it on the pad out back.
The Load Test
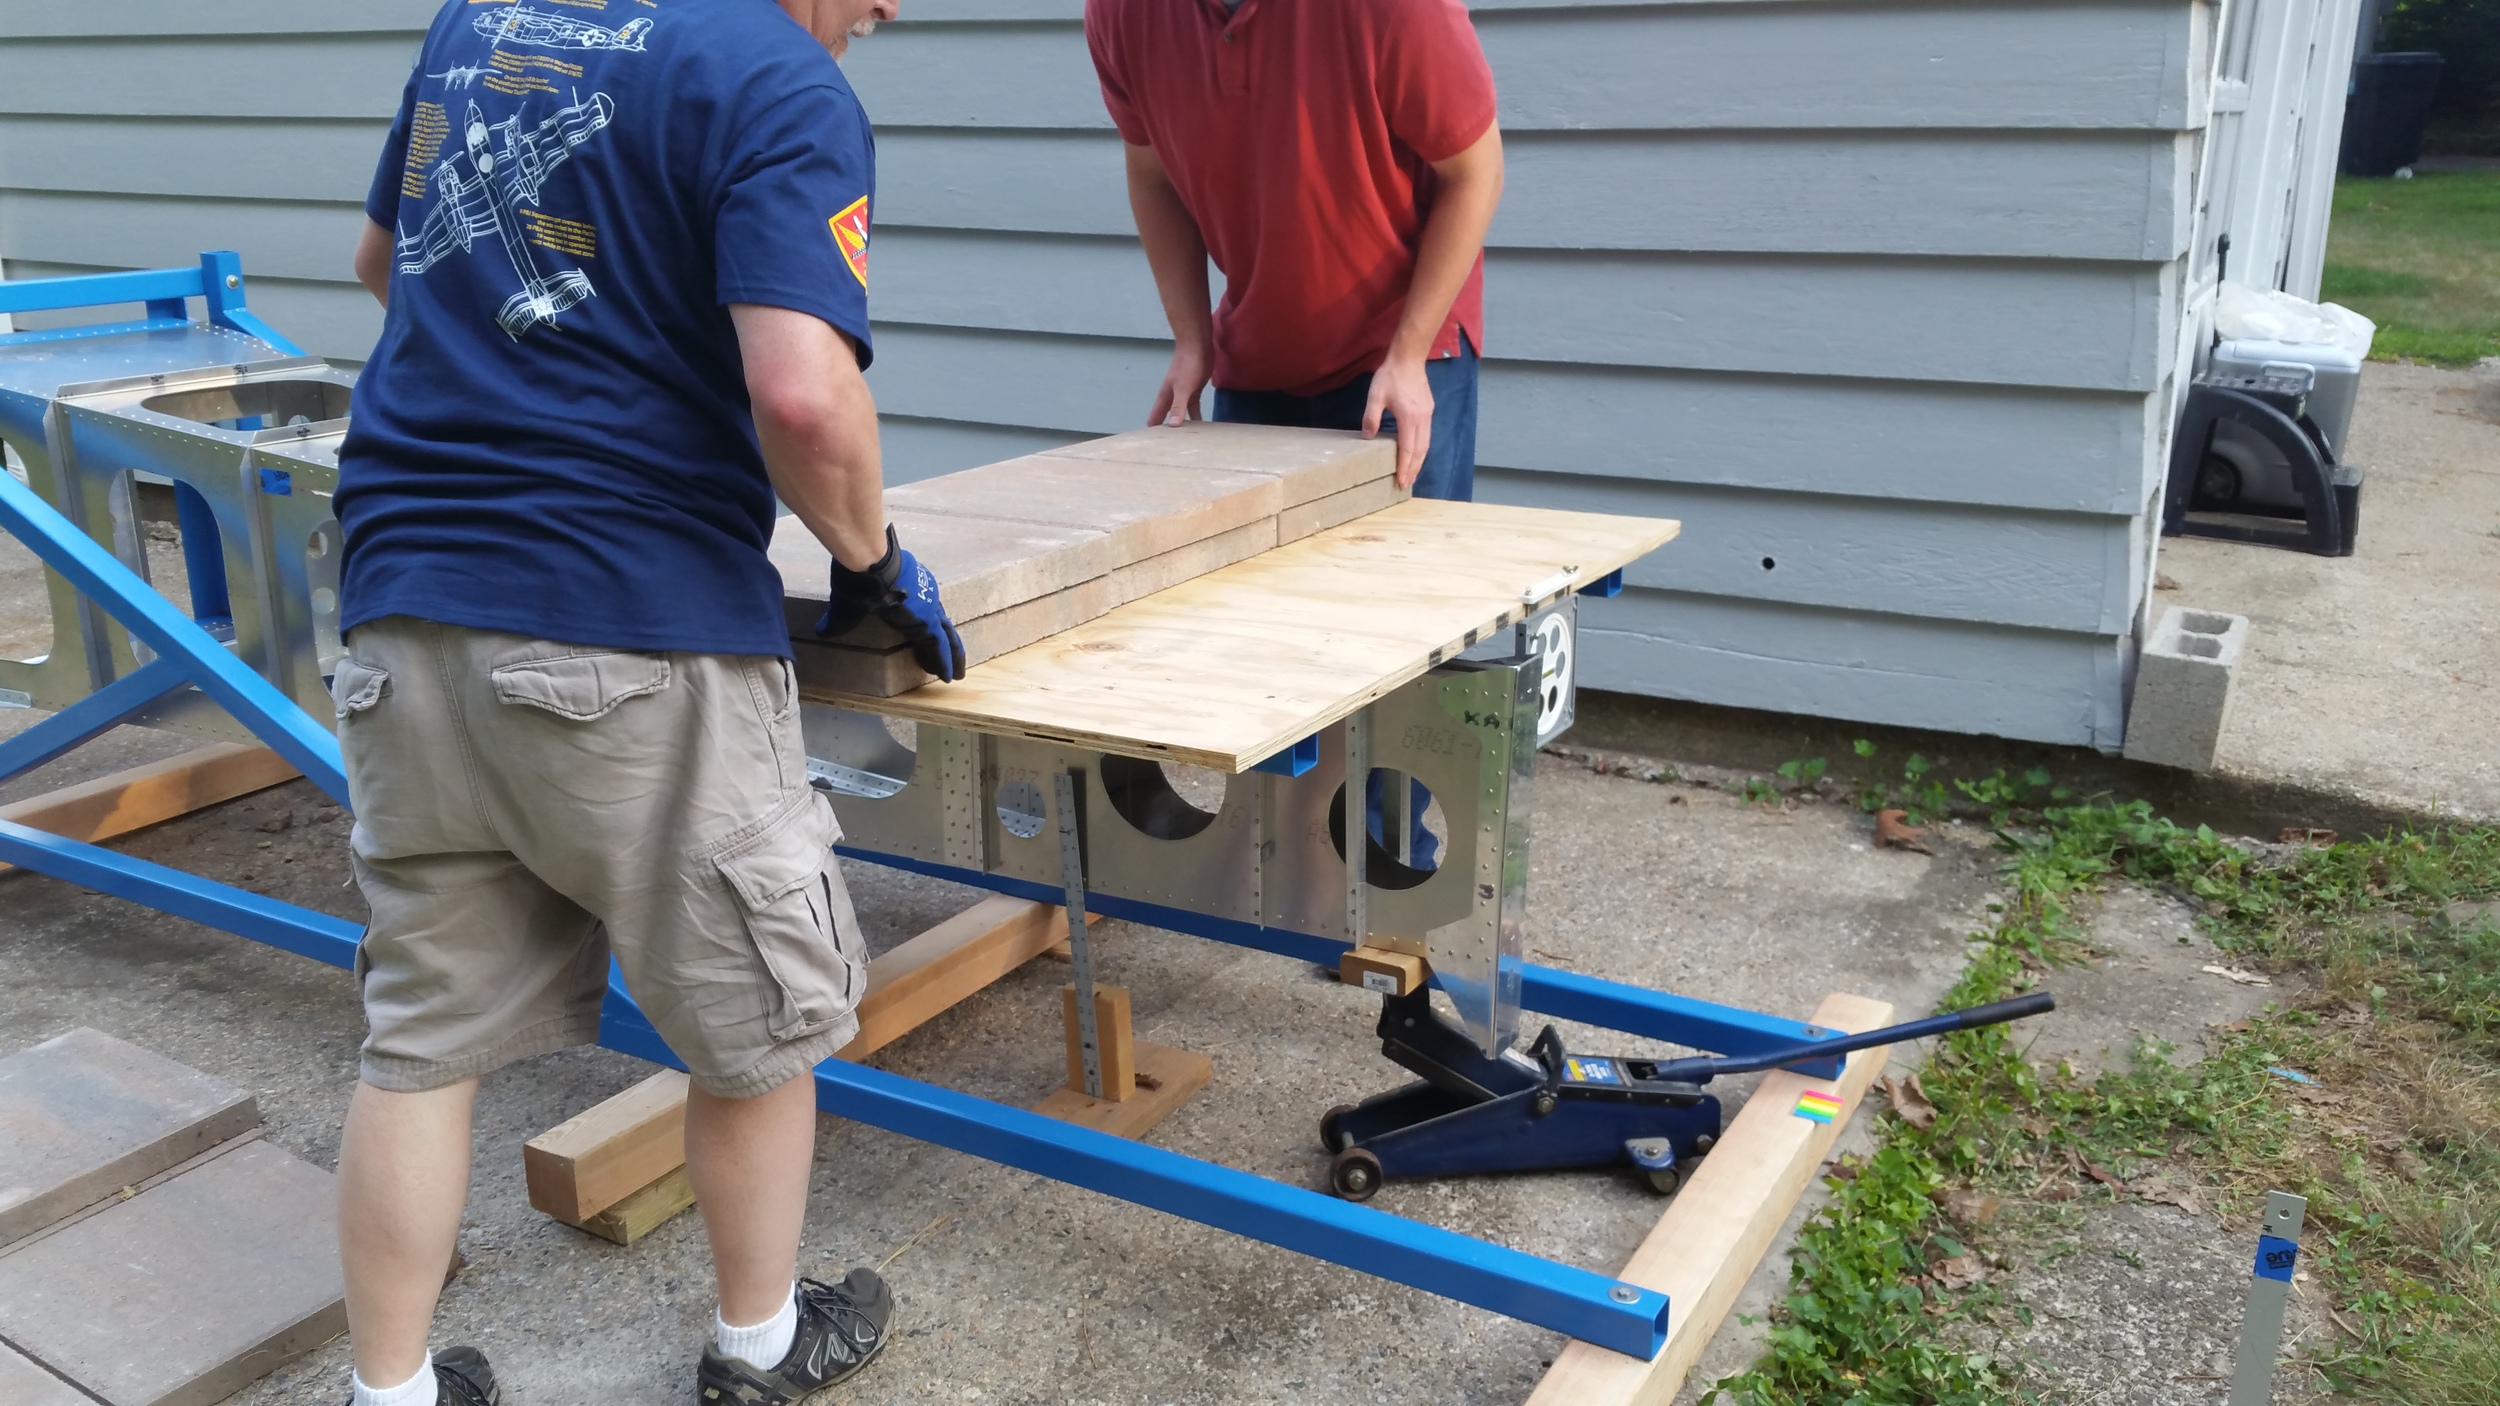
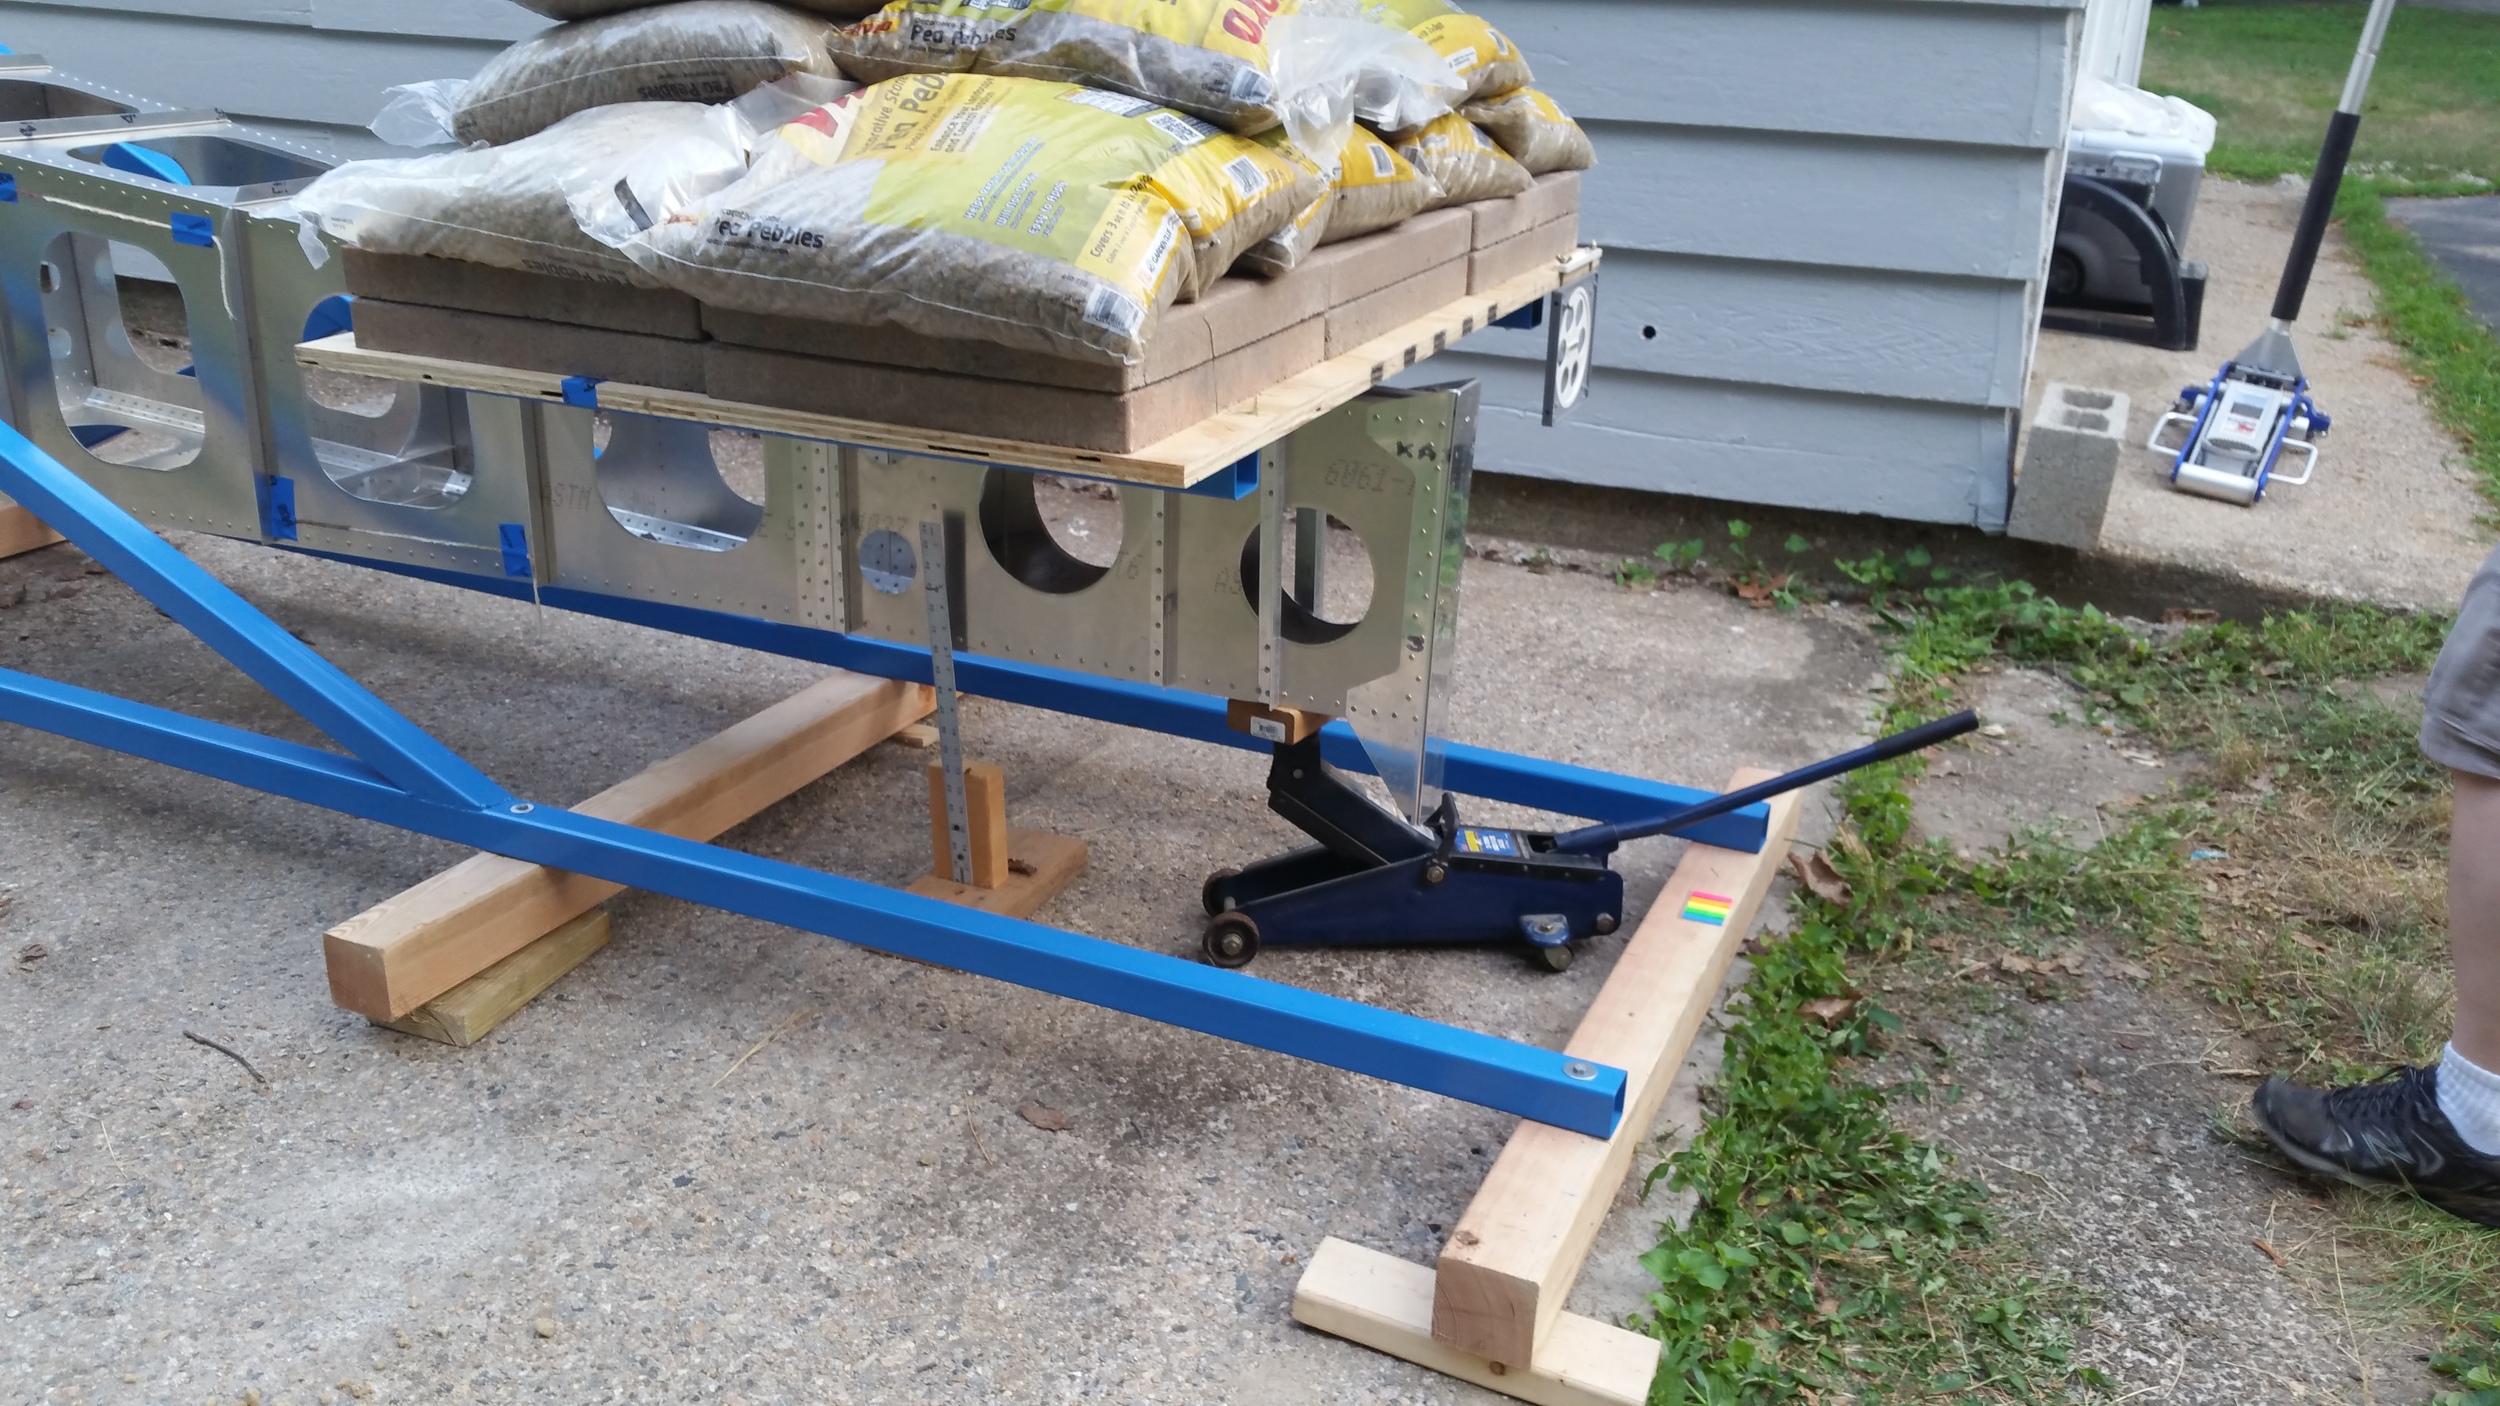
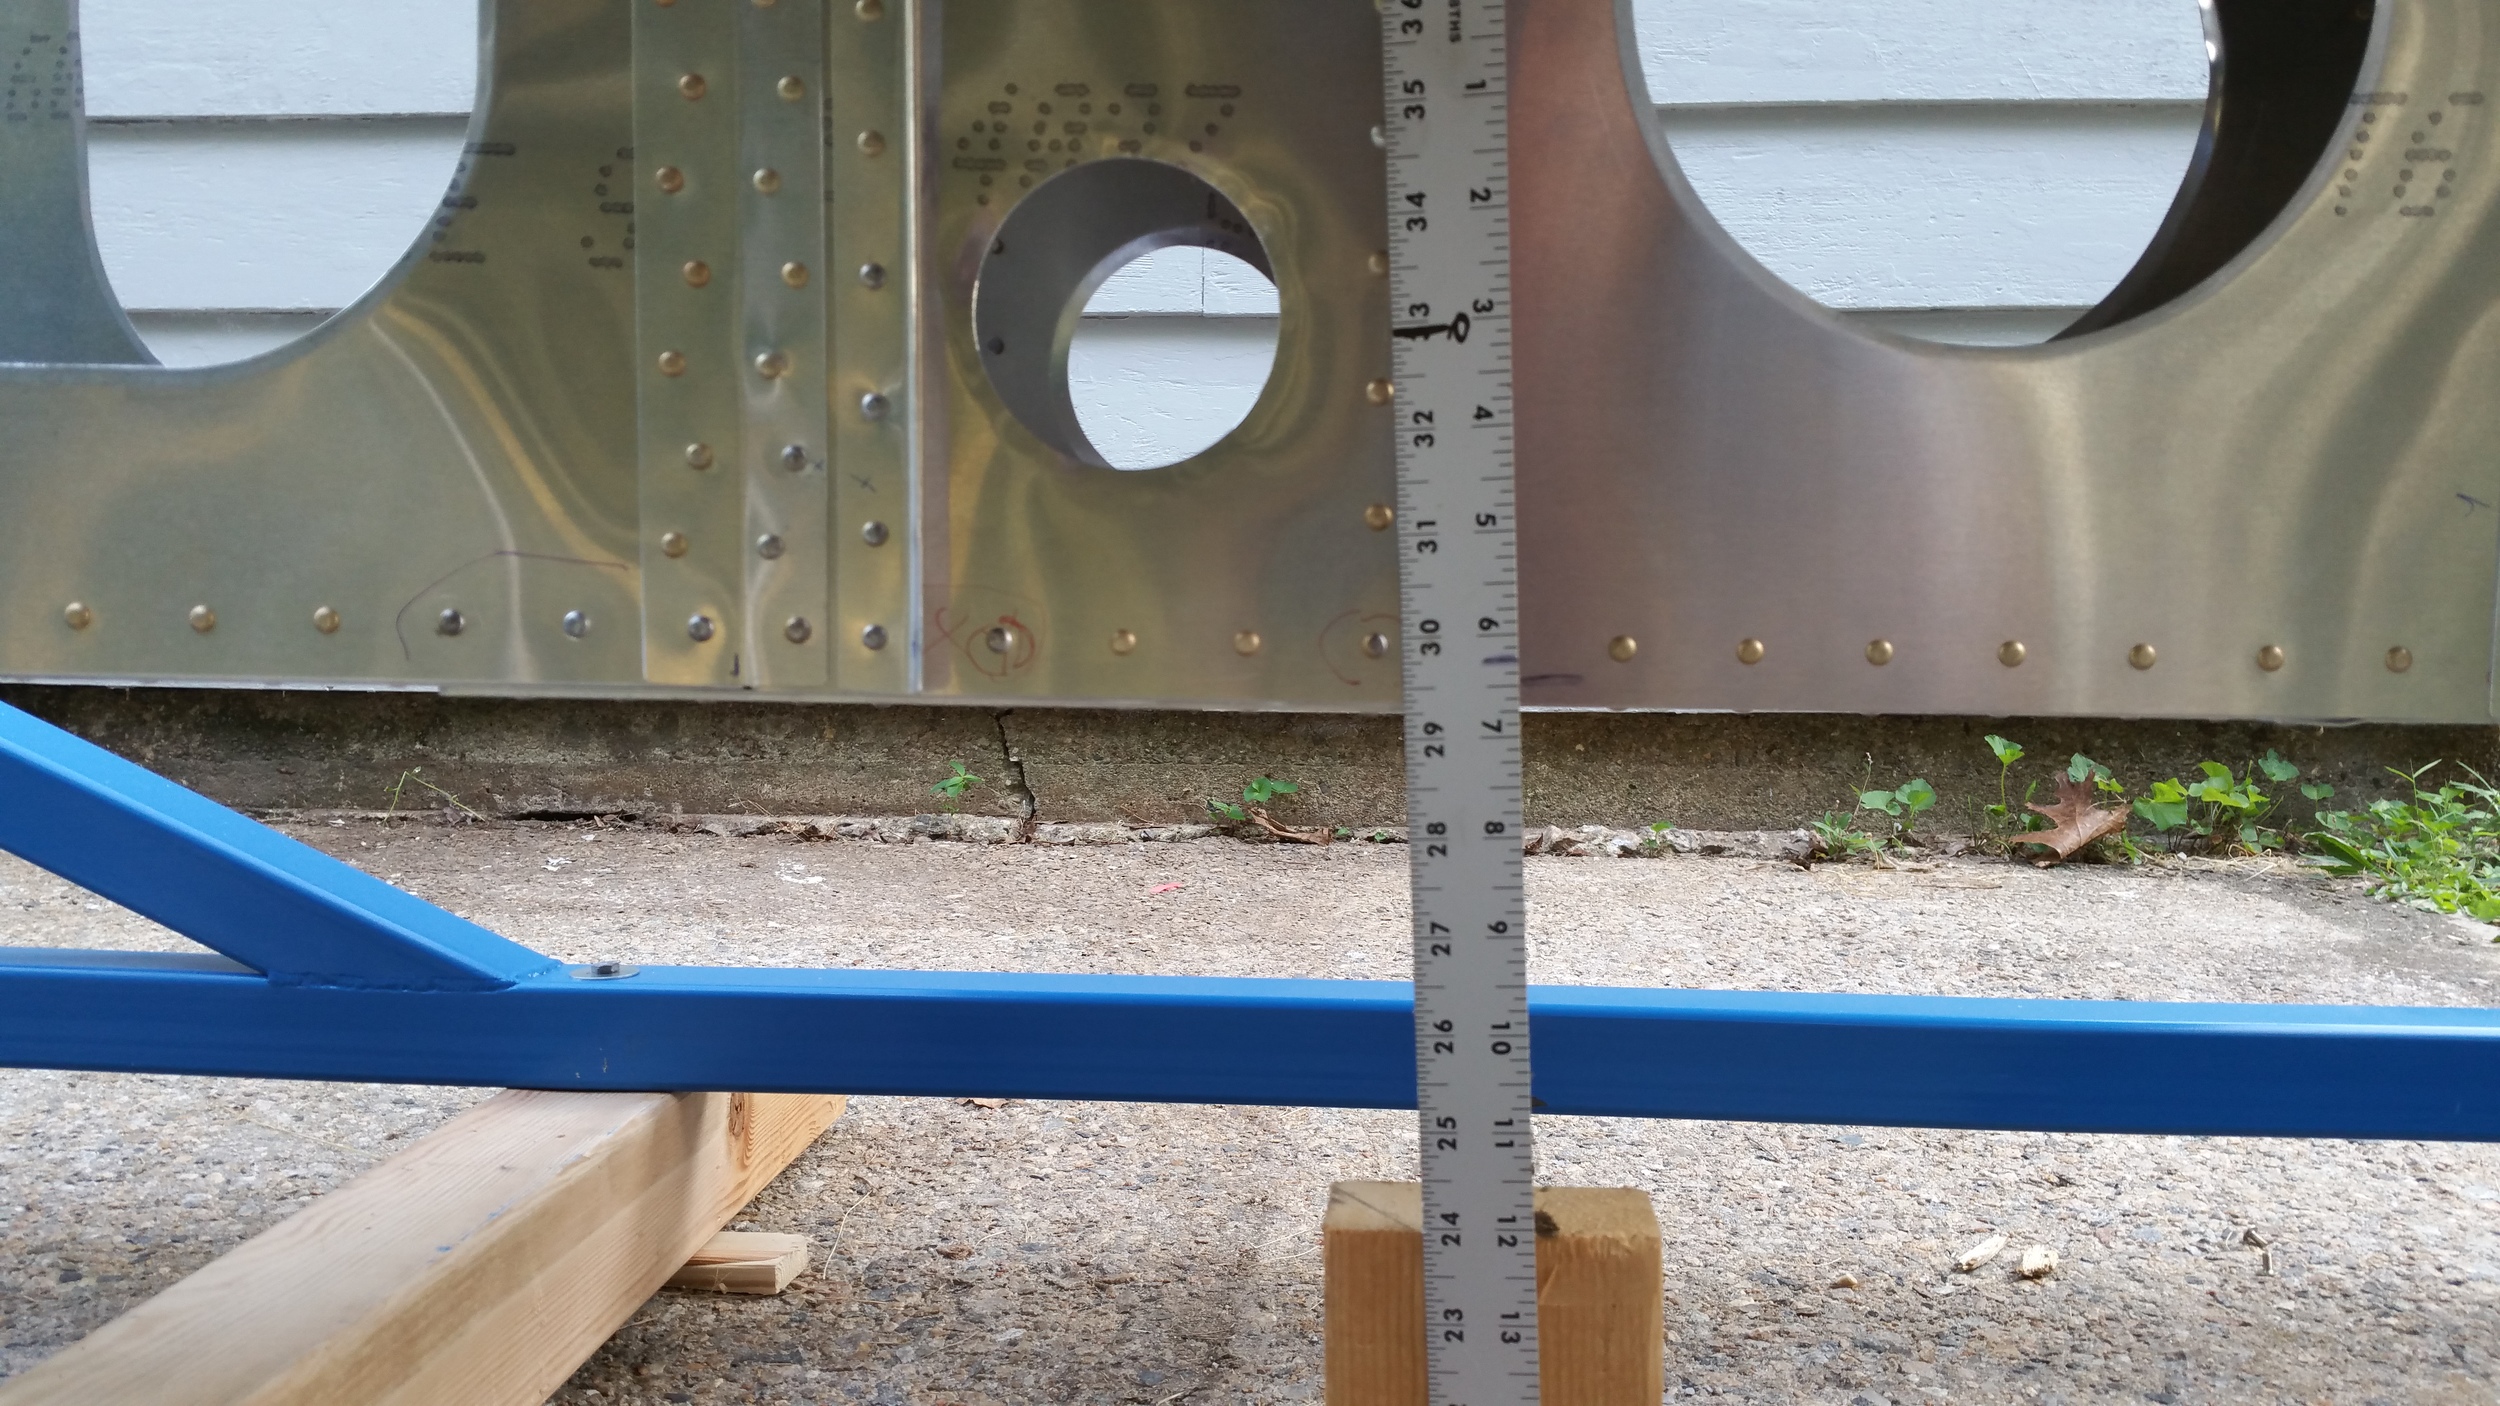
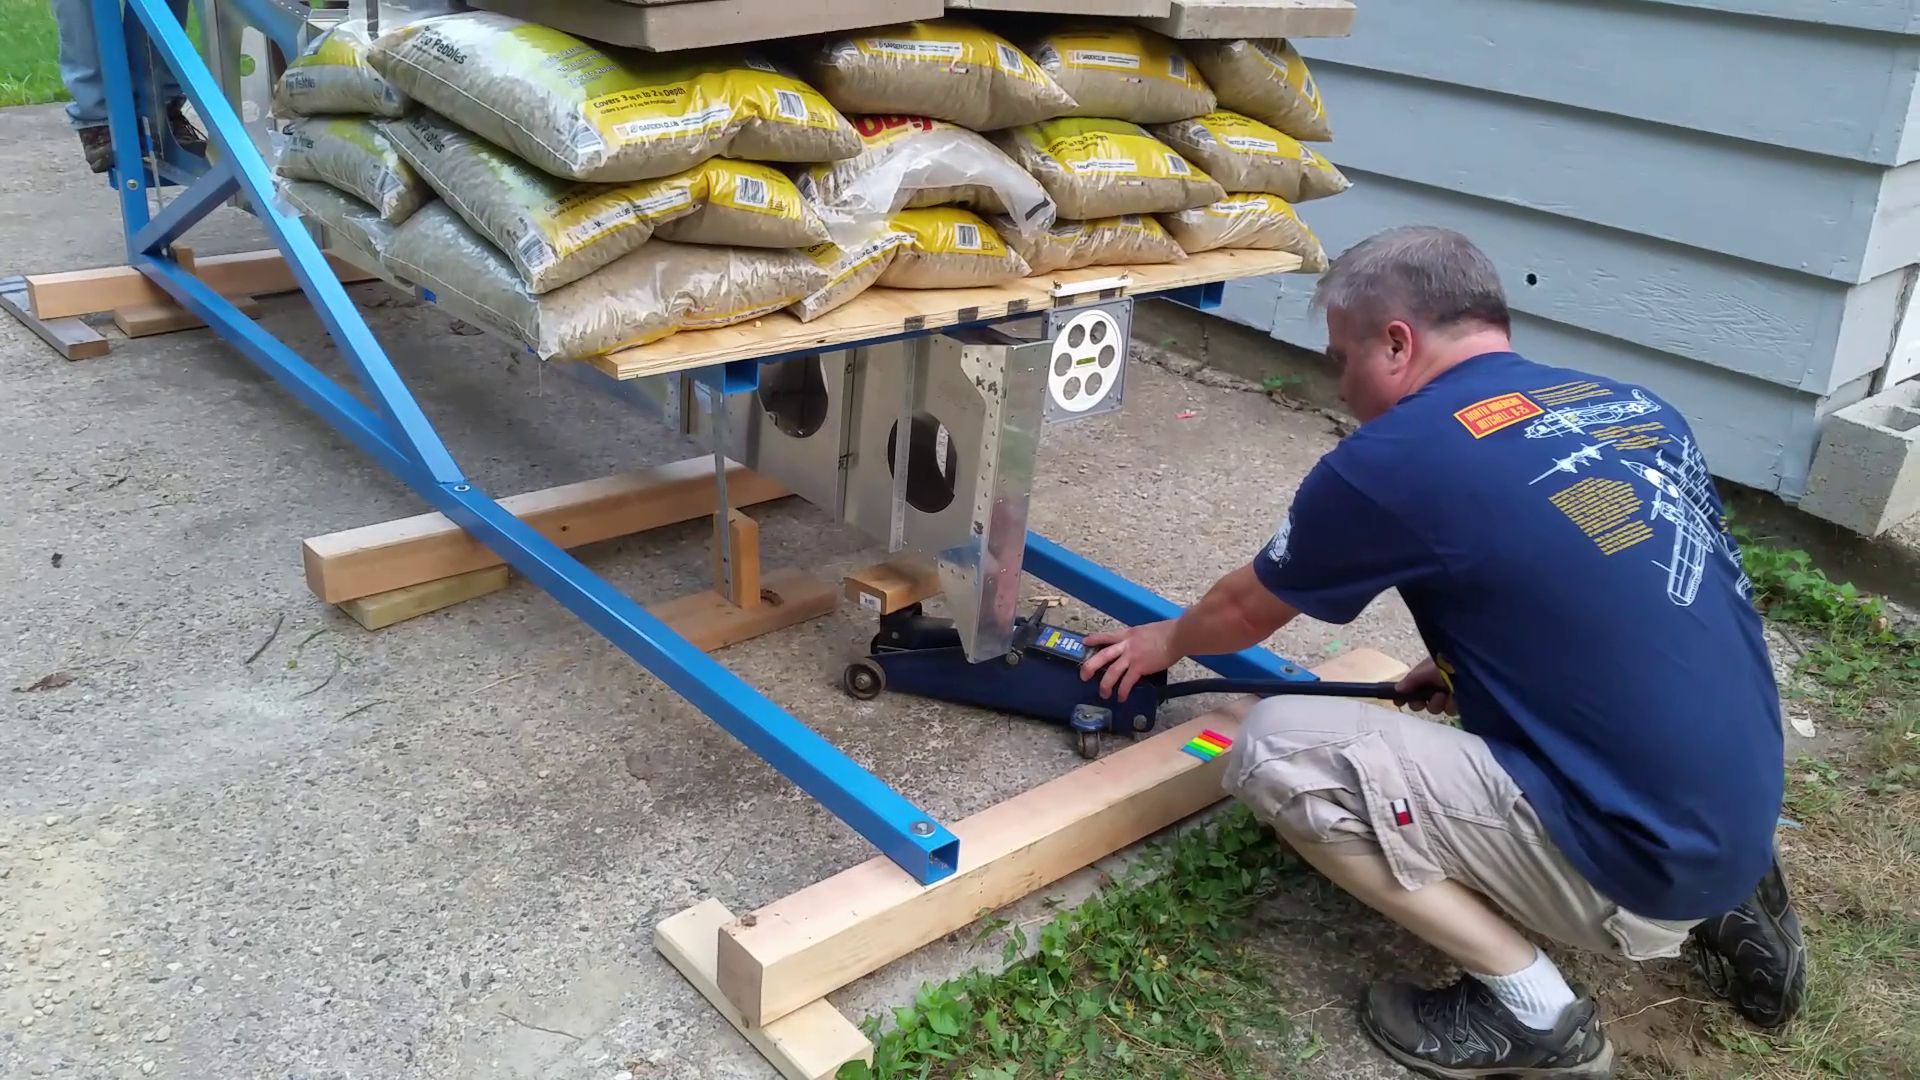
So we thought it over and decided the best way to perform the test was to load the frame in 100 pound increments and see how it did. The test was a very simple cantilever load setup, fixed at one end and then loaded on the other; similar to what anyone does, using a jack under the tail end as we loaded and then removing it to see how much deflection we would get. We measured the height of the tail above the concrete pad and marked our ruler to set the base-line. For each load we waited over 30 seconds for each cycle and then jacked the tail back up to match the baseline before adding more. After your 6G worth of load of 800 pounds, we removed all the weight from the fixture and removed the support. At that point – there was no permanent deflection – zero. Perfect! We then loaded it back to 800 and then proceeded incrementally to 1200 pounds – 9 G’s. Then we removed the loads and support again to check for permanent deflection. This time she took a permanent set, but only 3/8”. After this it was pointed out we also need an asymmetric load test – simulating rudder deflections and air-pocket/turbulence, and that at up to 9 G’s because why not? At that load, it settled at approx. one degree of twist and then returned to level after the load was taken off, so nothing to worry about there it seems either. After that we decided to keep adding weight, see if anything started to change dramatically, so we went incrementally again to 1500 pounds – all the weight we had on hand. This is about 11 g’s equivalent, and she survived, with ½” of permanent deflection.
To sum all that up, I feel we succeeded in meeting all our requirements: The frame survived our design load of 6 g’s with no issues. She survived 11 g’s with no damage, just a permanent sag – It will get you home! But more importantly than the specific design we tested was that the available engineering predictions matched surprisingly accurately to the real world. Does this mean that FEA and basic calculations can replace building these test articles in the future? No! Well, not exactly; it does help add a level confidence to our abilities. I’m not the engineer but in many cases you can reasonably say a certain area is easily strong enough without going through a whole testing regimen to verify it; but it’s about having a method that can be followed to get some results that pan out in the real world, which applies to CAM and CNC as much as it does calculating structures and verifying design integrity.
The final takeaway though? We may be a bit too heavy duty. The whole tail frame weighs in at 27 pounds which is right on the mark as designed, but there appears to be room to optimize. Then again, we like rugged airplanes.