ScaleBirds

ScaleBirds, Home of the 63% Scale Hellcat replica kitplane project.

Been Workin

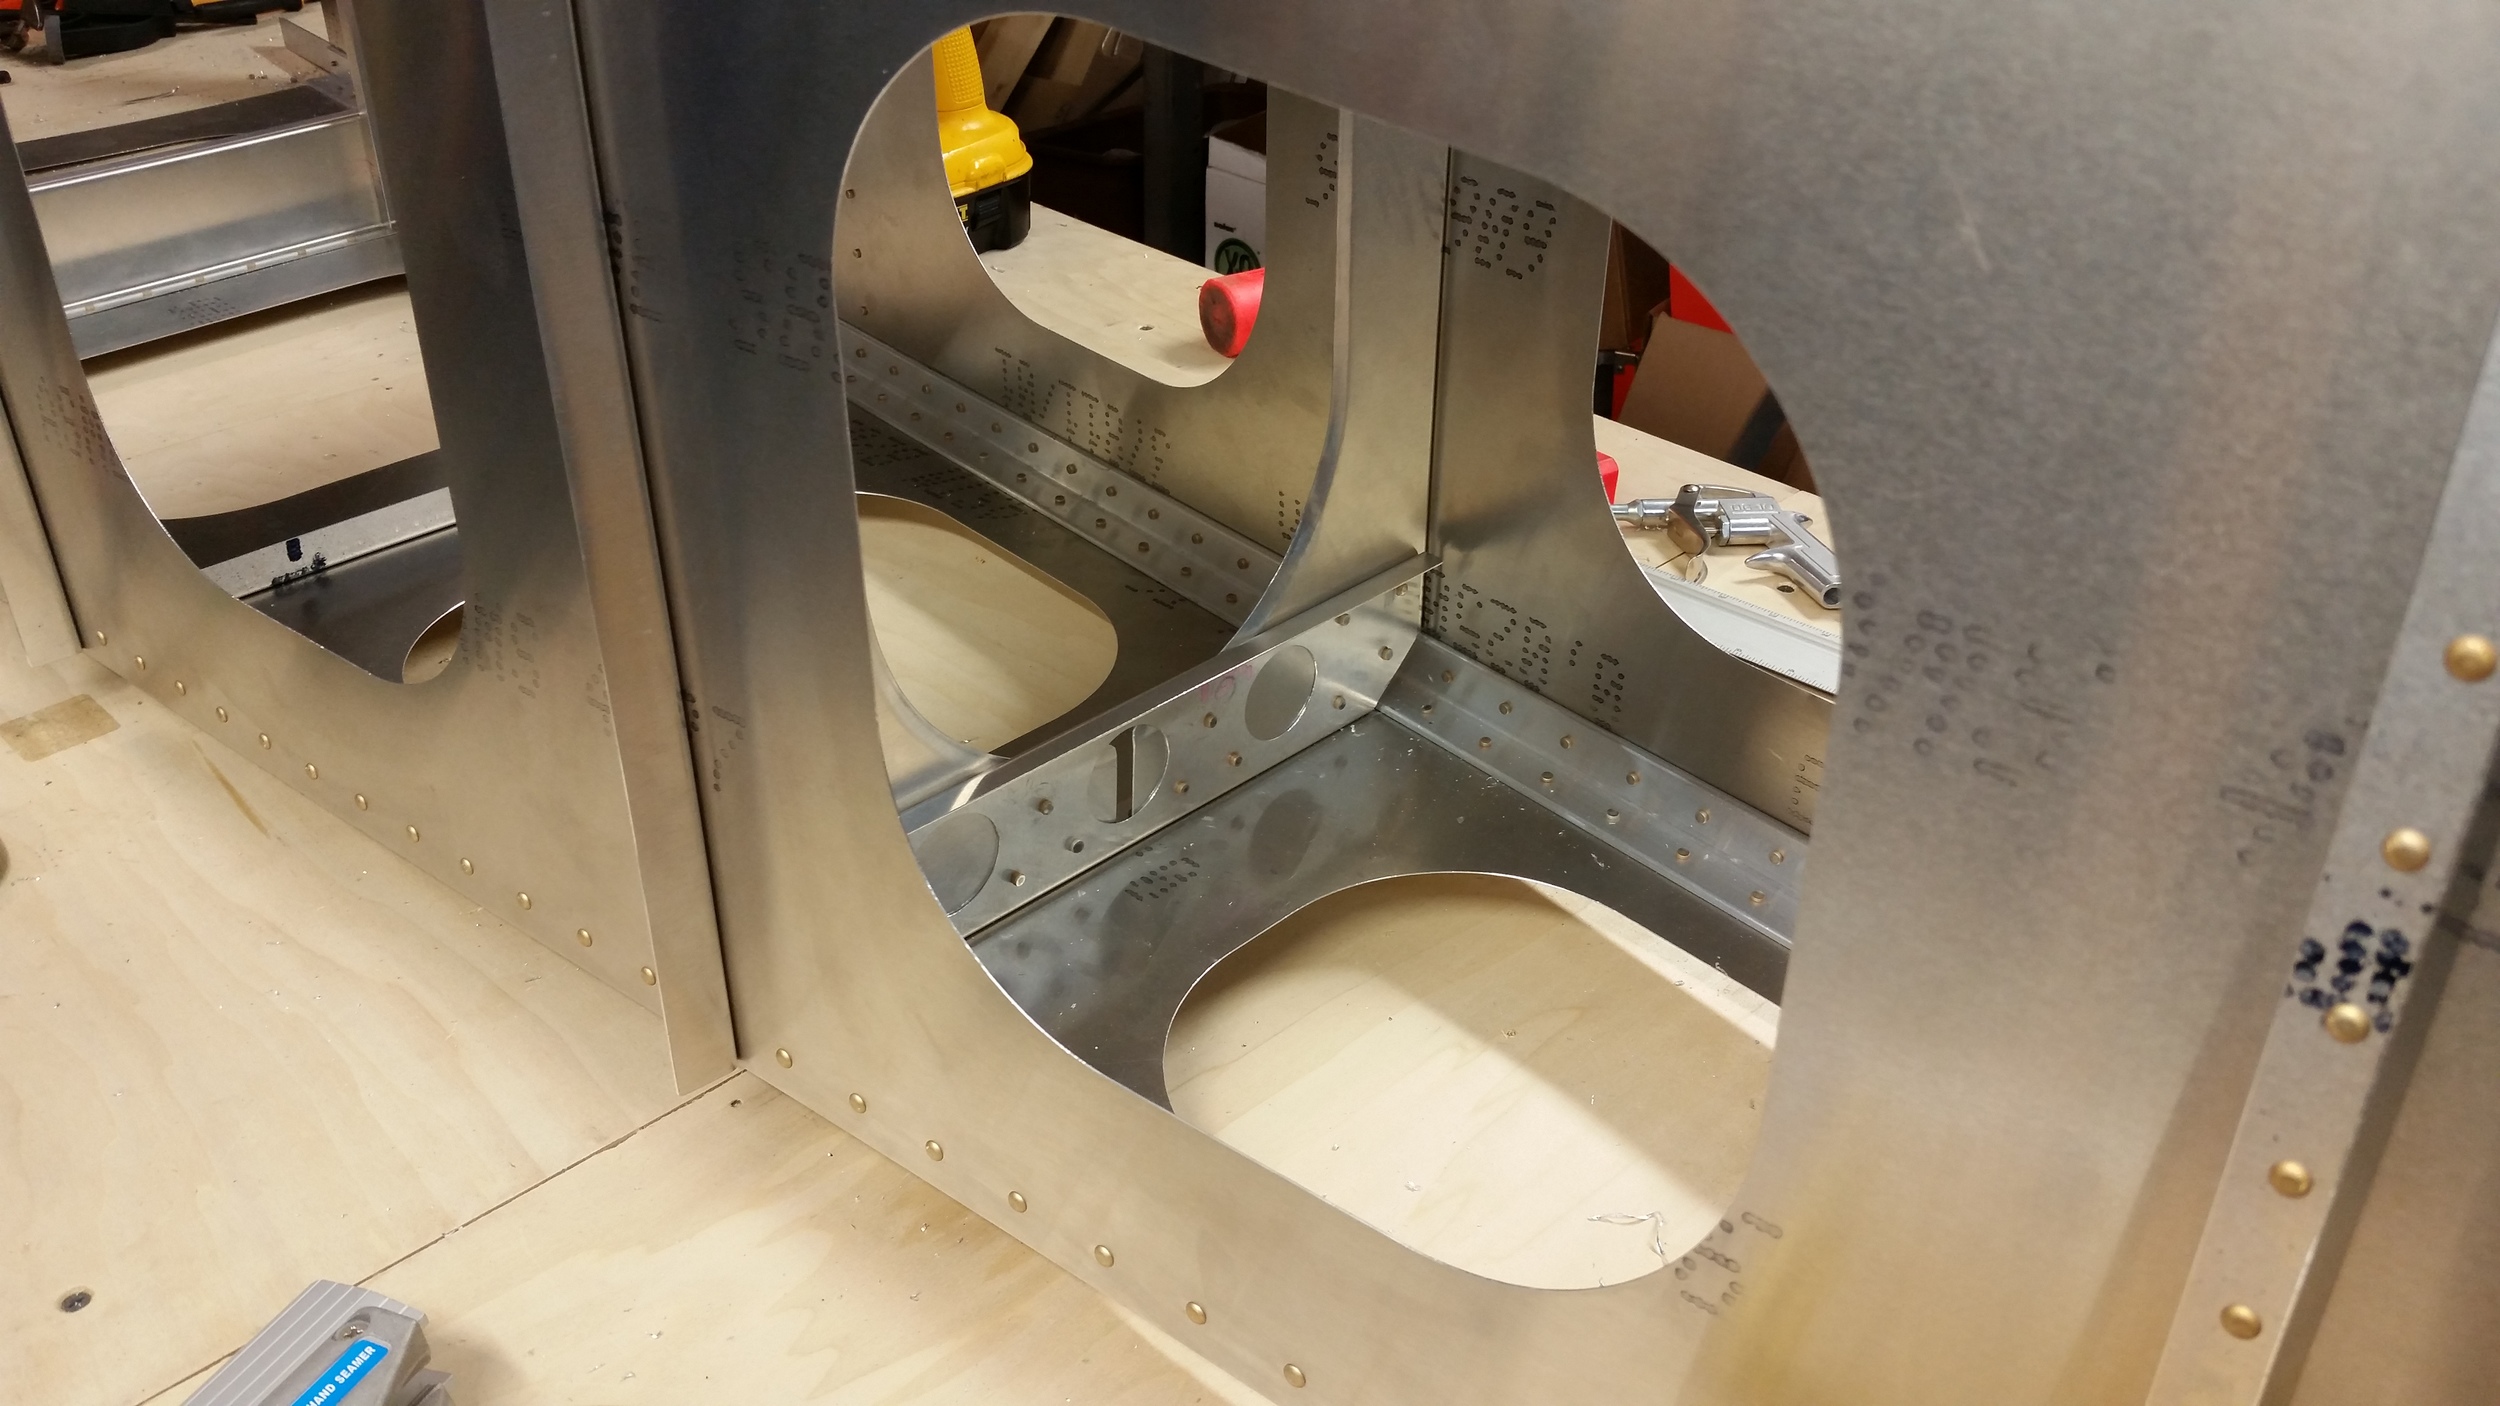
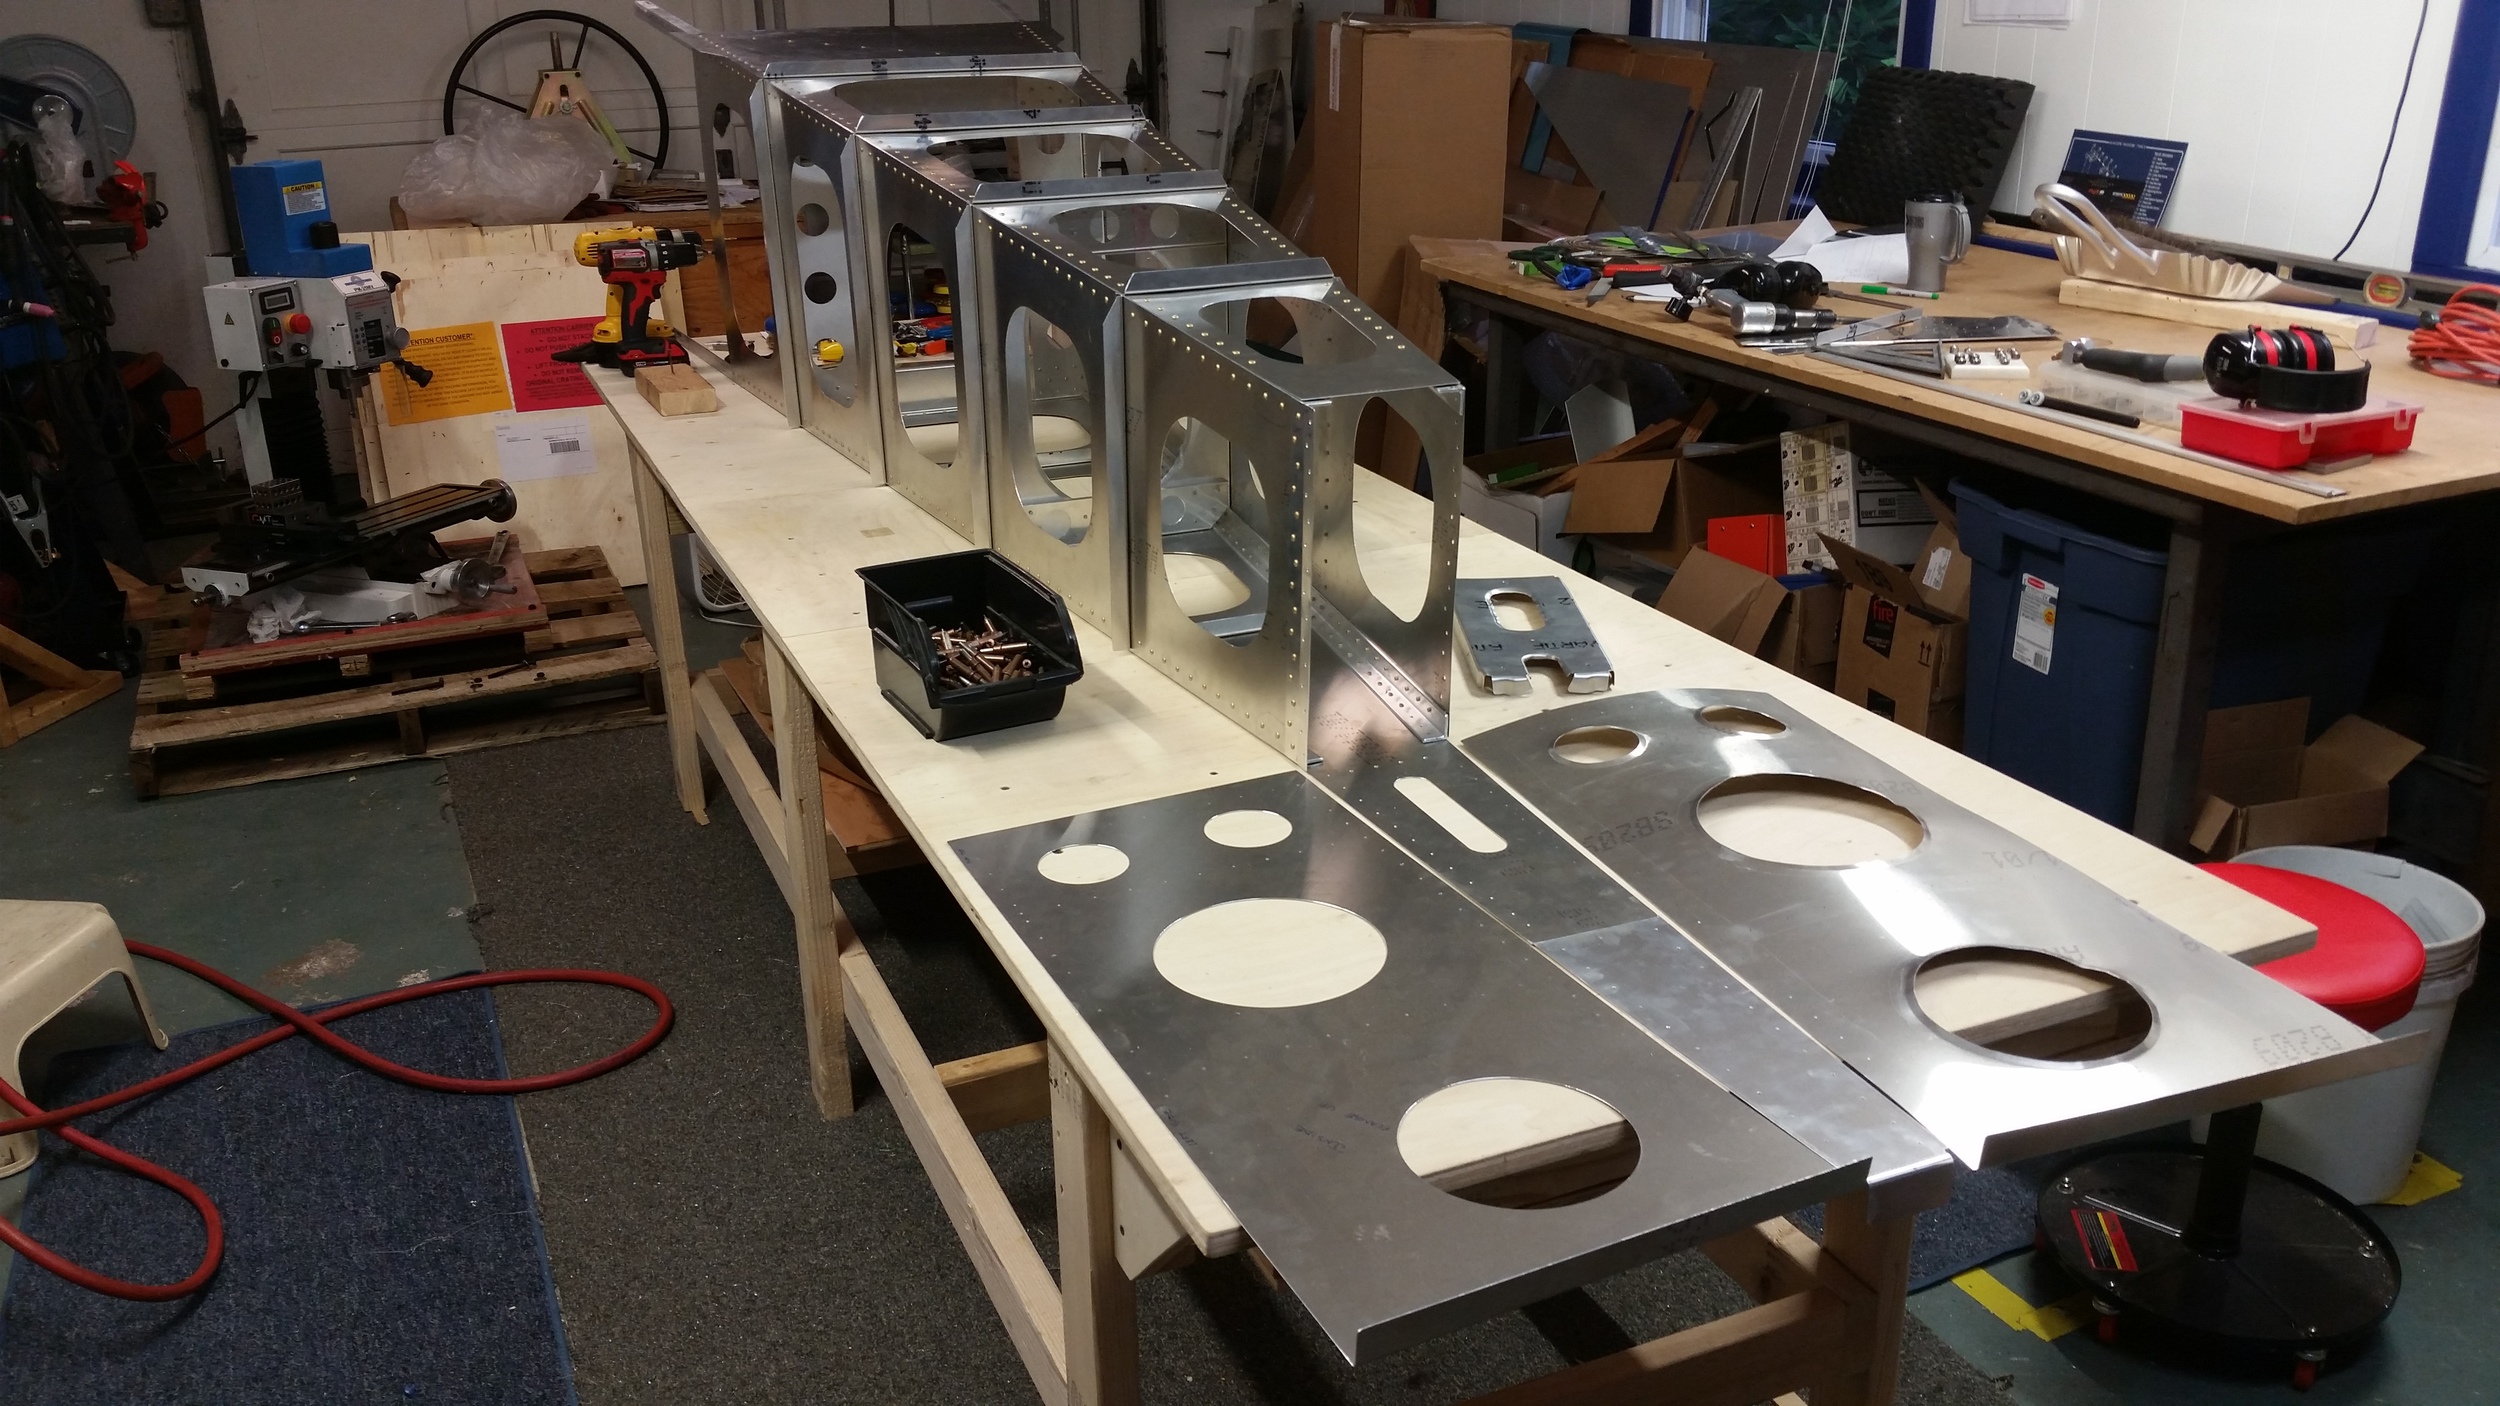
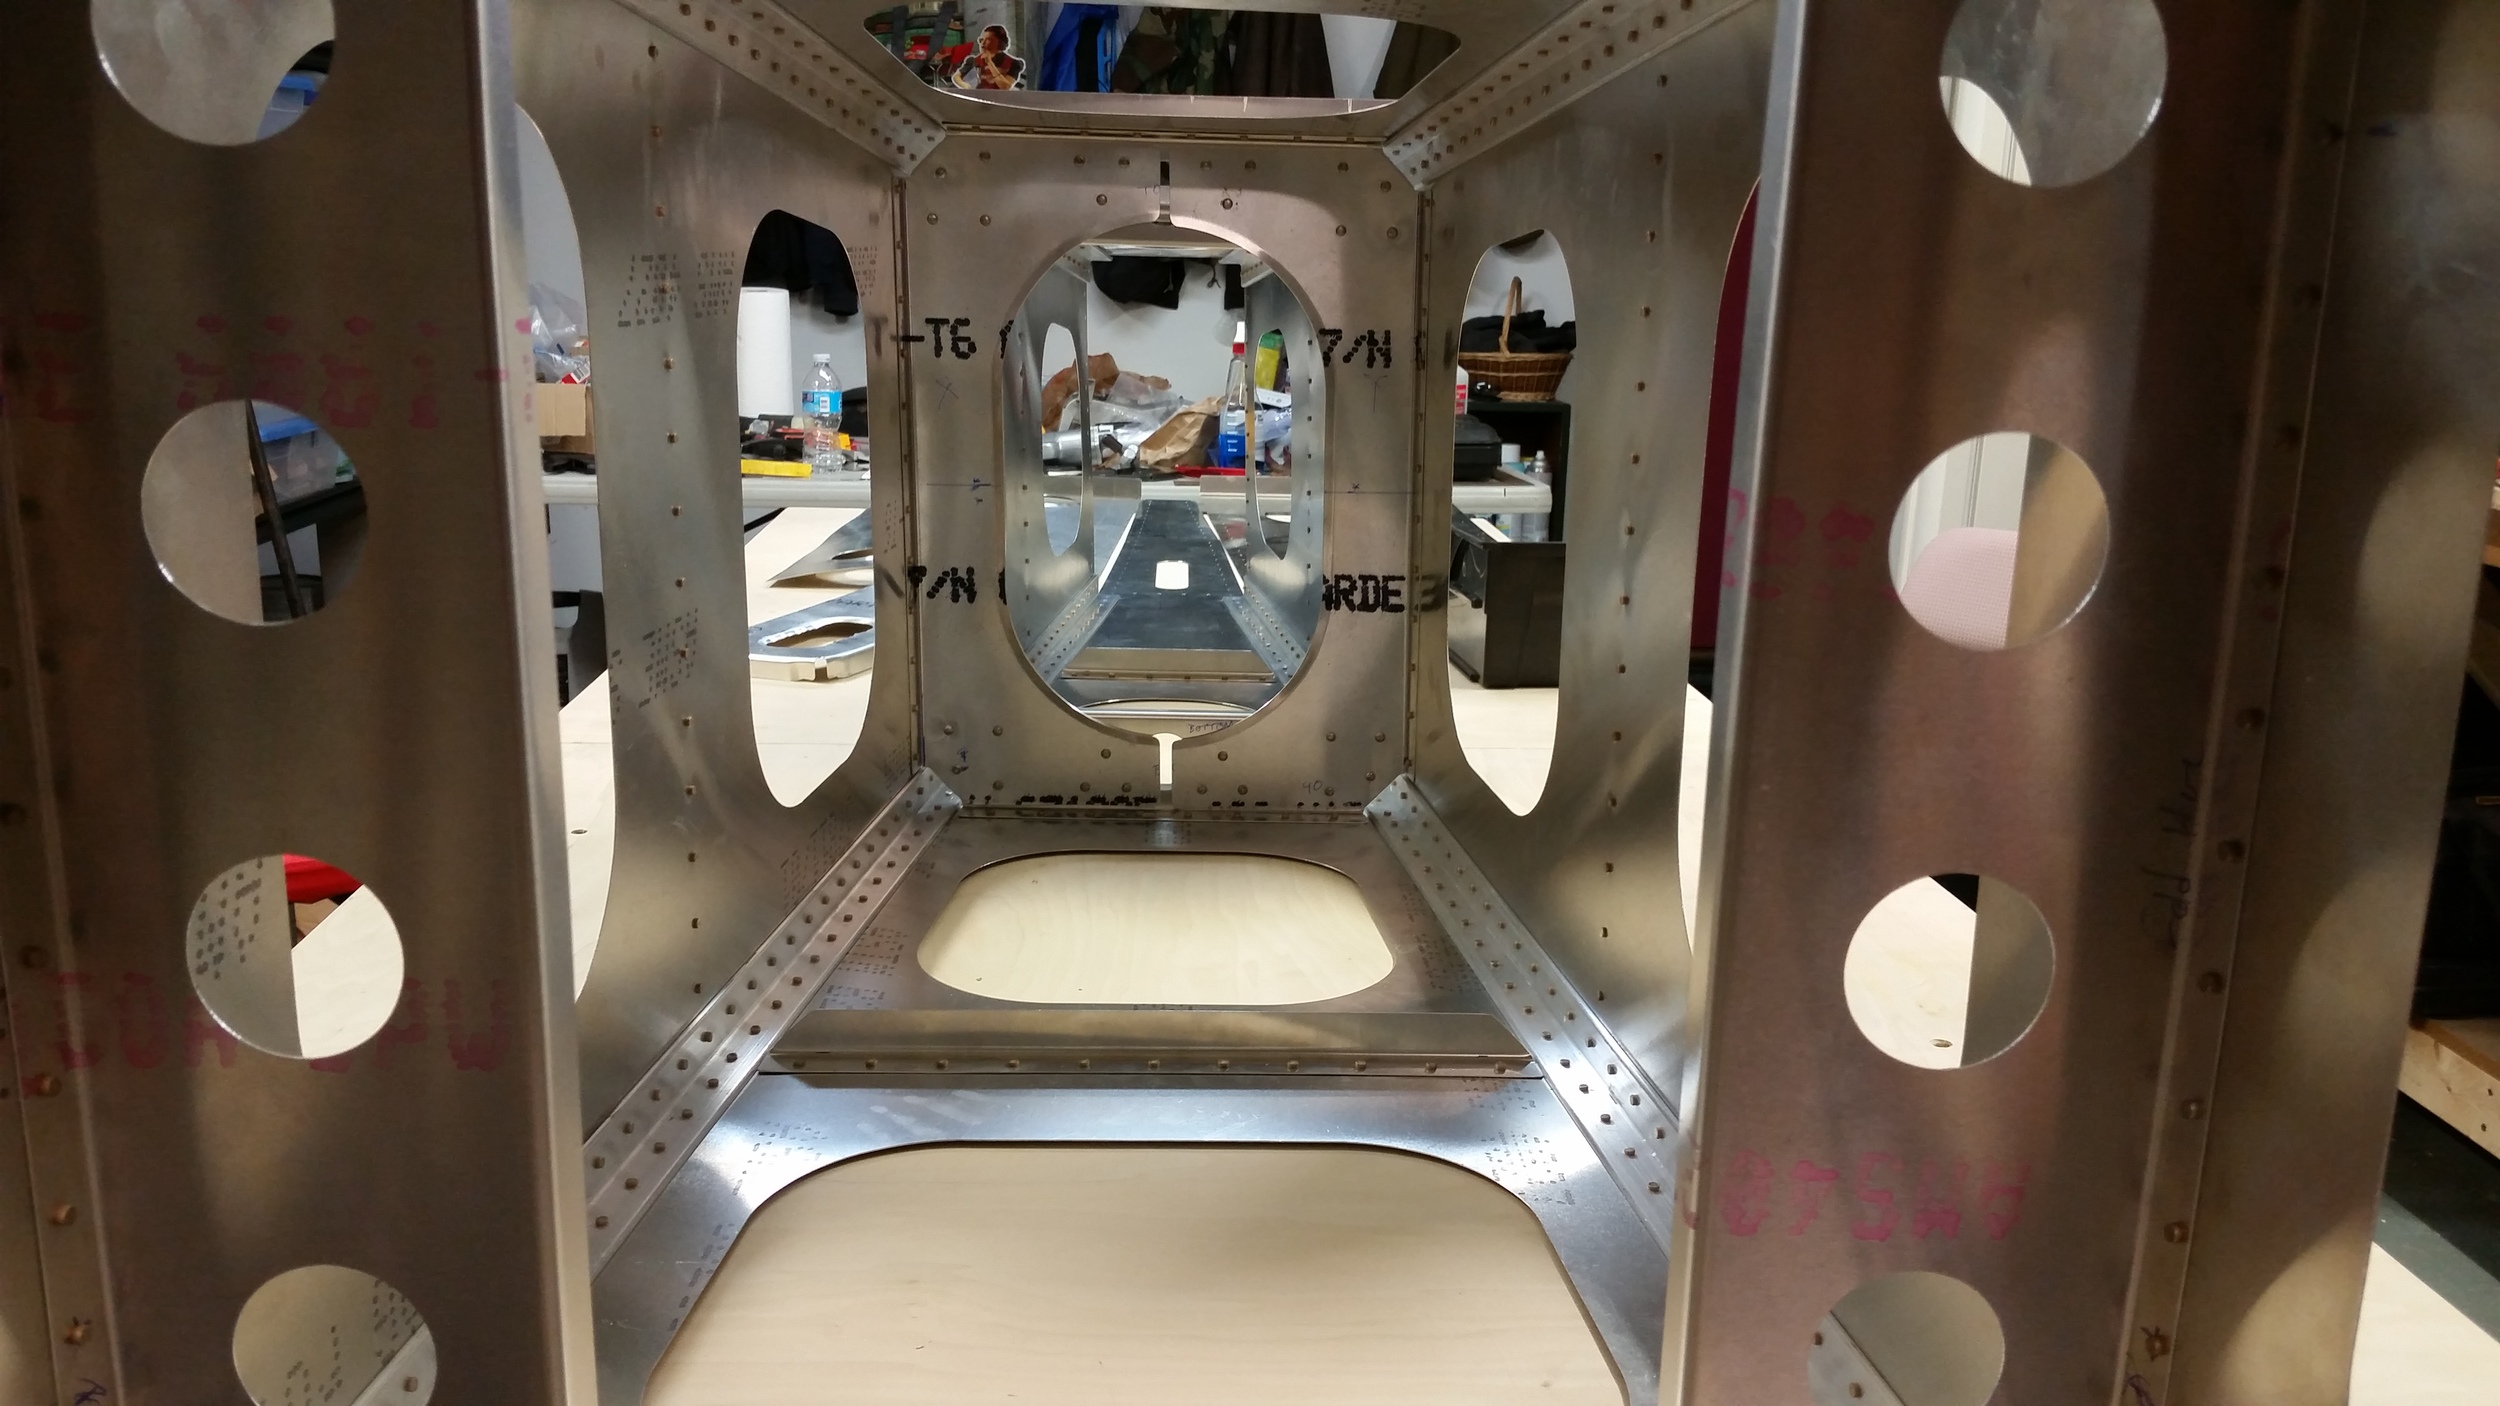
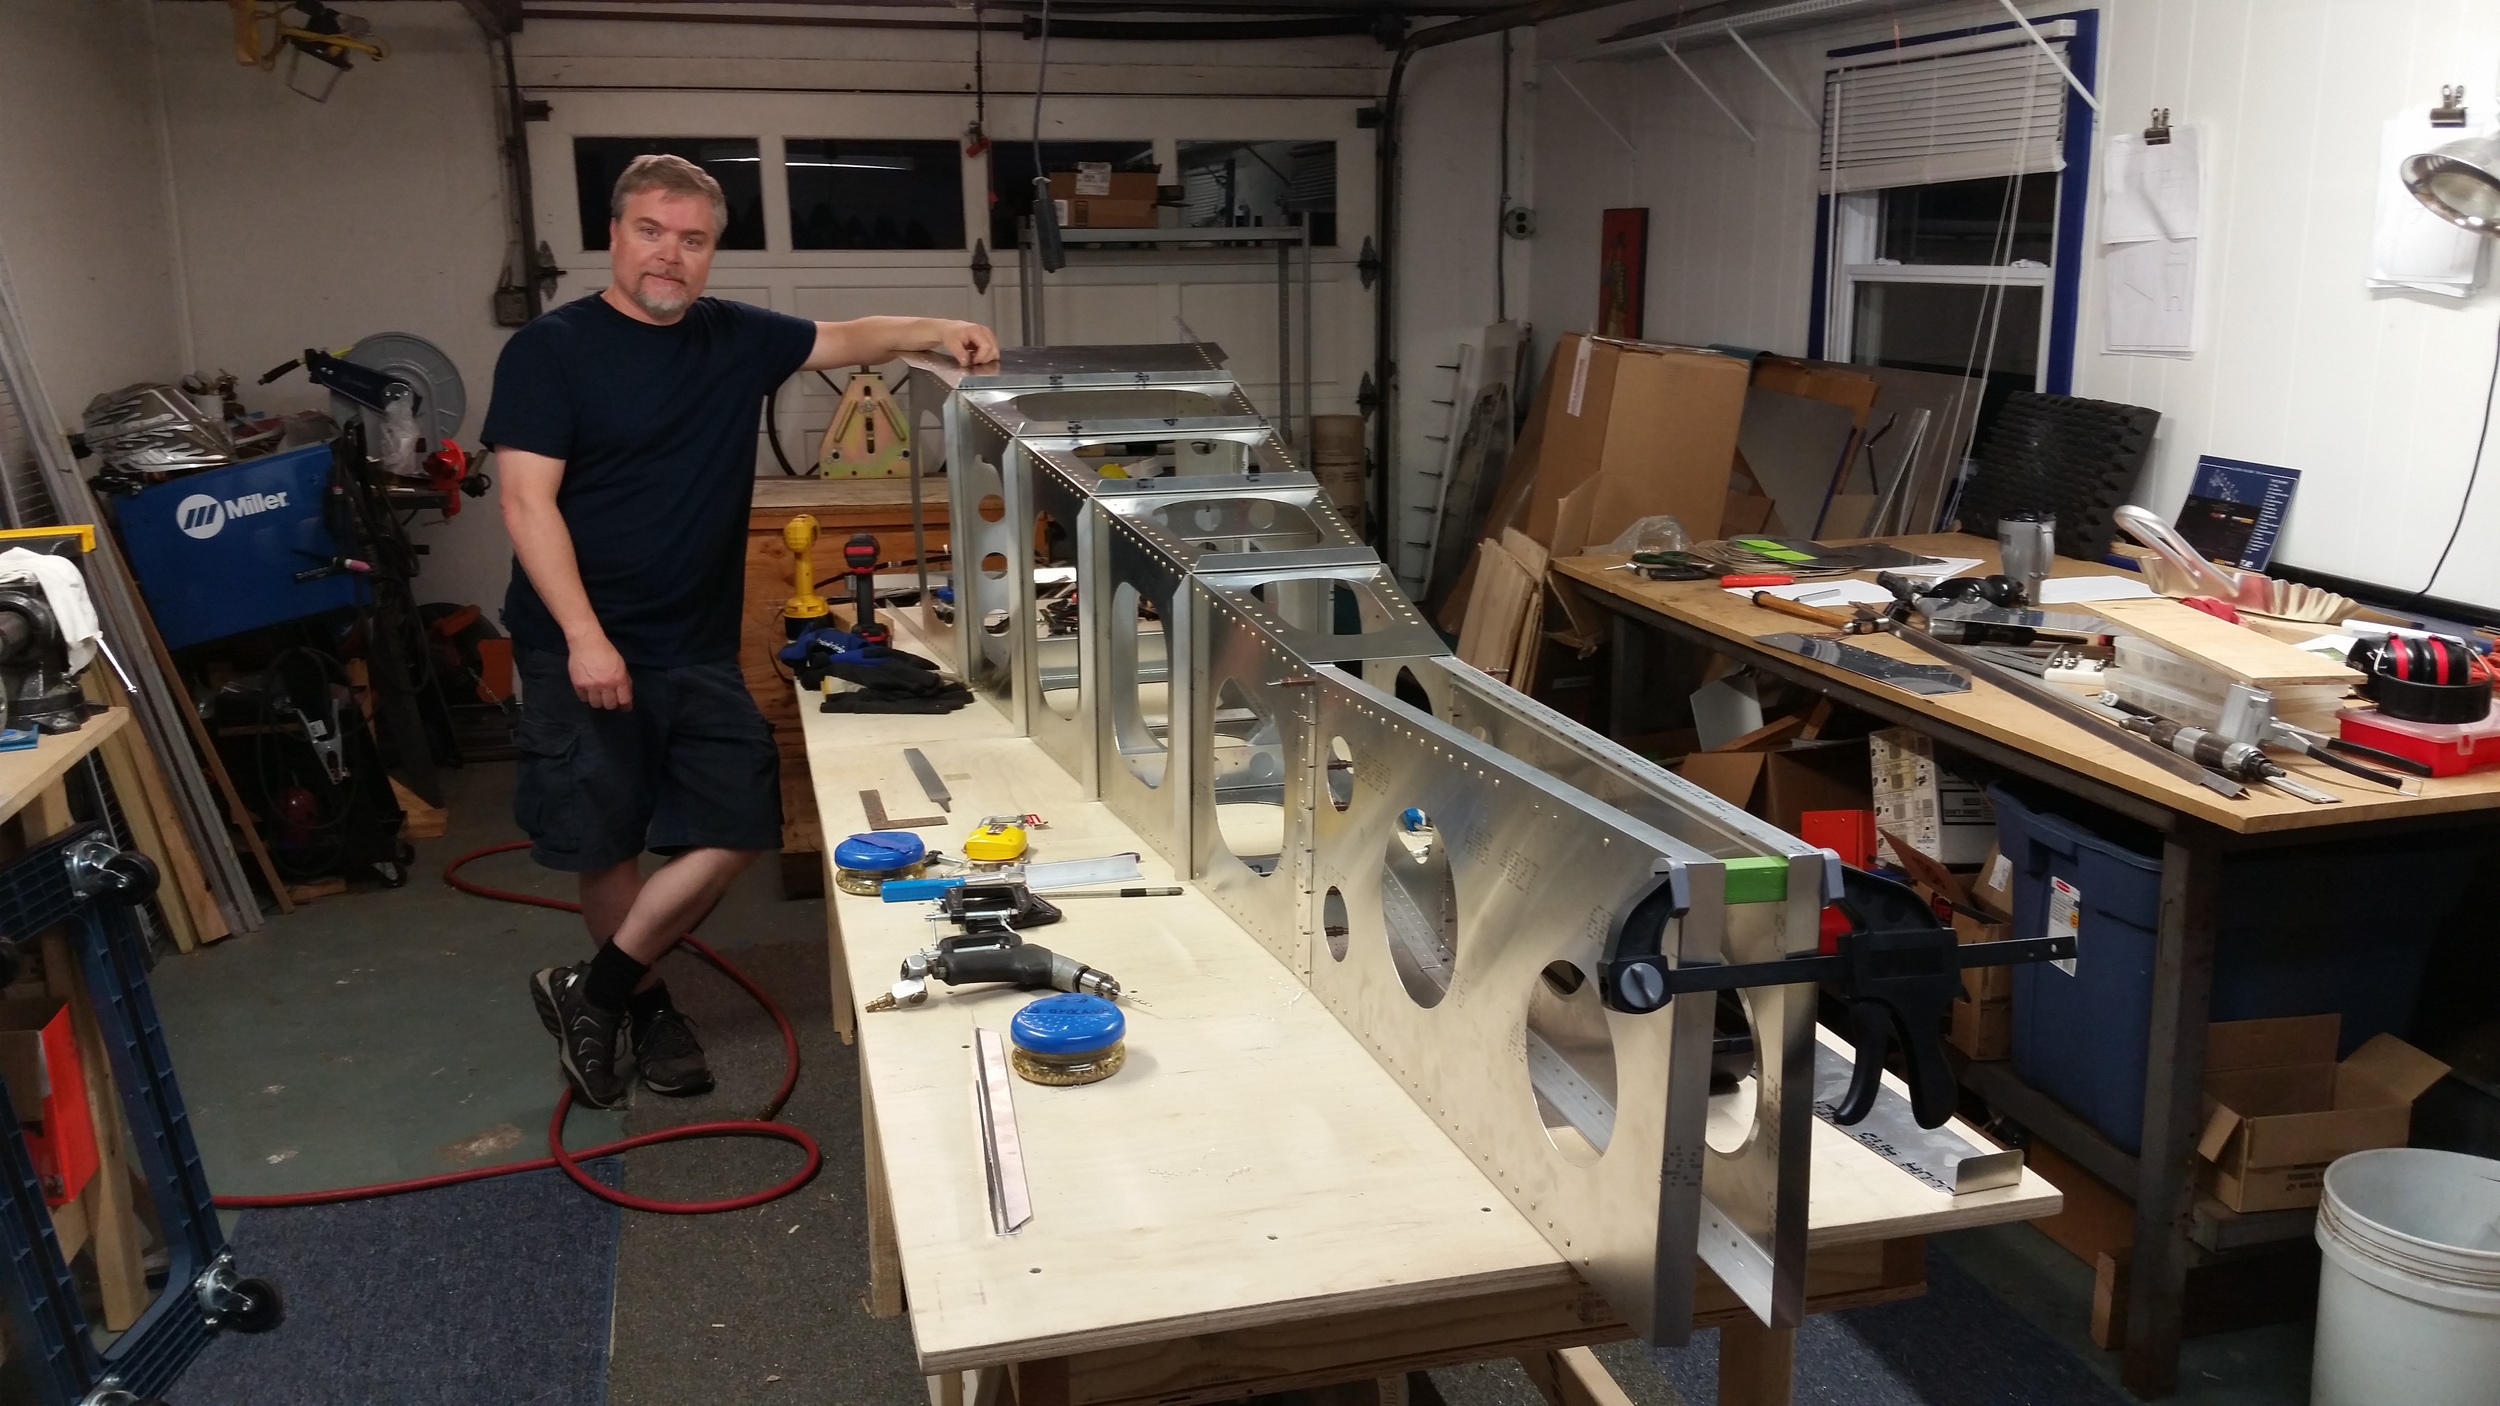
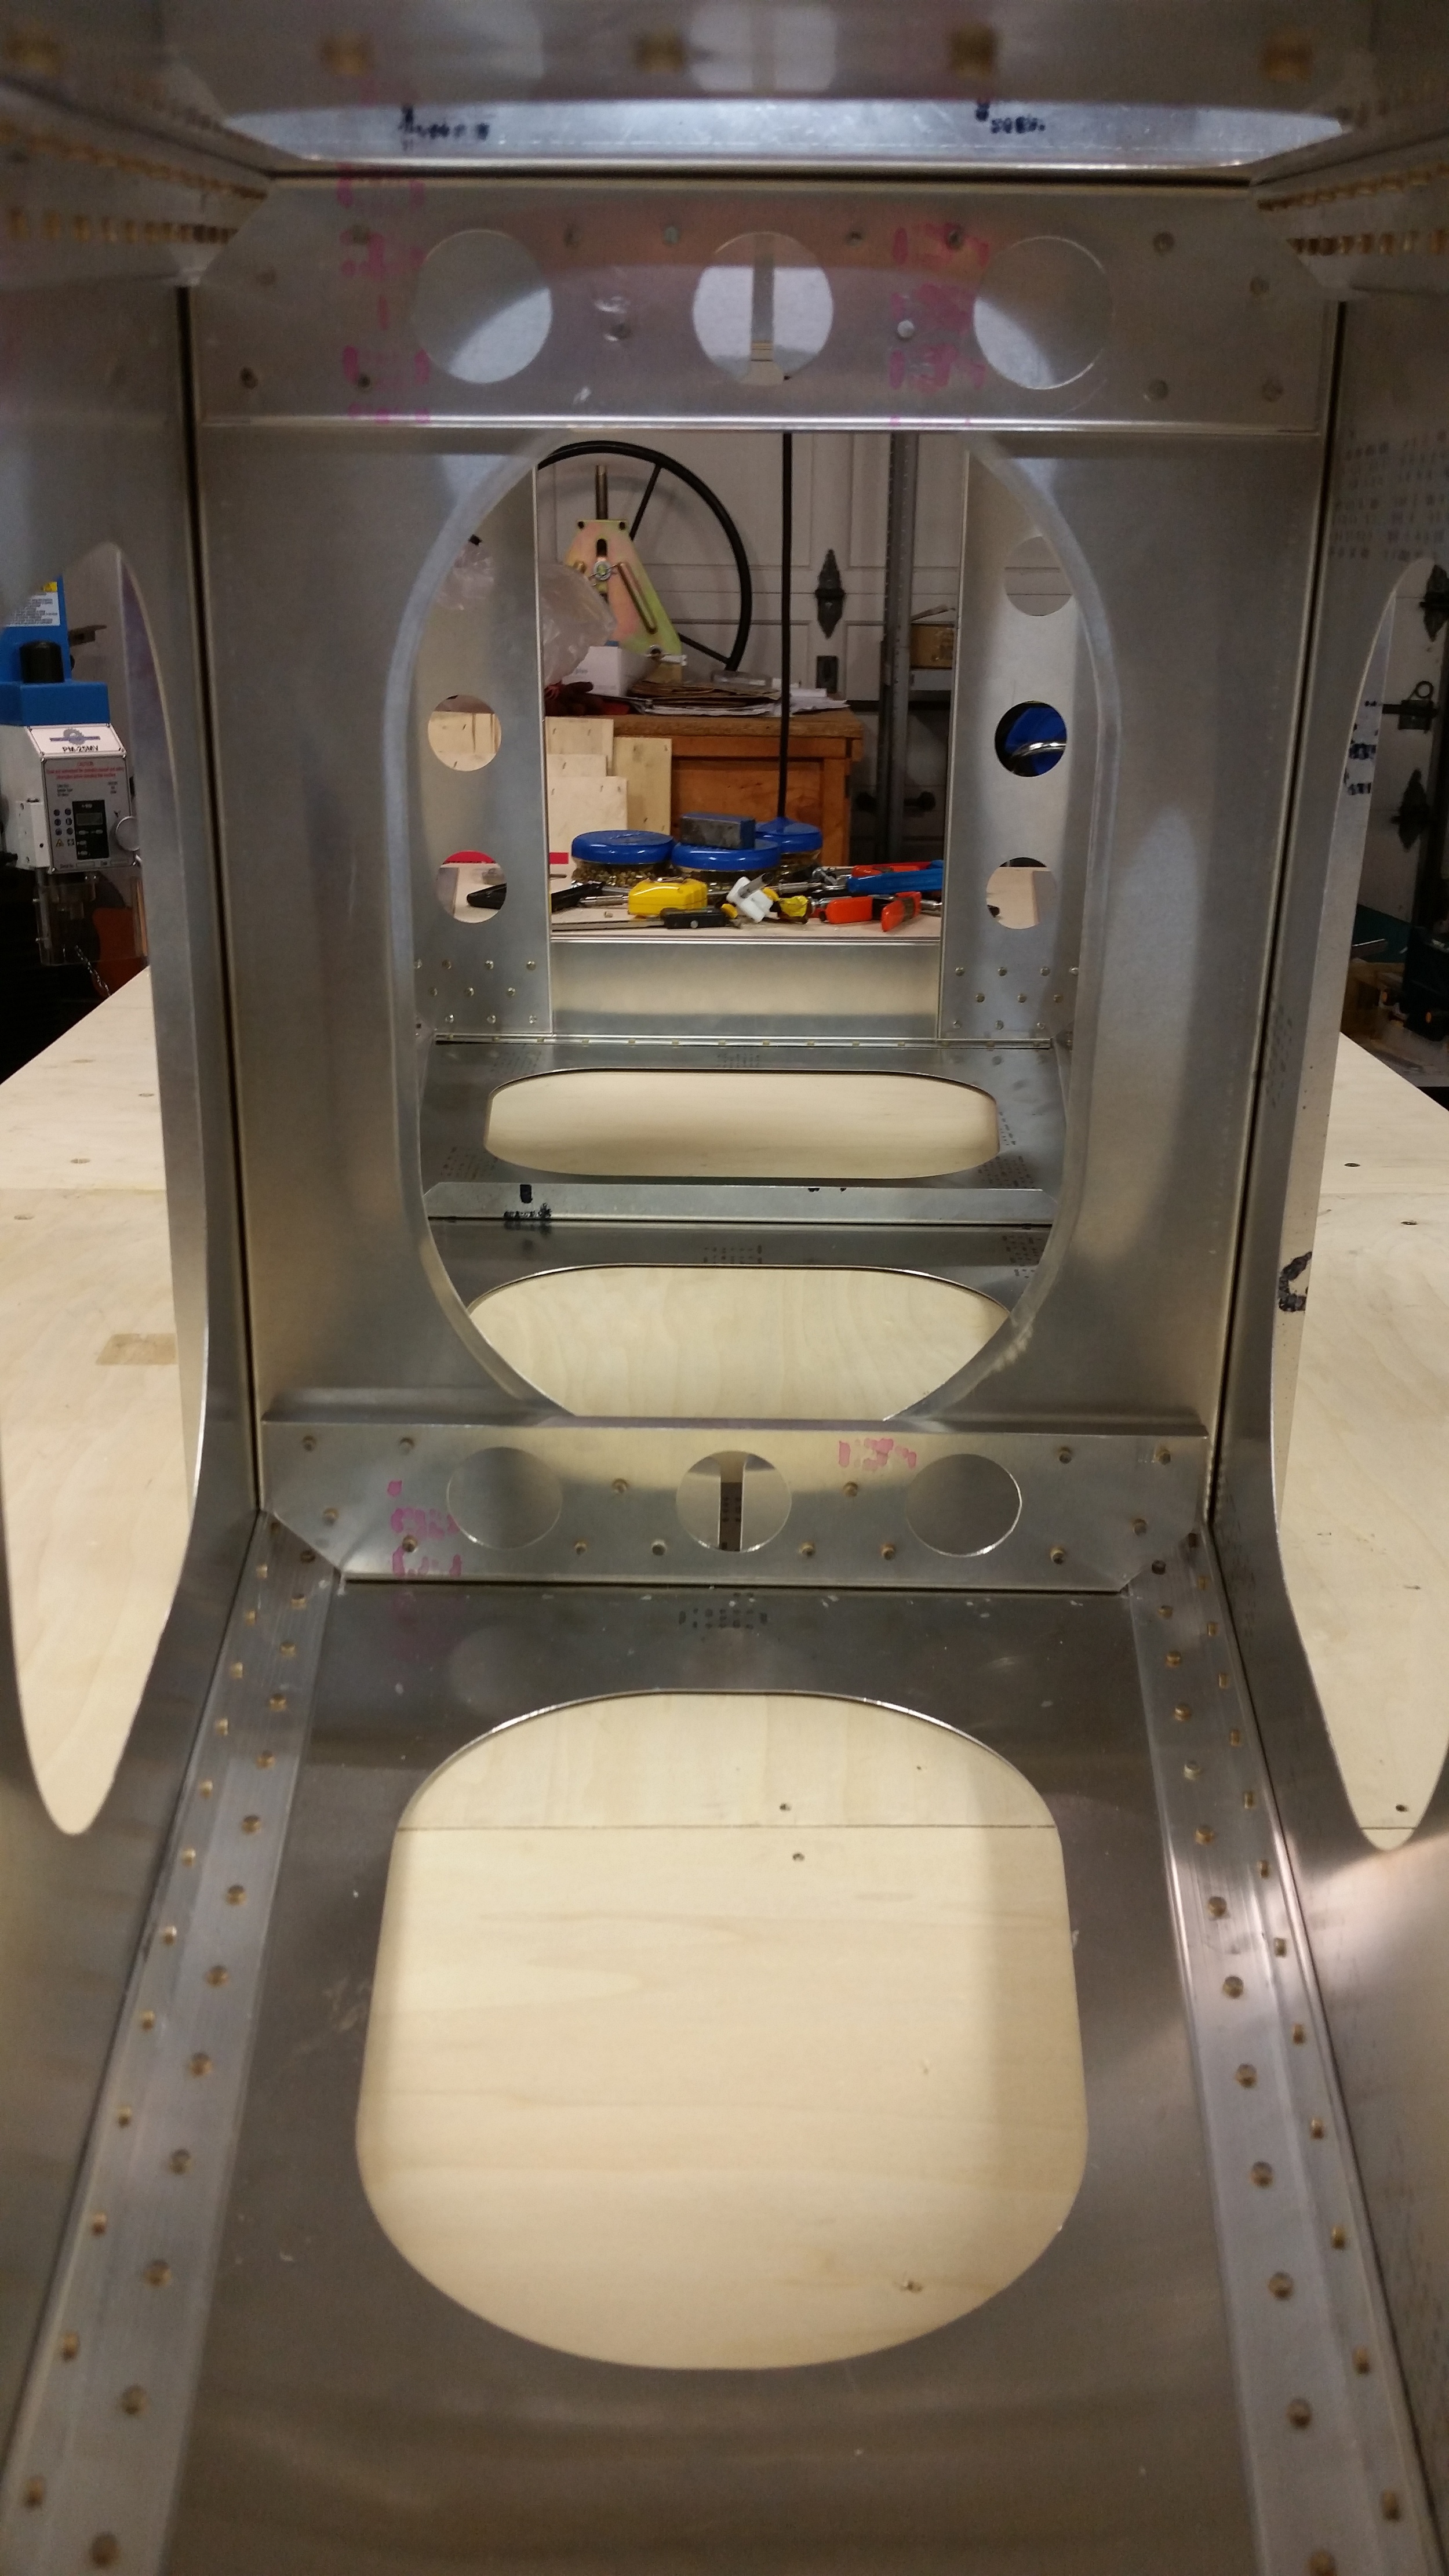
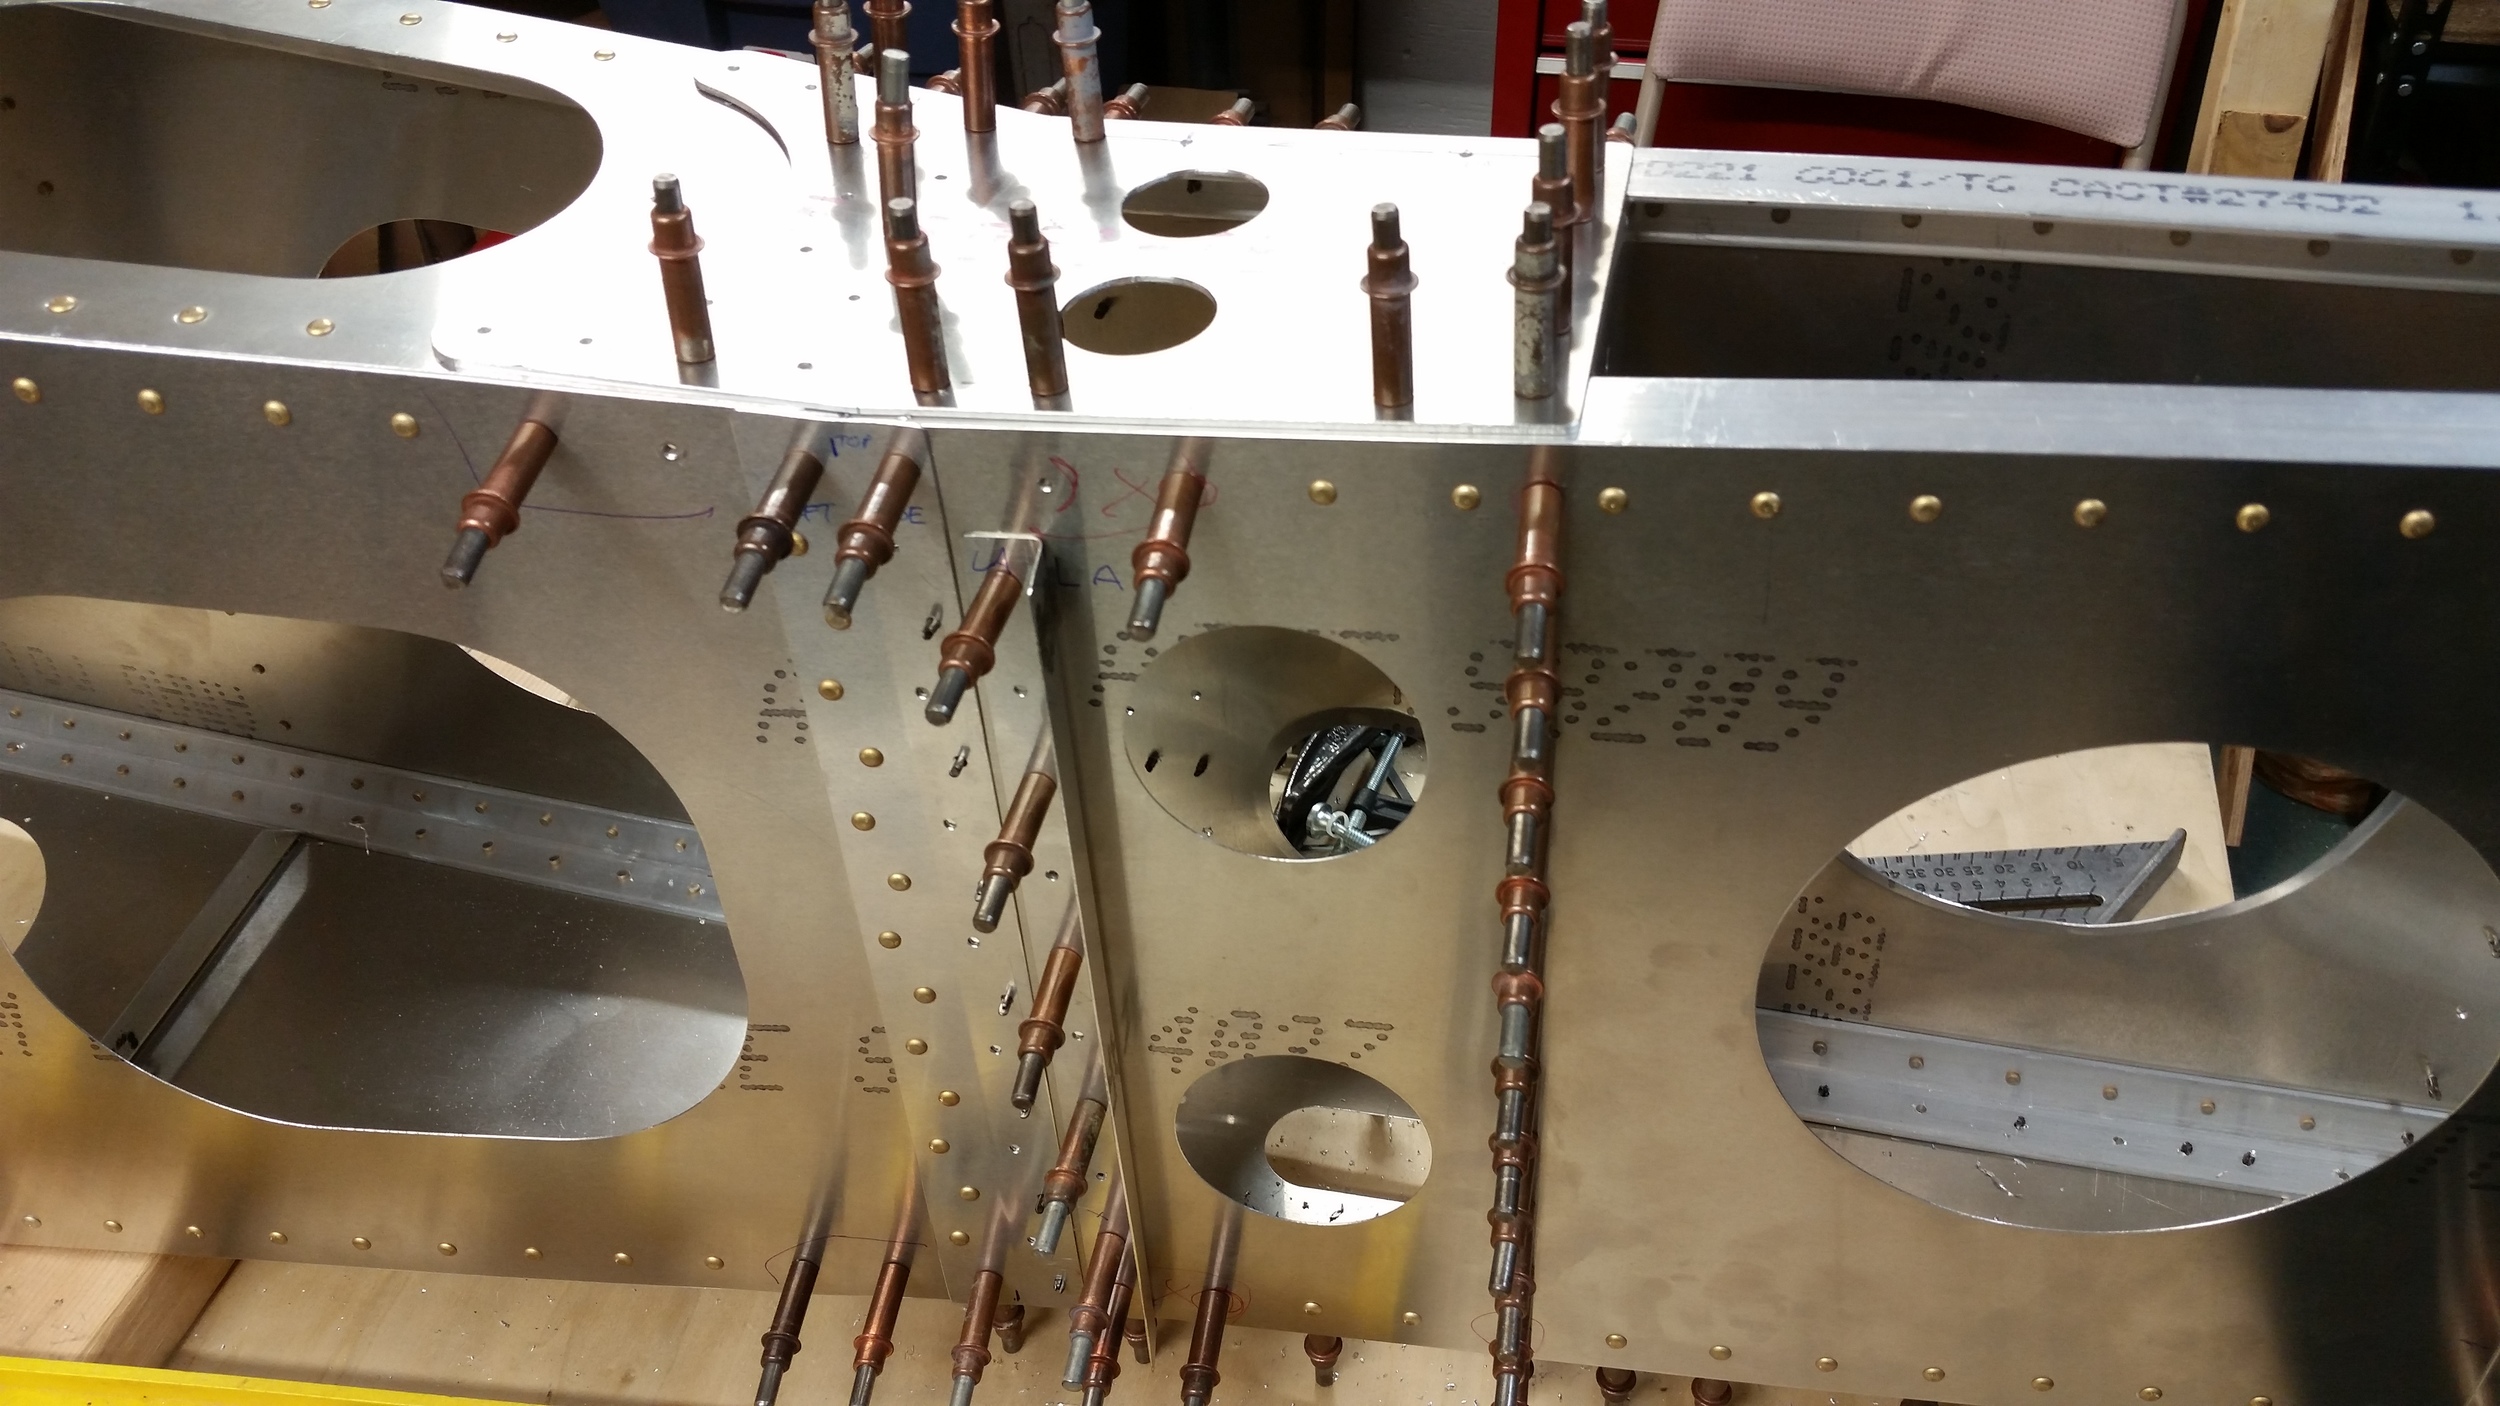
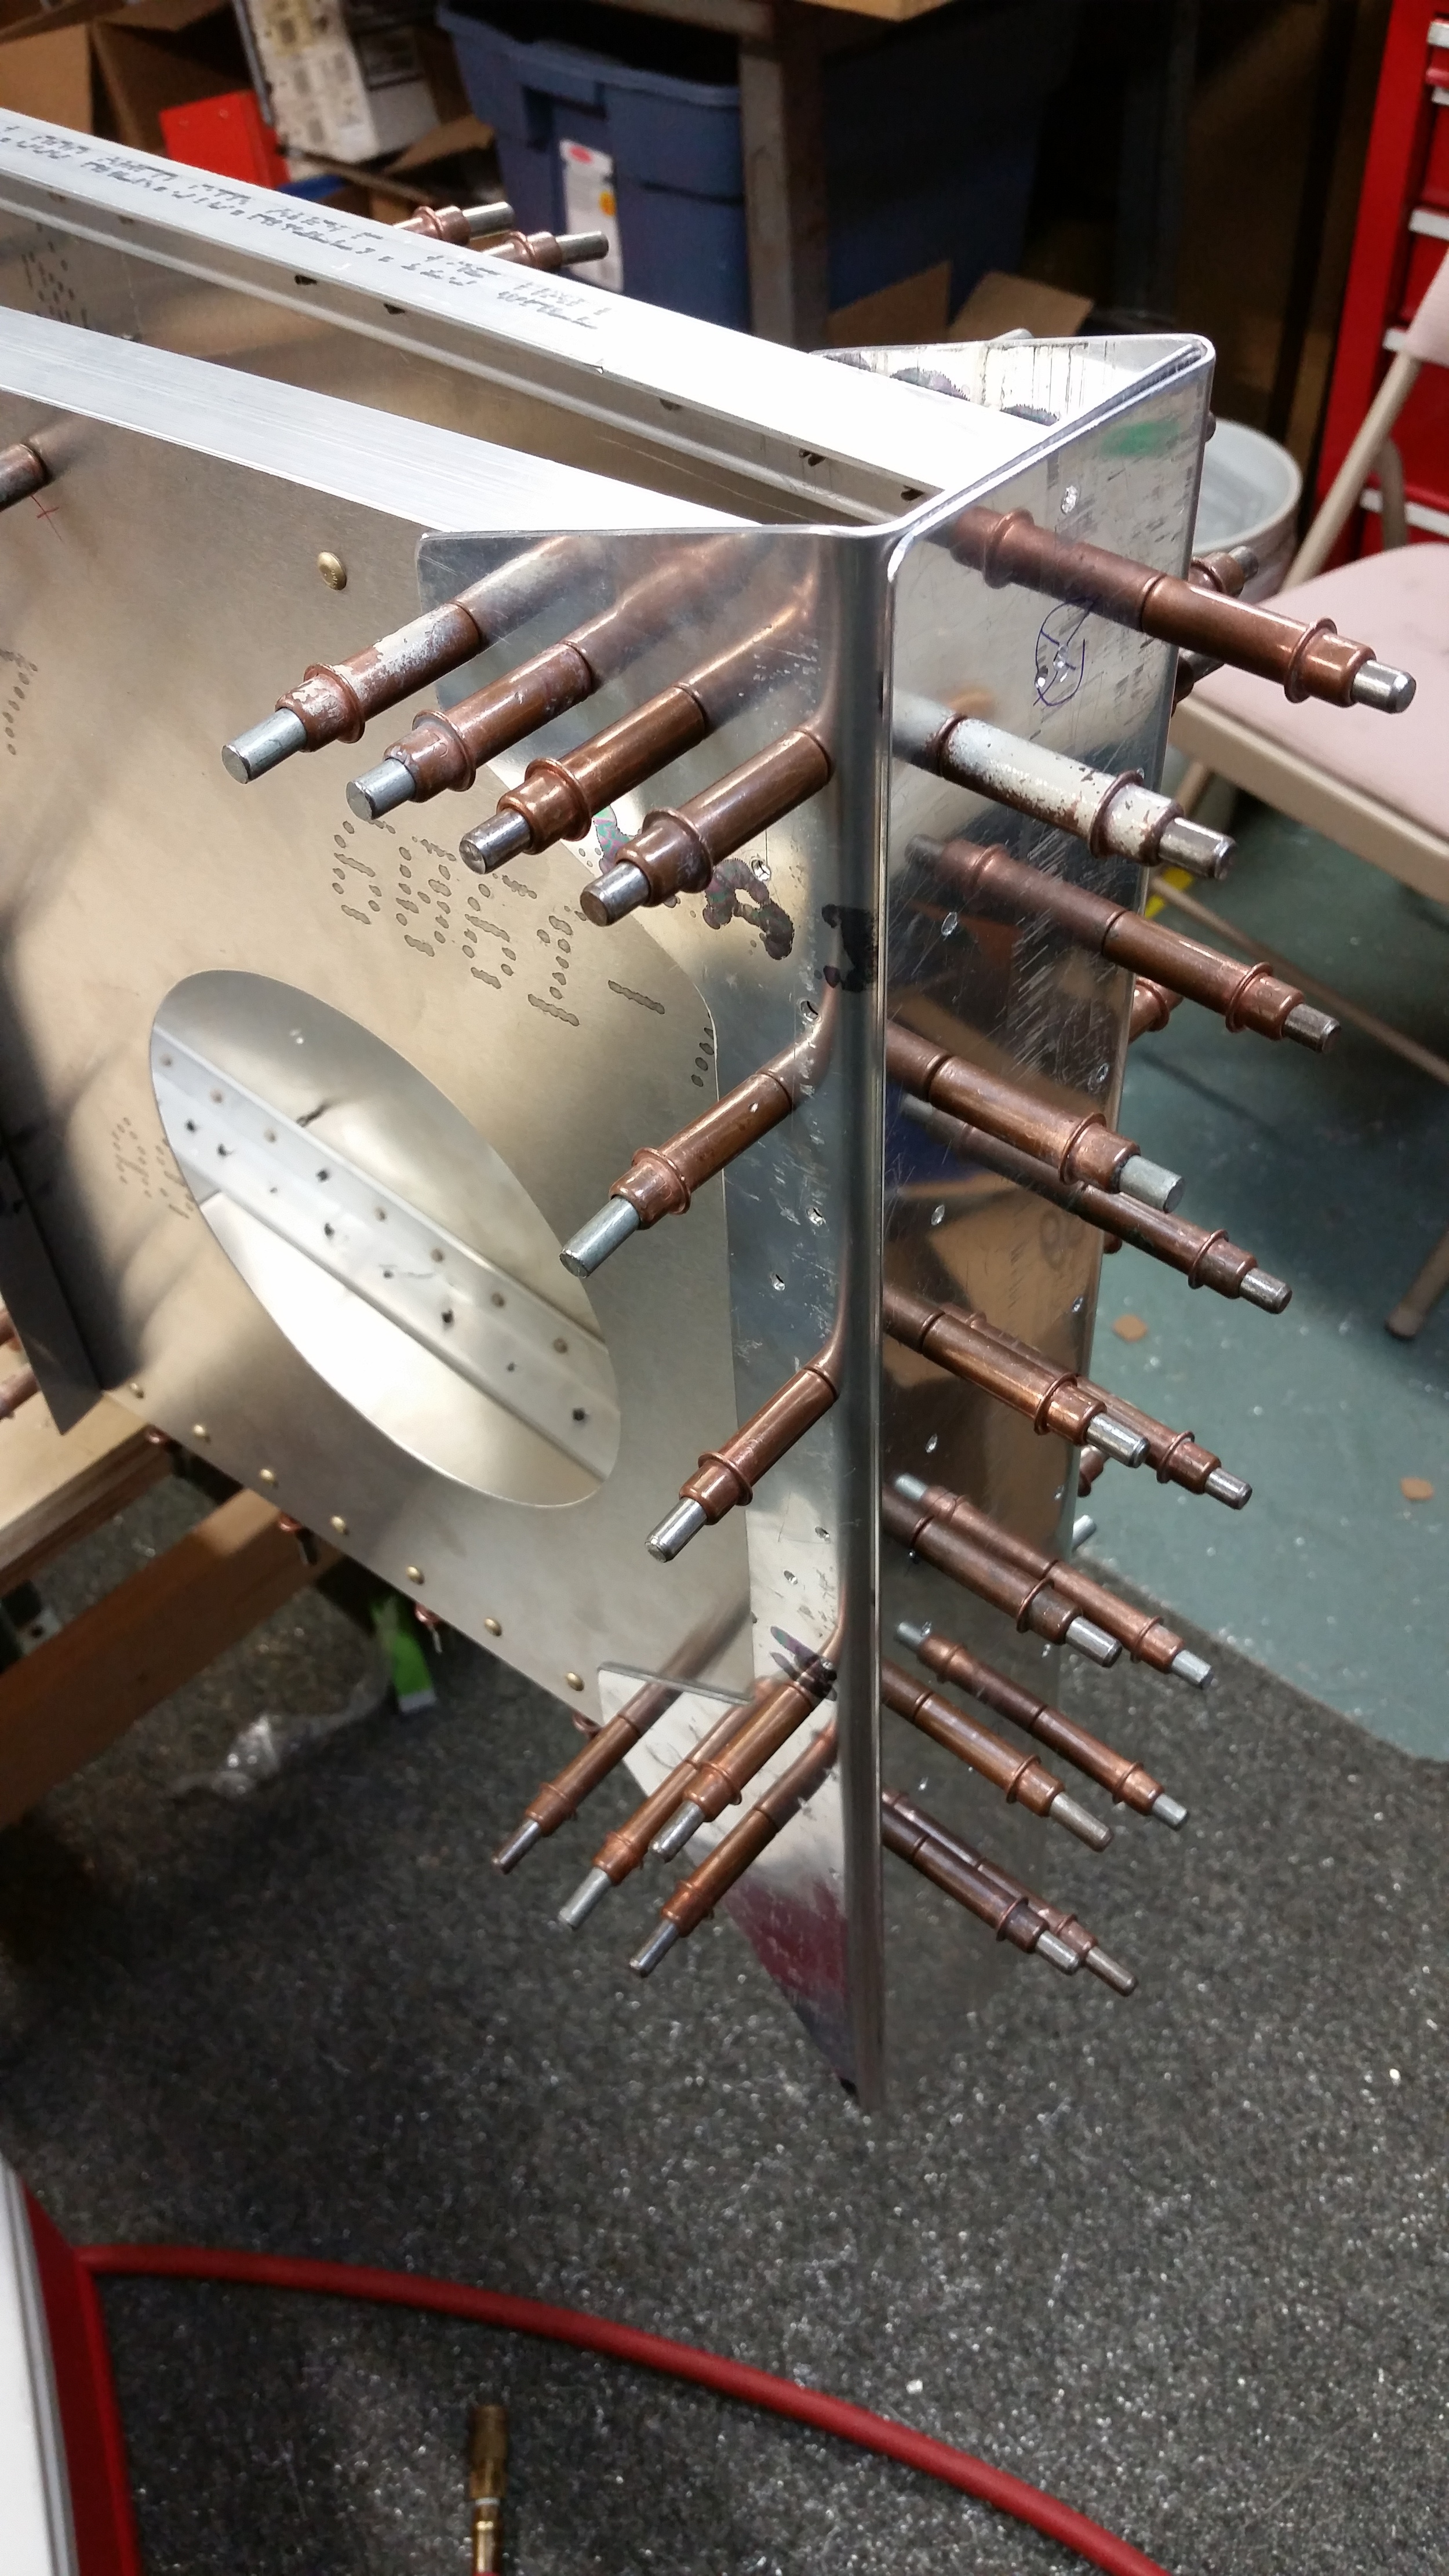
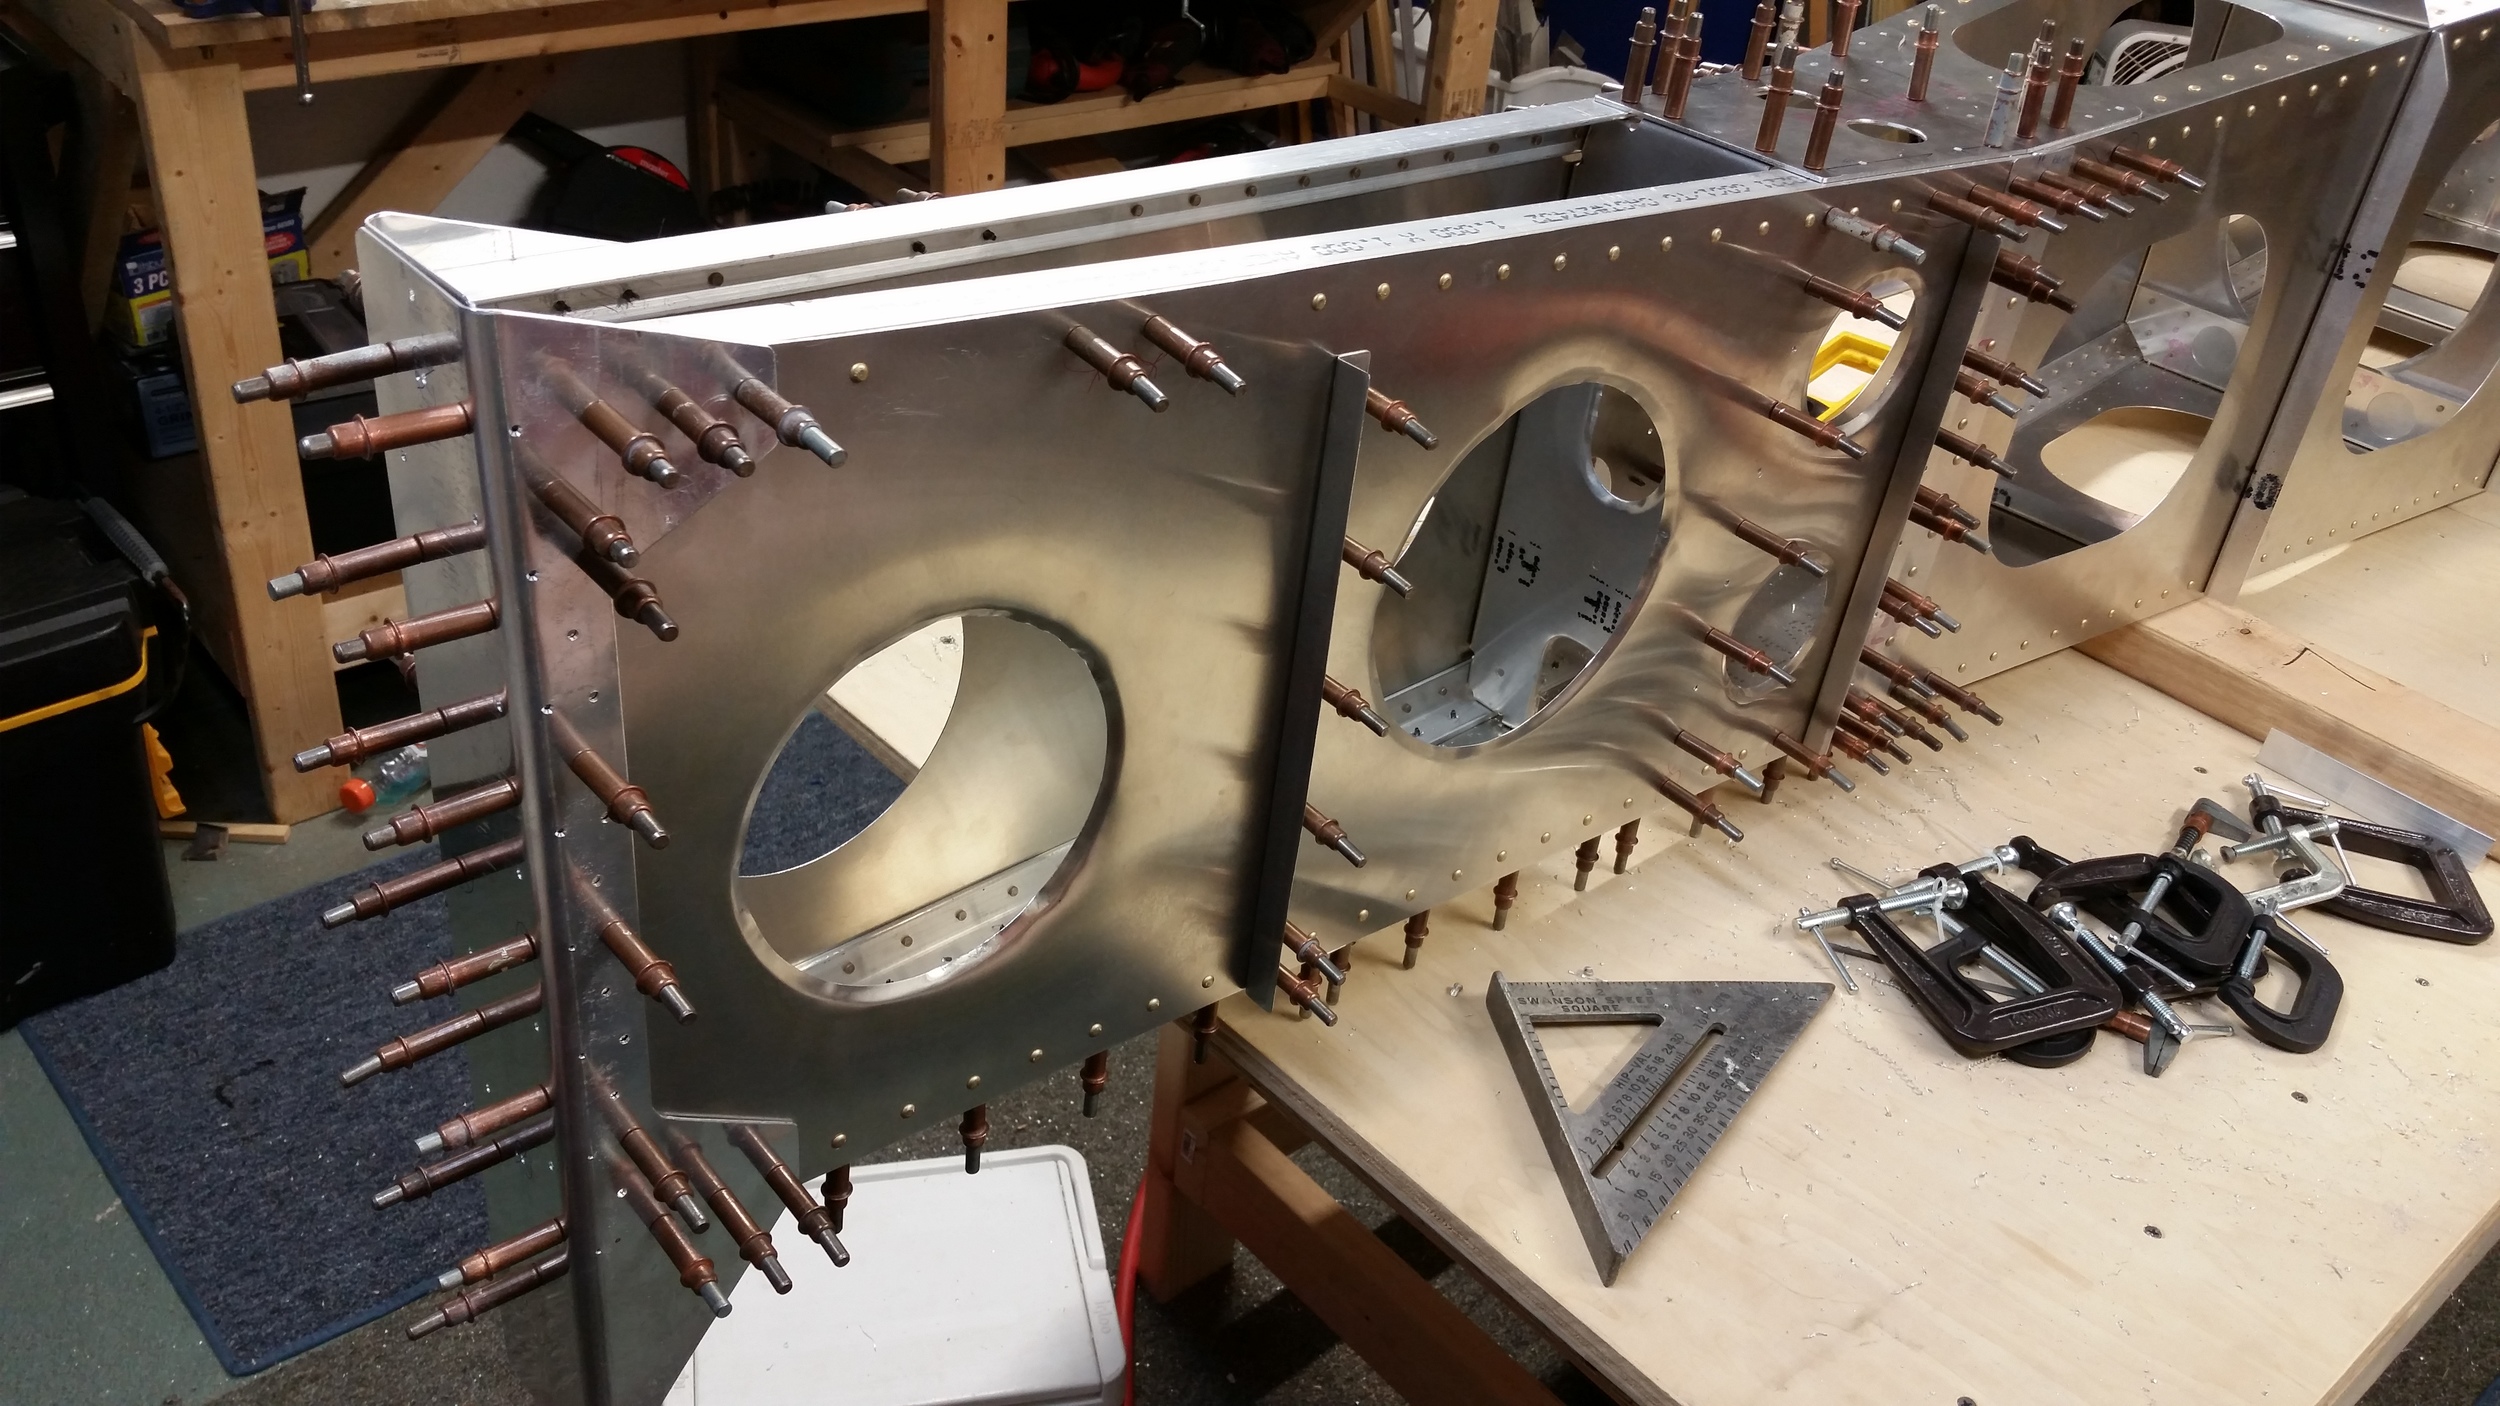
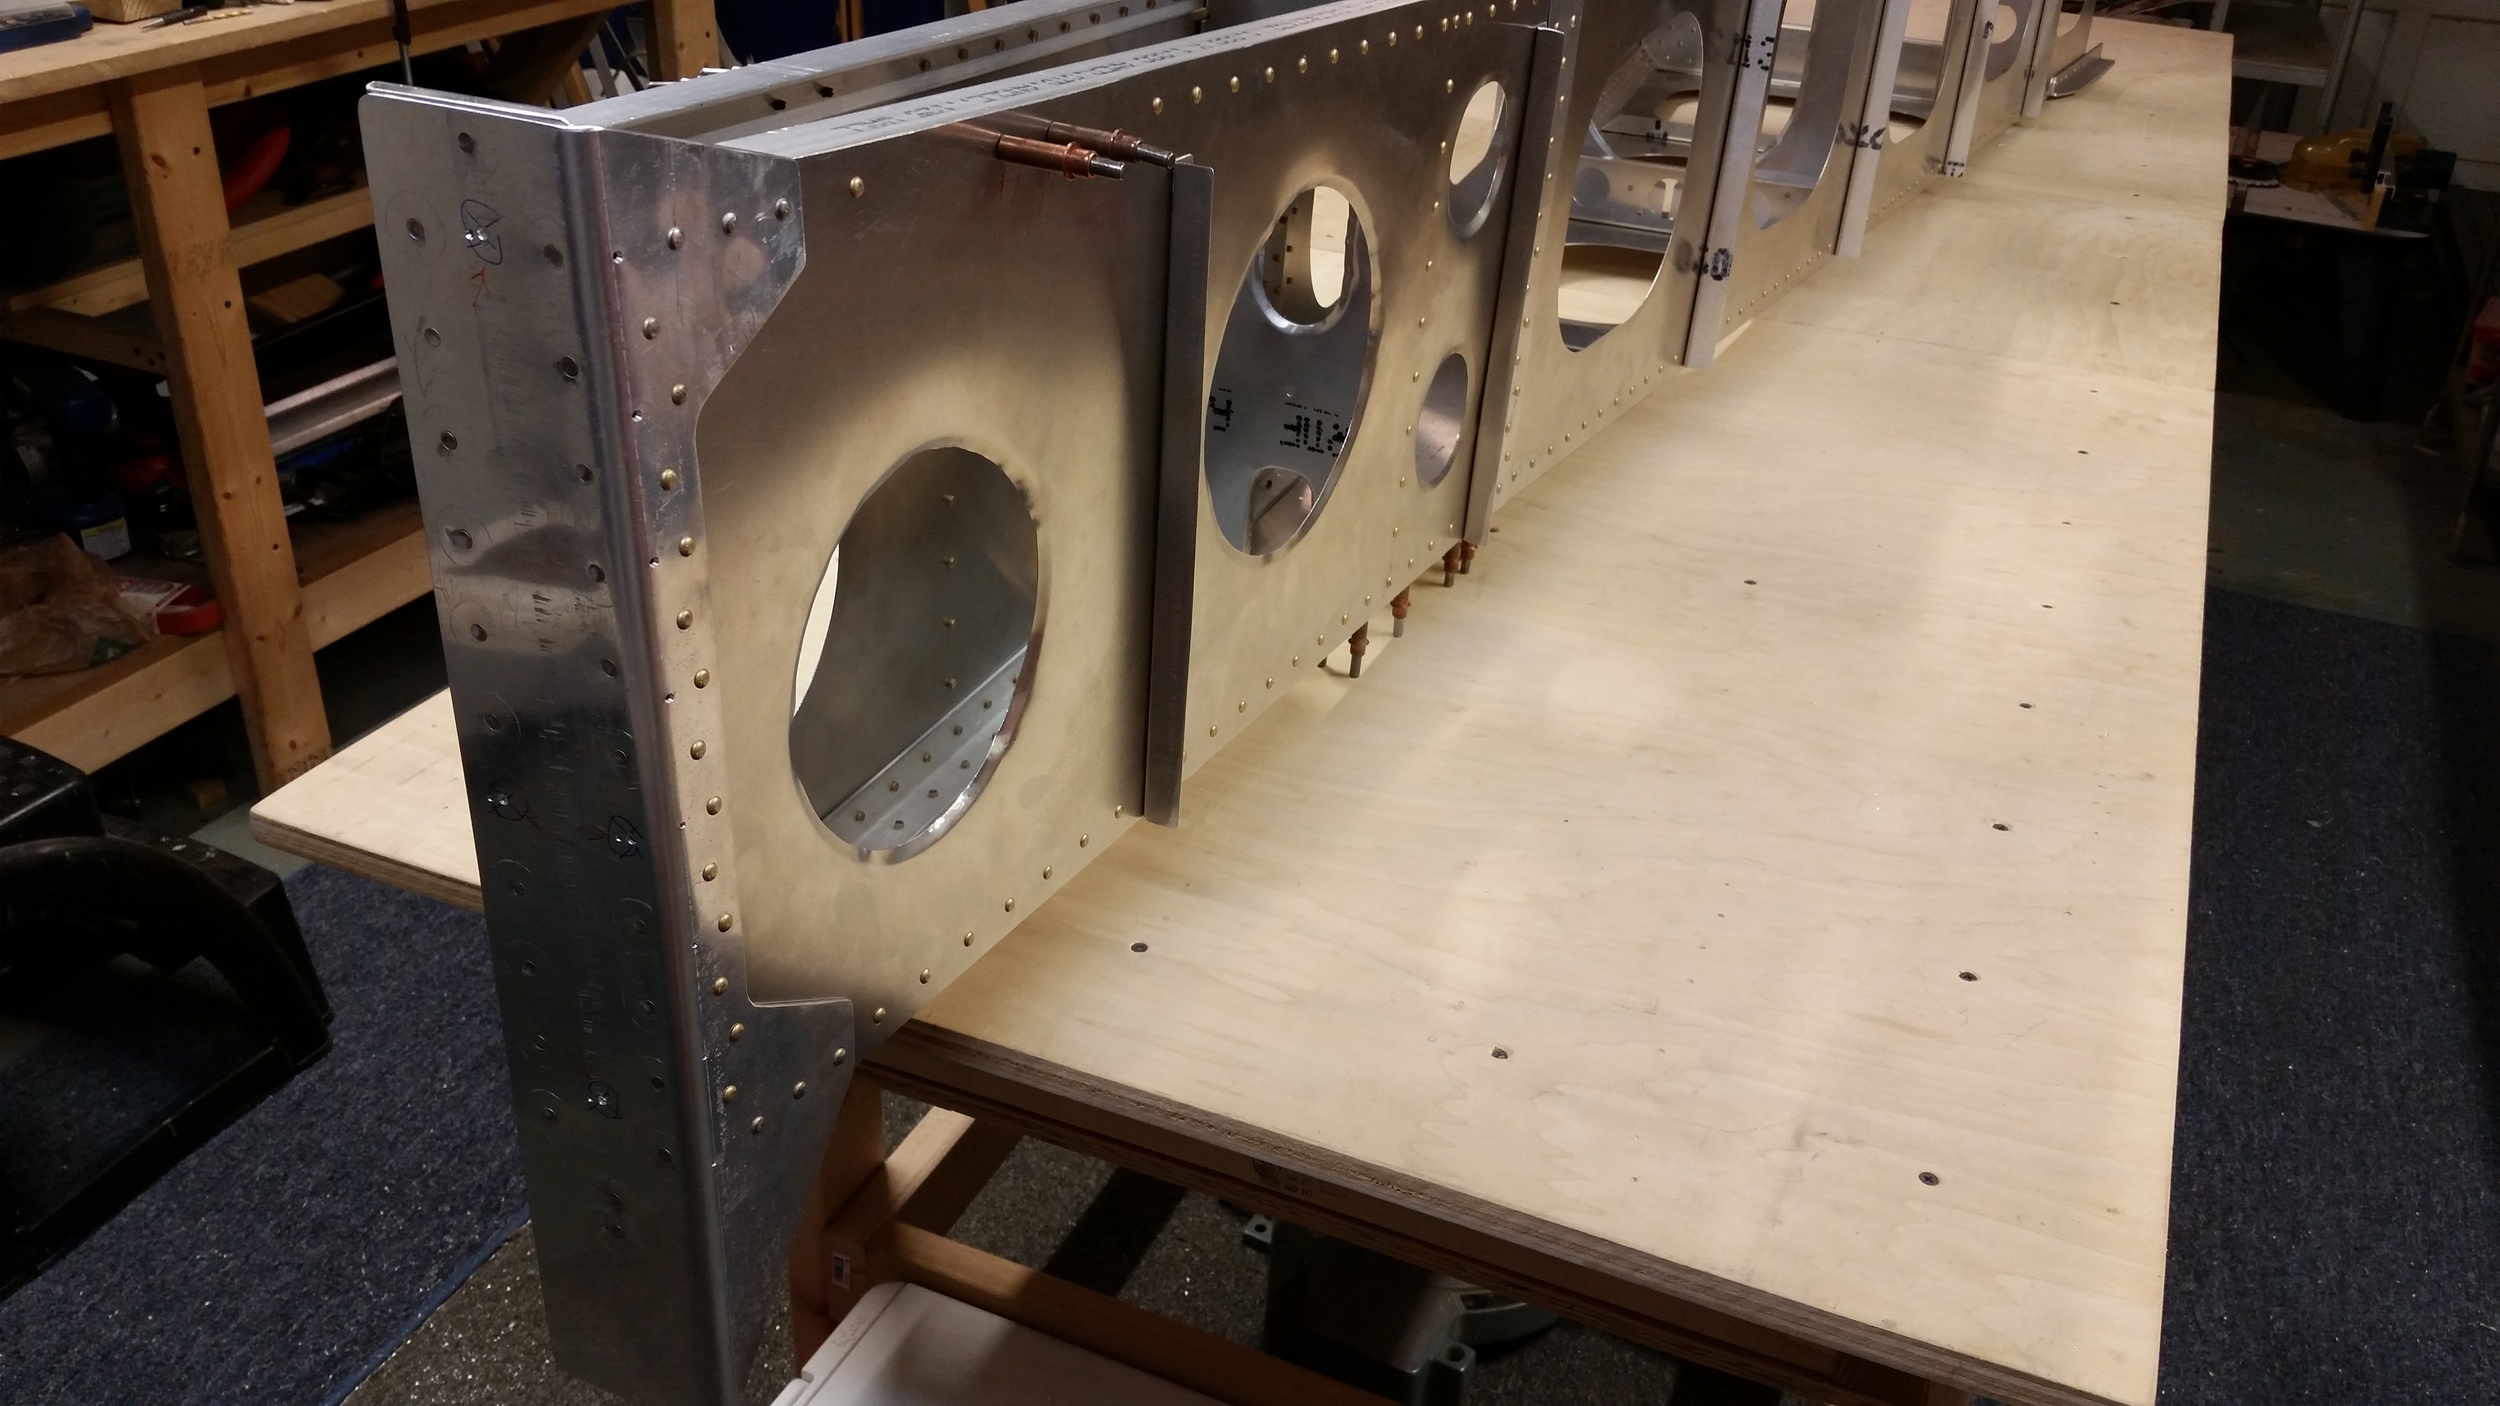
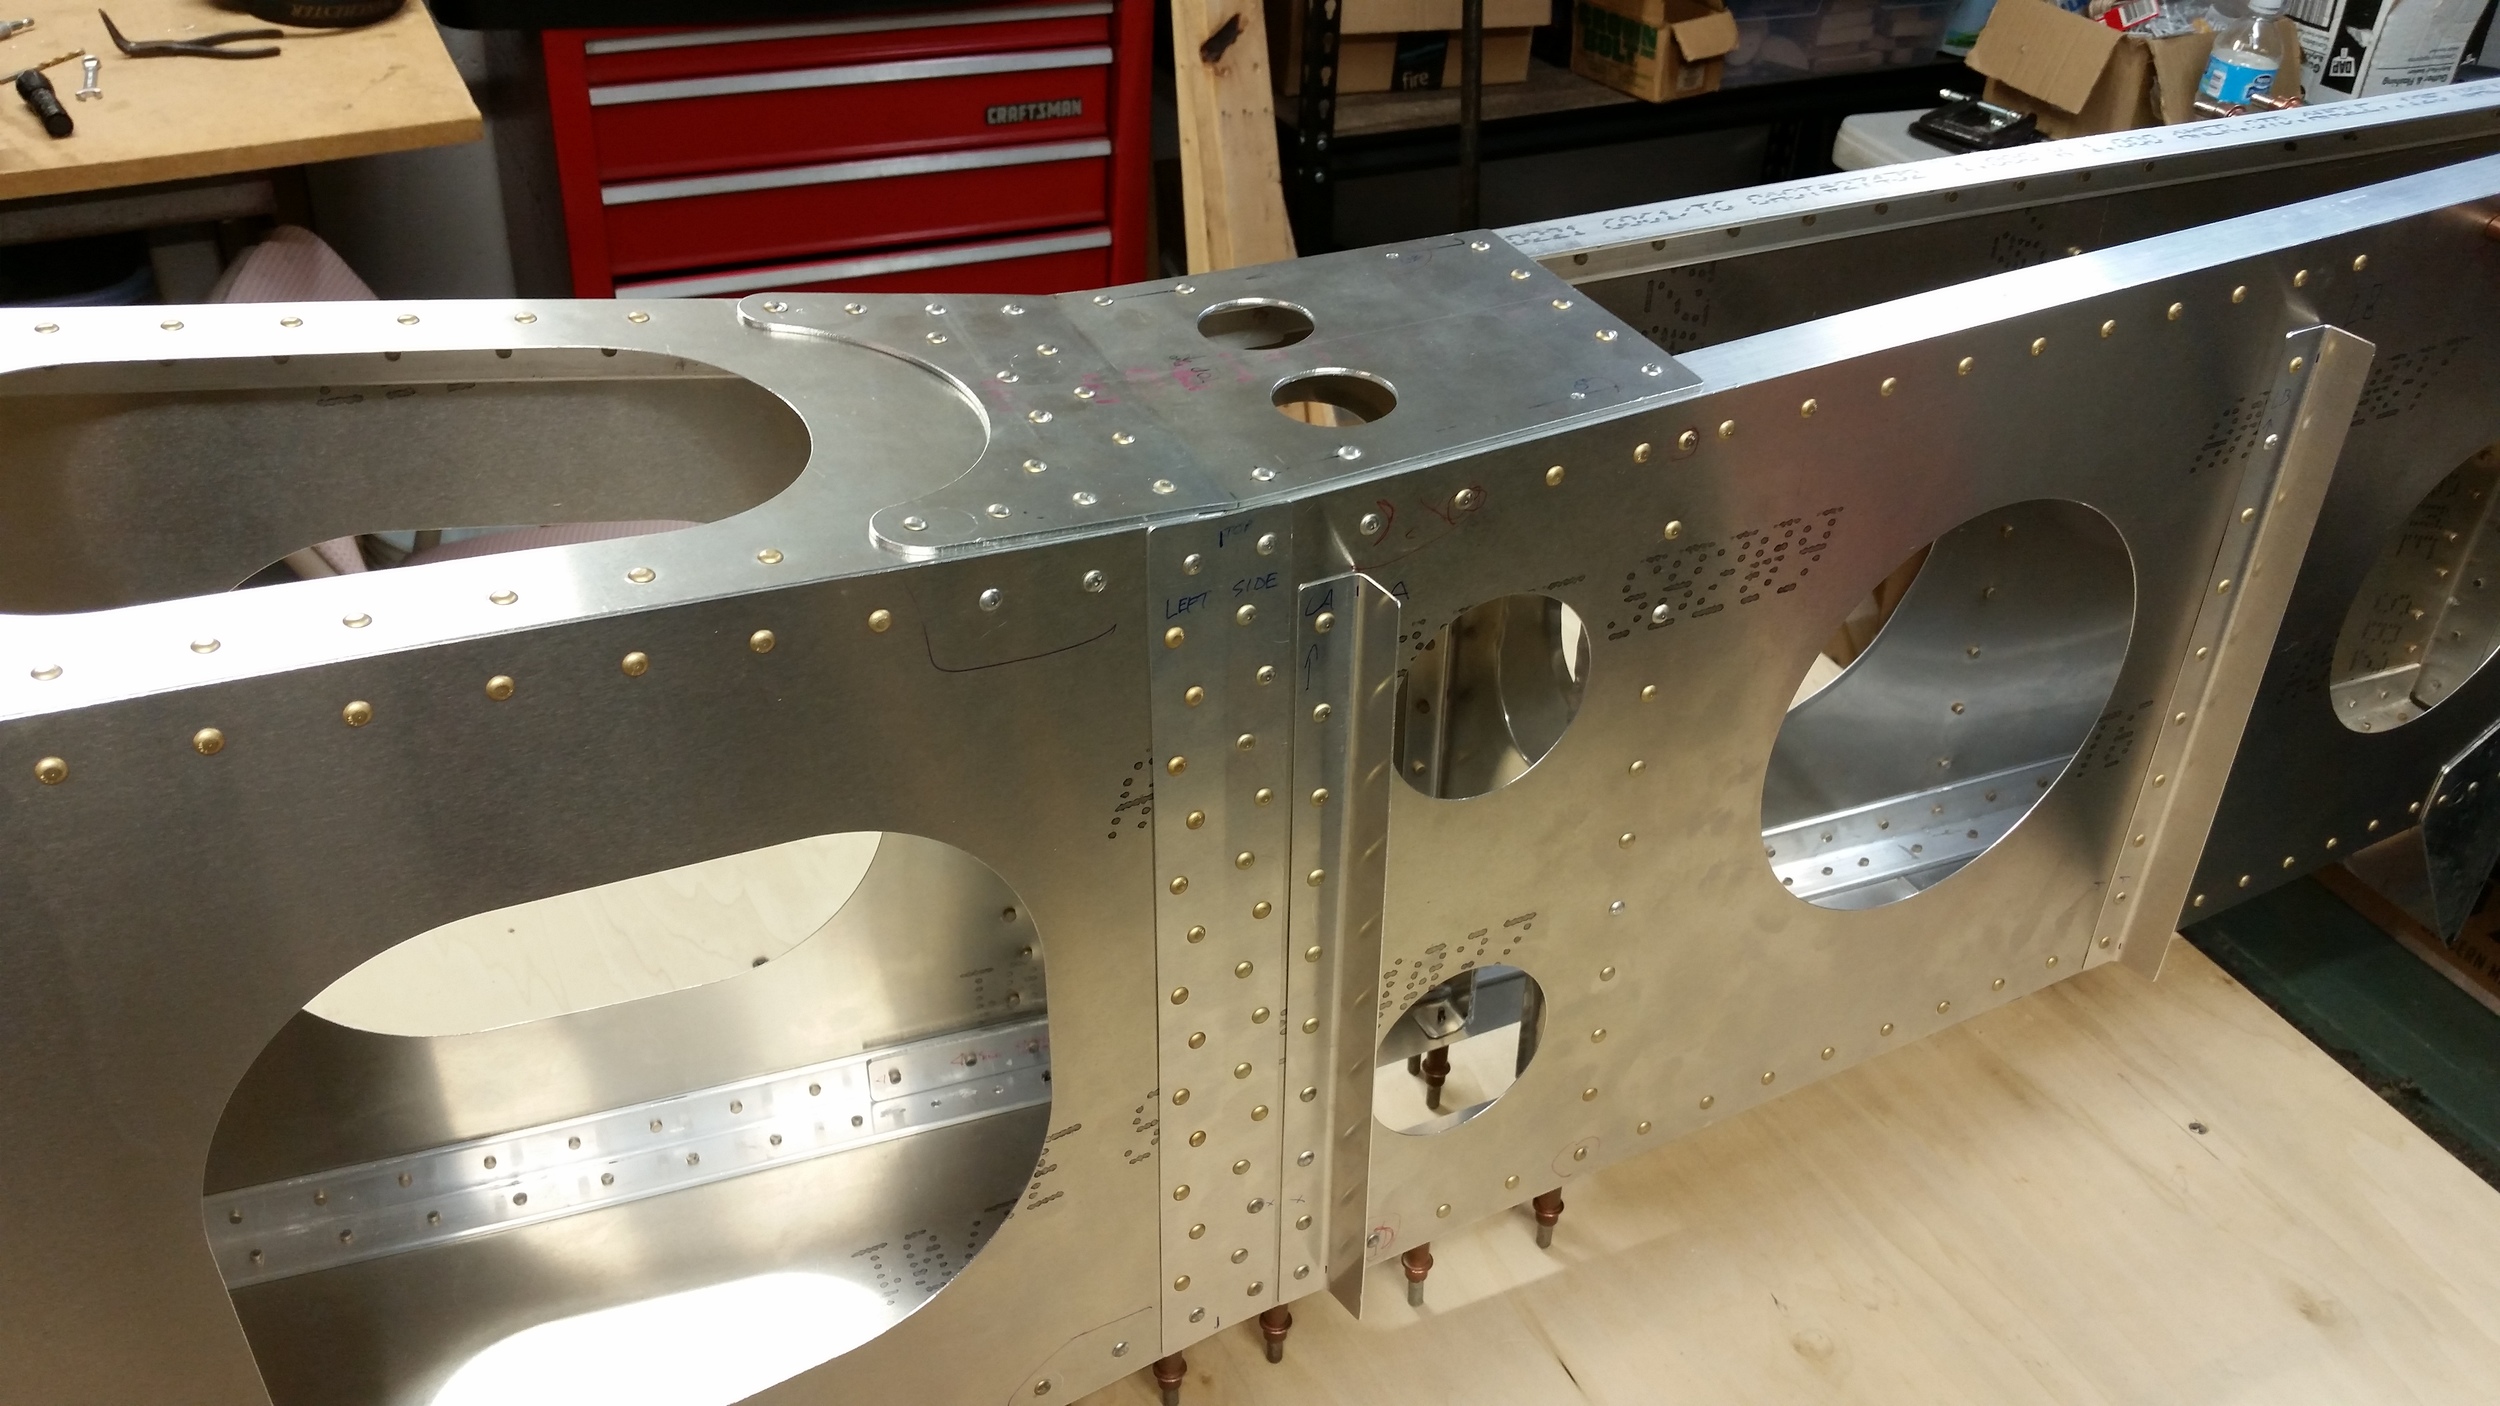
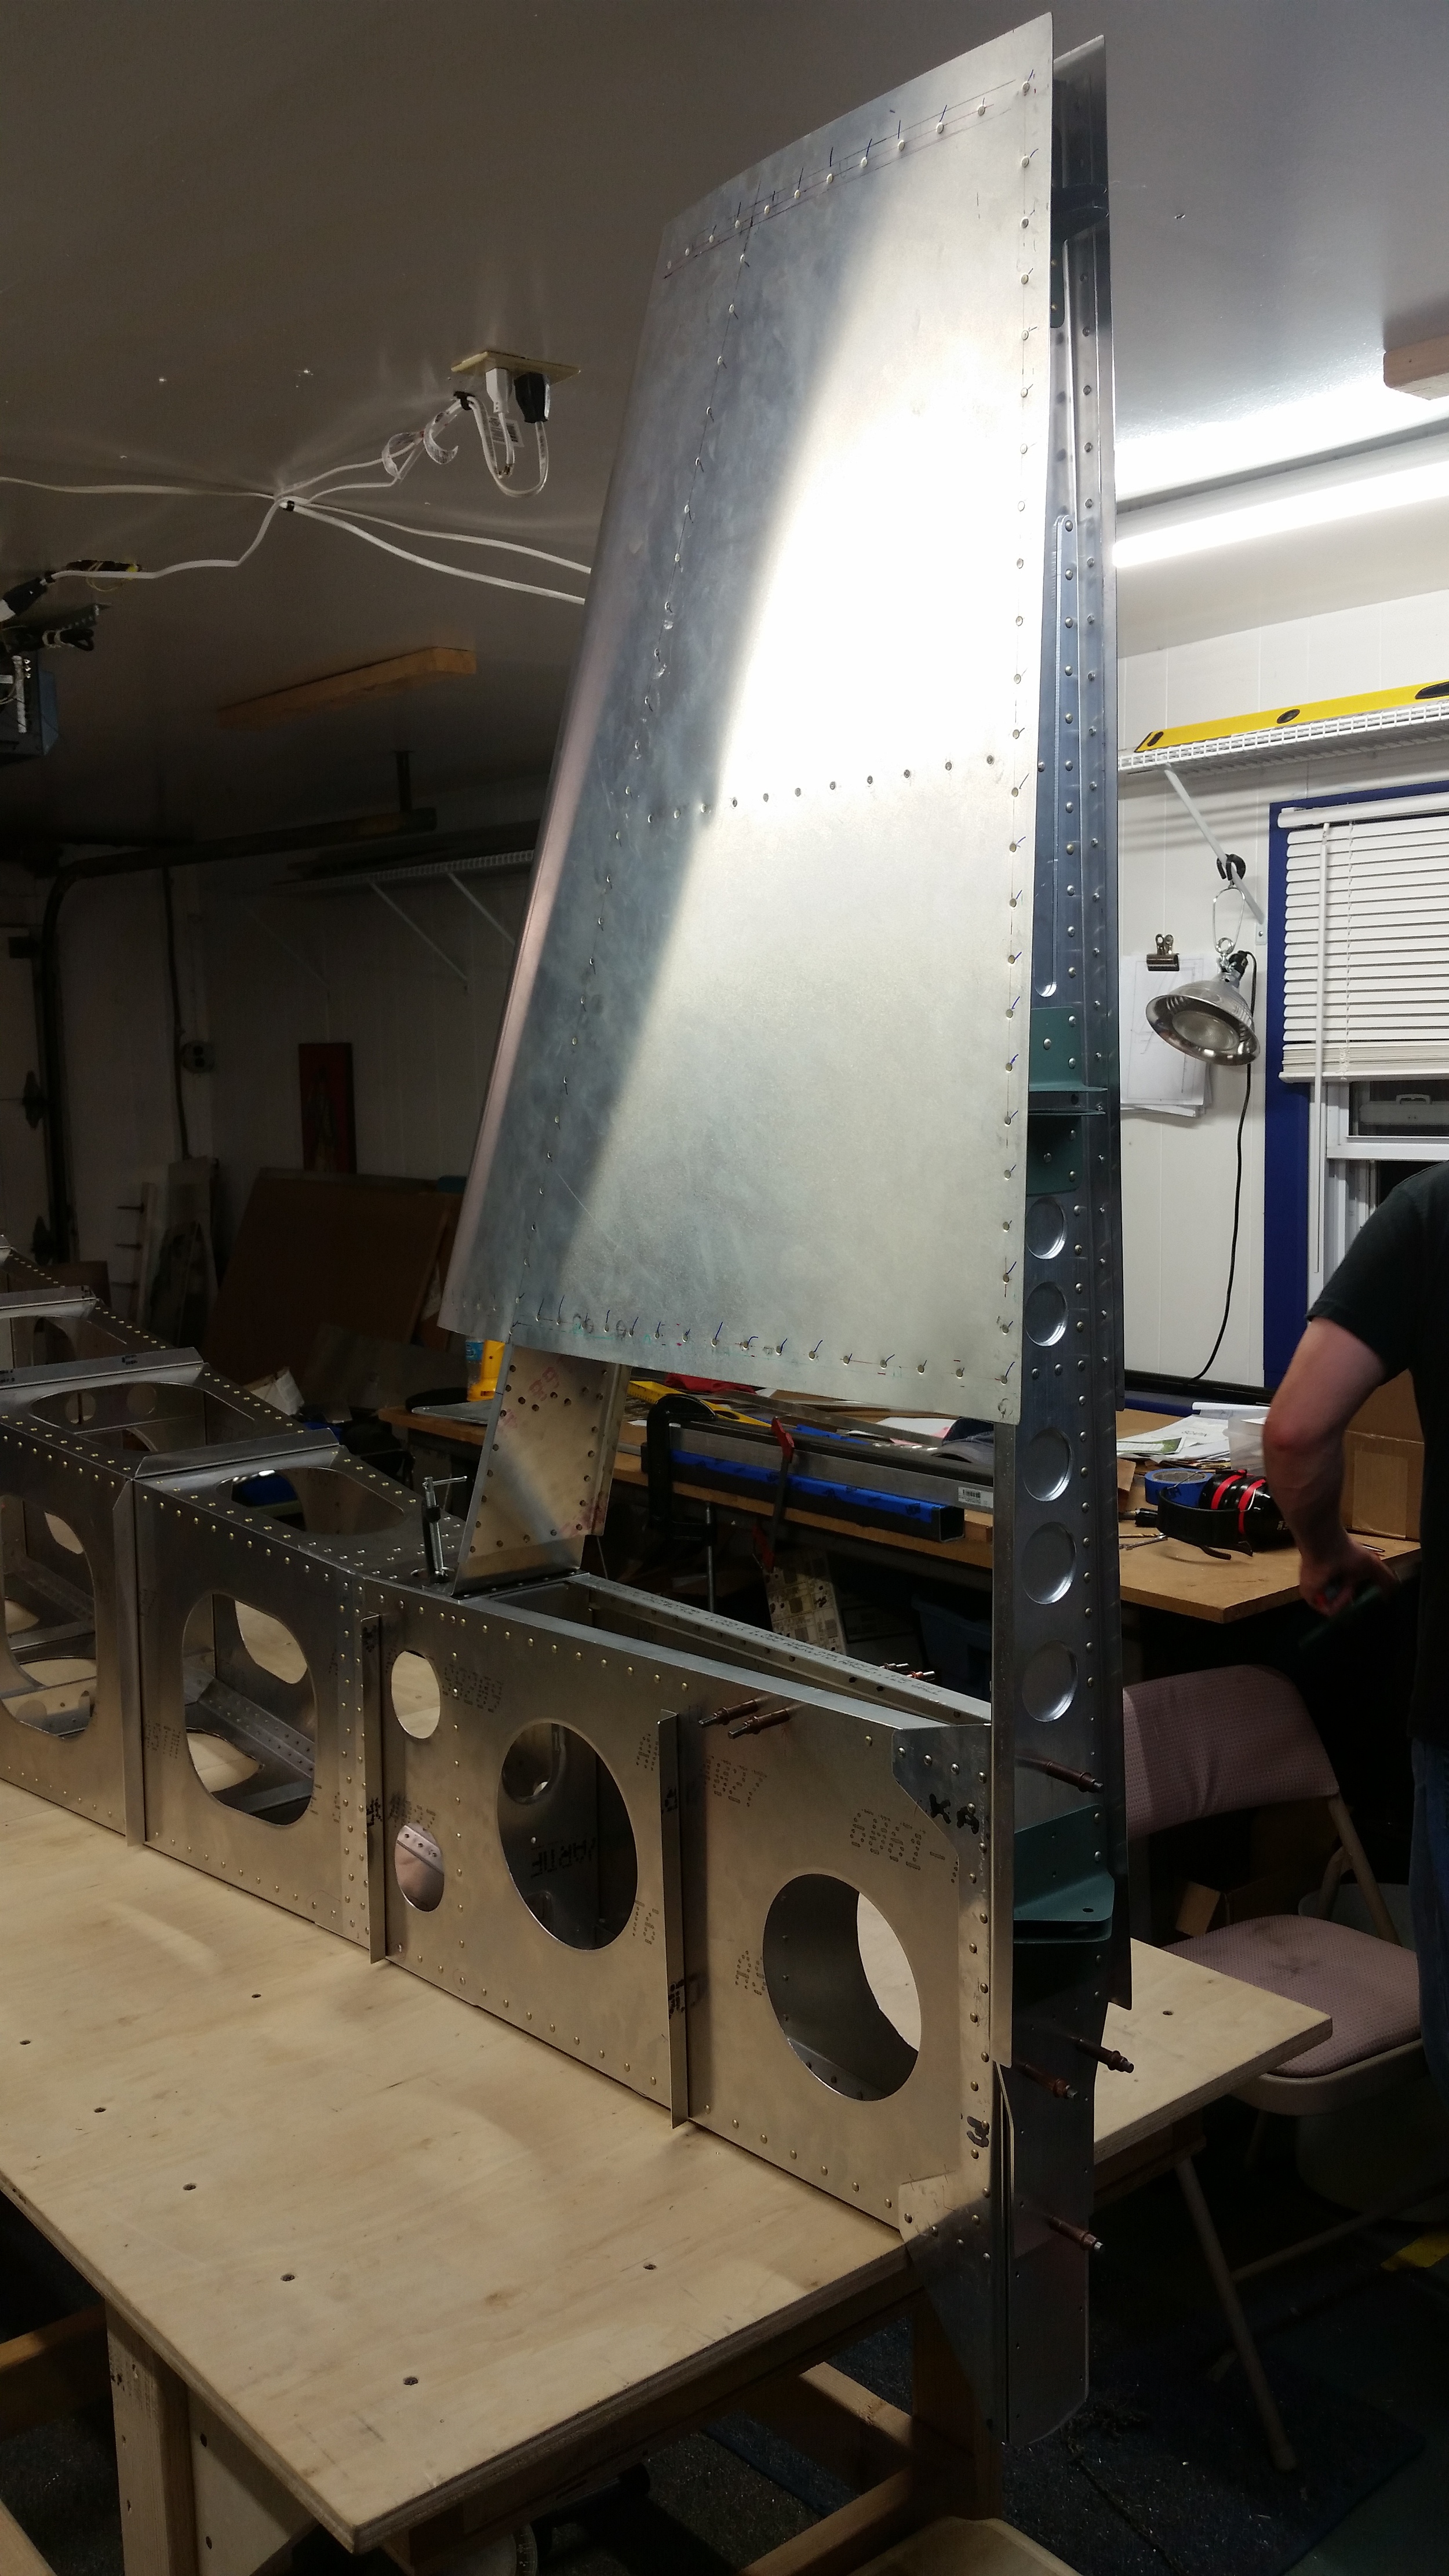
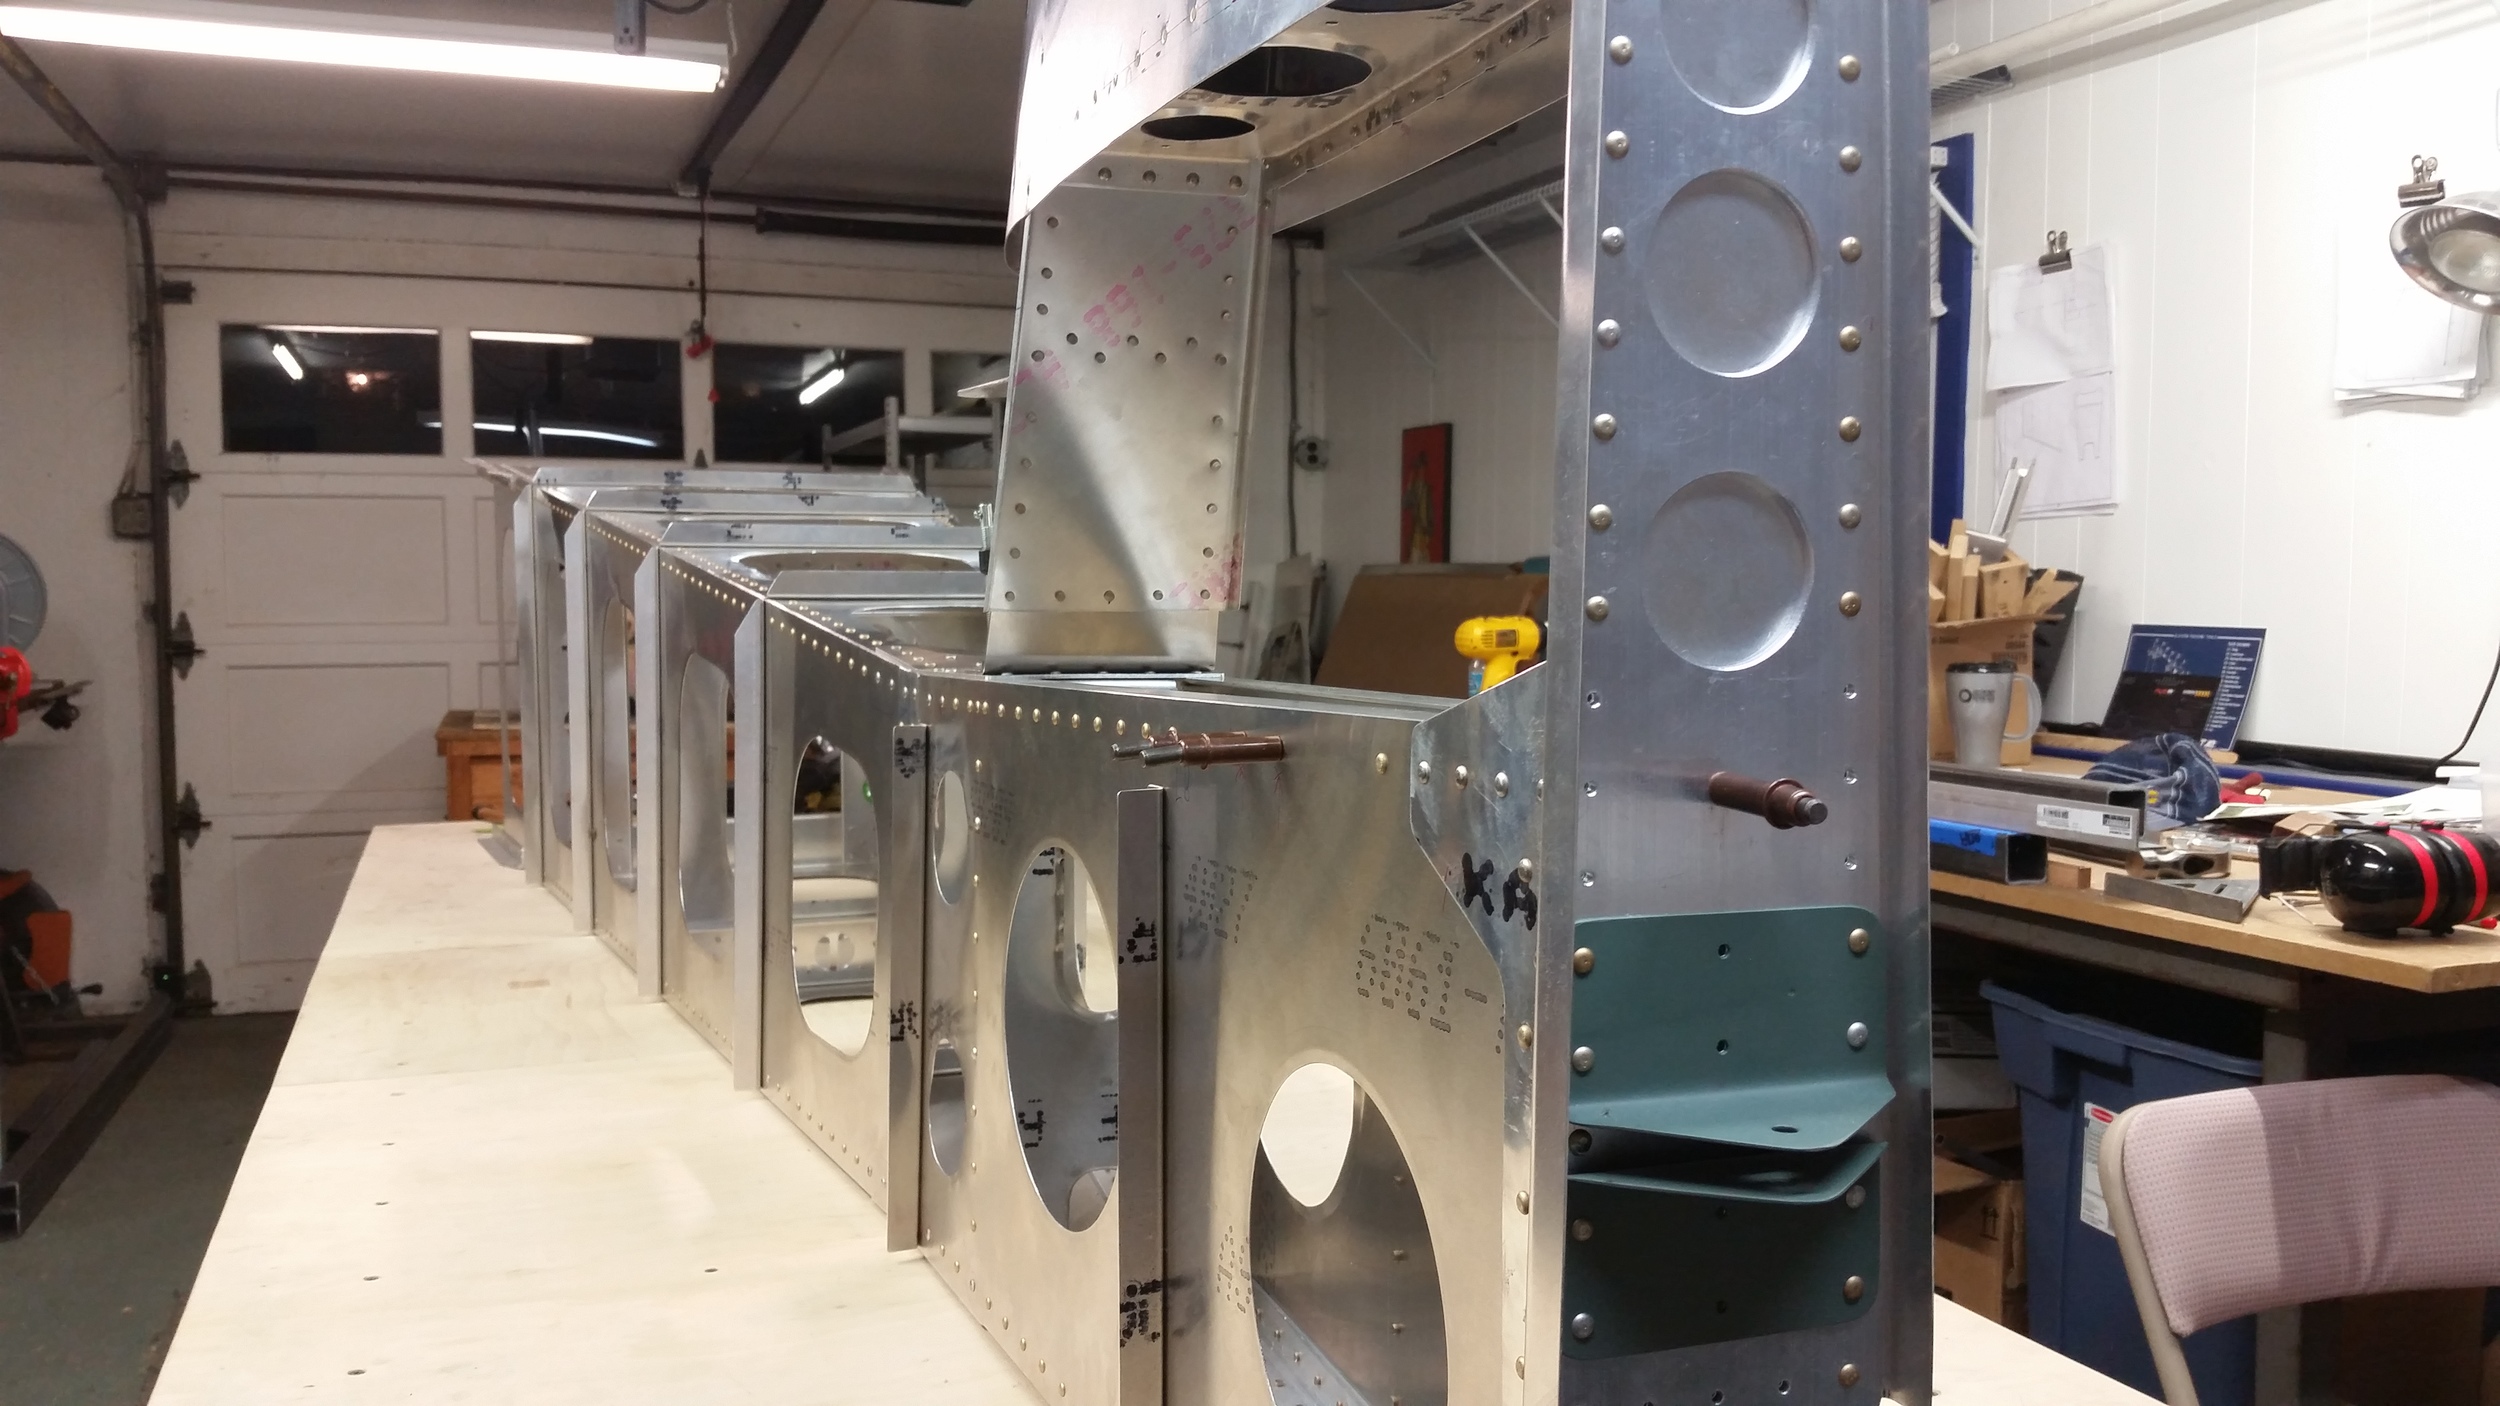
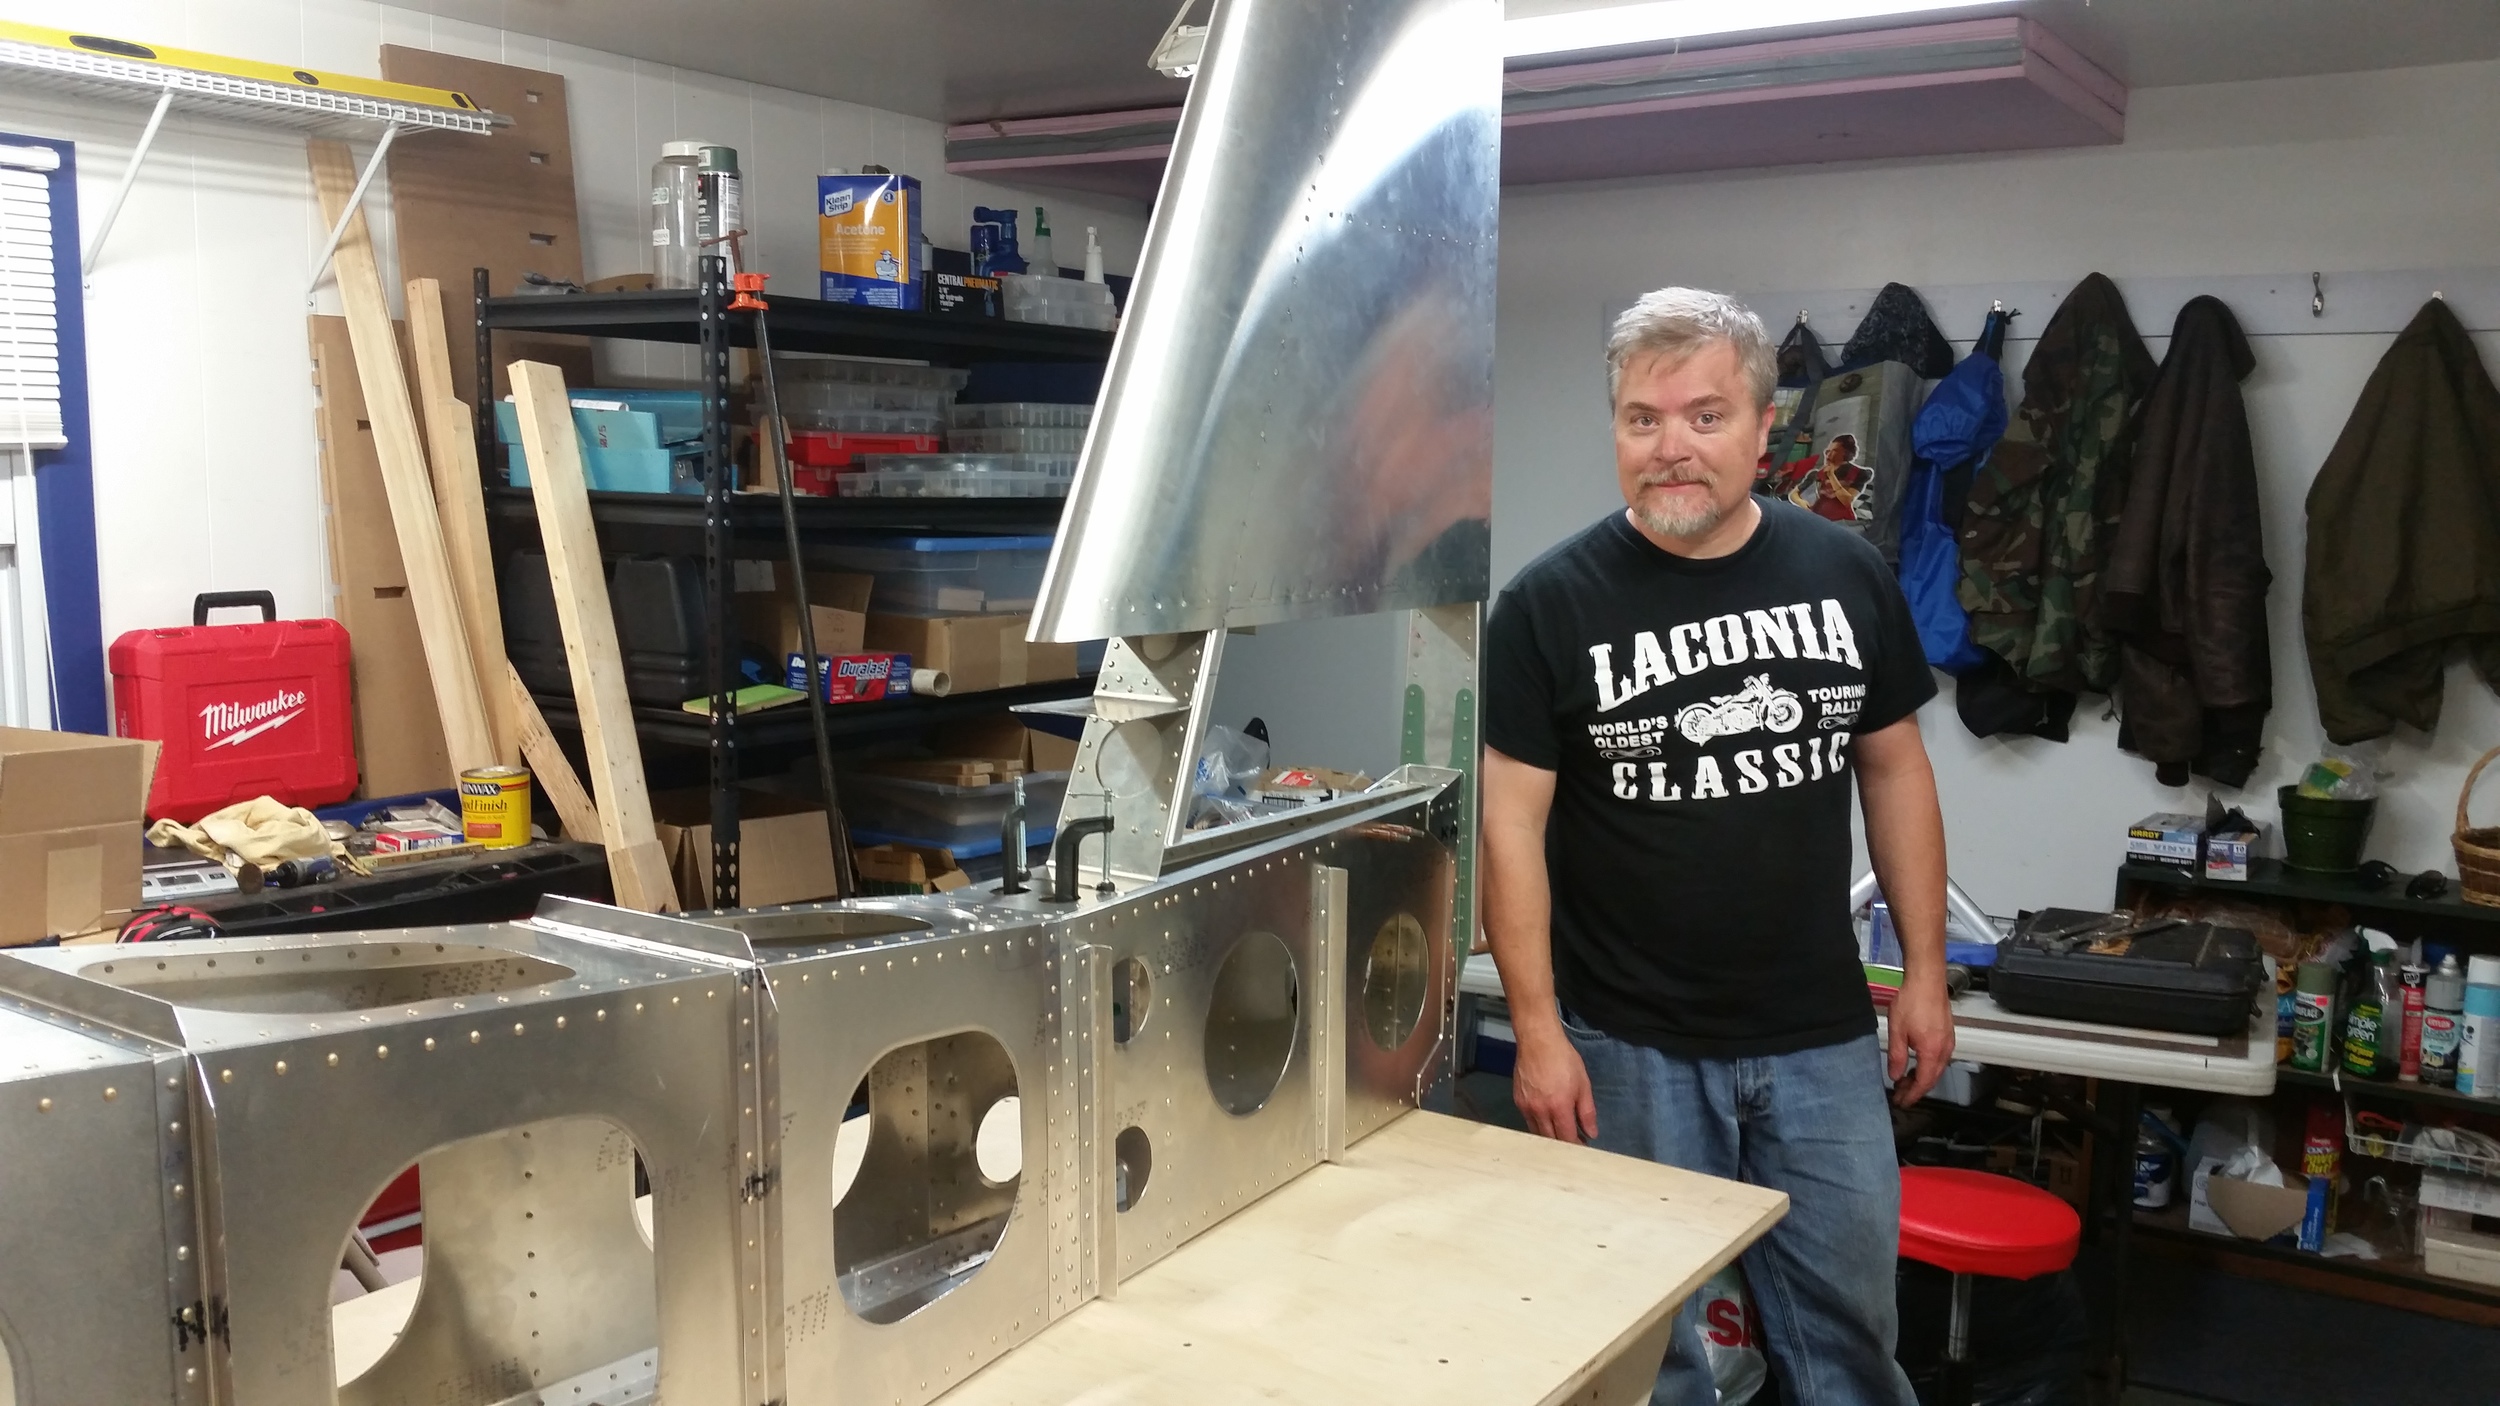
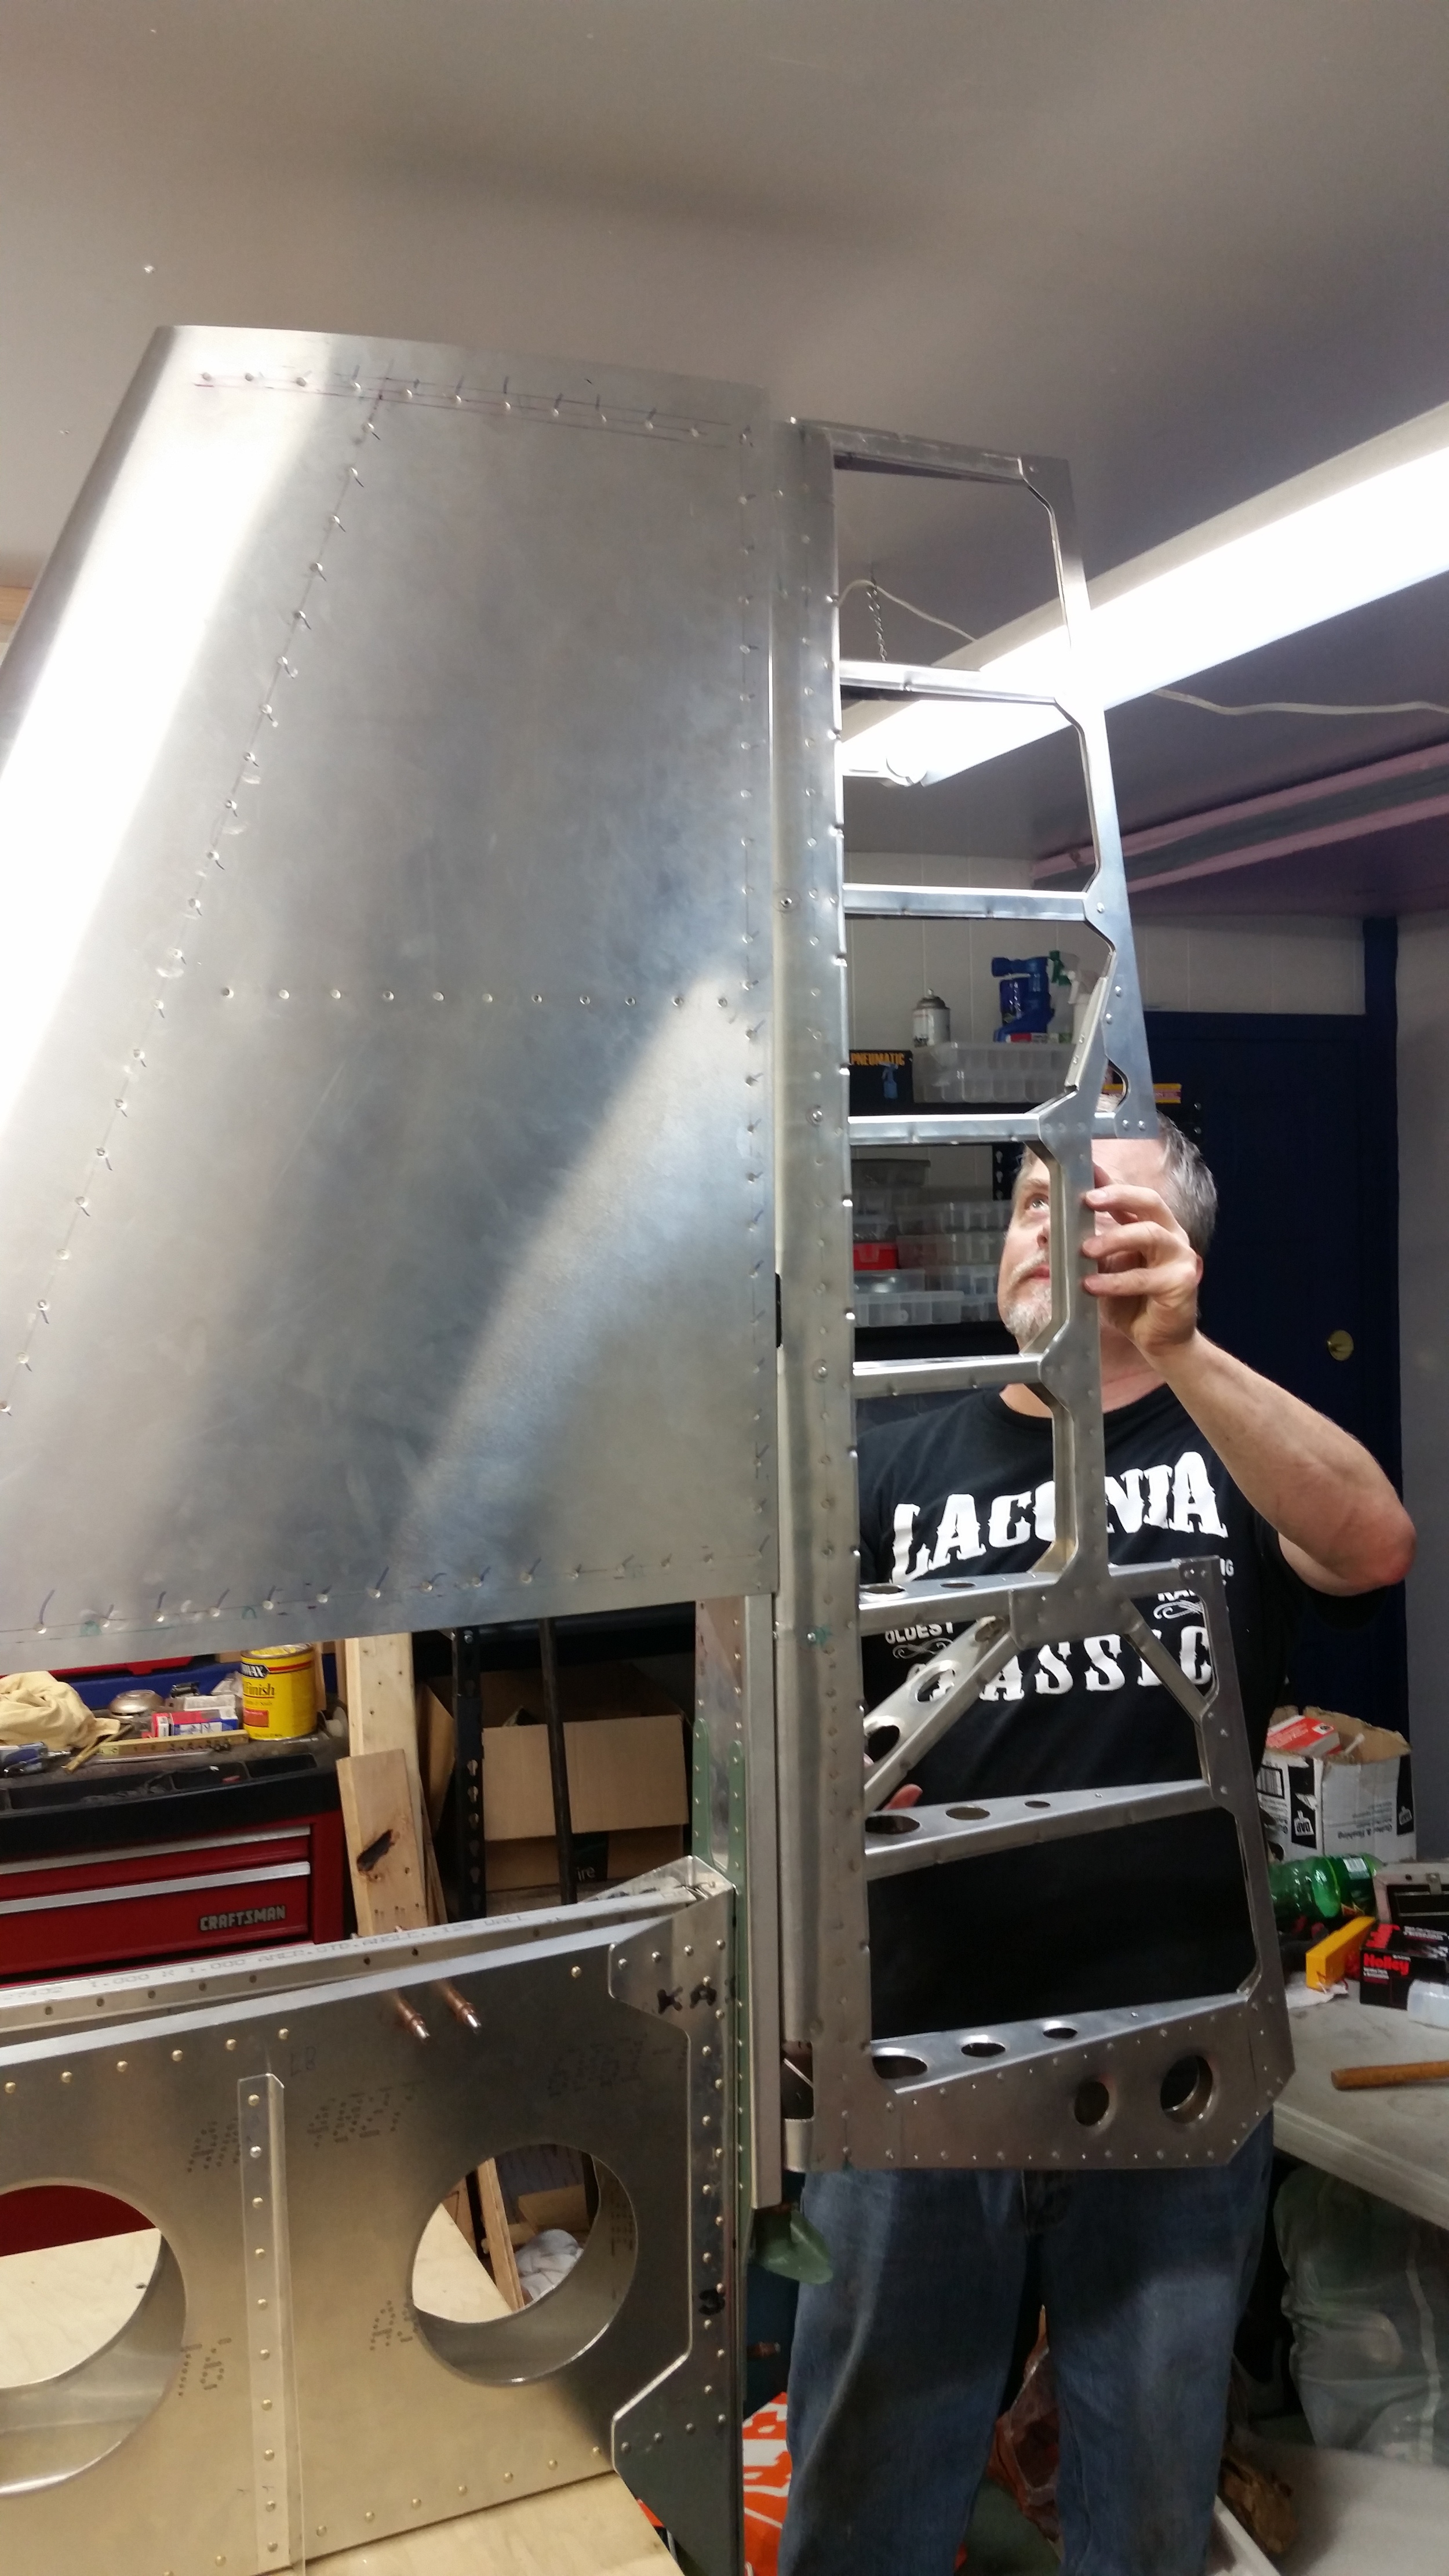
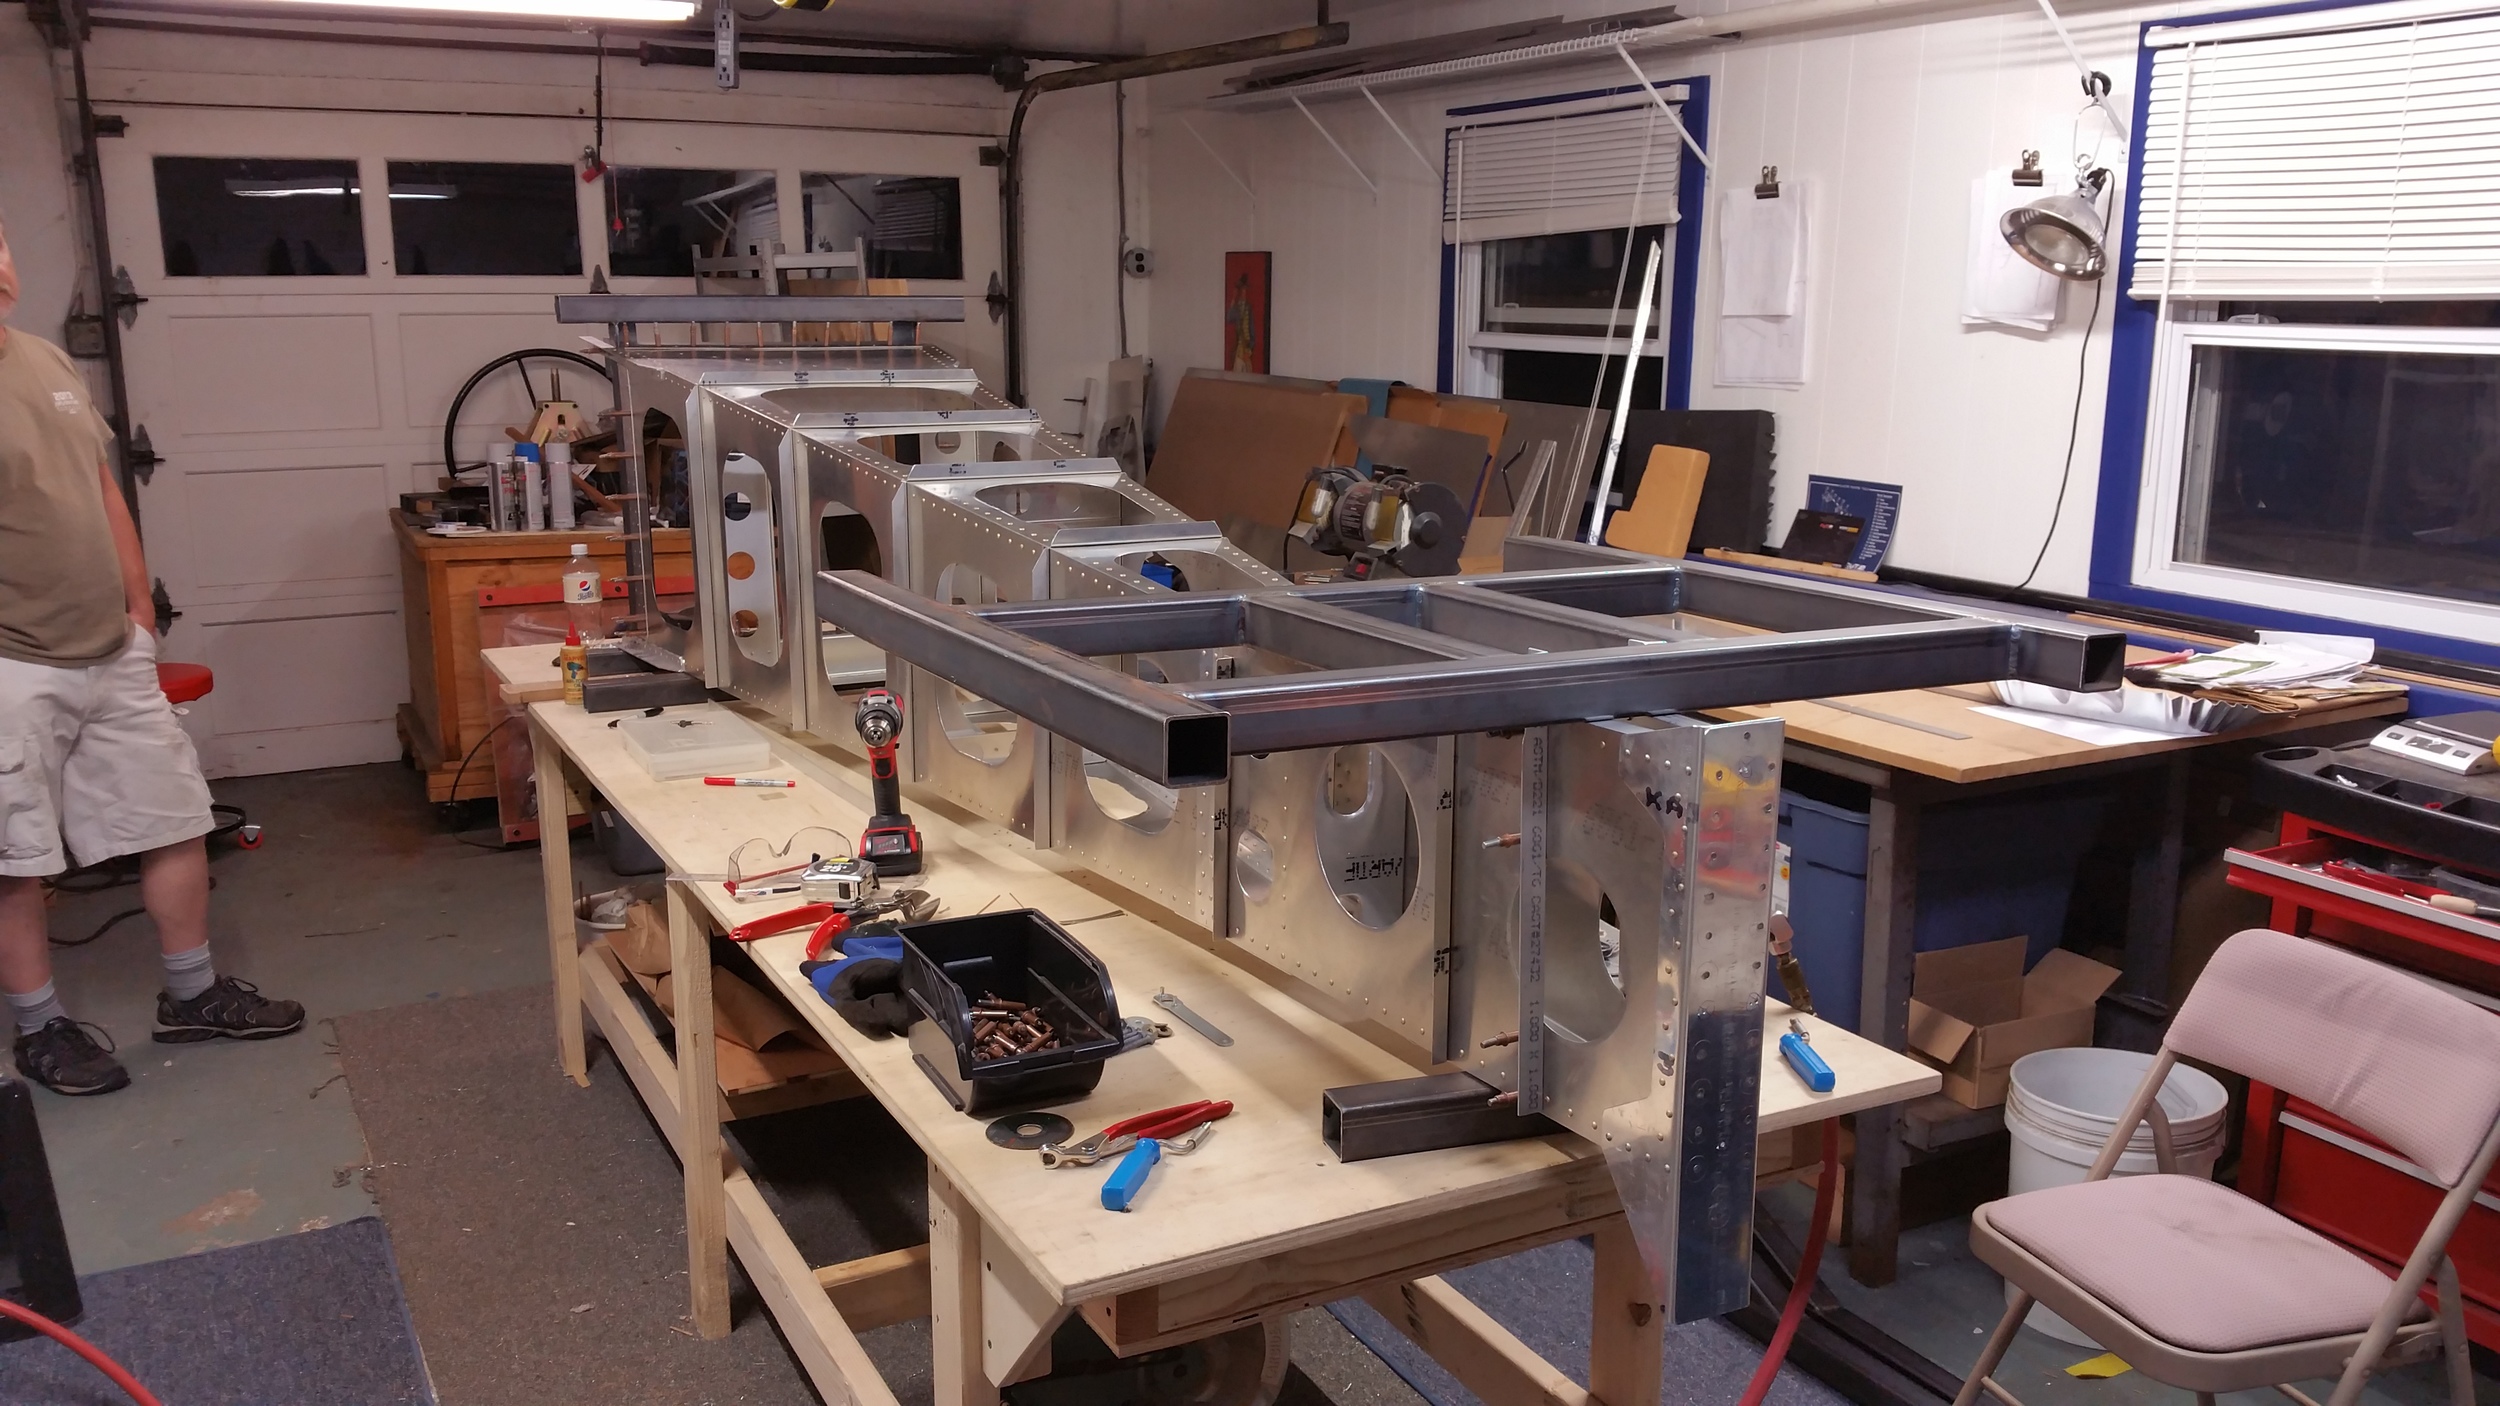
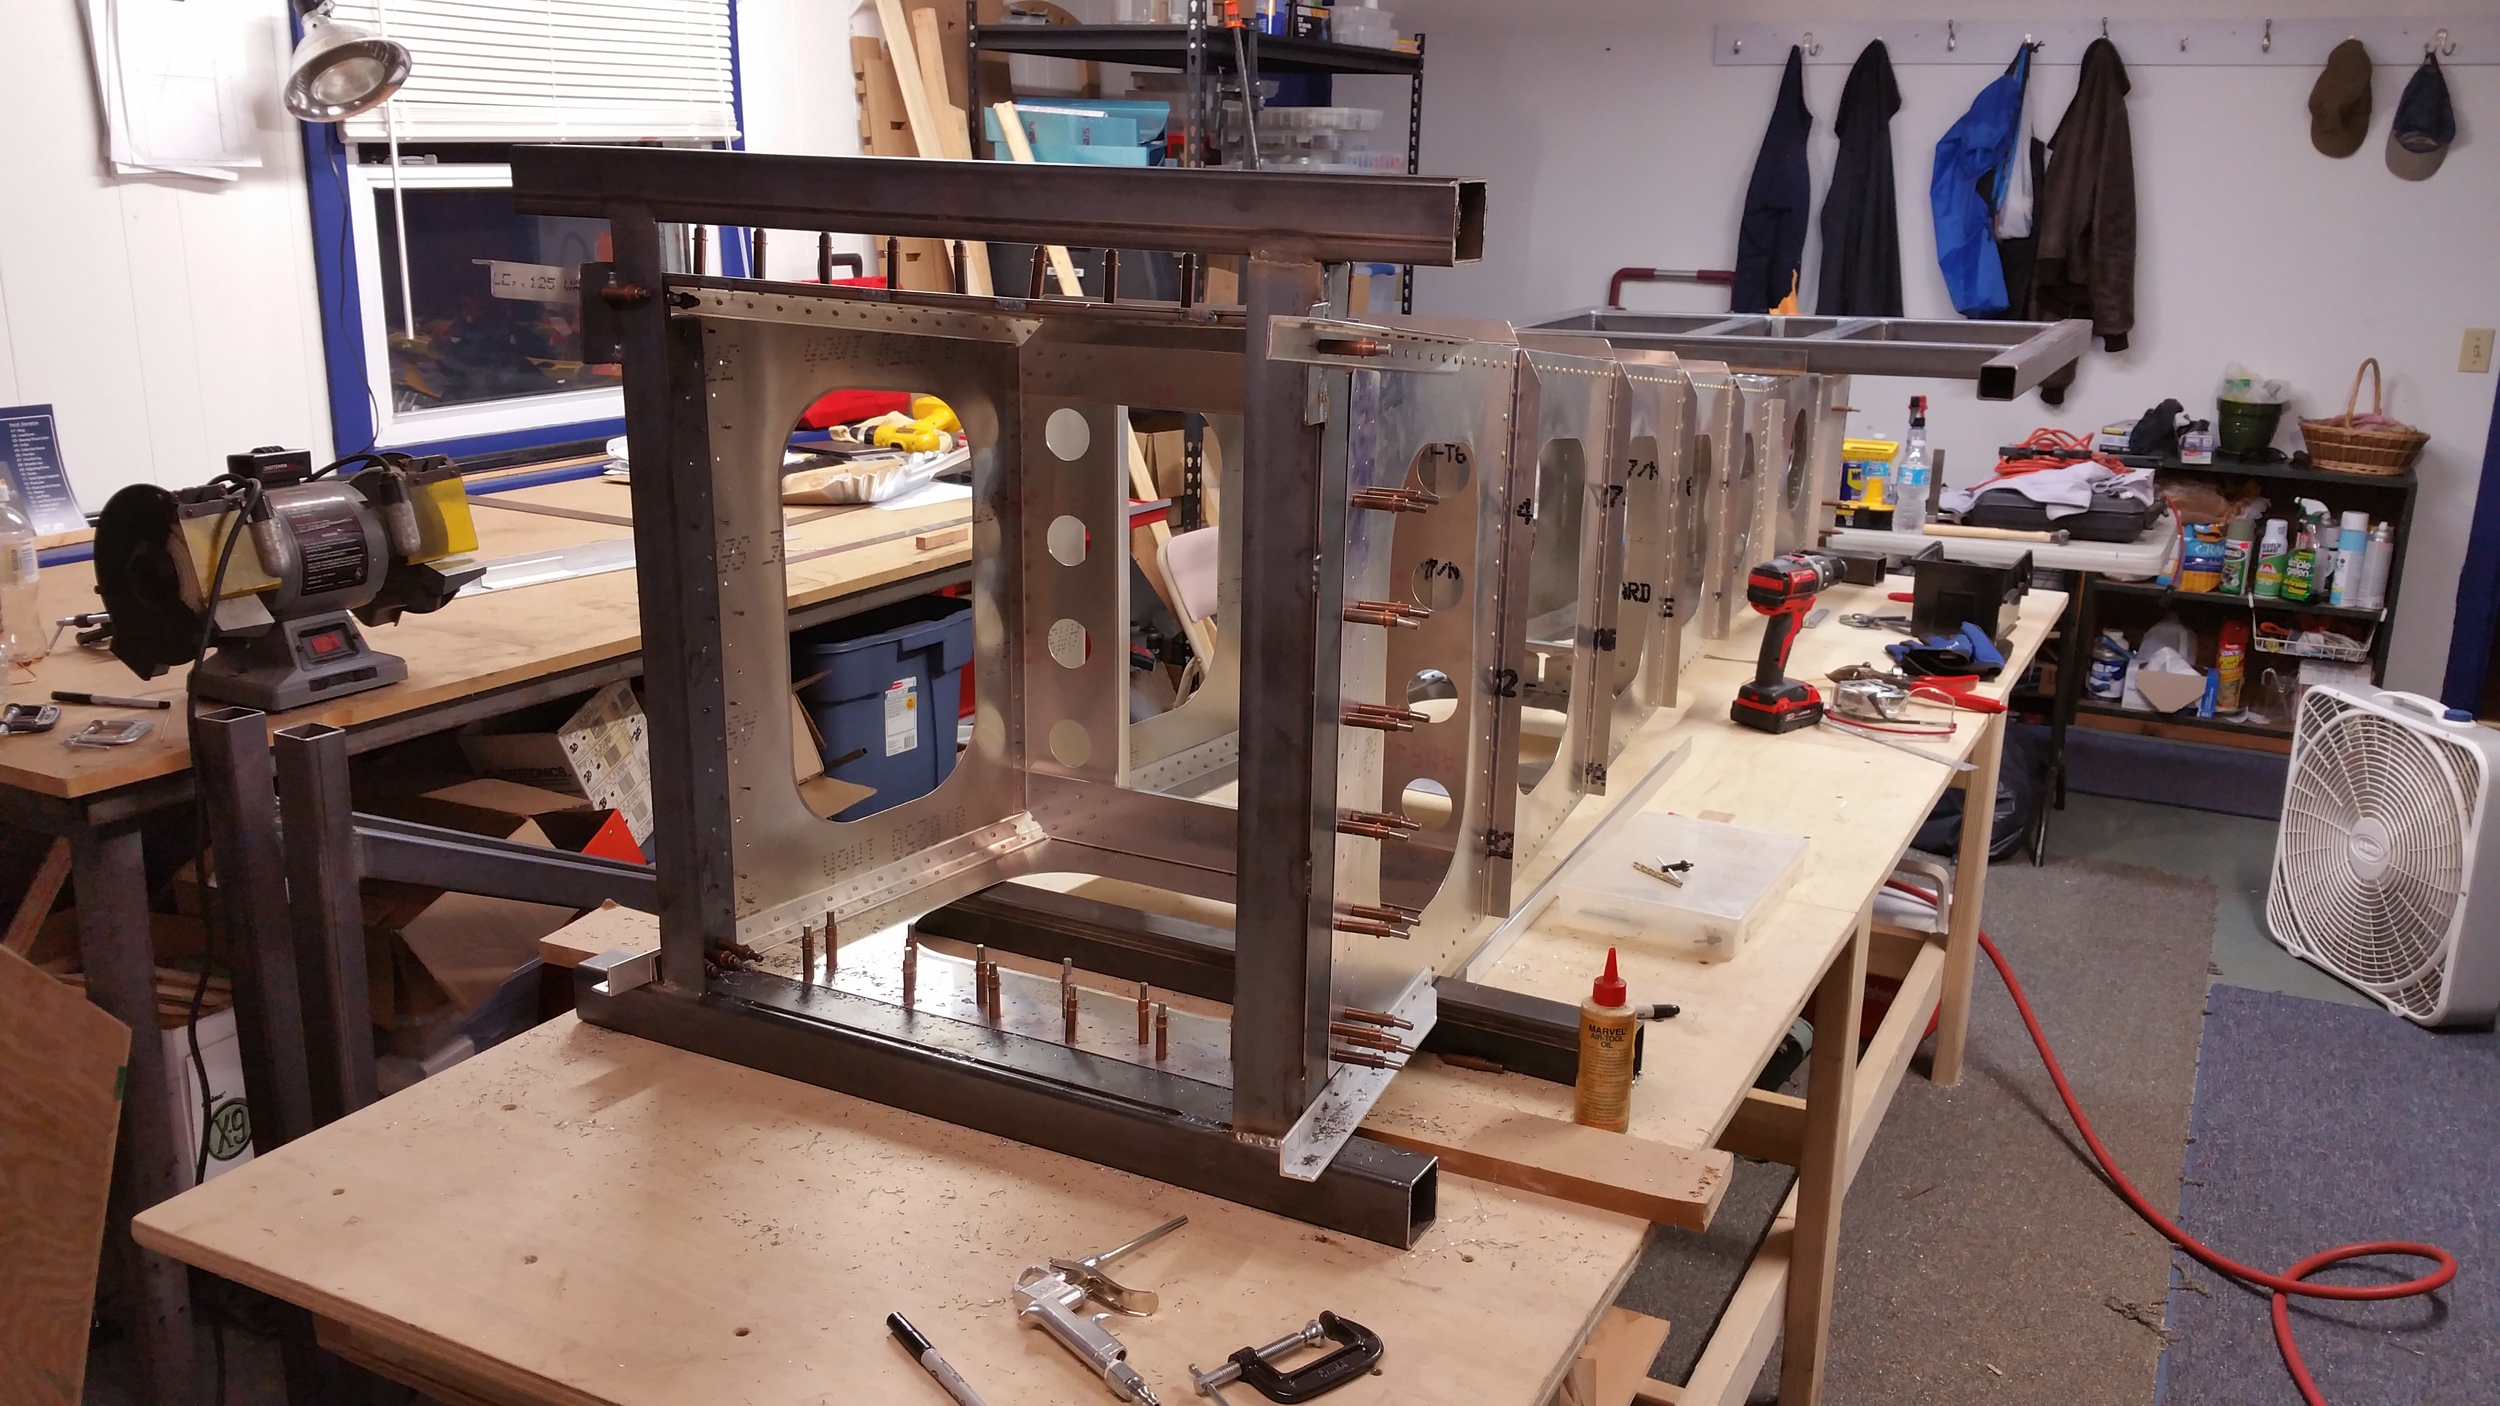
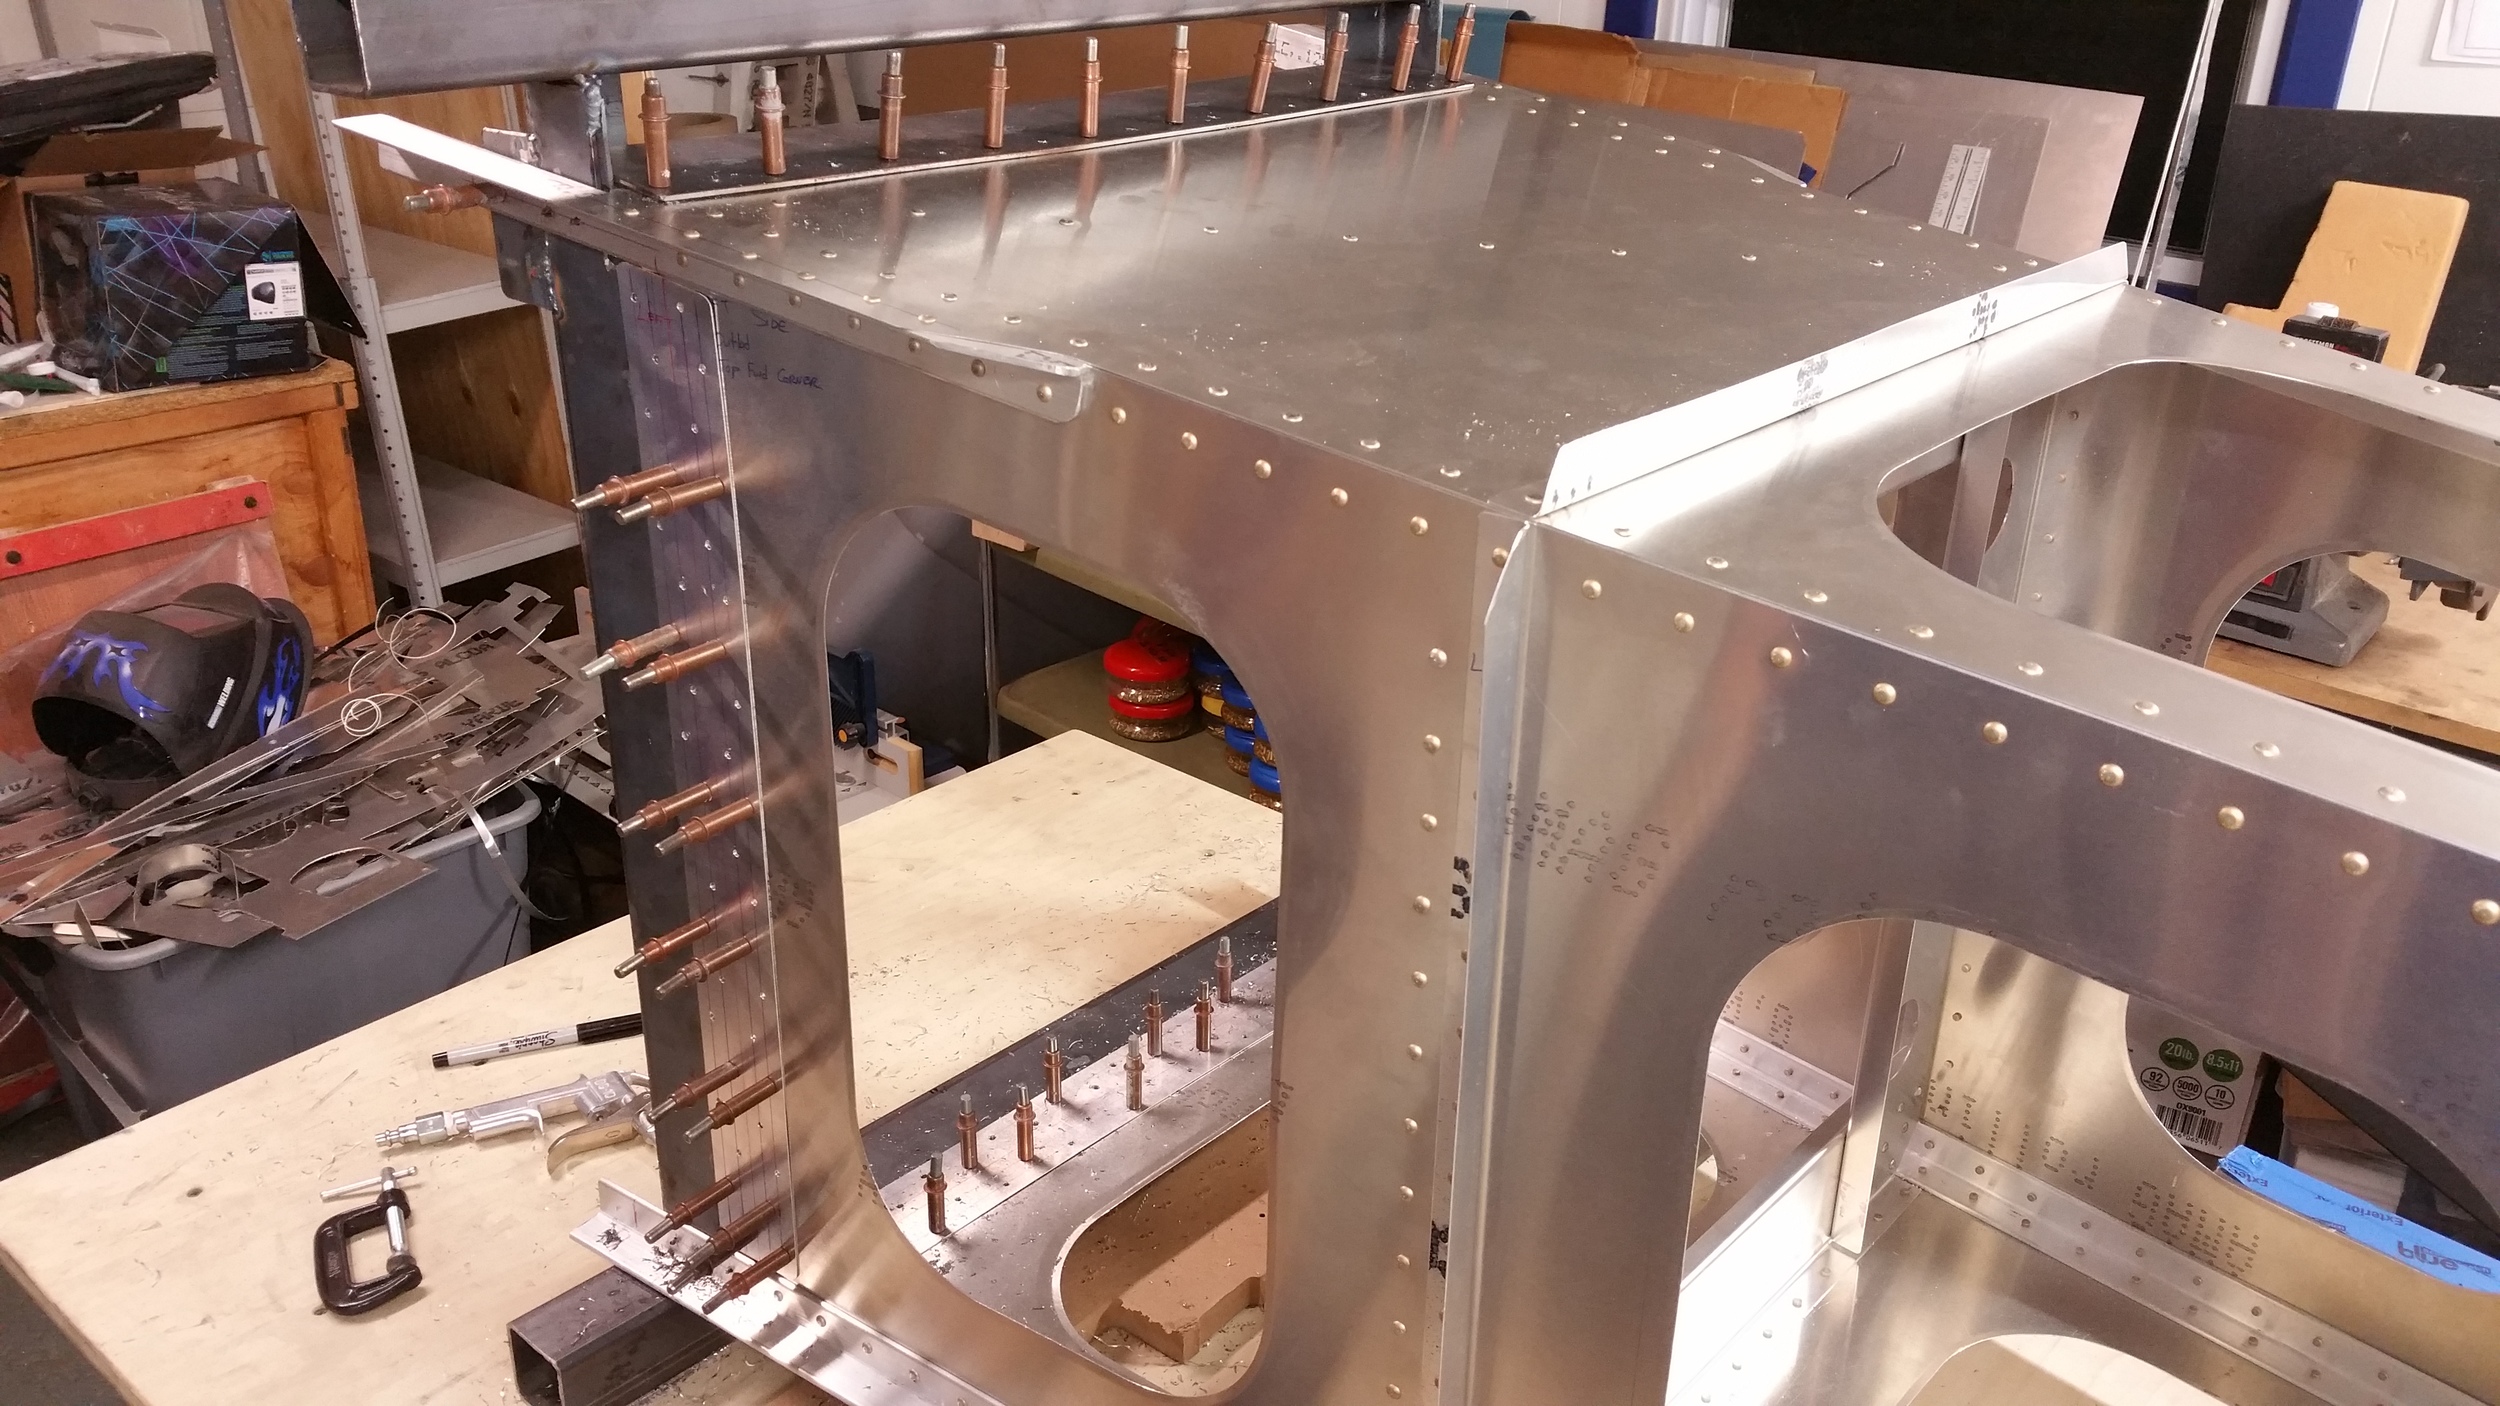
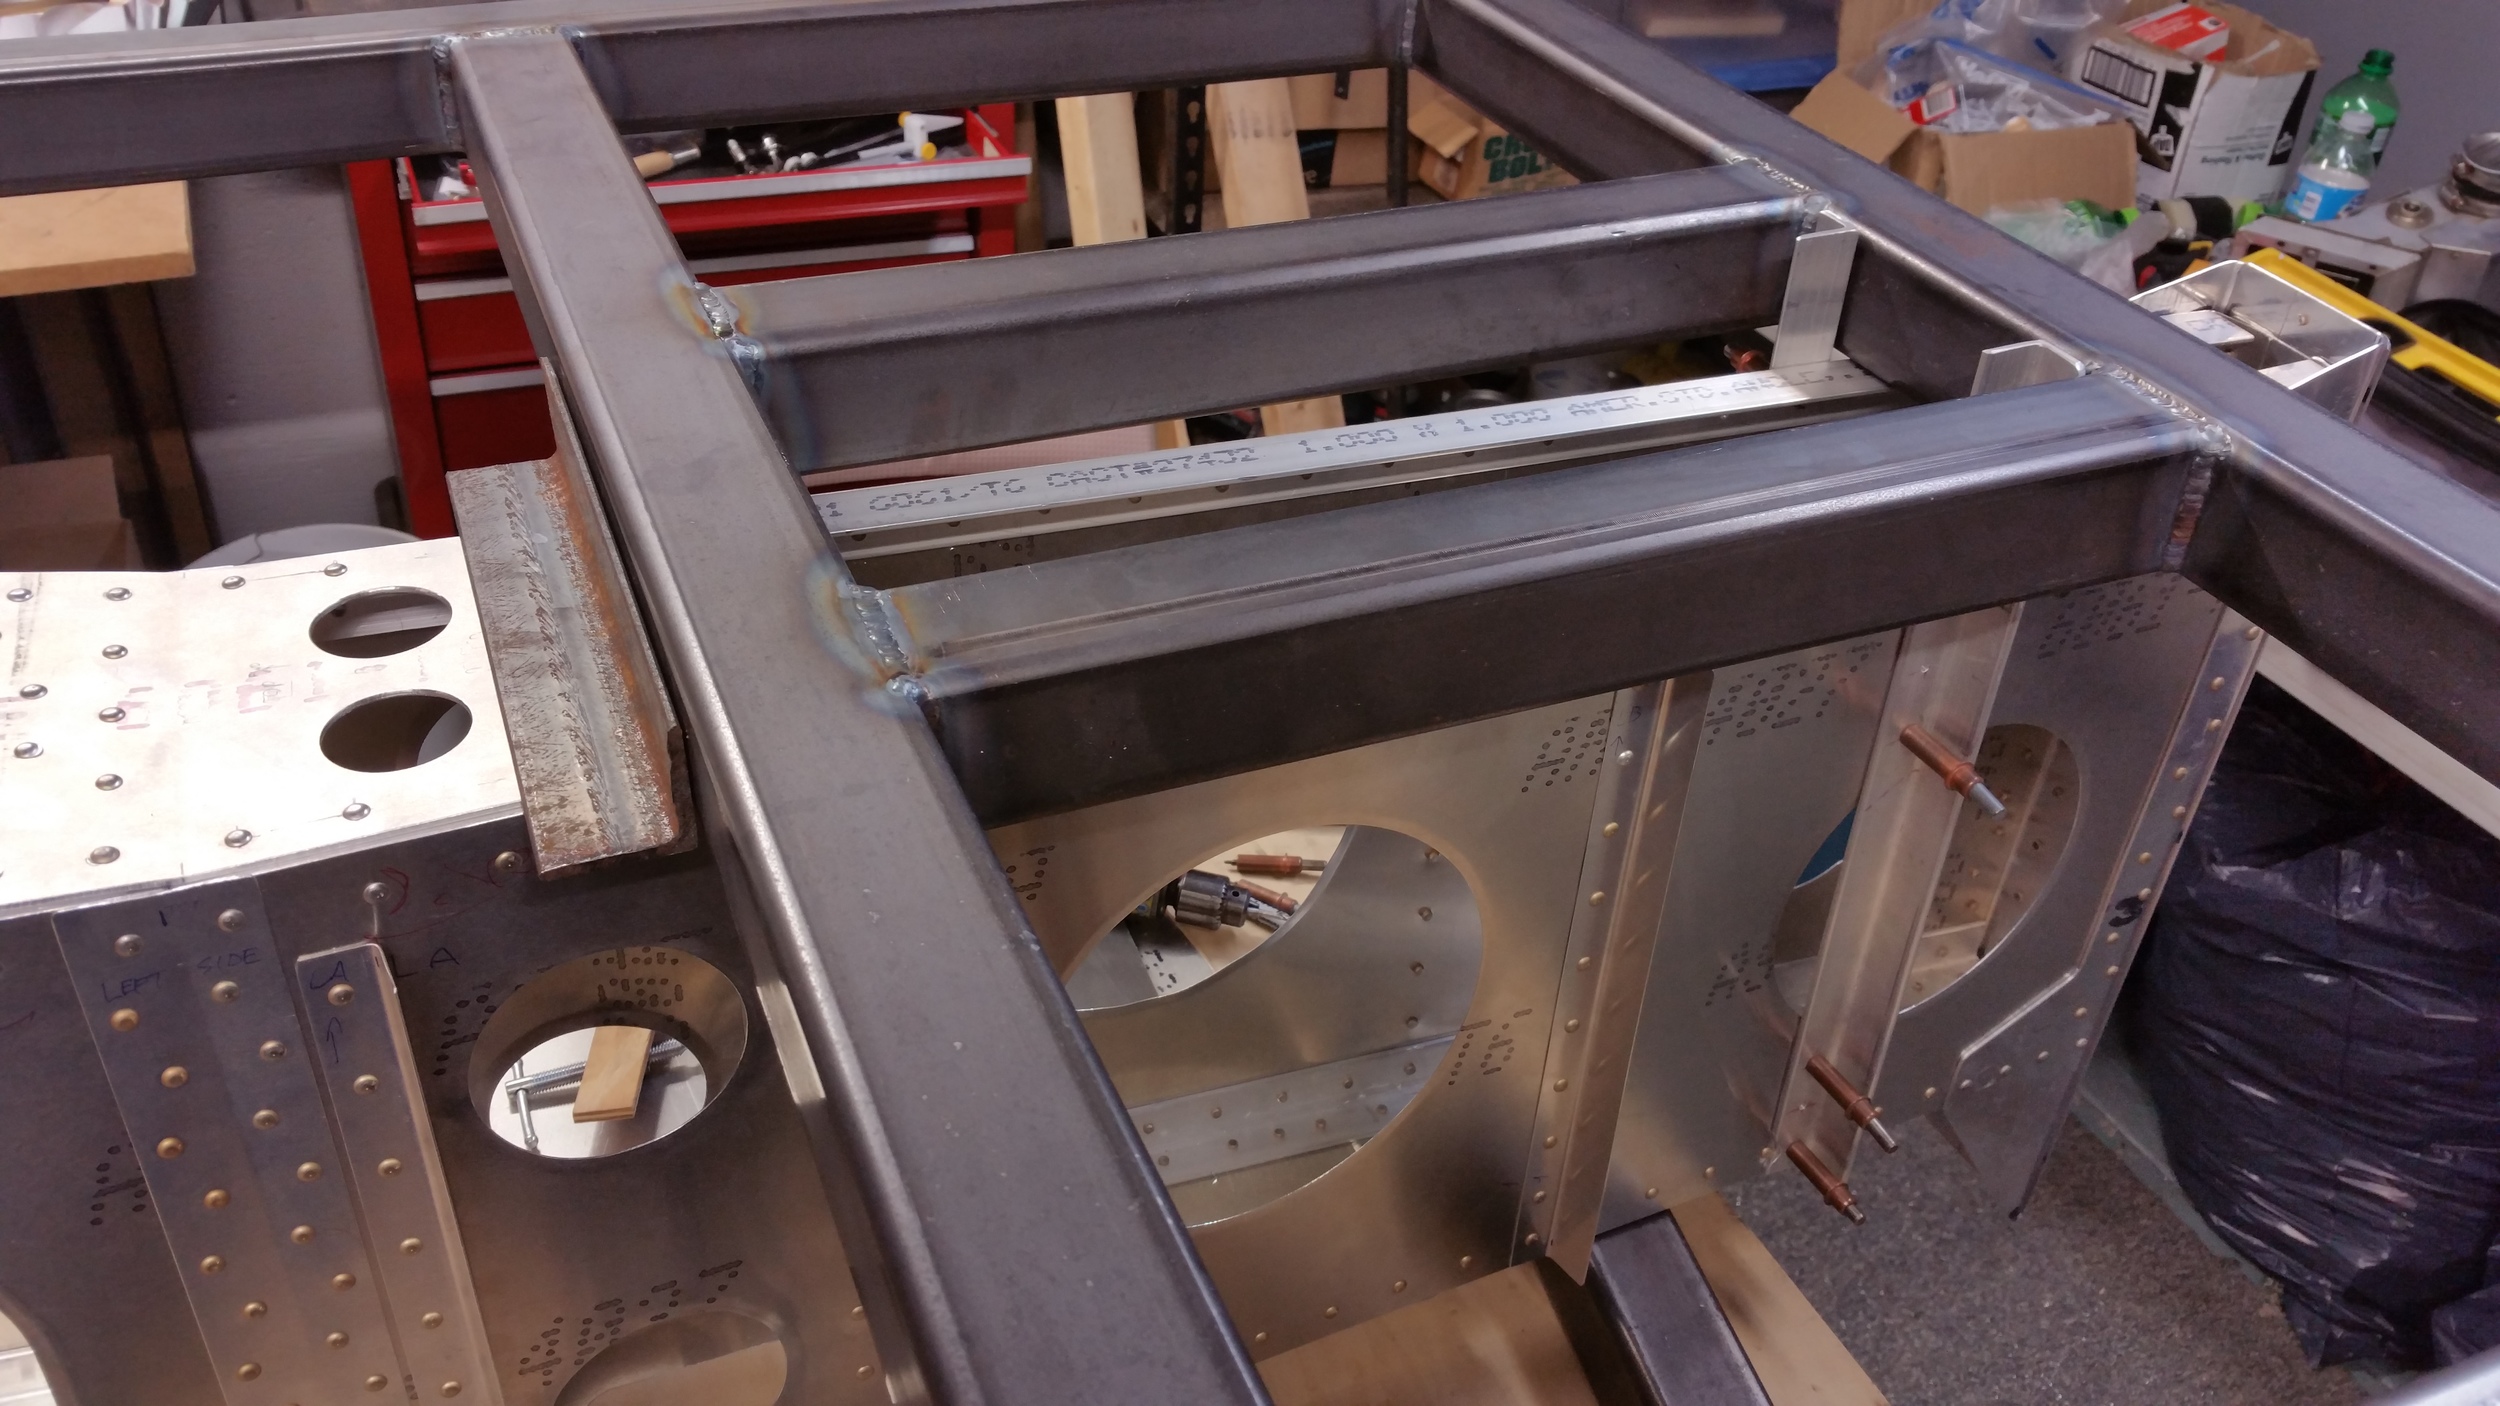
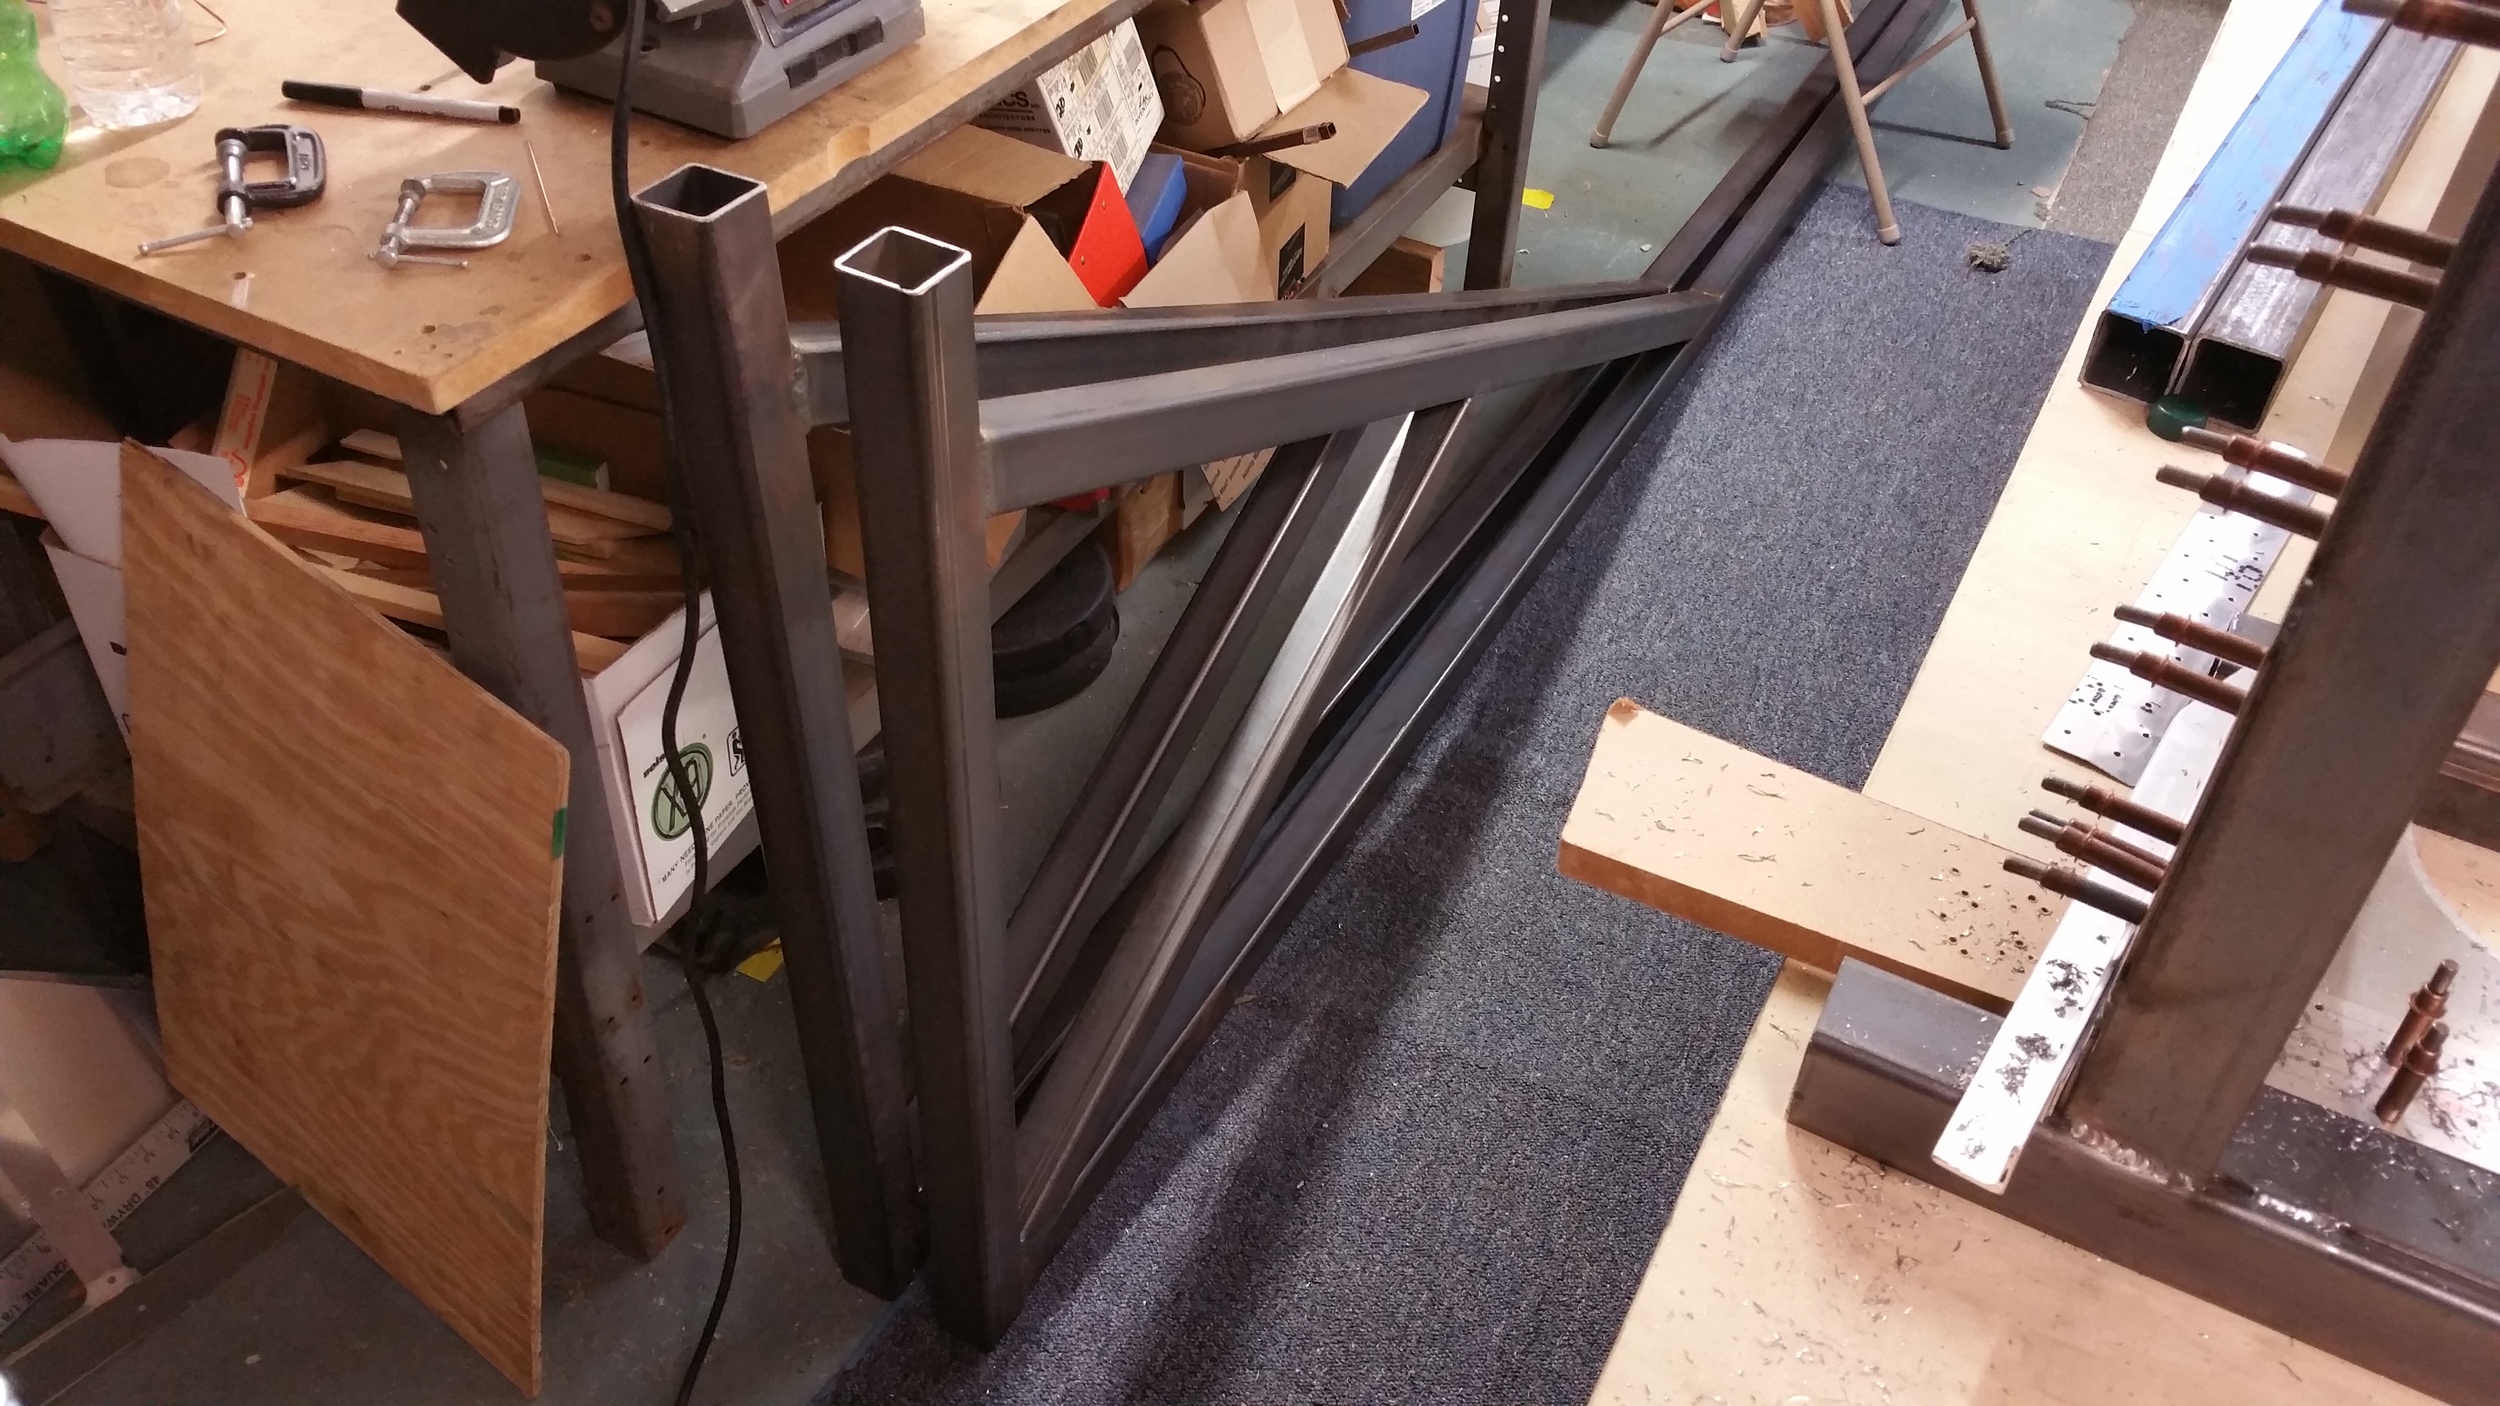
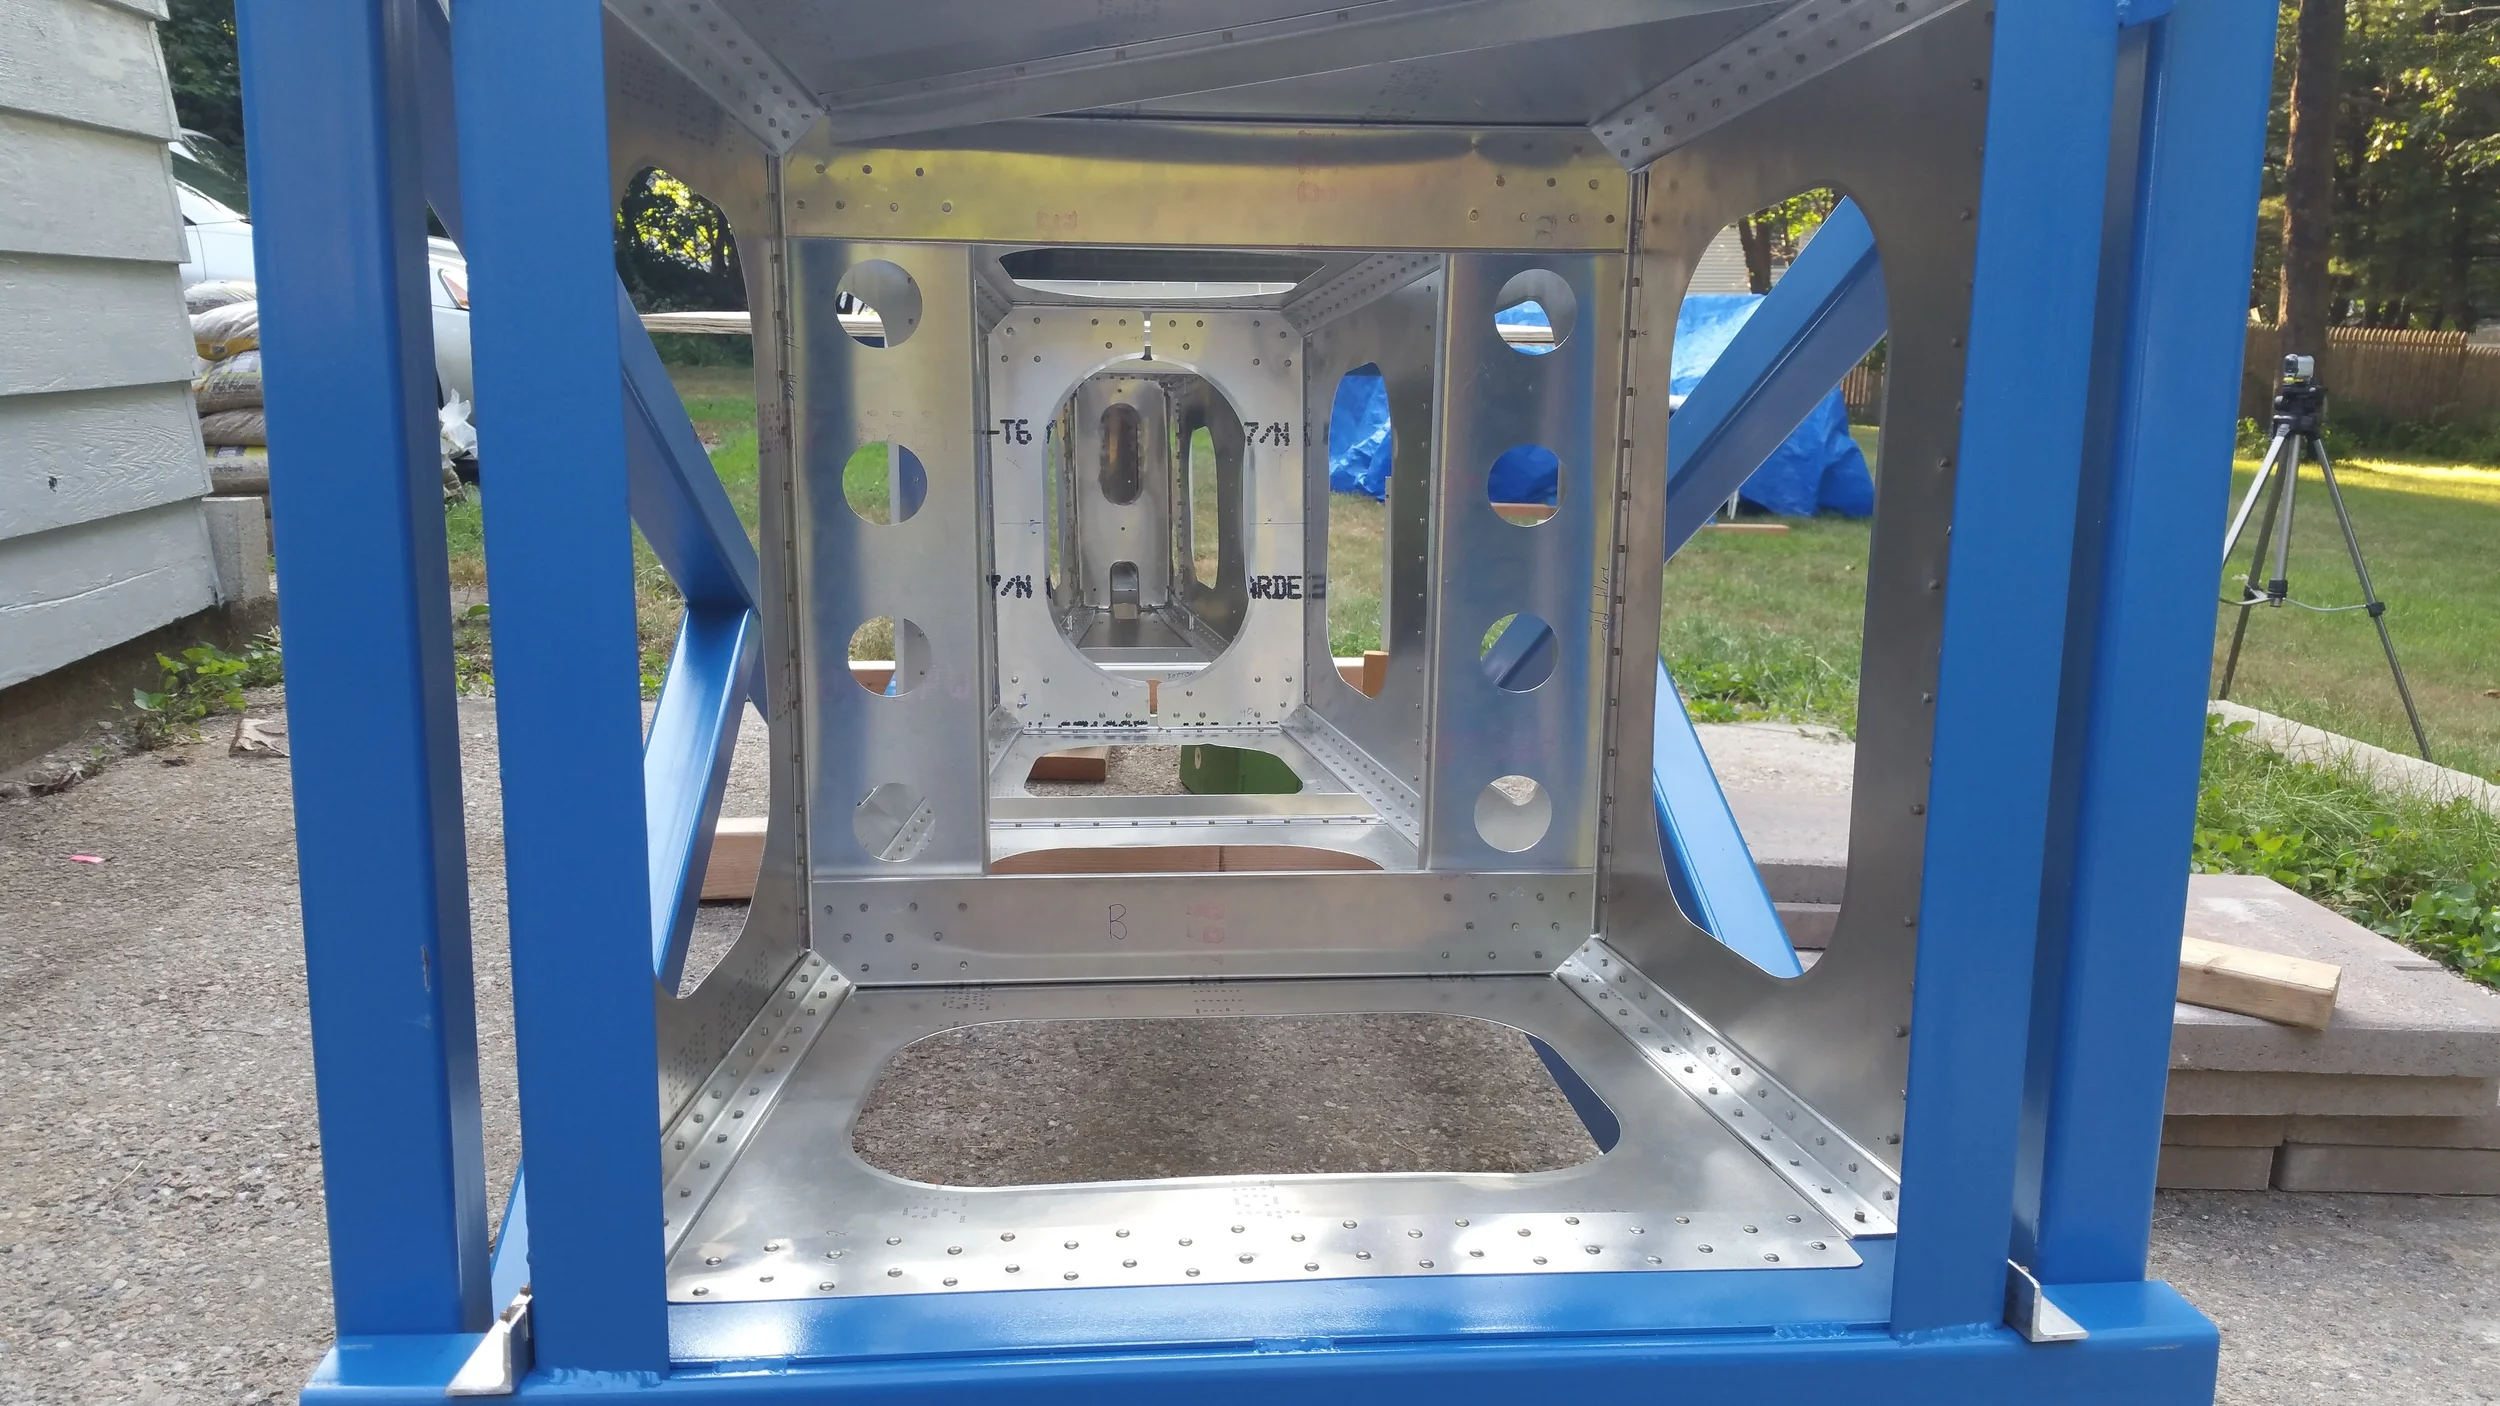
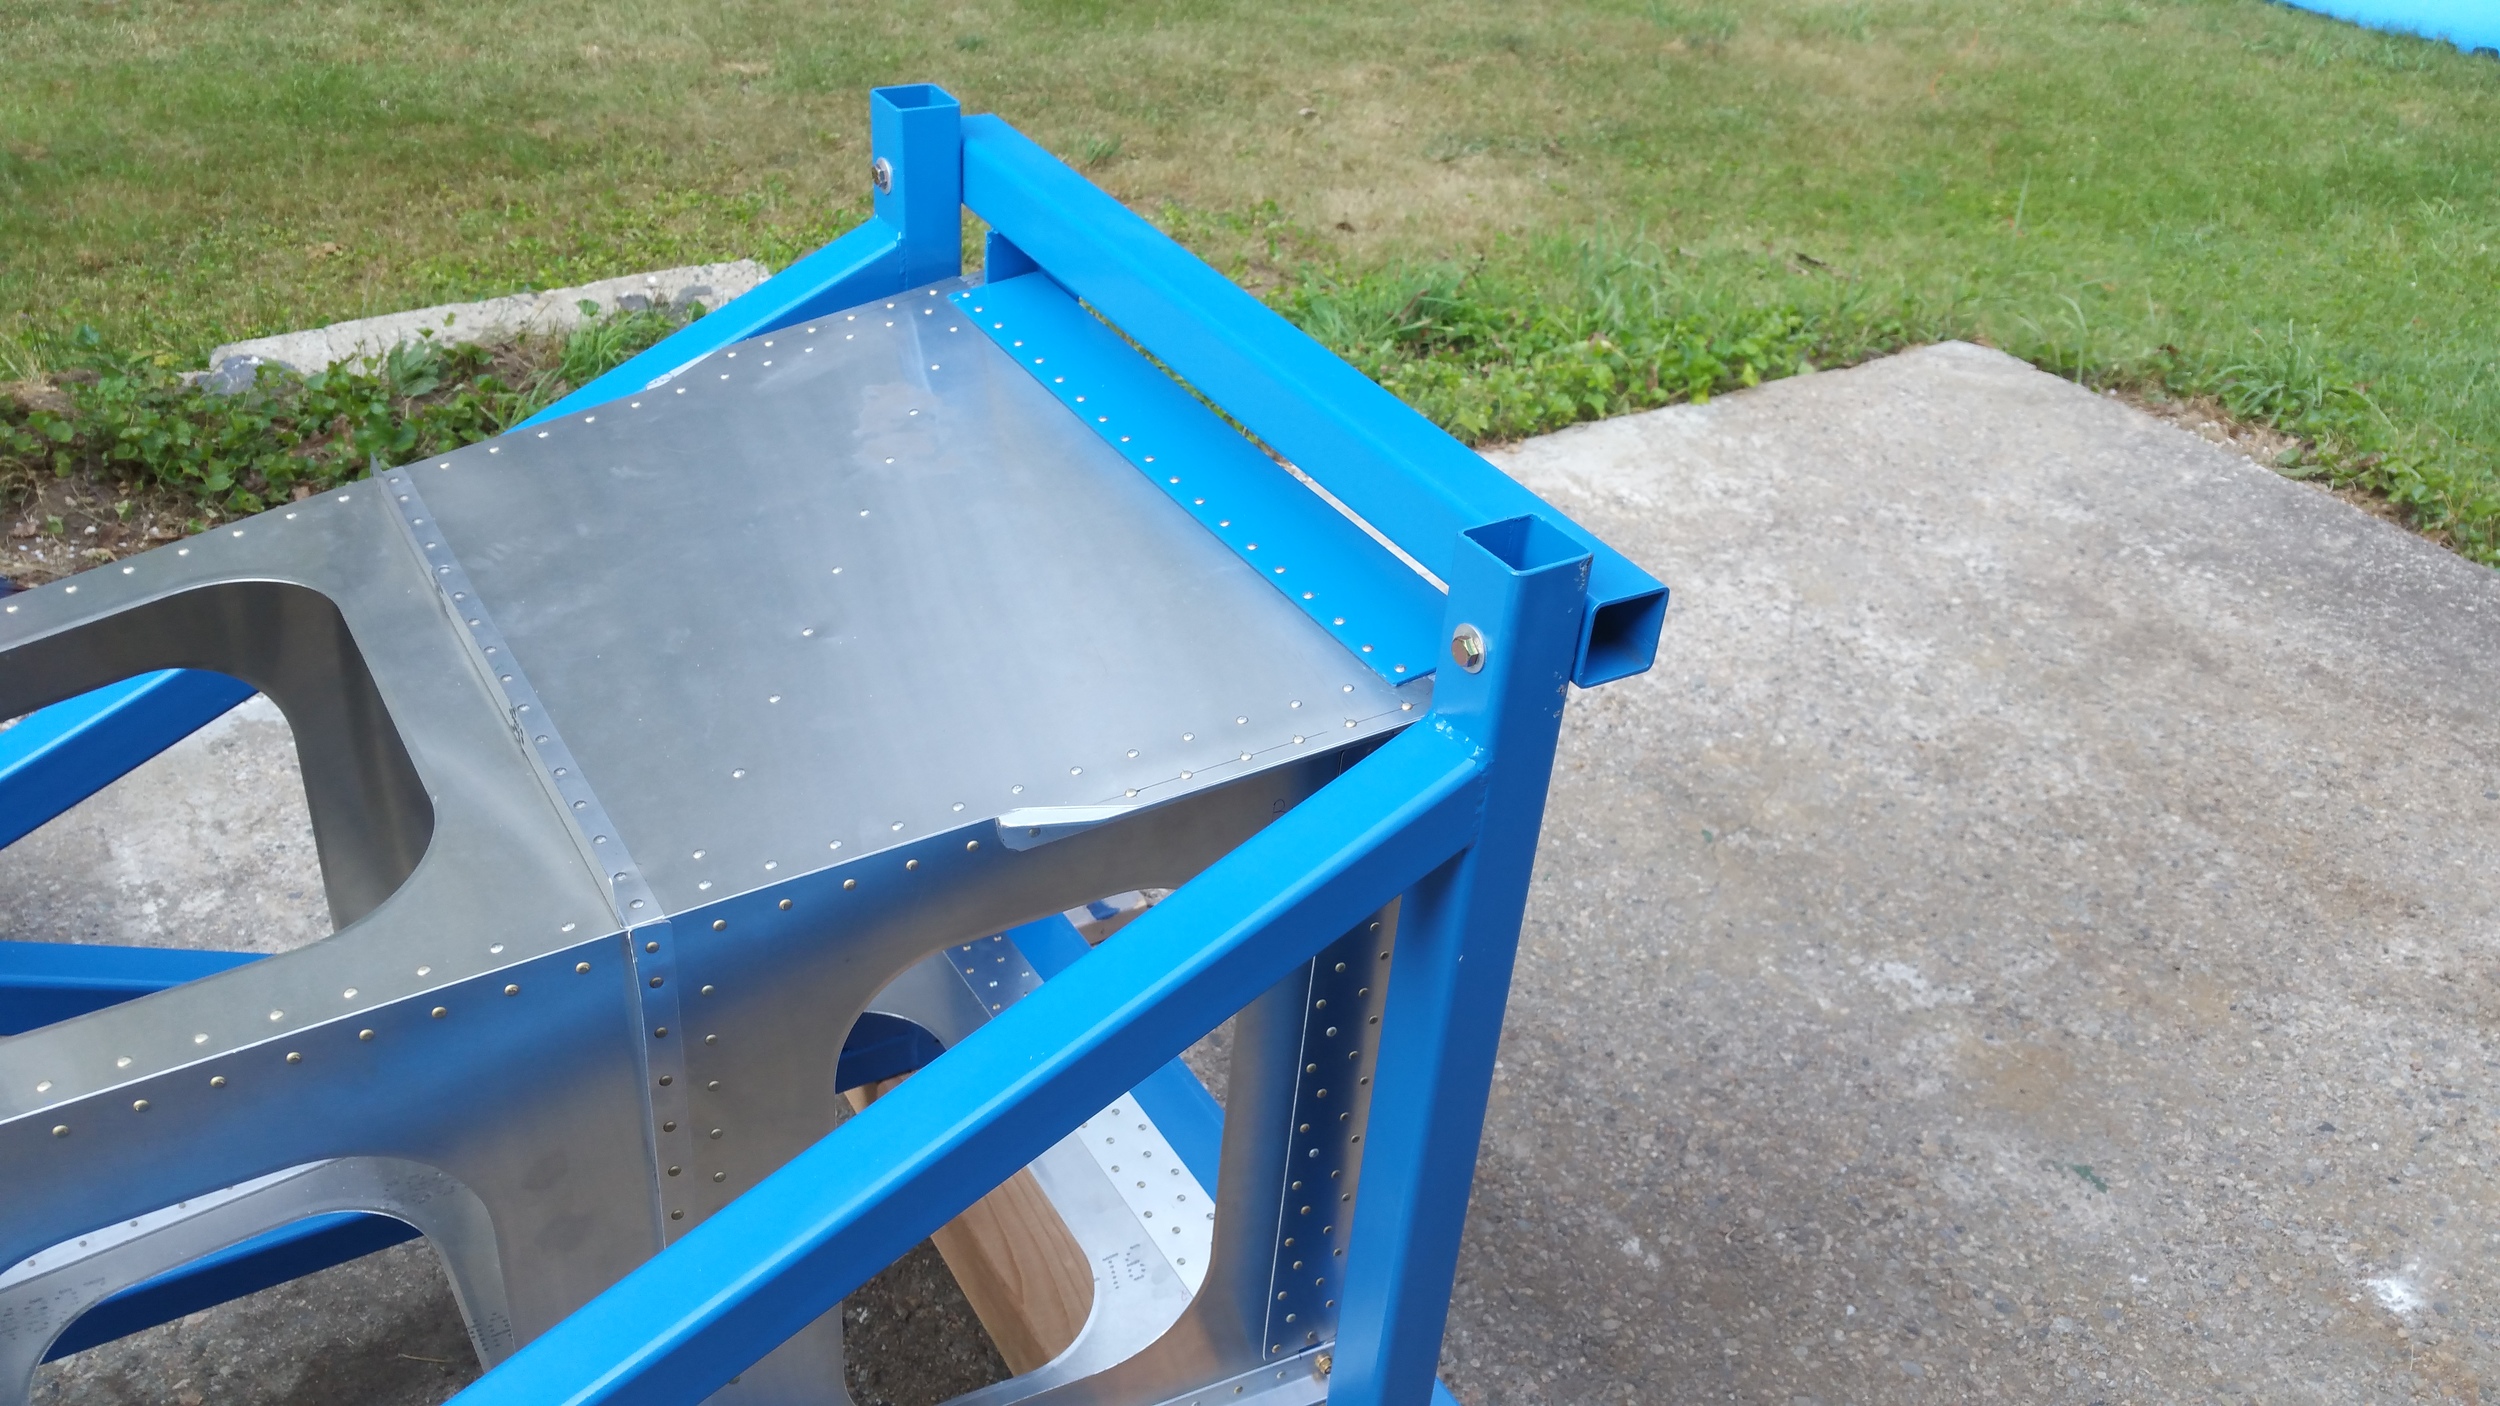
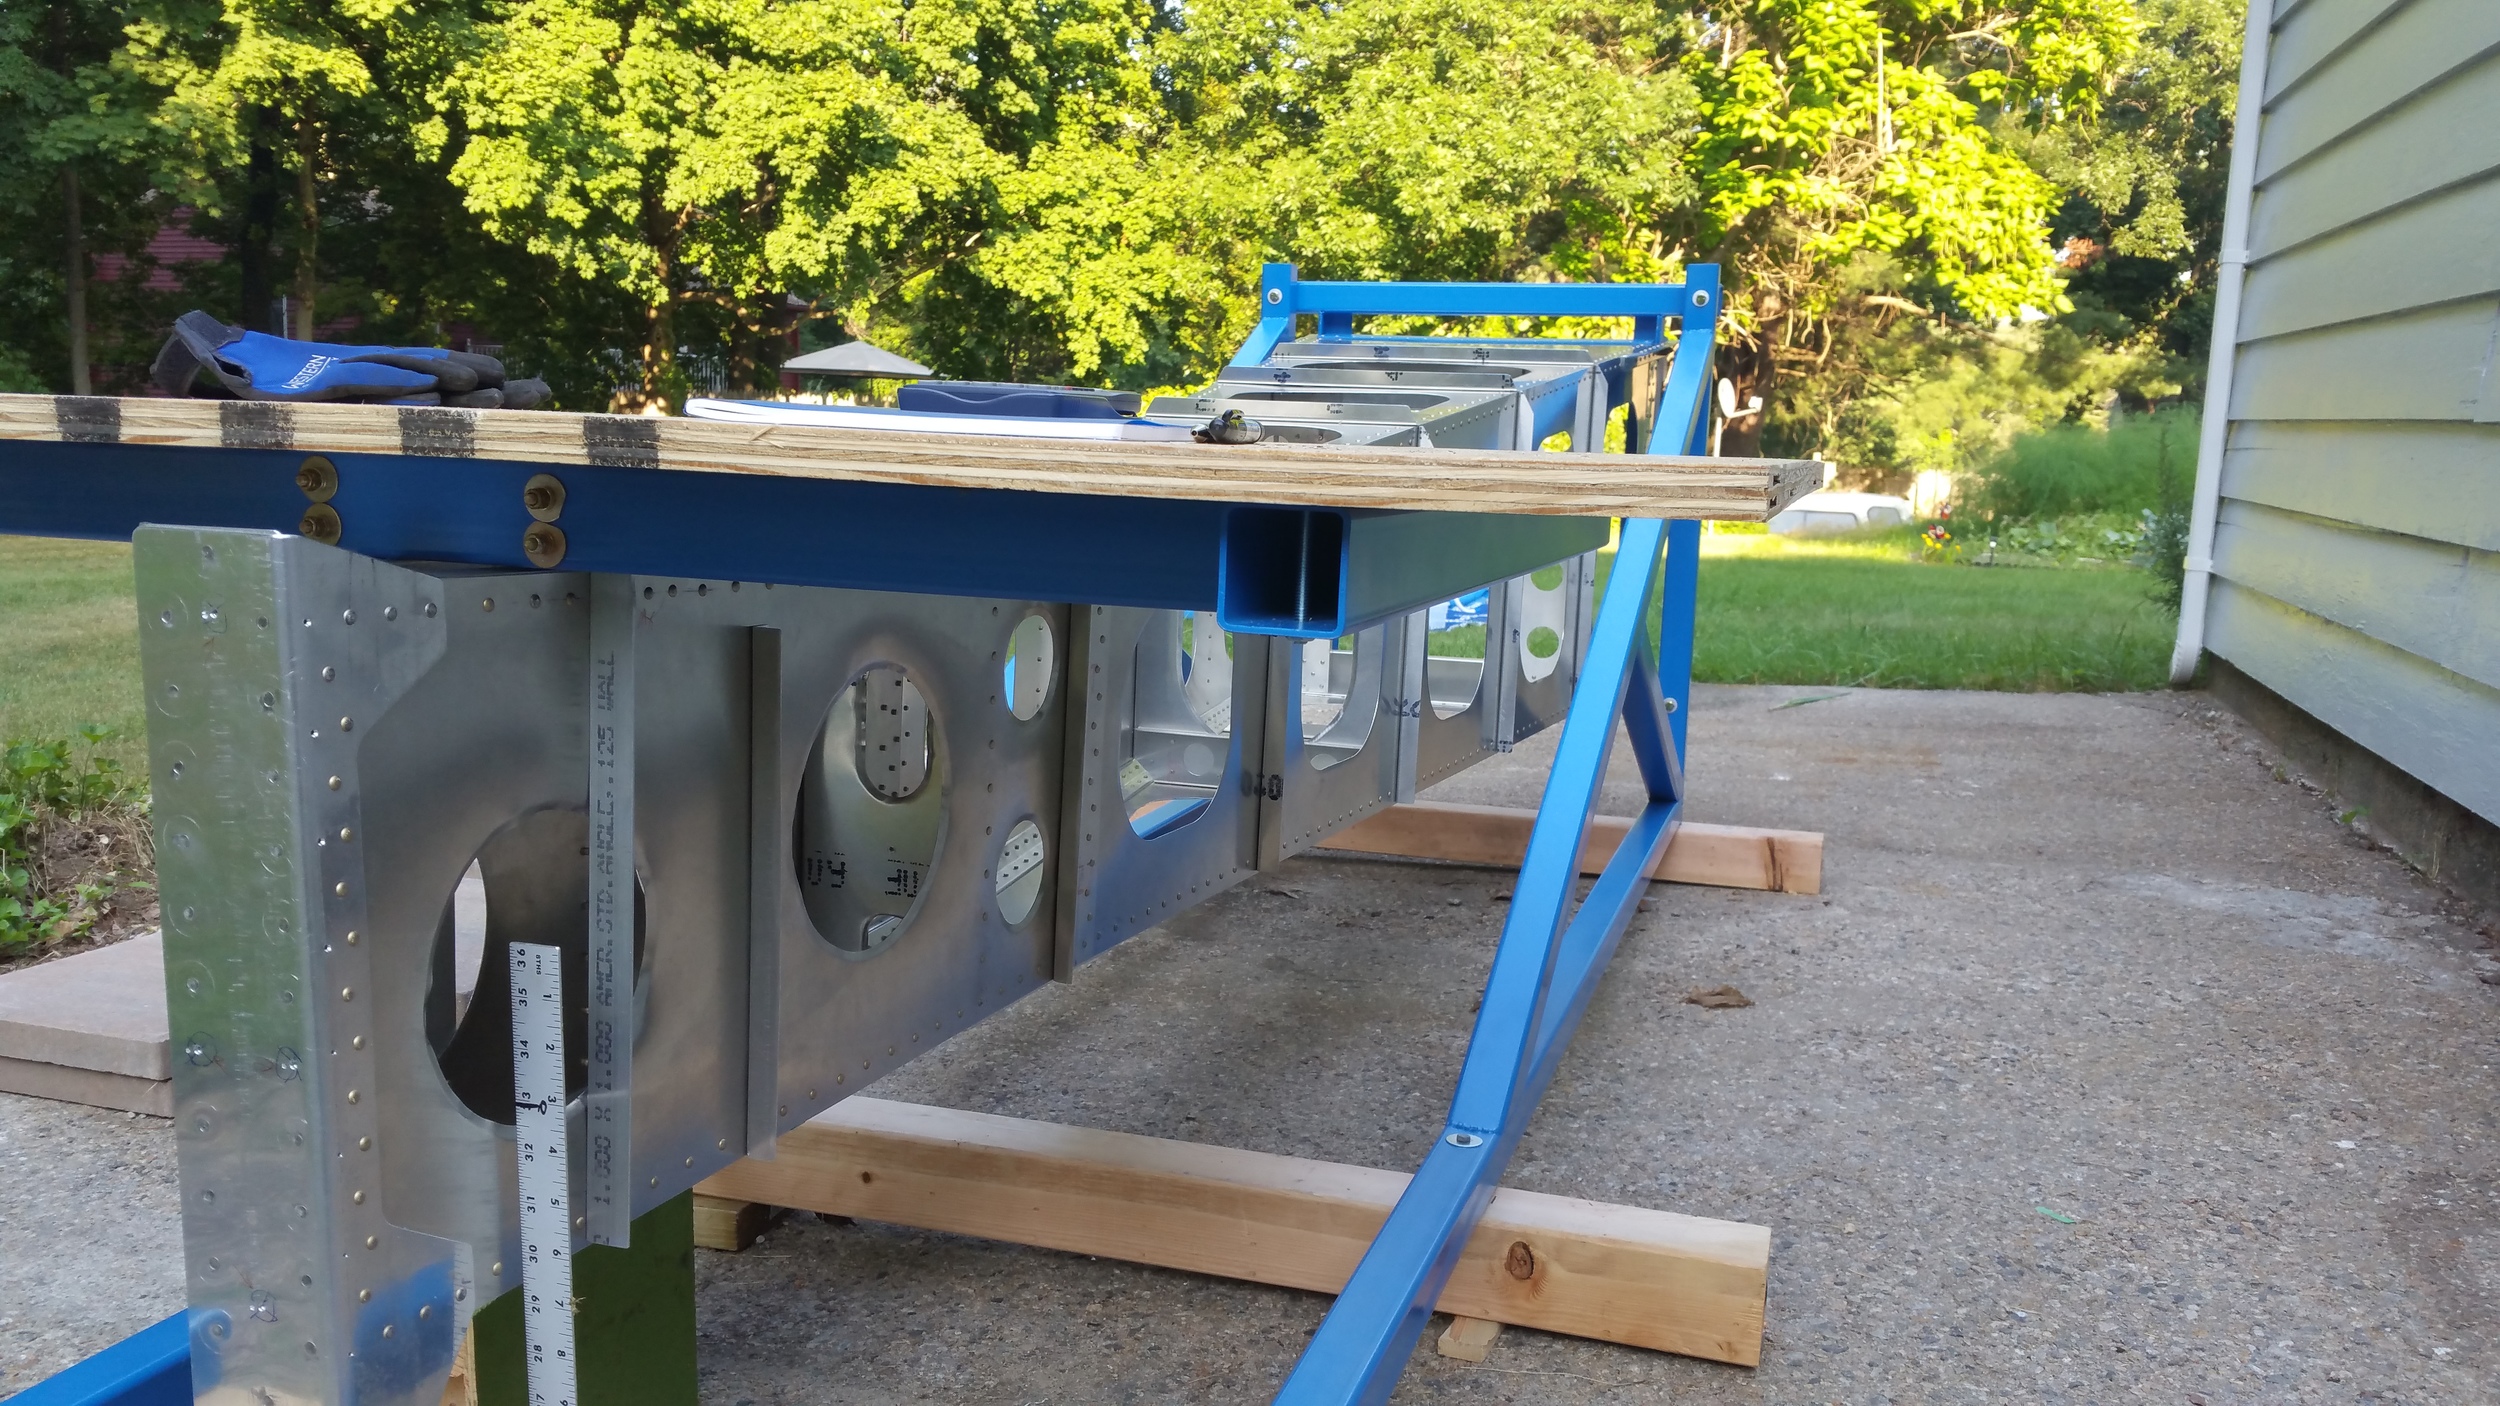
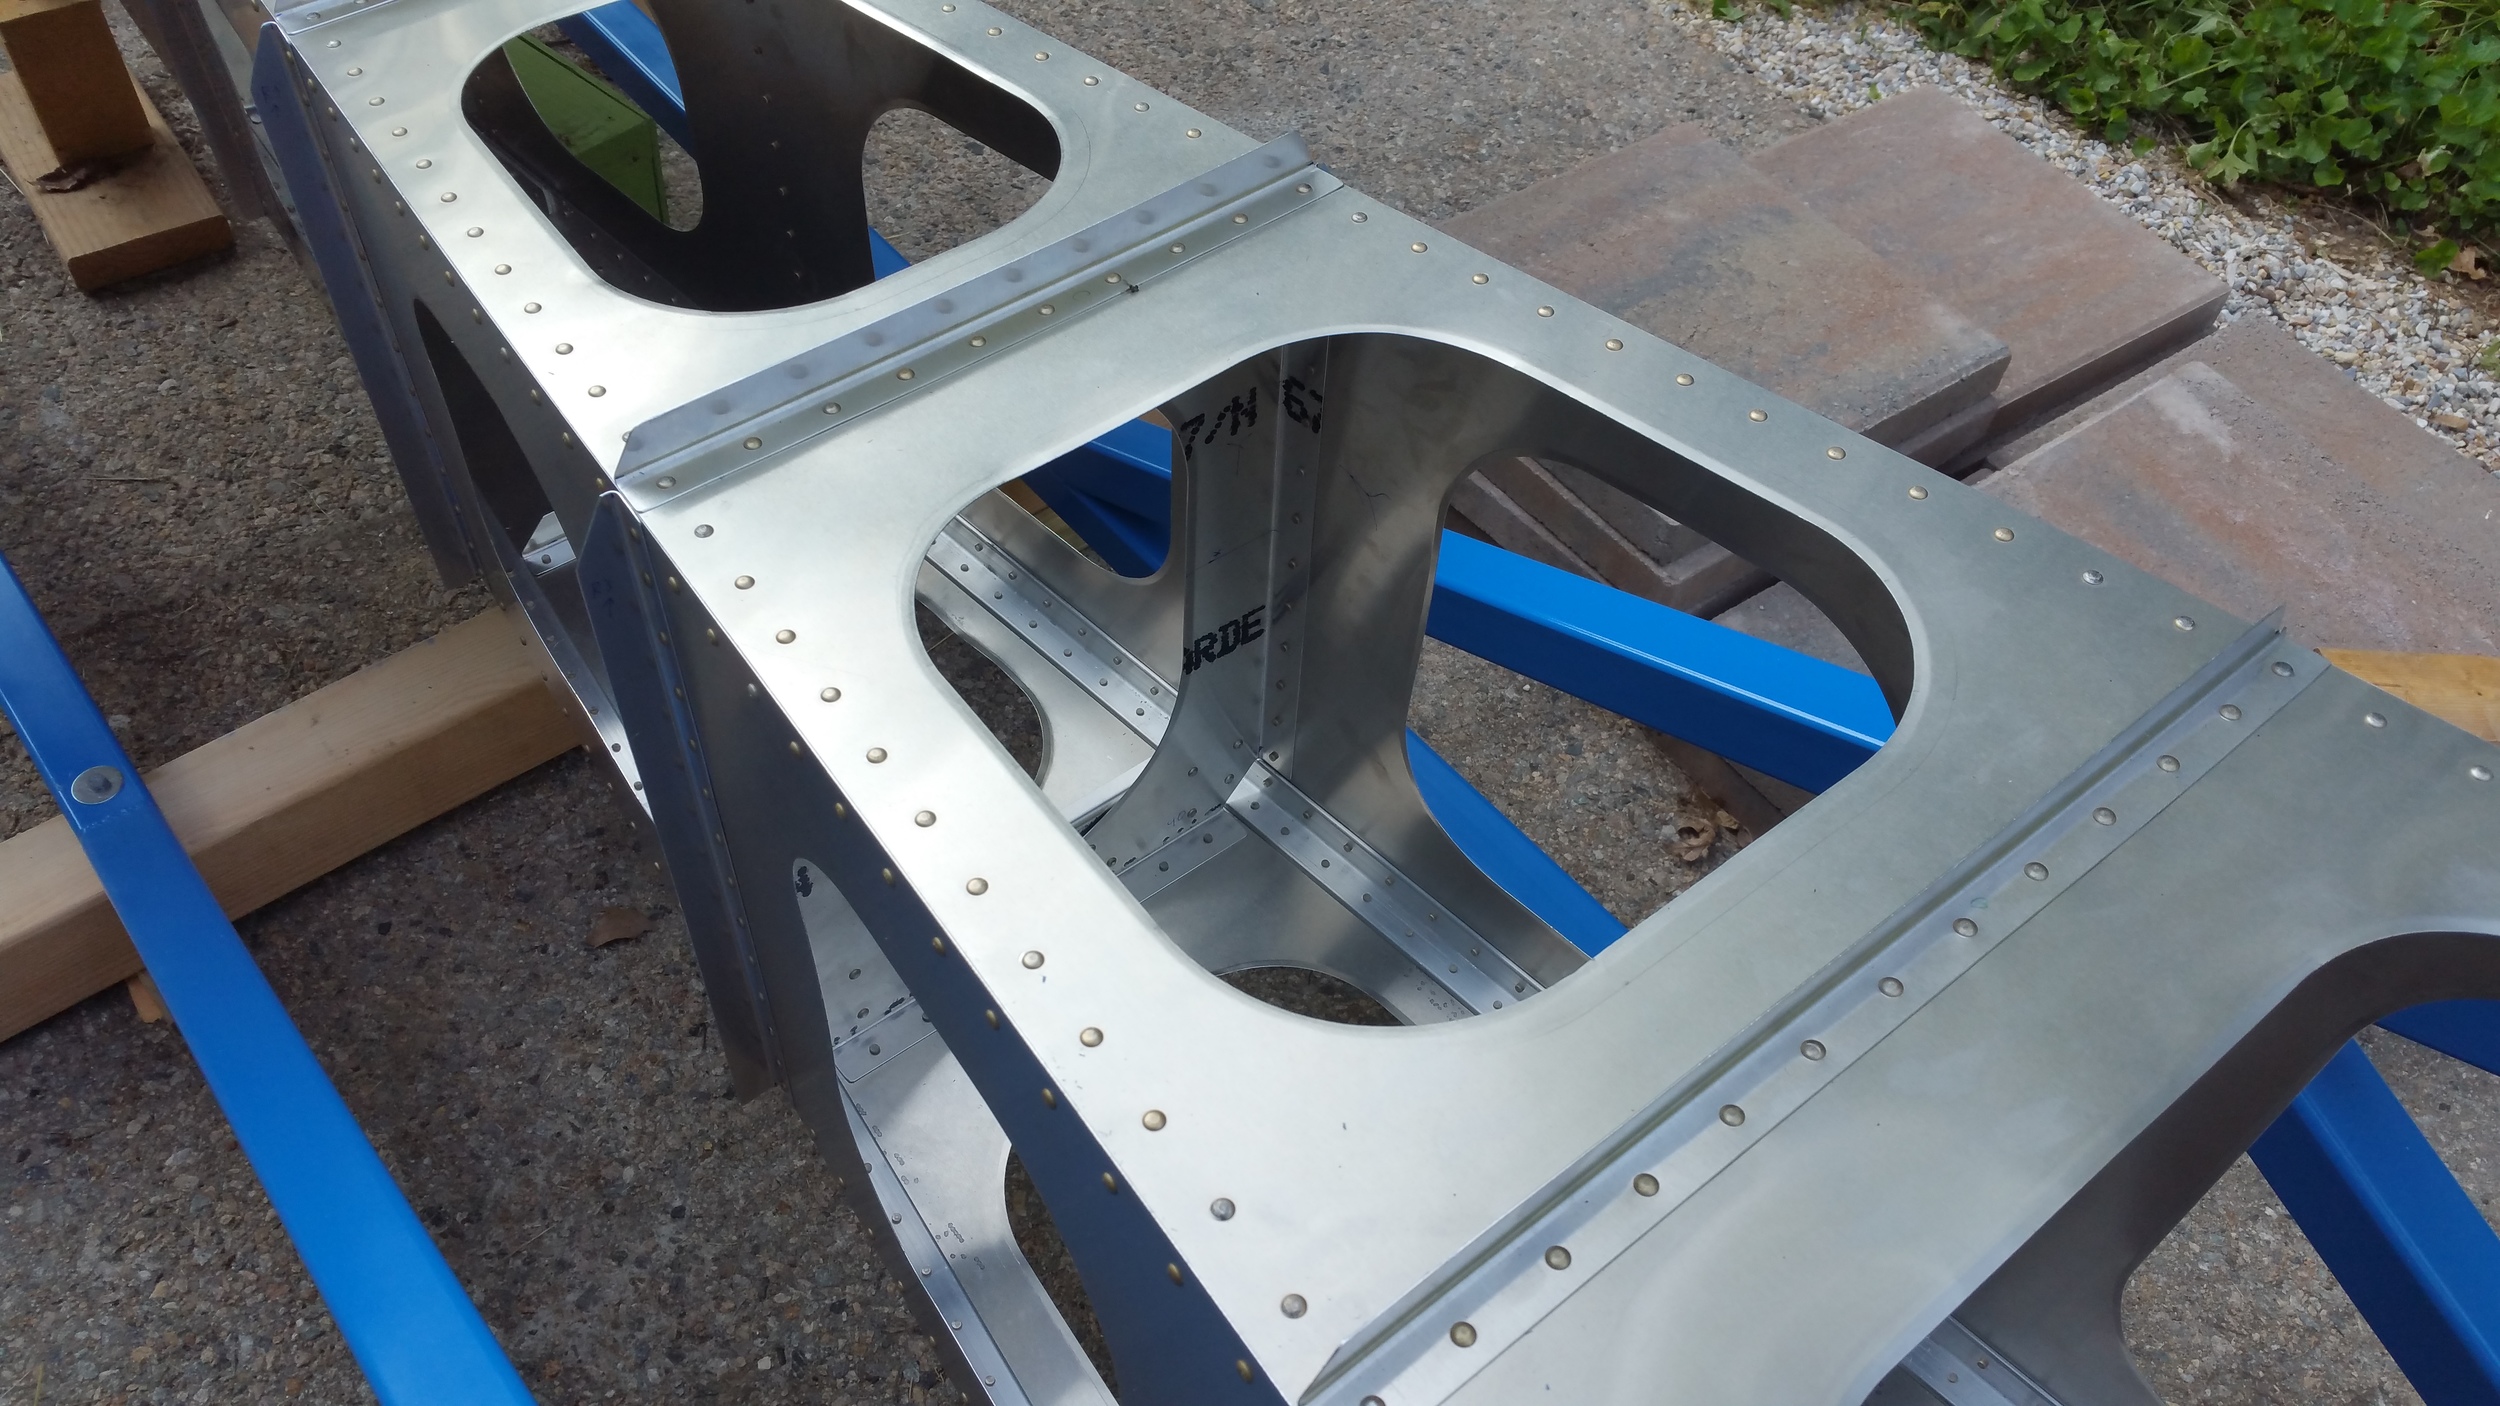
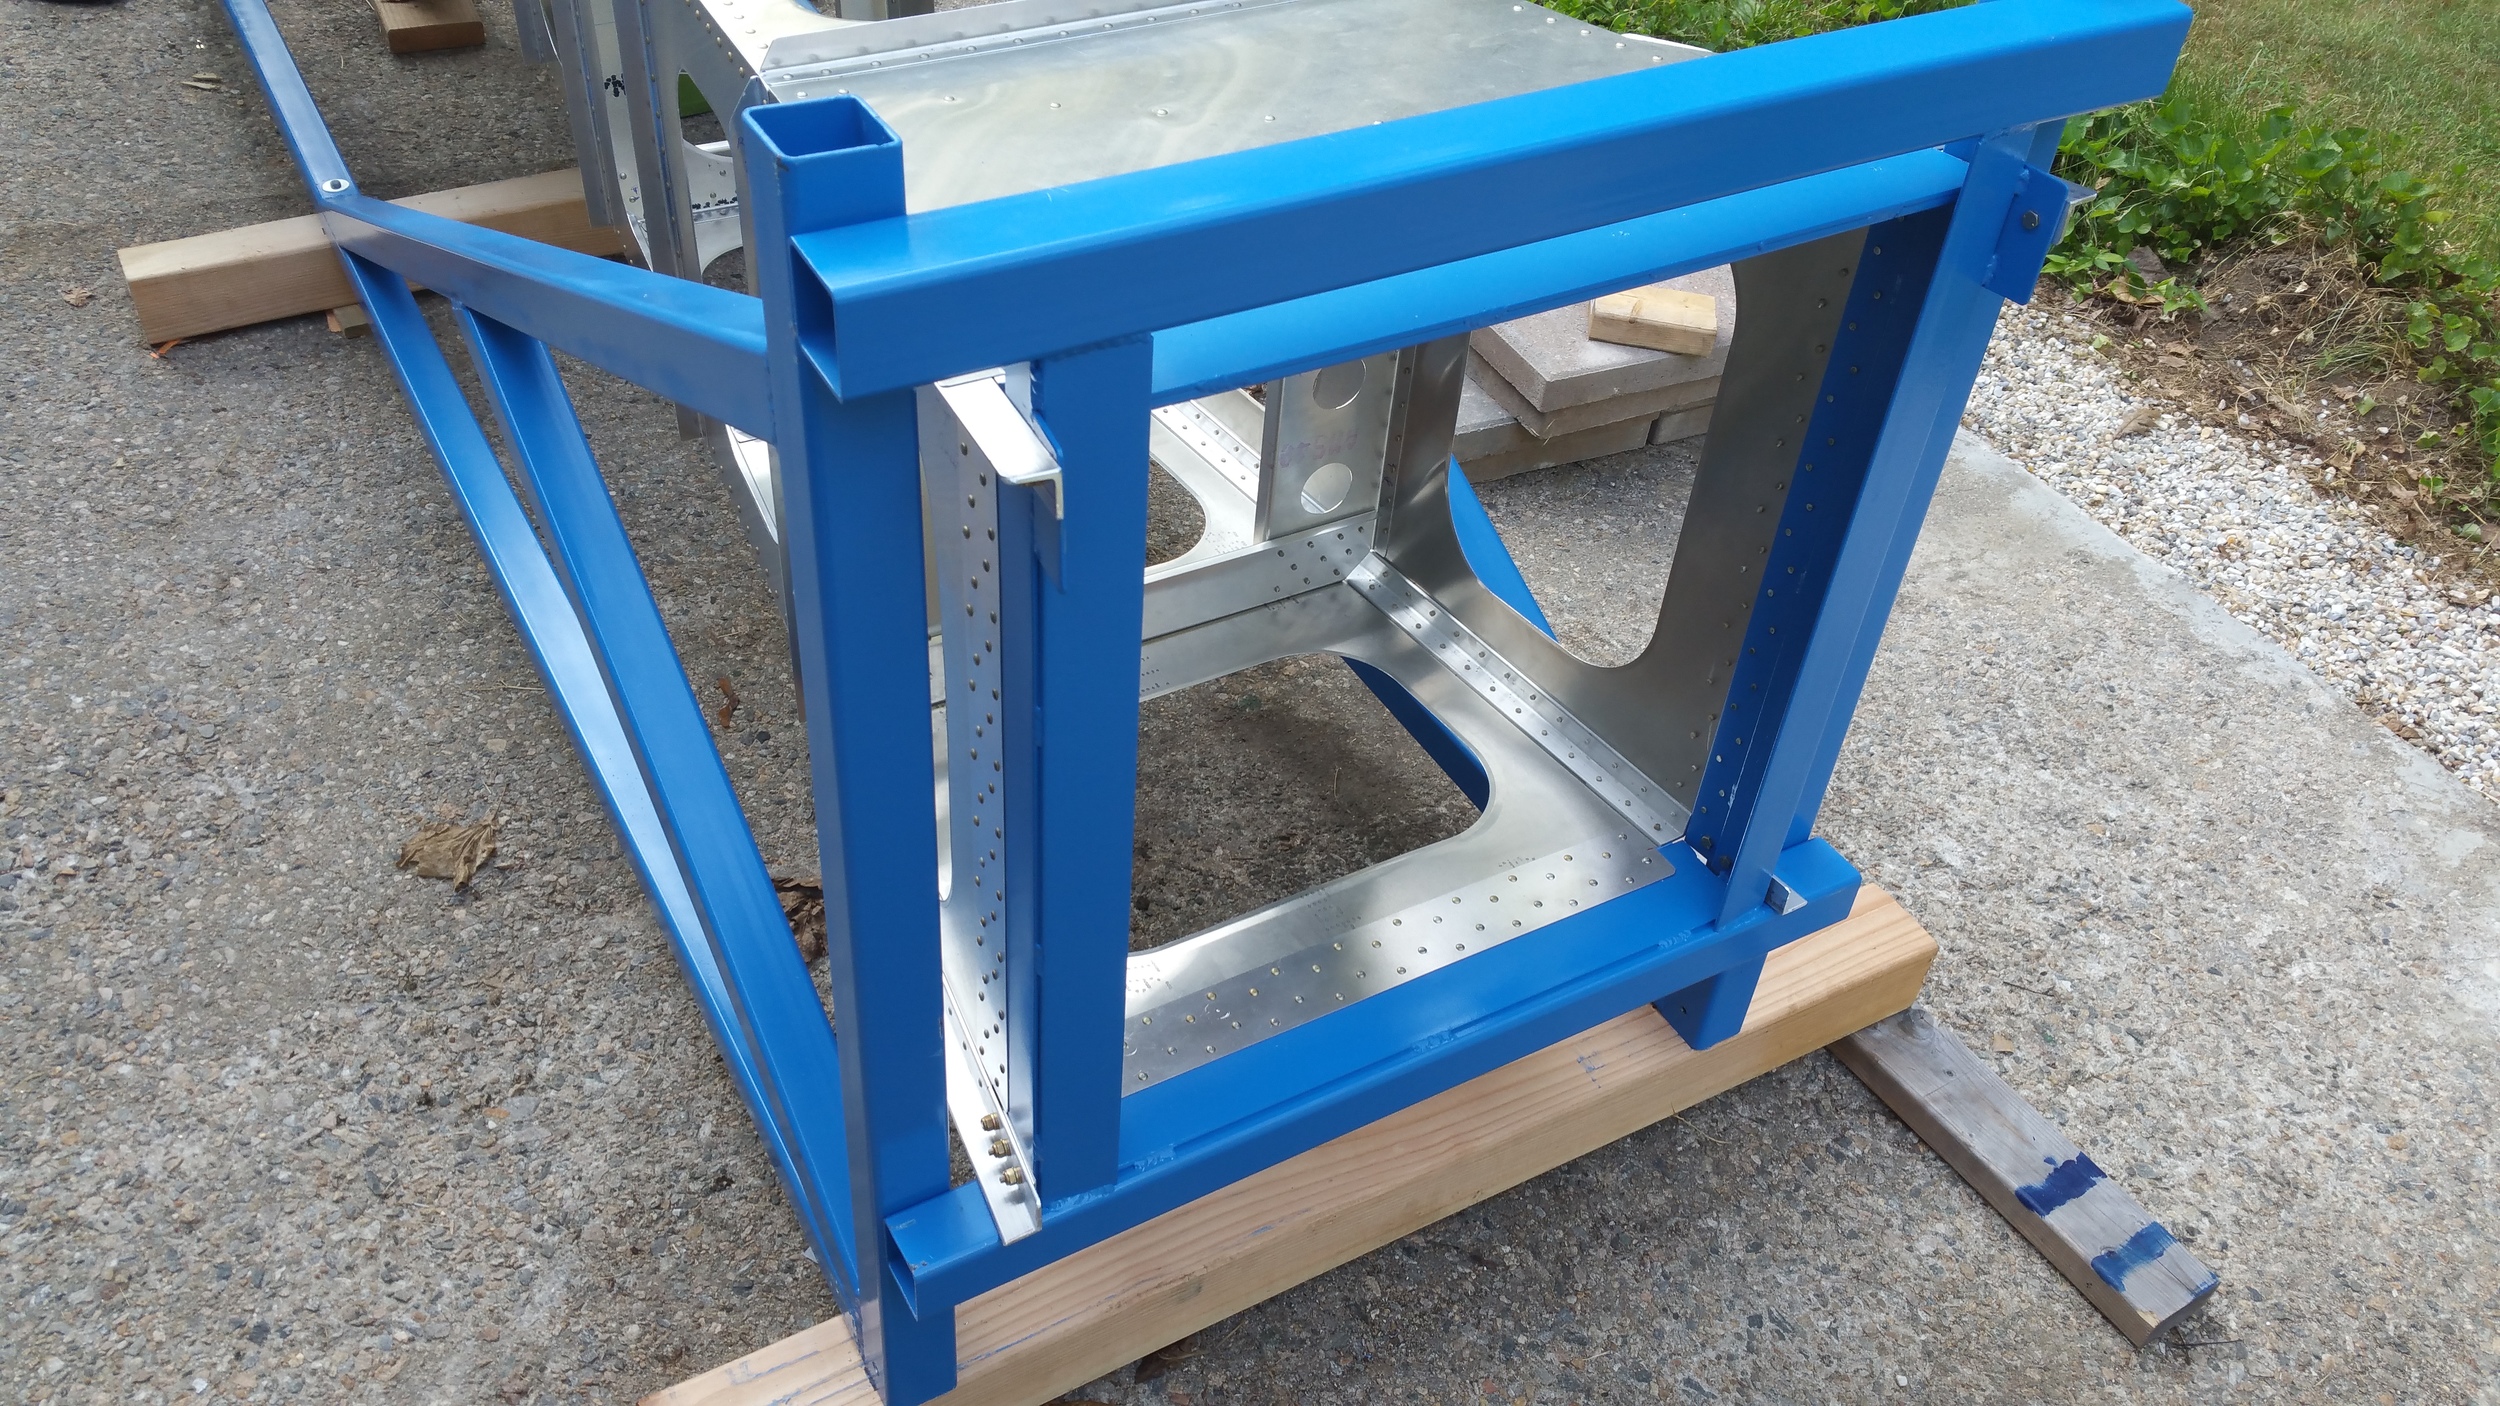
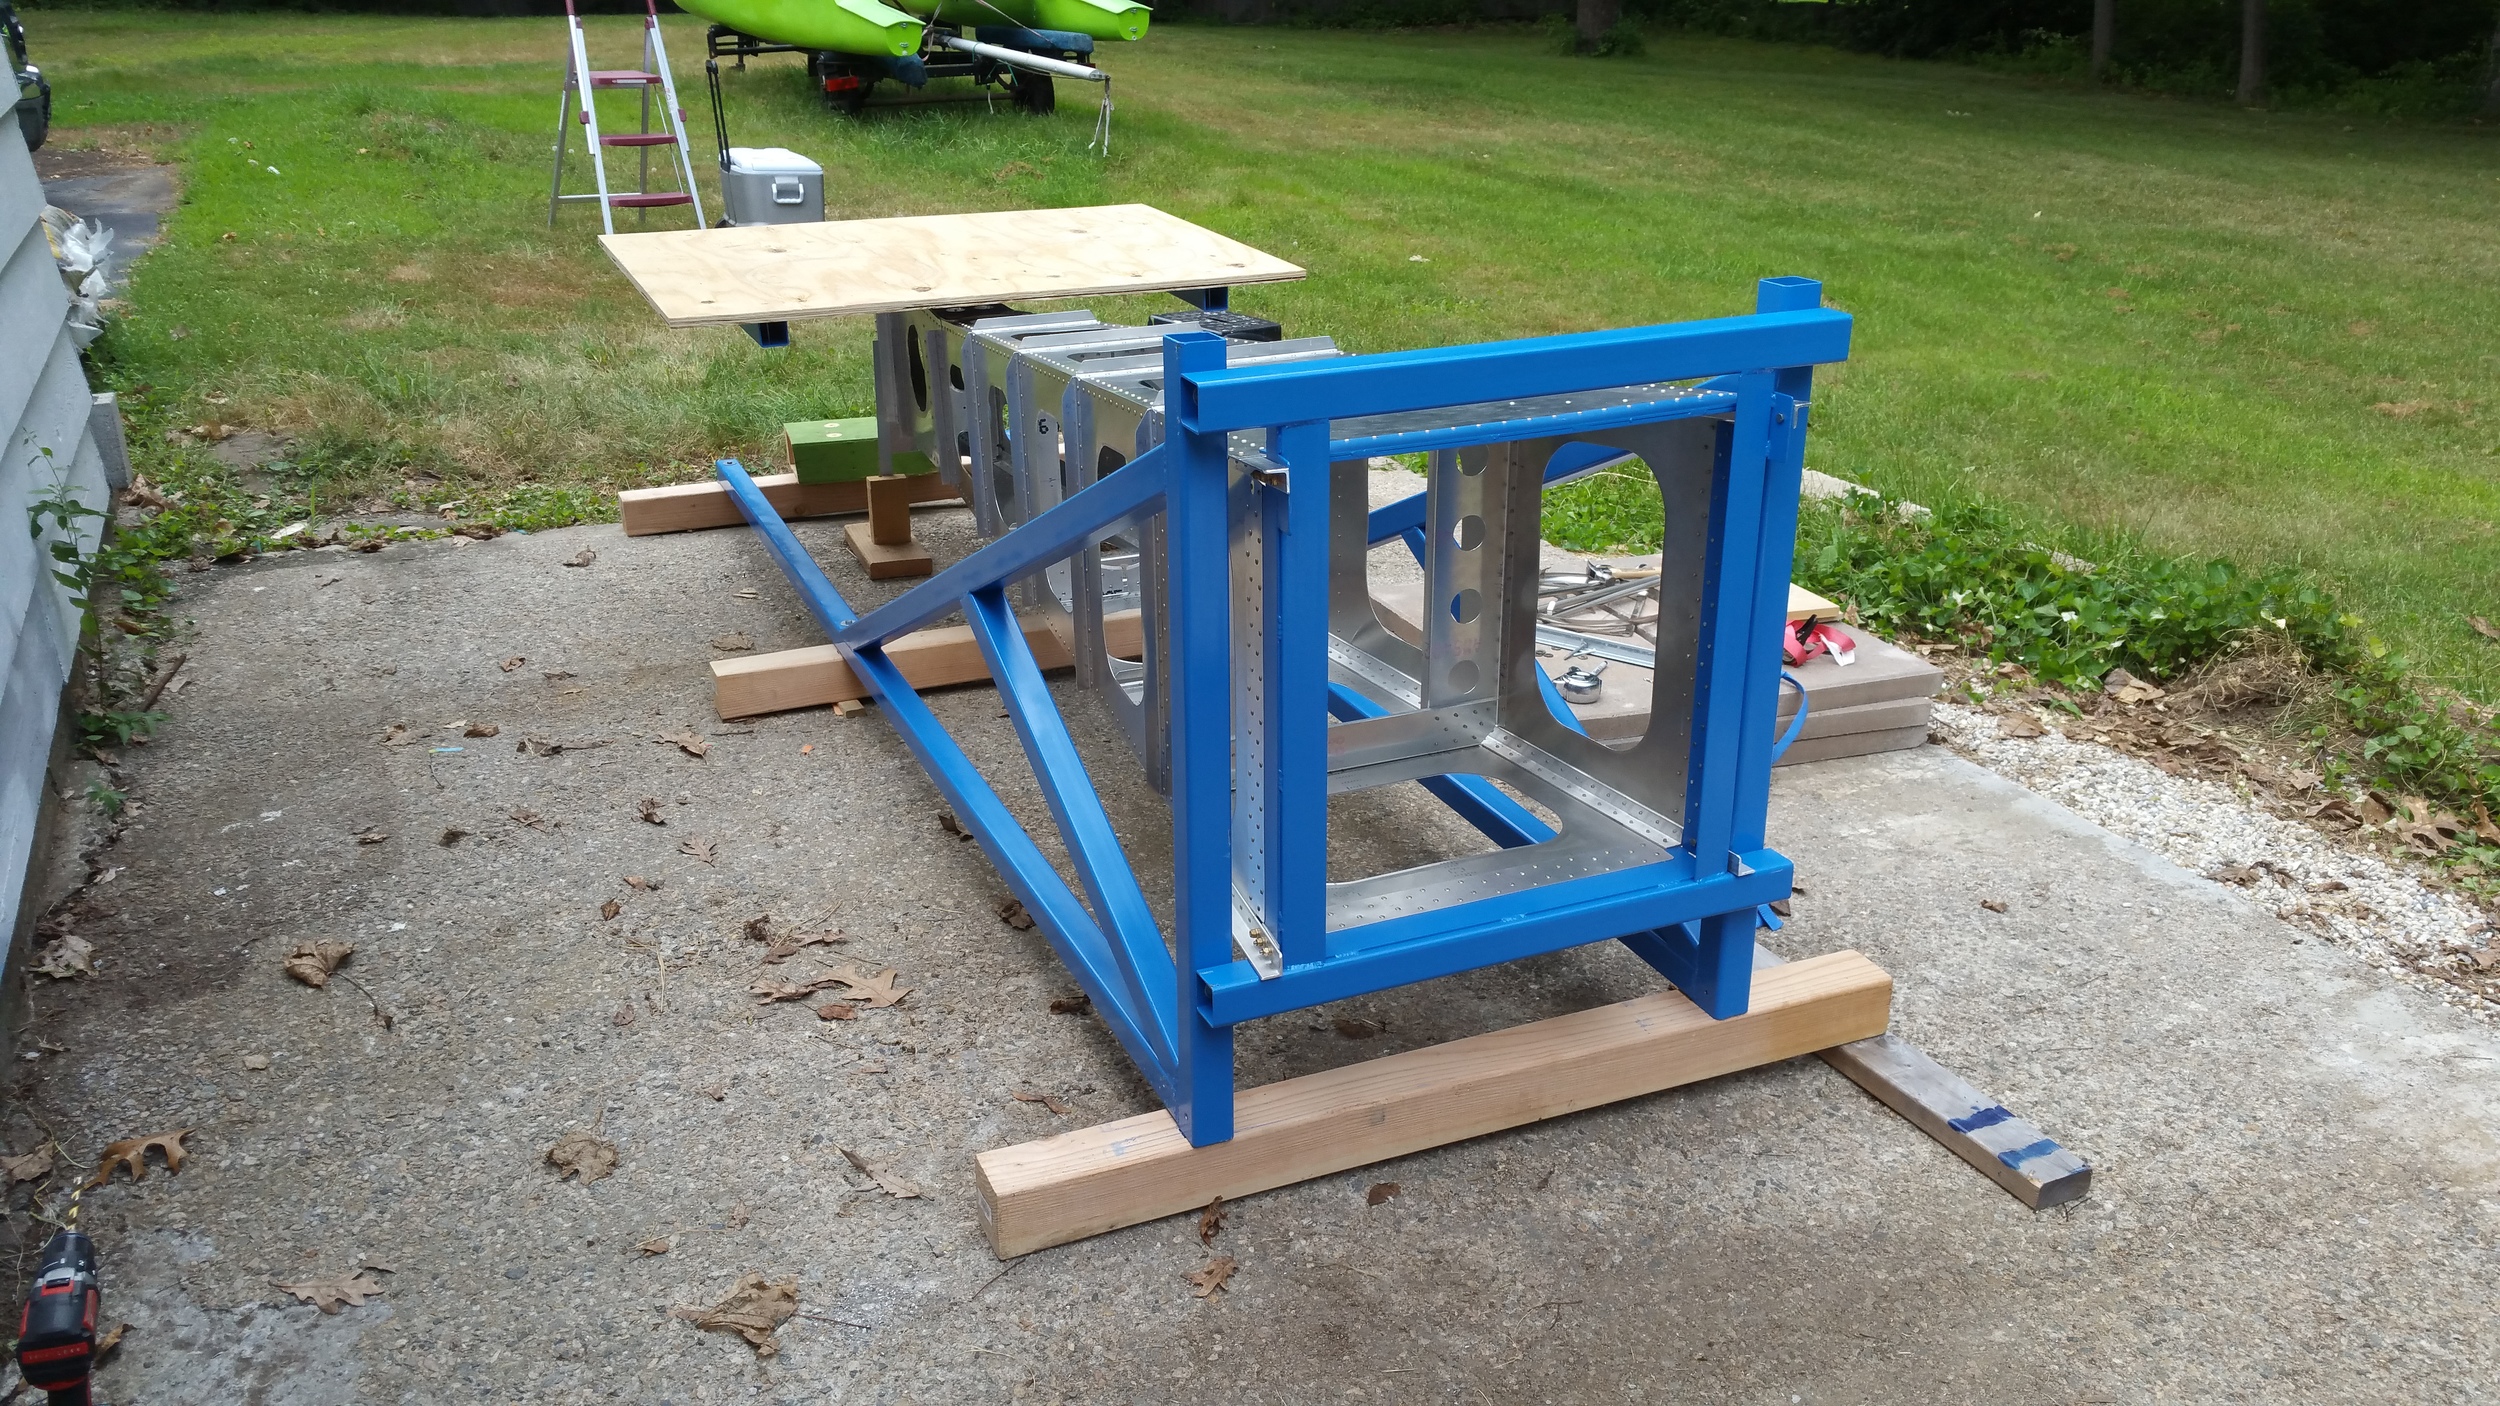
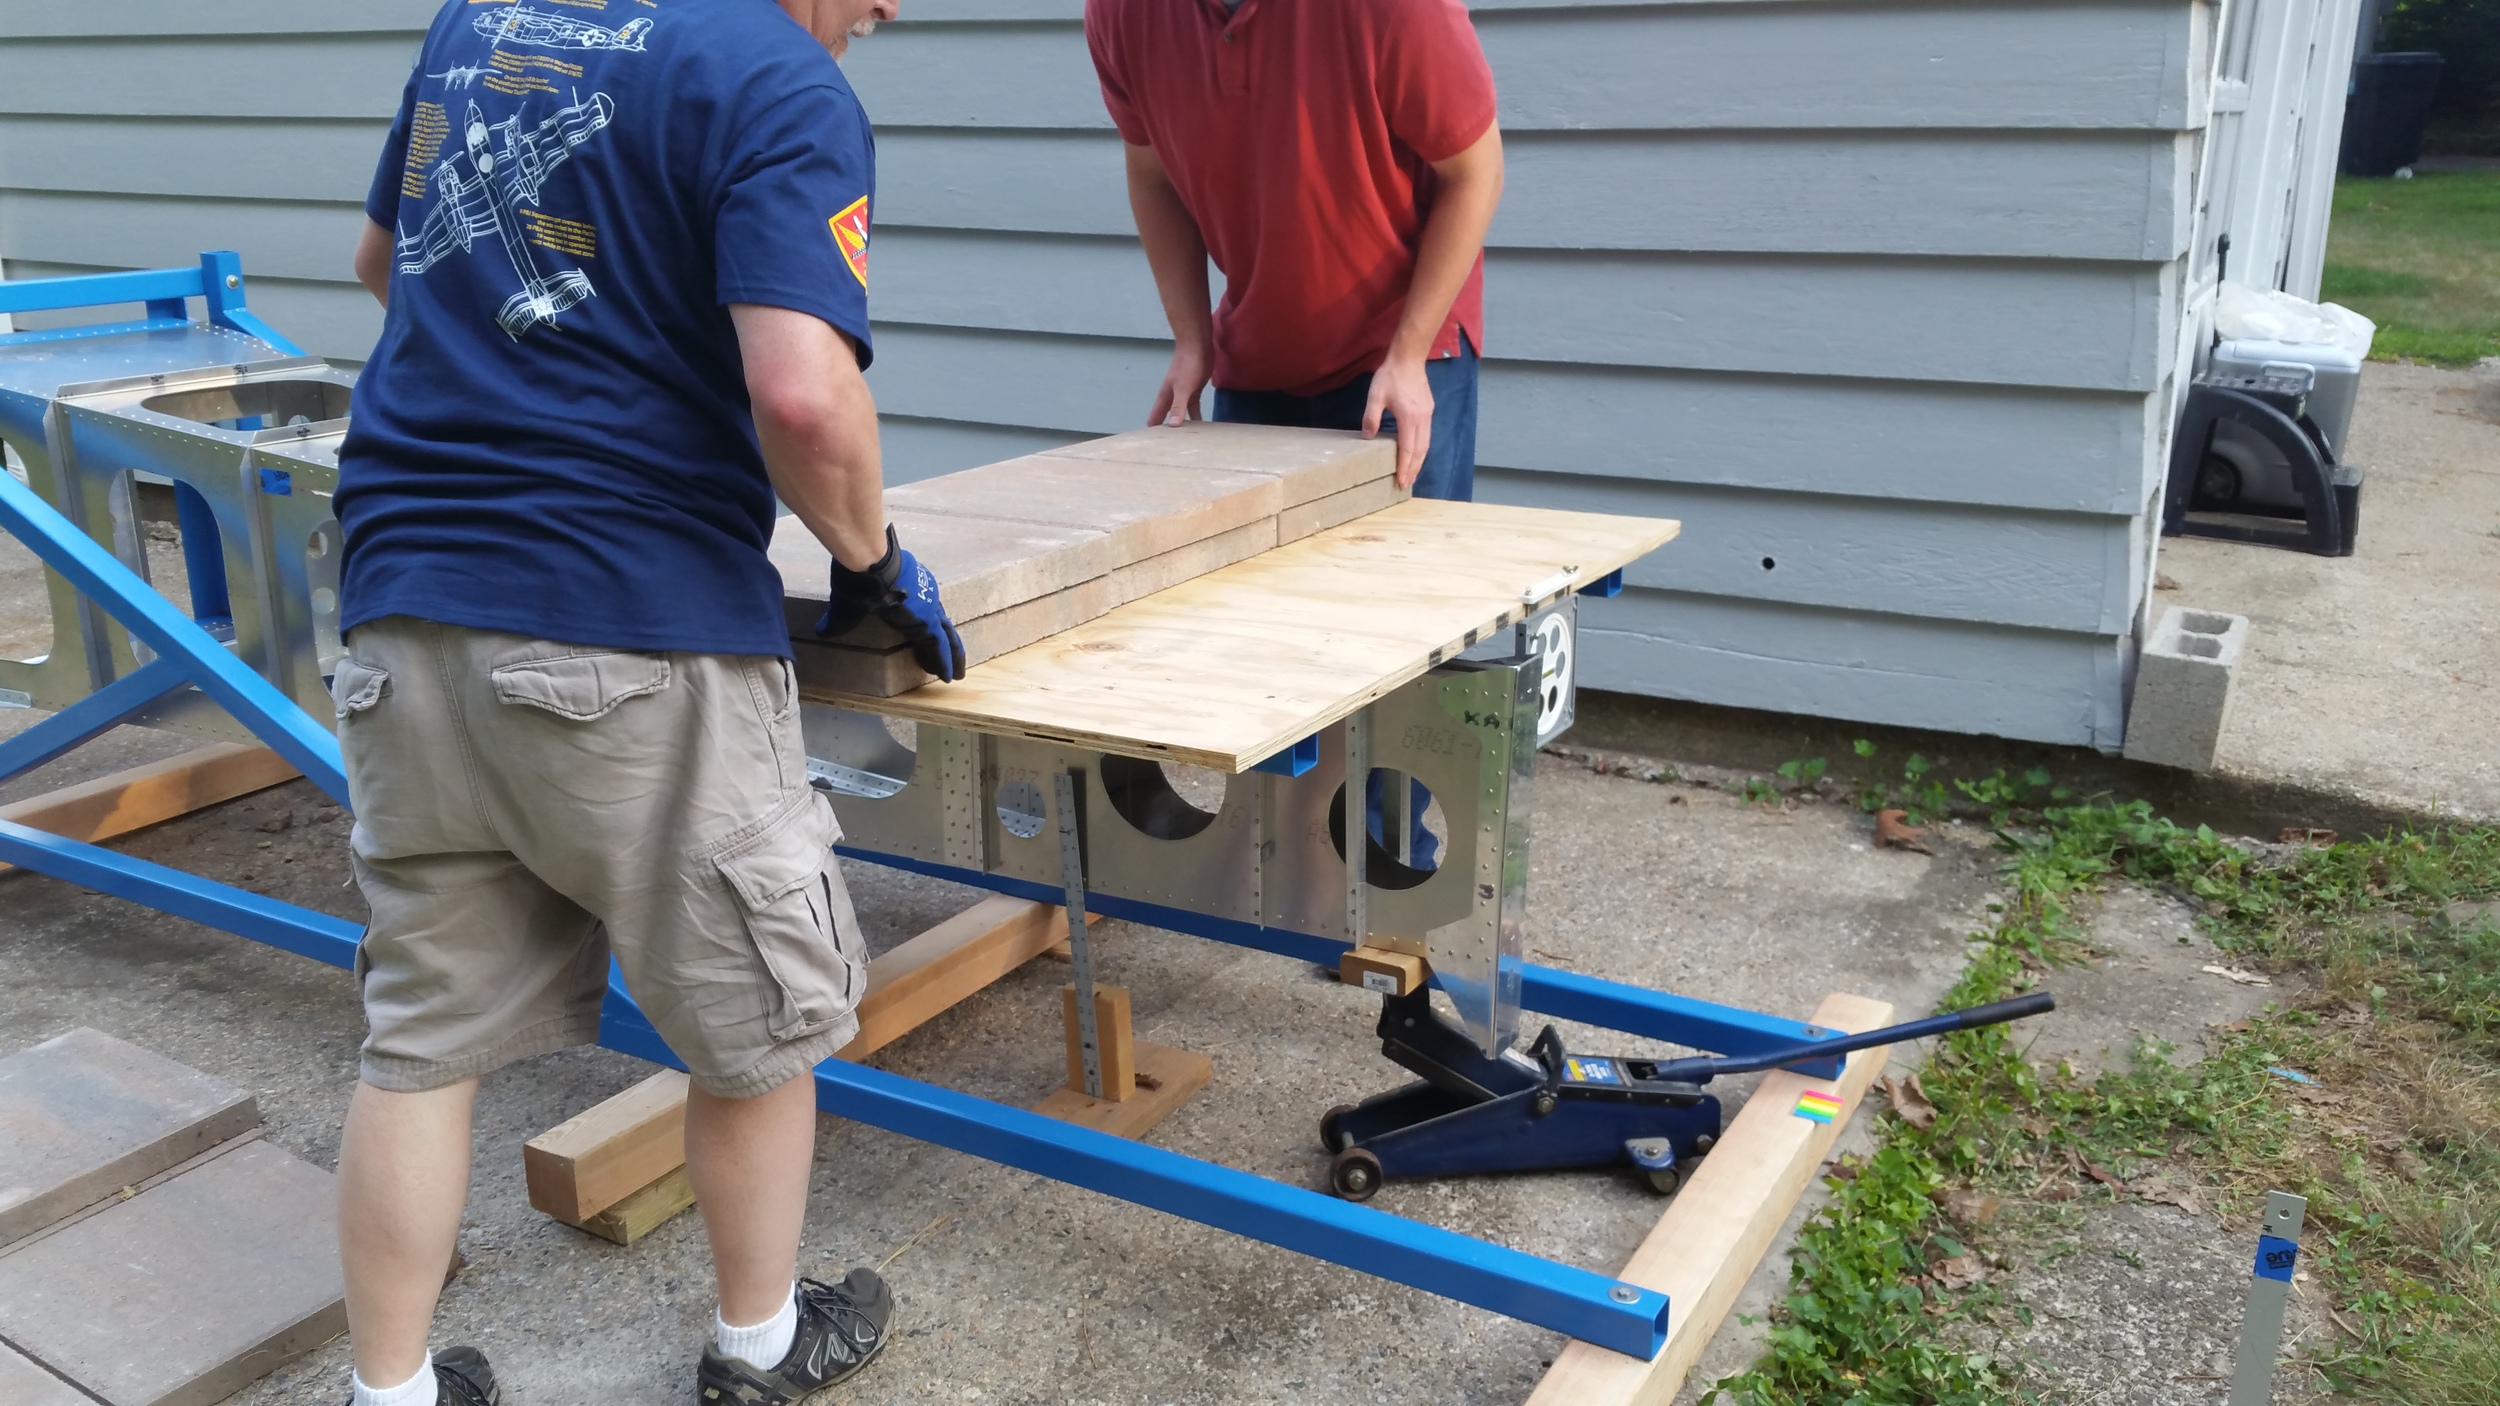
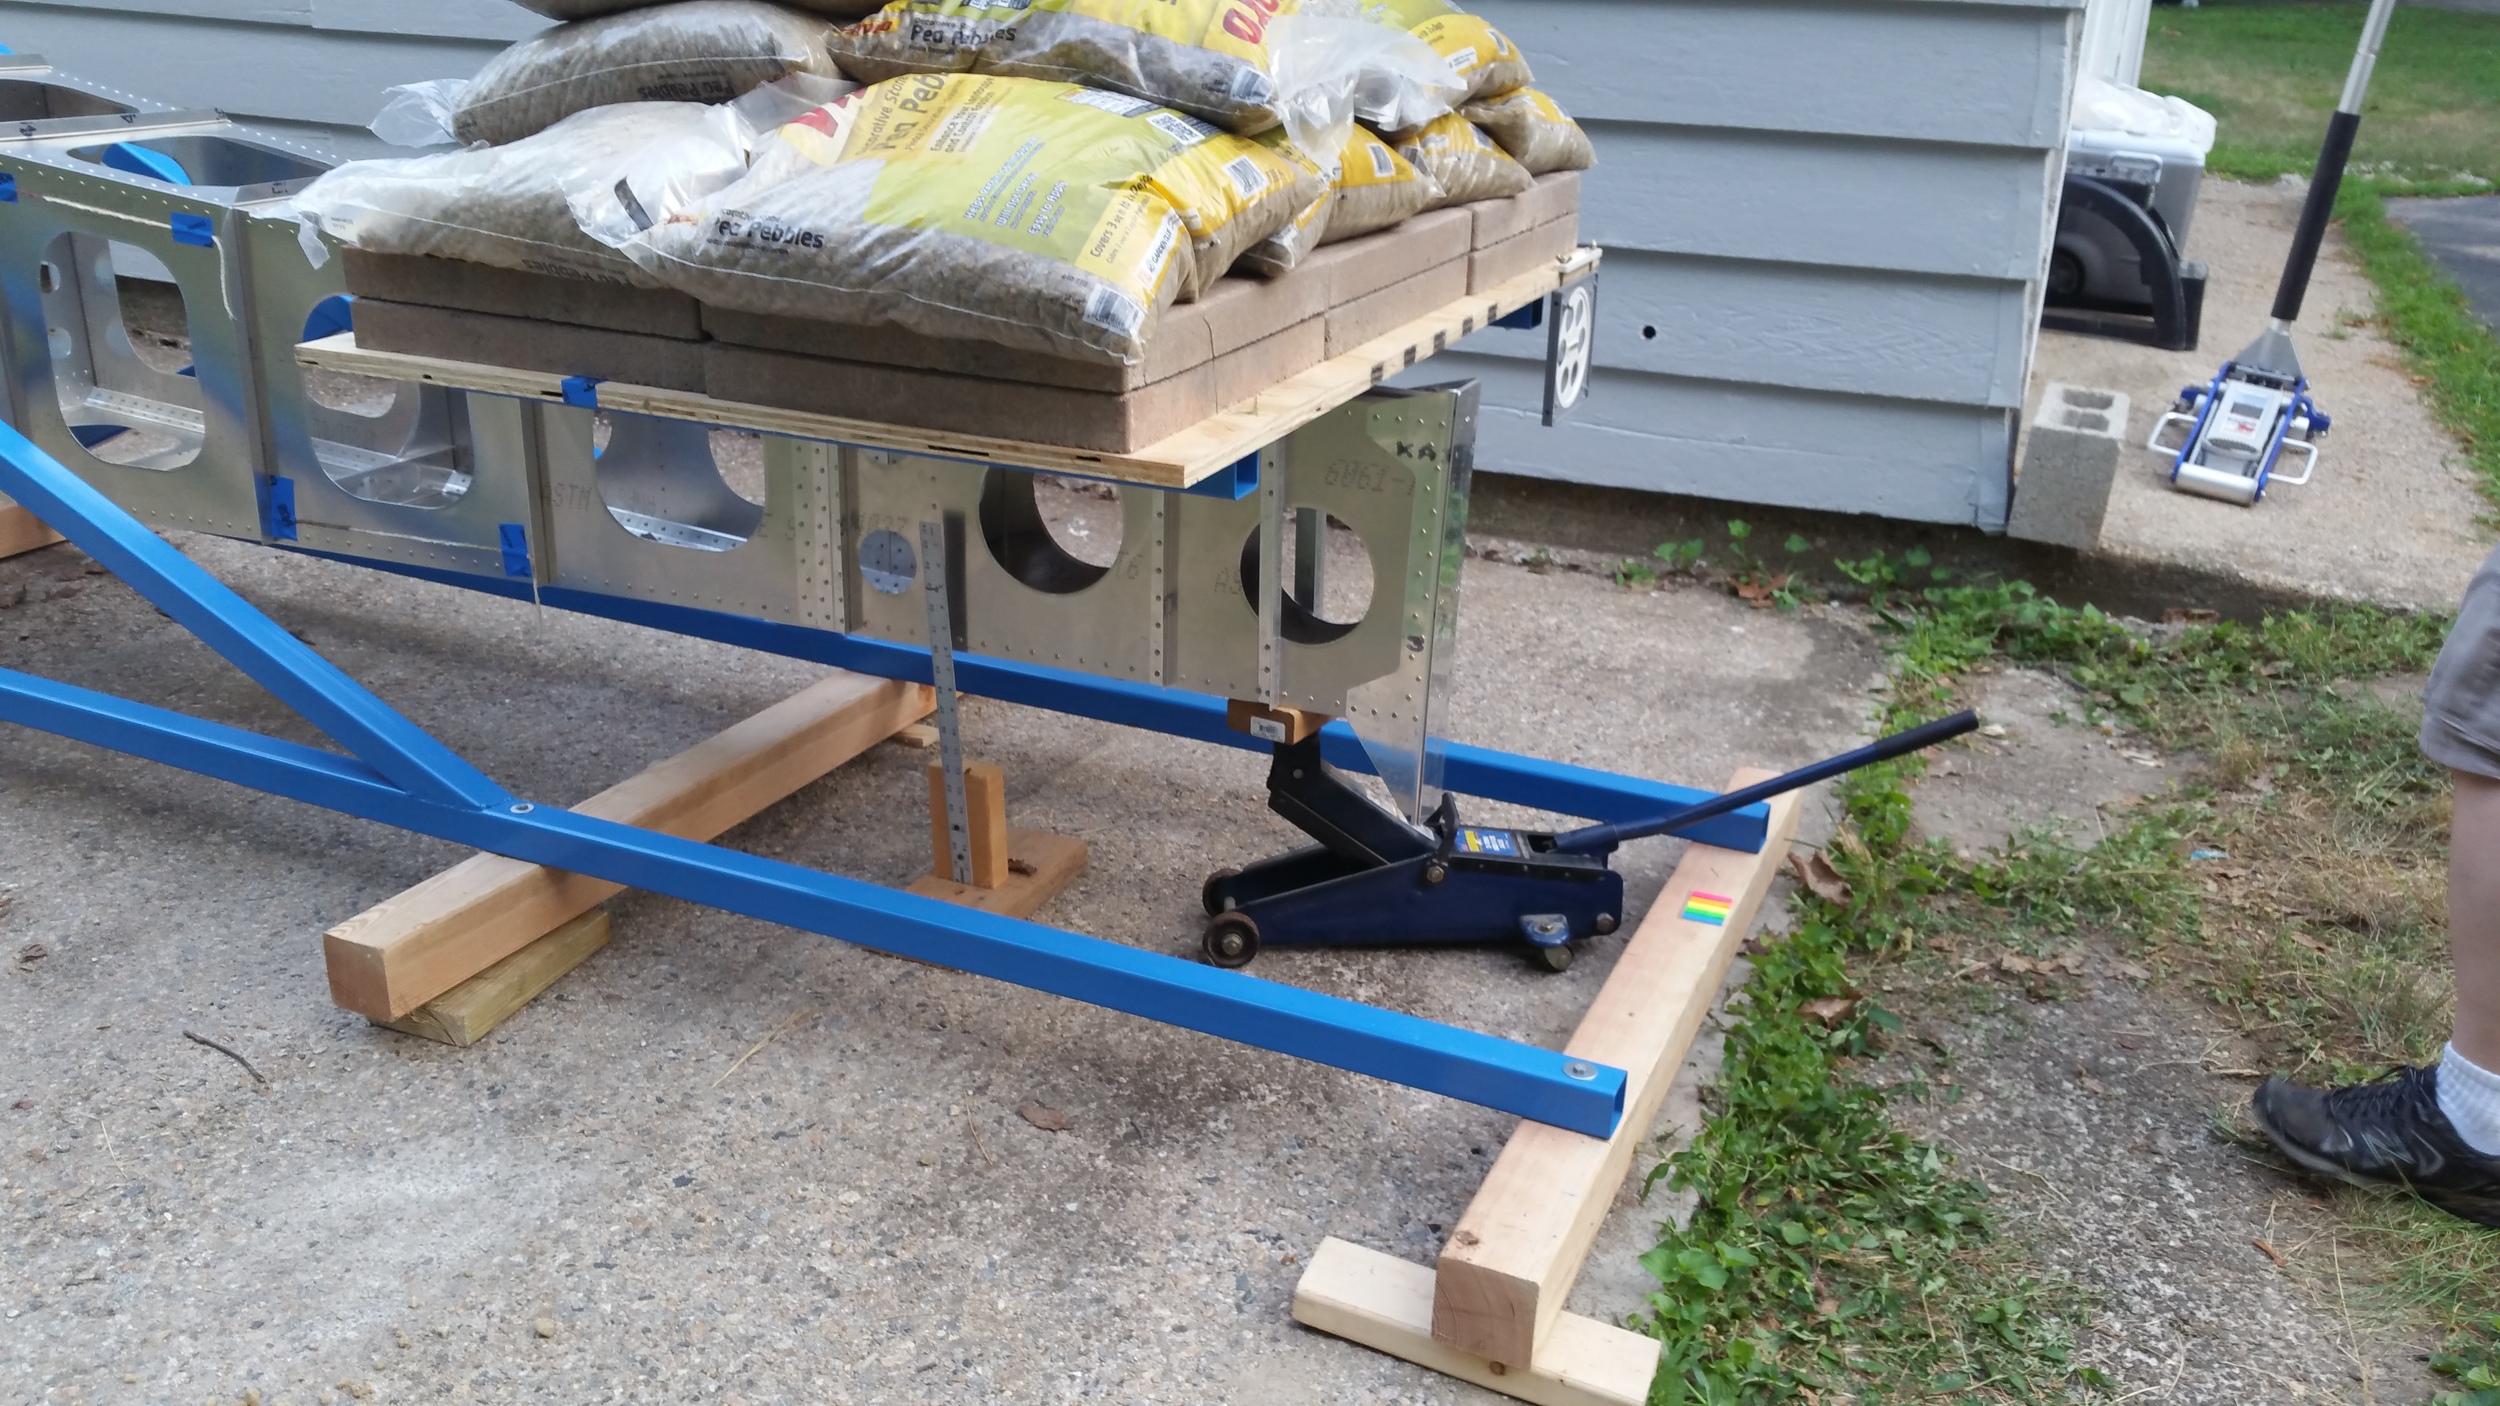
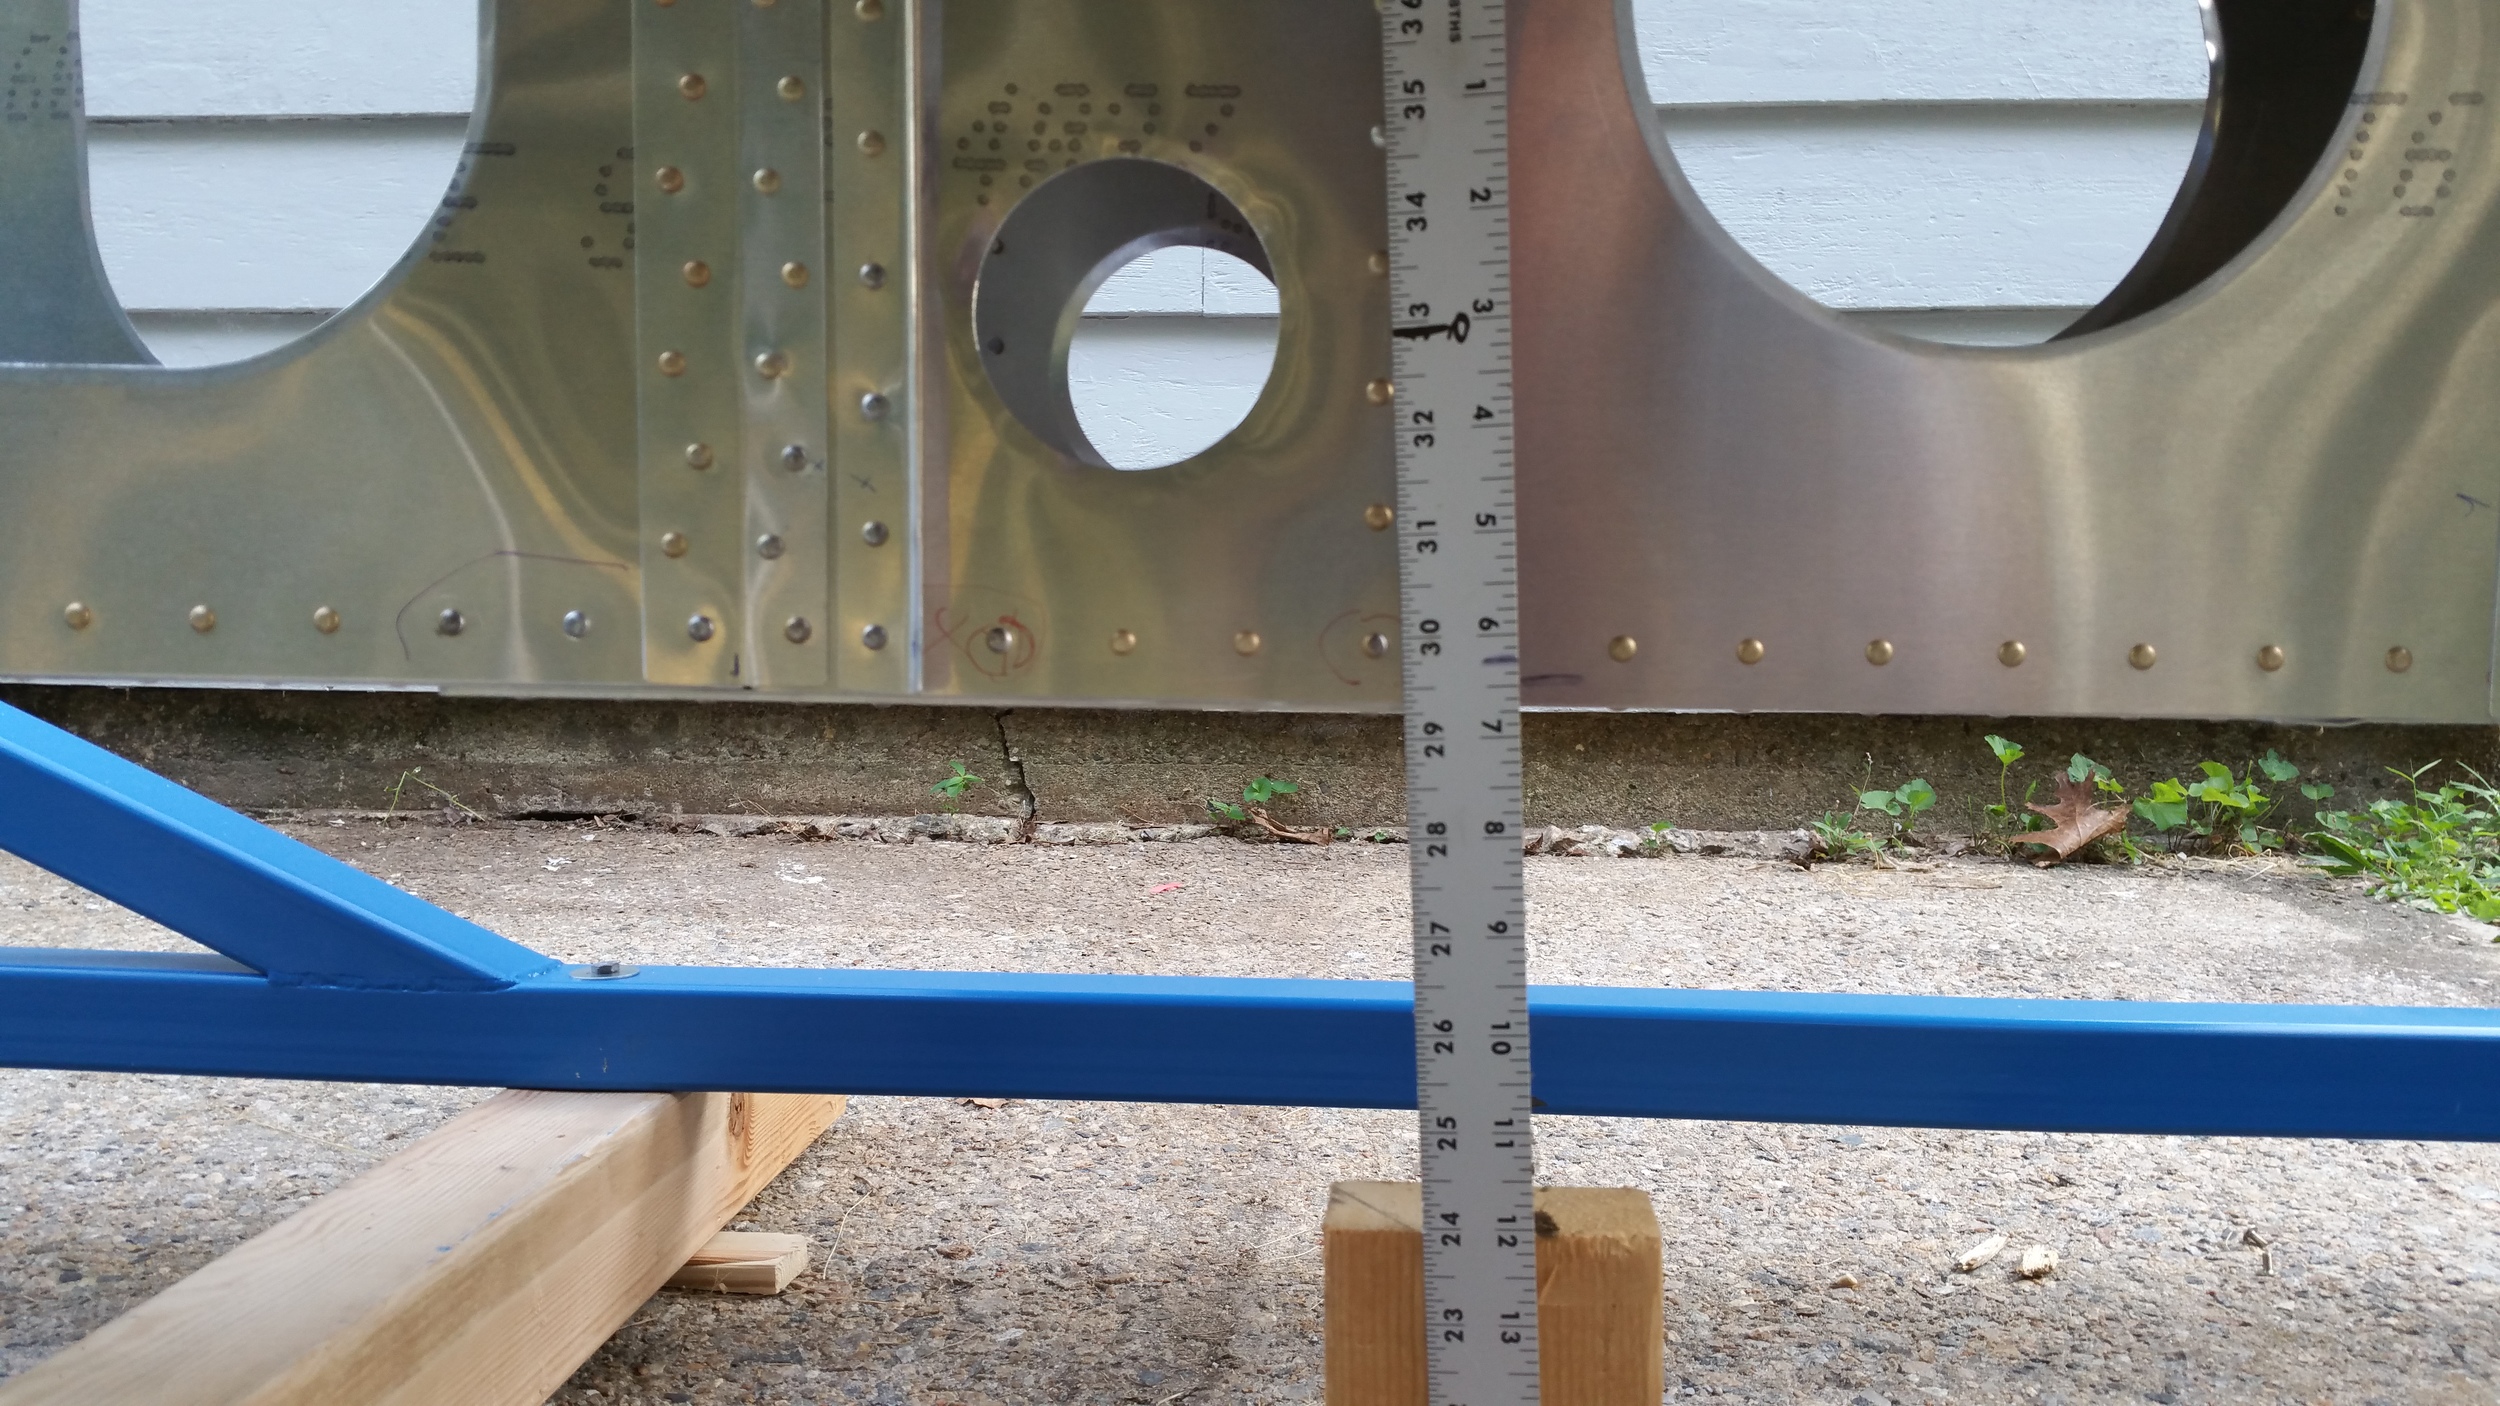
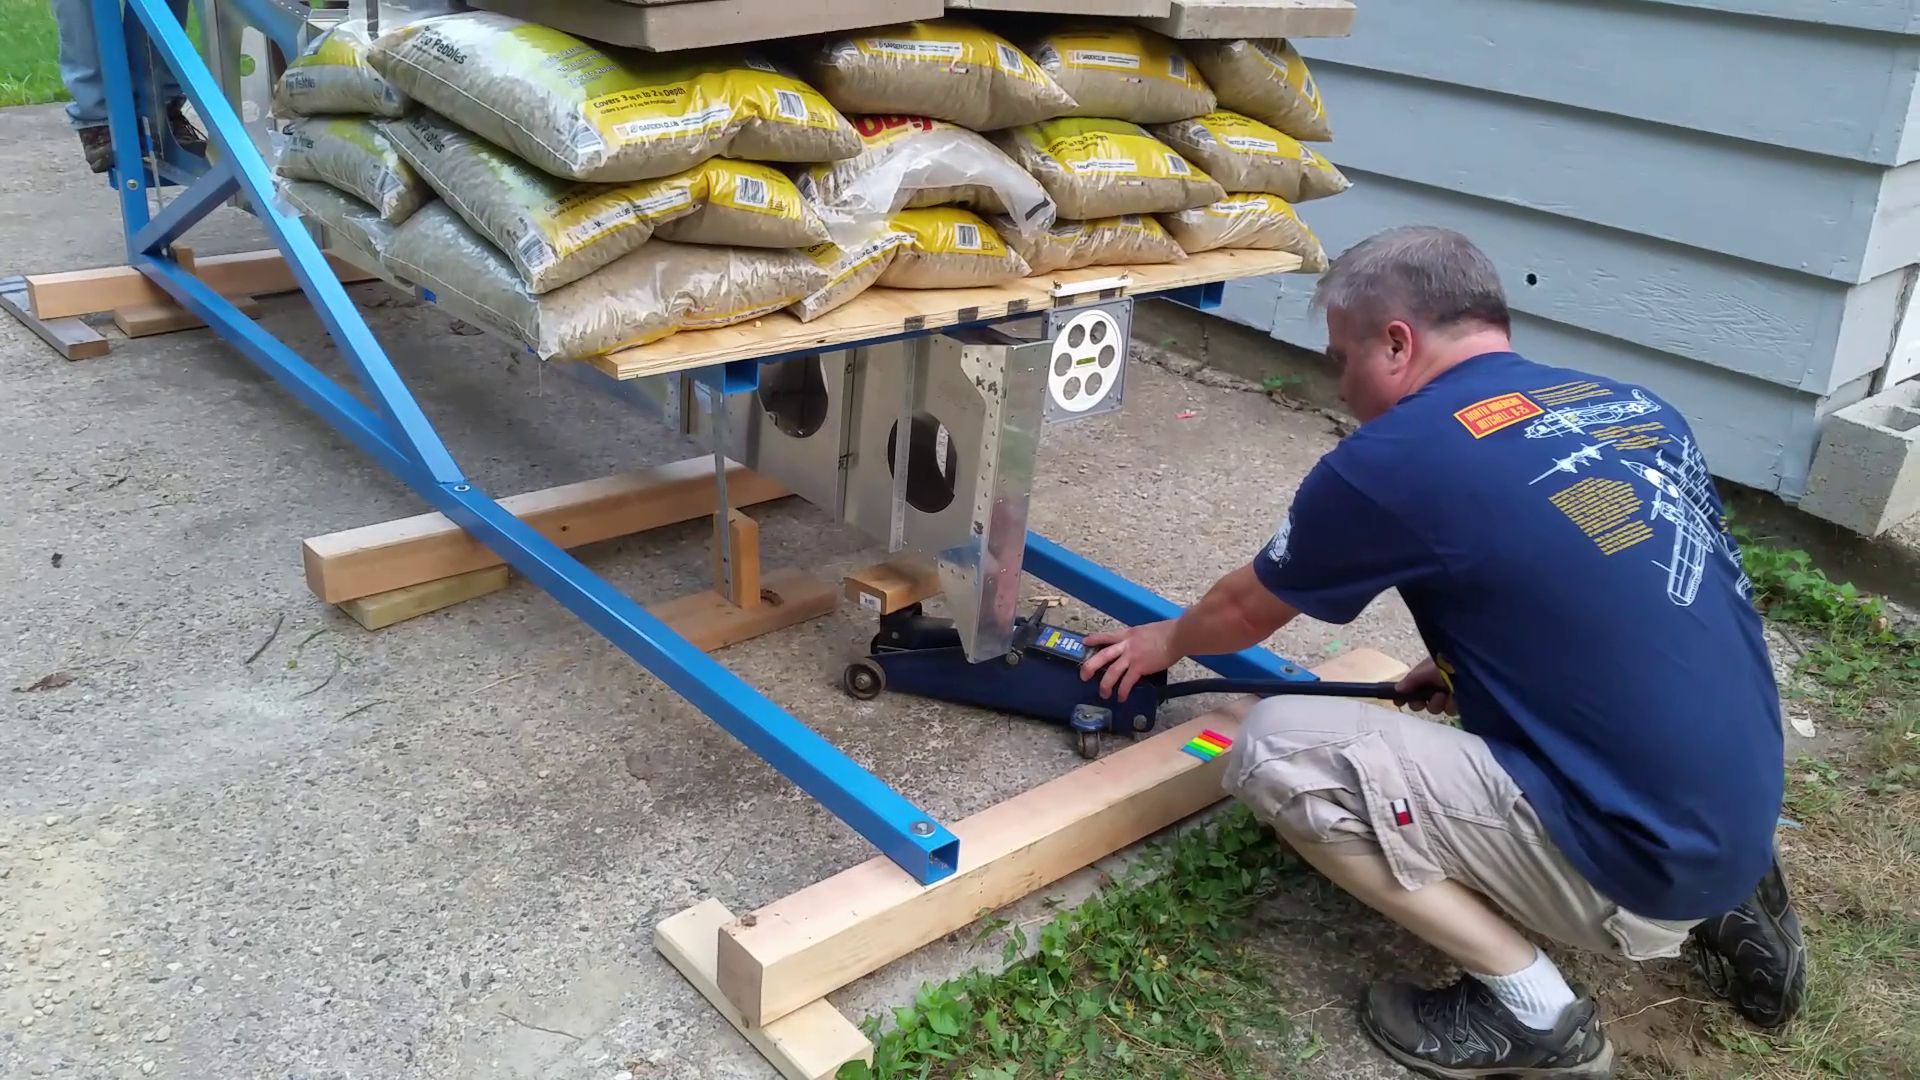
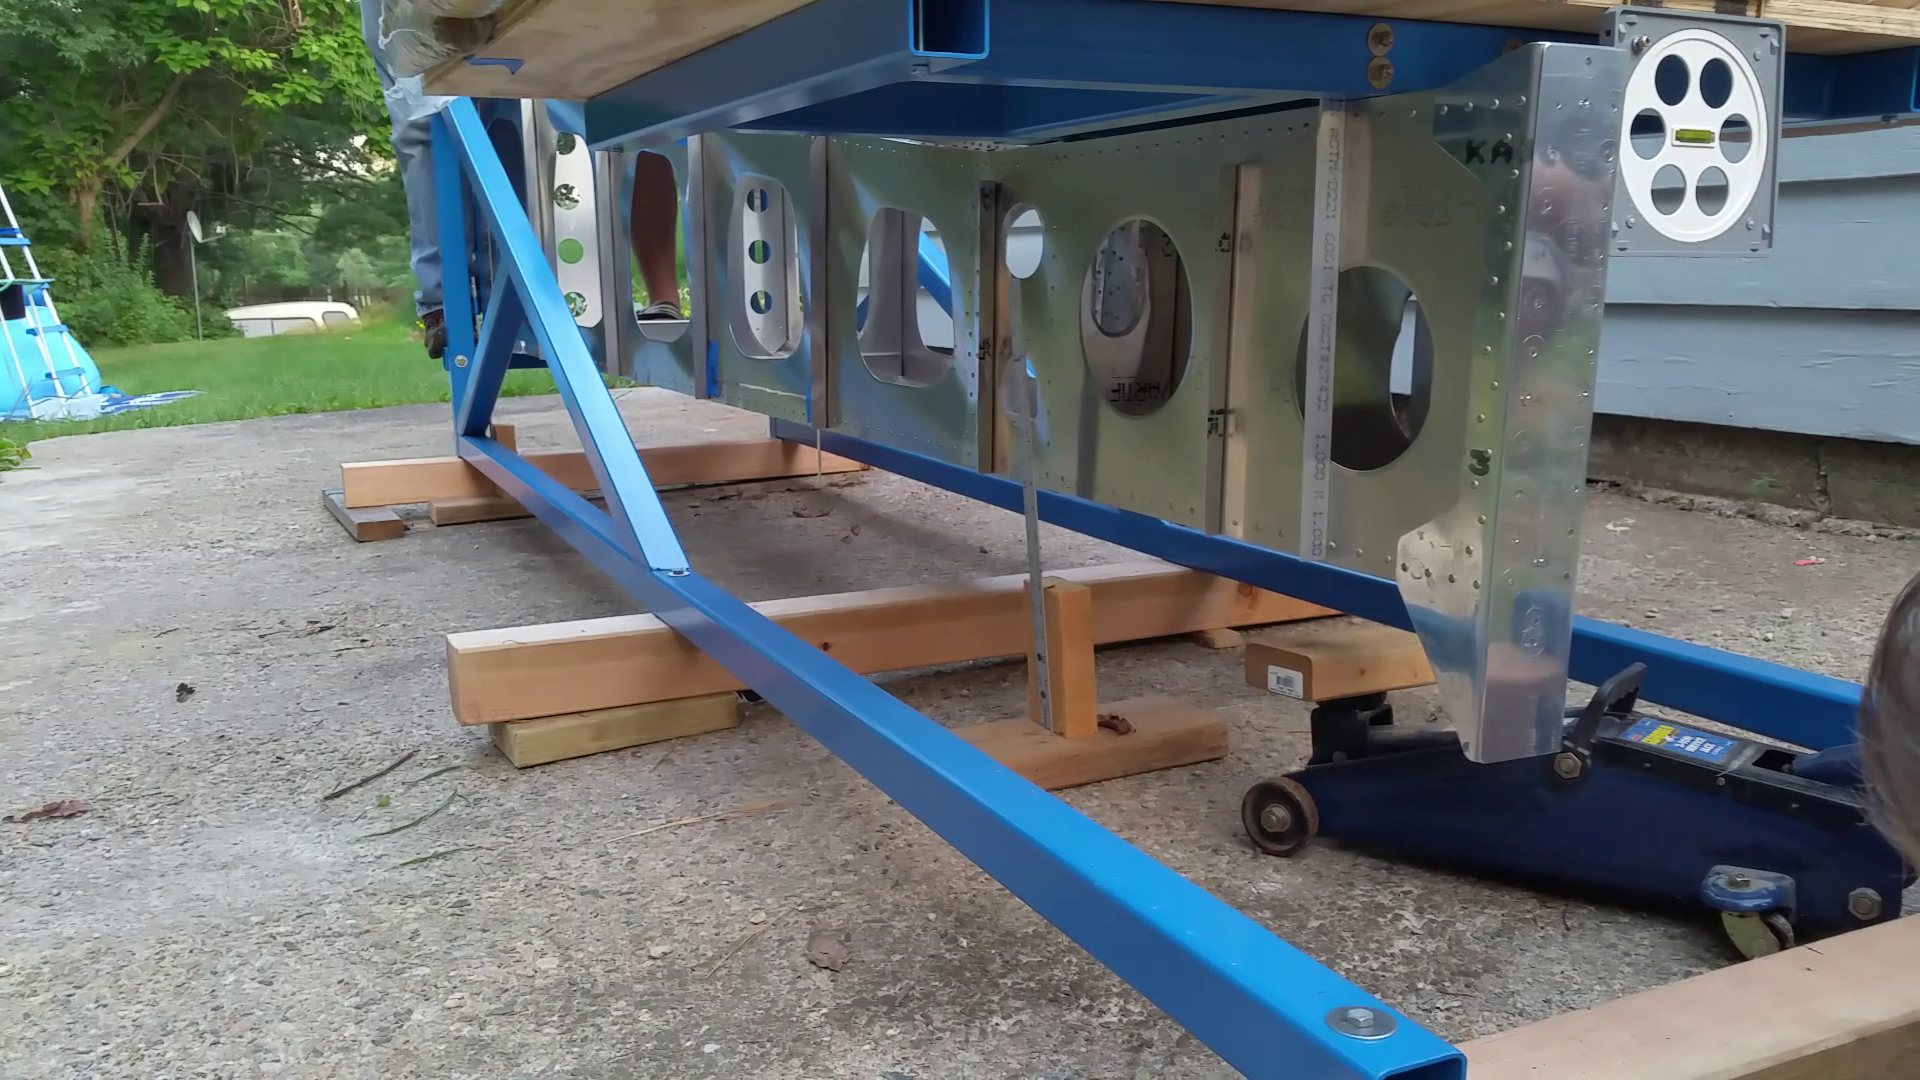
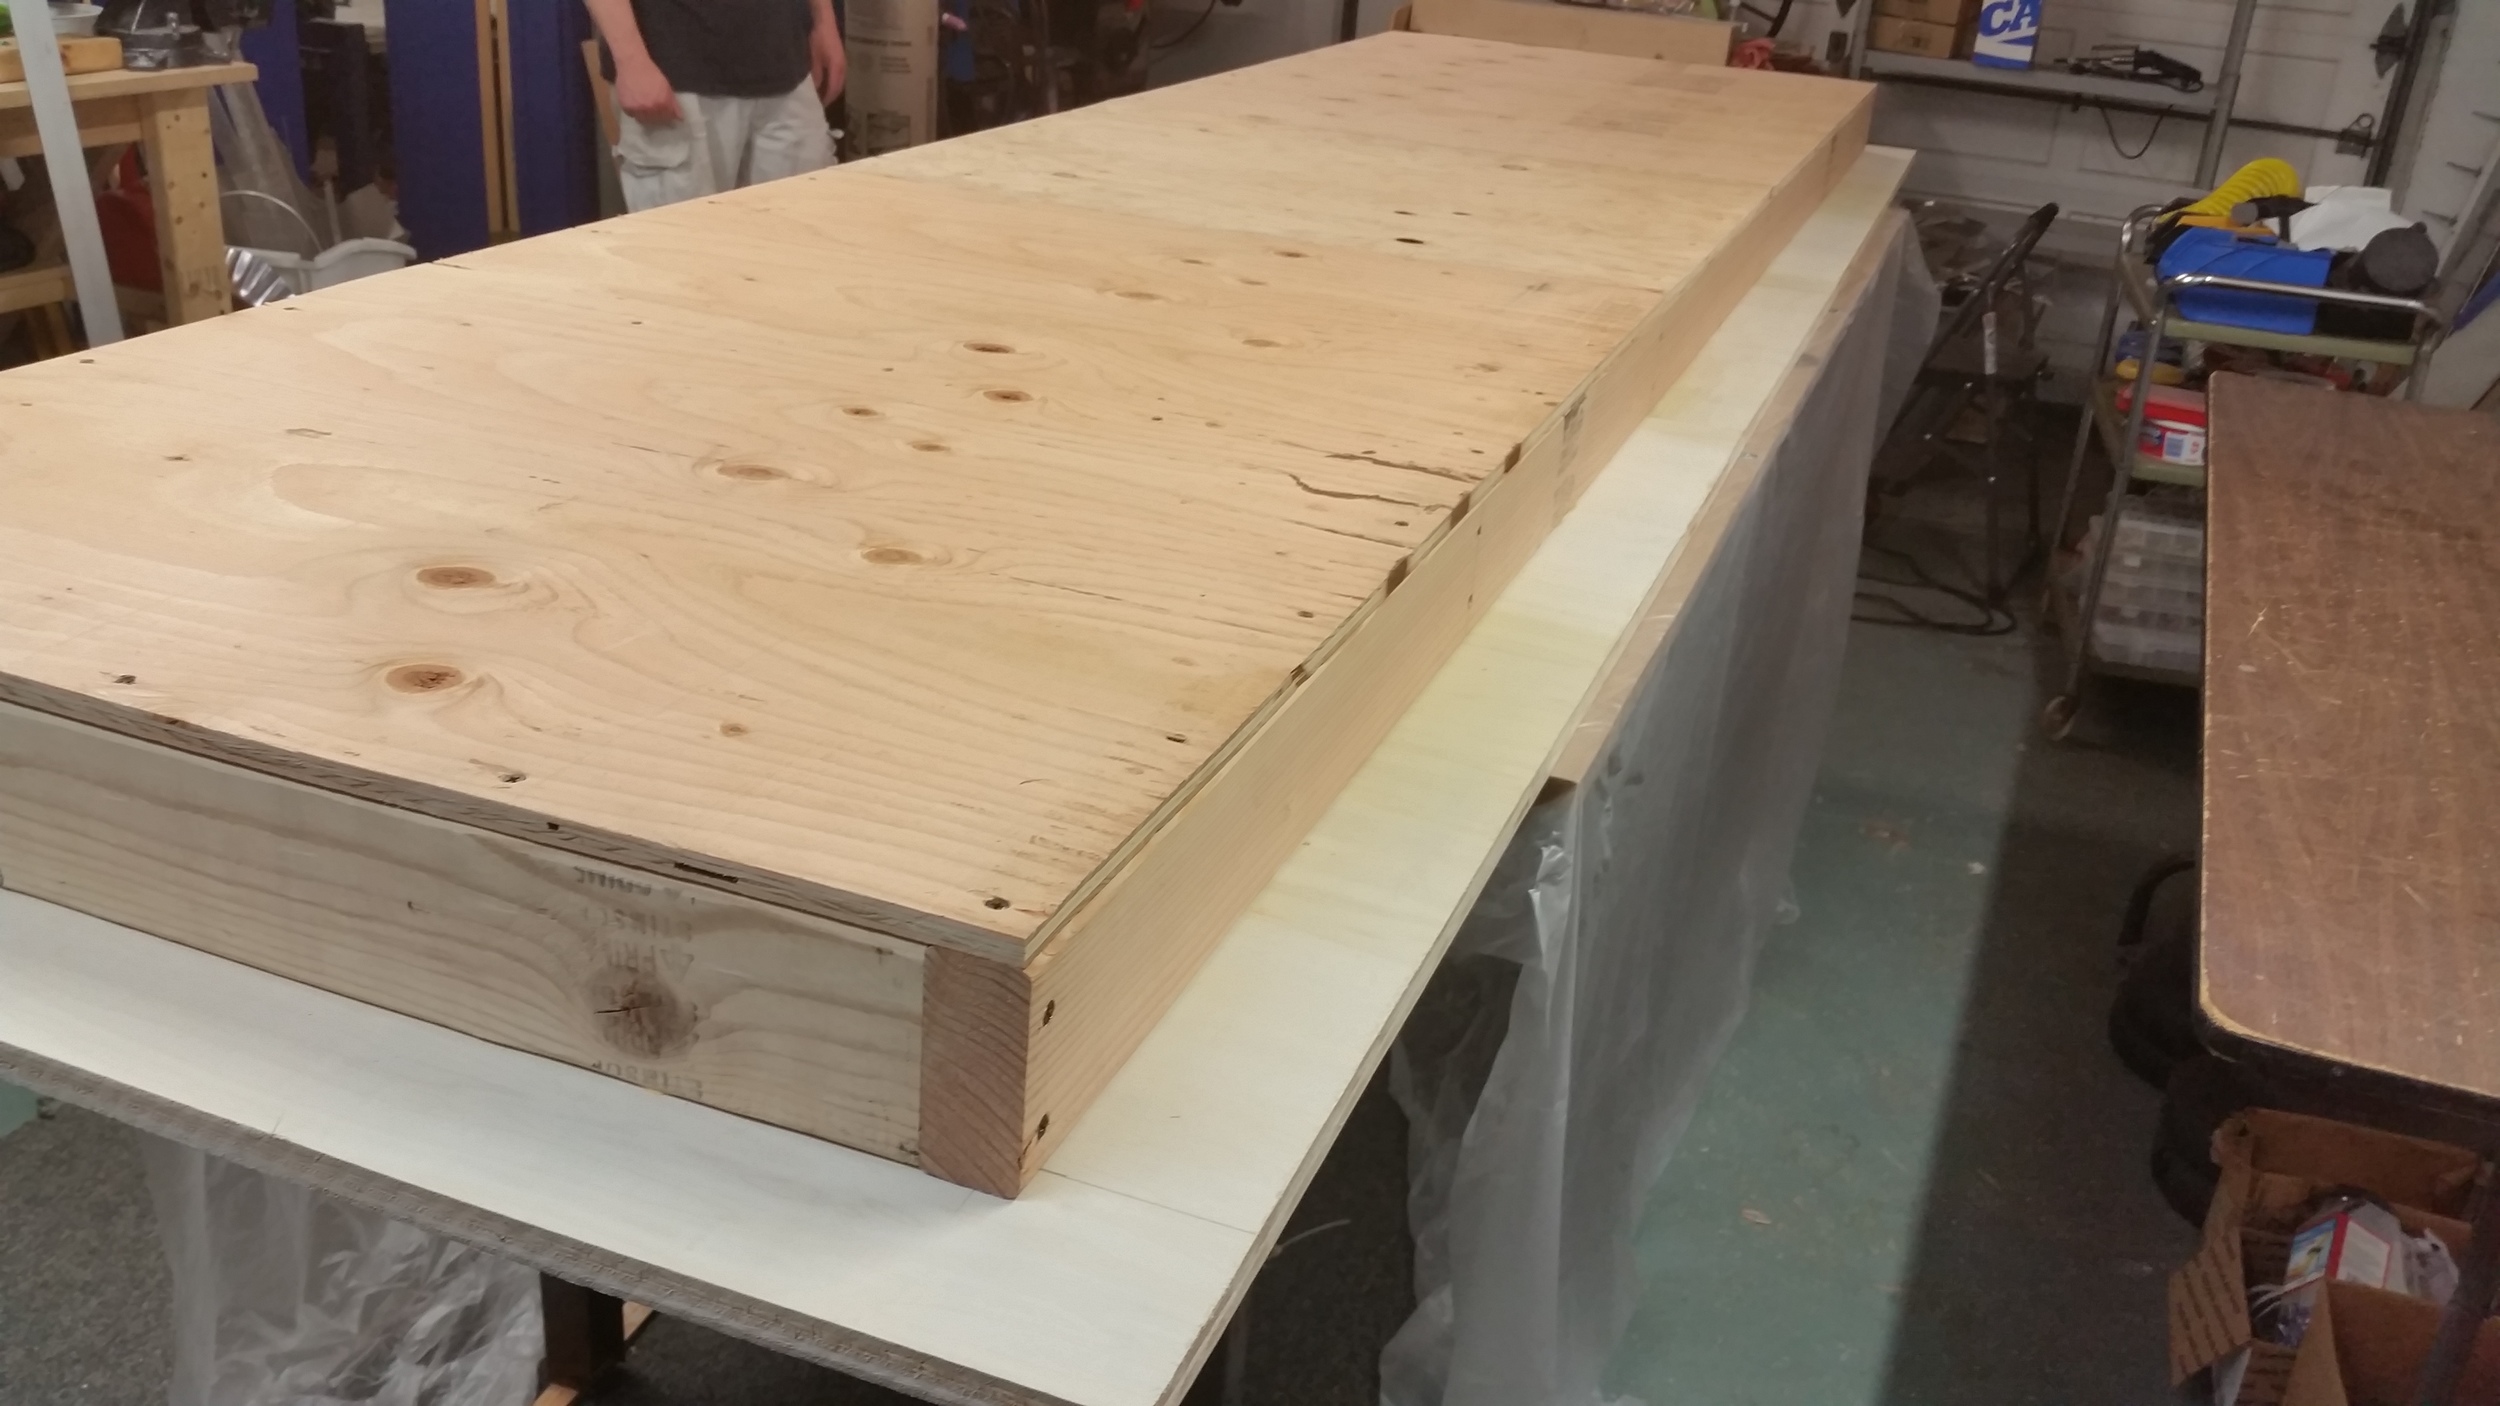
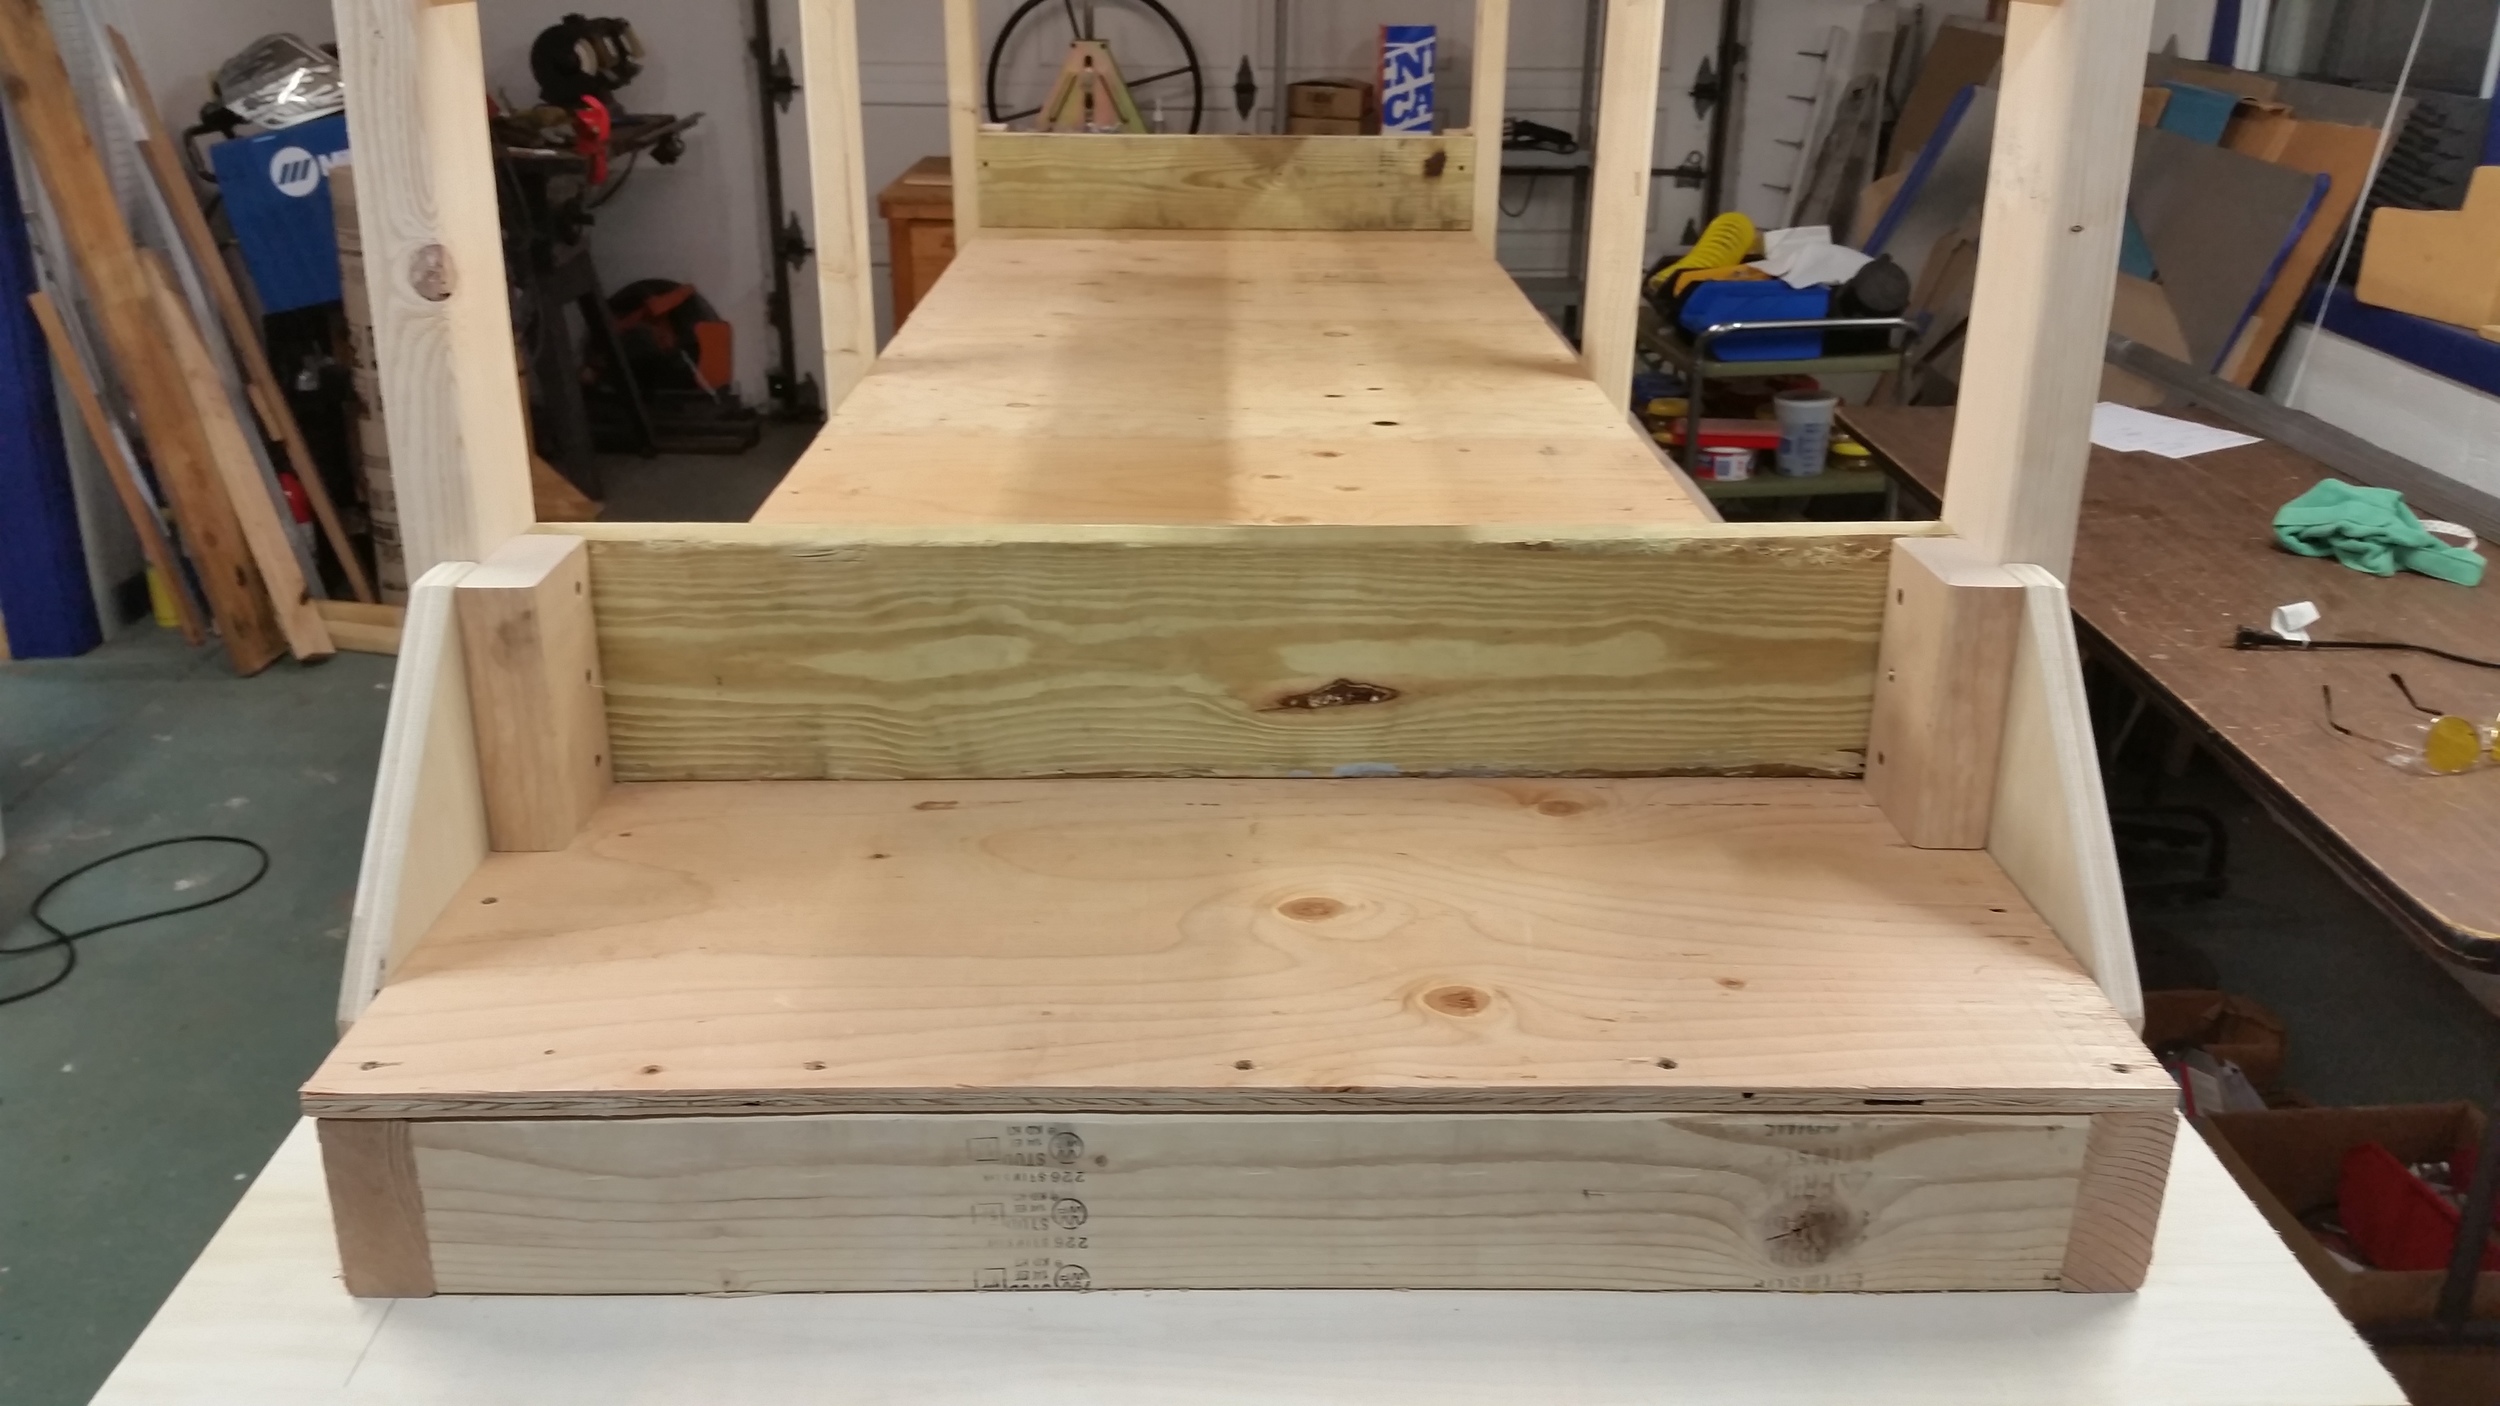
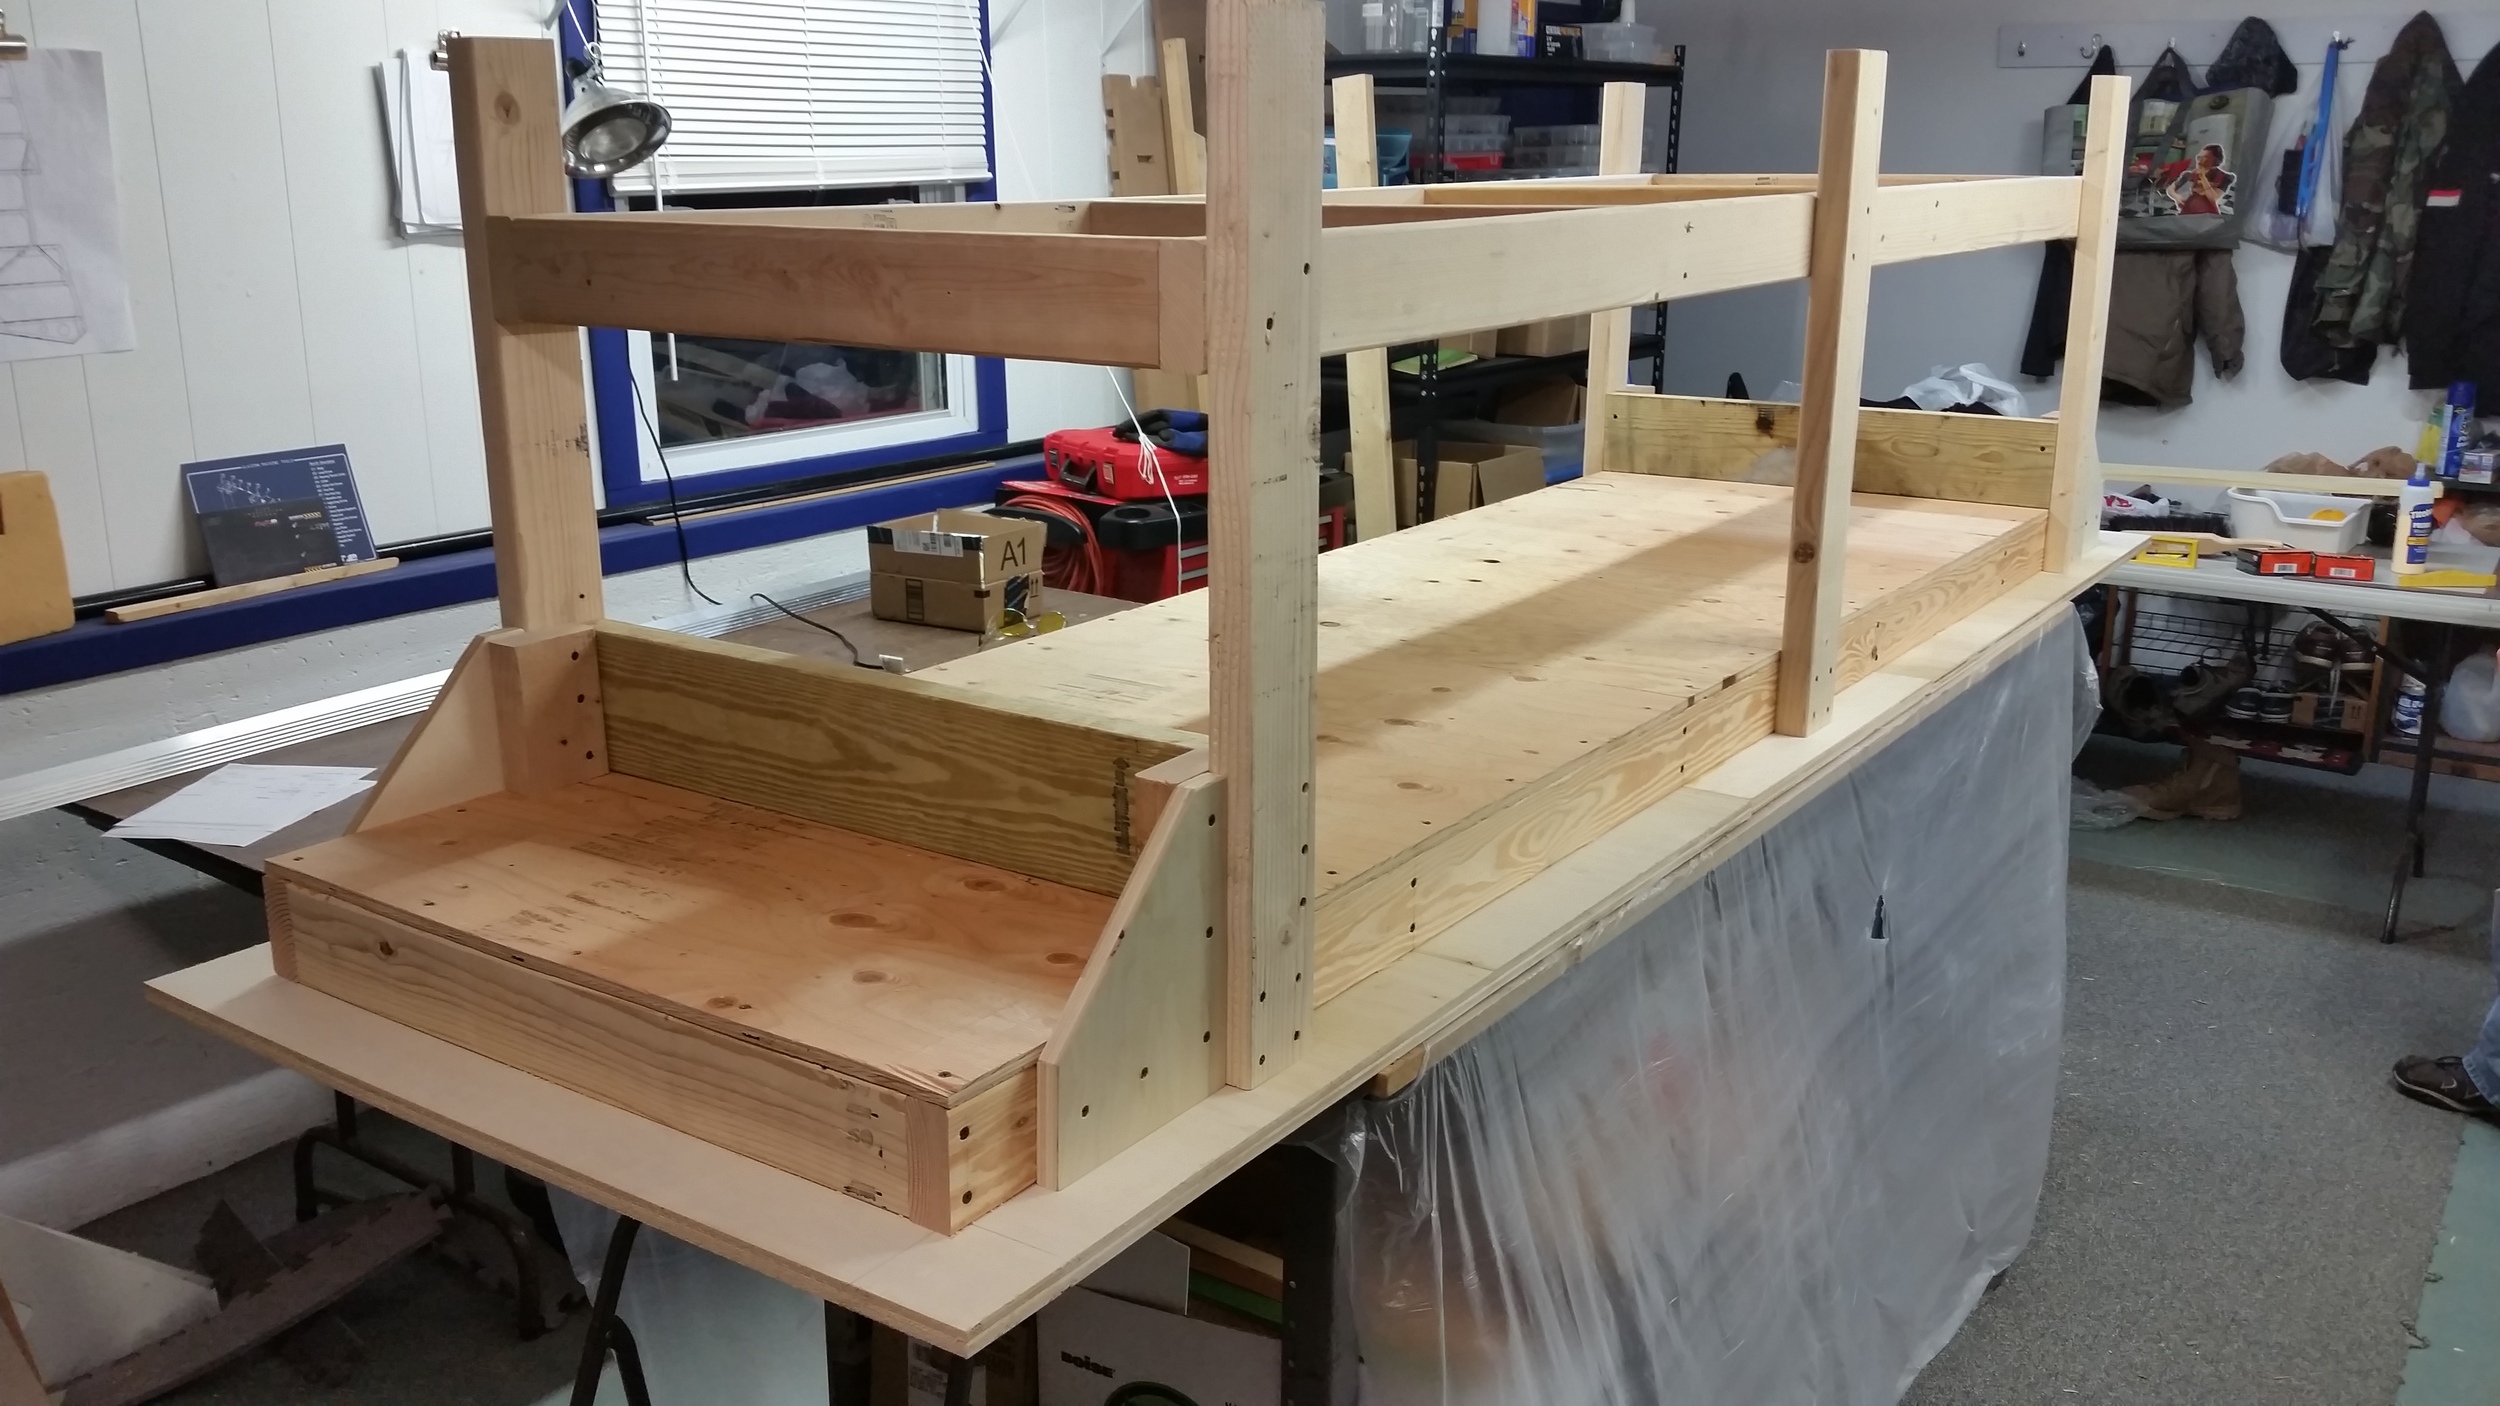
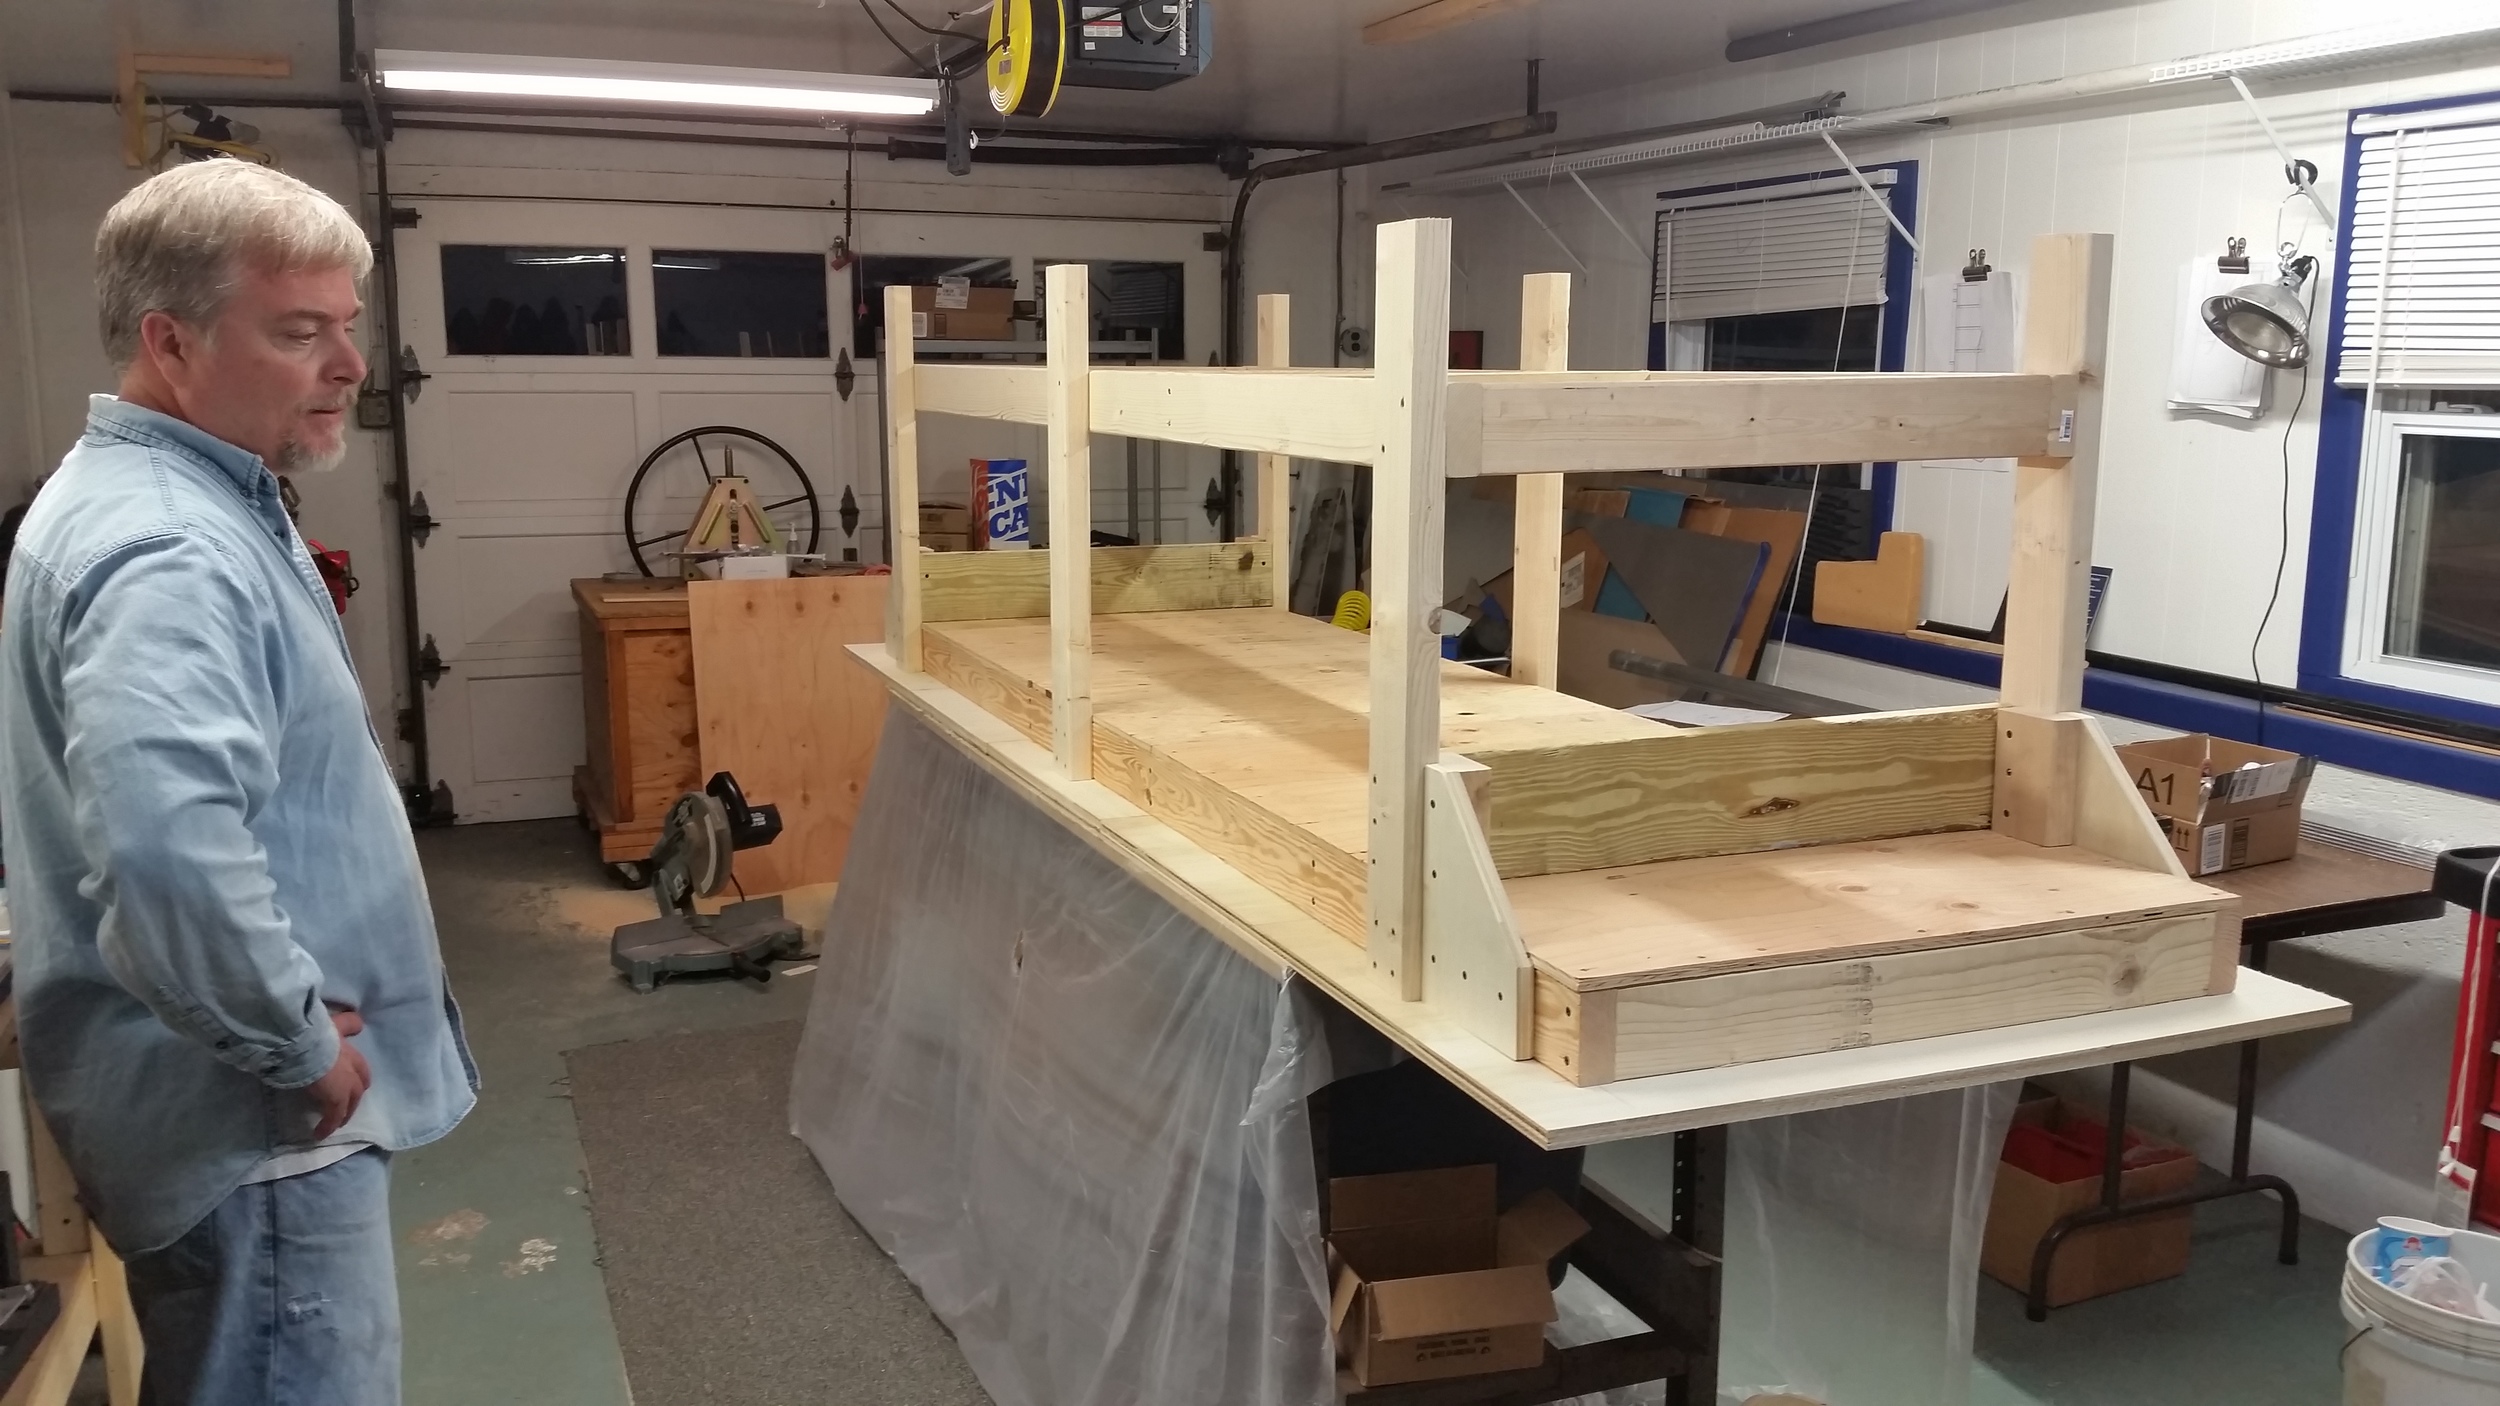
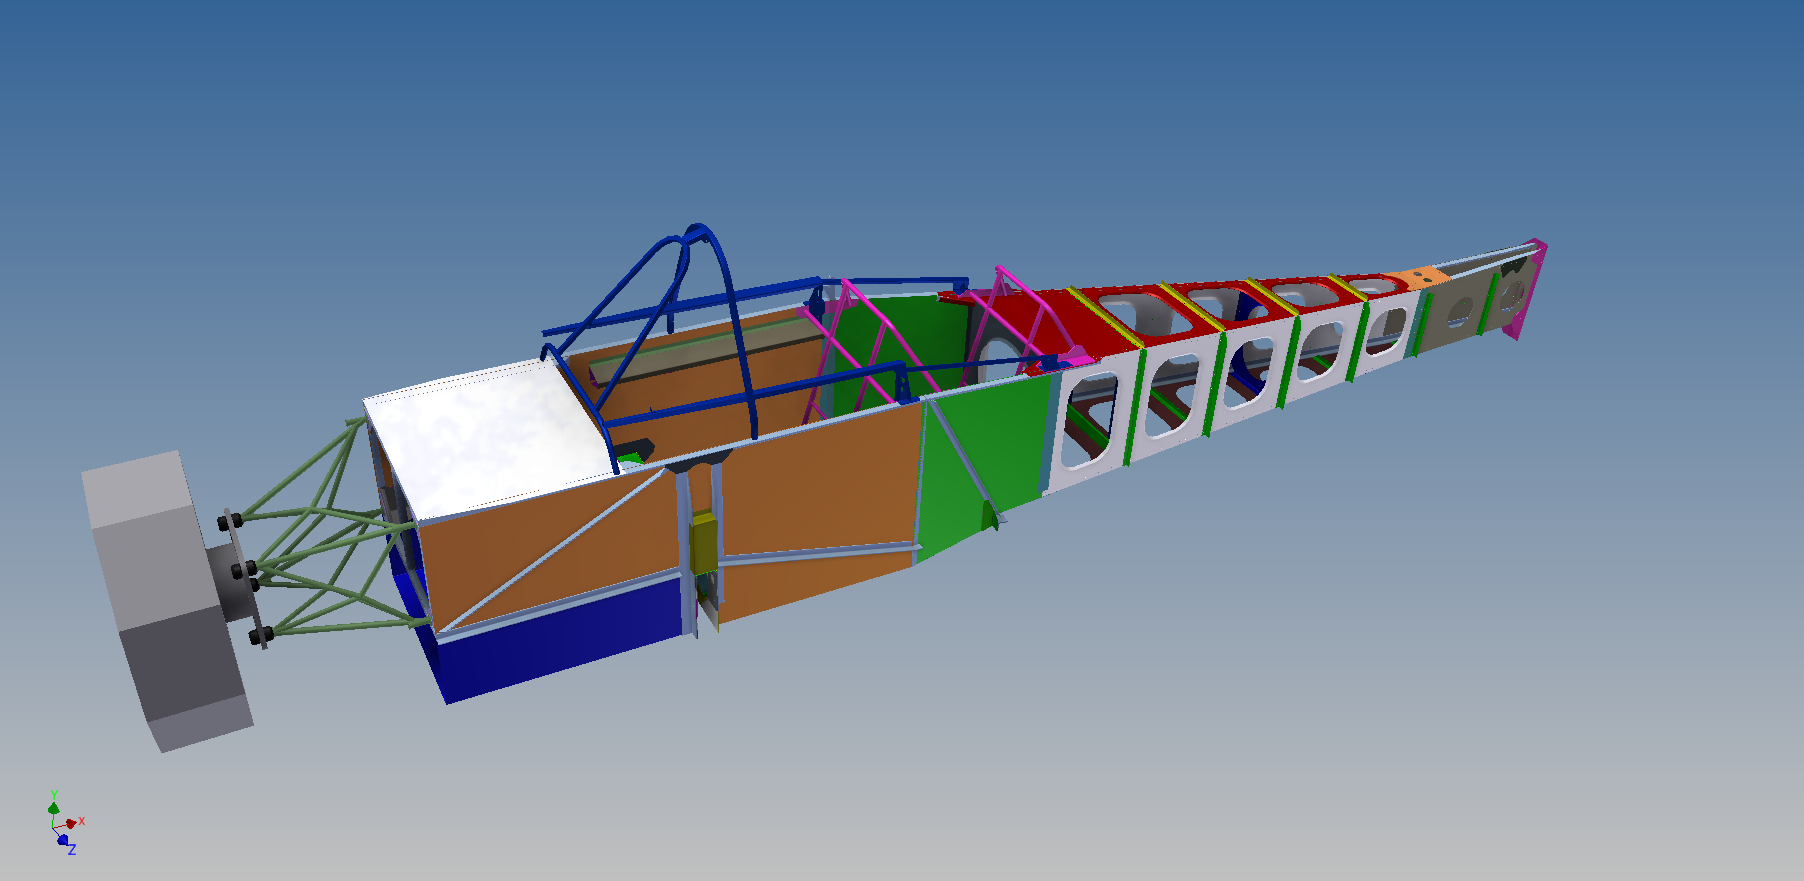
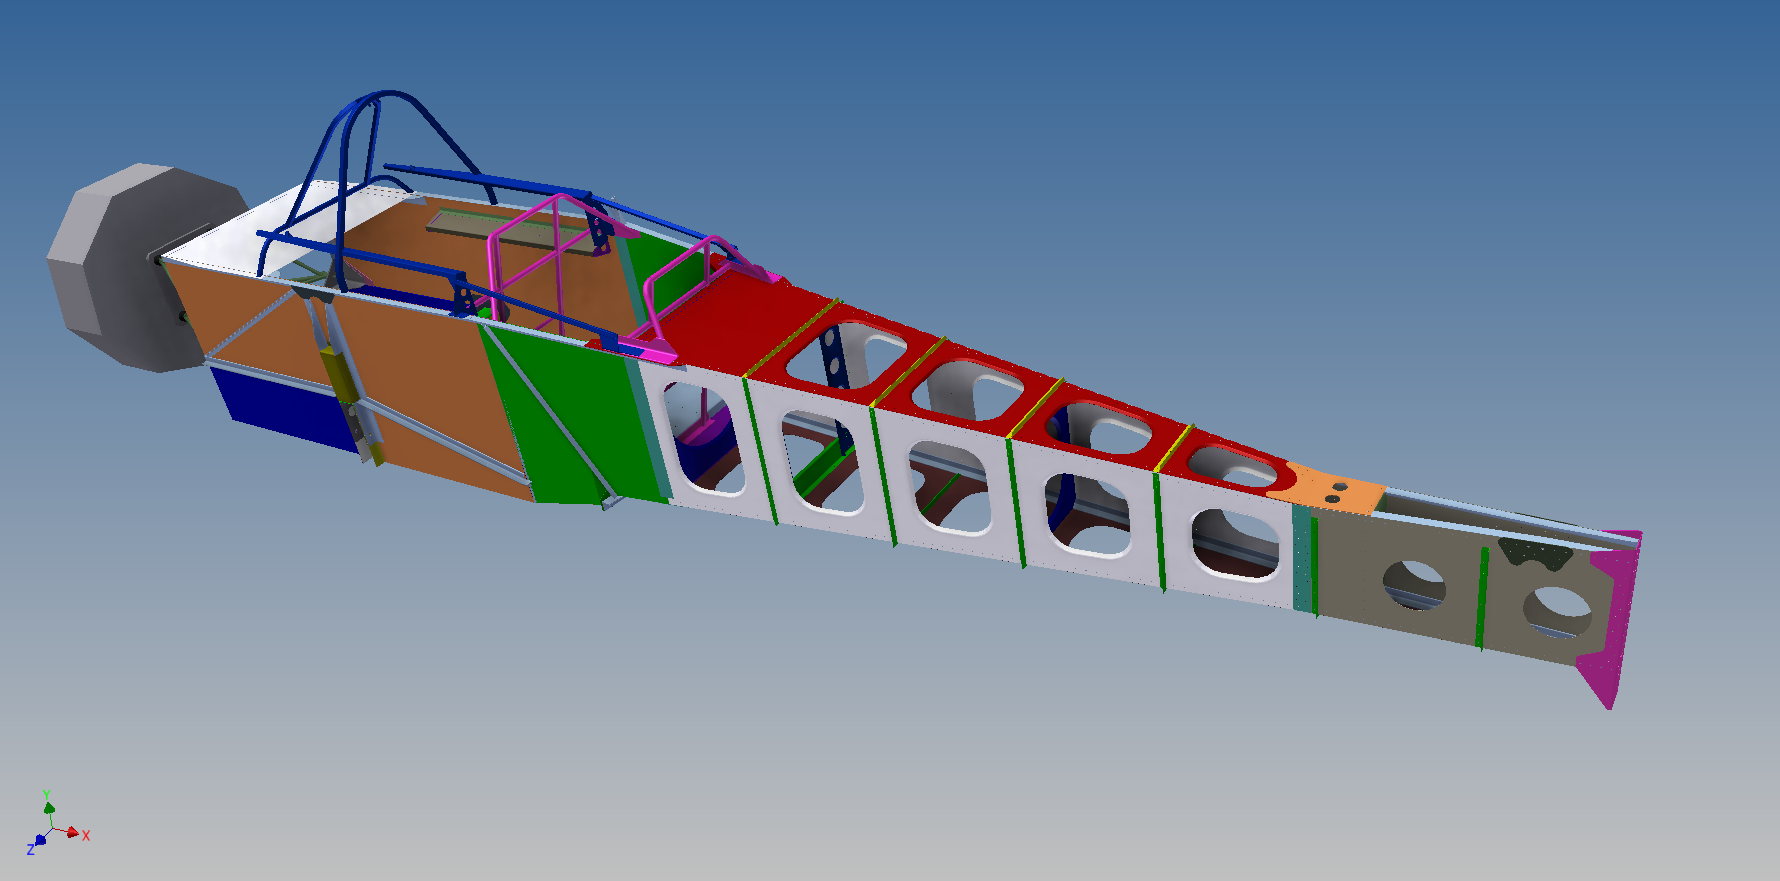
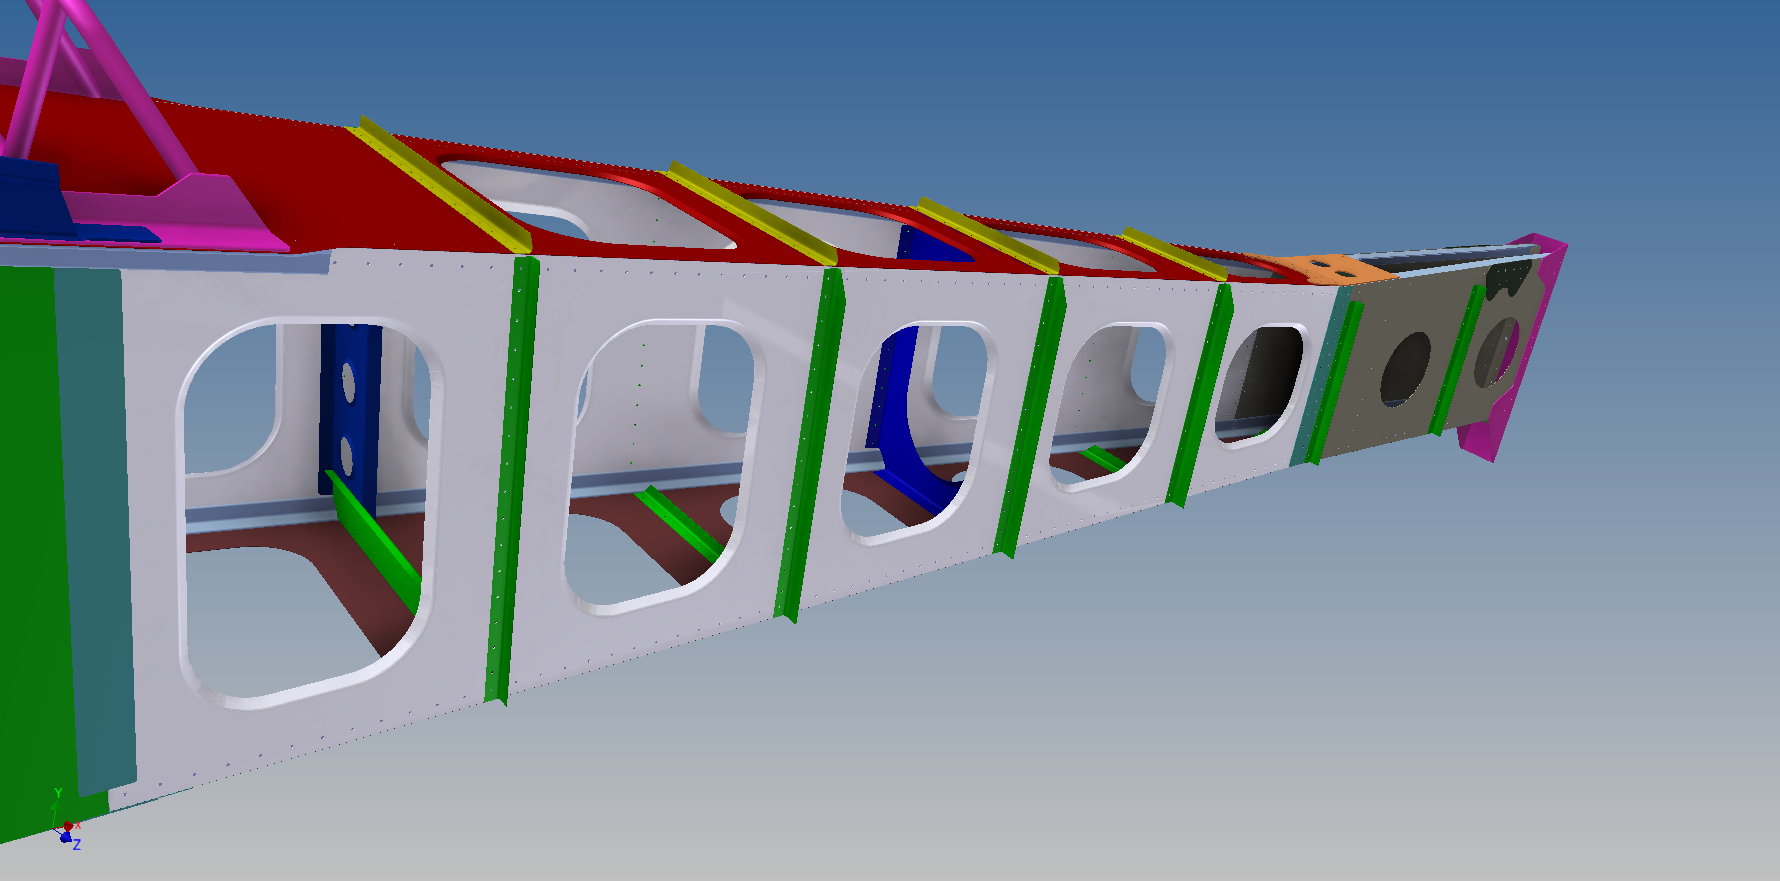
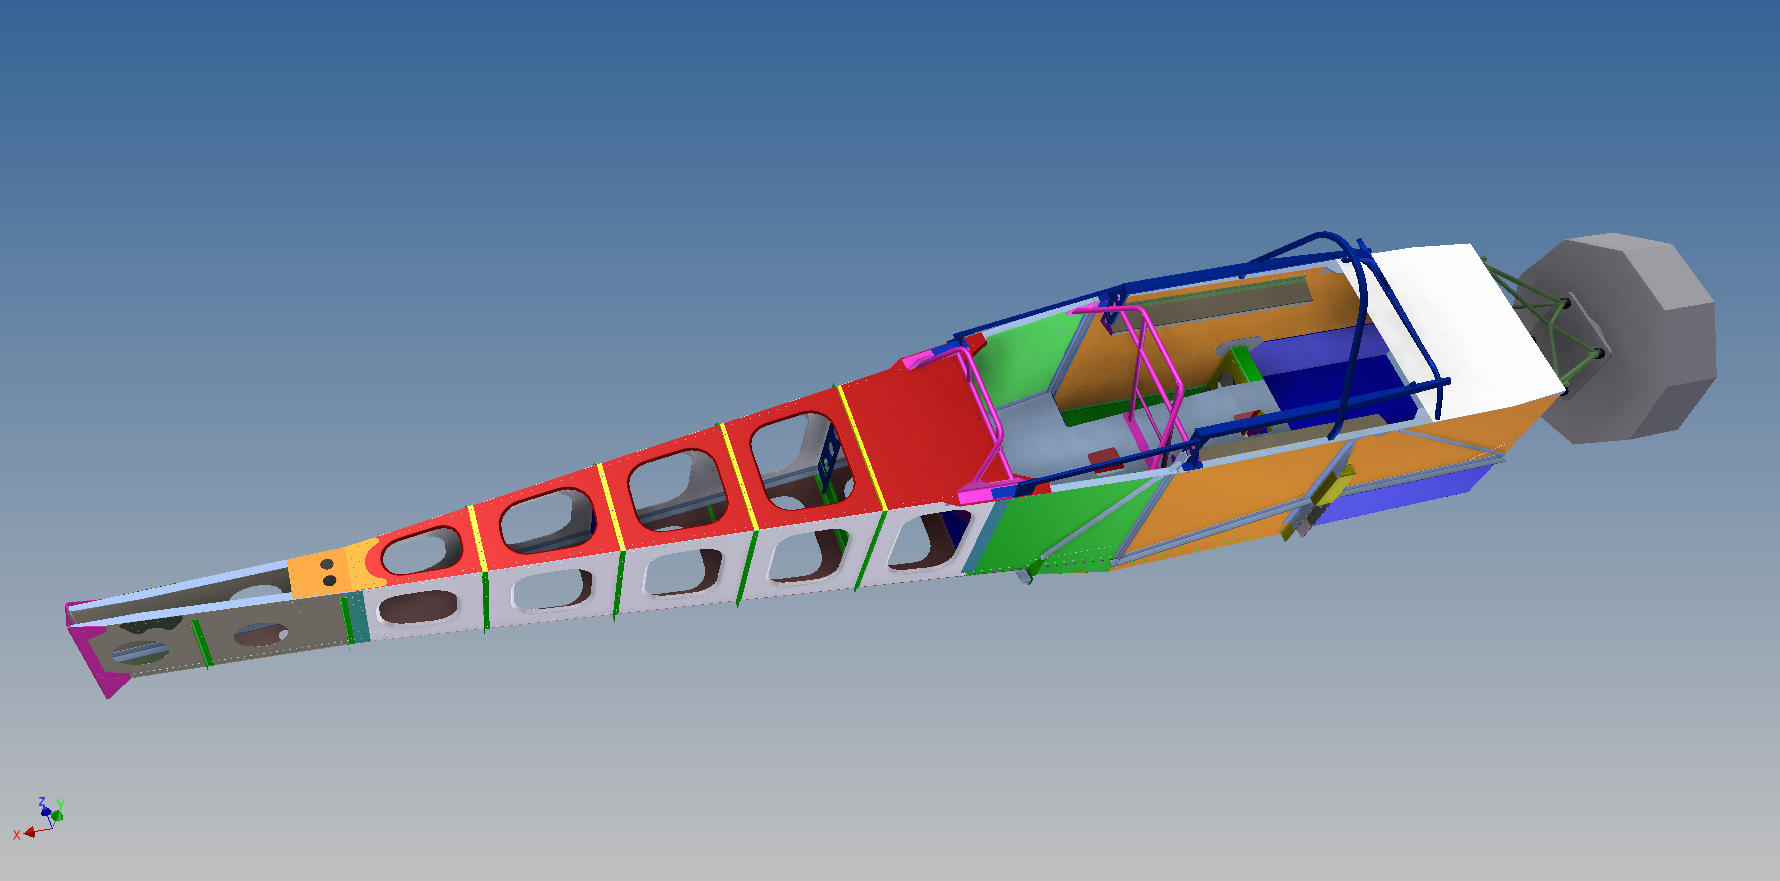
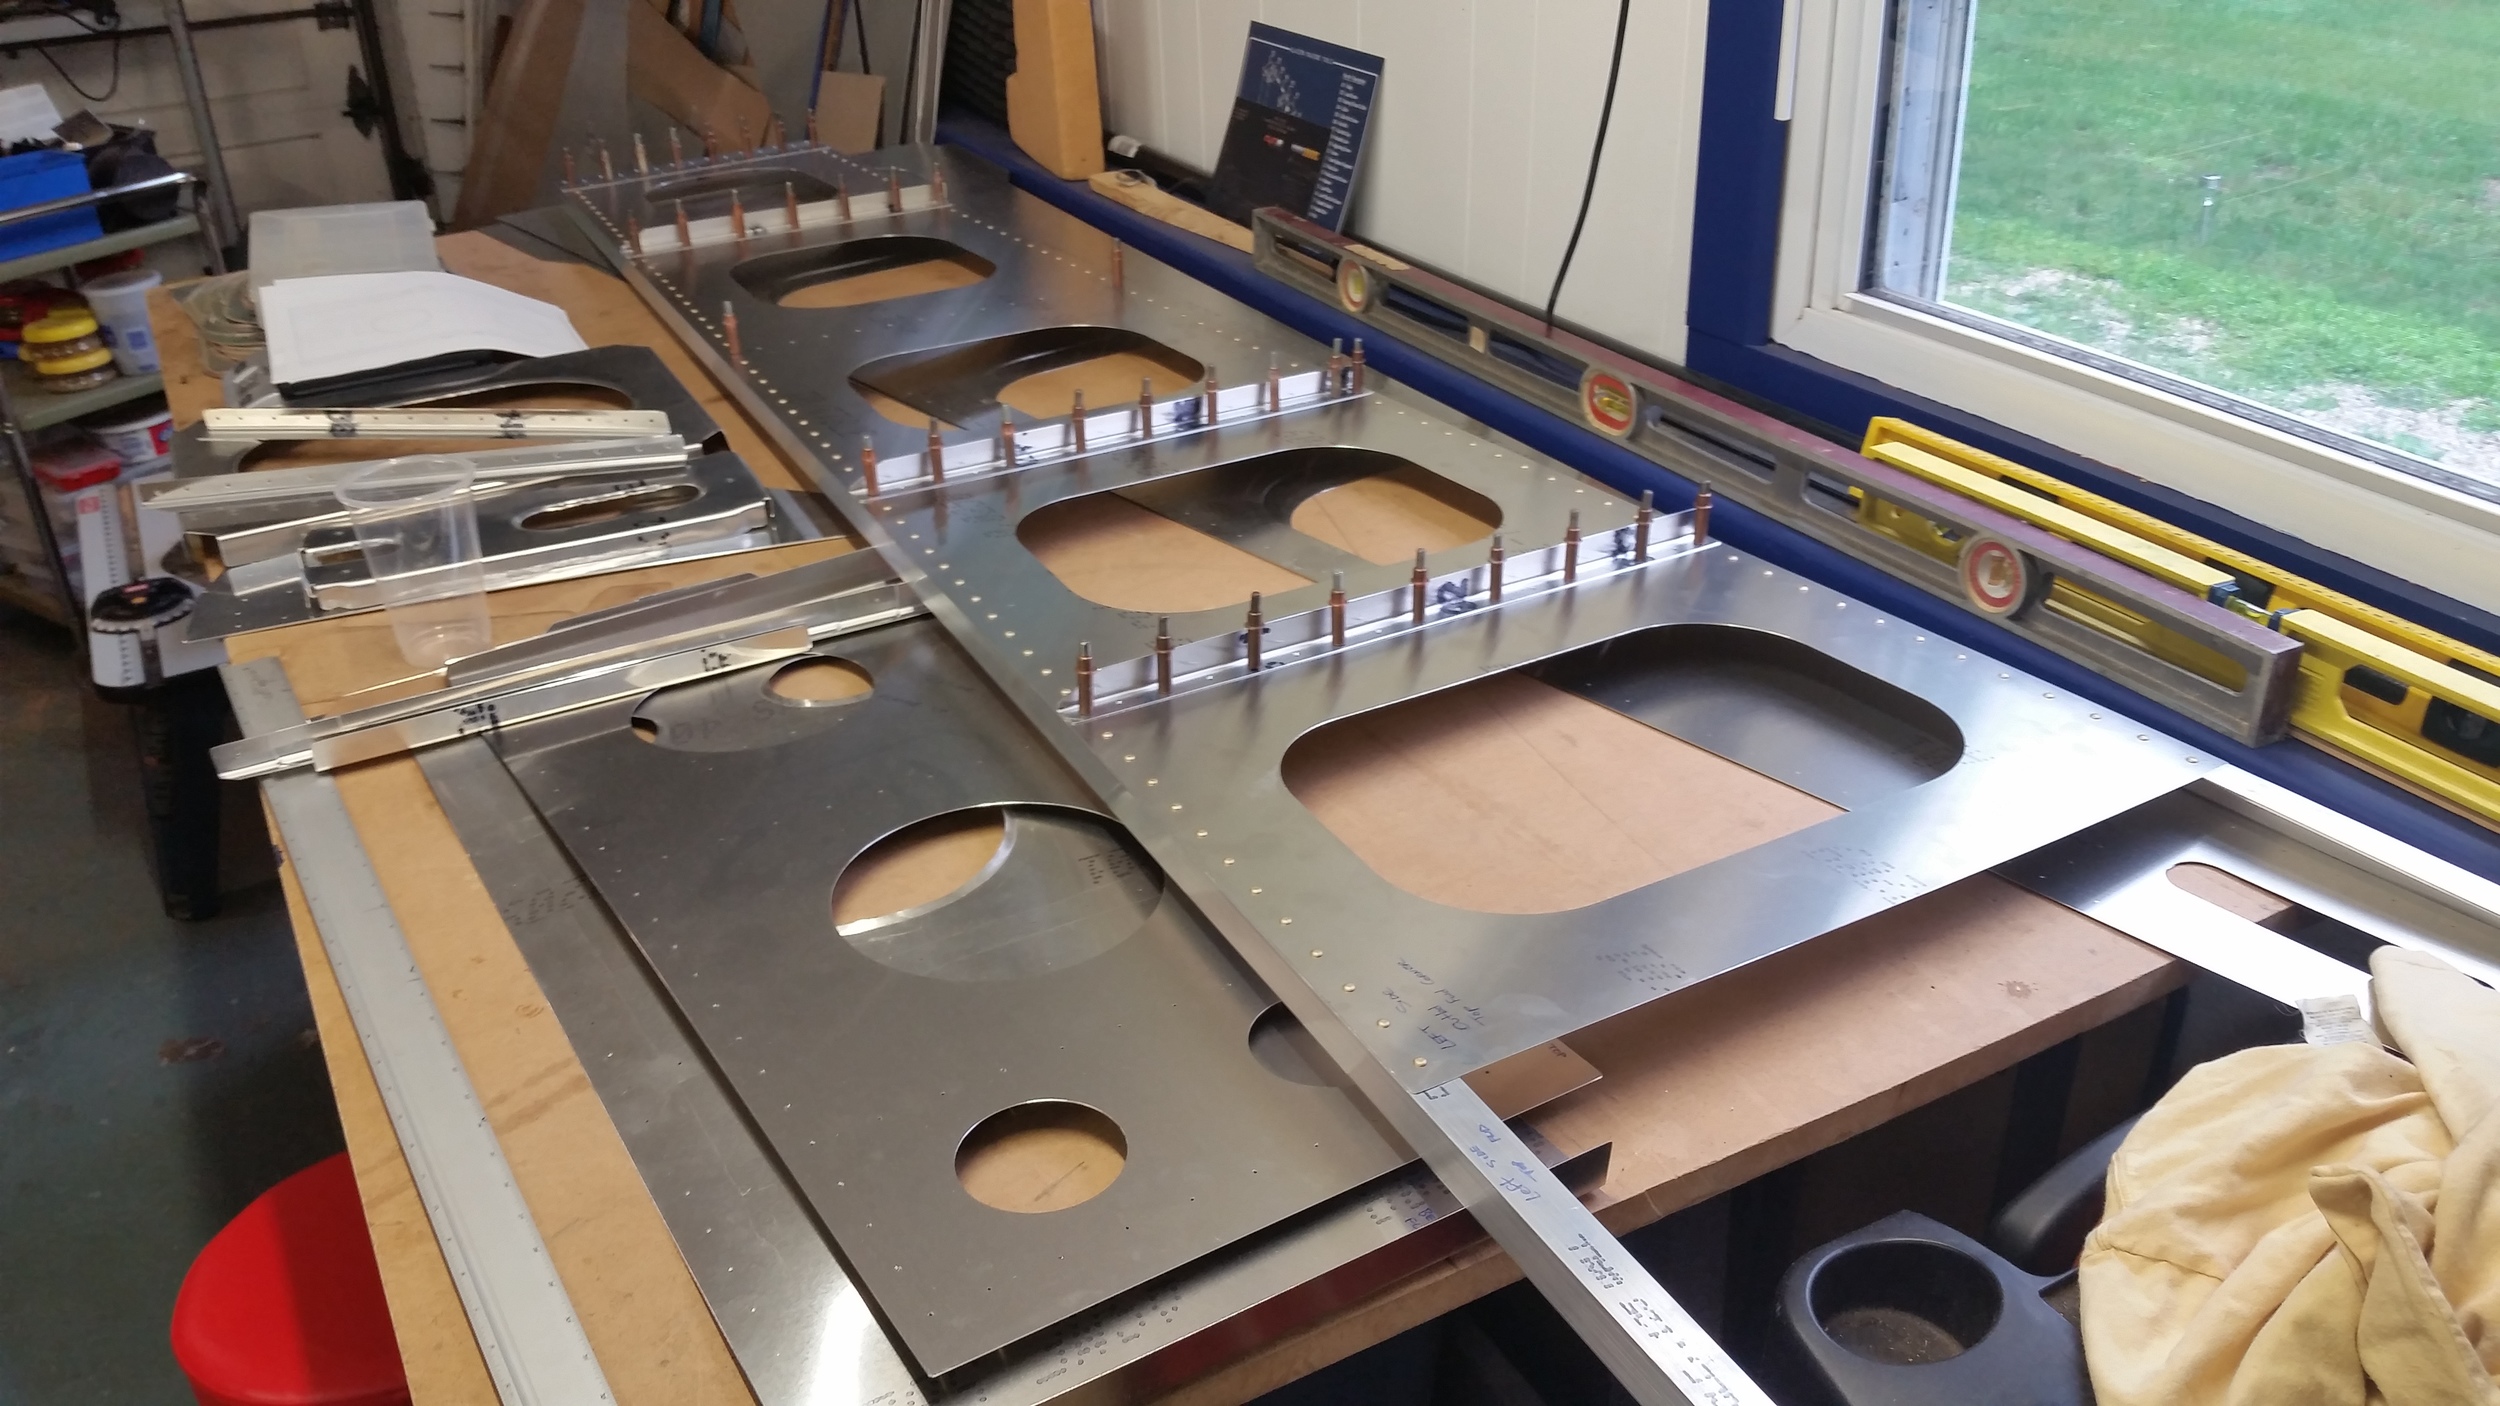
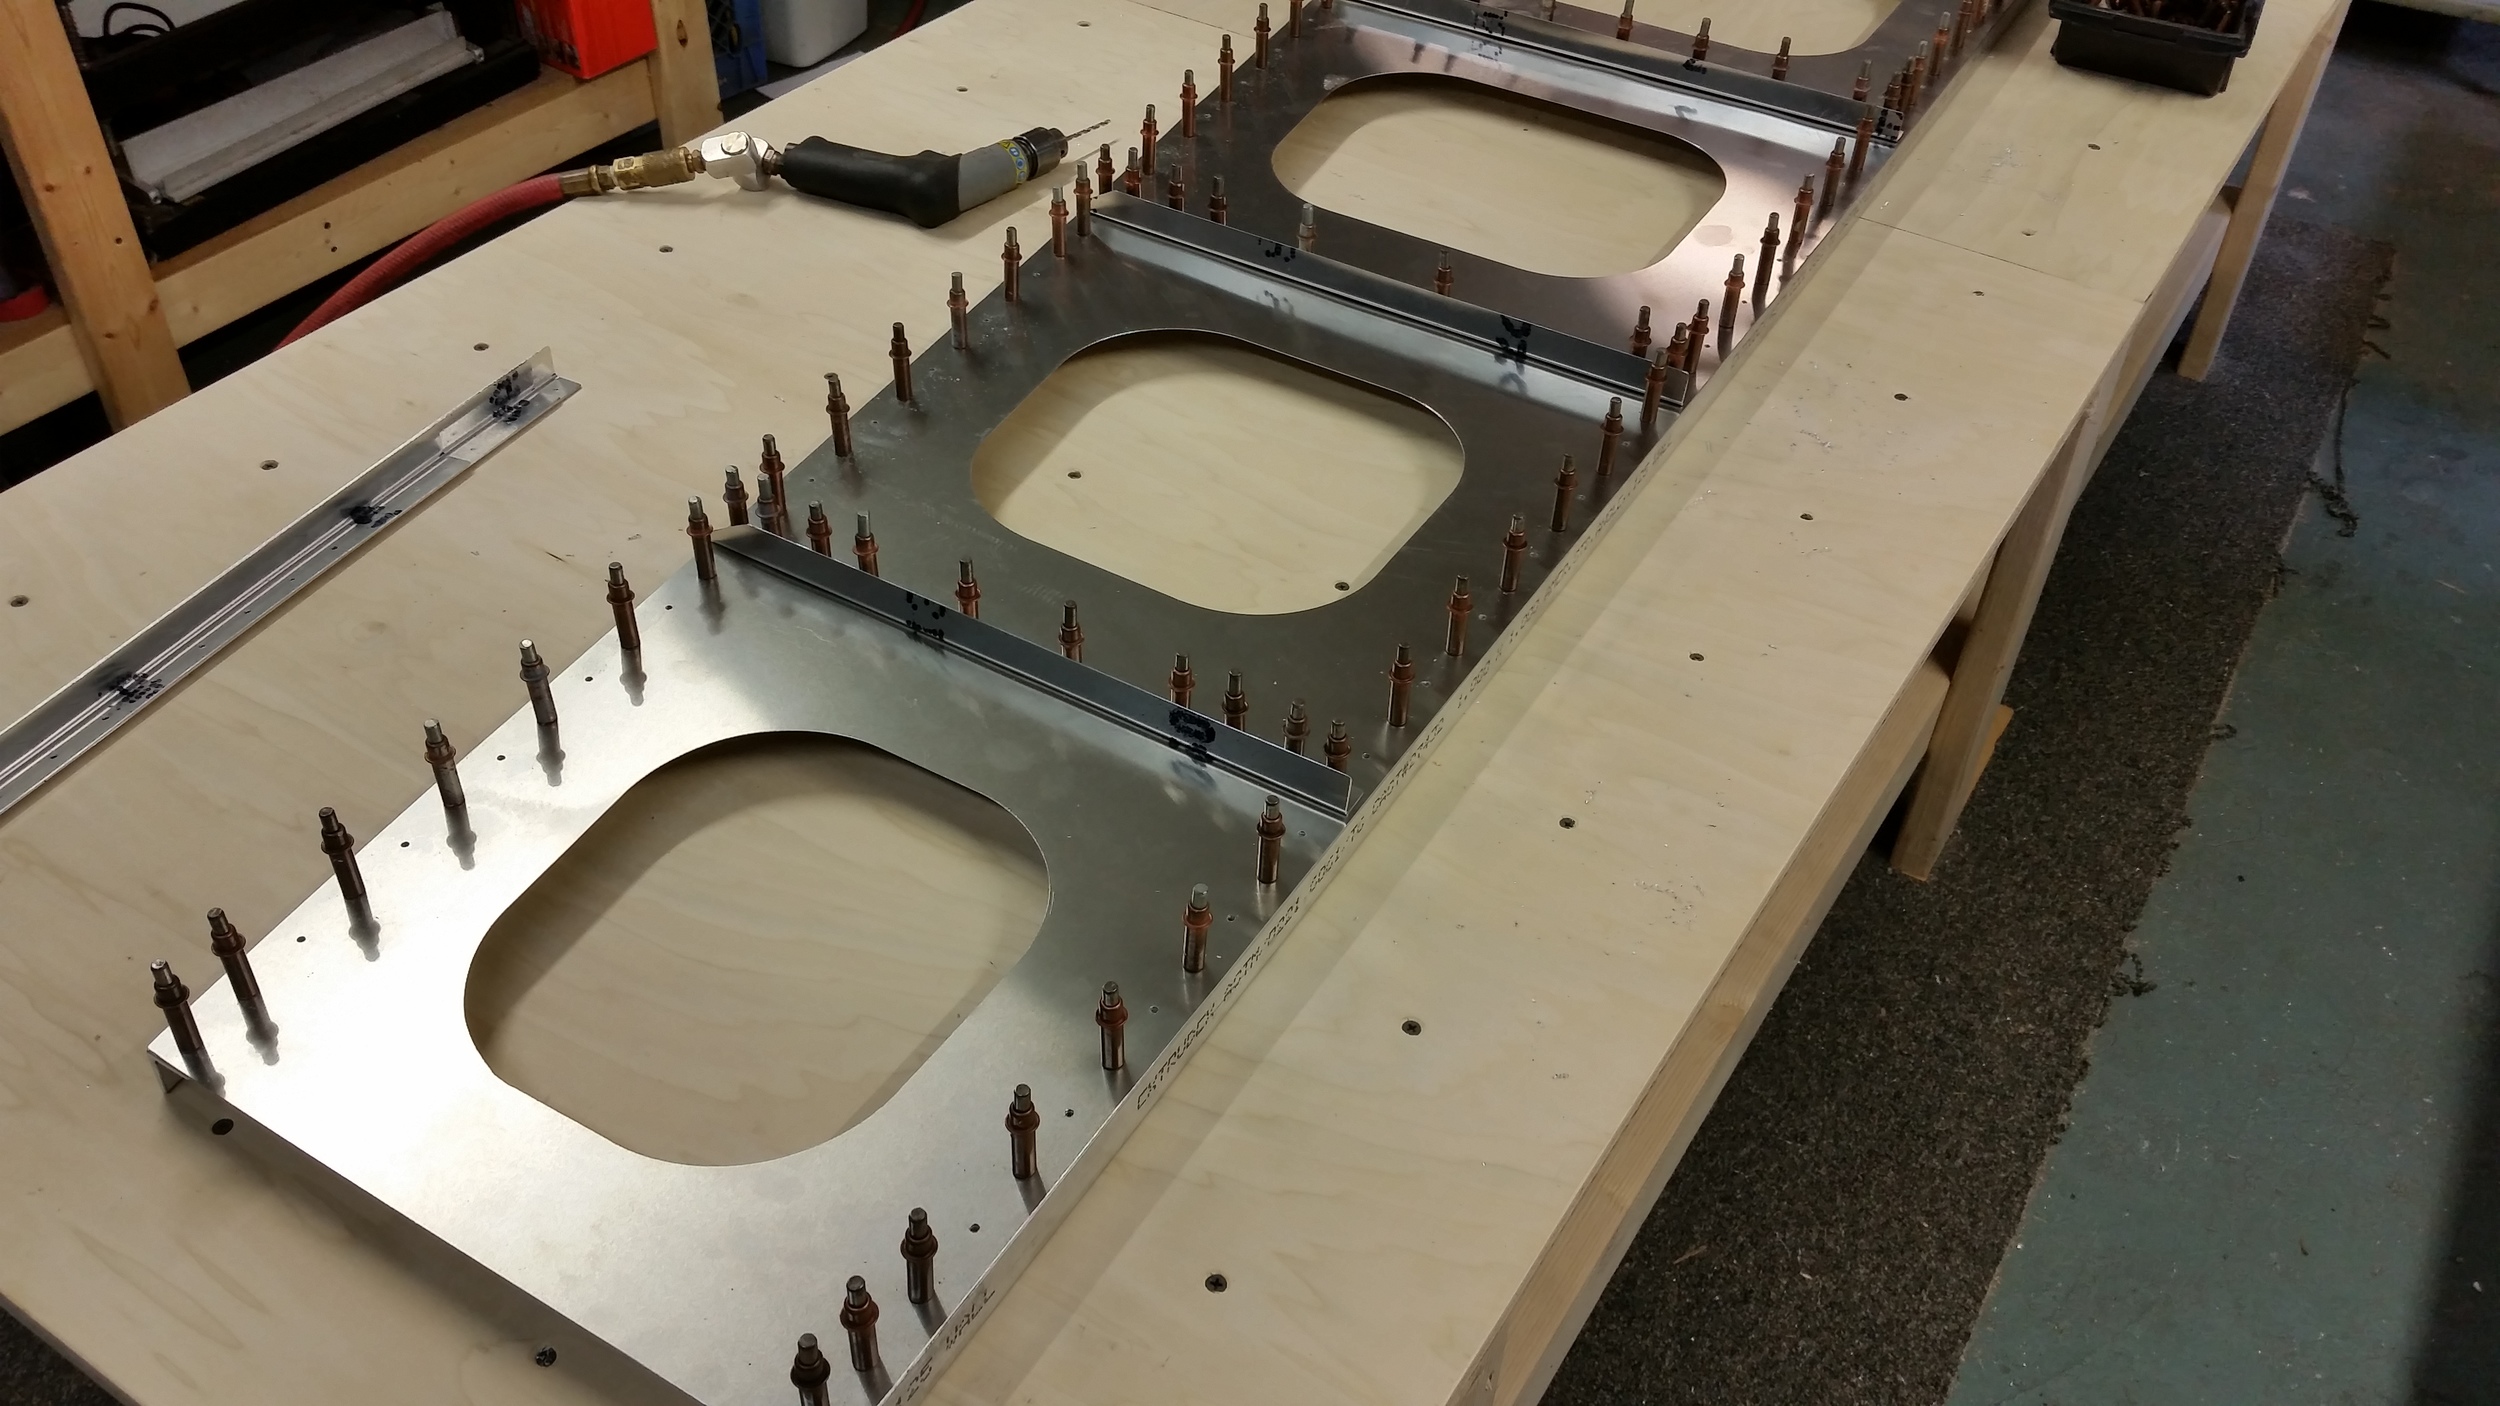
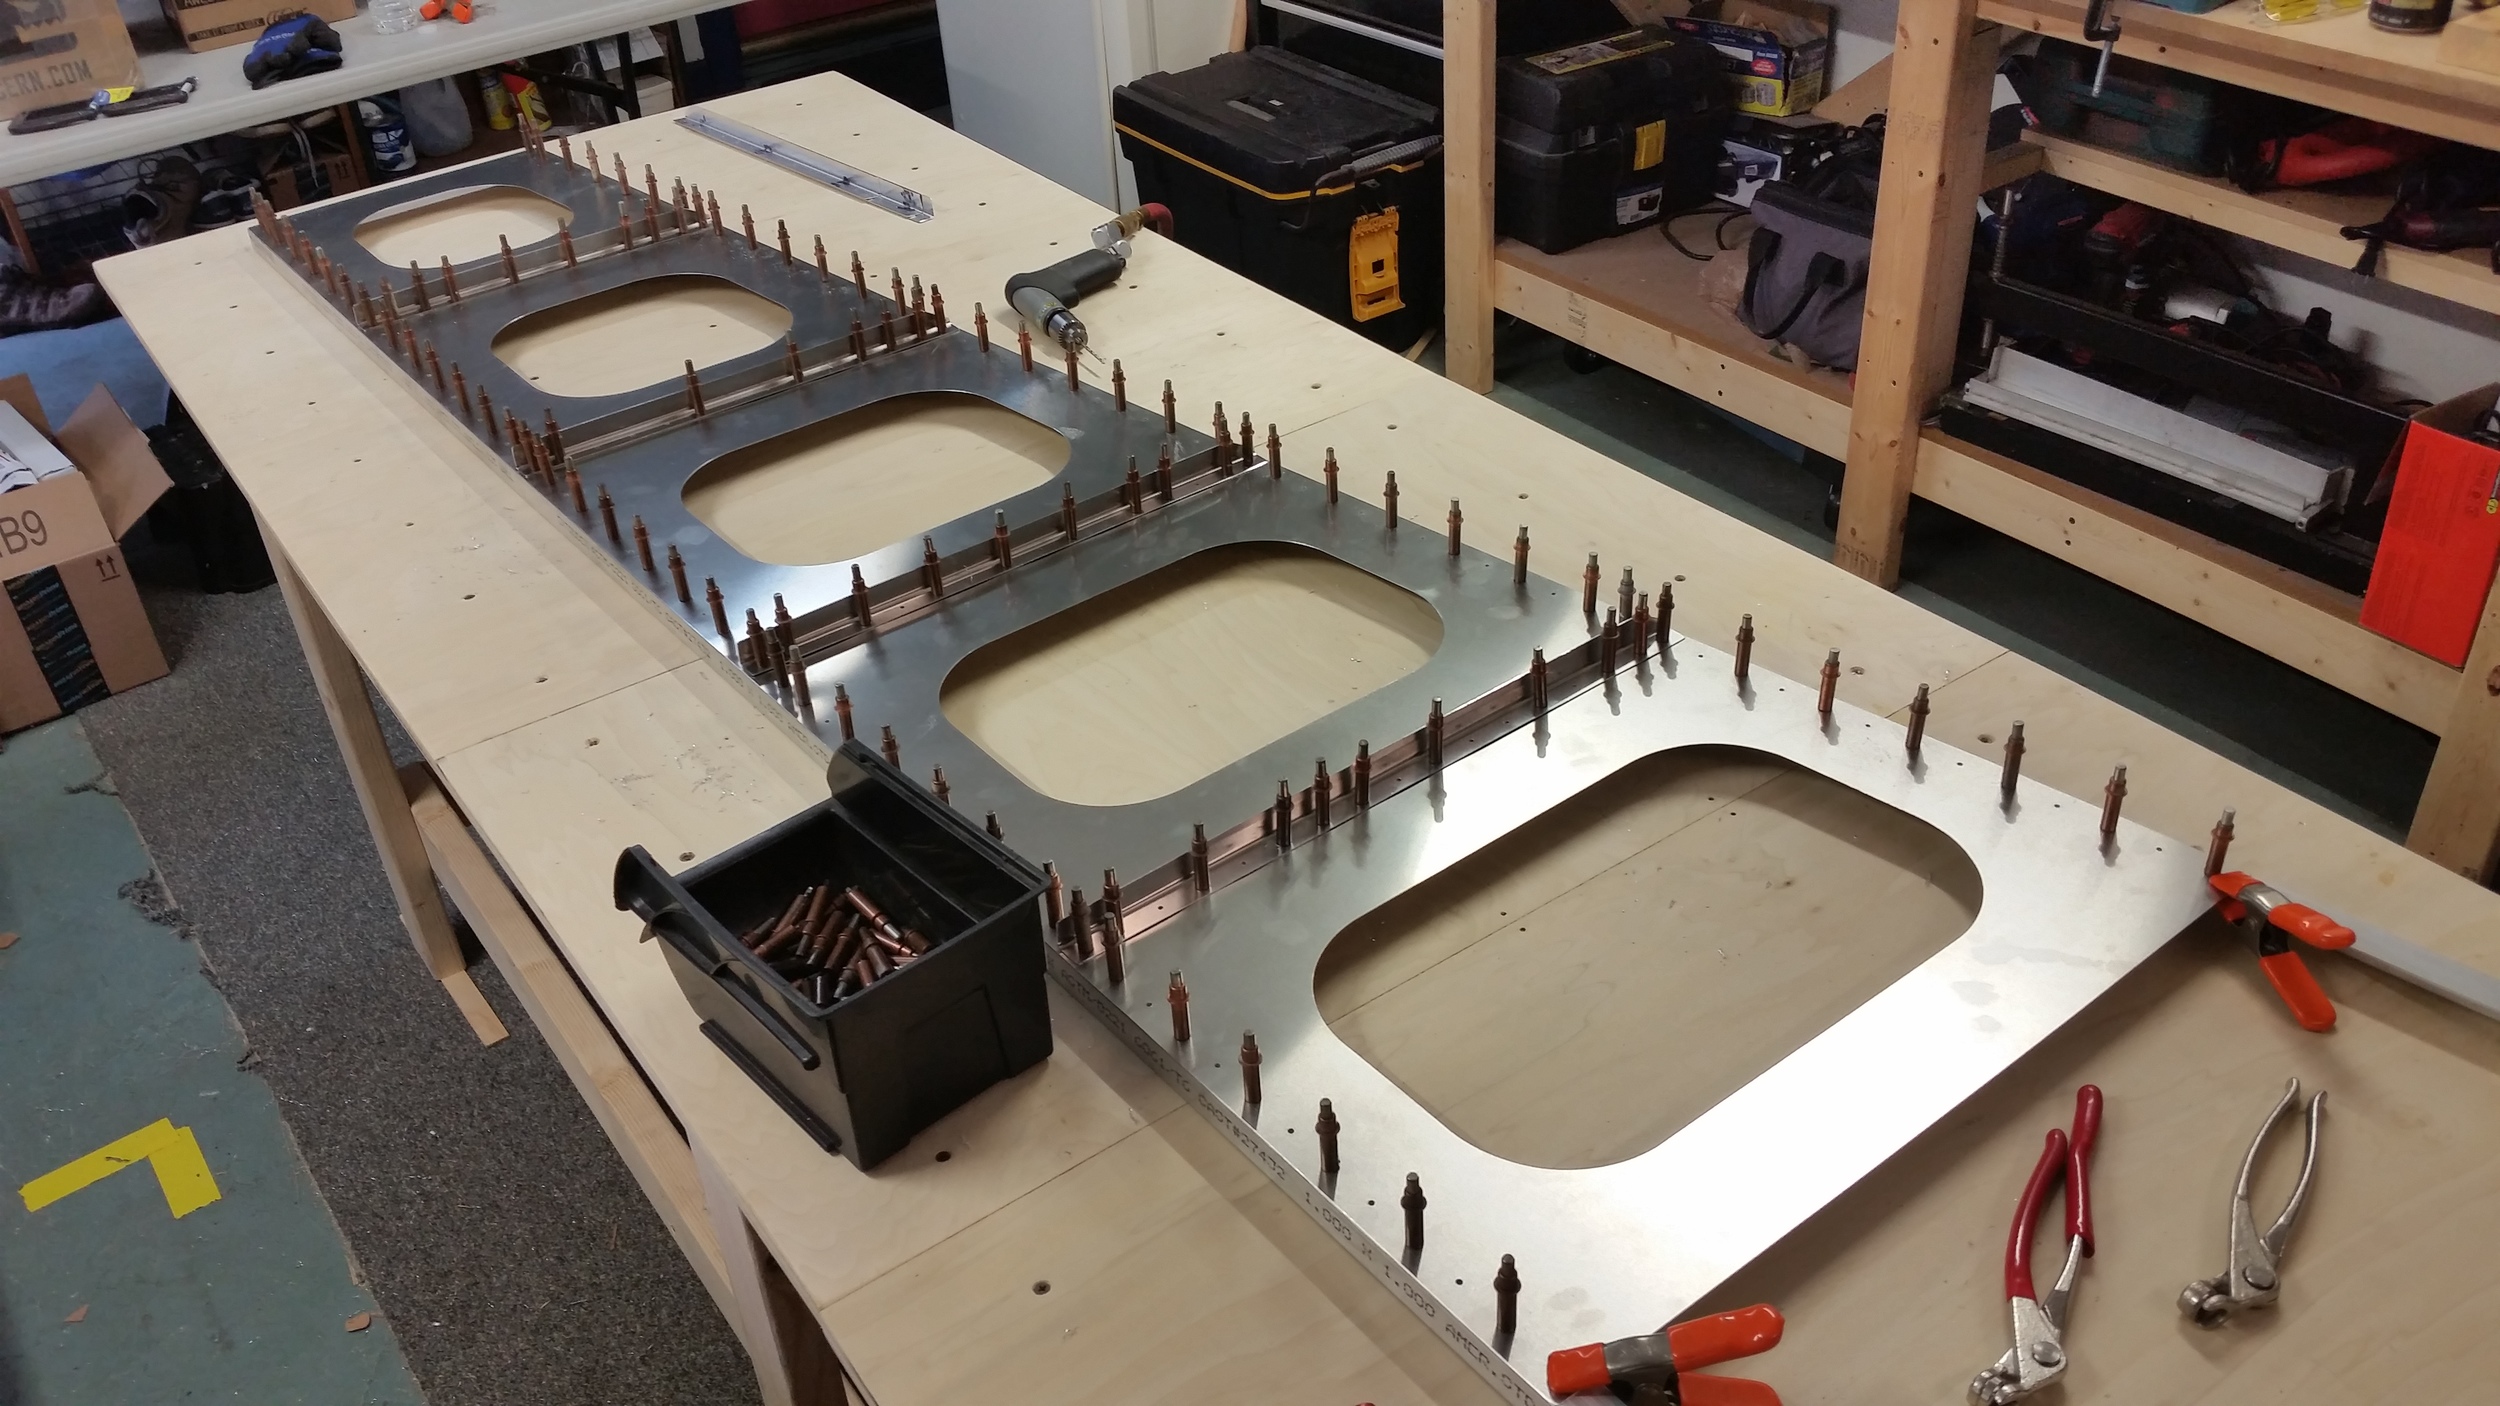
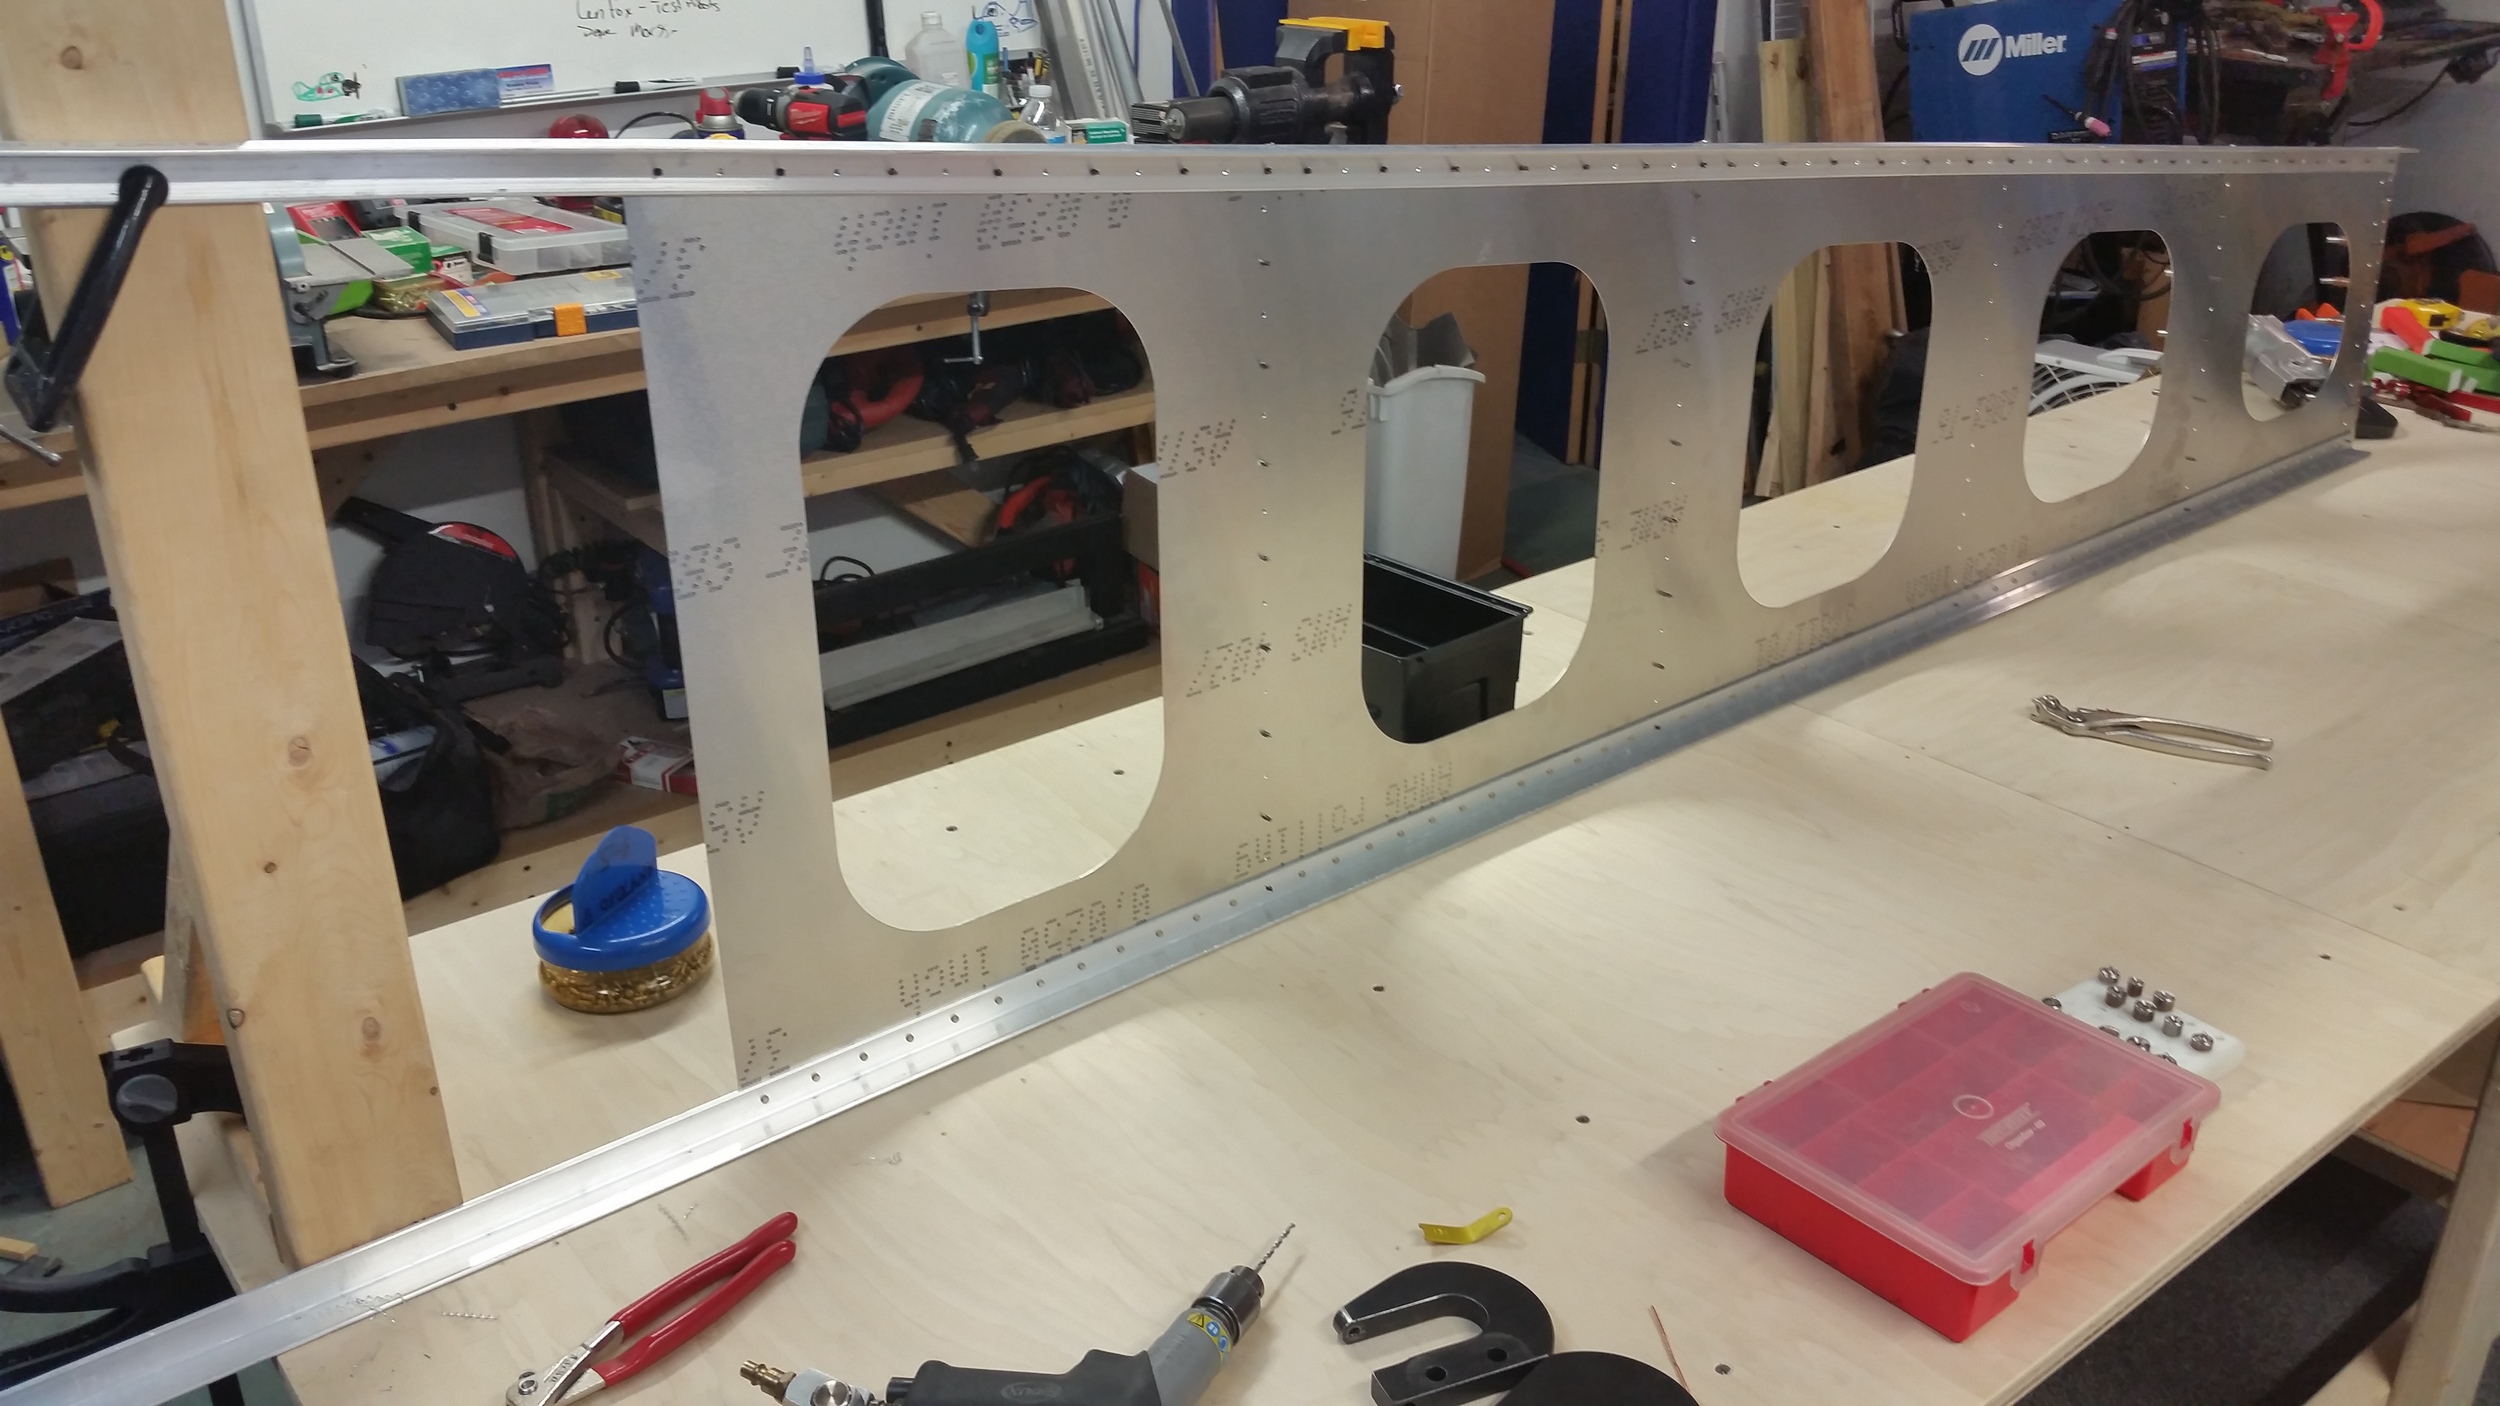
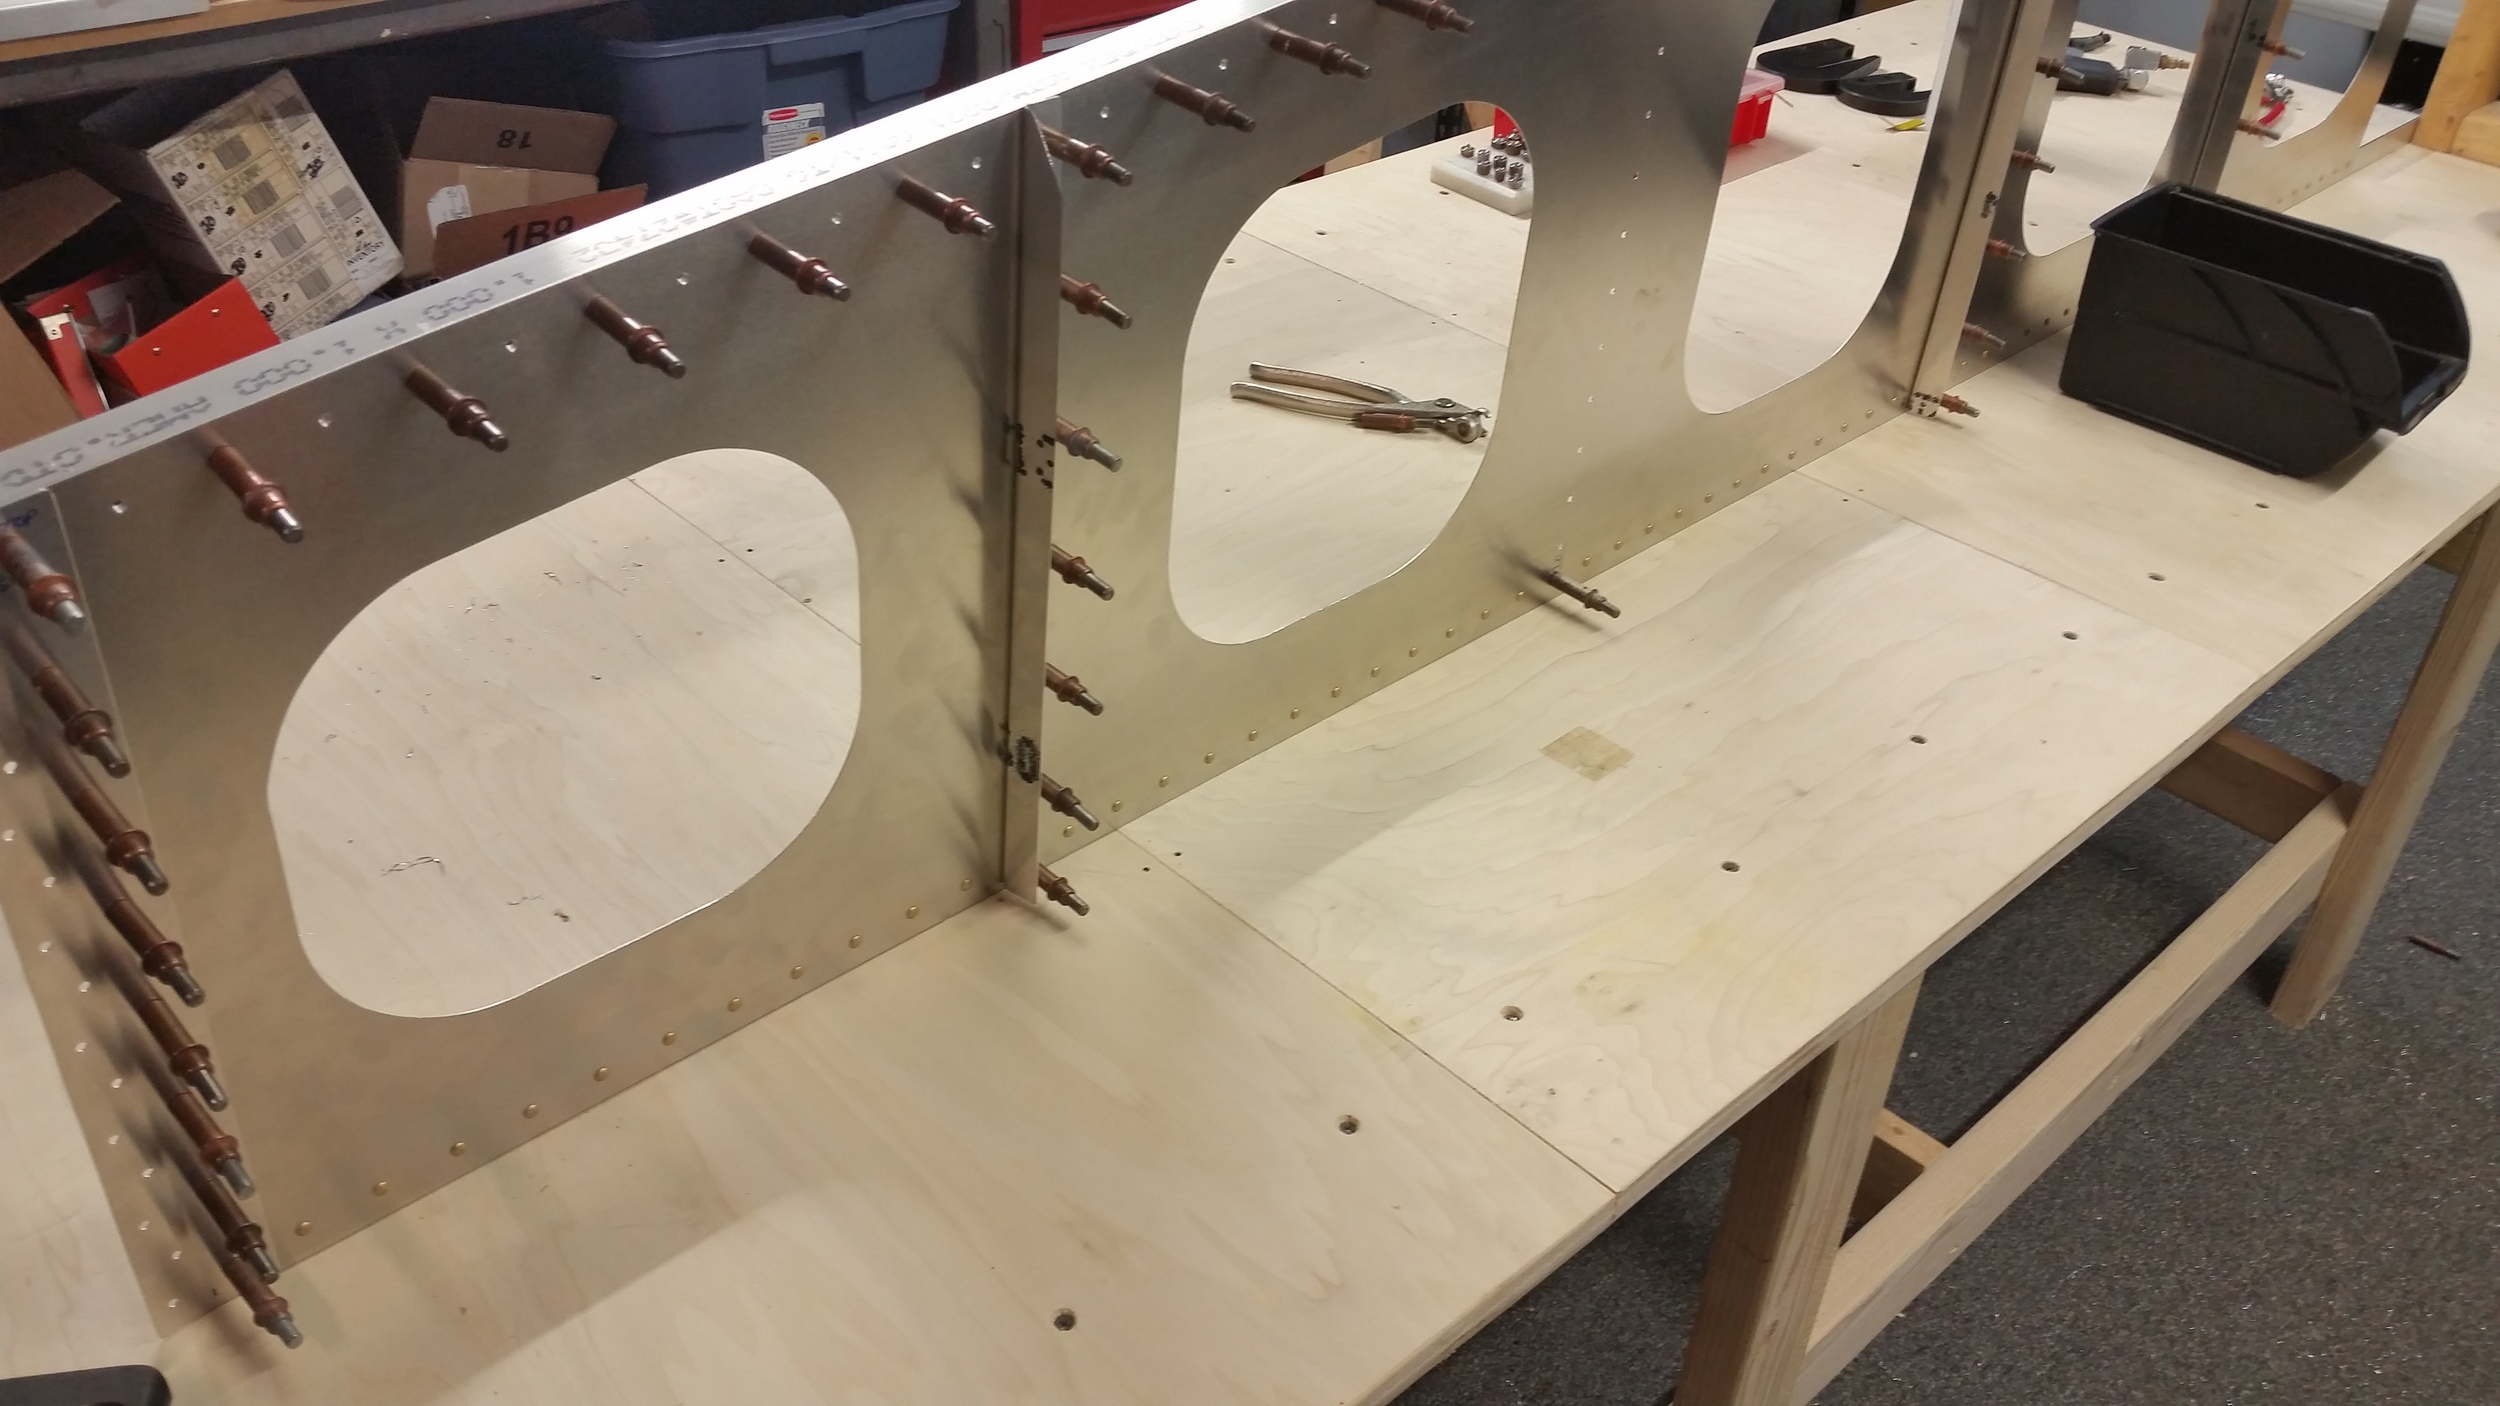
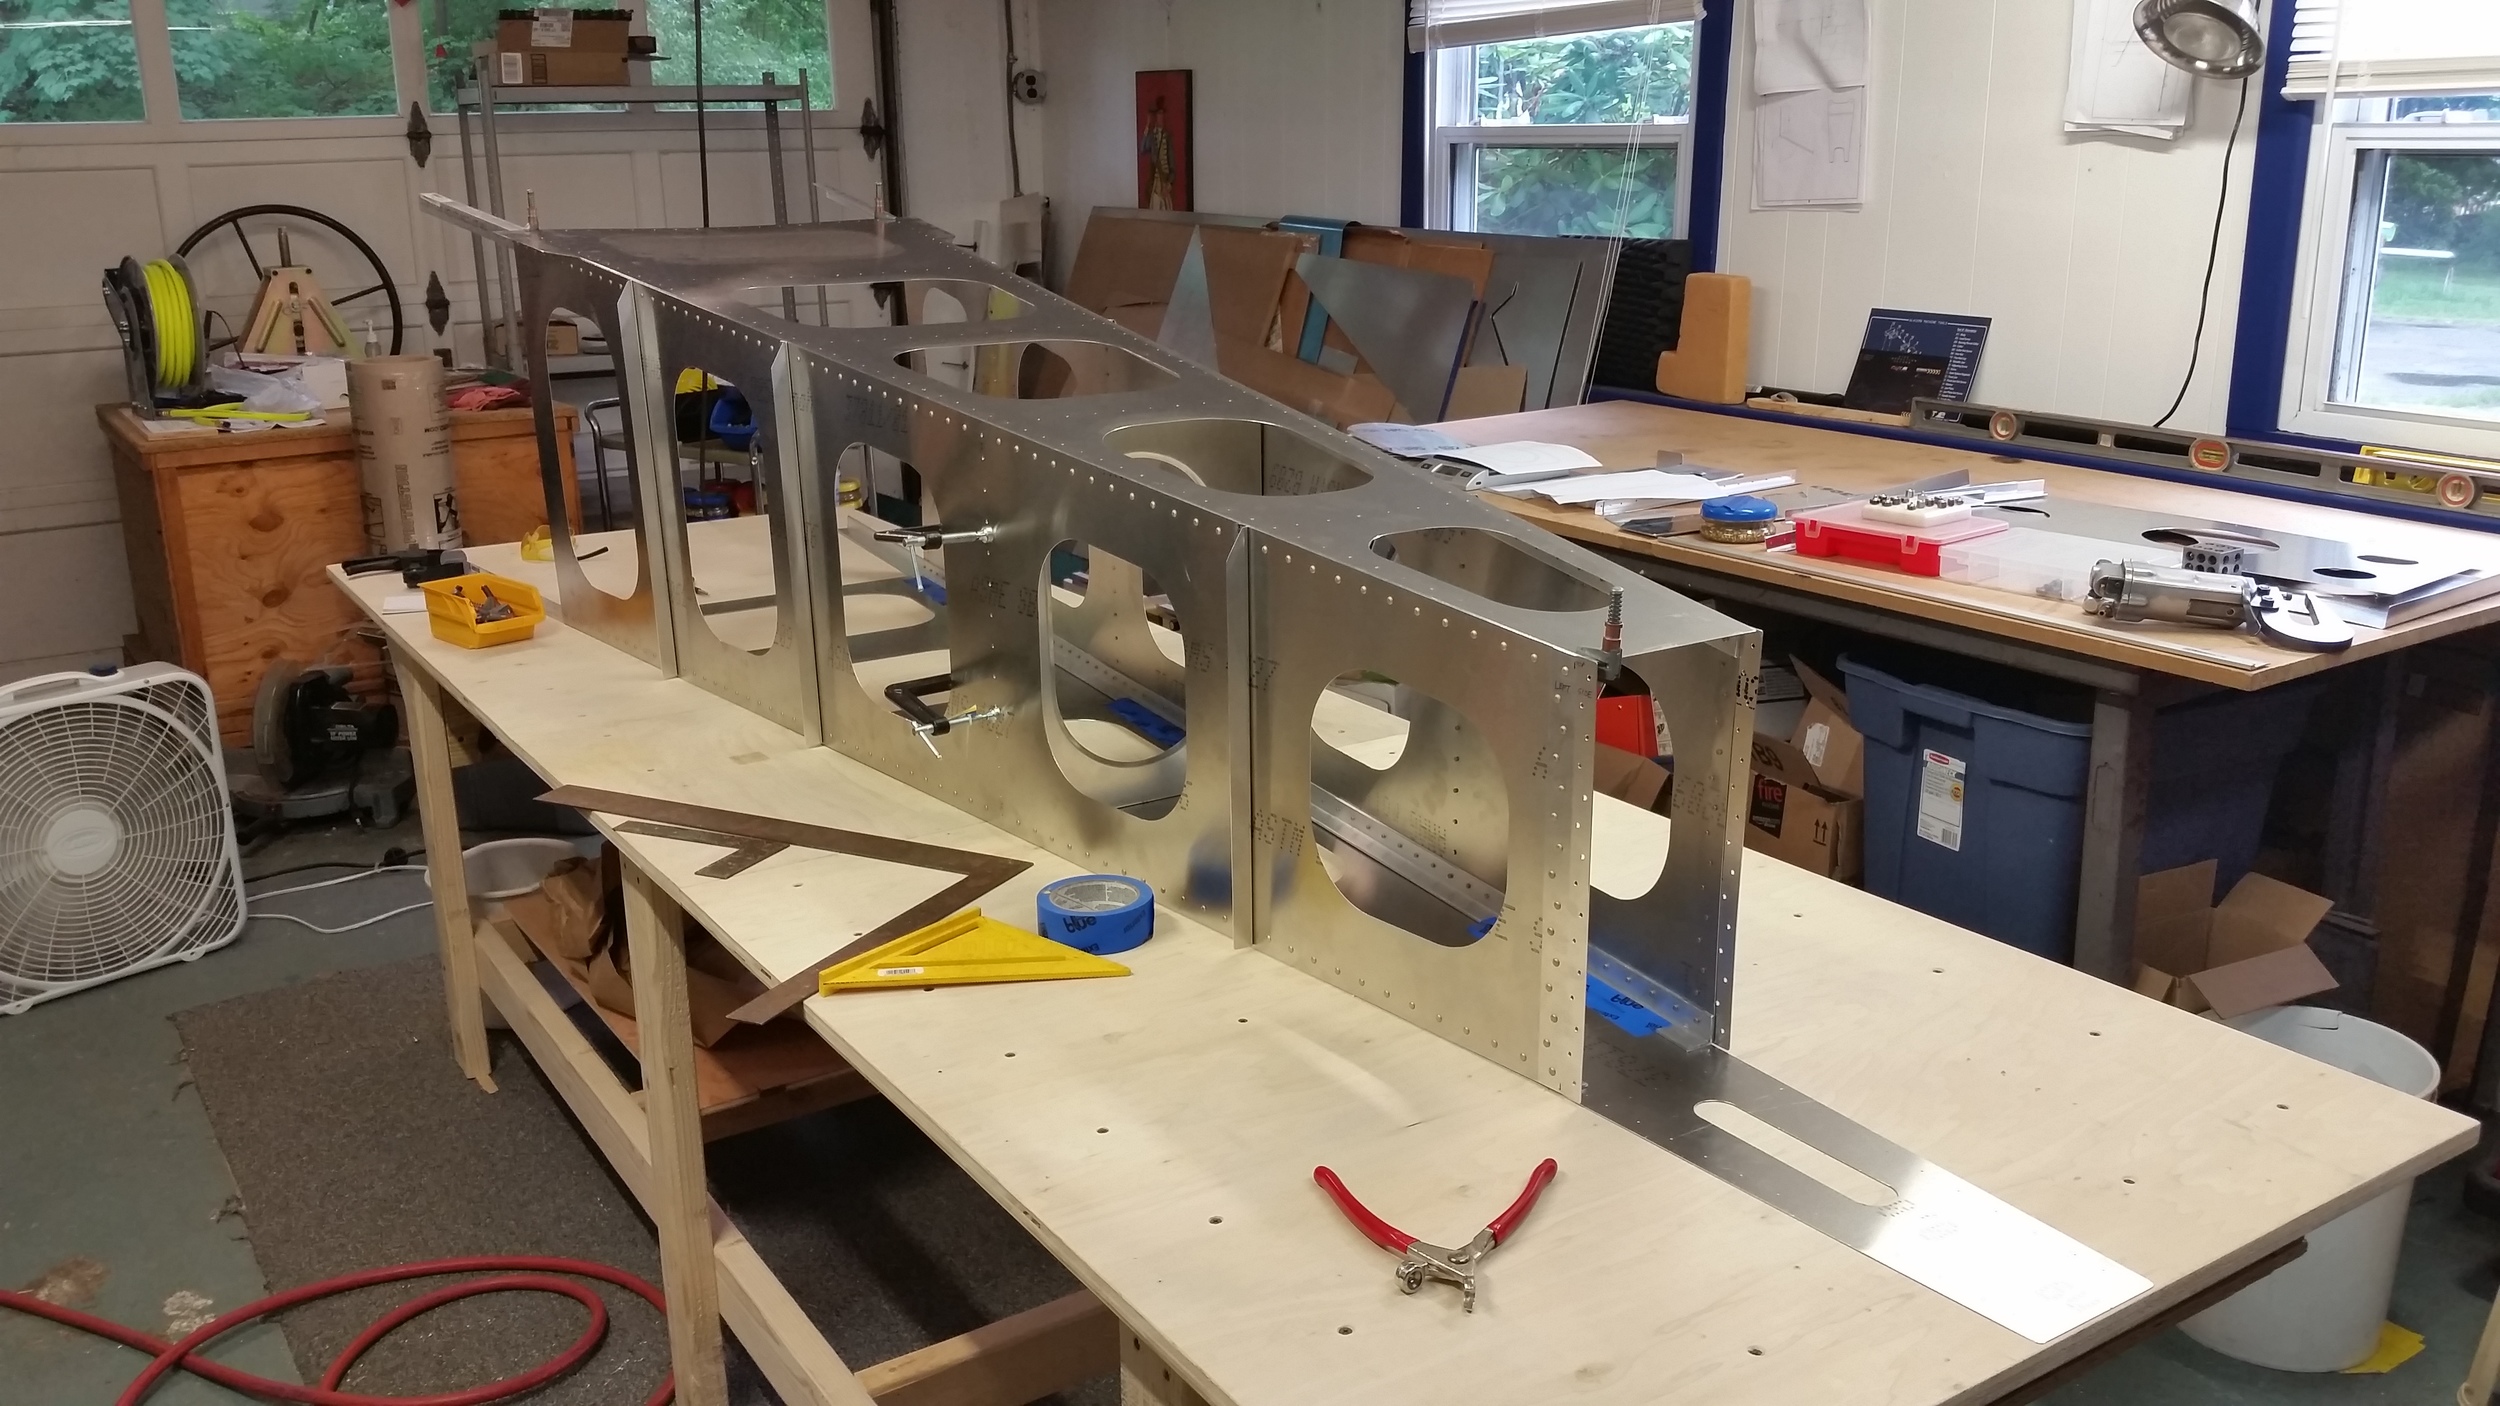
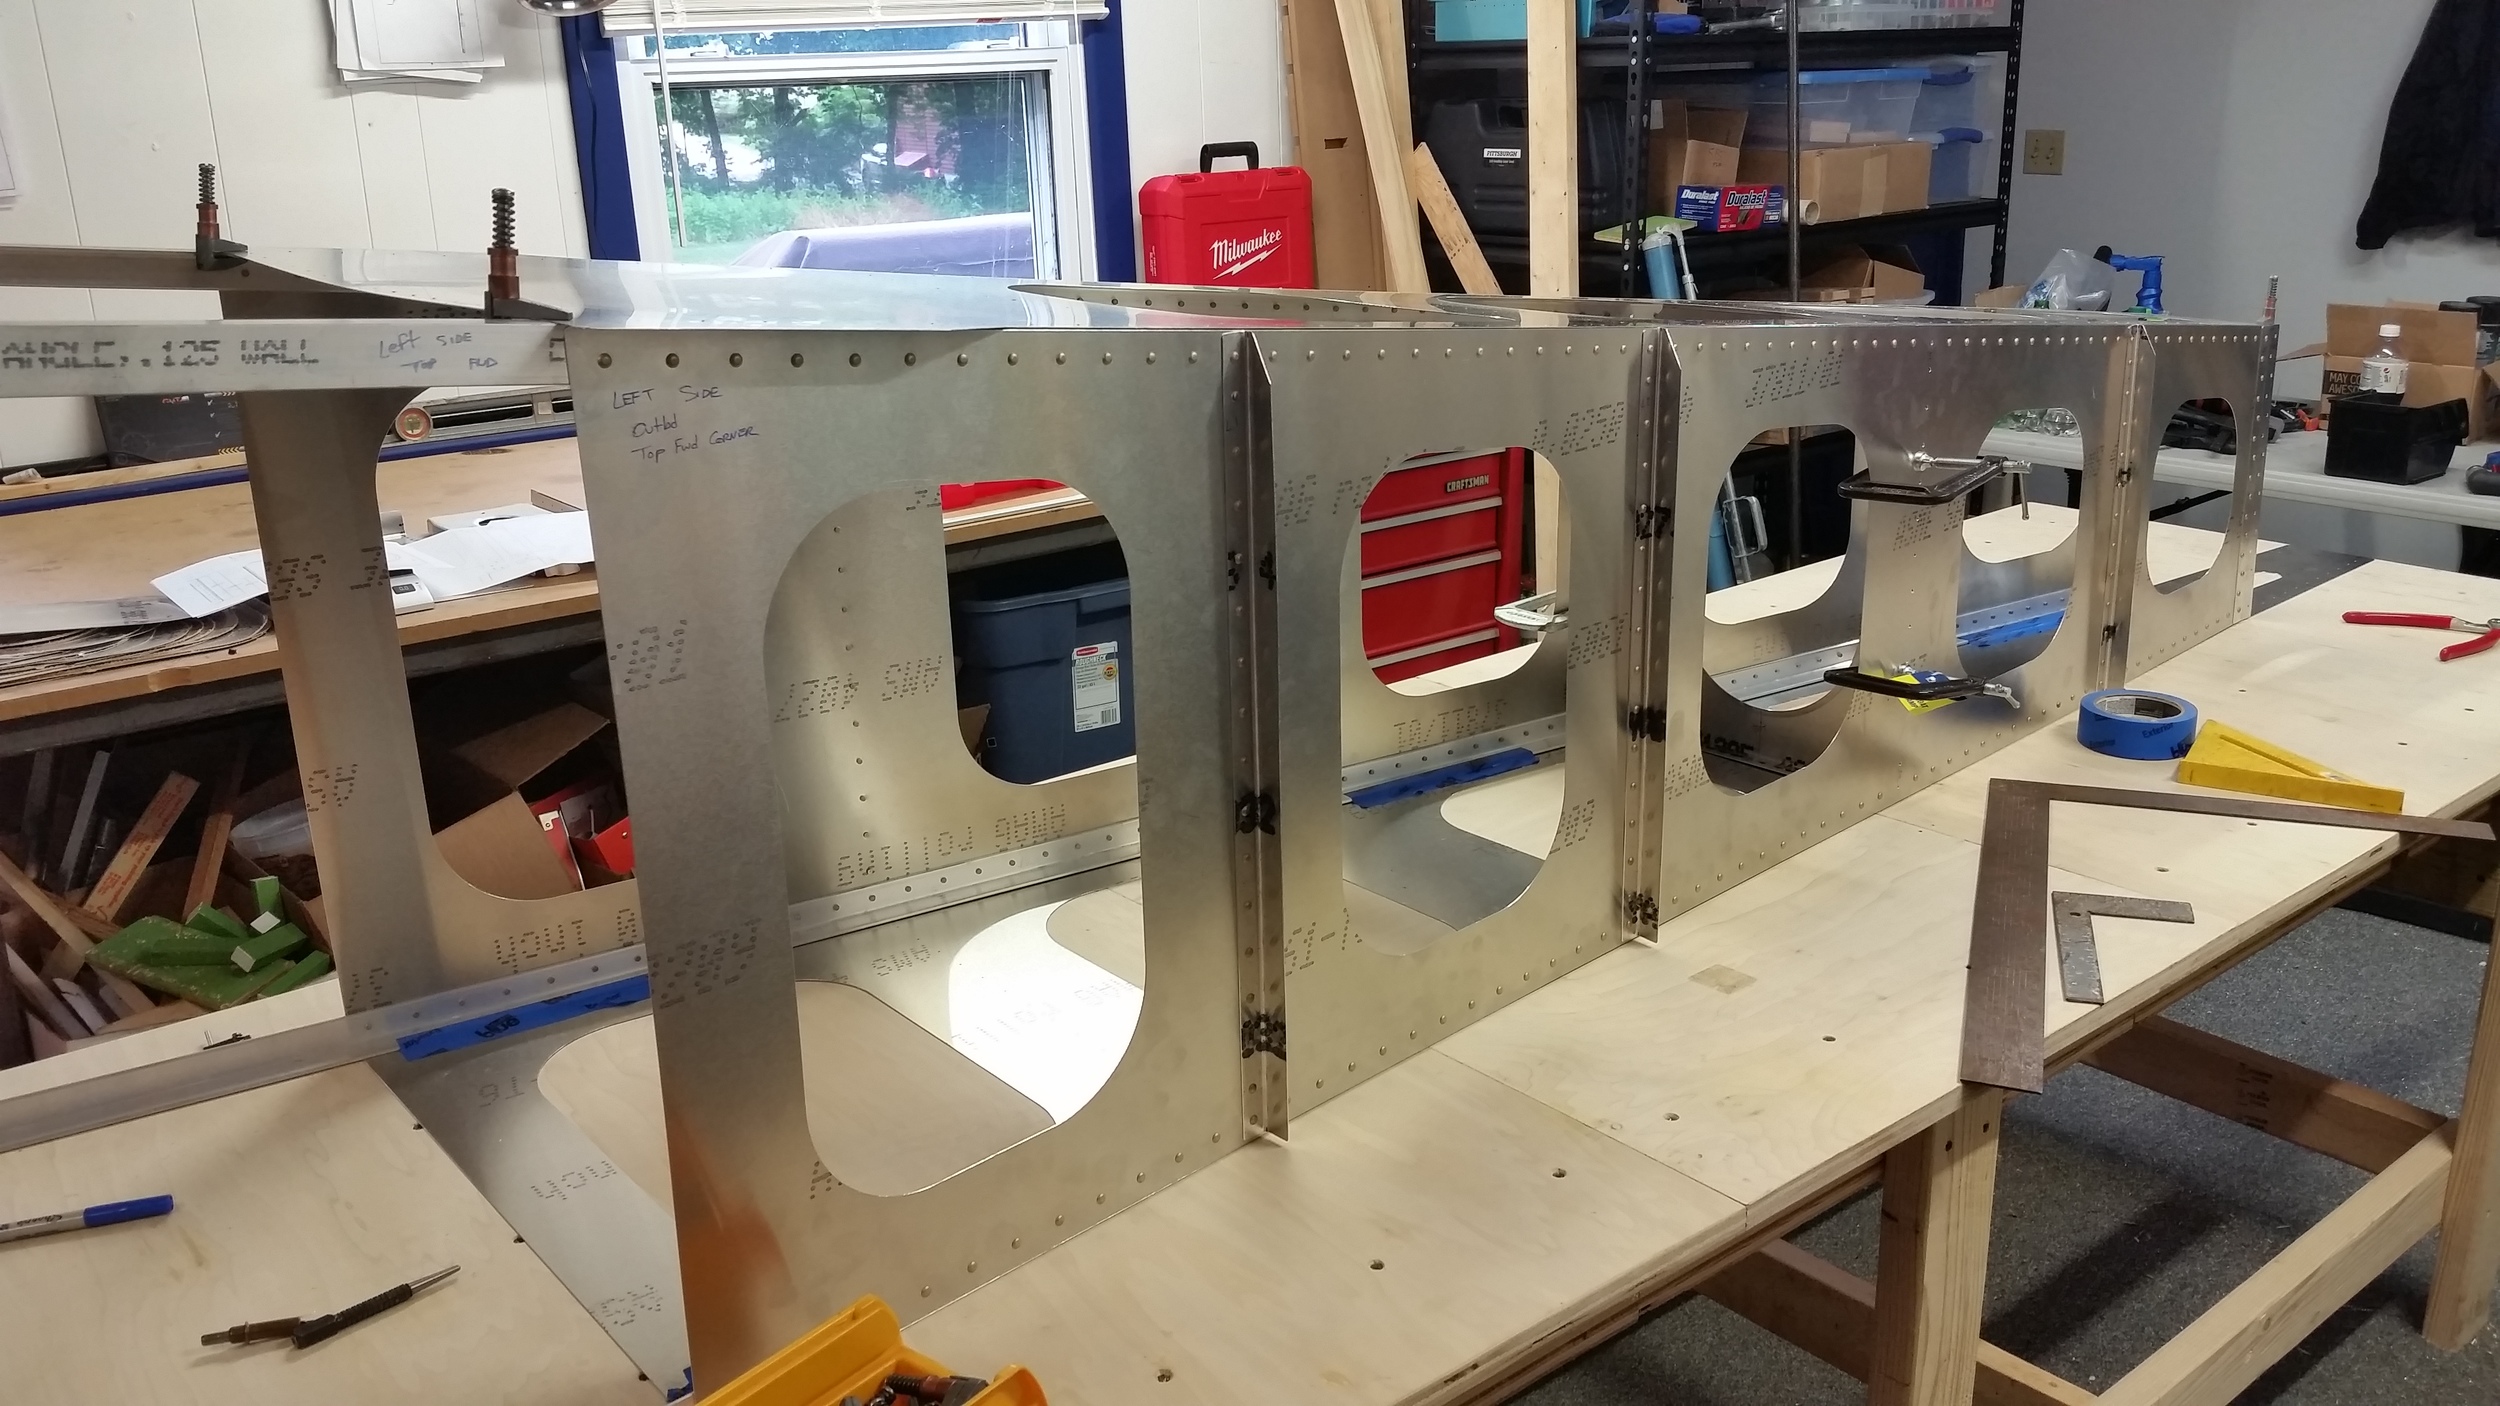
We finished the testing in August and you may start to wonder – what the hell were we doing since then???   It’s the end of January 2016 now.   So sorry to have been absent, but we've been working hard!  We have been back to the lab again, doing a lot of detail designing and modeling.  We’ve taken the lessons from the load testing and empennage builds, and been busy incorporating them and fleshing-out the design of the whole machine. Lots of small changes, and a few big ones! Our whole design team went on a field trip to Titan Aircraft in Ohio in September.  John Williams spent over four hours of his weekend with us talking shop, showing us his whole operation and how they make every part.  John was very encouraging and interested in the Hellcat.  He is a real presence in the replica fighter world today as you all might well know, and we learned a lot from him. A primary reason to for the visit is that after some looking at it, we intend to leverage the landing gear components from the Titan 51 as a base for our own gear.  The landing gear of the Hellcat impact the layout of the center section in a big way, and without a solid design for them we can’t proceed with the rest of the wing.

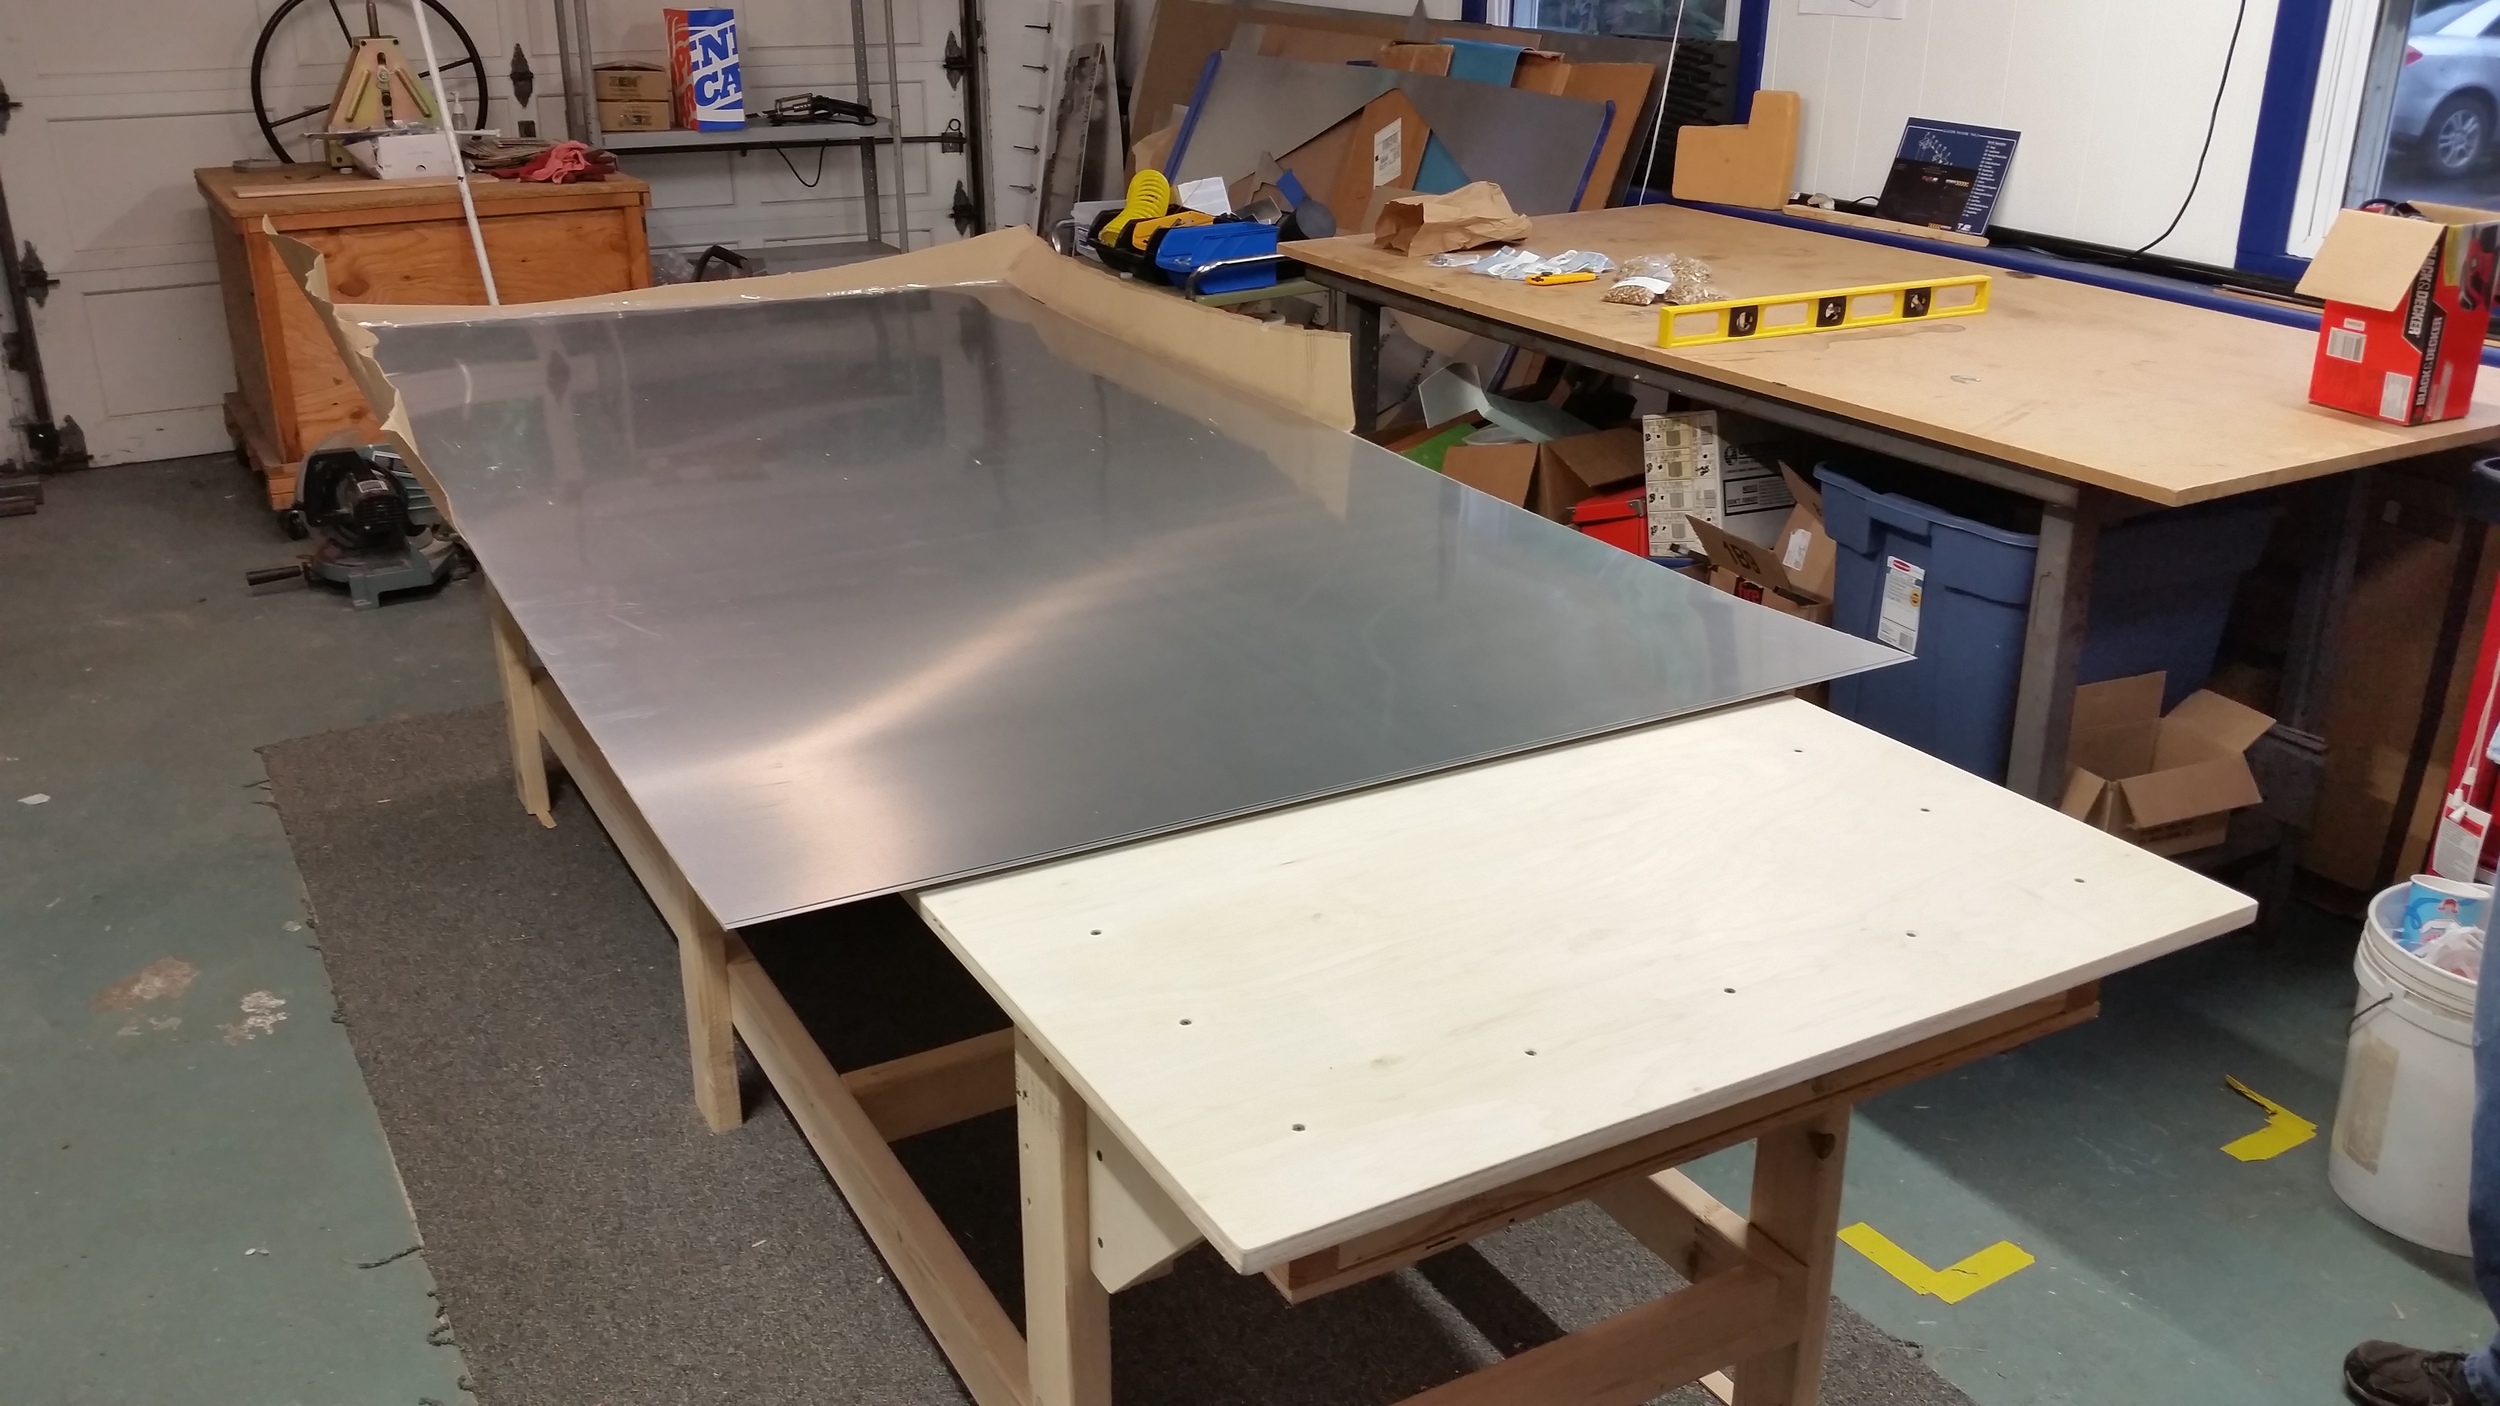
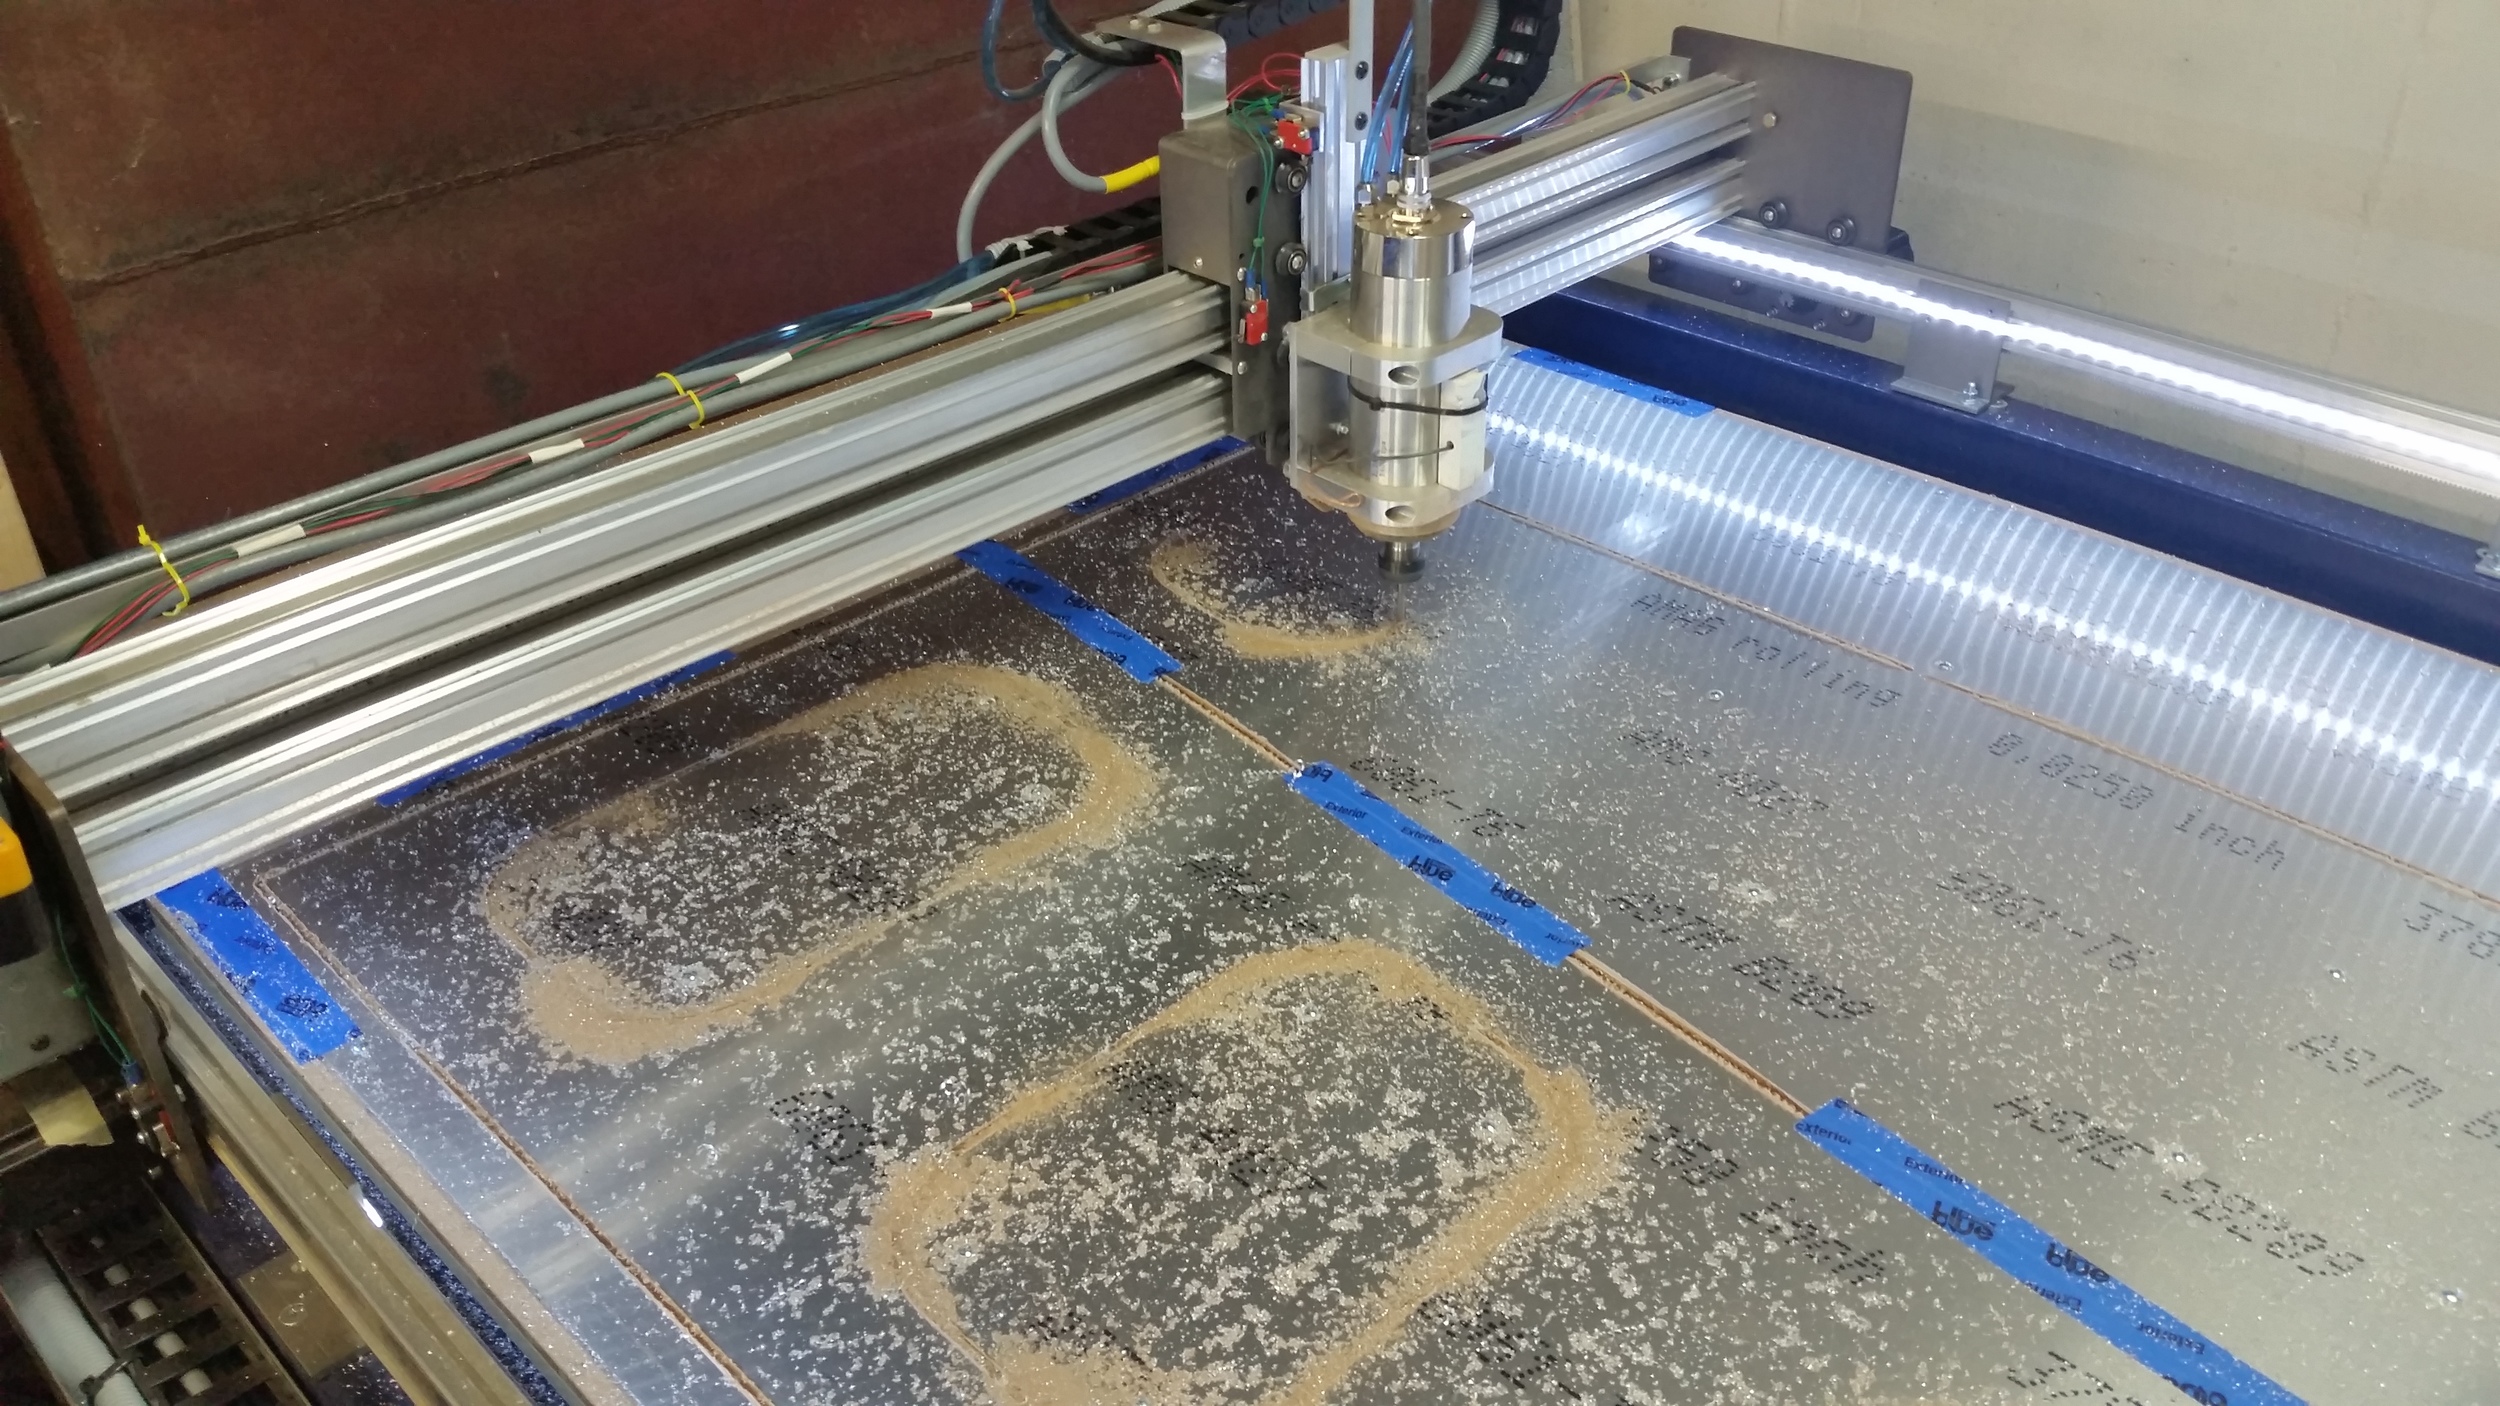
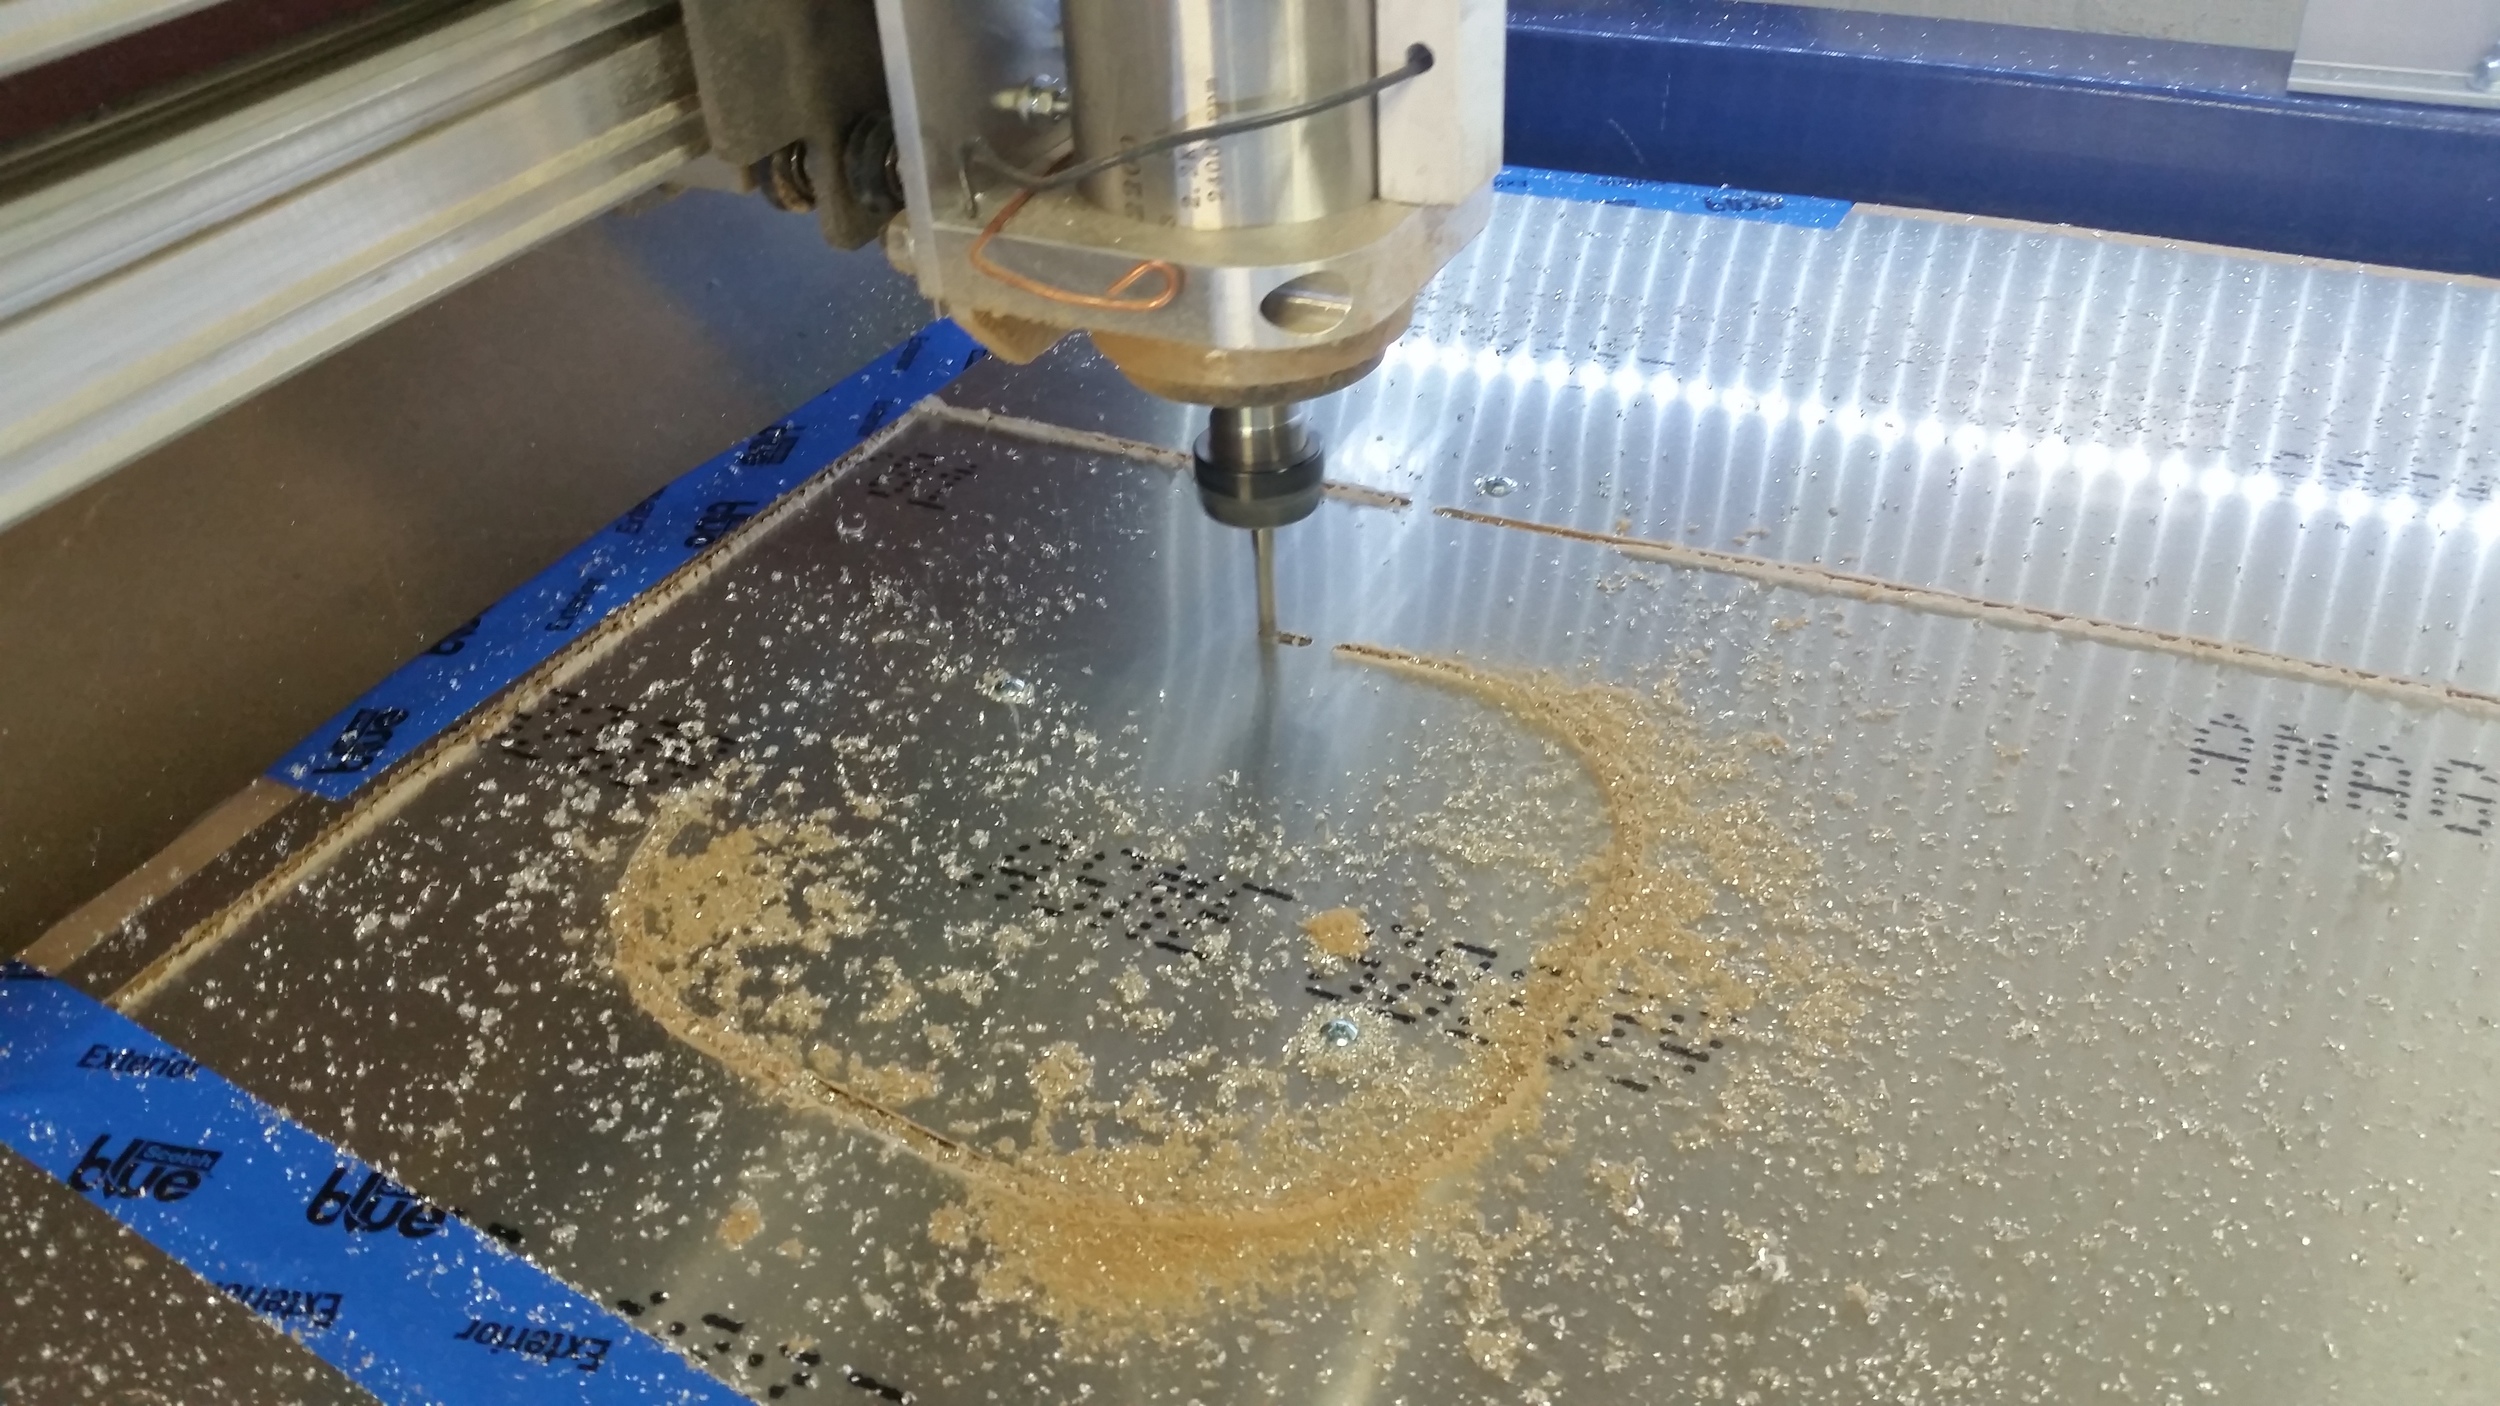
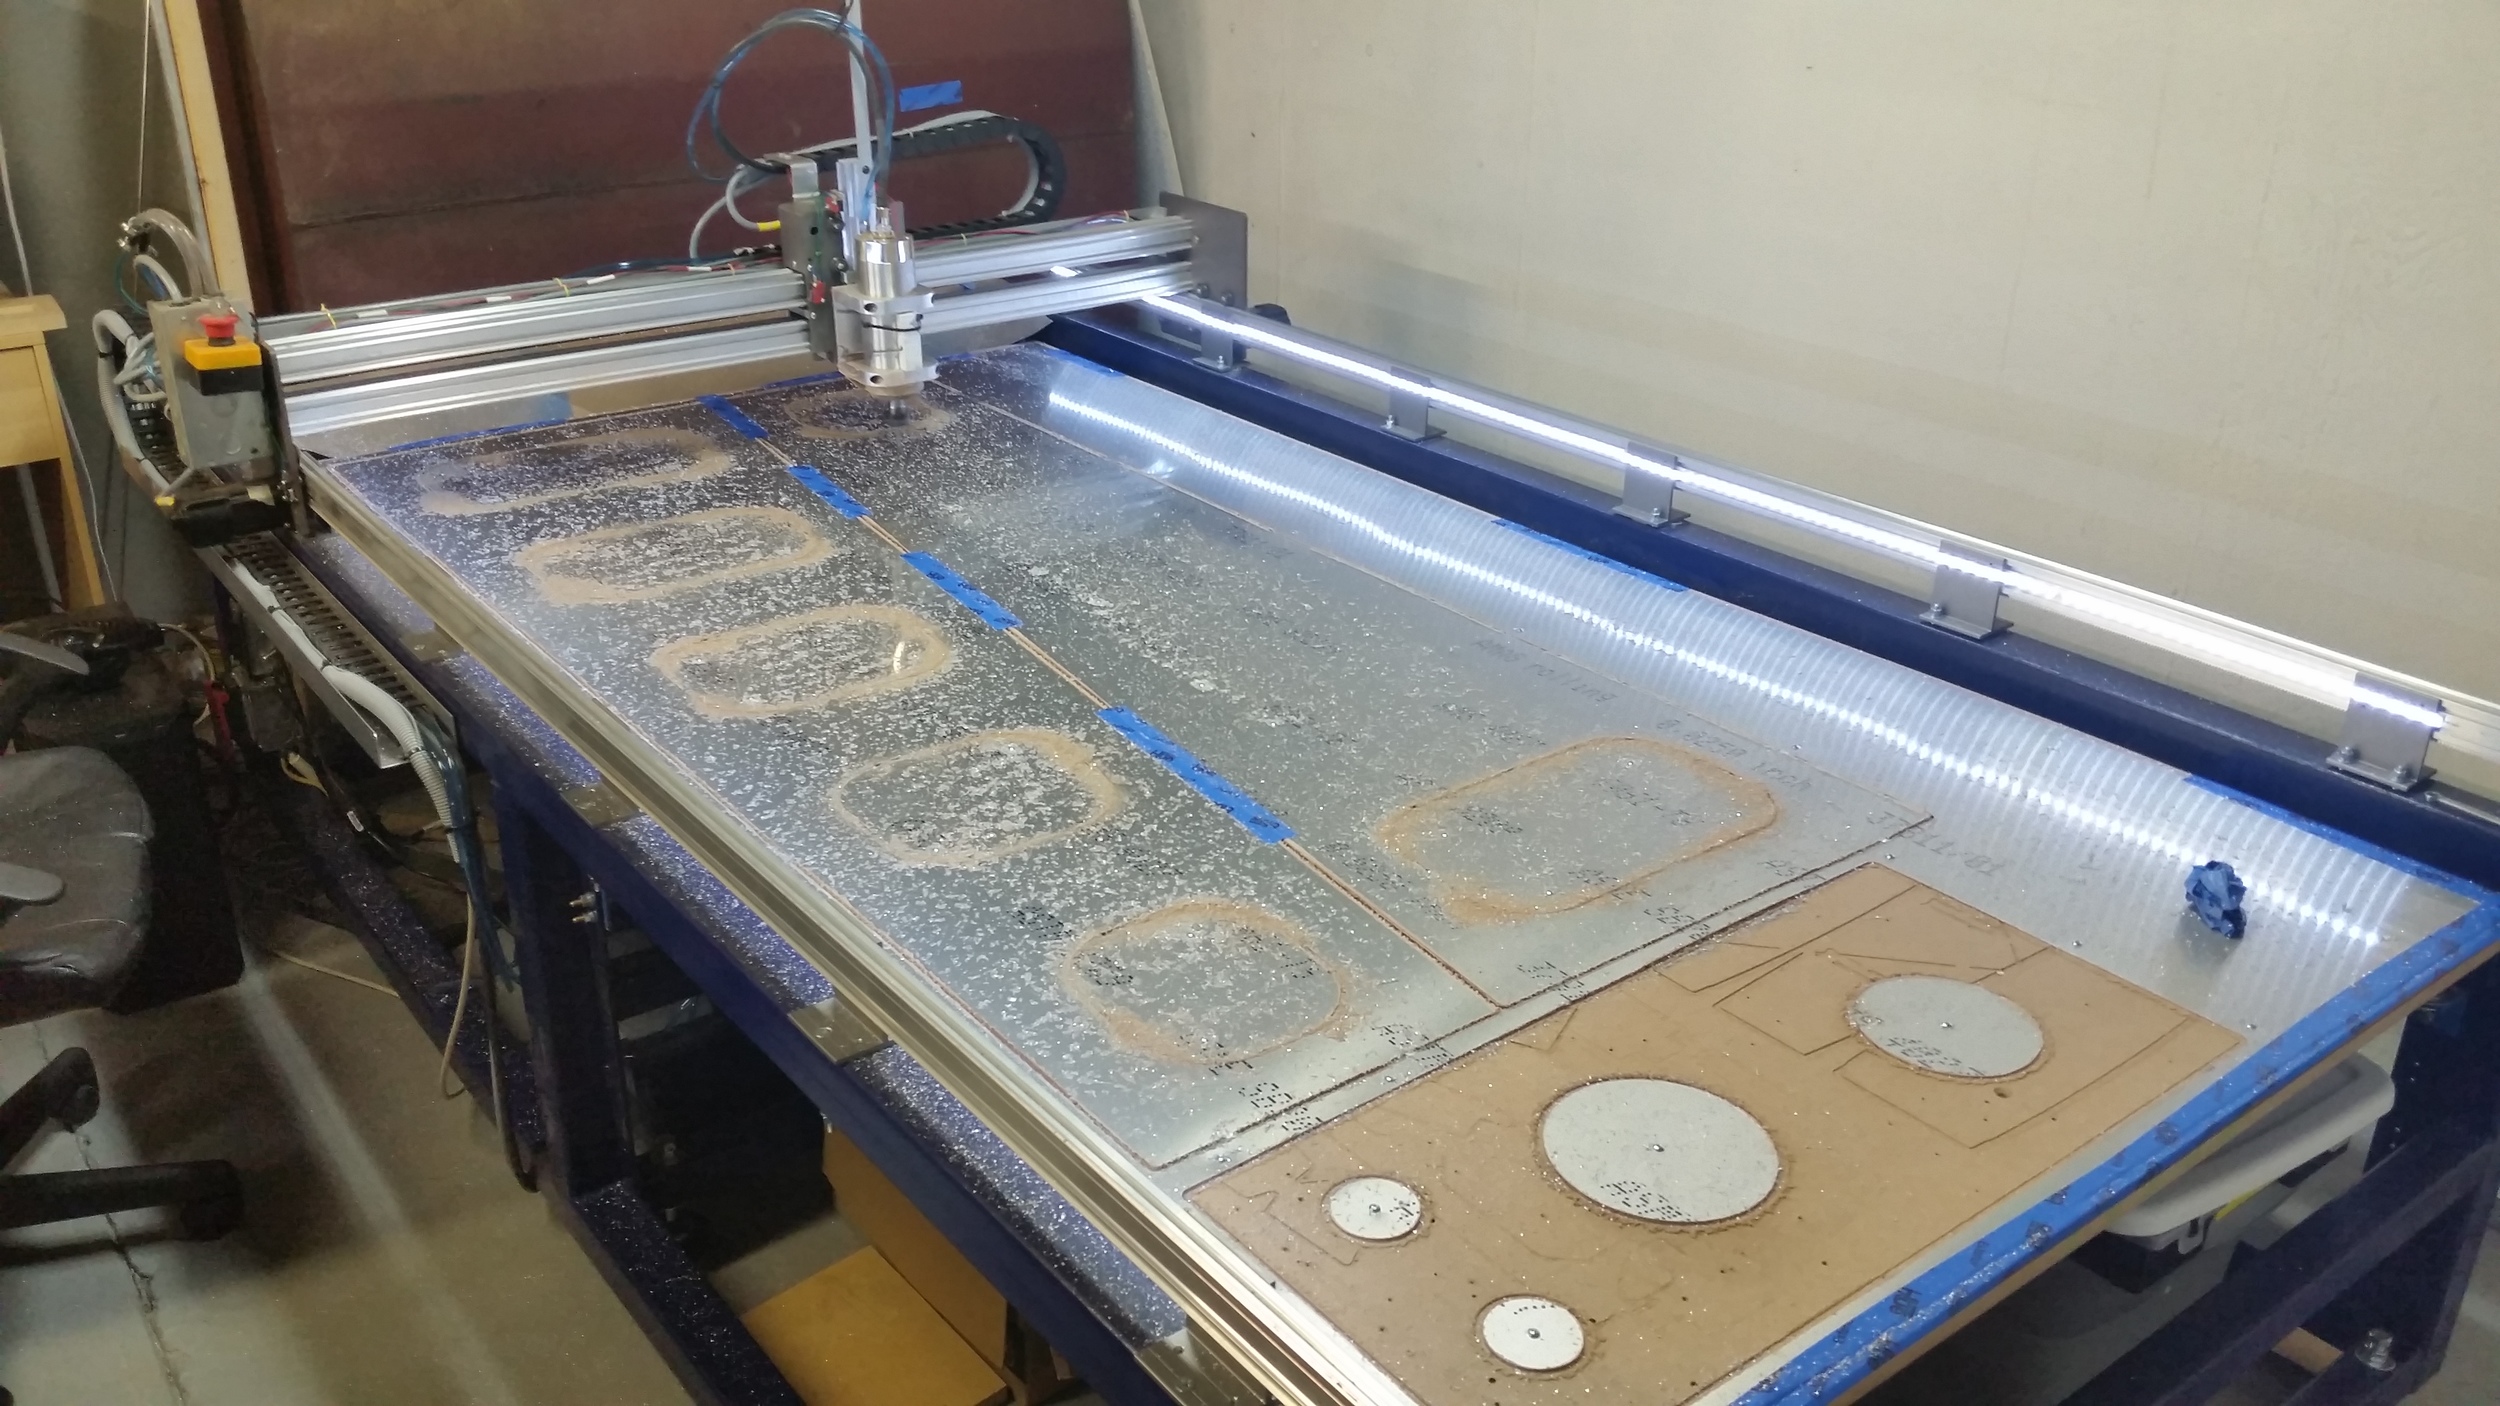
We did get another distraction this fall in the form of more equipment.  My son Scott decided to buy a small vertical mill and convert it to CNC.  This “two week project” turned into 6 weeks or more of tinkering and fabricating.  Usually projects just do that.  This mill is no Haas or even Bridgeport, but what we need is the ability to machine small, complex parts without blowing the budget. In fact it’s quite a nifty little unit called a Precision Matthews PM-25MV, sold by Quality Machine Tool and Scott purchased a separate CNC conversion kit from a guy going by ArizonaVideo99.  It was a quality kit but more DIY than I was expecting thanks to the tolerances on import equipment.  Scott decided after getting the thing working and crashing more than once, to go ahead and wire-up good proximity sensors.  After two rebuilds it’s almost done now – just one or two cables to go.  Then we need to spend time getting used to what it can do.  But sorry to say, we didn't make more parts for the Hellcat, so we’re looking forward to get back to that this winter.  Back to work!

Building a Box

So things have been moving along since finishing the Vertical, we're on to making a box. To elaborate, its a long sturdy box that will be the core of the fuselage frame. This build is specifically for a load test: the piece will be loaded to 9 g’s in increments – just as we did with our horizontal test piece. We are again looking to see how the sample will differ from the calculated expectation, and also whether this design as-is handles the load it will need to in flight, and to what degree over or under that is. I guess they are different aspects of the same problem; in my eye the pragmatic "does it work" viewpoint is the ultimate goal regardless, but having models agreeing to that end seems important. I'm not claiming to be the numbers man.

So before we even get into the actual fuselage stuff, I mentioned last update we were building a table from plywood and such. Well, yes, we have a table now. It's not a perfect plane, we diddn't plane every board to within .005 of an inch or anything, but it's about as dead flat as you need for building your aircraft on, easily less than 1/16 deviation over the thing. So here's what that looks like:


The aft fuselage that we're sampling here, goes from a bulkhead behind the rear seat of our main cockpit box, all the way down to the tail post. The design is very straightforward; 4 longerons made of of L-channel tie together 4 side-sheets to form a long box. Stiffeners and a few bulkheads are evenly spaced along the length to tie everything together, prevent buckling or twisting, and in the final full fuselage built the stiffeners actually act as attachment brackets for the outer skin bulkheads and stiffeners. Those will inevitably add extra support but the hope of the design is to make this box self-sufficient for the intended loads, and give us the flexibility to hang any type of outer shapes we wish. That's the whole objective here of ScaleBirds anyway right? Make it easy to go wild later.

For the build, I had to first generate good CAD data. I had a design in 3D already, but I had to further detail the aft part of the fuselage design in Inventor from where it was originally, mainly adding holes and details wherever it was needed. It took a while and I feel like the master-modelling method I'm using on the fuselage is reaching the limits of practicality; I started seeing crashes and long-long delays to update the feature tree after a change. At some point, I'll probably be having to go in and re-model the entire frame from smaller files once we have dimensions we like. The ideal would be to break it down to where each panel and part of metal gets its own part file, but it makes for a convoluted assembly where everything has to be interlocked anyway, so I figured doing it all in-situ in a single part file would give me greater flexibility while fleshing out the design and avoiding over-use of problematic reference dimensions. The good news is that unlike all the aerodynamic surfaces I've been having to deal with lately, I can directly model everything and export it to 2D as its all flat and I don't have to worry about curved-surface distortions and such. This means when I output the files into 2D I get true geometry that can be cut.

So it came to cutting out parts. I rigged up the patterns into CUT2D, and proceeded to cut the main panels from a pair .025 sheets. (The aluminum sheet we ordered from Aircraft Spruce, and chose to get it rolled for shipping which cut the delivery cost by a significant amount. I wasn't able to find much of any reference to ordering aluminum in this manner online, so we just took a gamble that the resulting sheet would unwrap flat. Turns out it does, it springs right back to flat condition as if nothing happened.)

So, Then we set to making some smaller parts that are made of thicker materials, flanges, doublers, etc. Some stuff is left to cut still, where we had to order more materials; but either way, the parts we did do came out looking great. 

And so we started doing some assembly. The process is pretty simple, though there's plenty of work involved. If you're building an aluminum plane I guess most situations call for a ton of rivets and this is one of them. It does make me think about going to something like a bonded construction: it's a simple enough form that I can see almost like pre-applied epoxy with tapes that you pull before assembly, or some kind of procedure like that. There's enough precedent that it might not be crazy. 

For now though, holes, rivets, repeat. 


As we finish this up over the next few days we'll post more pictures that show the overall form.

Rudder and Vertical Build

Hi all, 

It's been a while since the last update, but we have been making progress in the meantime, and have a chance to show what's been going on with the Hellcat. The following post will show the builds for the Vertical and Rudder. With these parts finished, we have built one complete empennage worth of parts, however you may recall that our Horizontal was built as a test-load sample and we will eventually build a 'real' one. Up next for the project is going to be another test article, for the tailboom portion of the fuselage frame, and that will be going together this week and weekend. So, without further elaborations:

Read More

Elevator Structure Build

In our first work towards flight articles for the Hellcat, we were able to try out various methods and processes for turning the 3D CAD model into flat parts and back into 3D physical structure. It had a few delays due to design, or supply, or just other commitments, but in all the time spent wasn't too bad, especially if you only count hours towards the final product. Considering how detailed the result is, the build is fairly straightforward.

We learned things about the process and design that will be changed next time we put one together, and those lessons have already informed the Rudder and Aileron designs, and just general SOP for CNC use. If you're interested in the details, read more to see a more thorough account of our build process.

Read More

WELCOME!

Welcome to the new home of ScaleBirds.com 

ScaleBirdsLogo

This is the first post on our new website for the ScaleBirds Project. It's been a long time coming, and hasn't always been the first thing on our minds, but because Squarespace really makes it pretty painless to setup a website, we're able to get this up and running. I think having a place for the crew to share what's going on with the project will be good for both those involved in the project itself and those who are following along to see what is actually going into the Hellcat.

It's hard when in the midst of a project like this, which relies on multiple people who all are busy with life, to keep track of things on the macro and micro scales. But all elements fit together. Bringing this site online will help many things, even when the answer isn't obvious.

If you have been, thanks for reading, and visiting our project online. Feel free to leave comments about what you would like to see more of, and we'll be working on the pages and content for some time yet.

-SSW Out

Copyright © 2024 ScaleBirds LLC  |  All Rights Reserved