ScaleBirds

ScaleBirds, Home of the 63% Scale Hellcat replica kitplane project.

Rudder U Doing?

This post has been sitting in the wings awhile, waiting for pictures. Finally dug in and pulled these out.

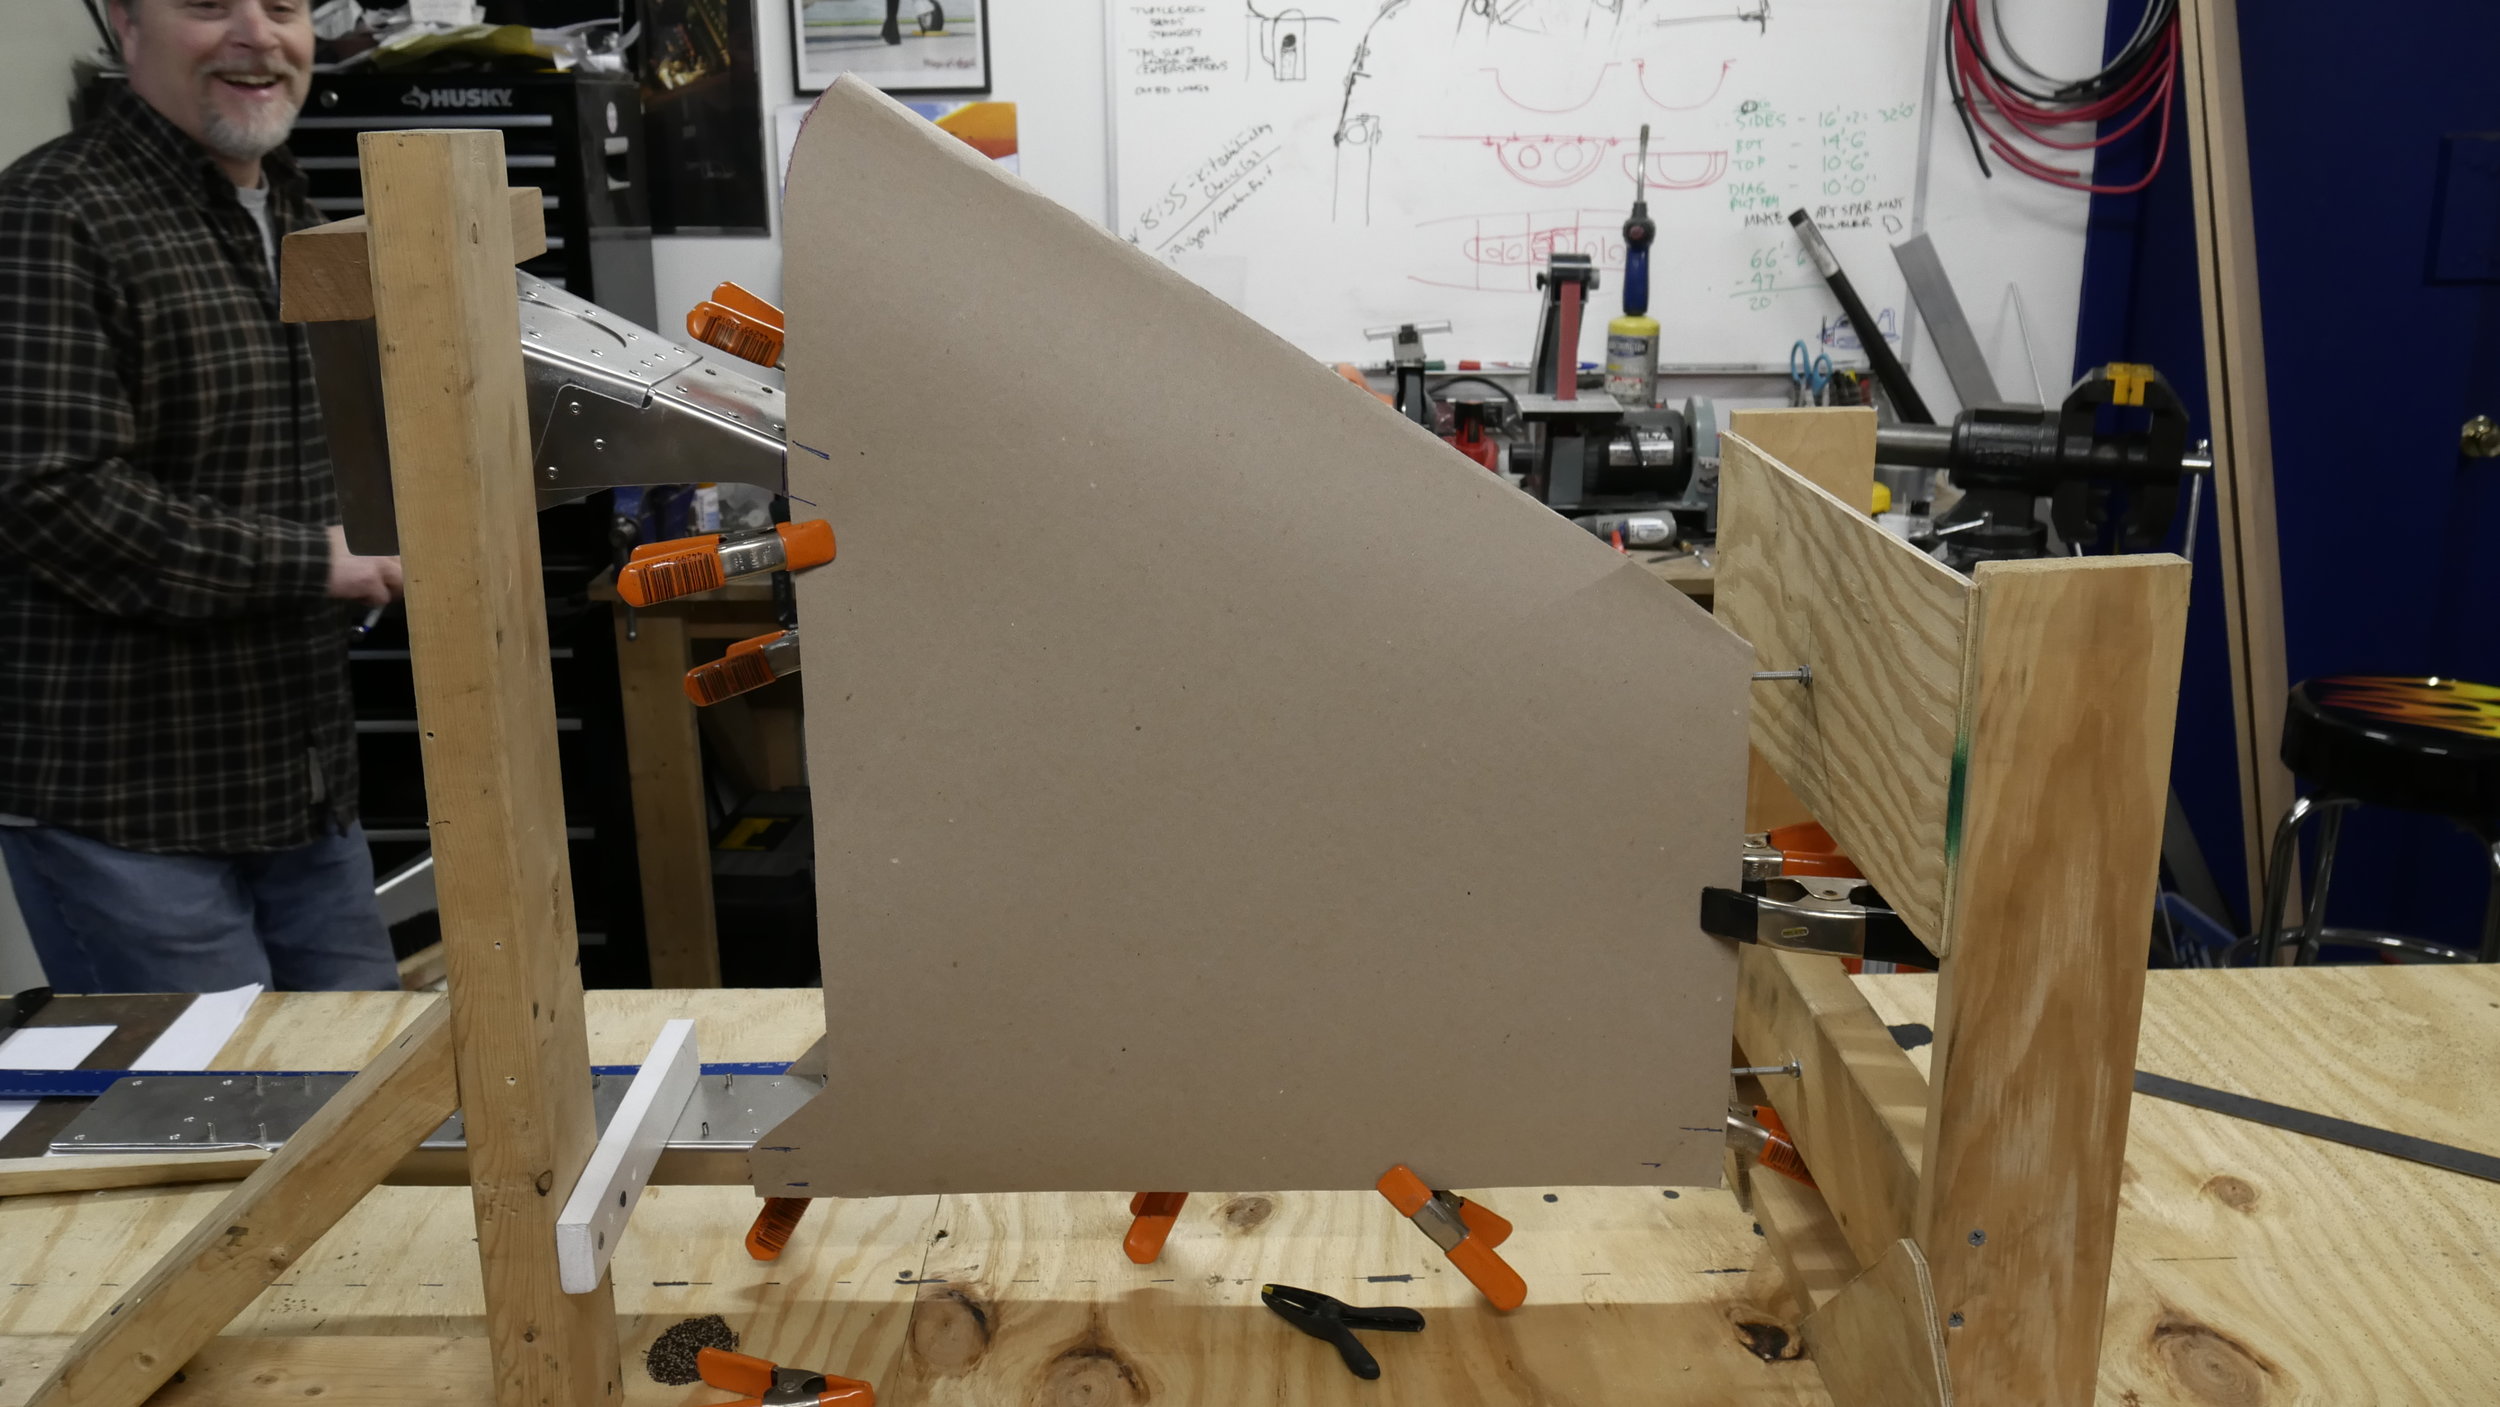
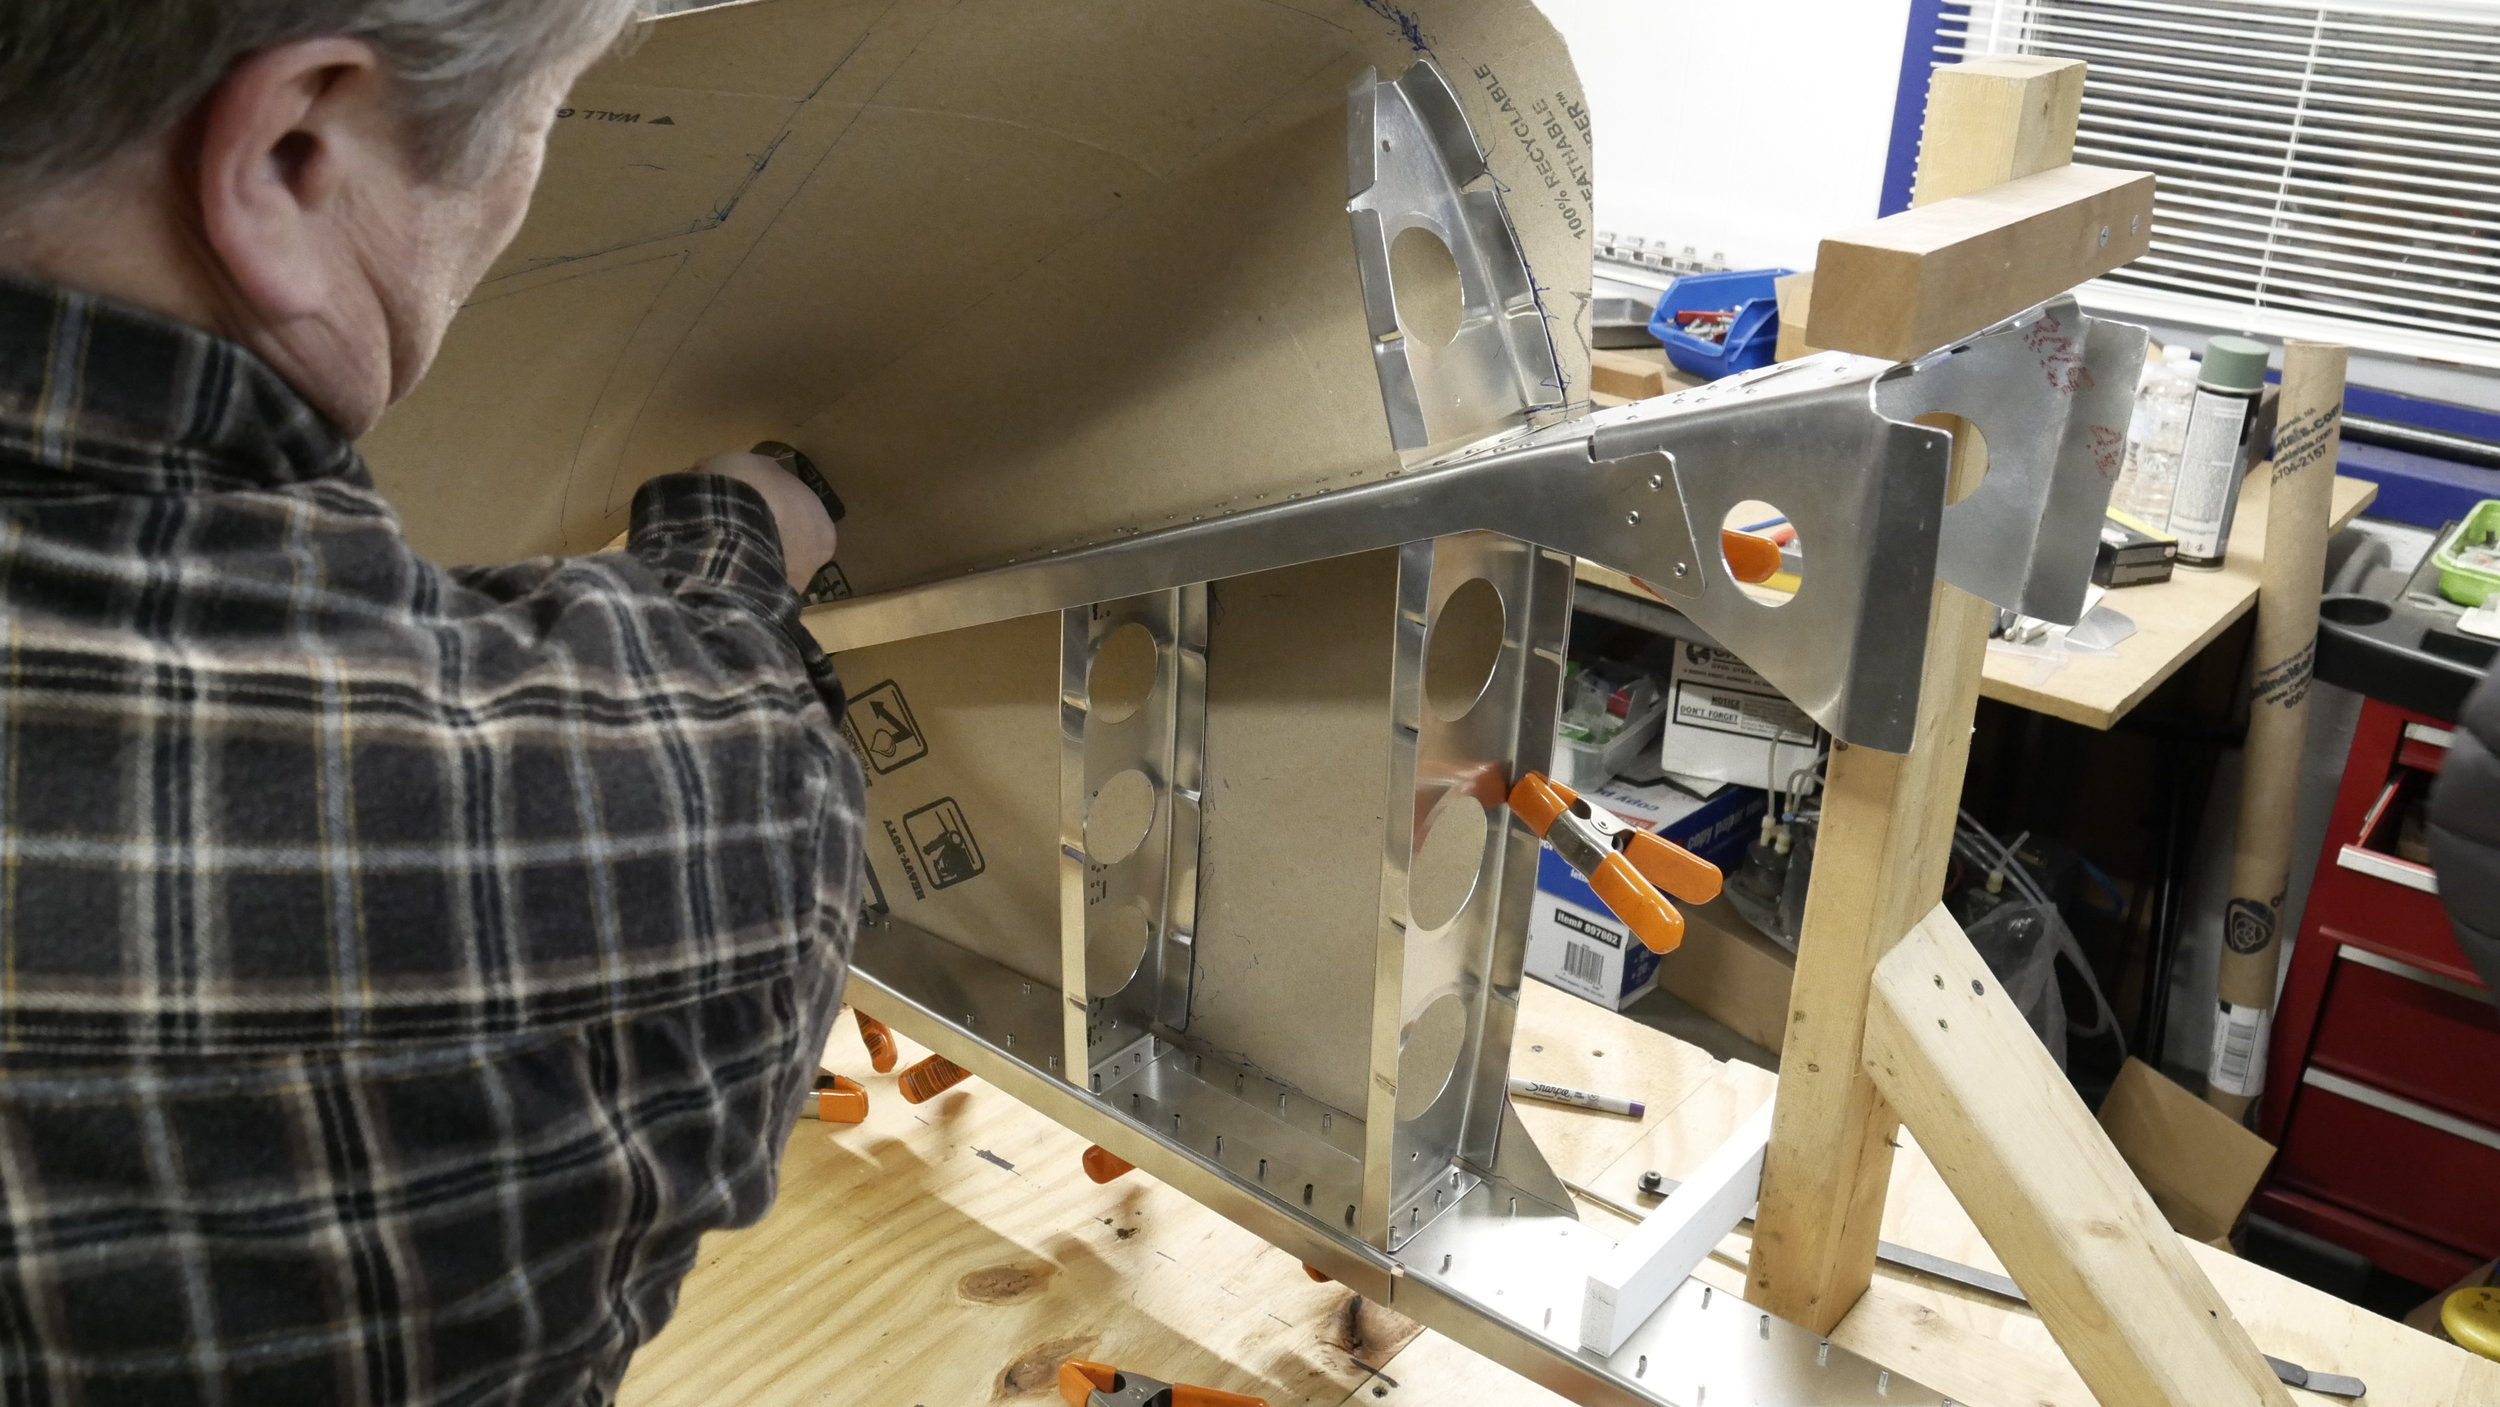
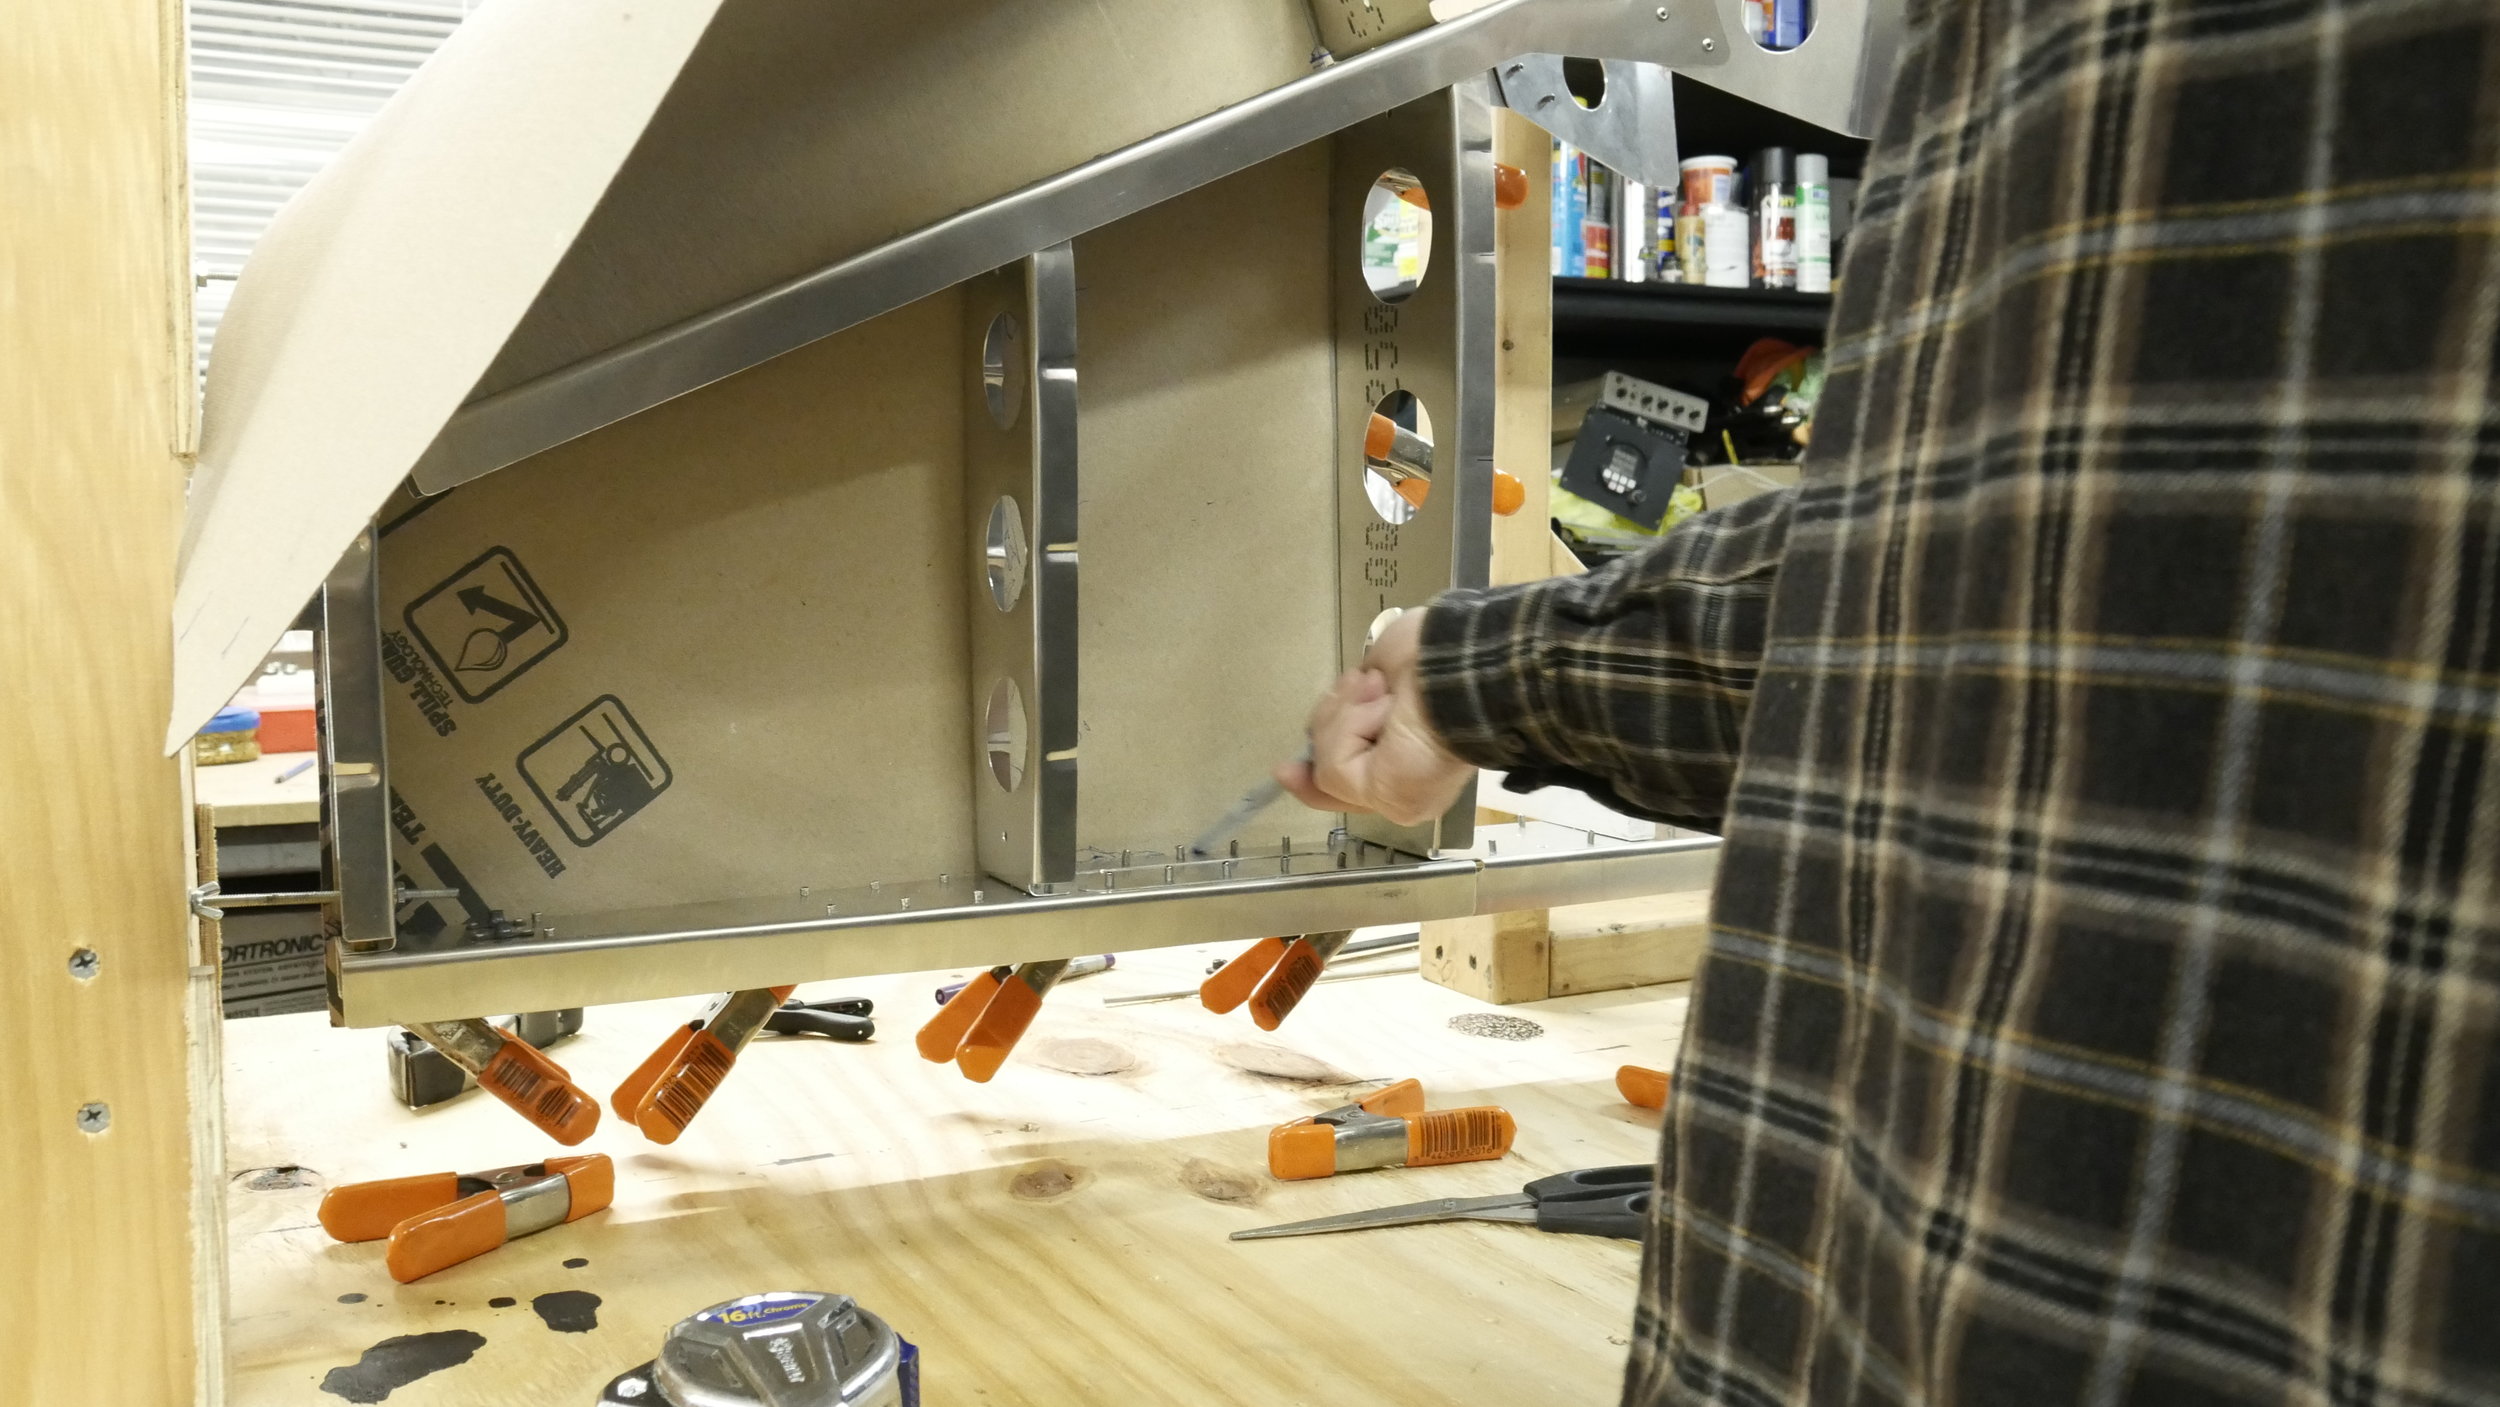
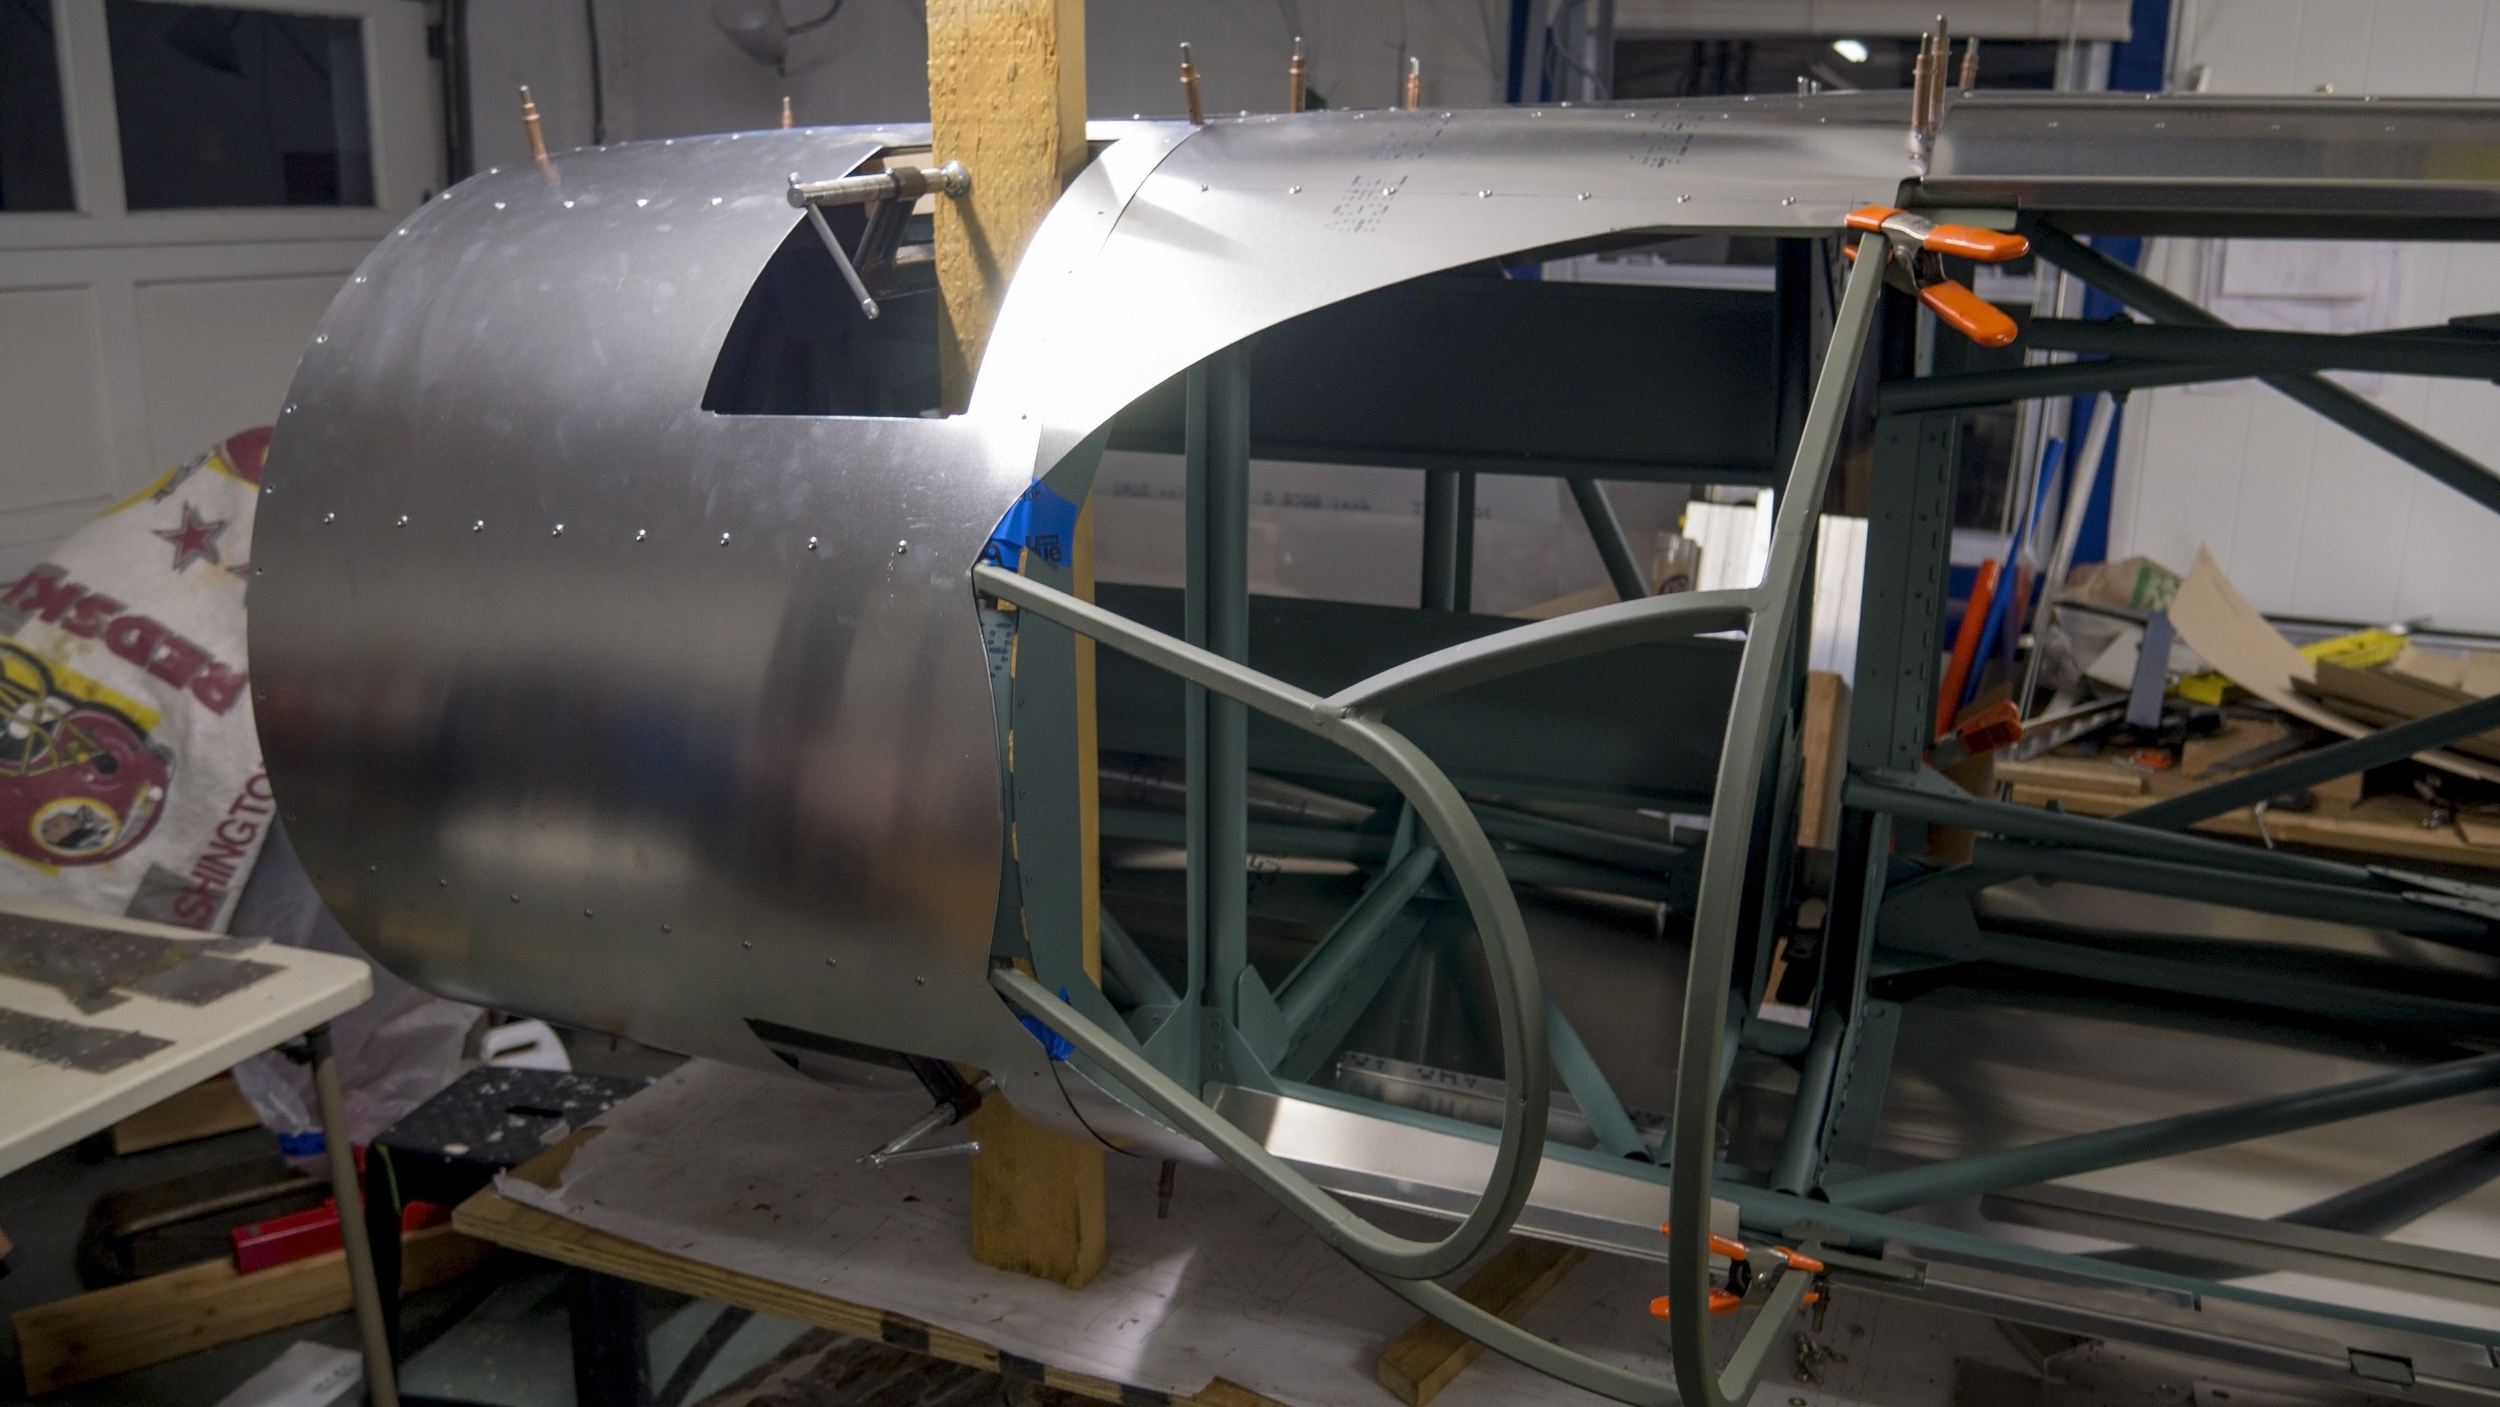
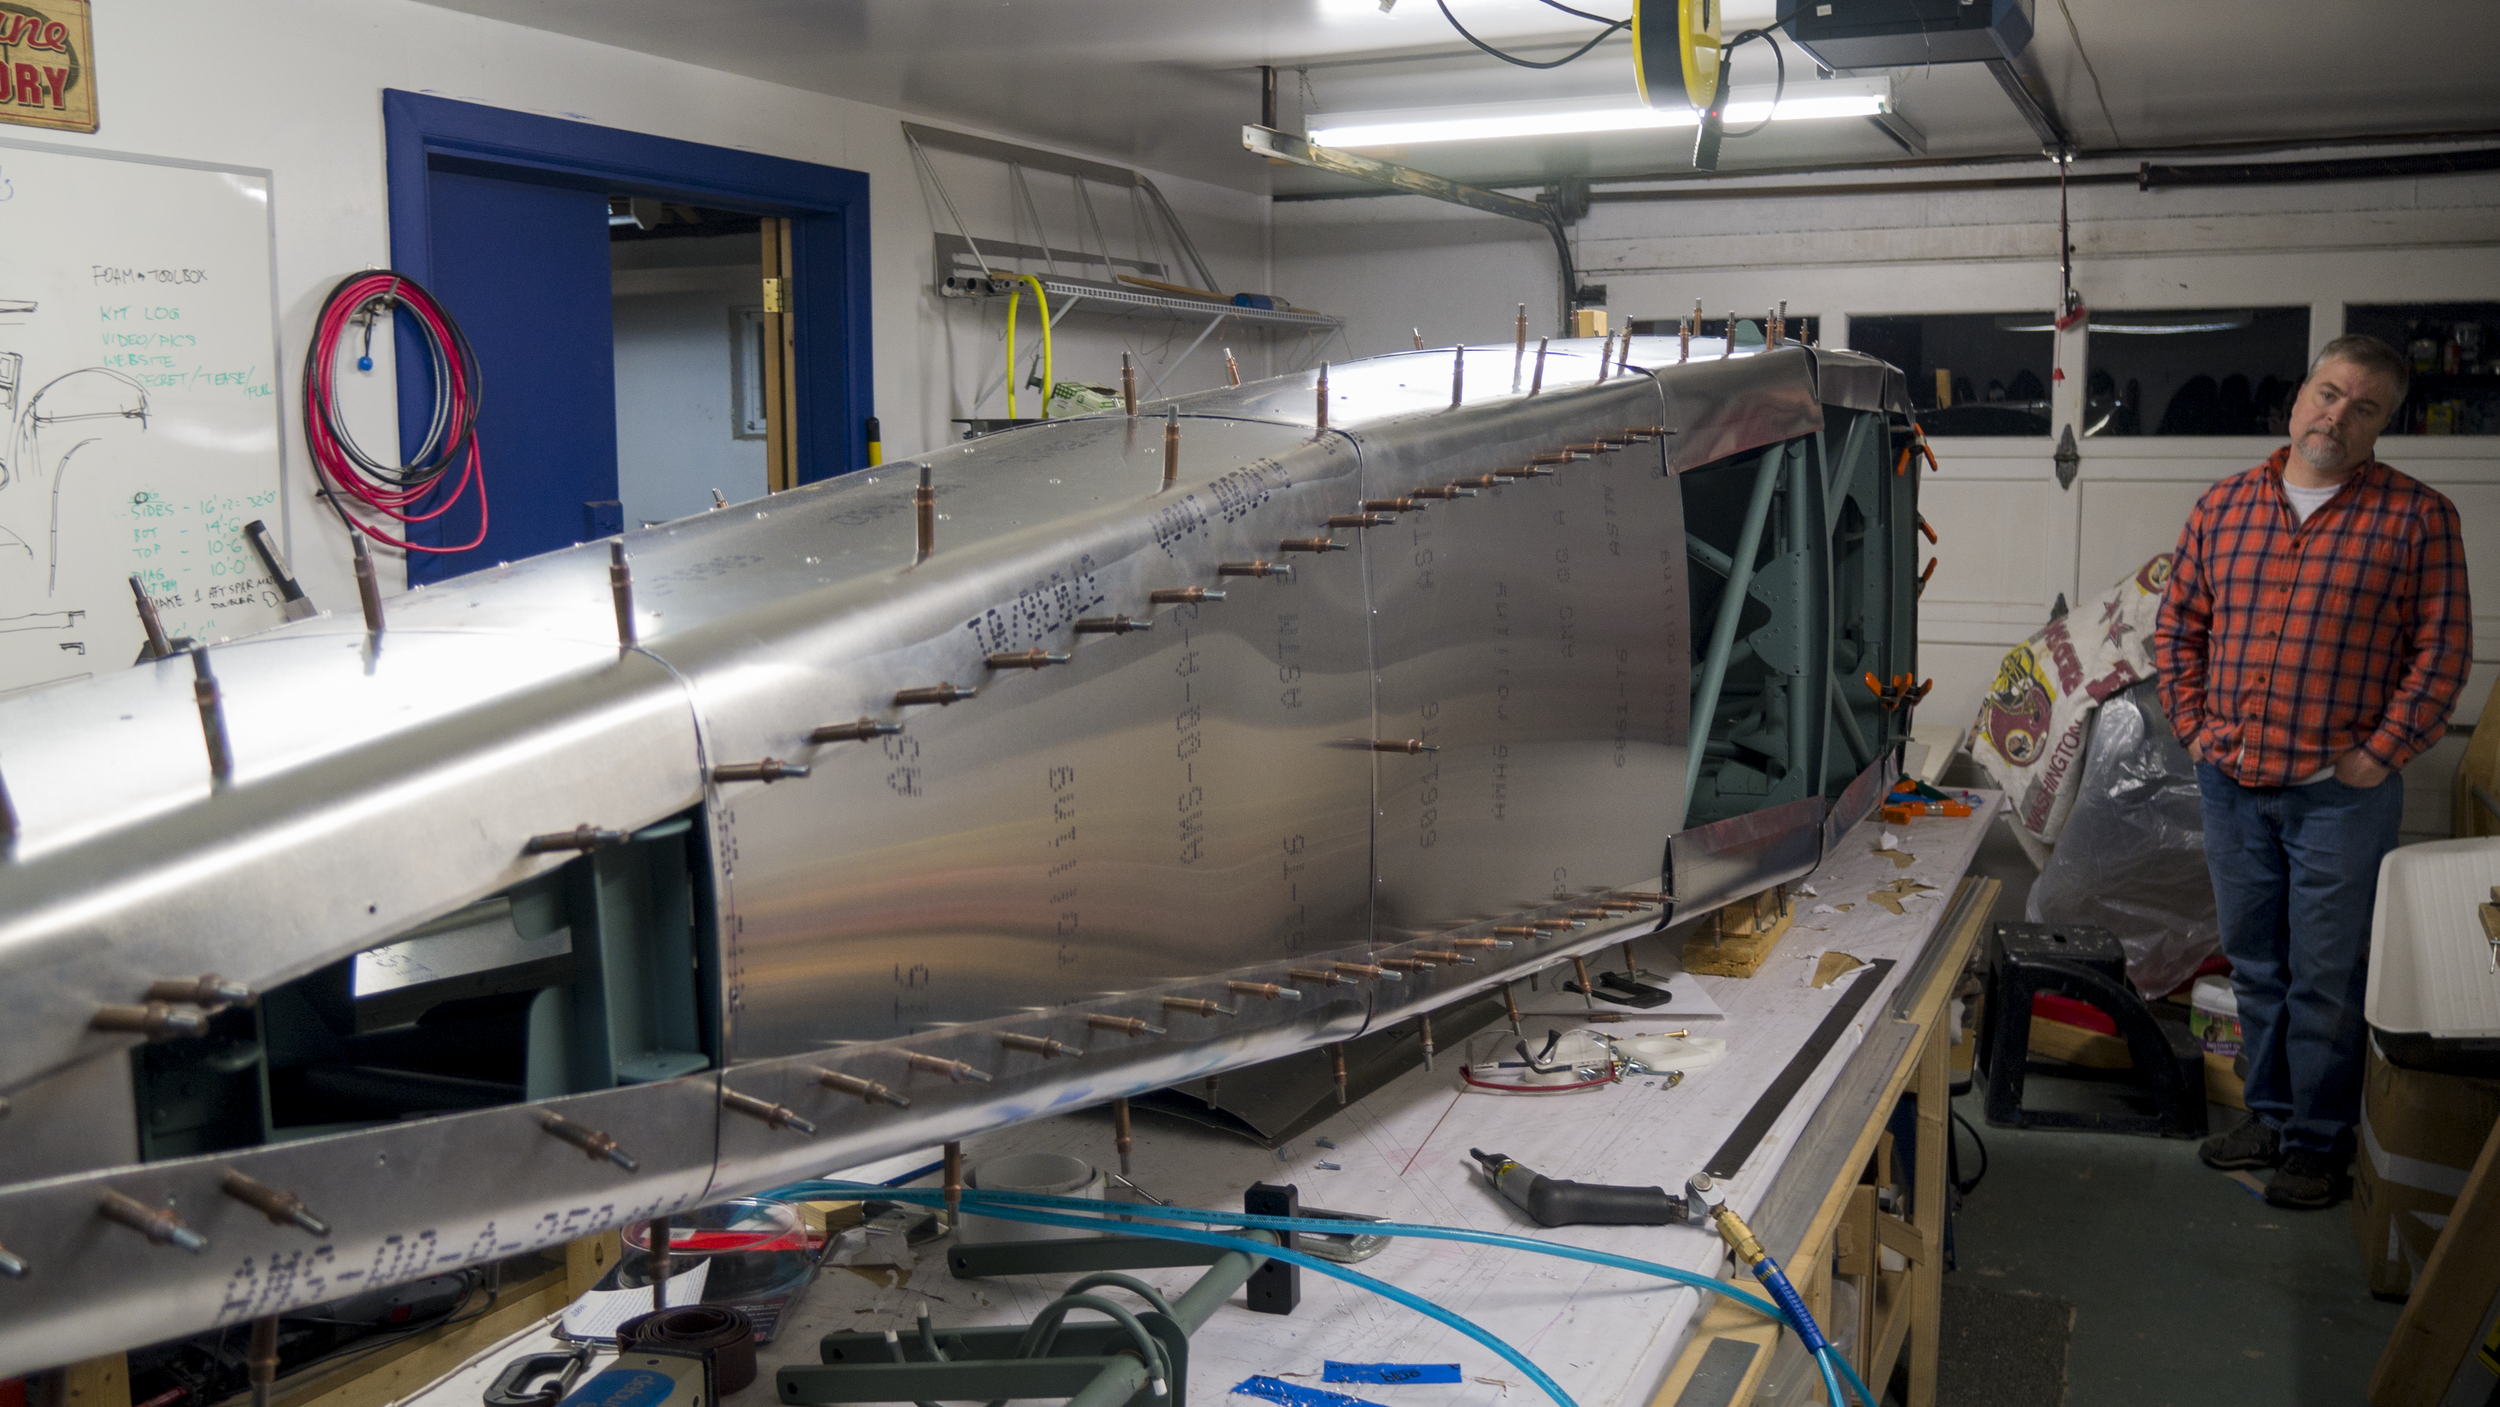
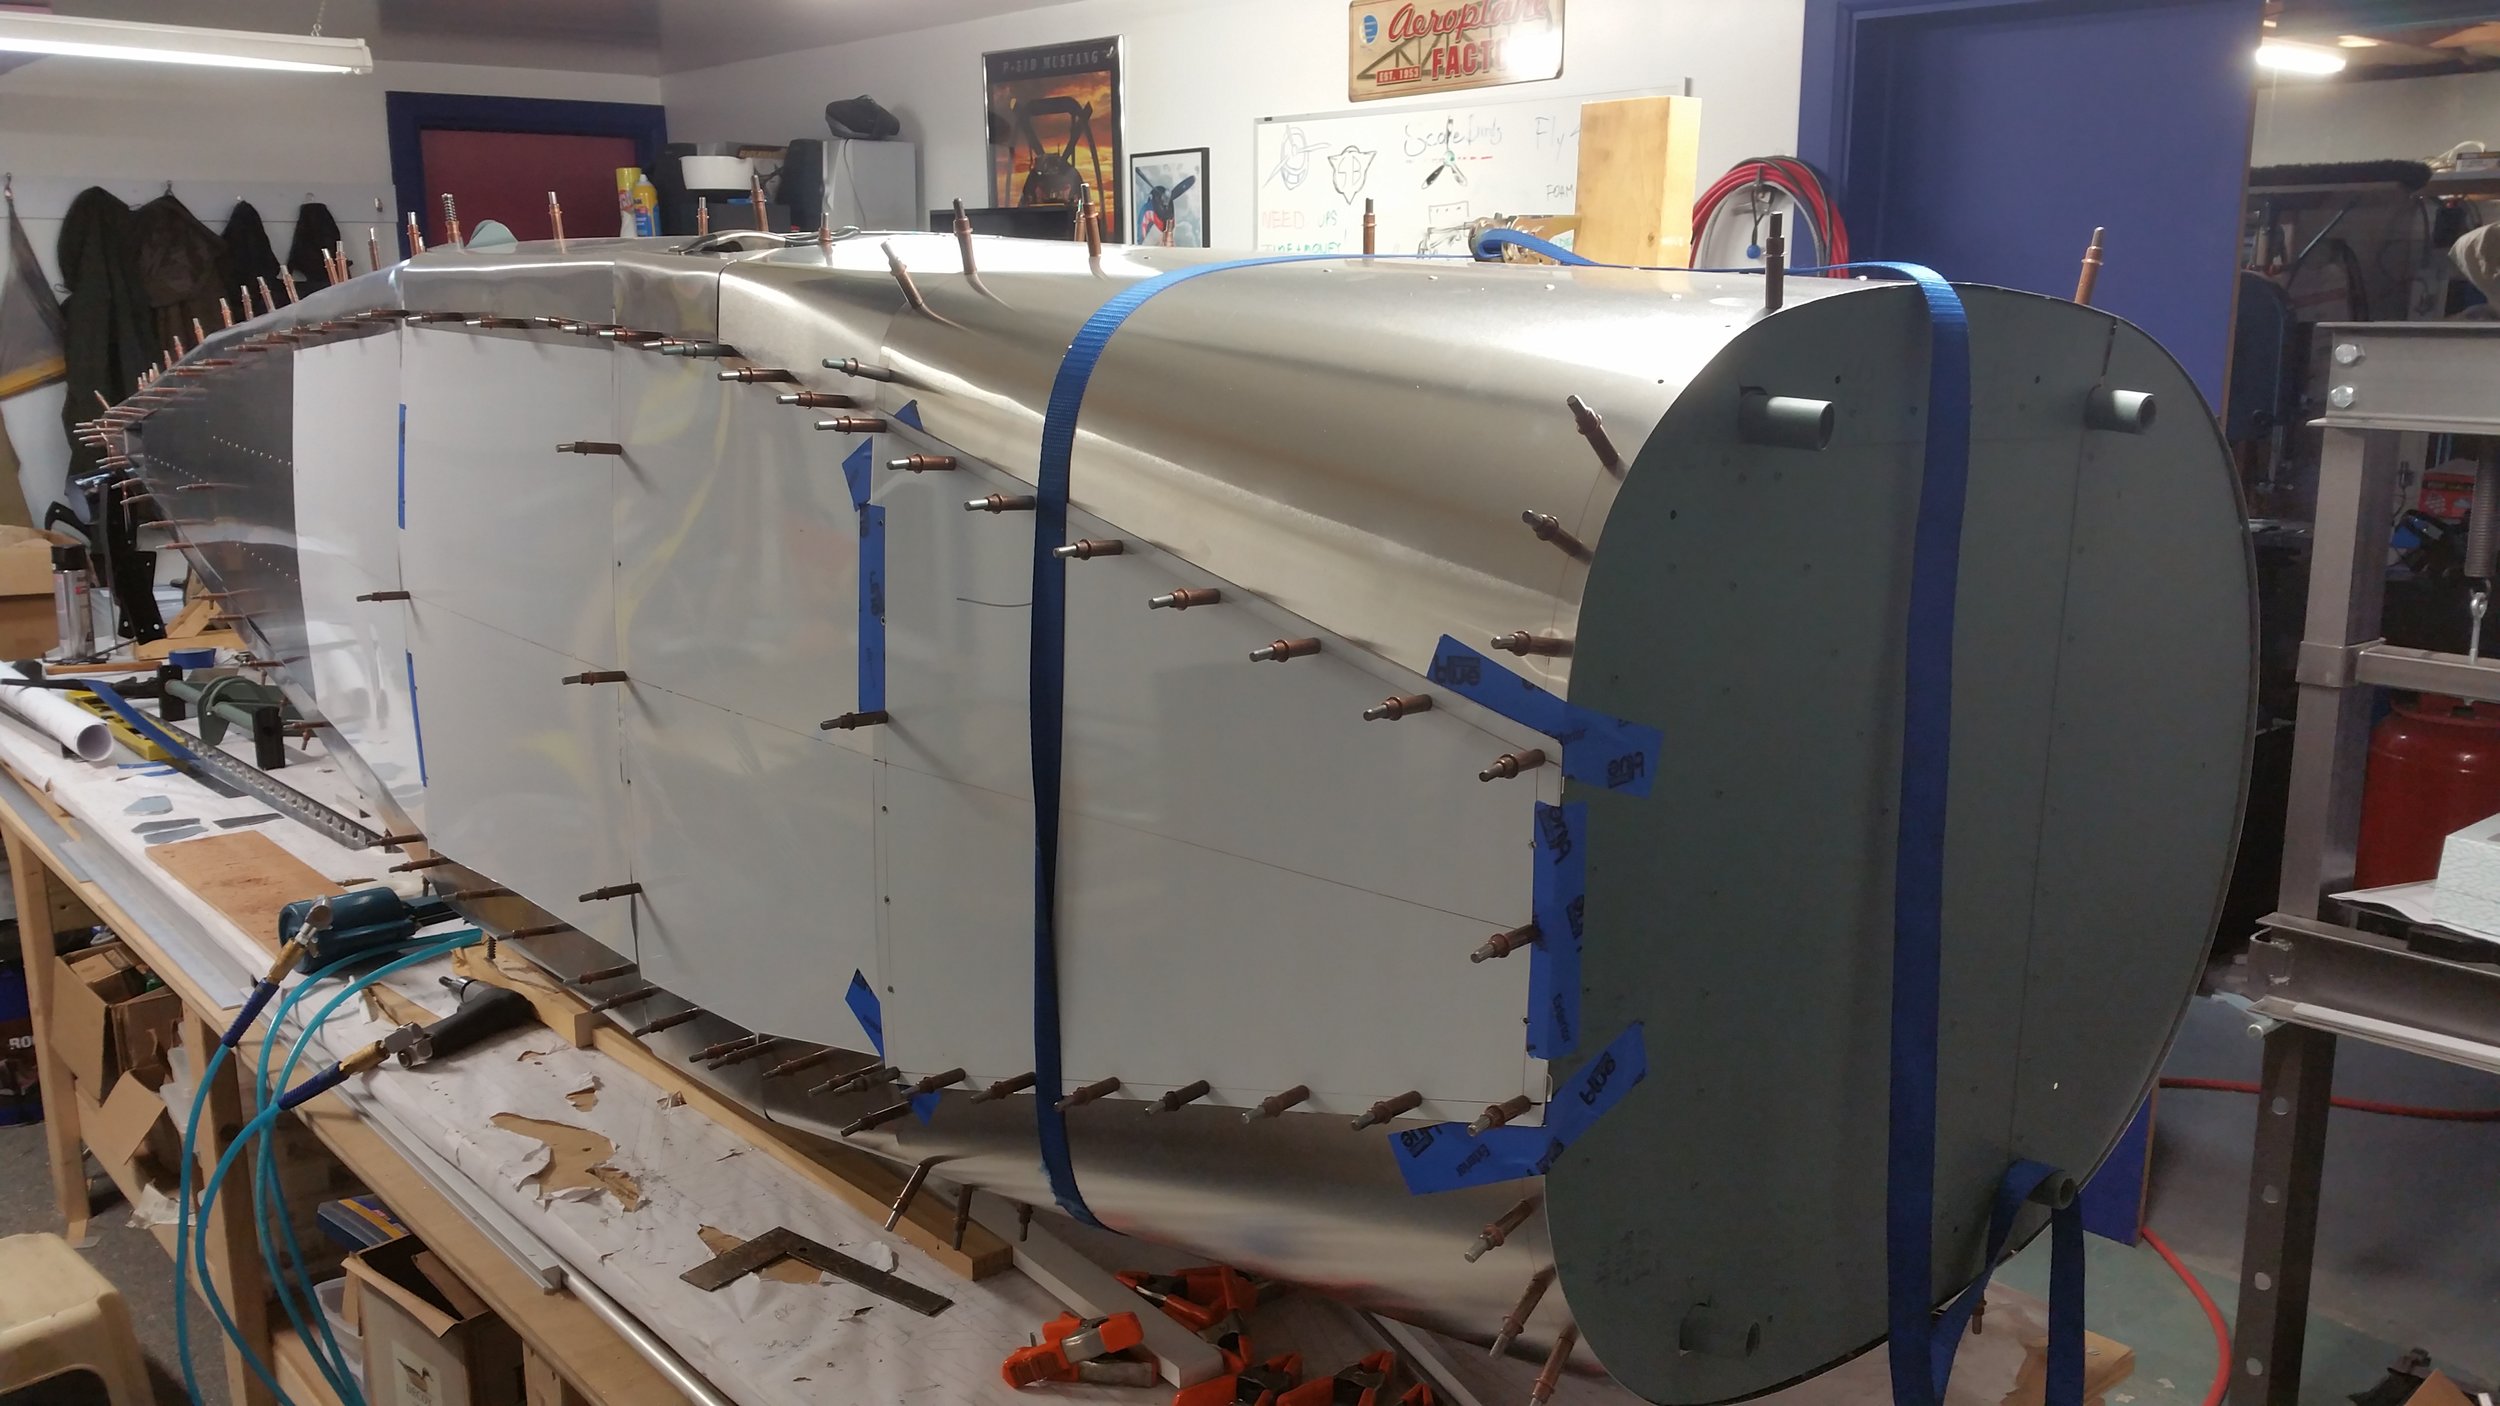
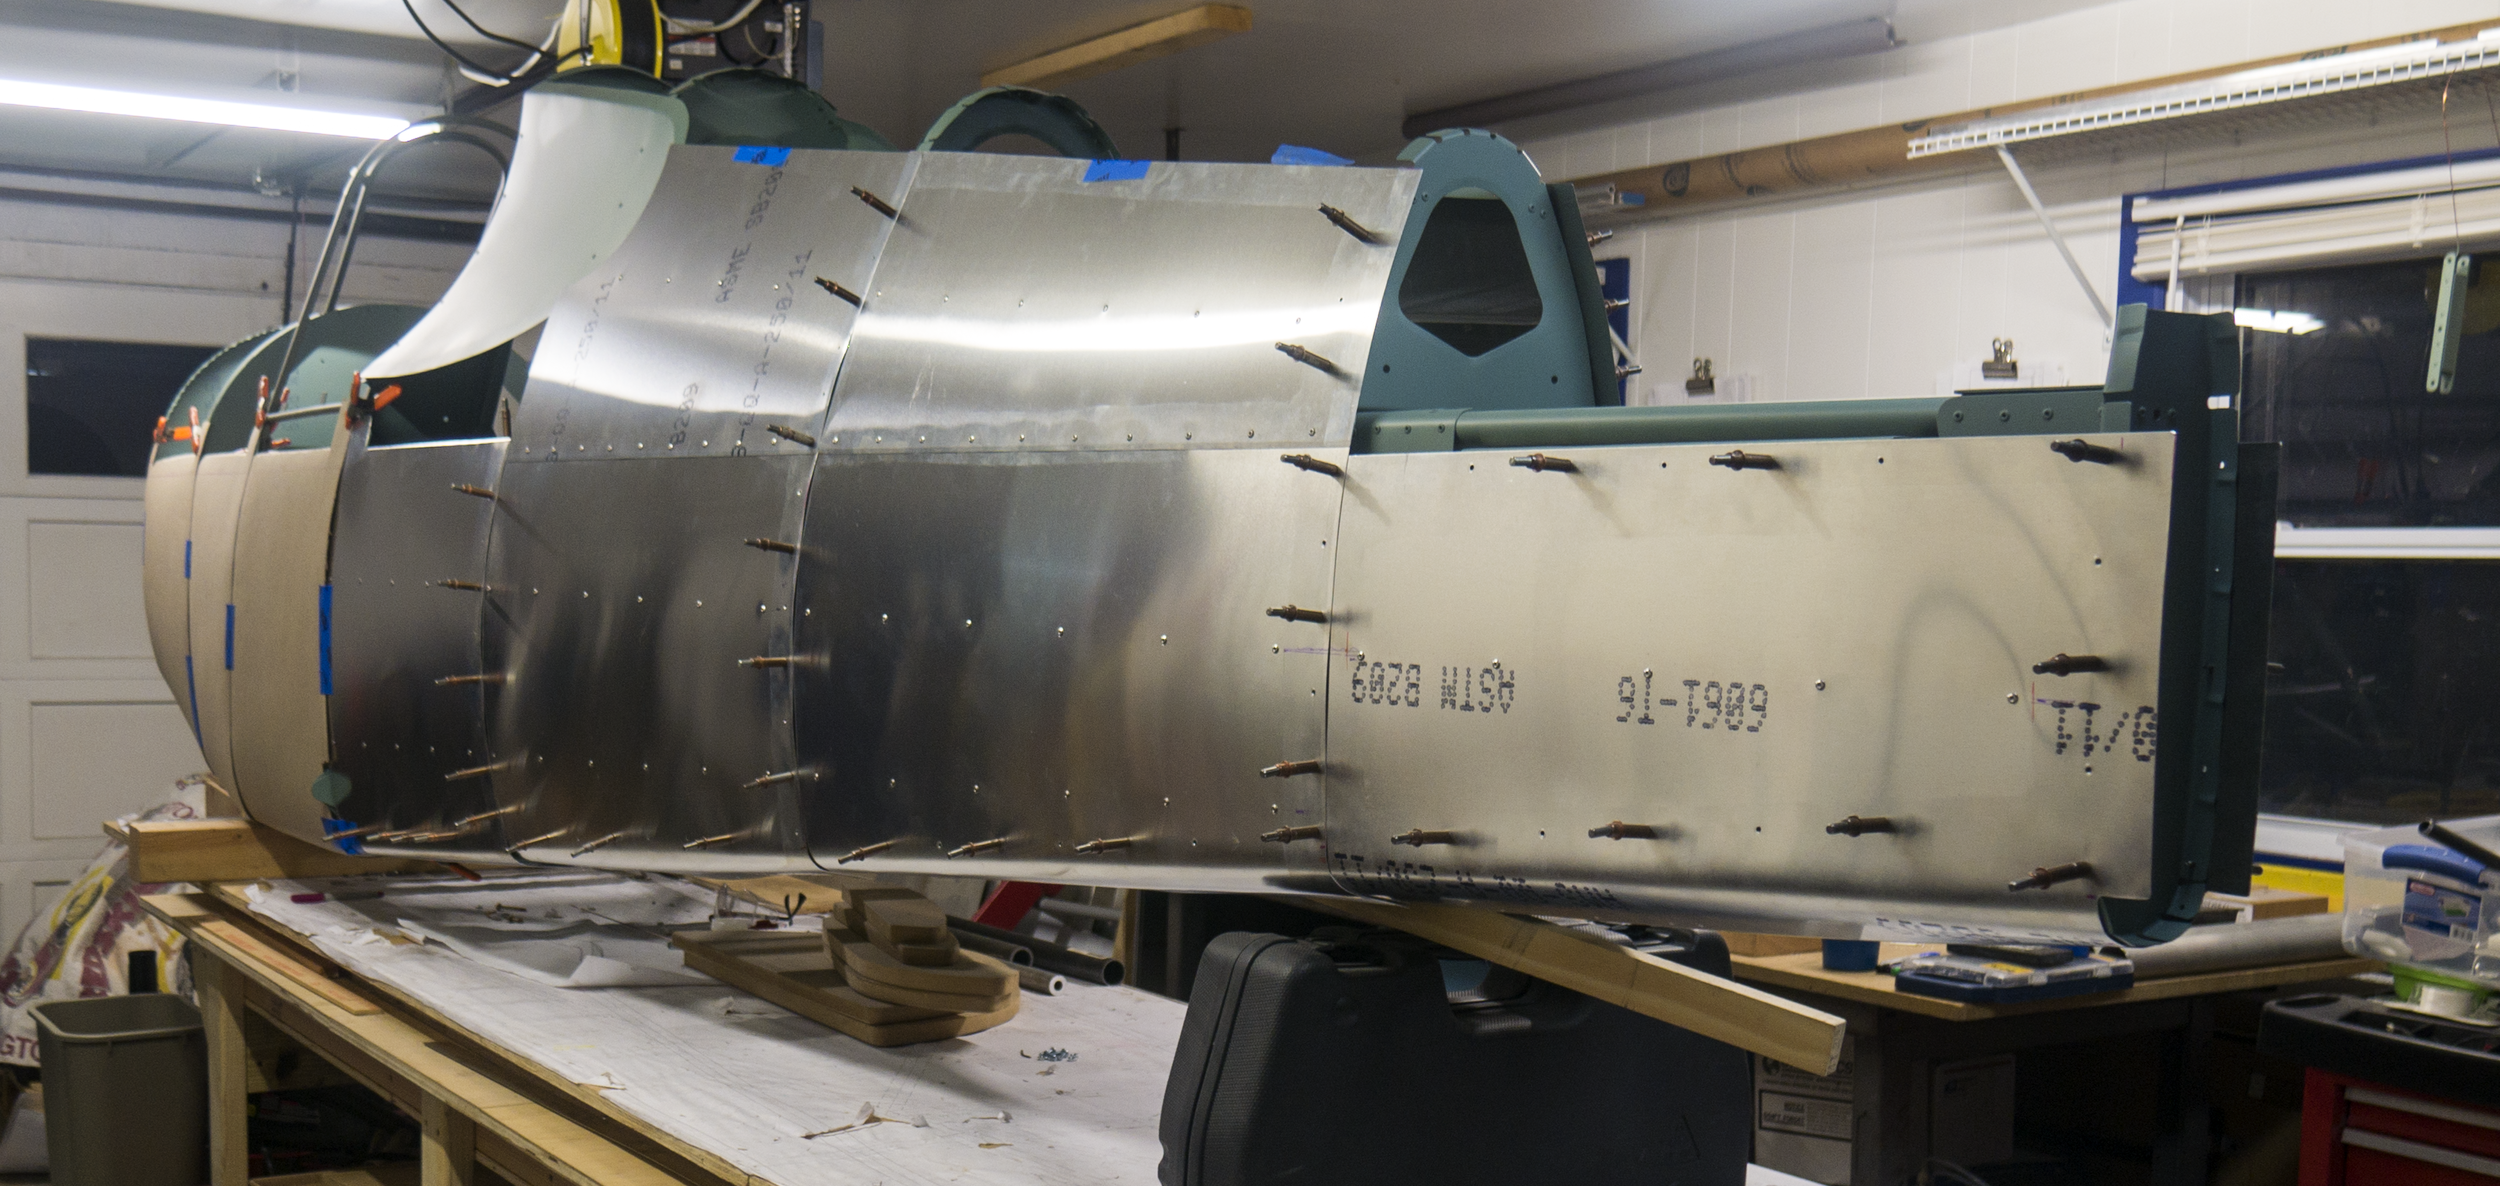
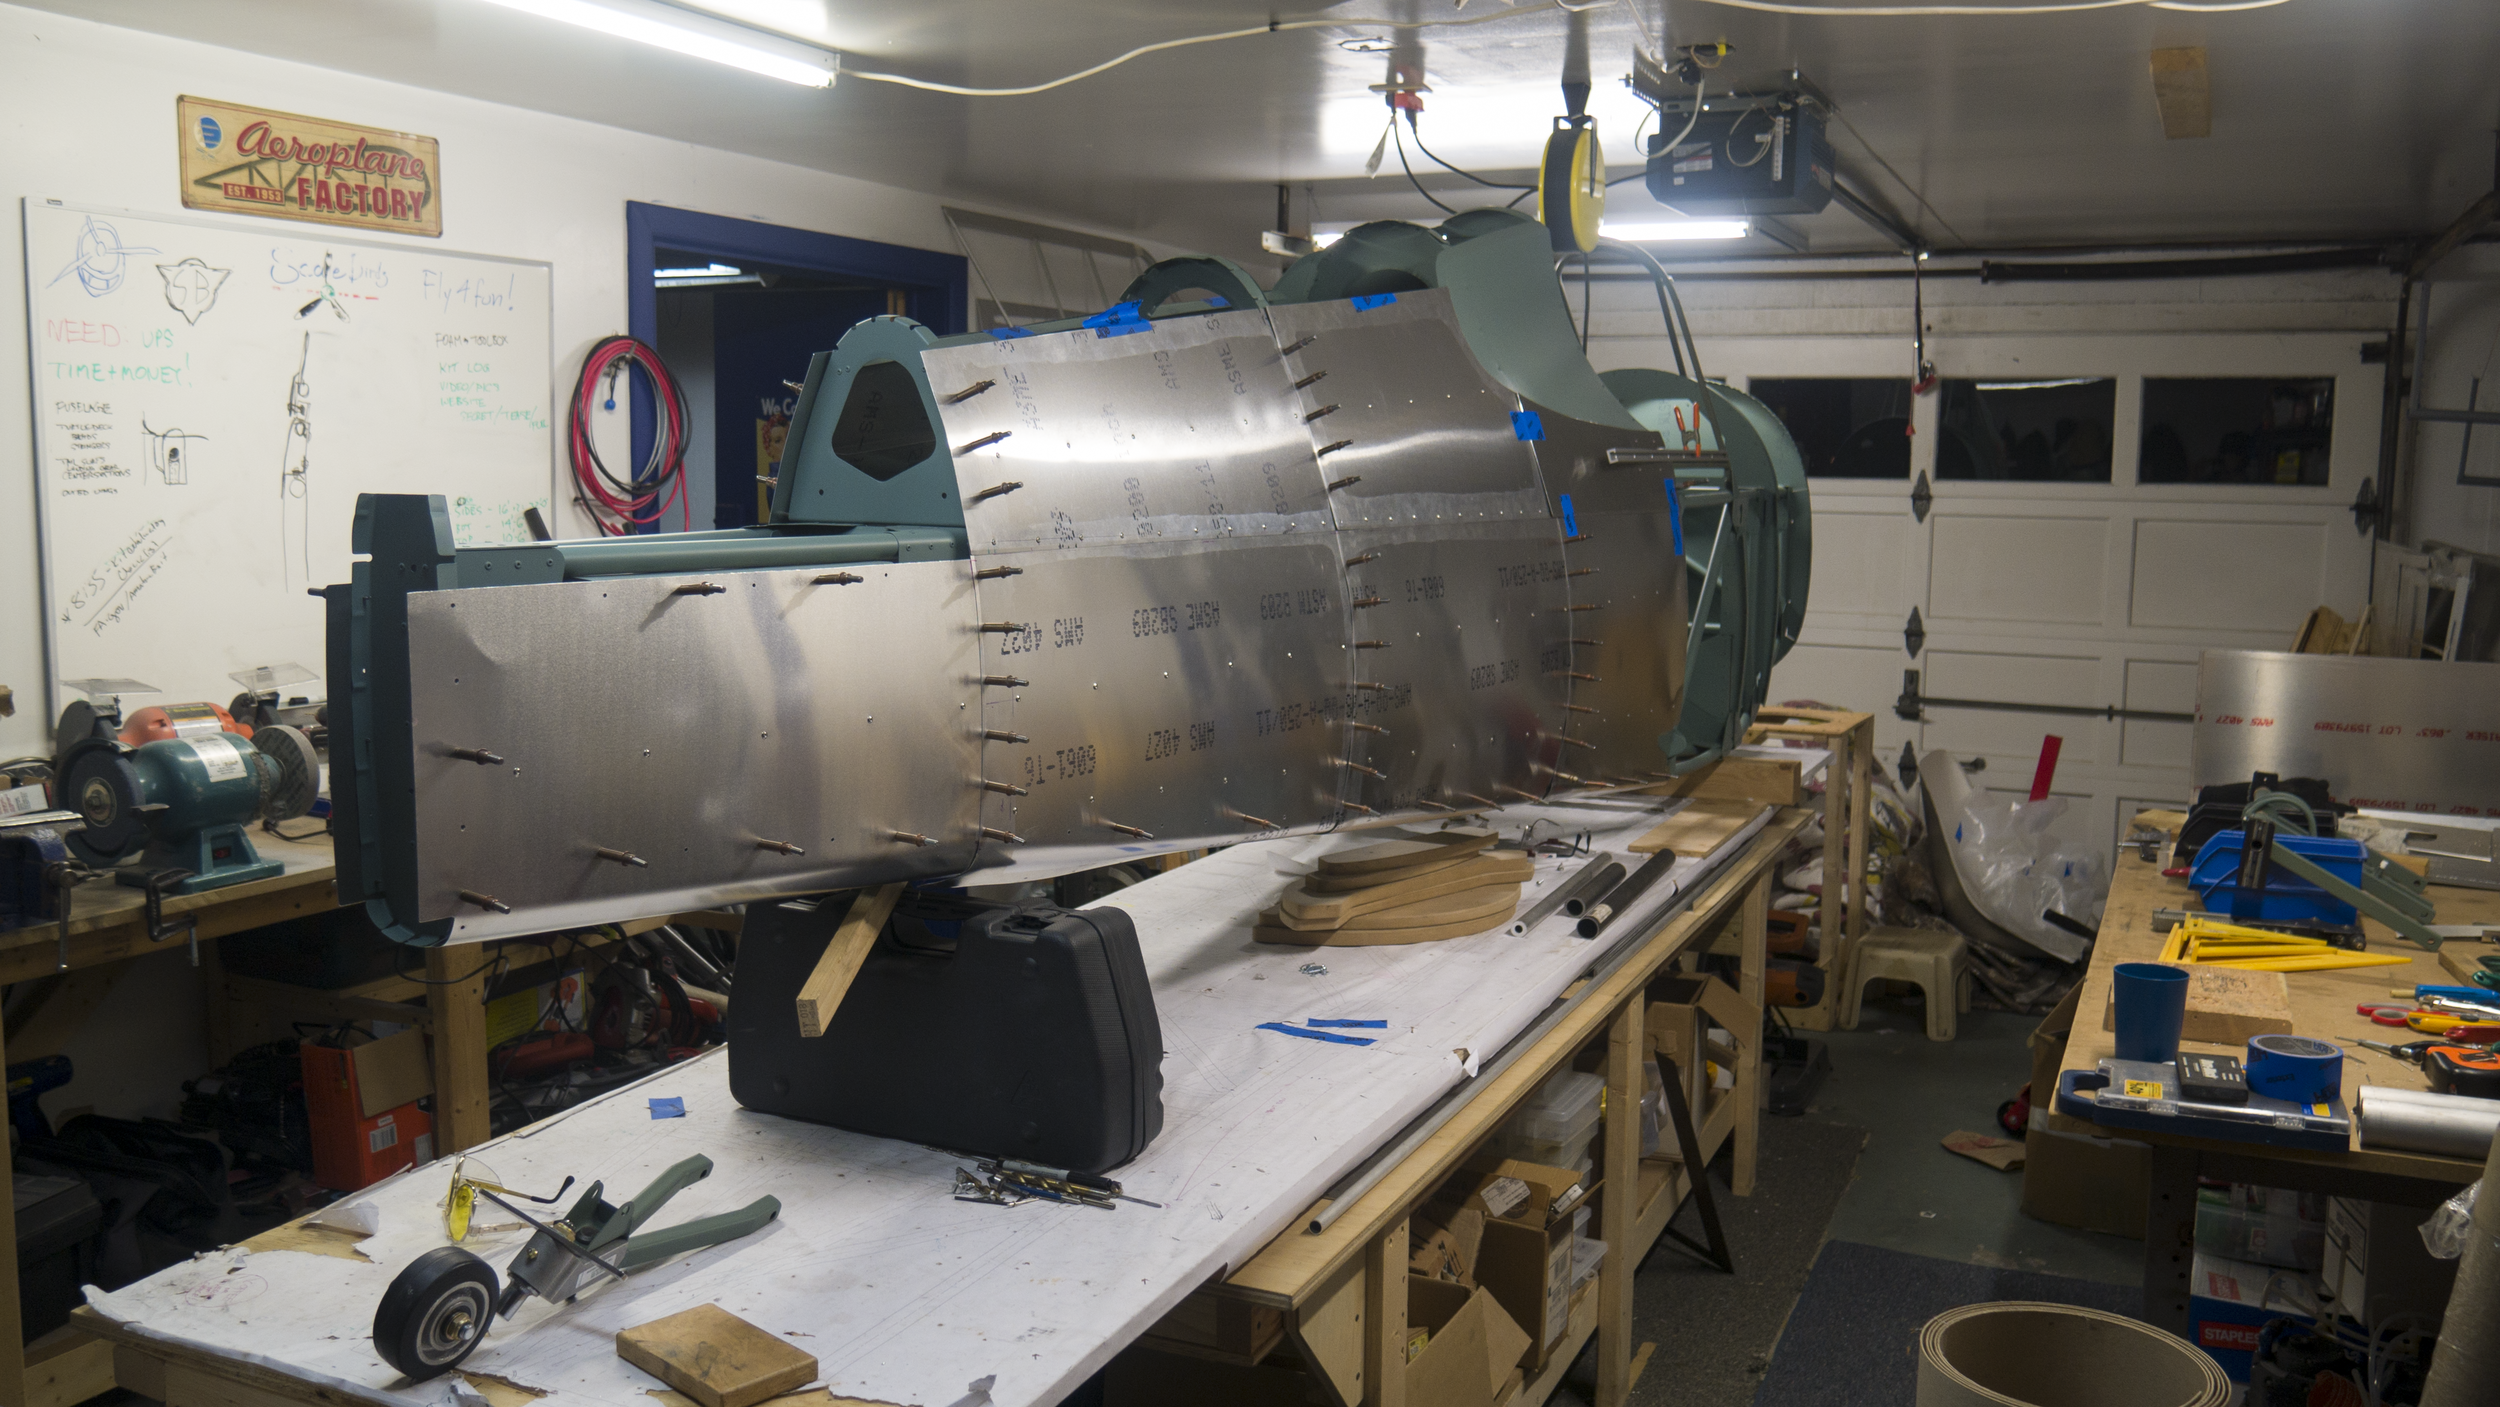
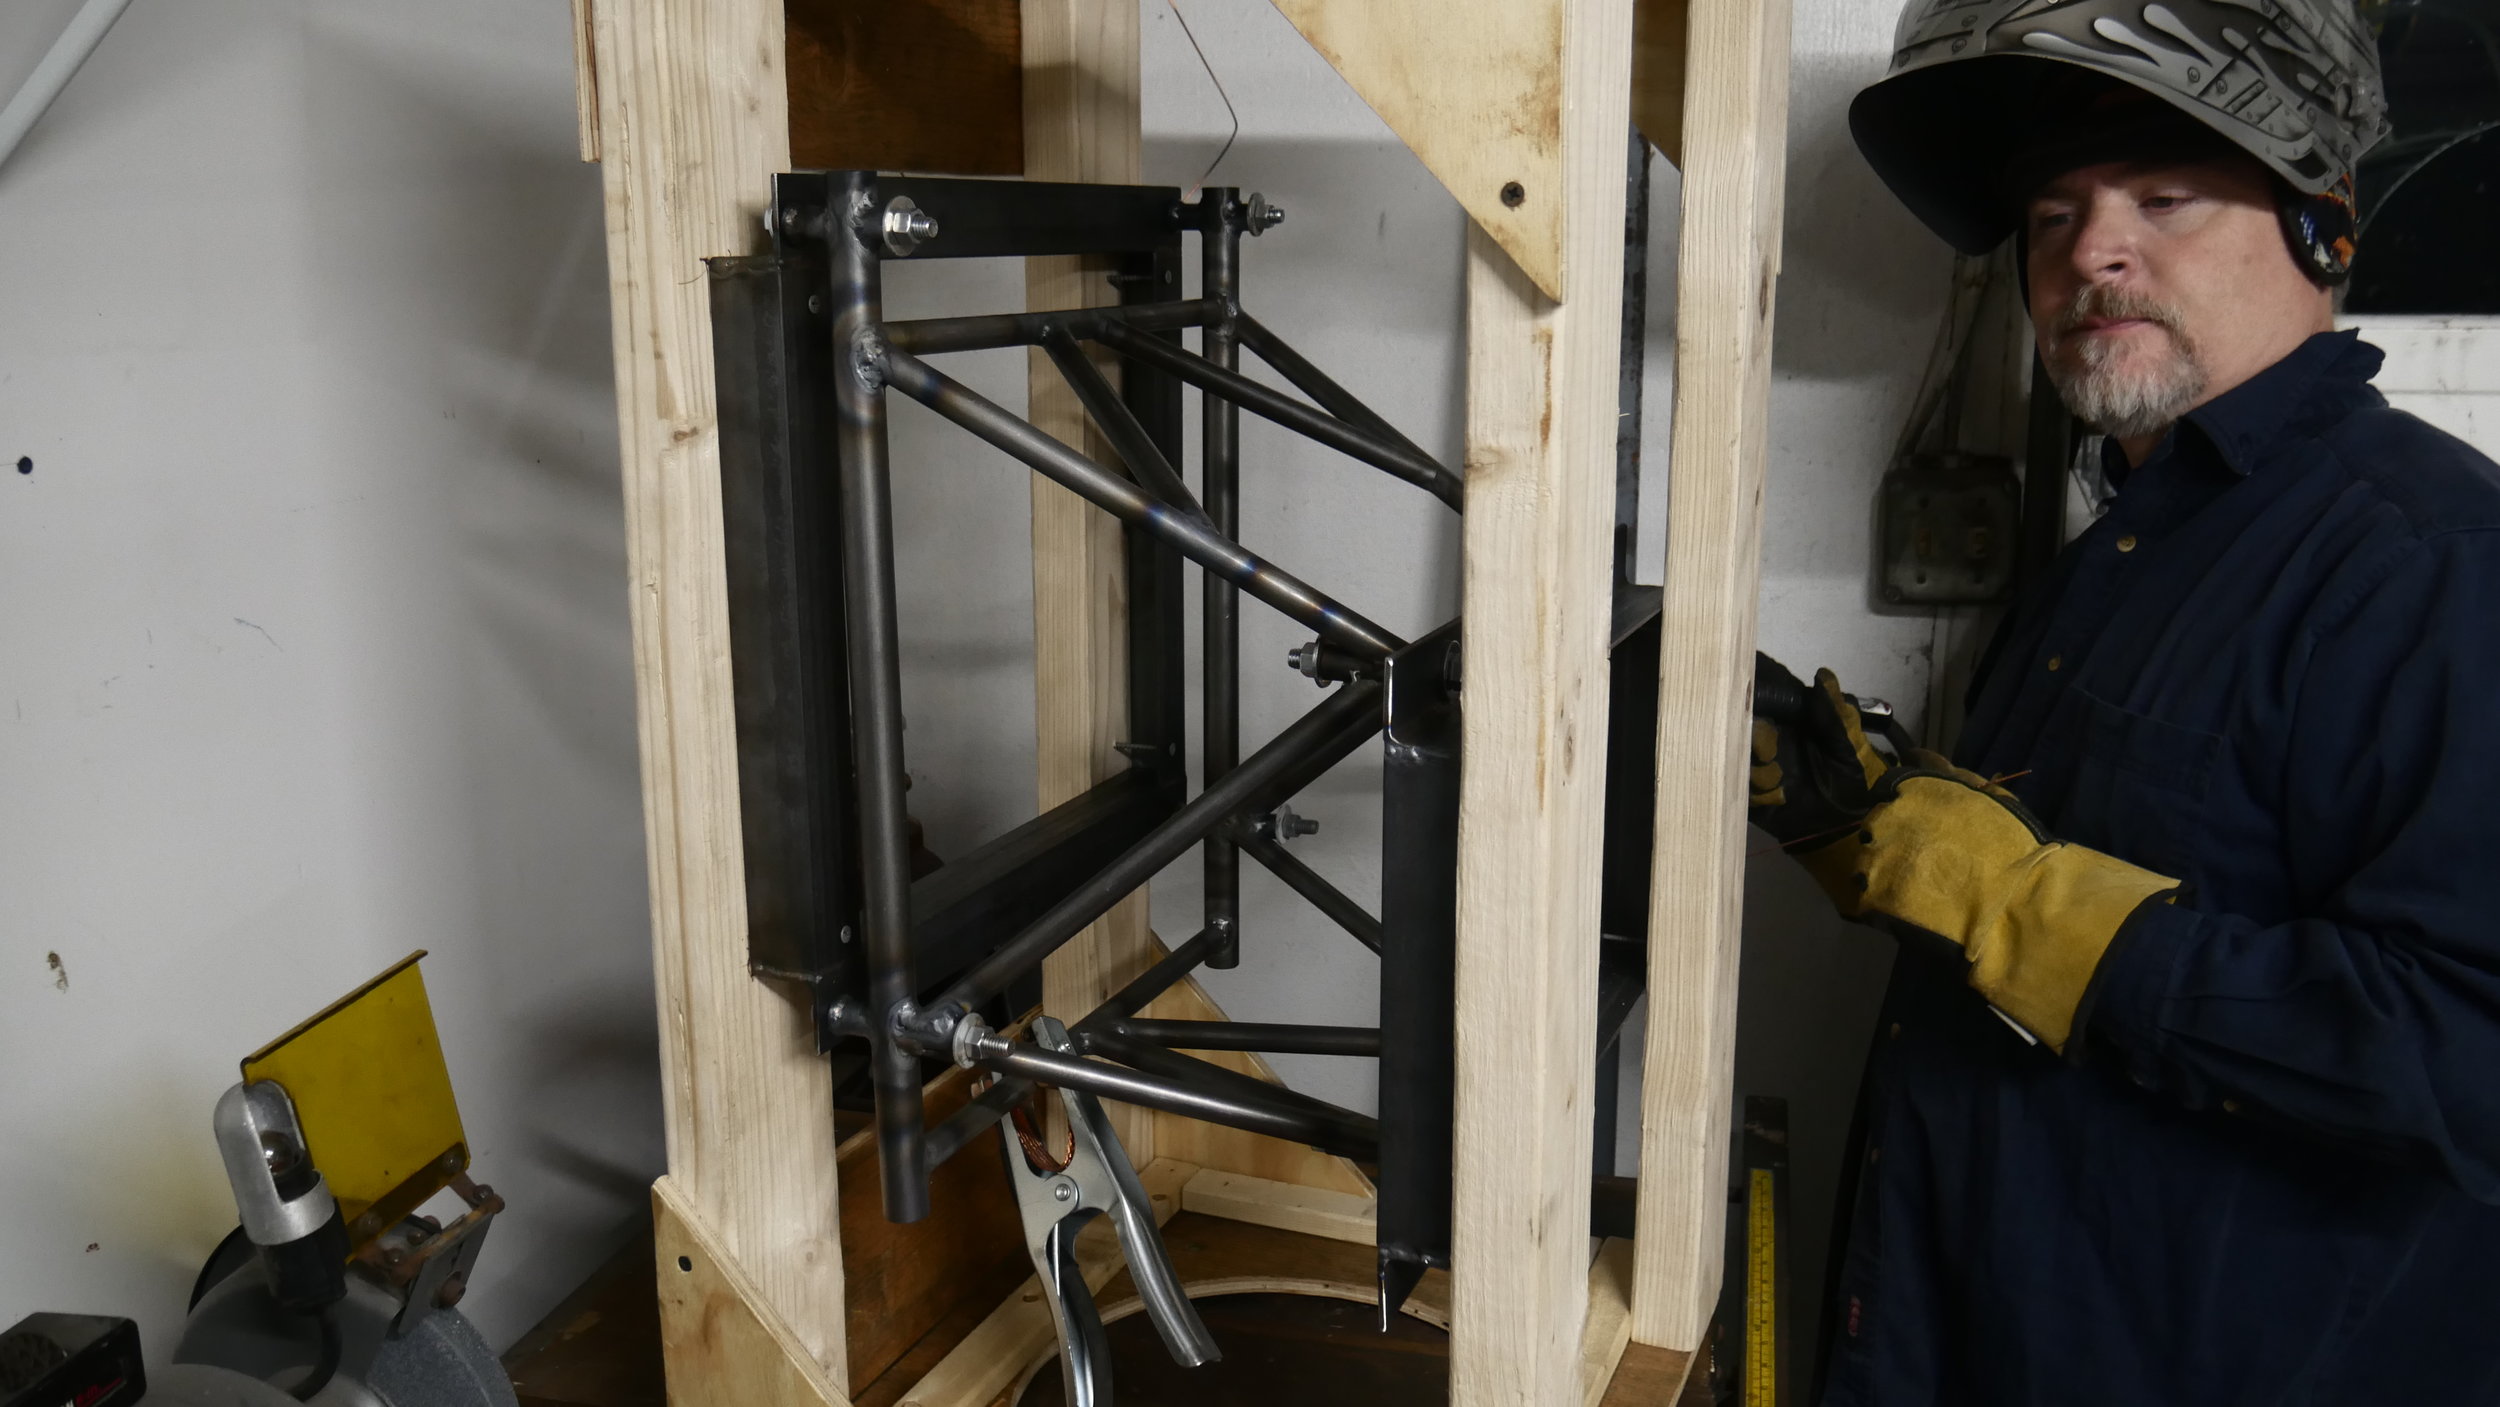
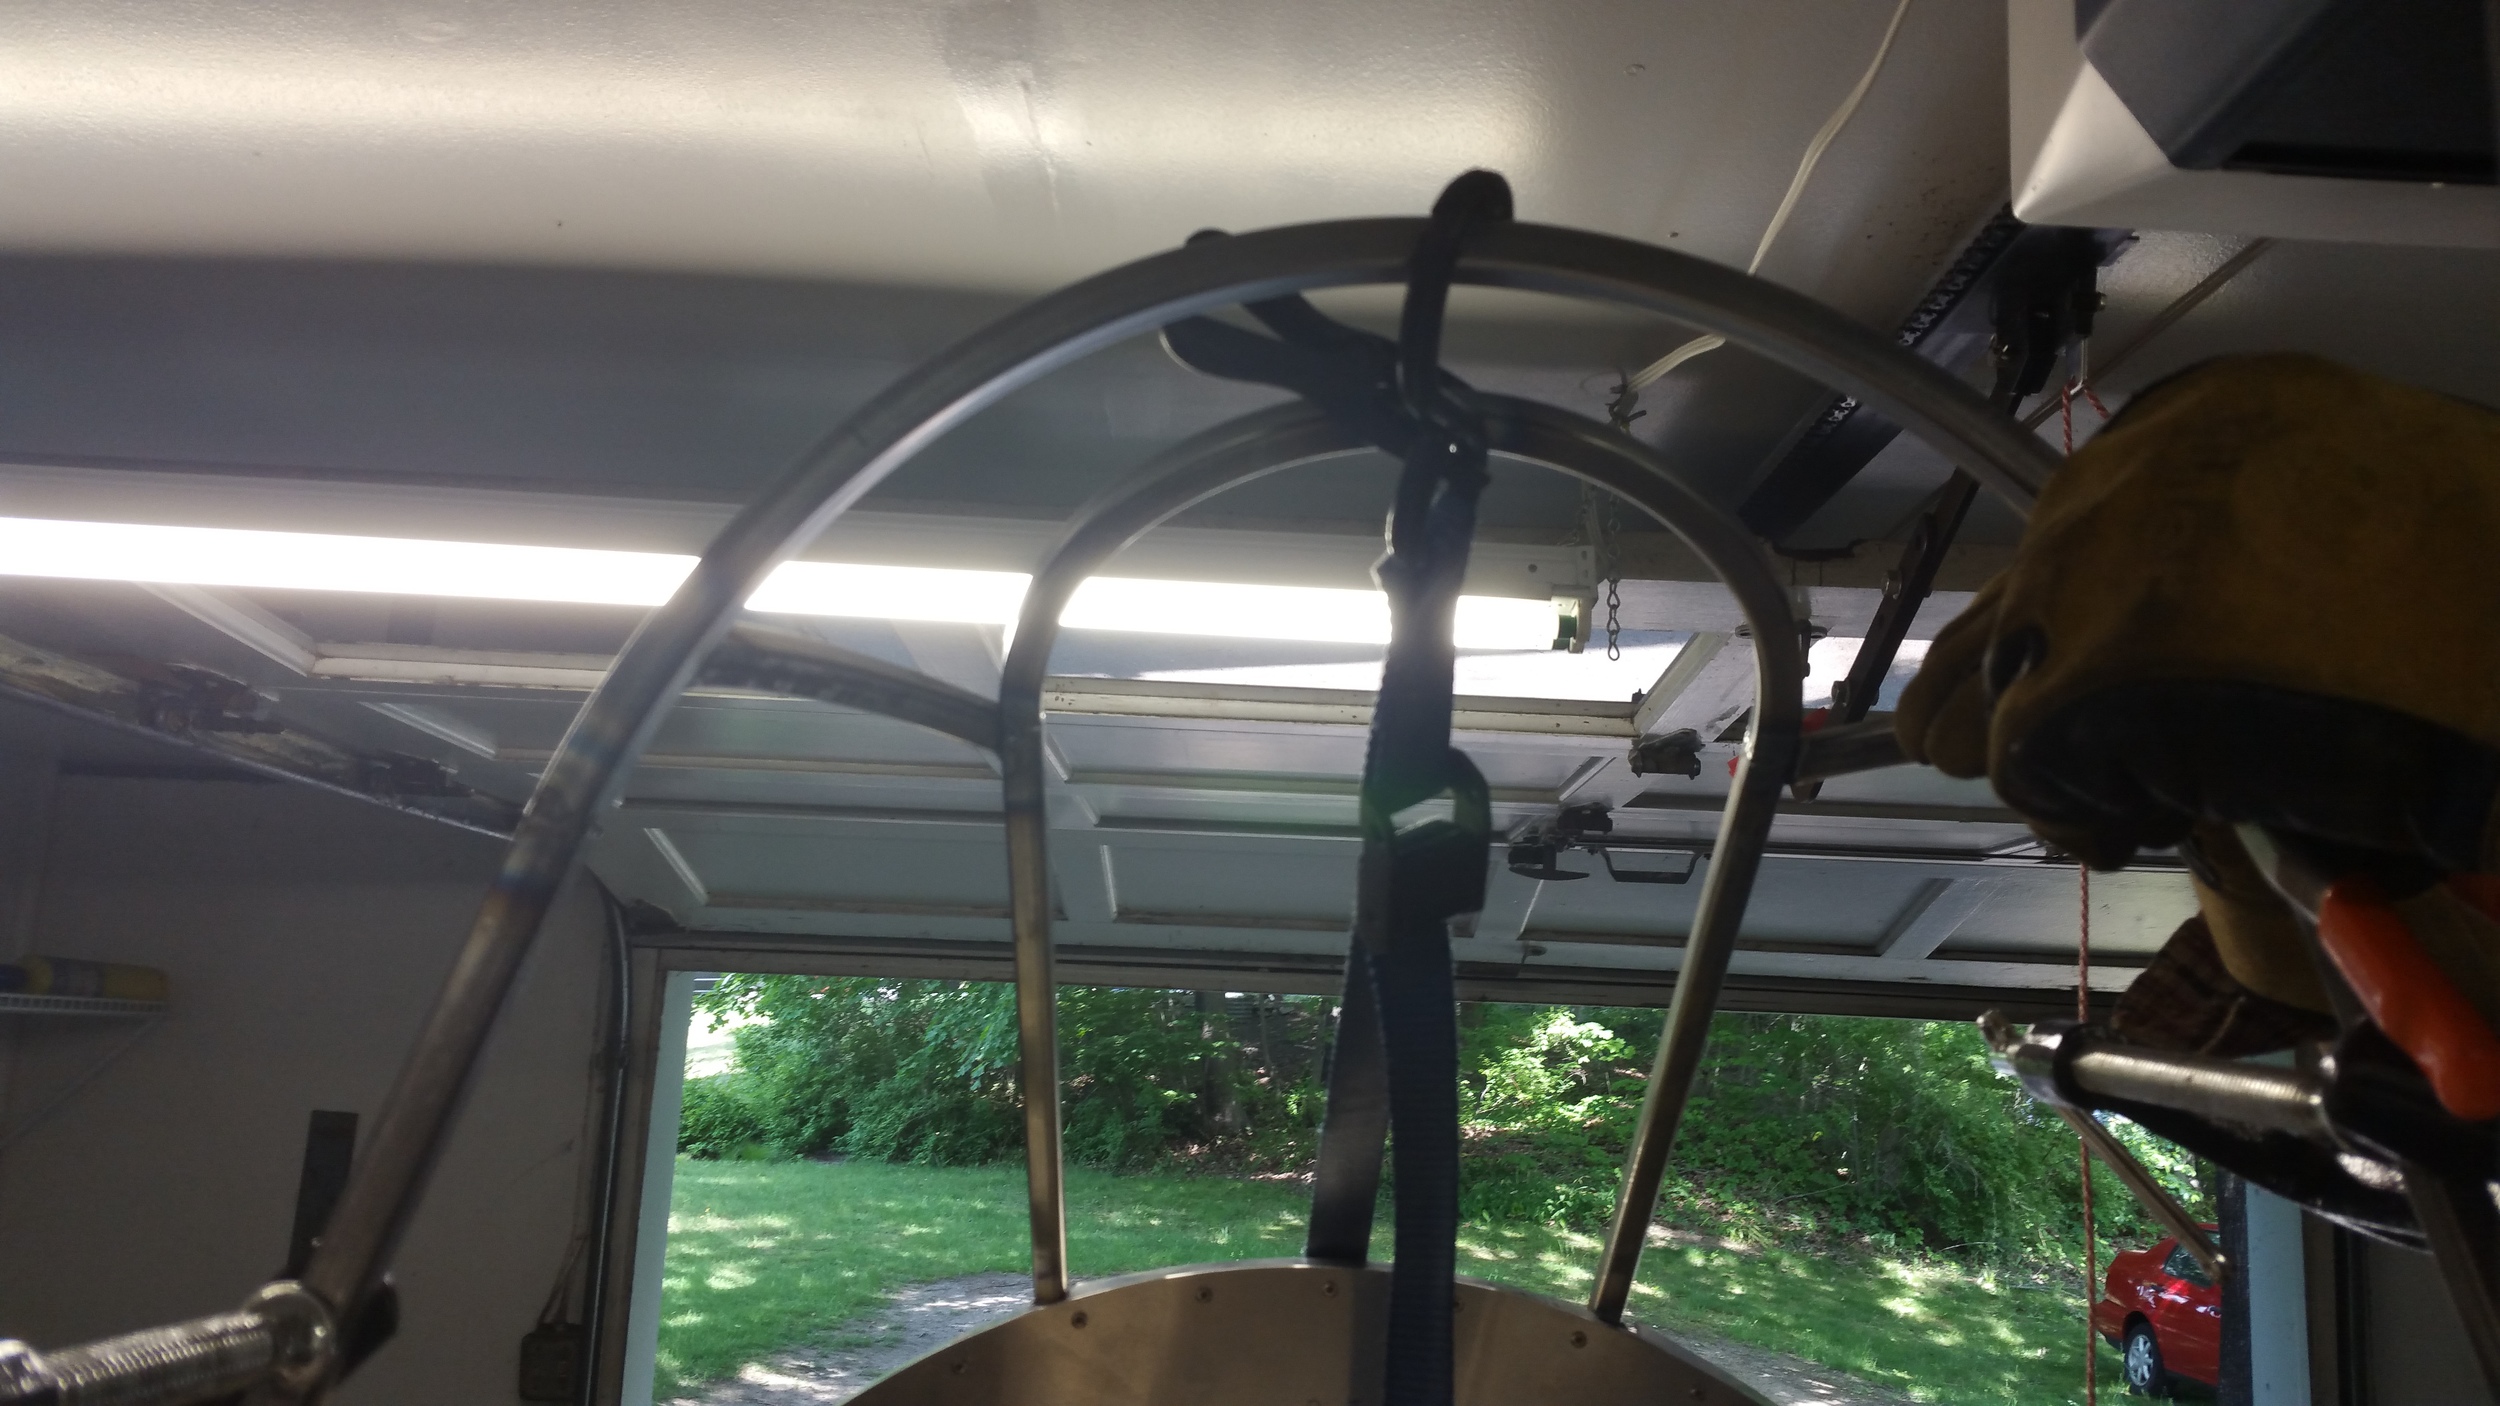
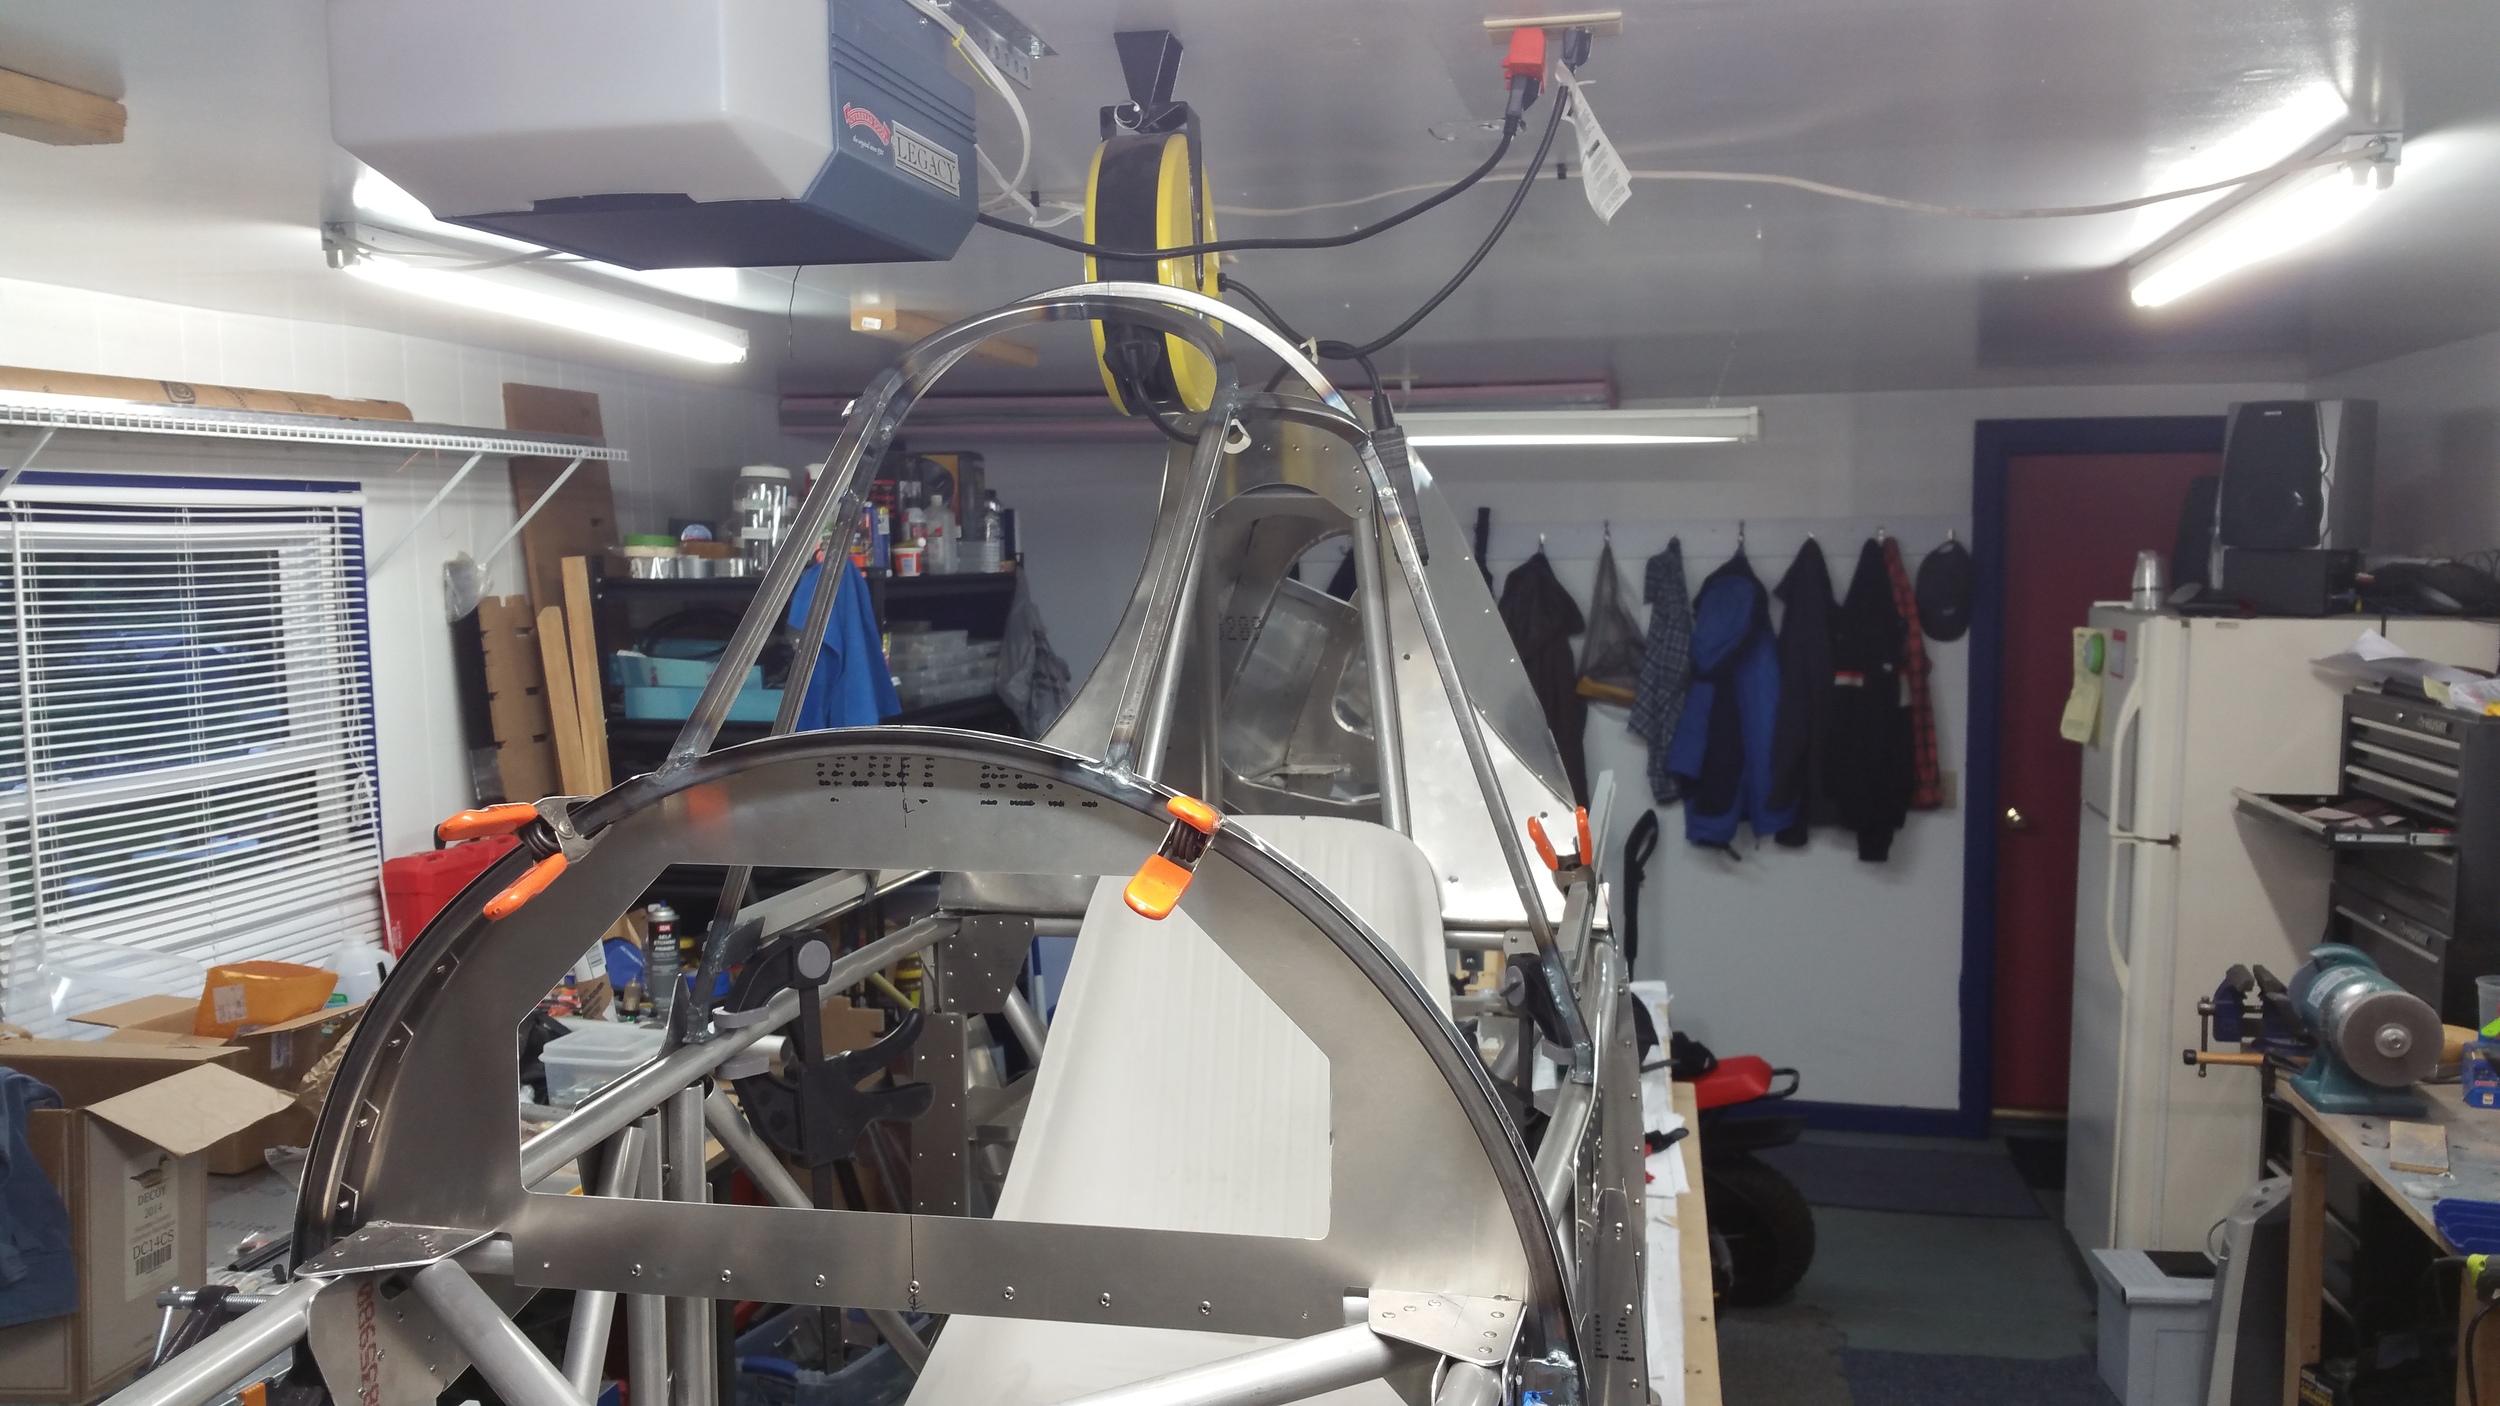
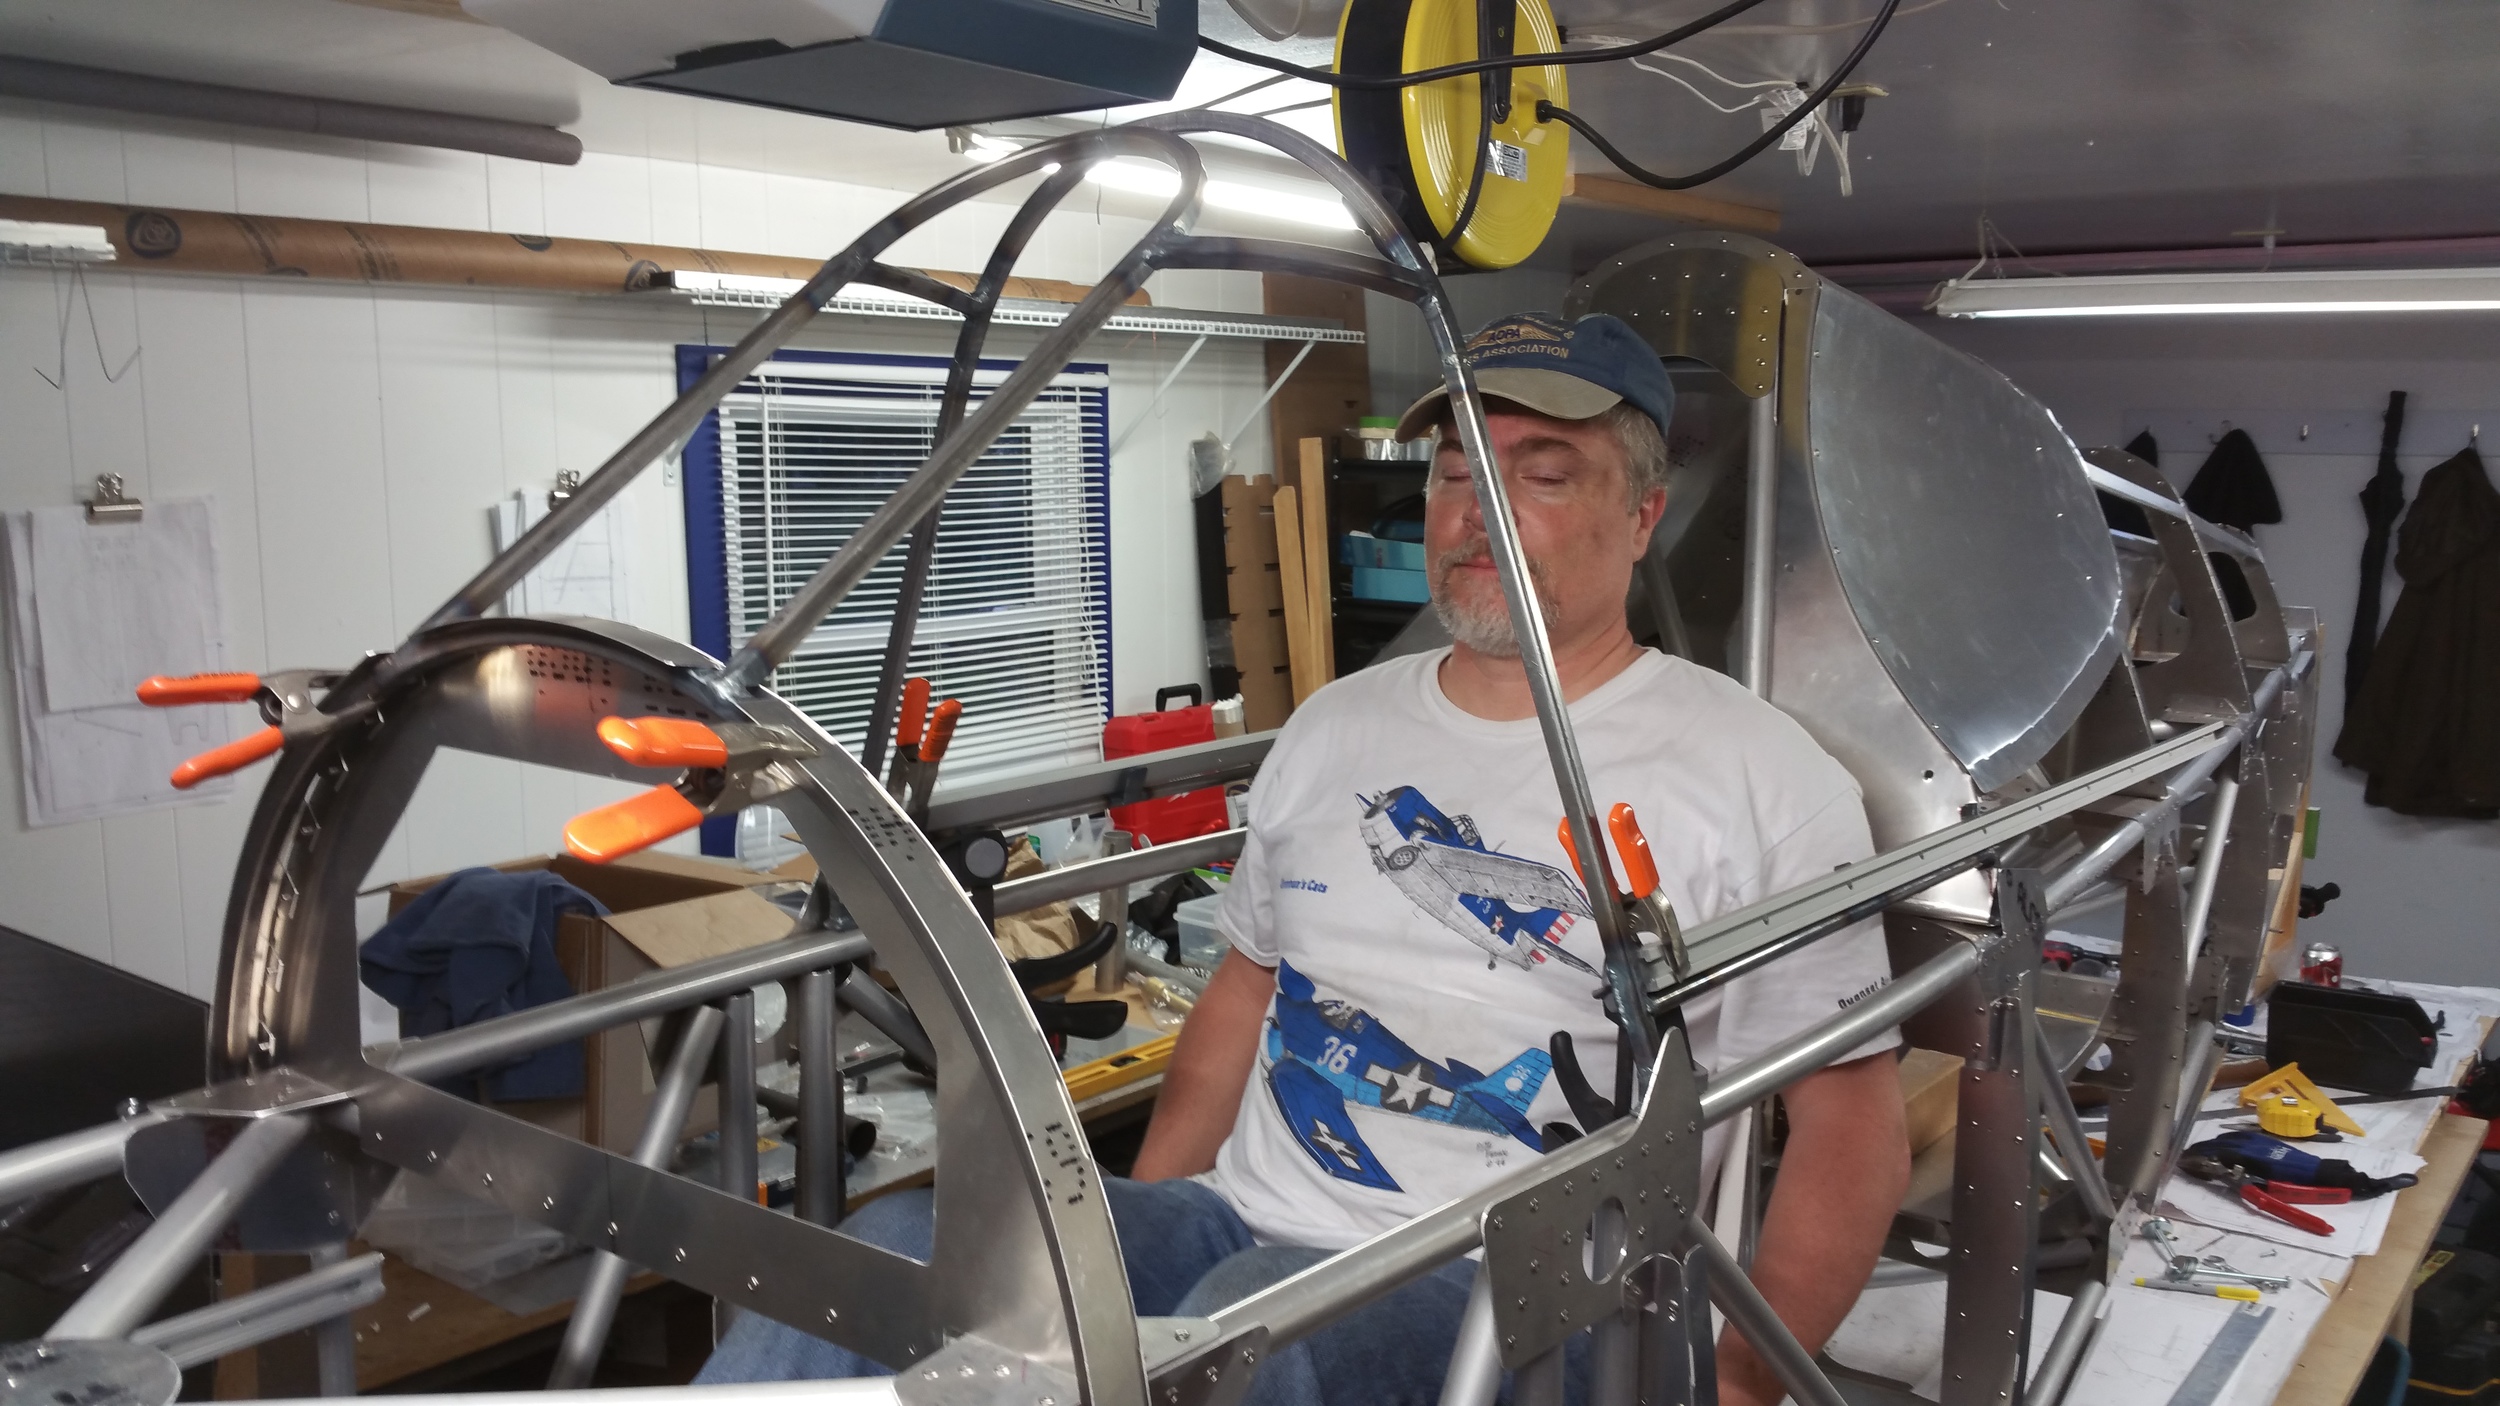
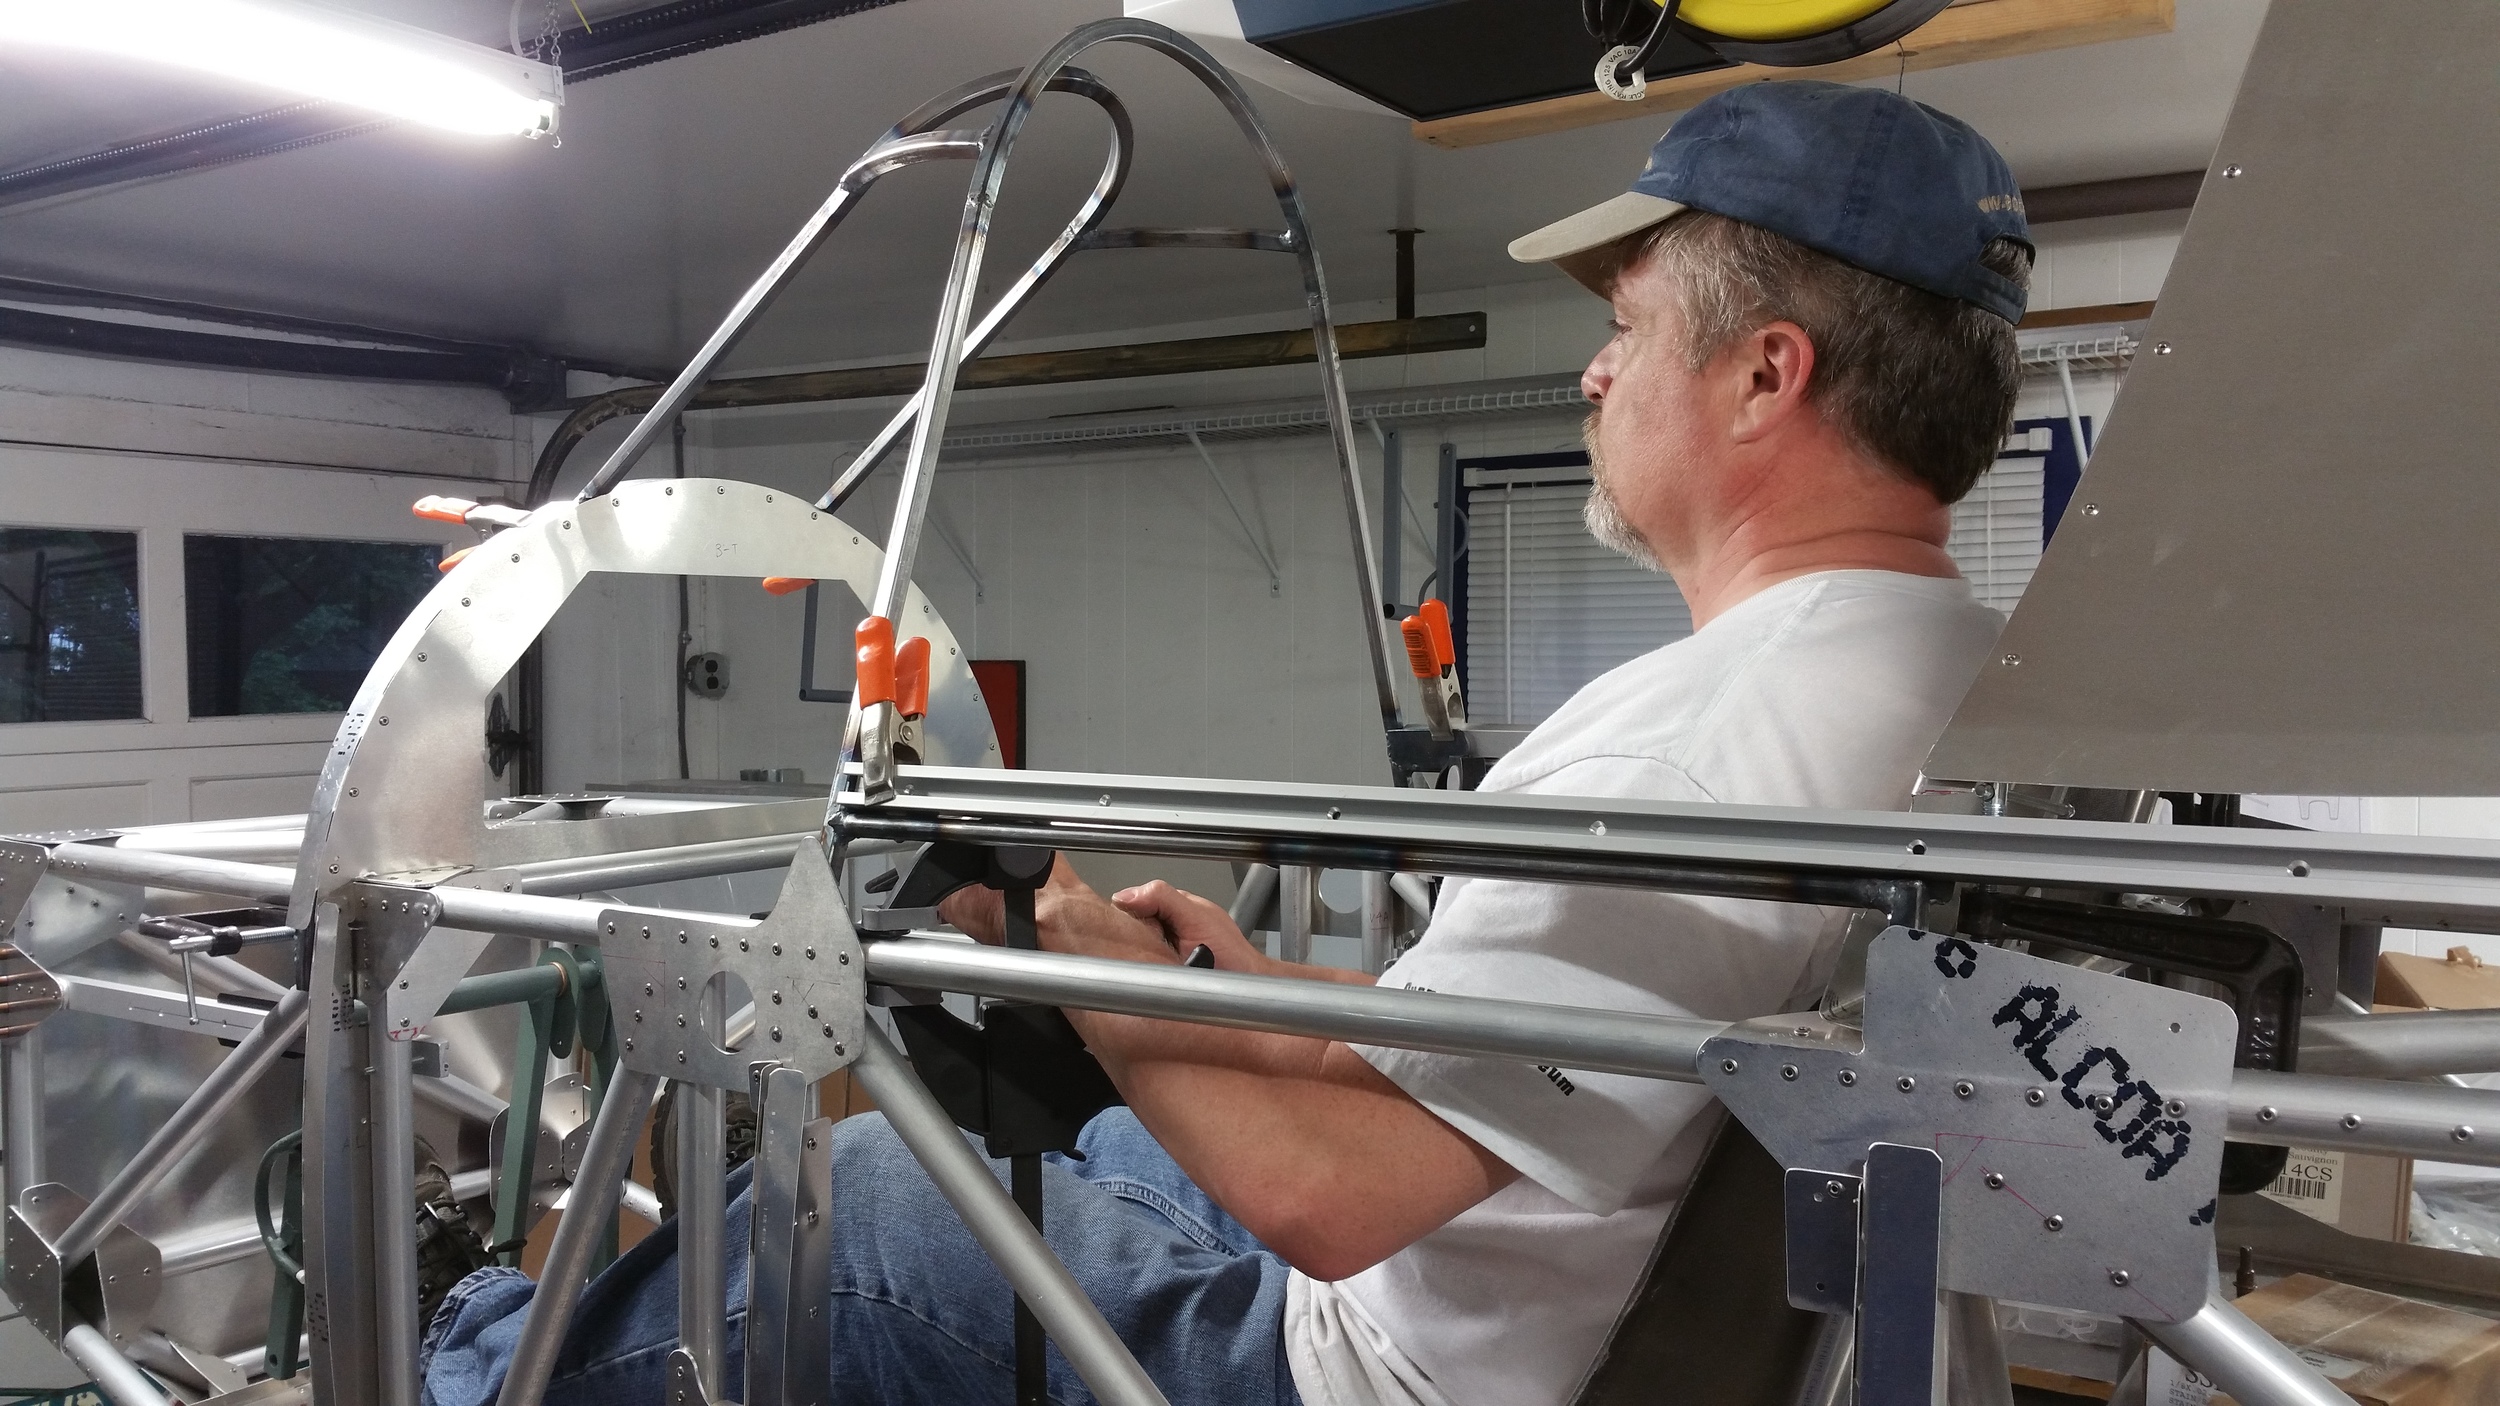
Before getting into the rudder build, here's a few images showing the completion of the vertical:

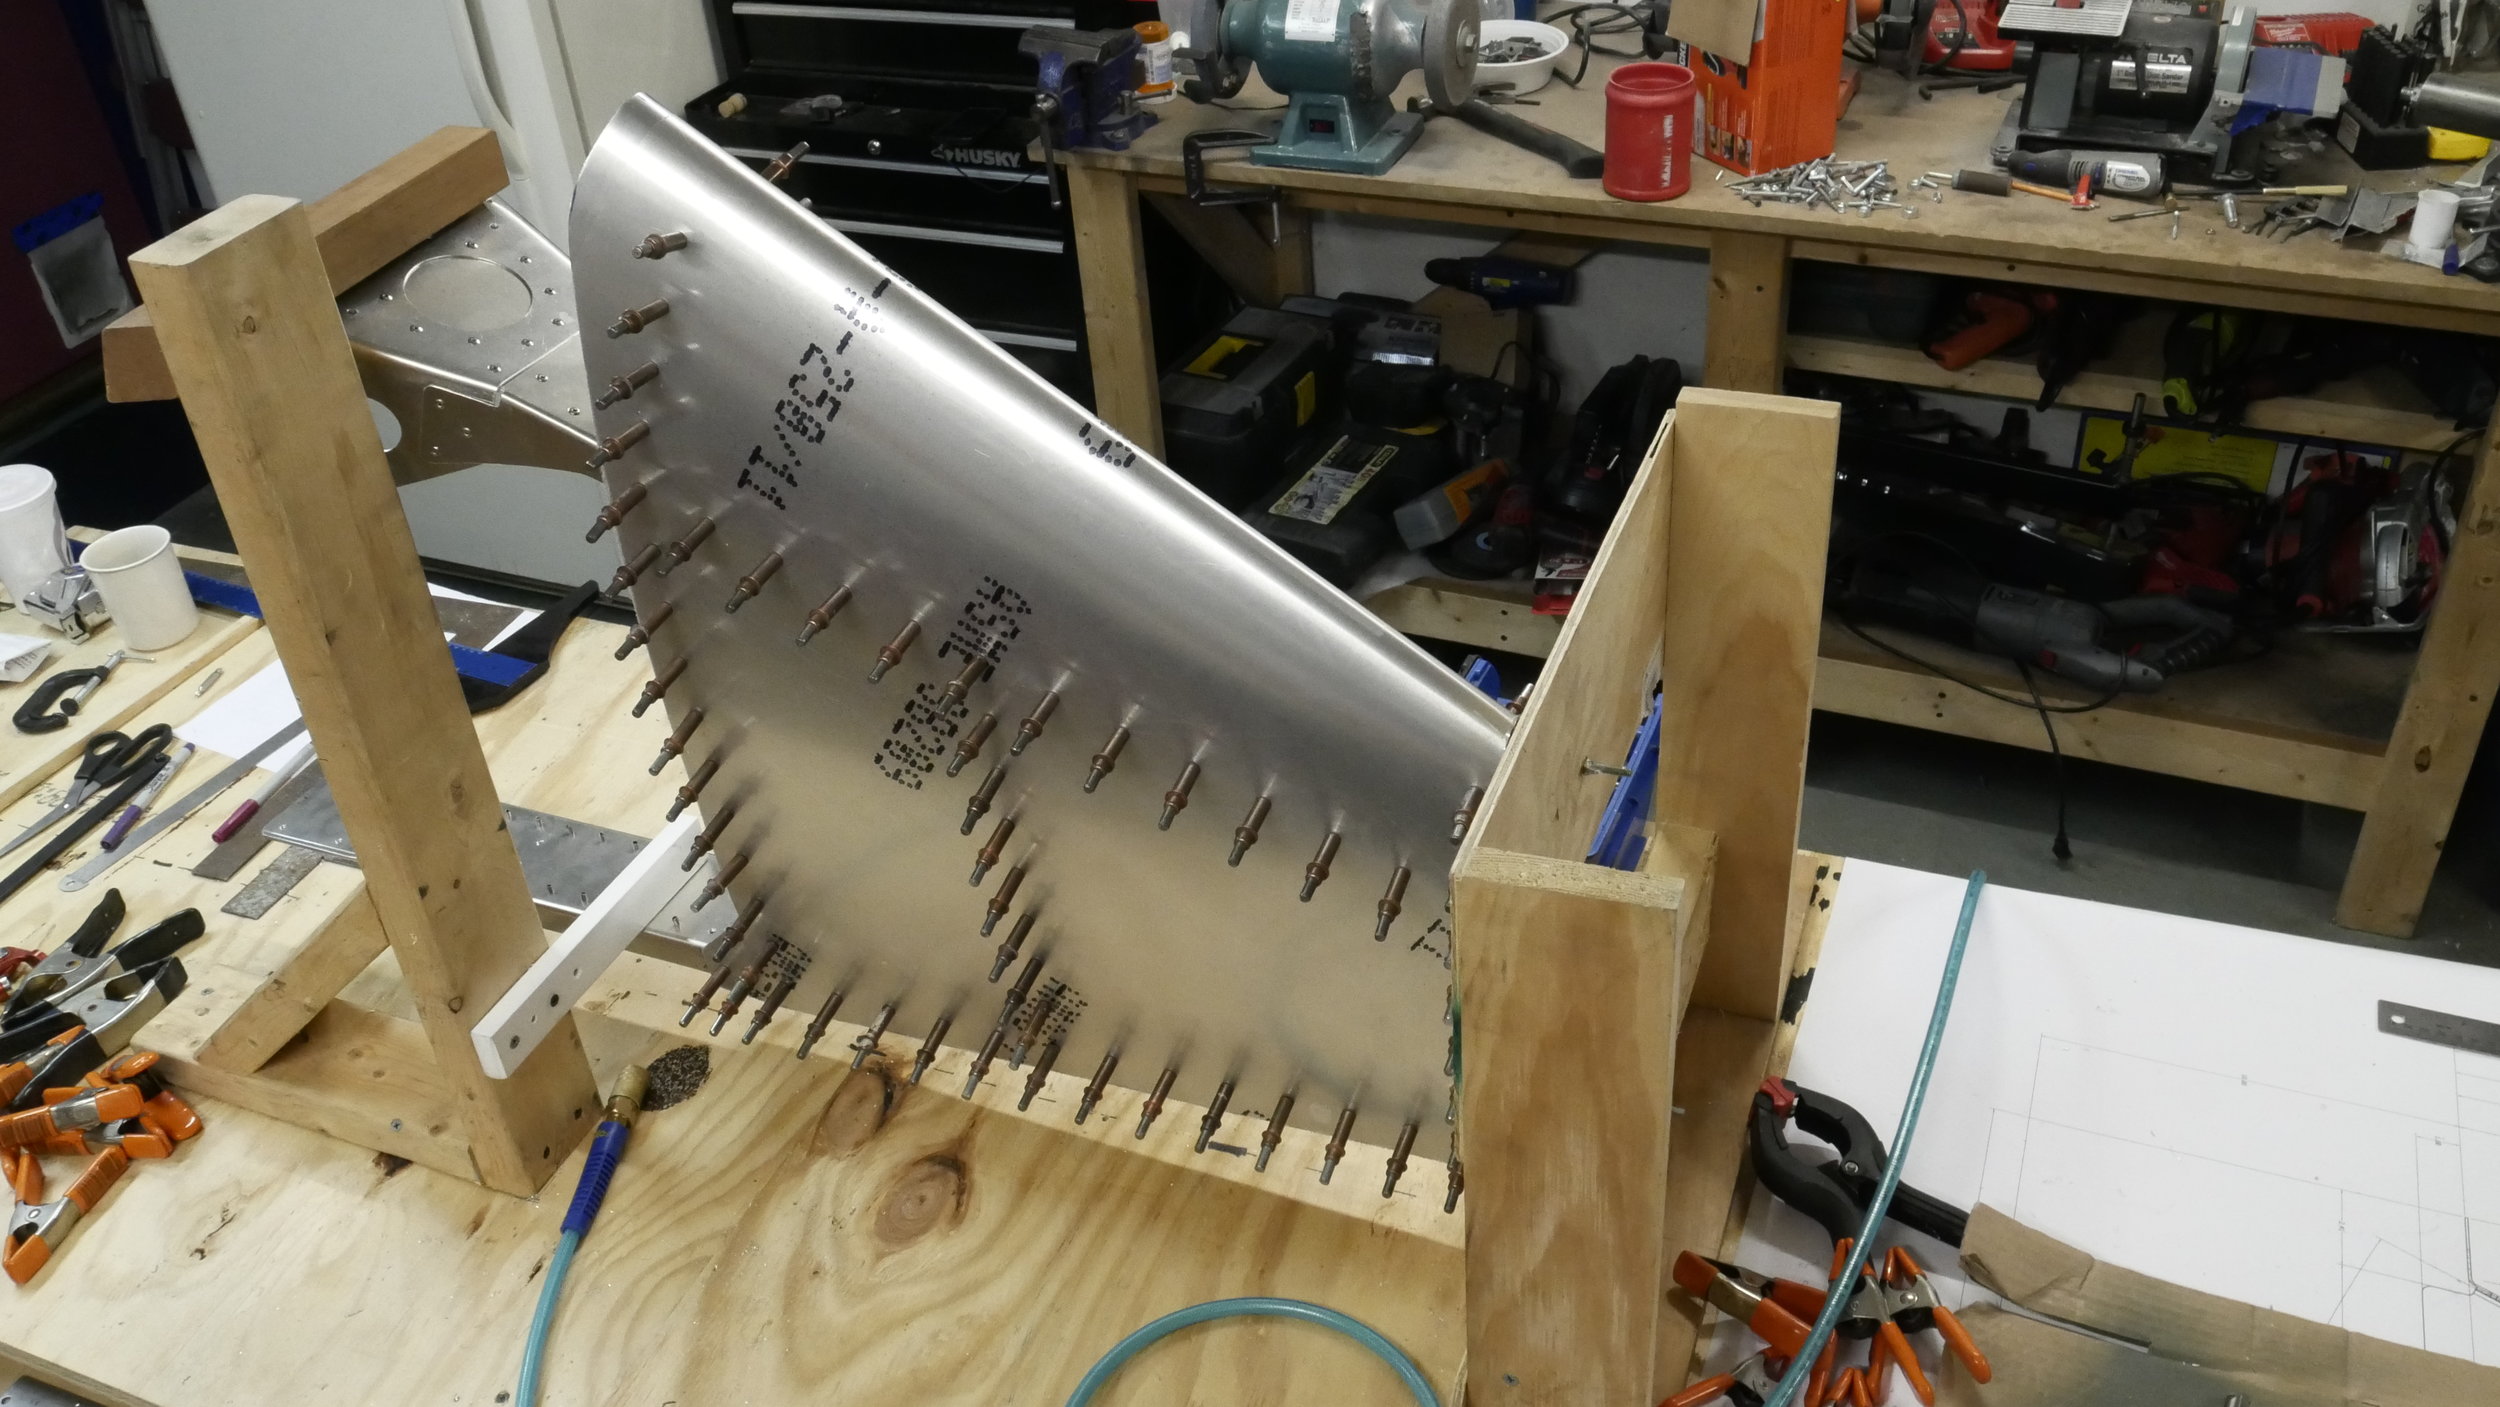
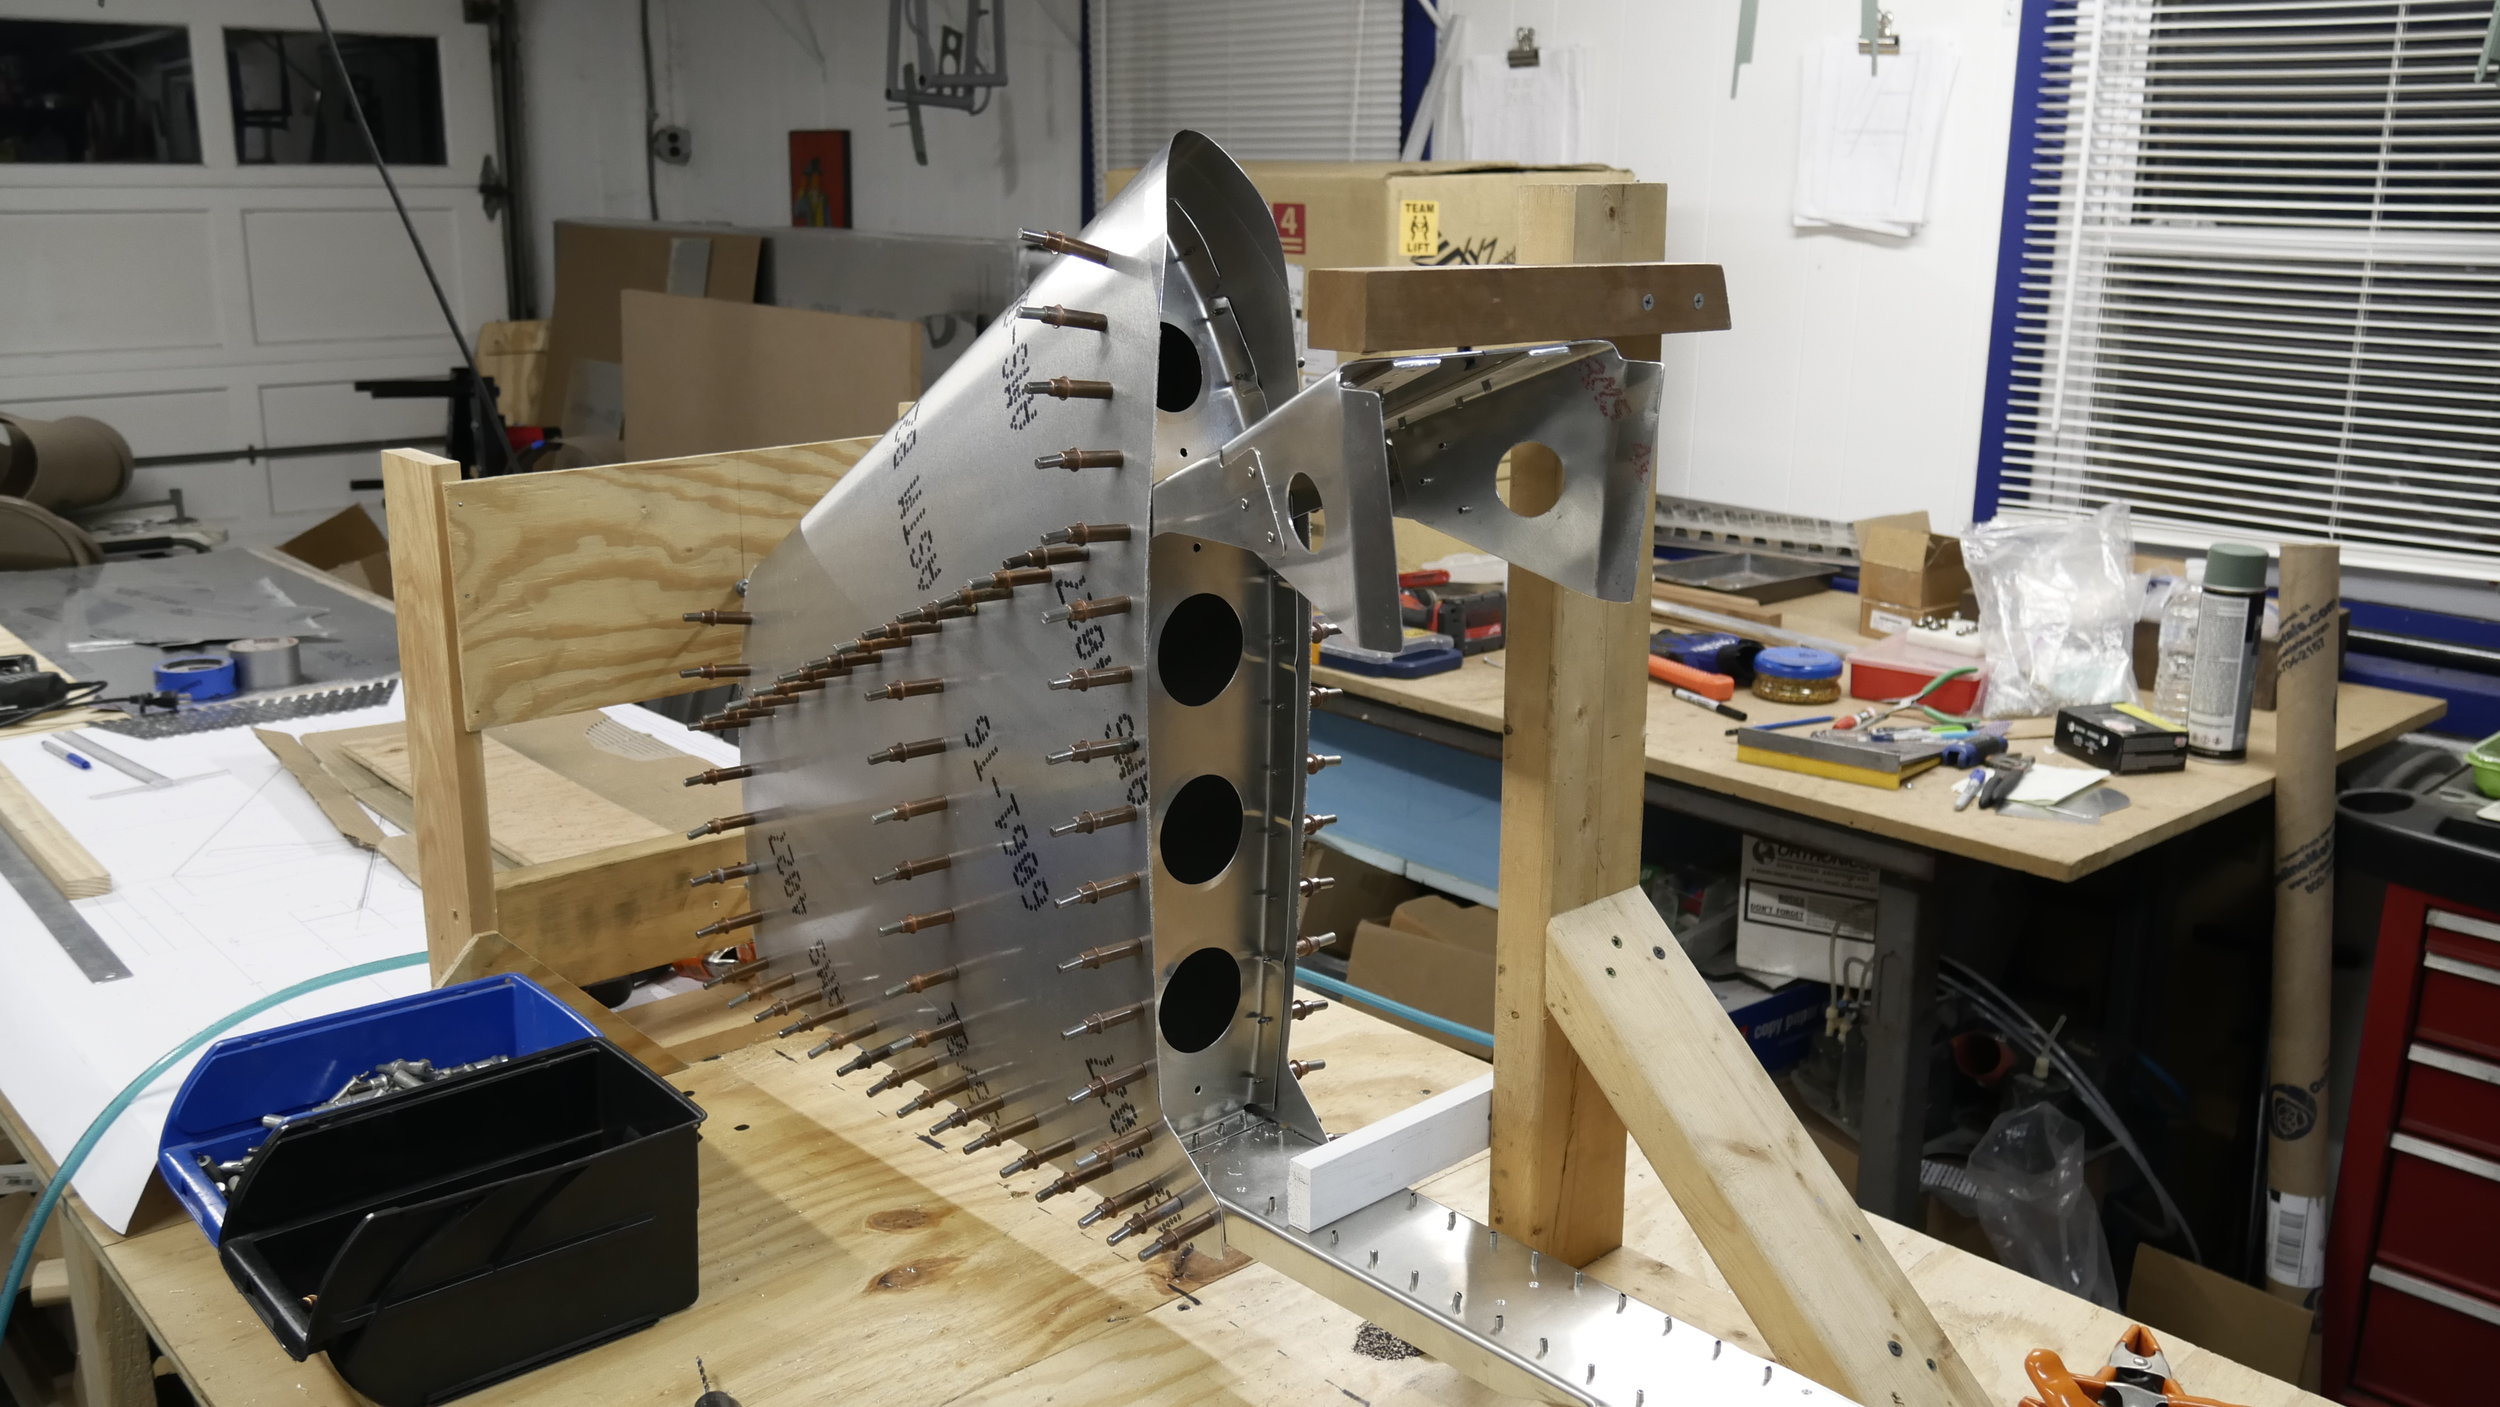
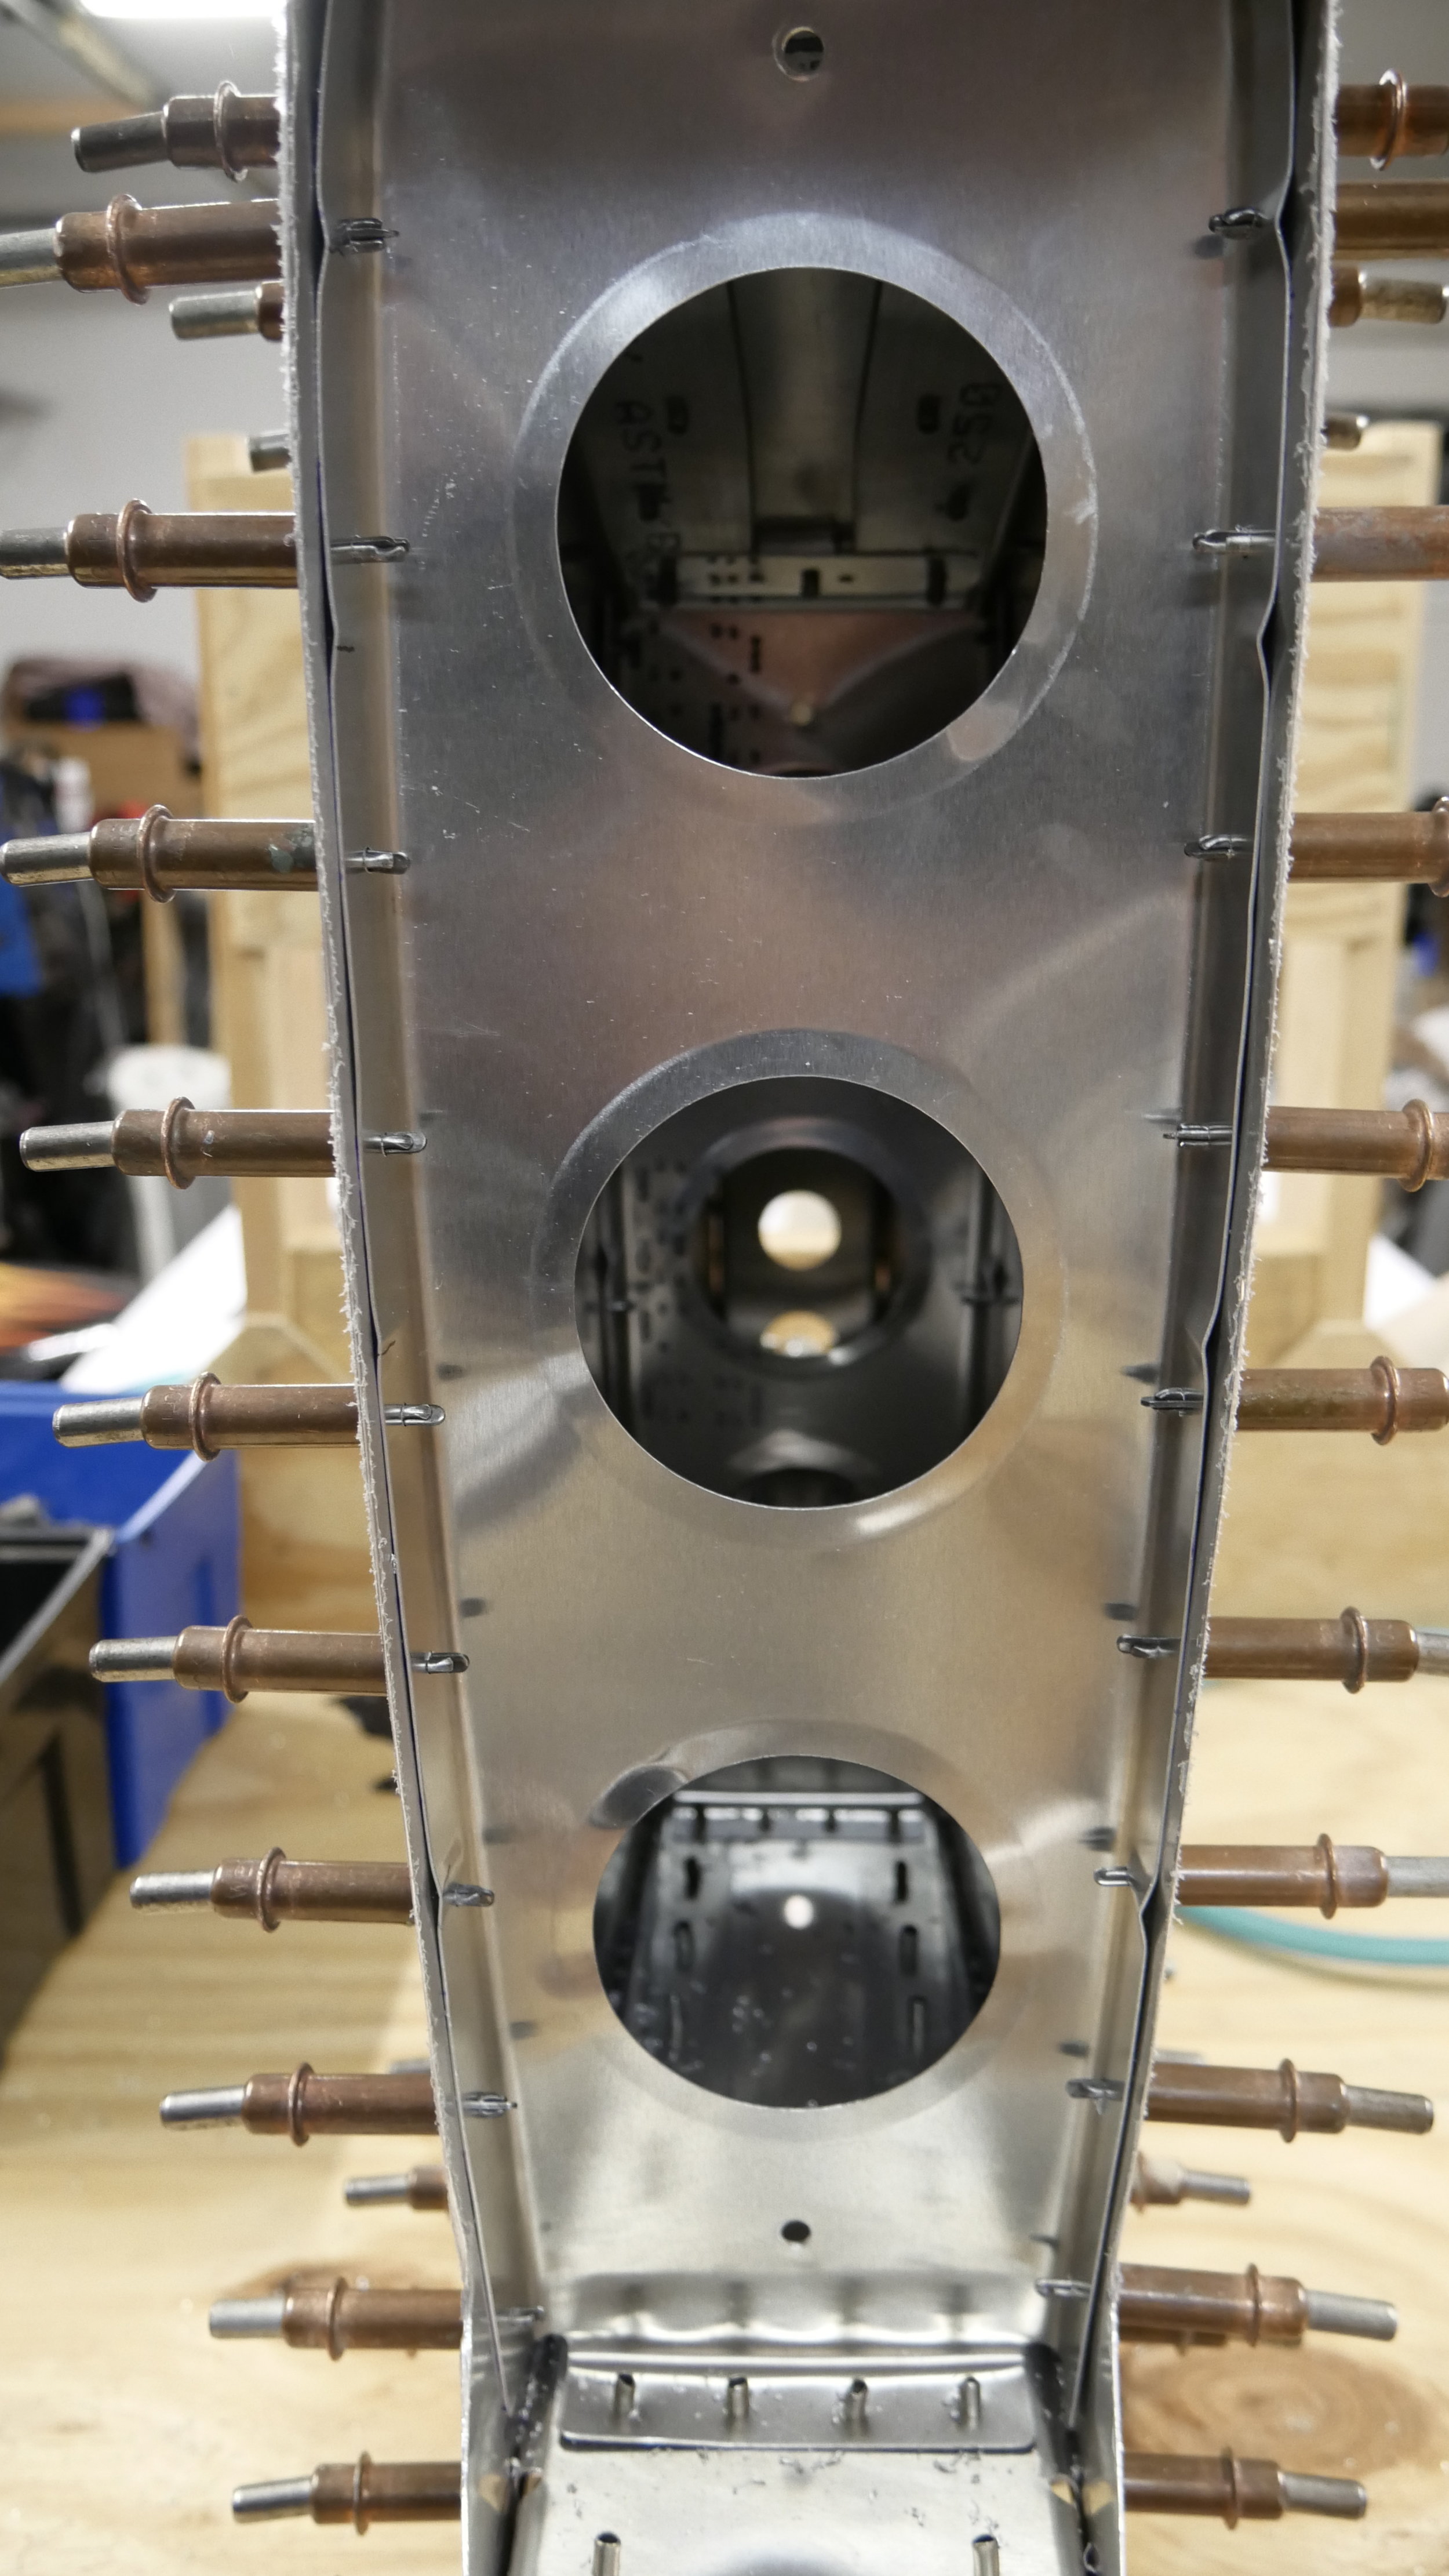
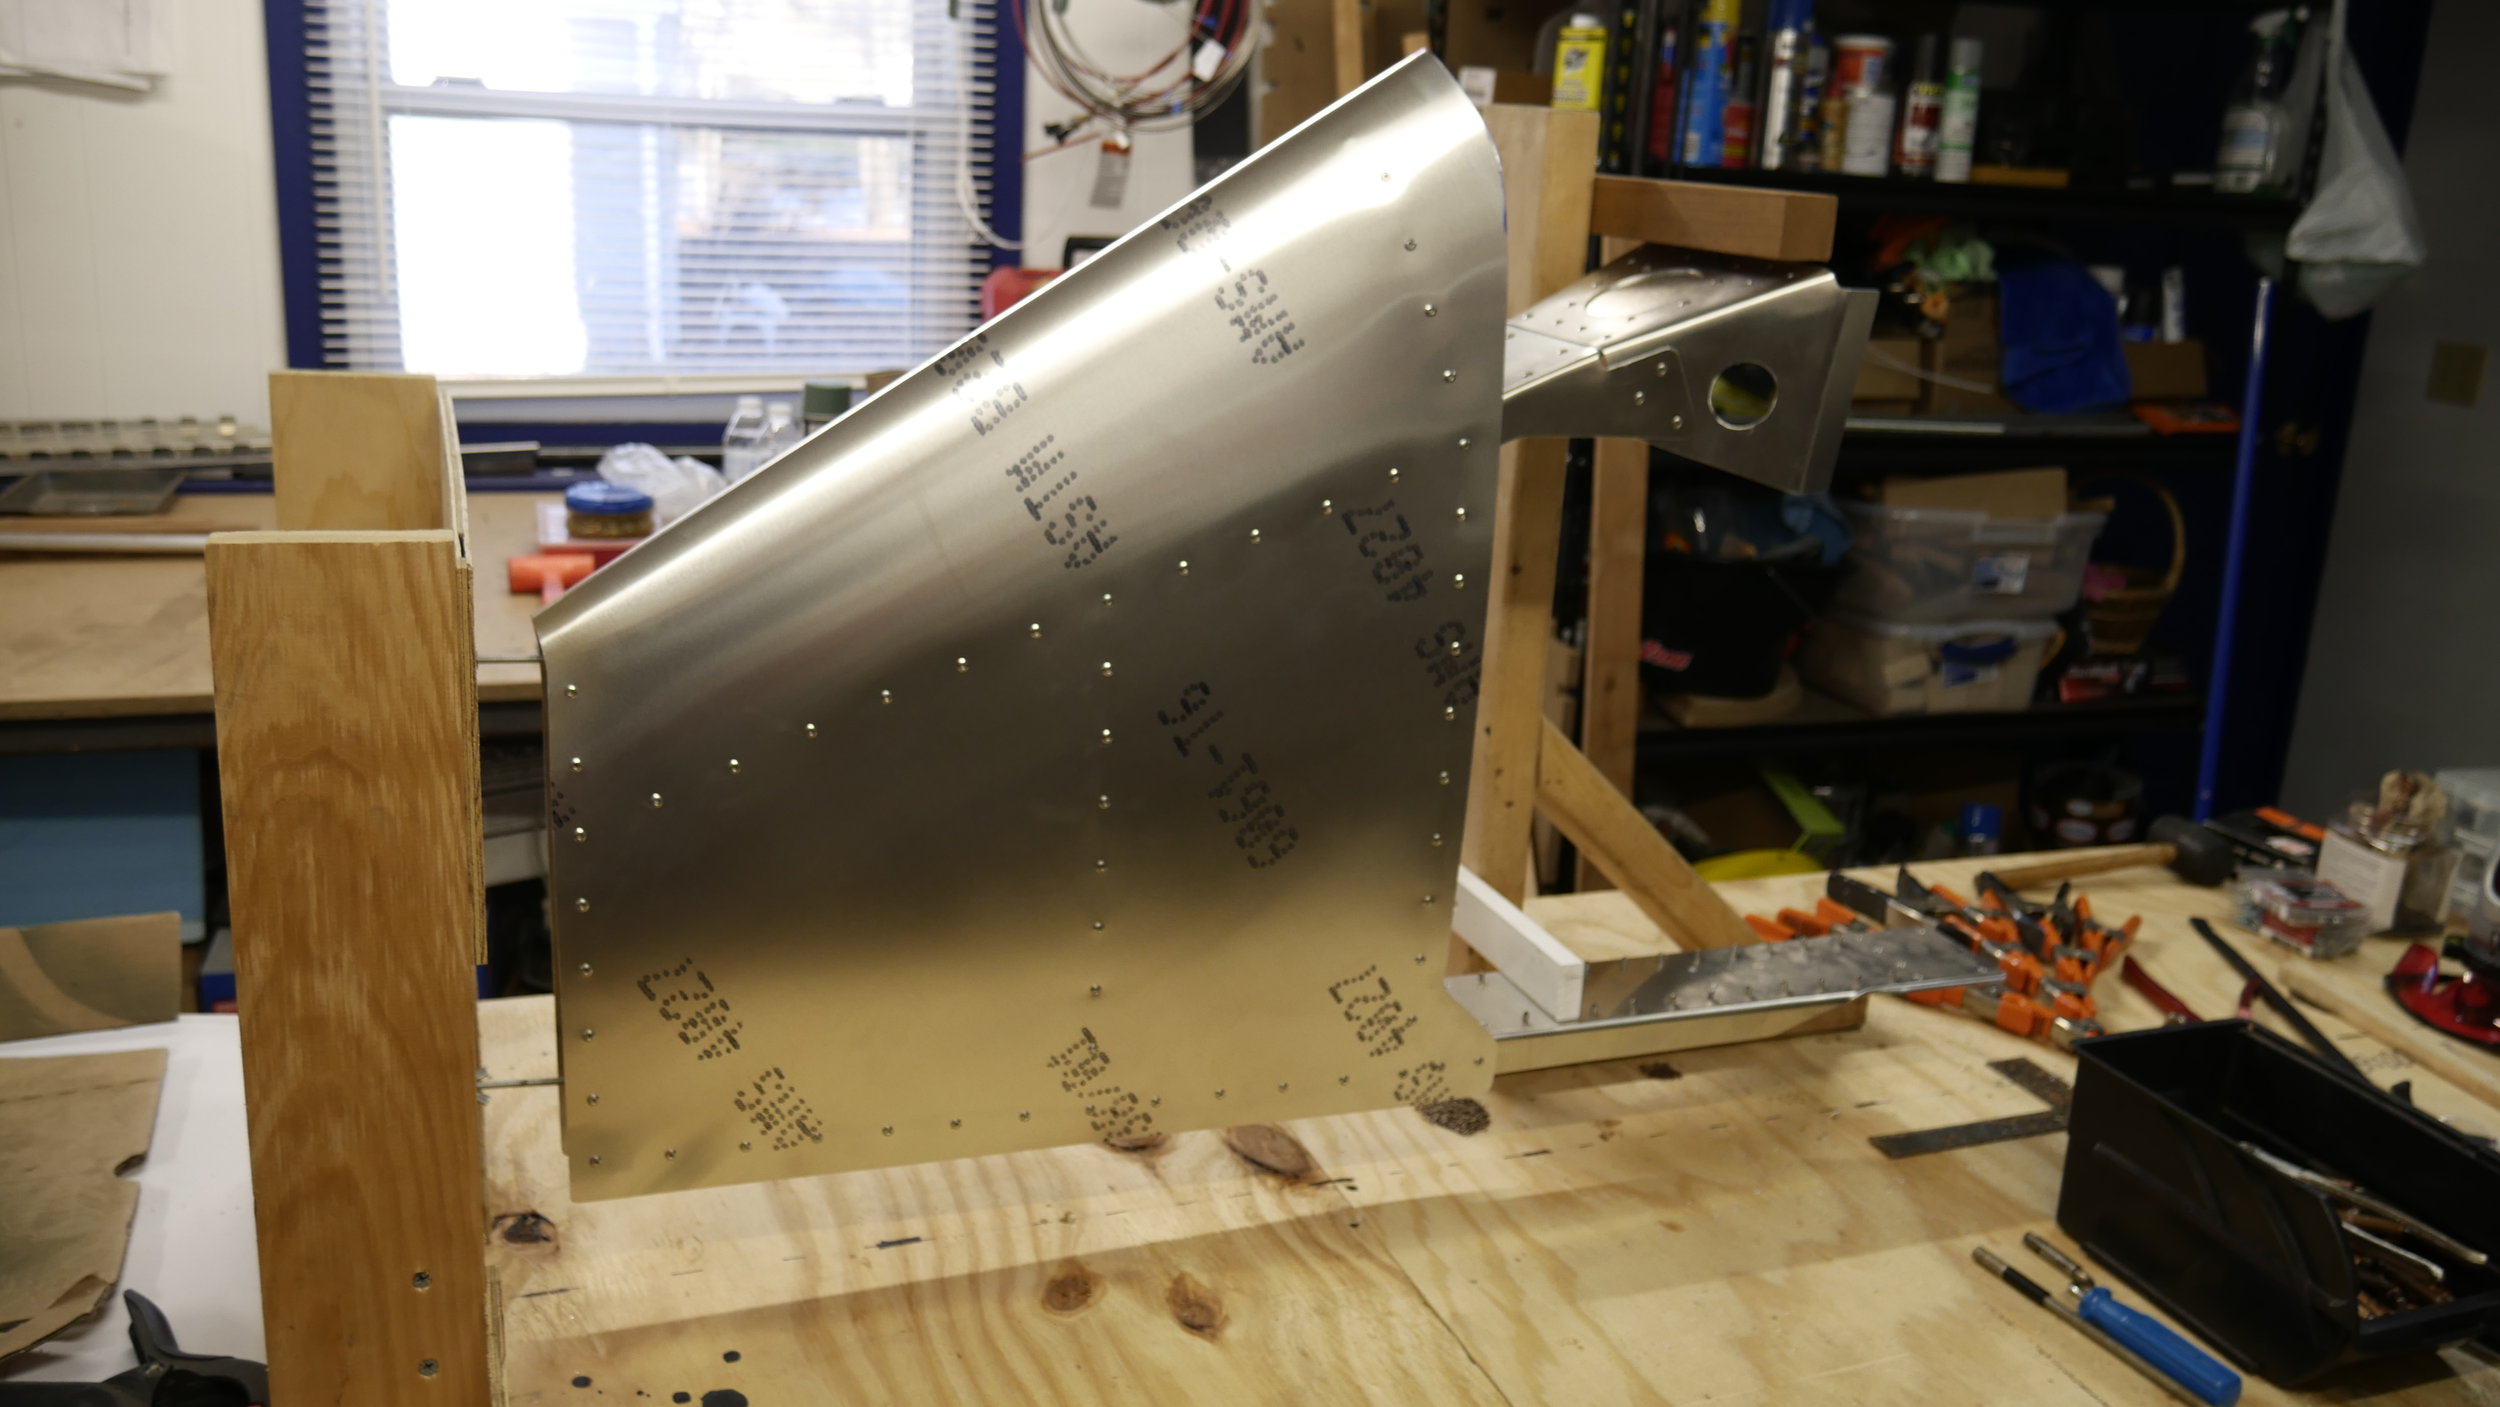
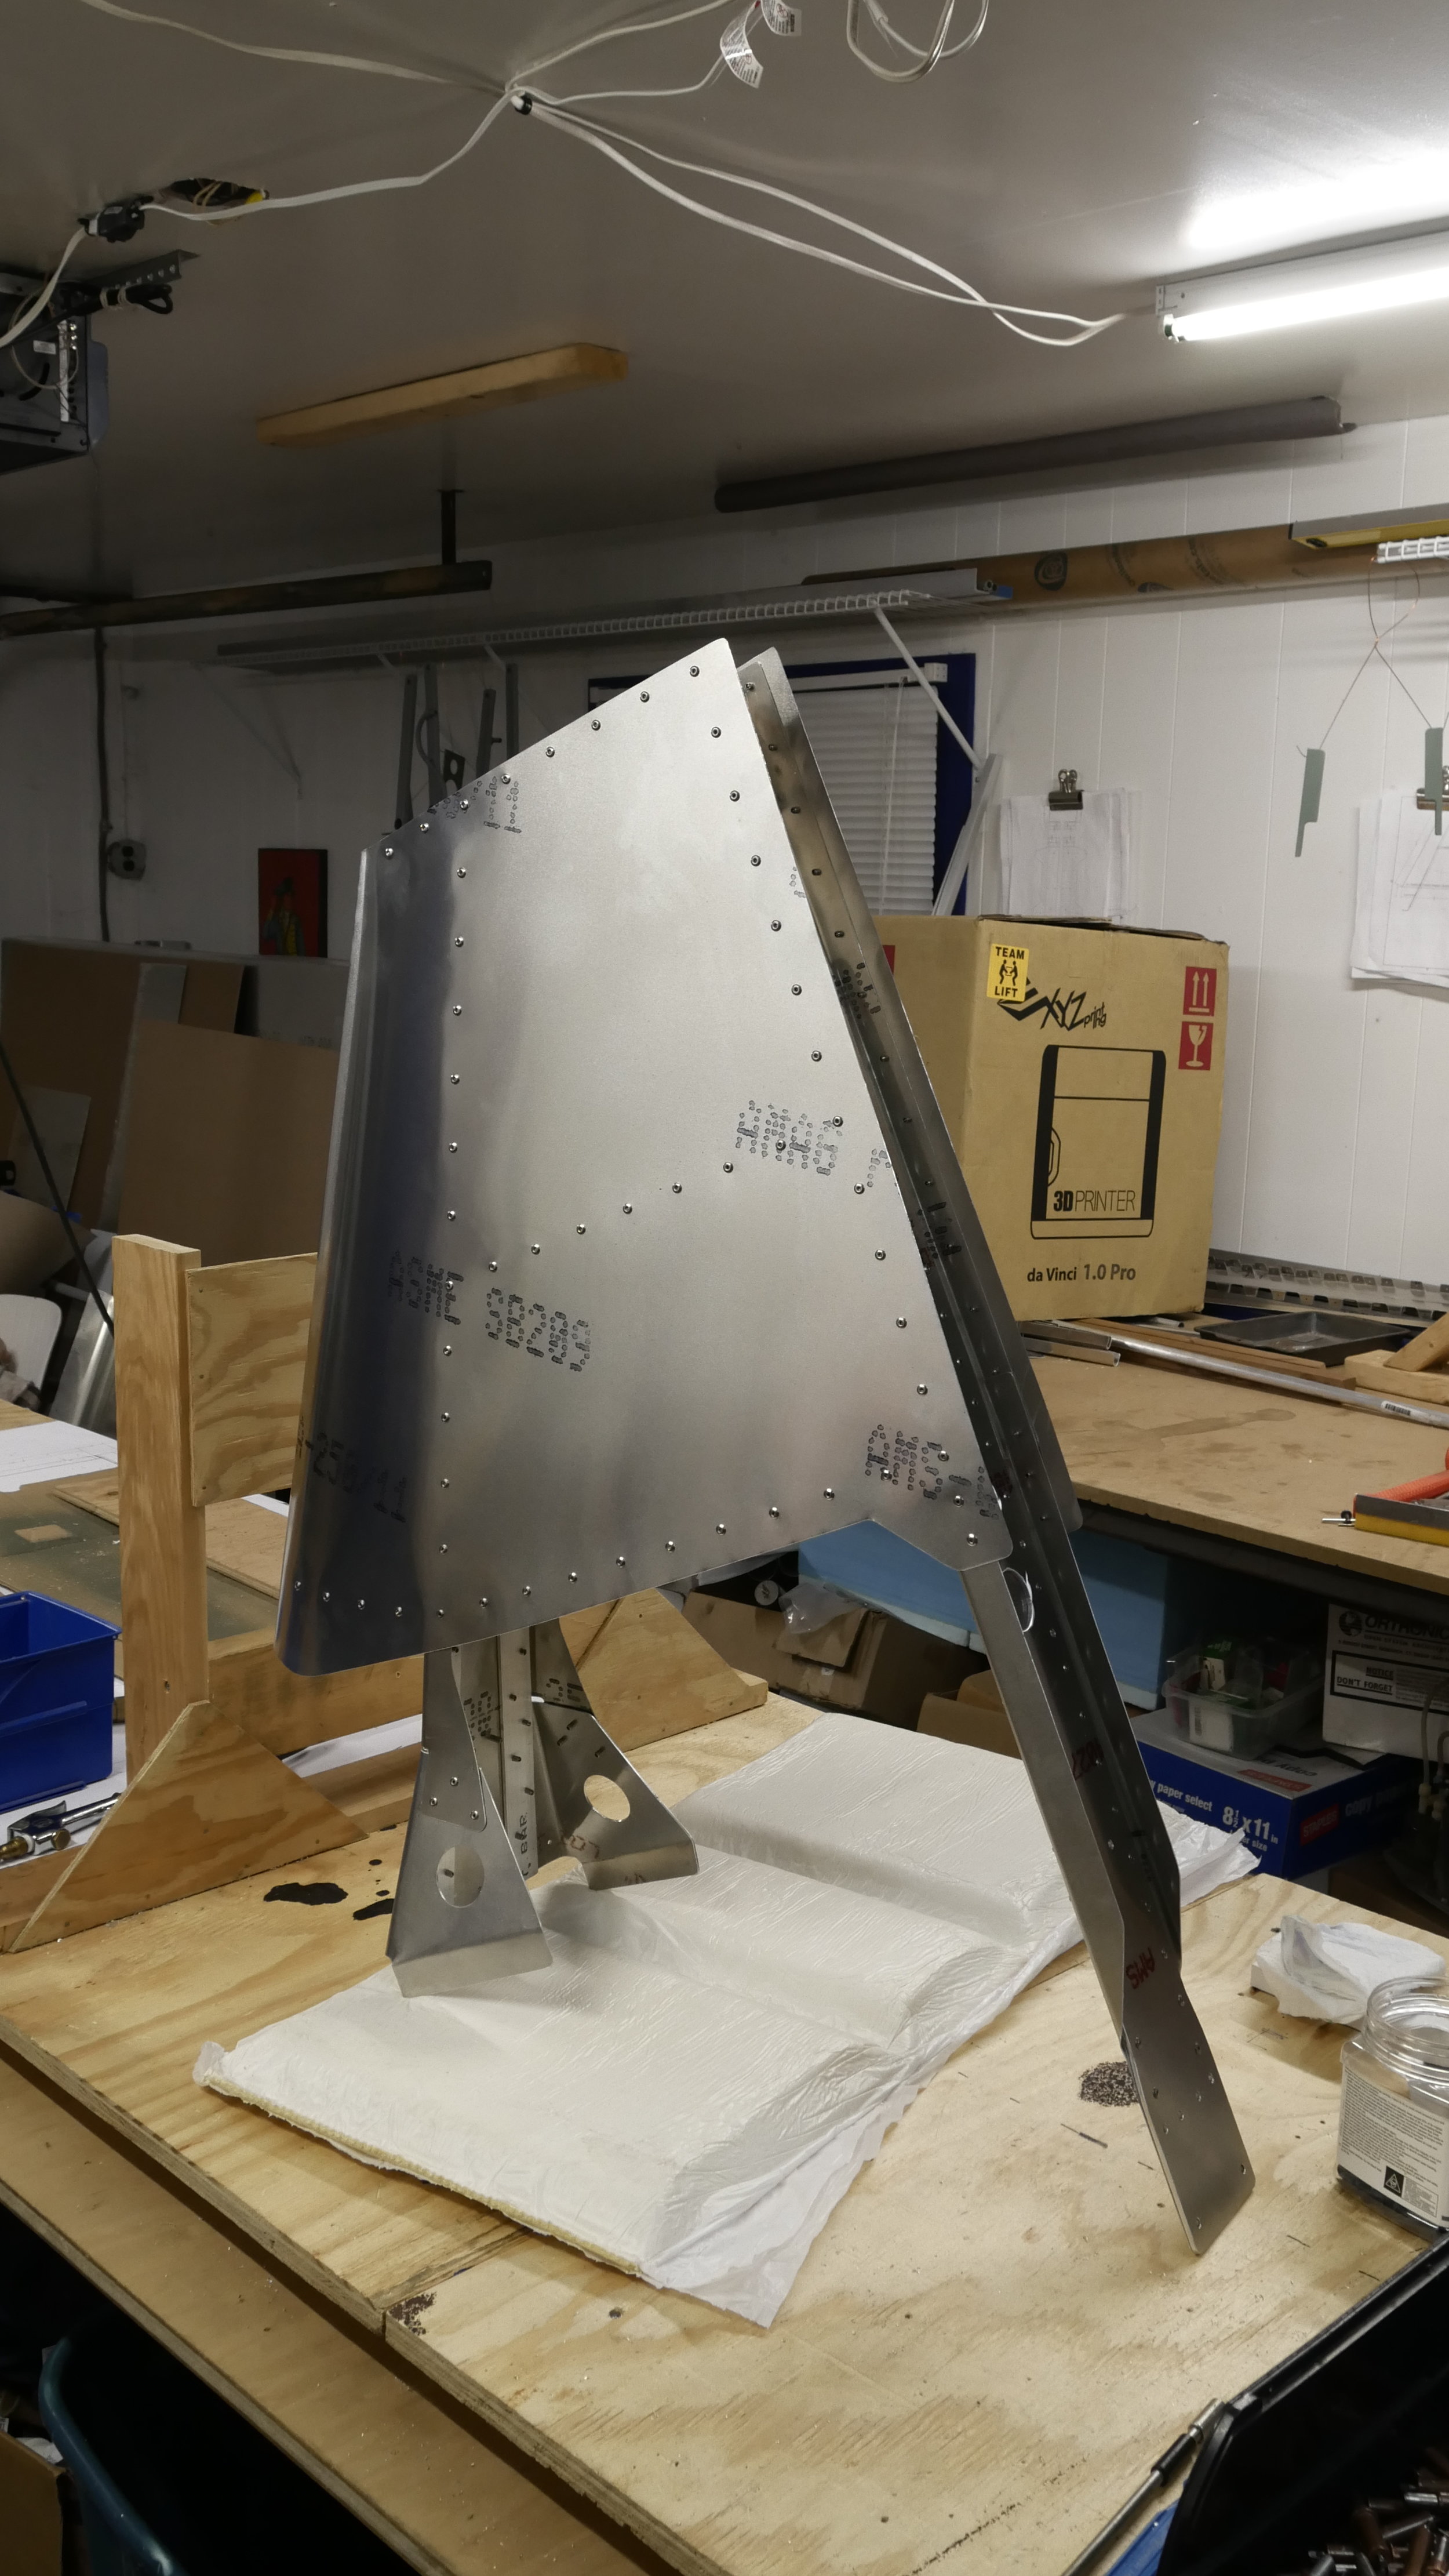
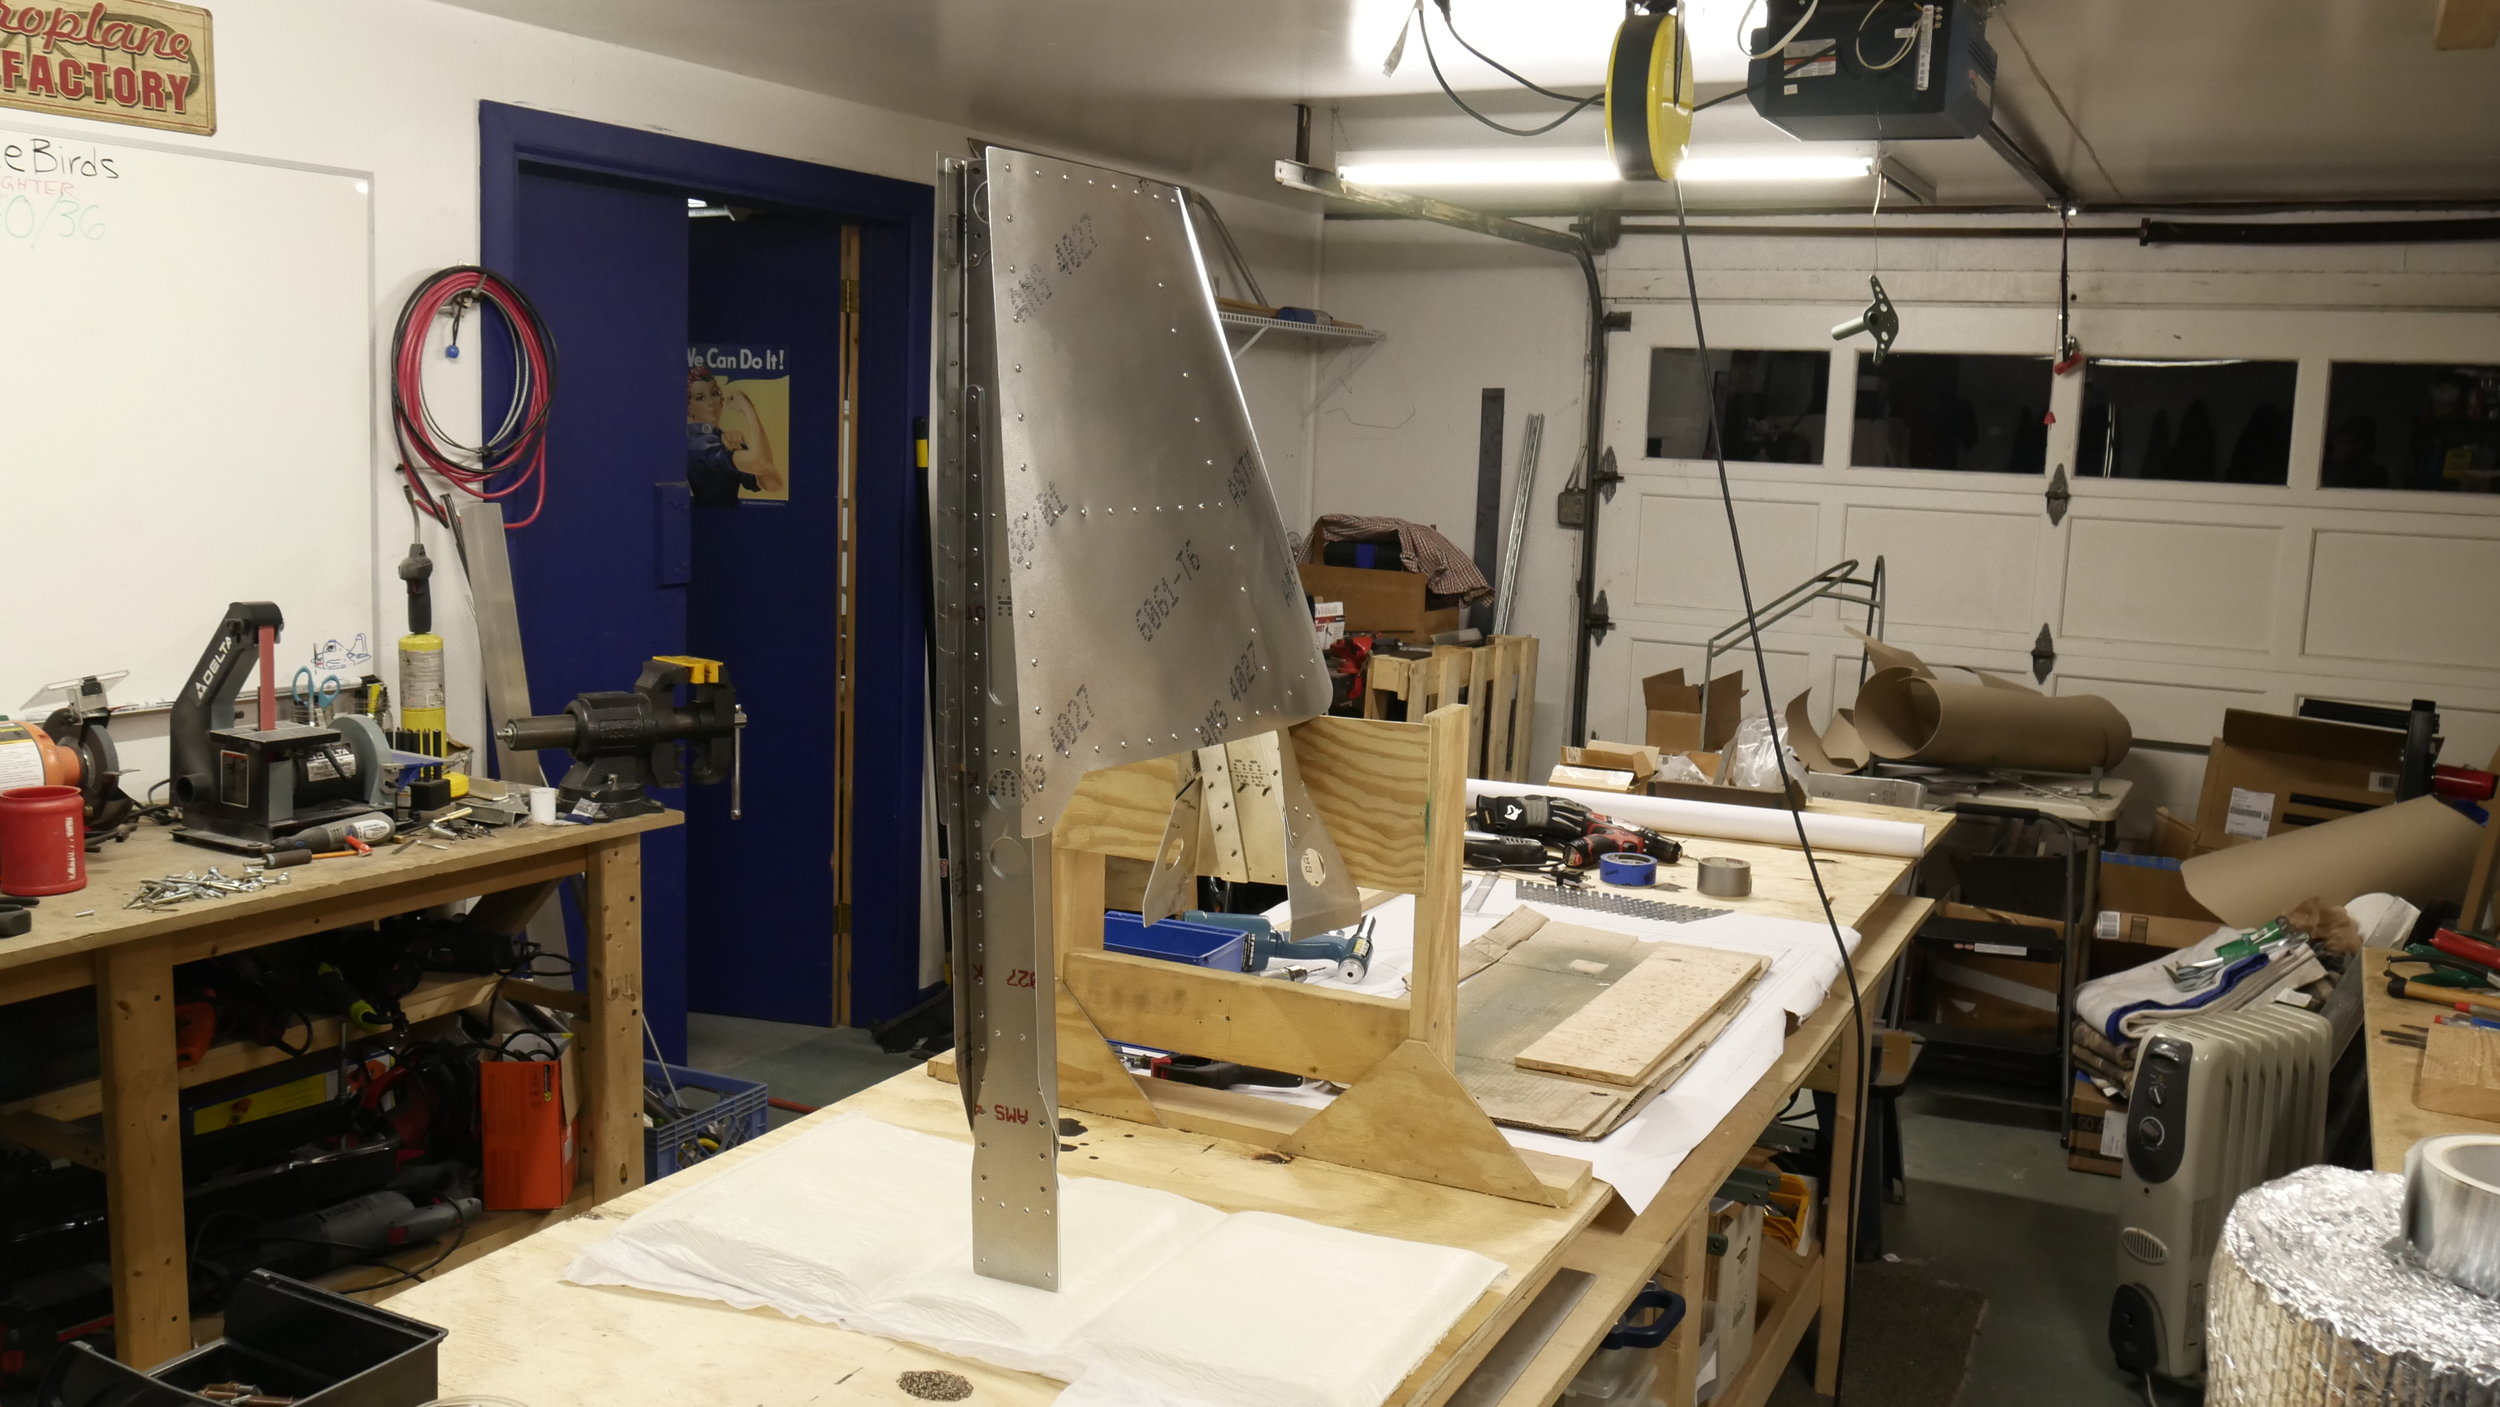
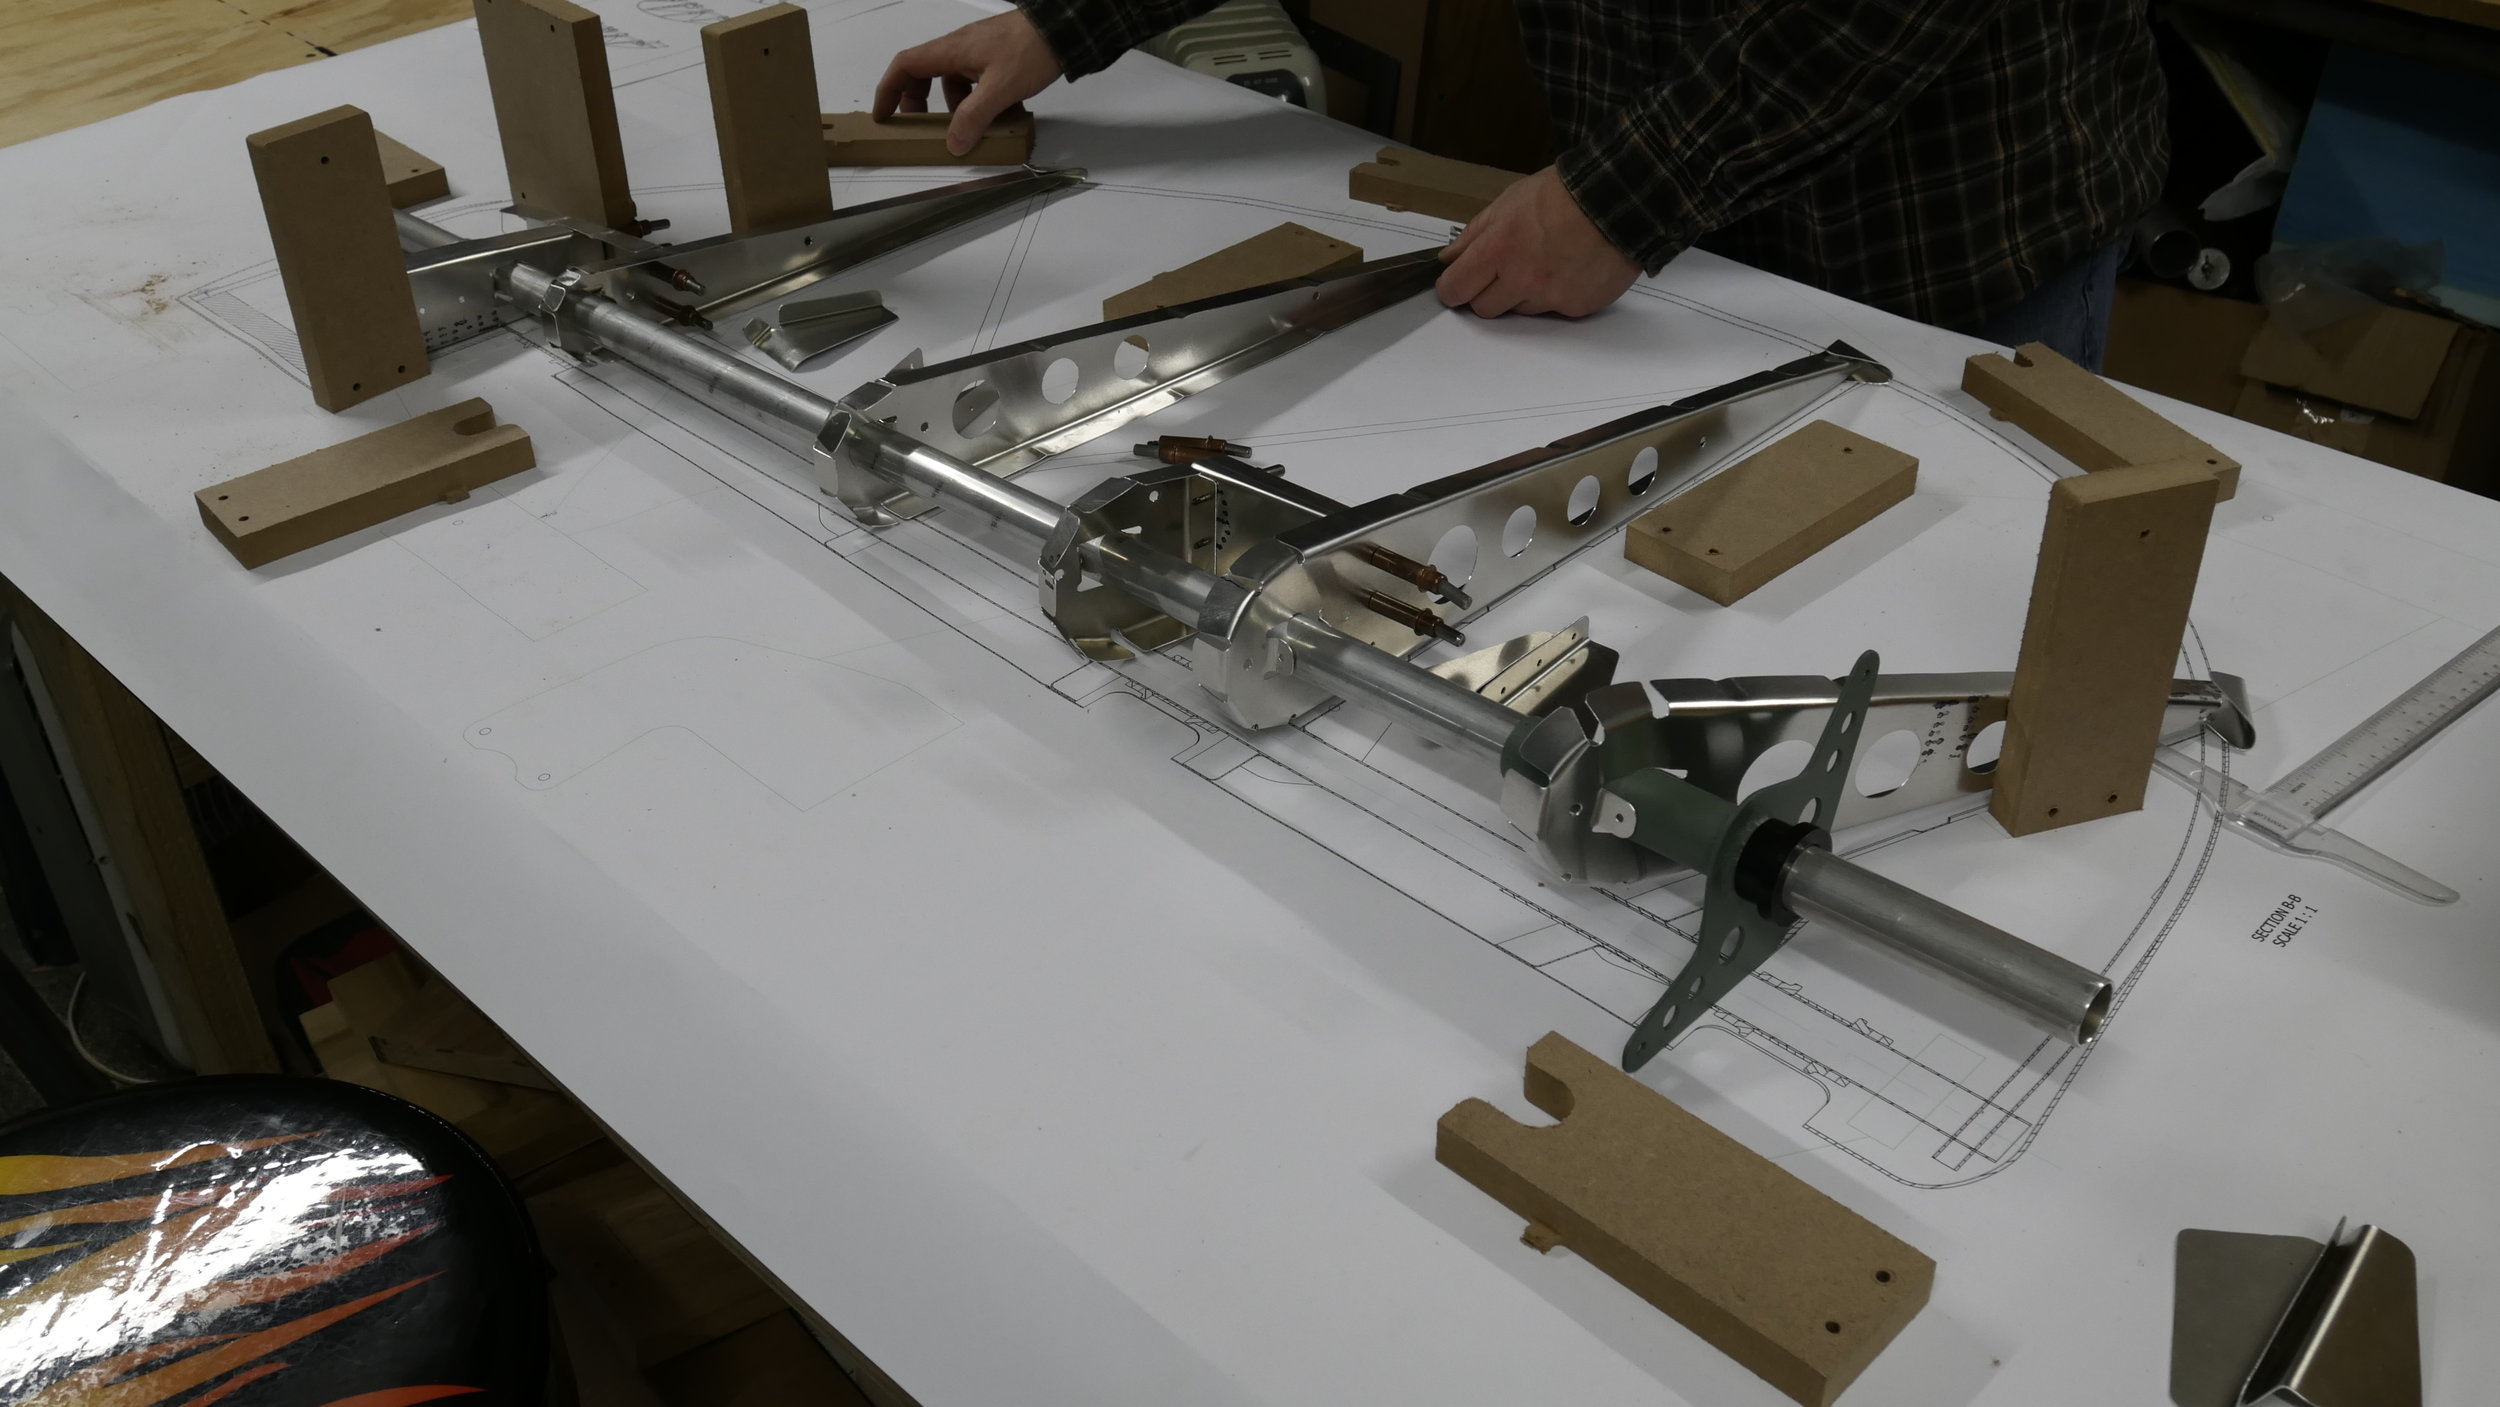
But, that's already old hat. Onto the rudder:

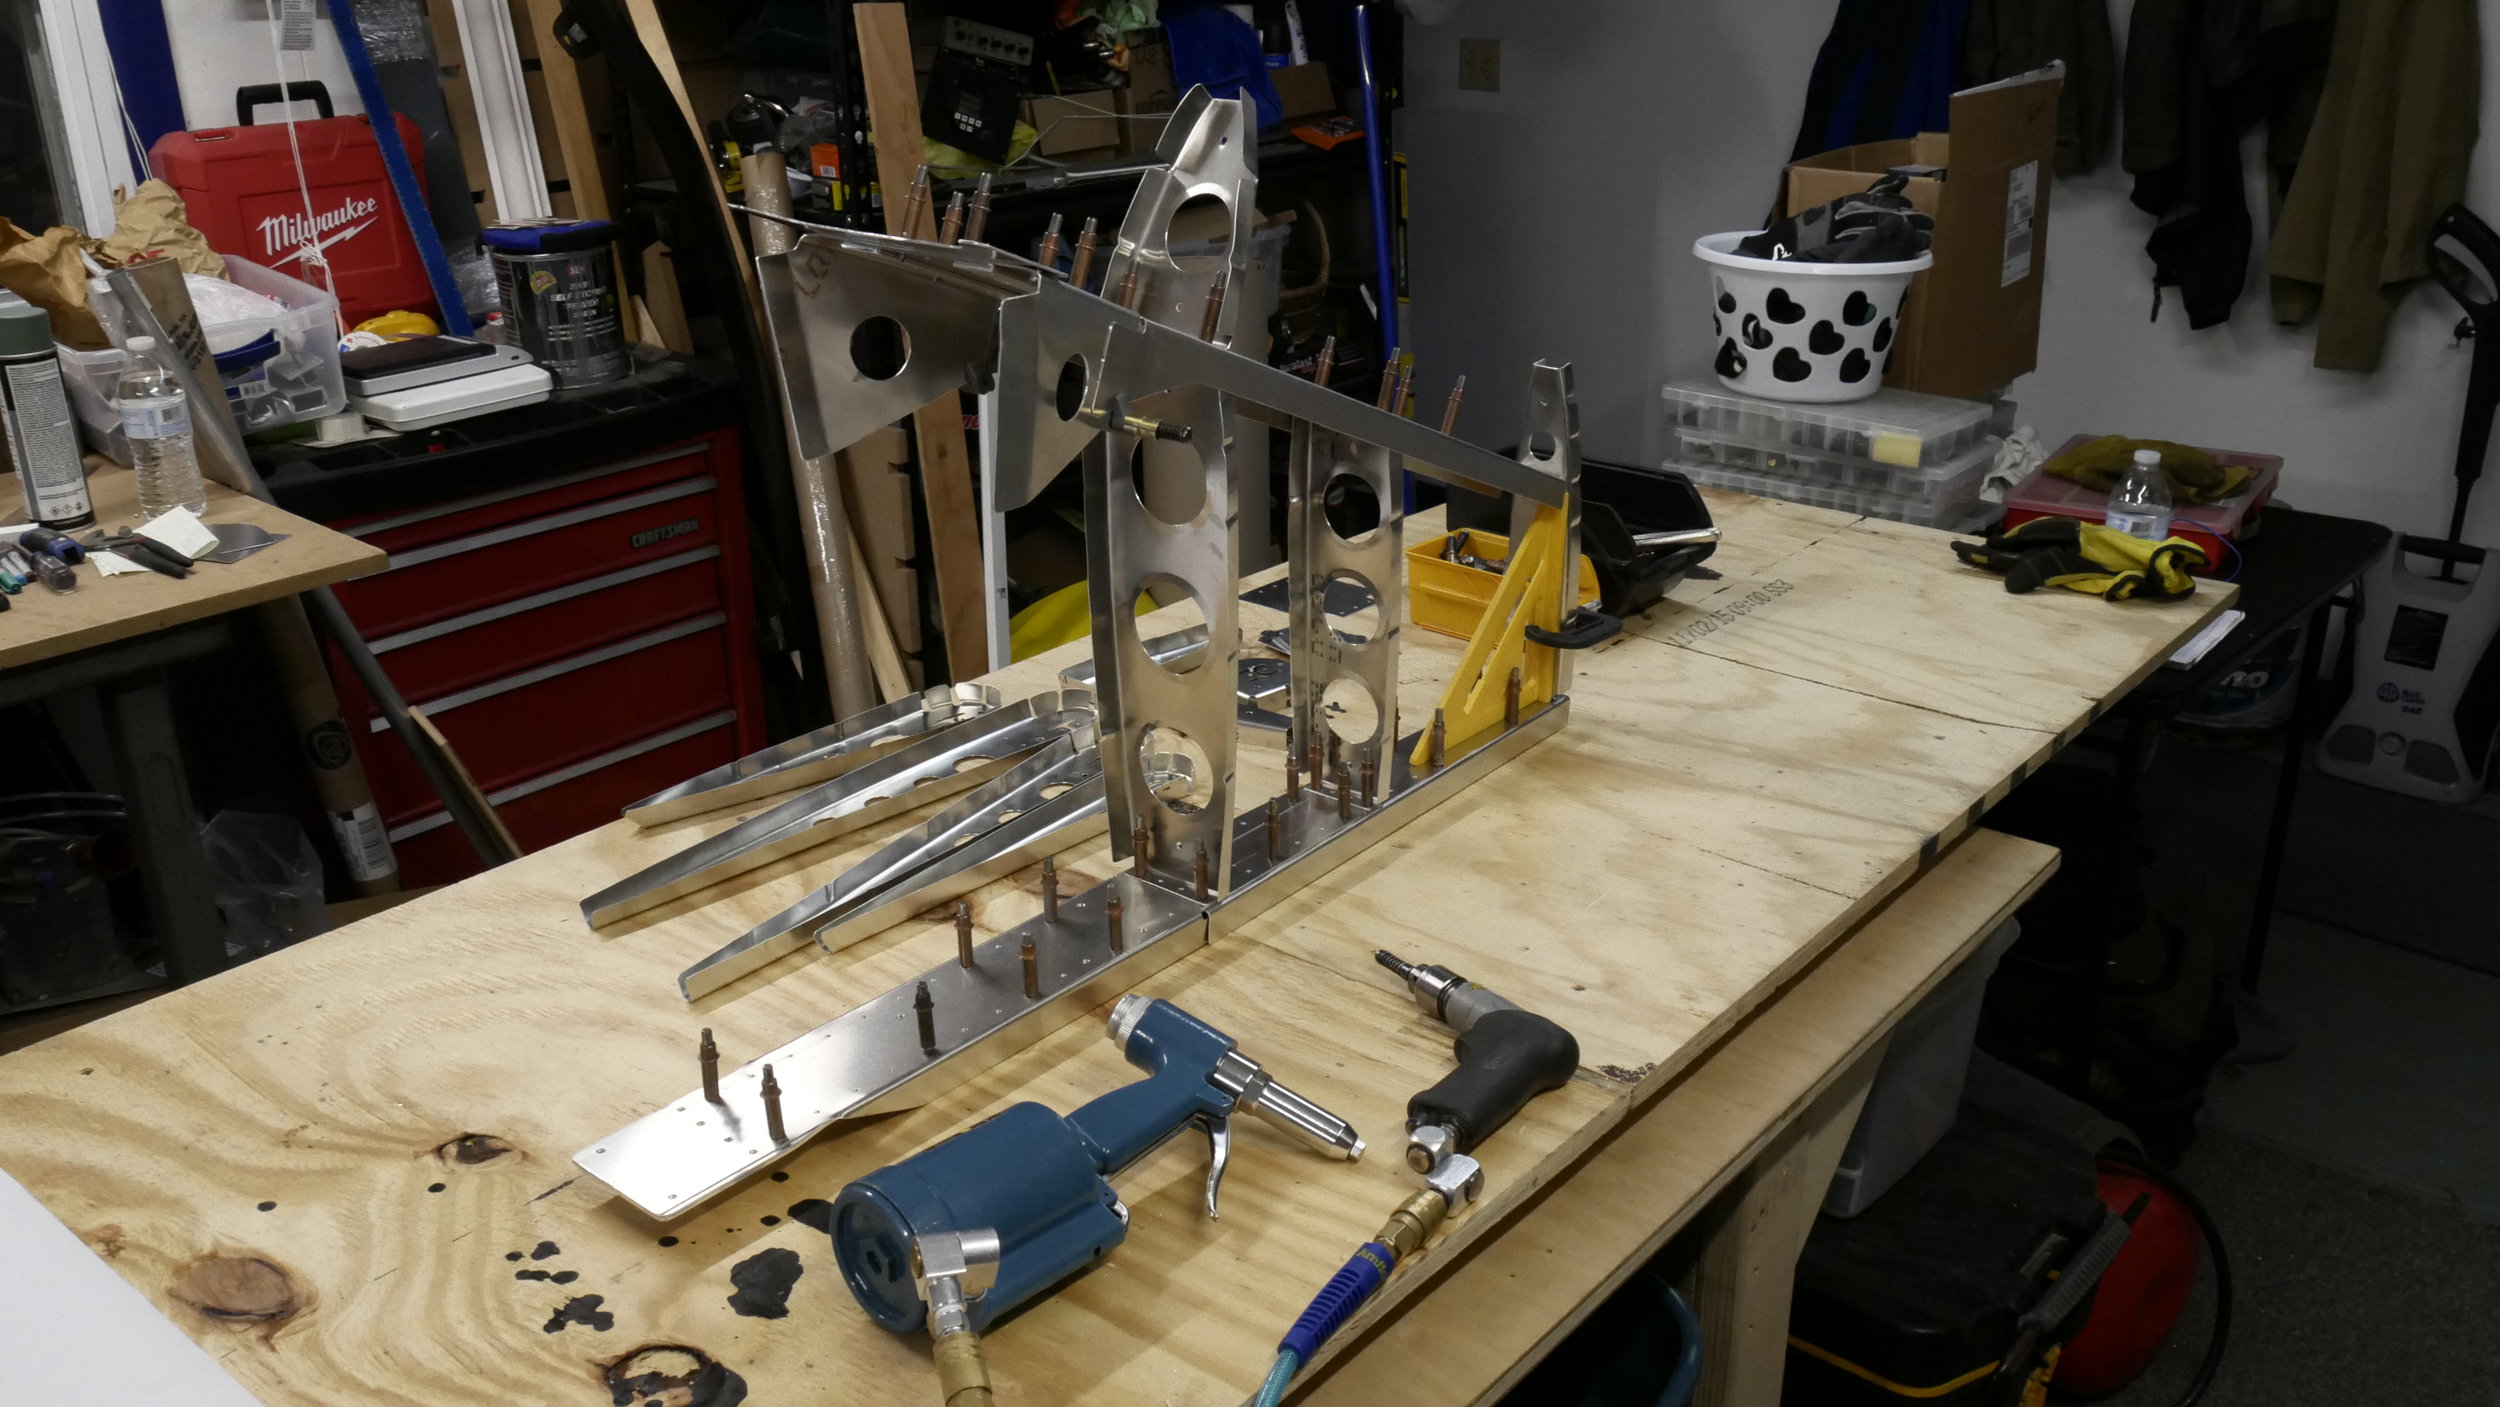
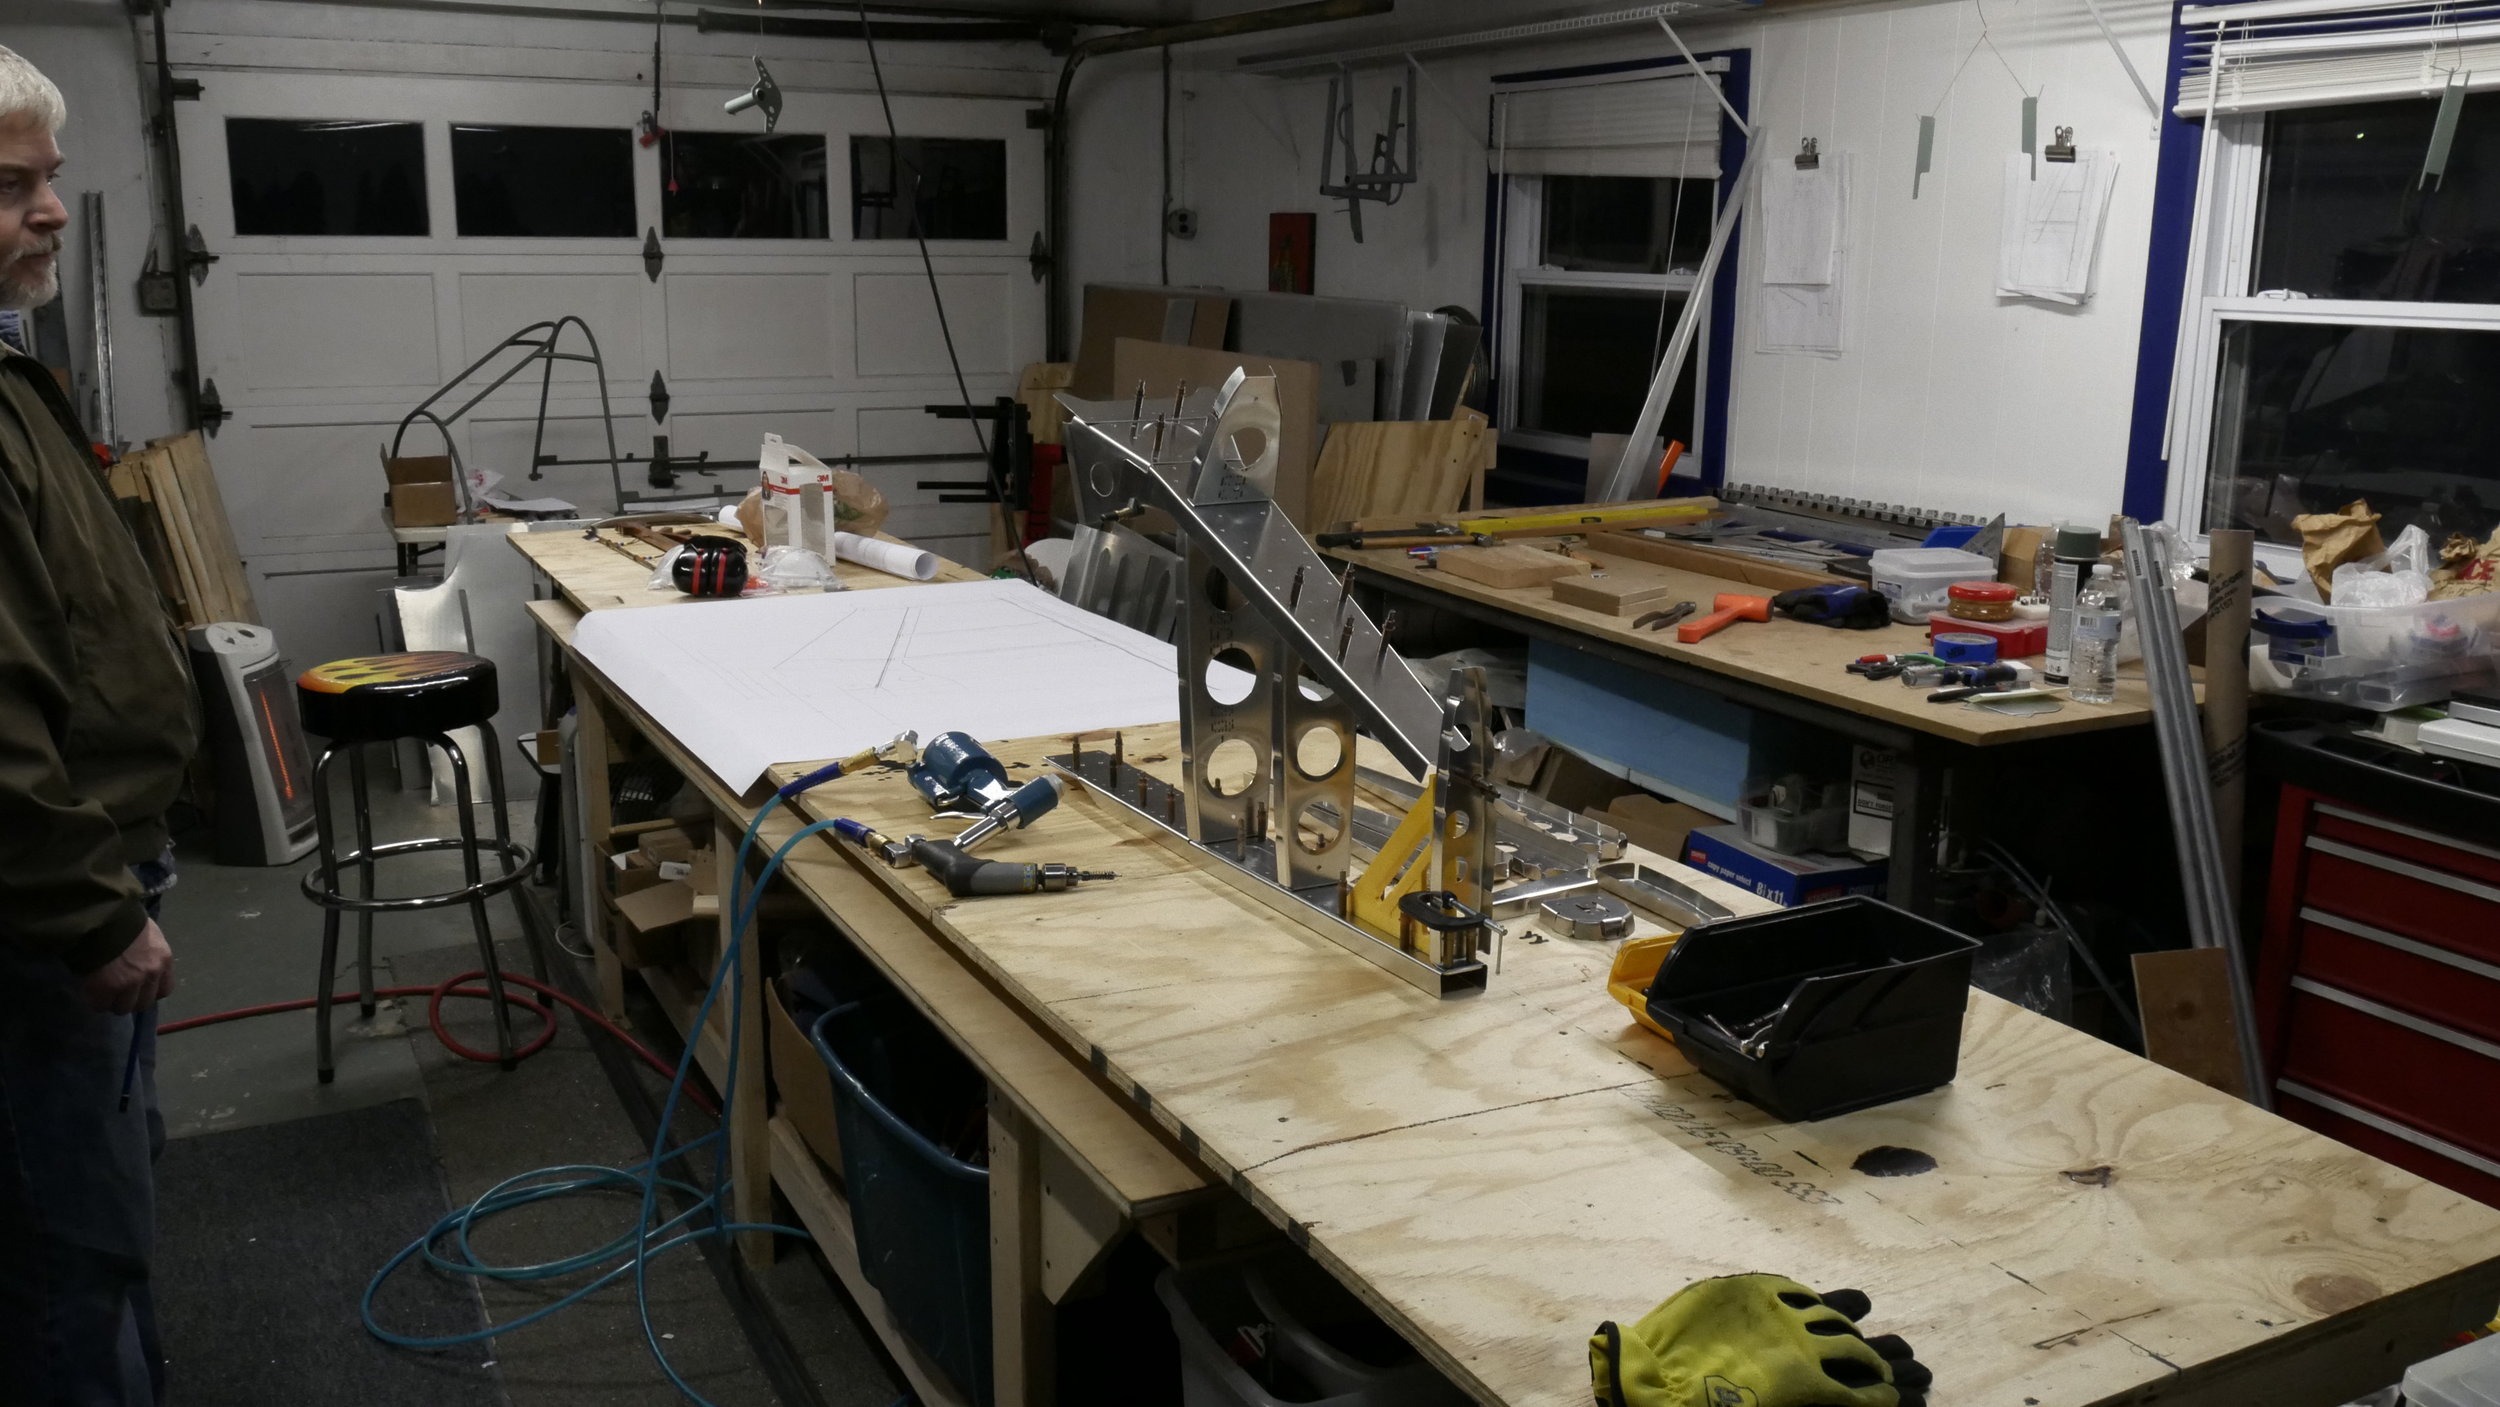
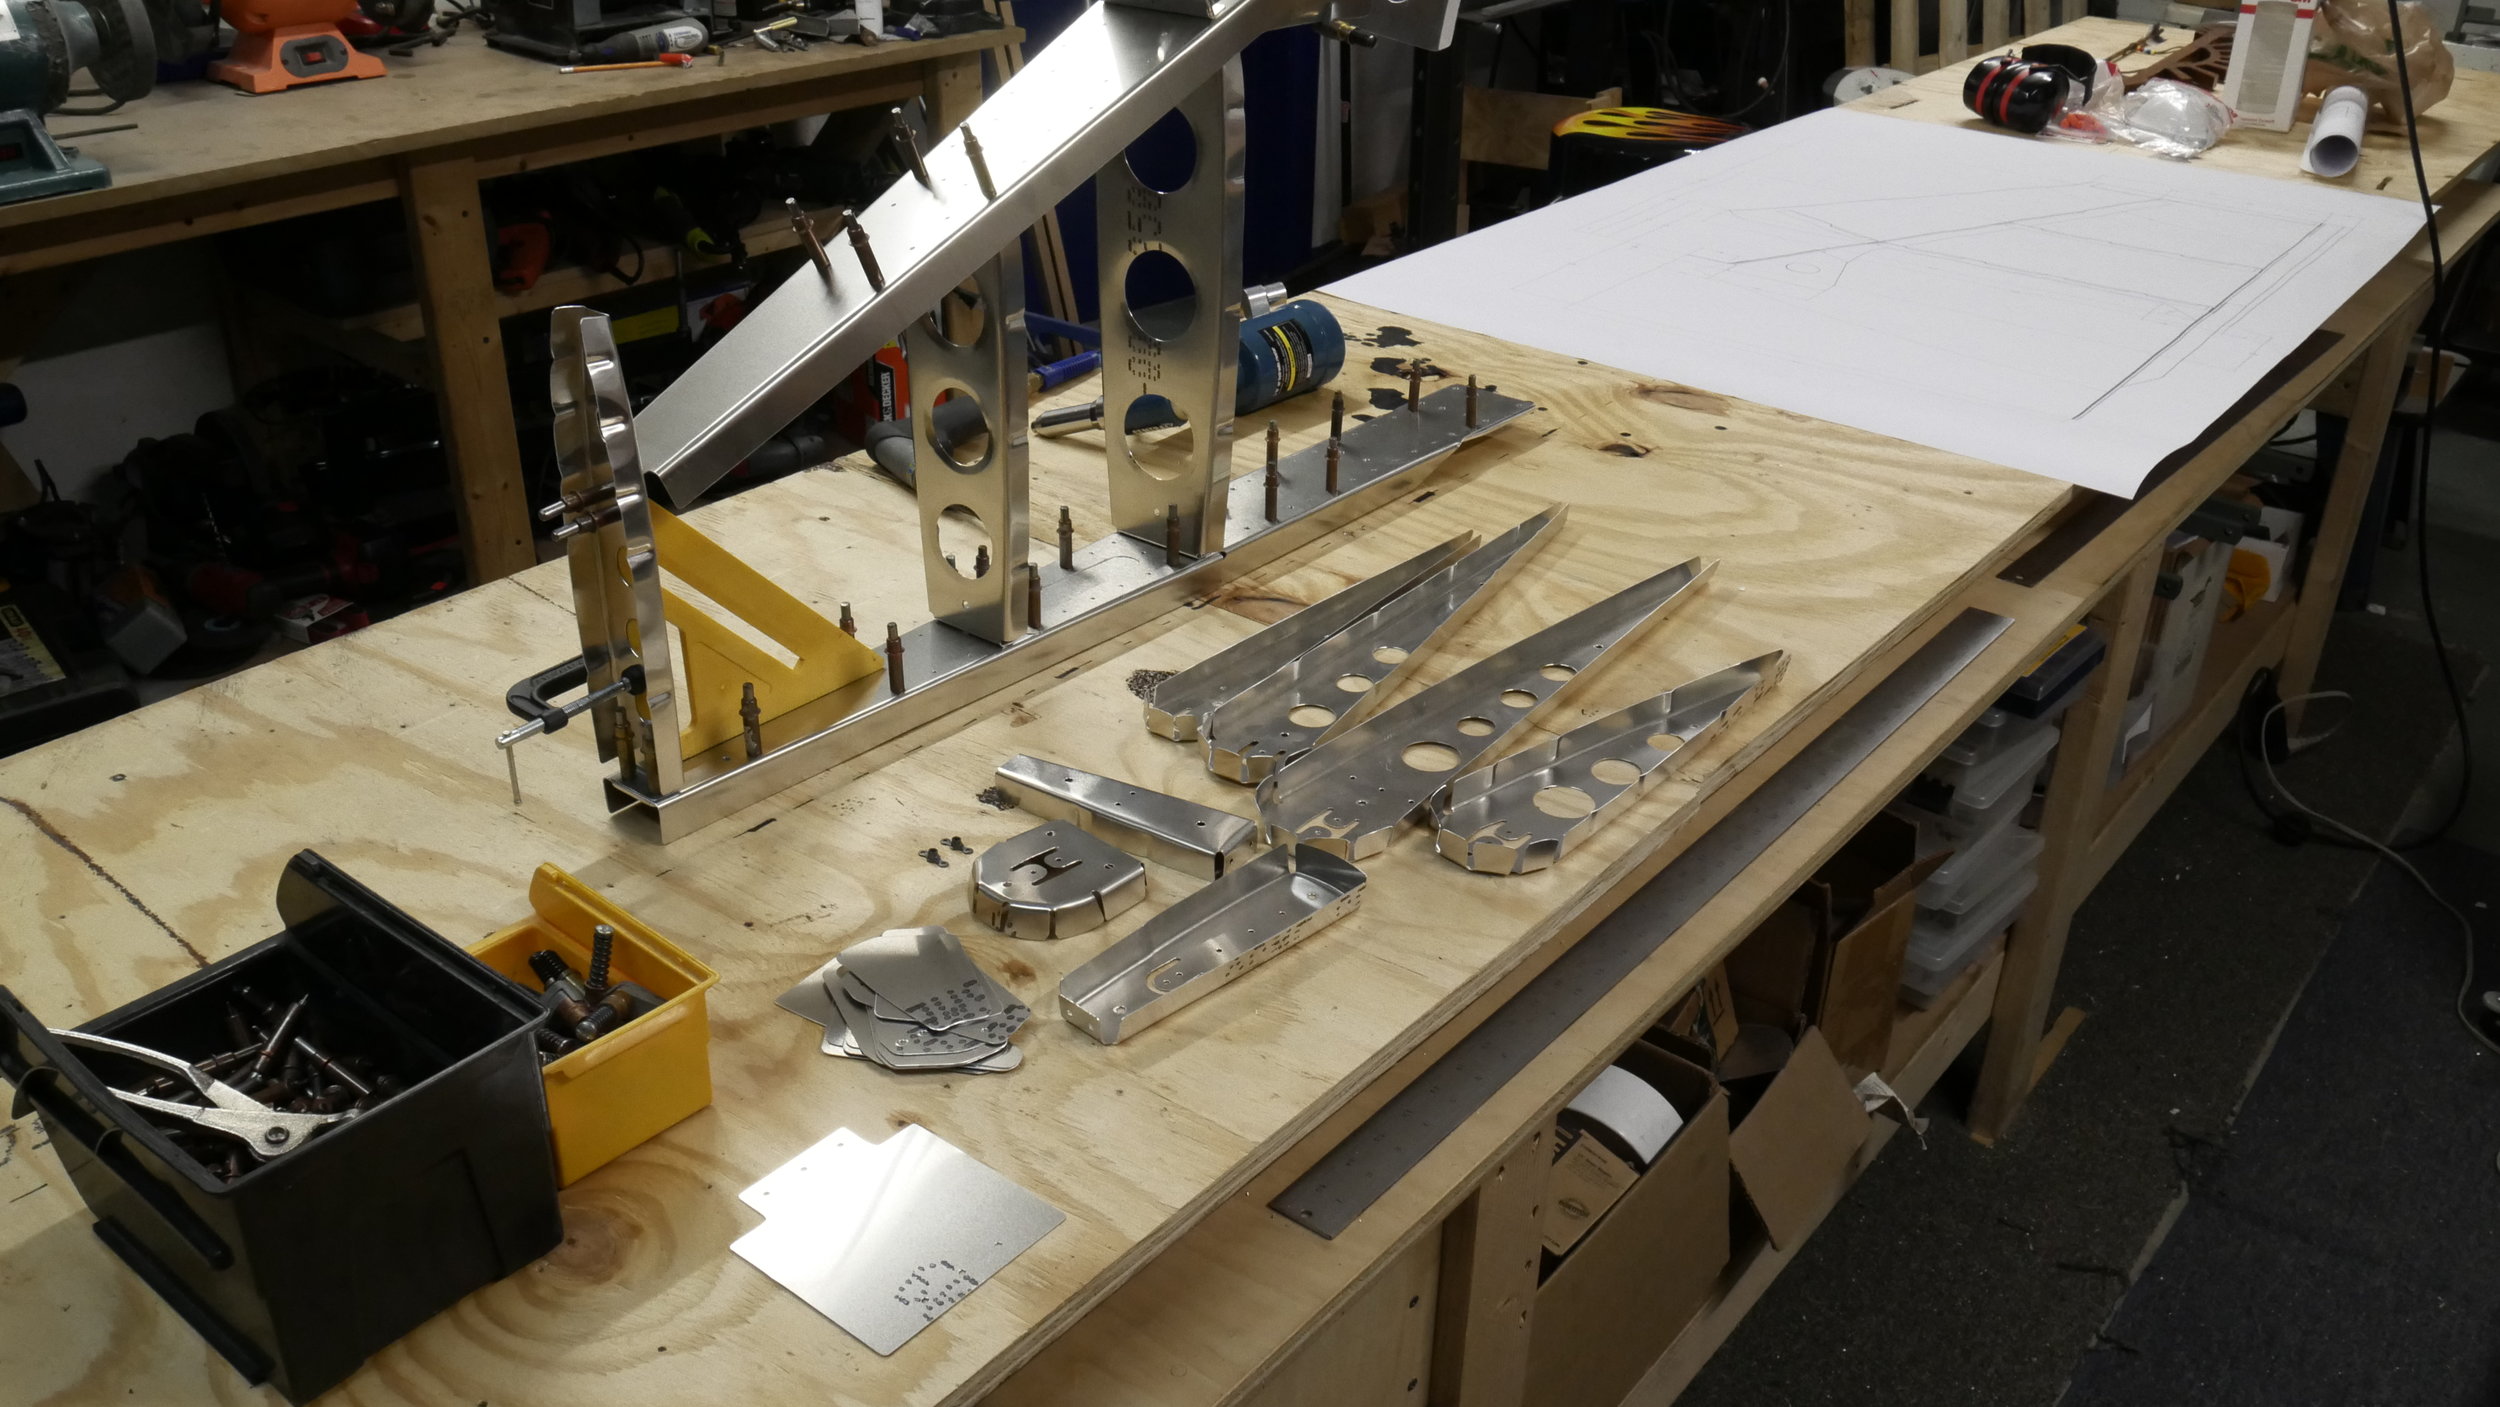
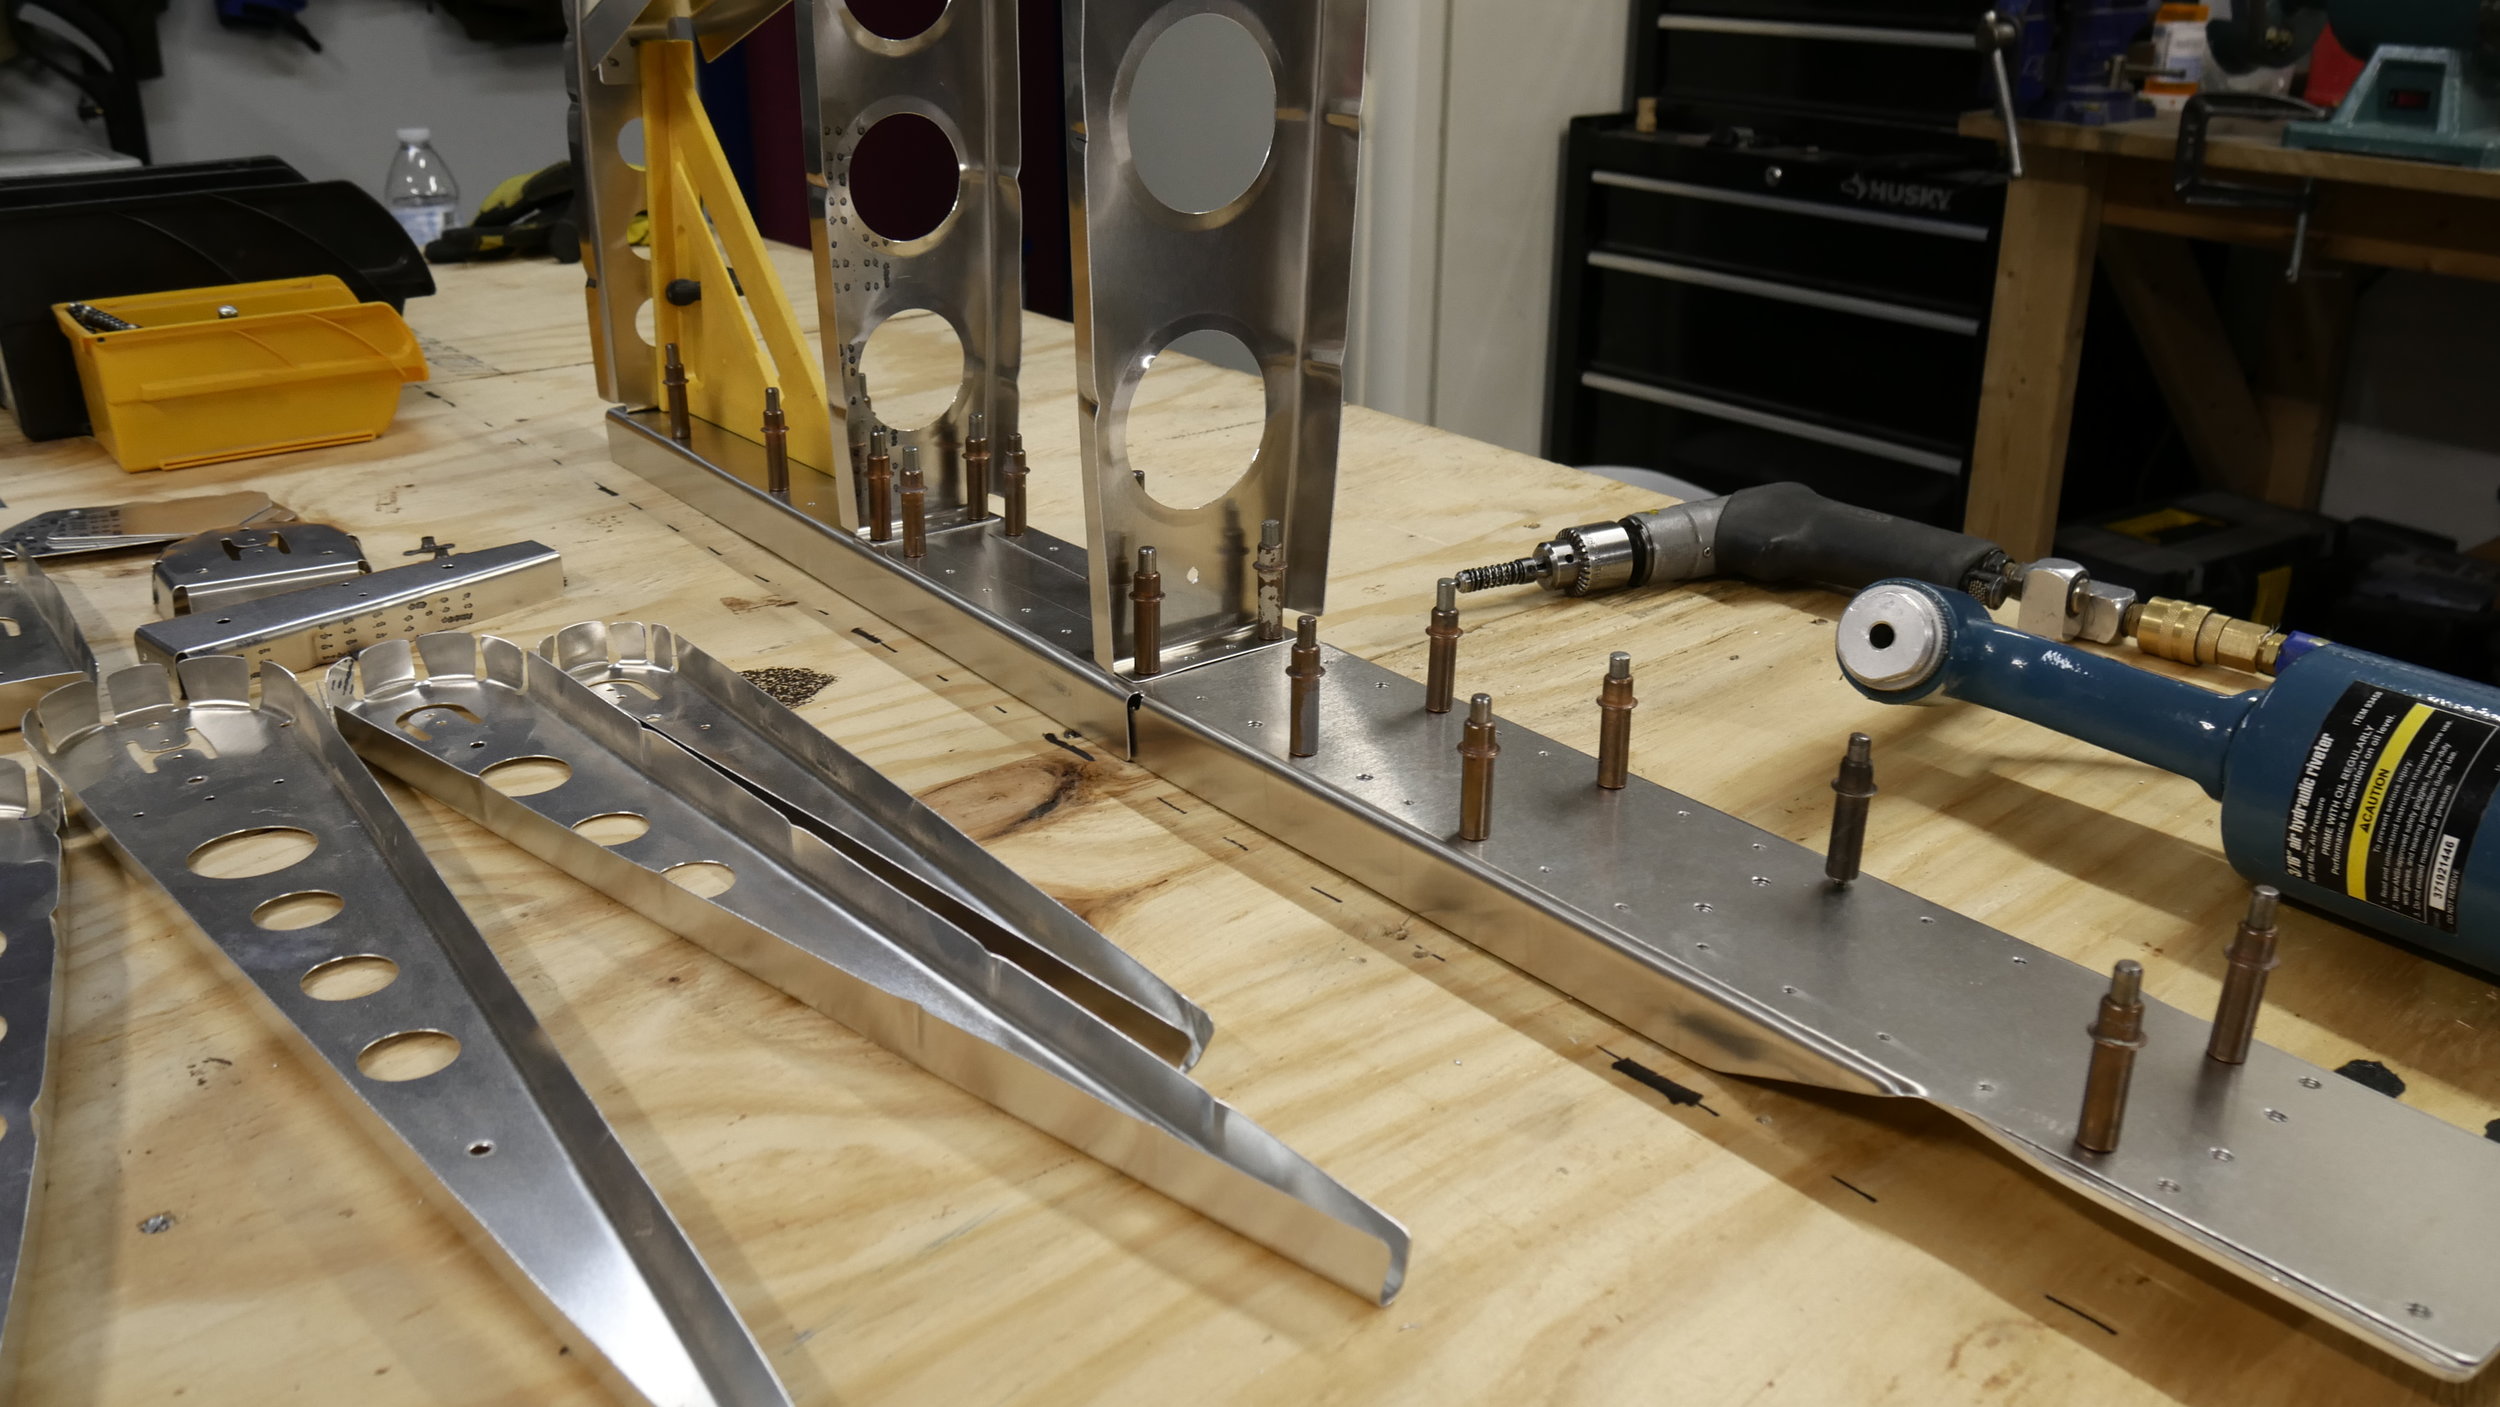
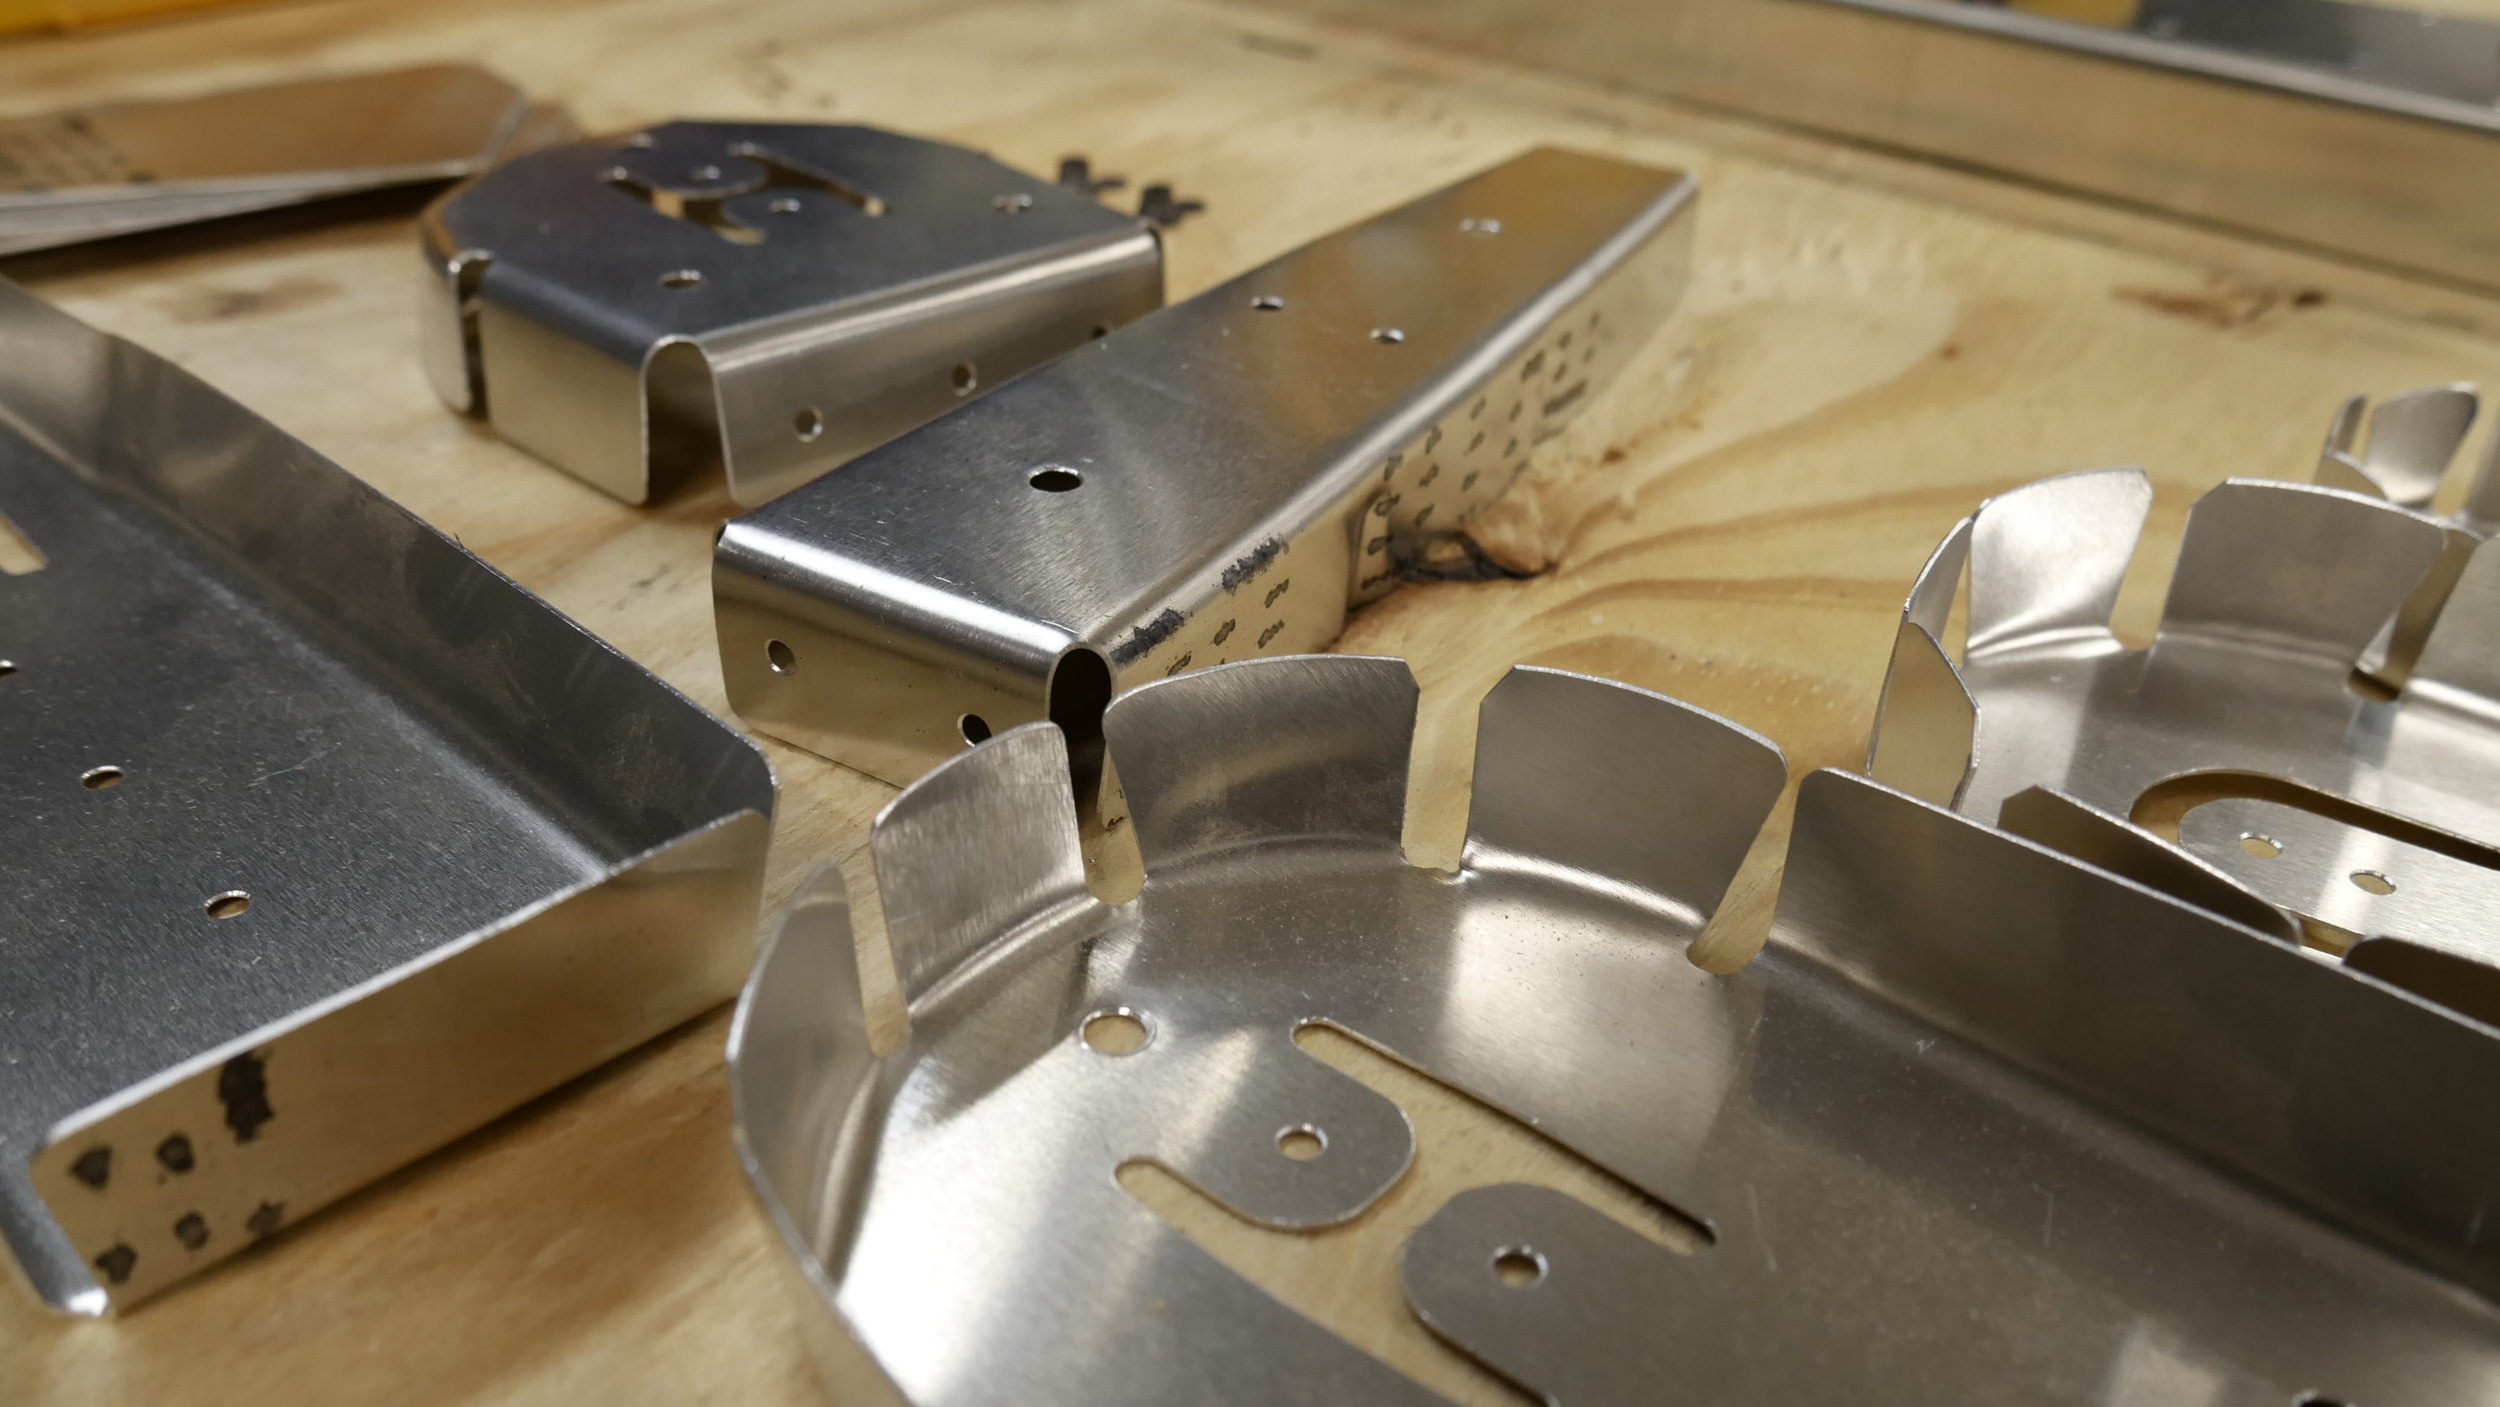
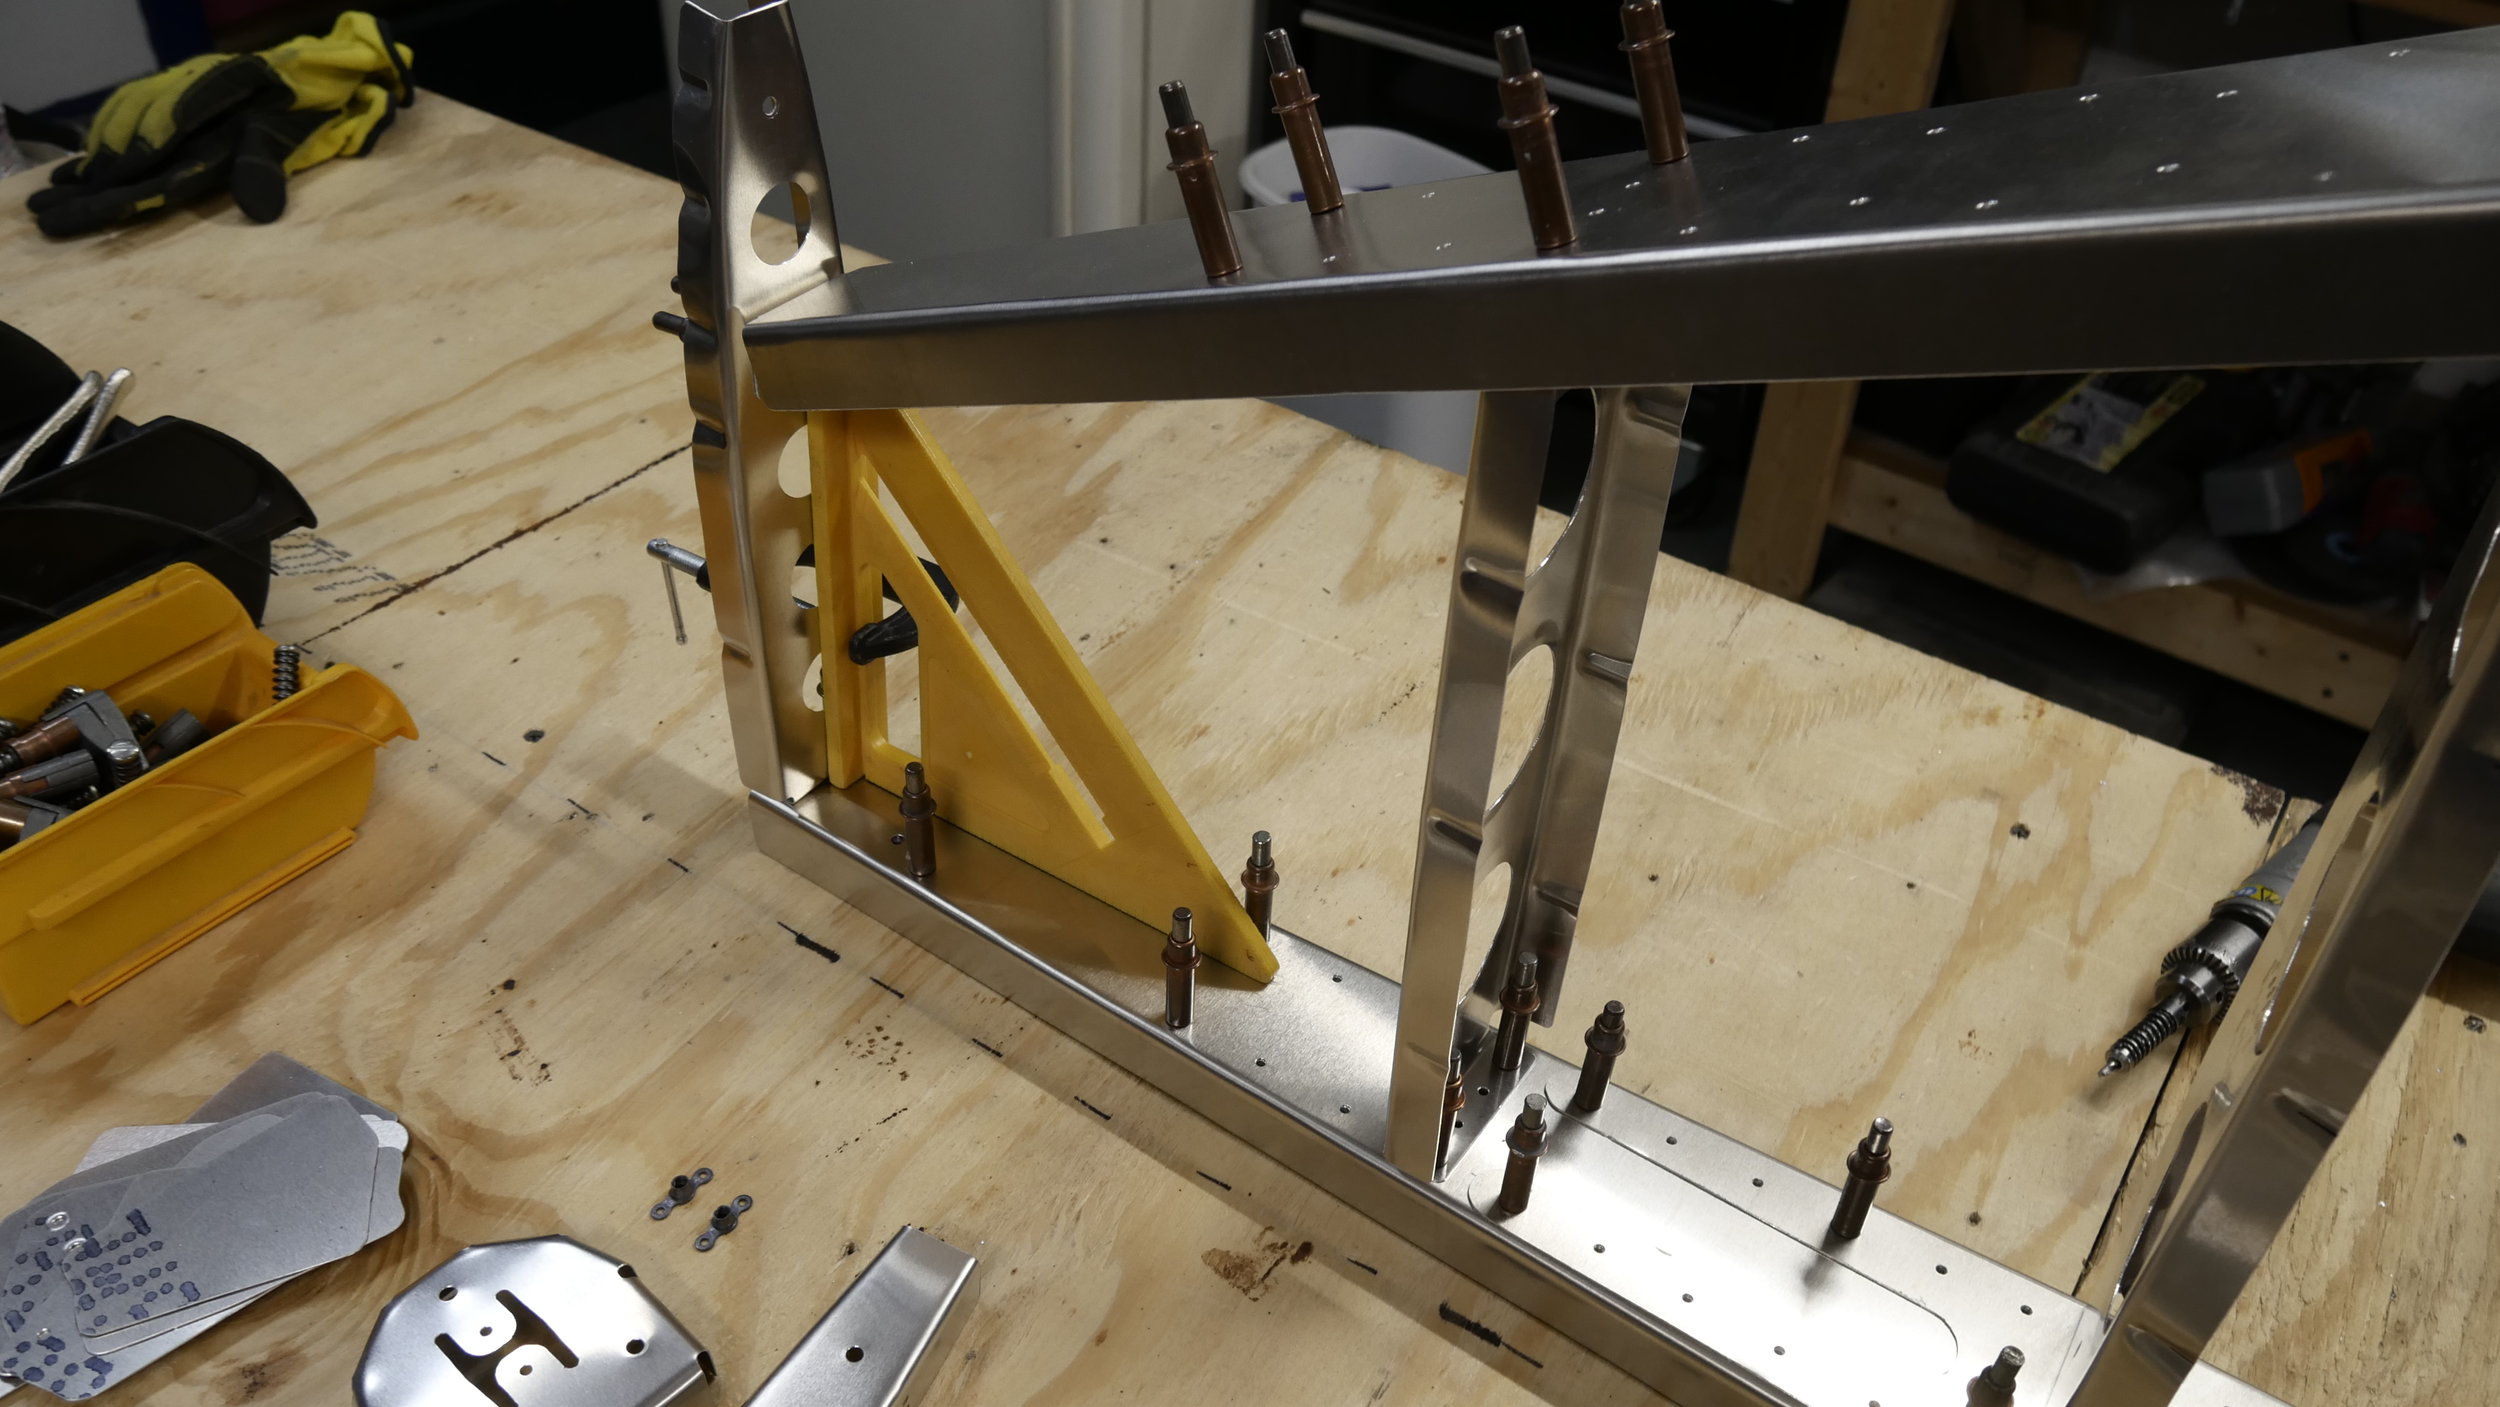
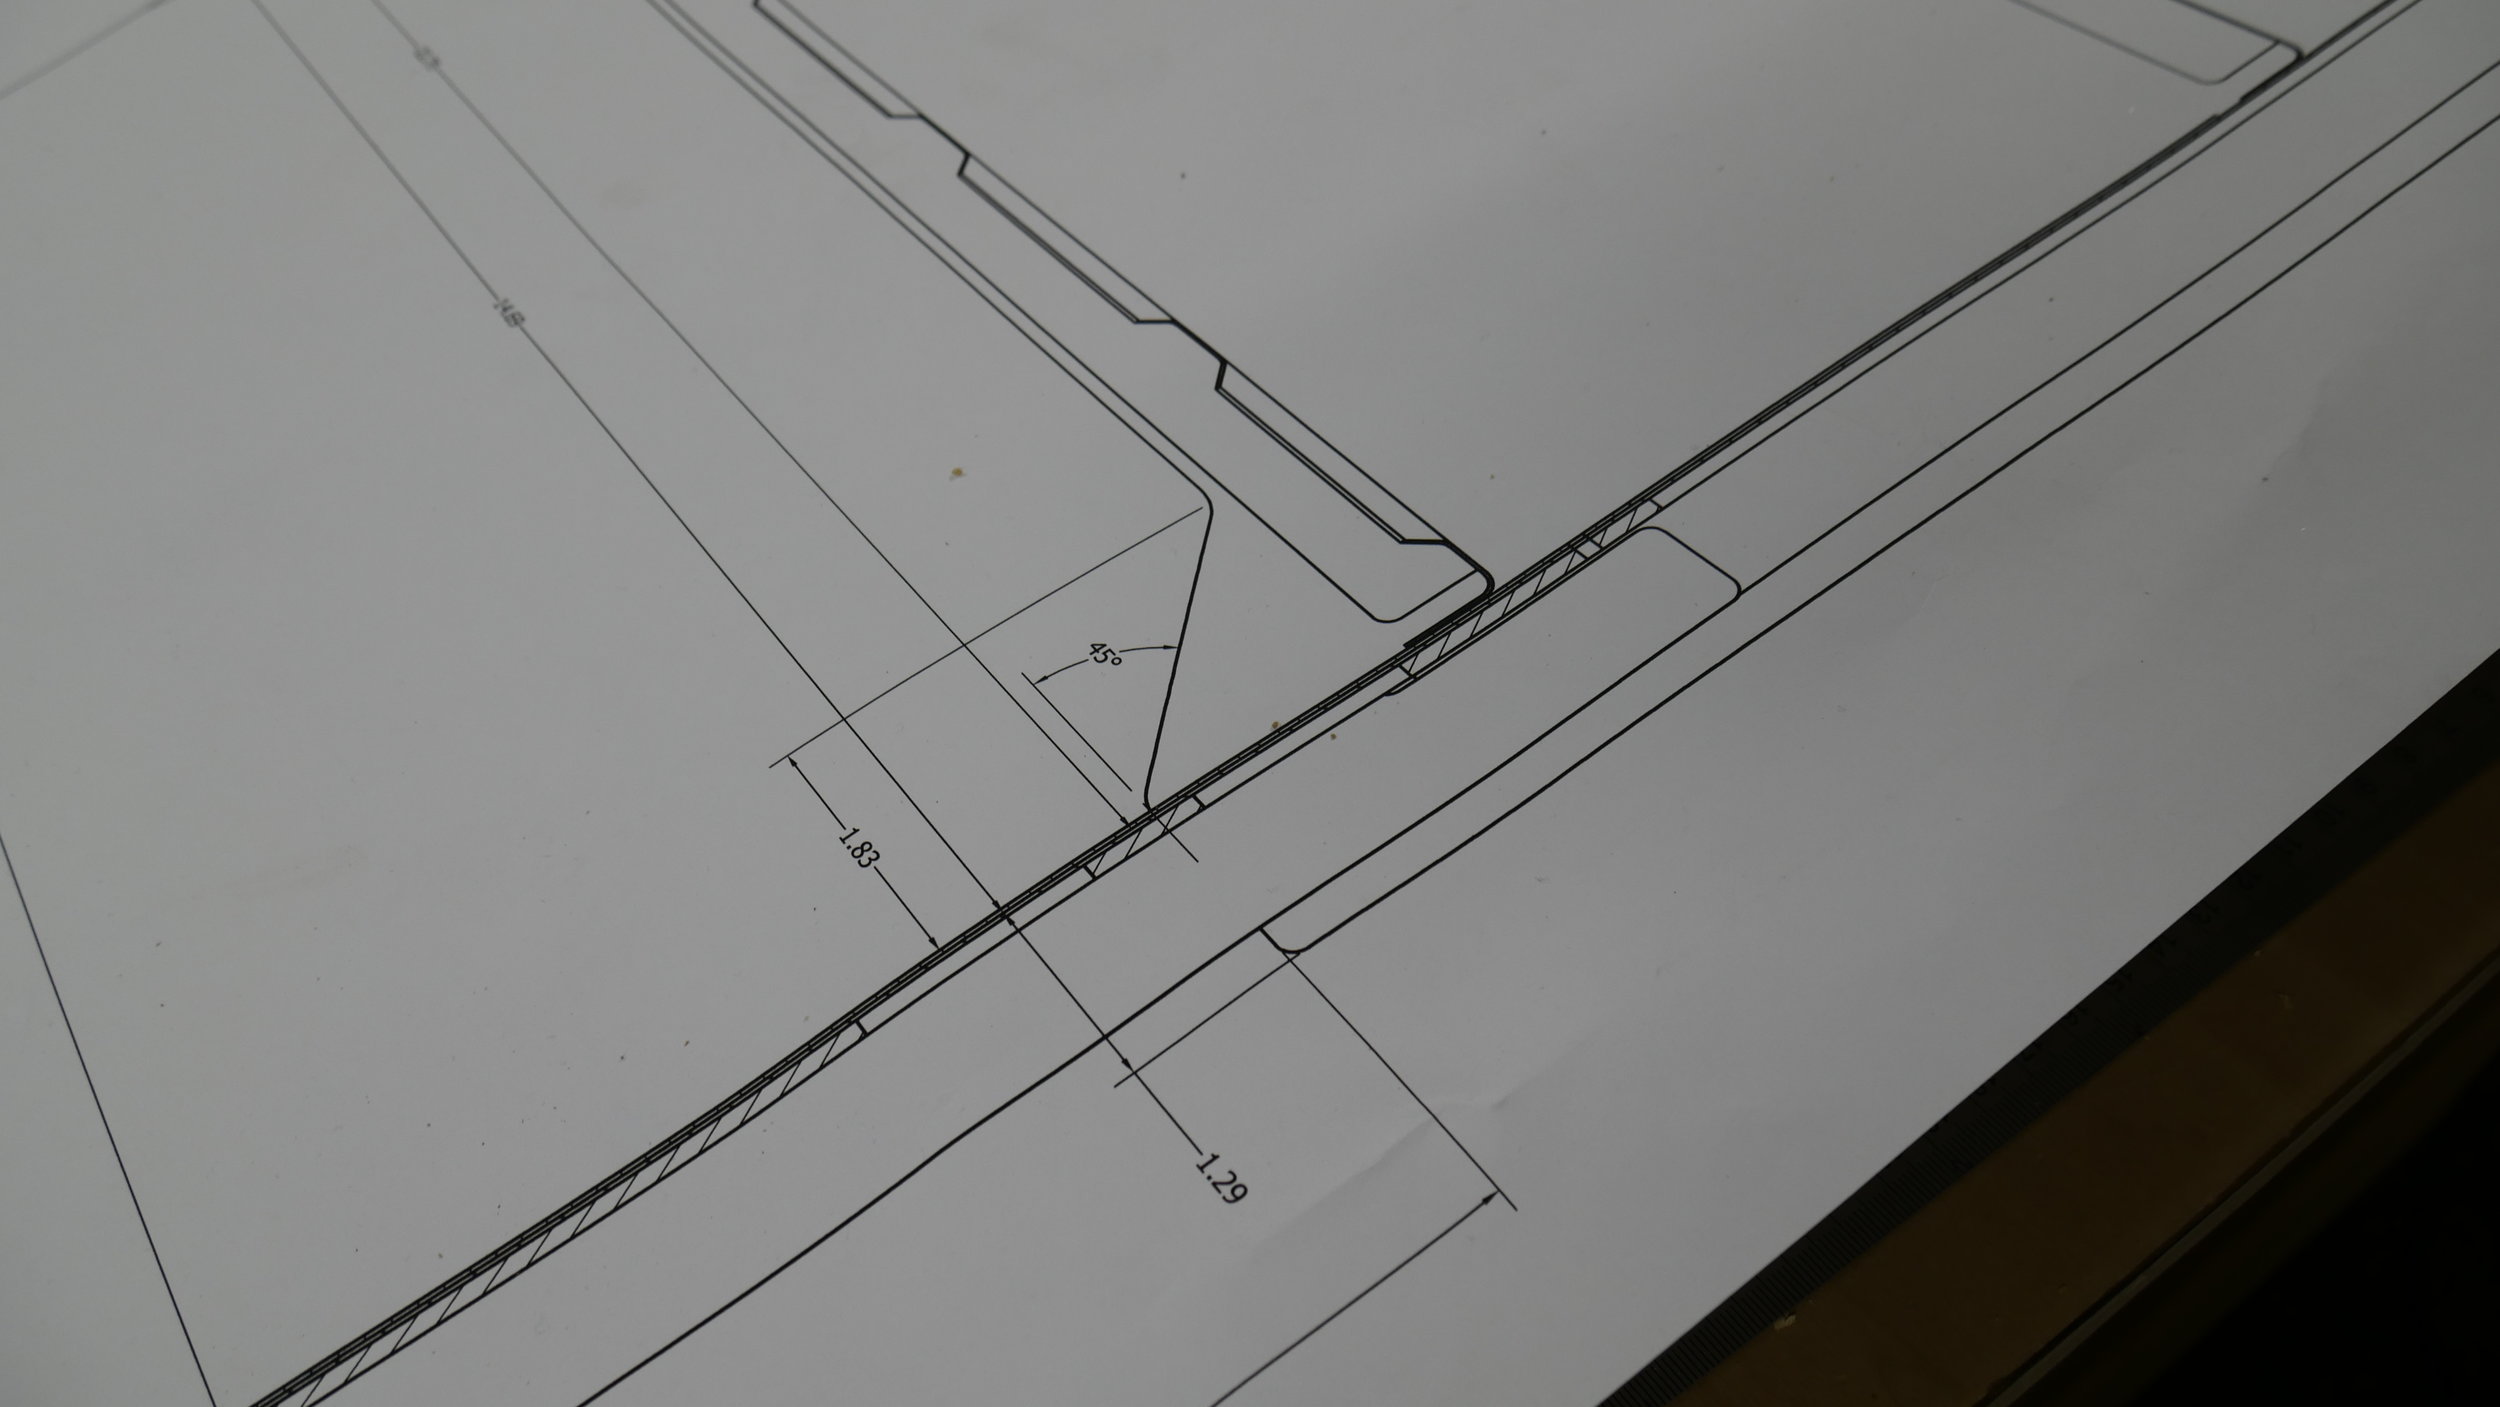
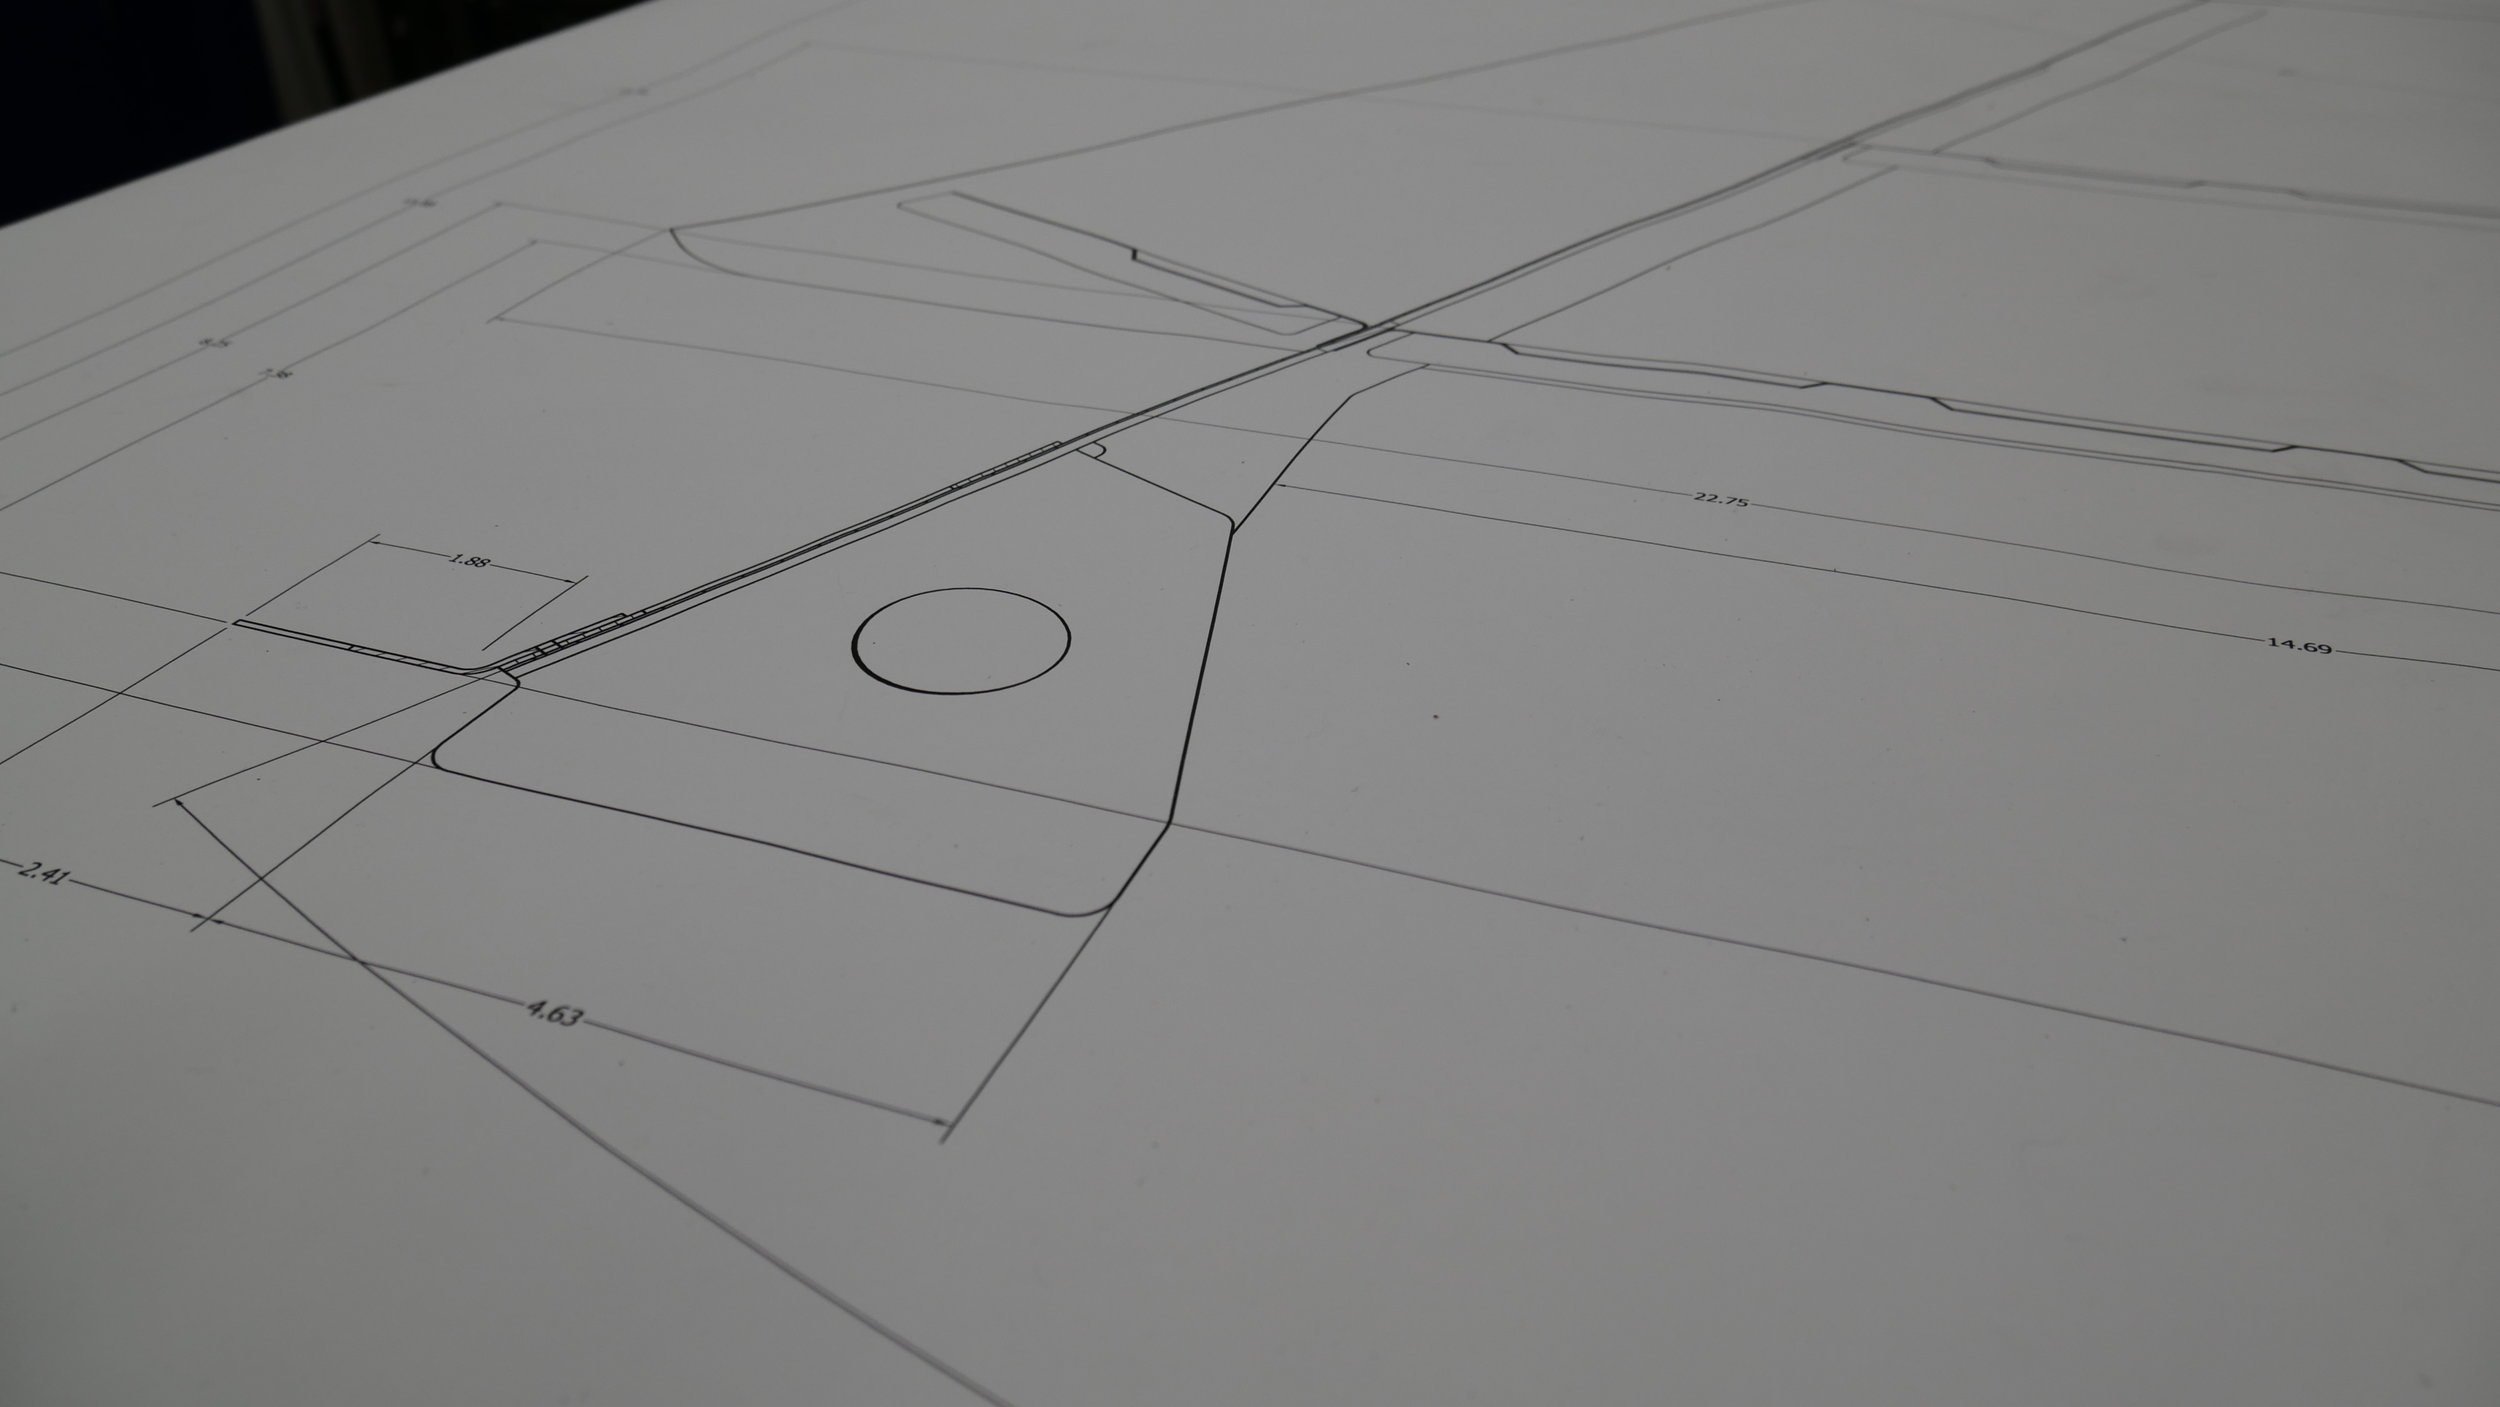
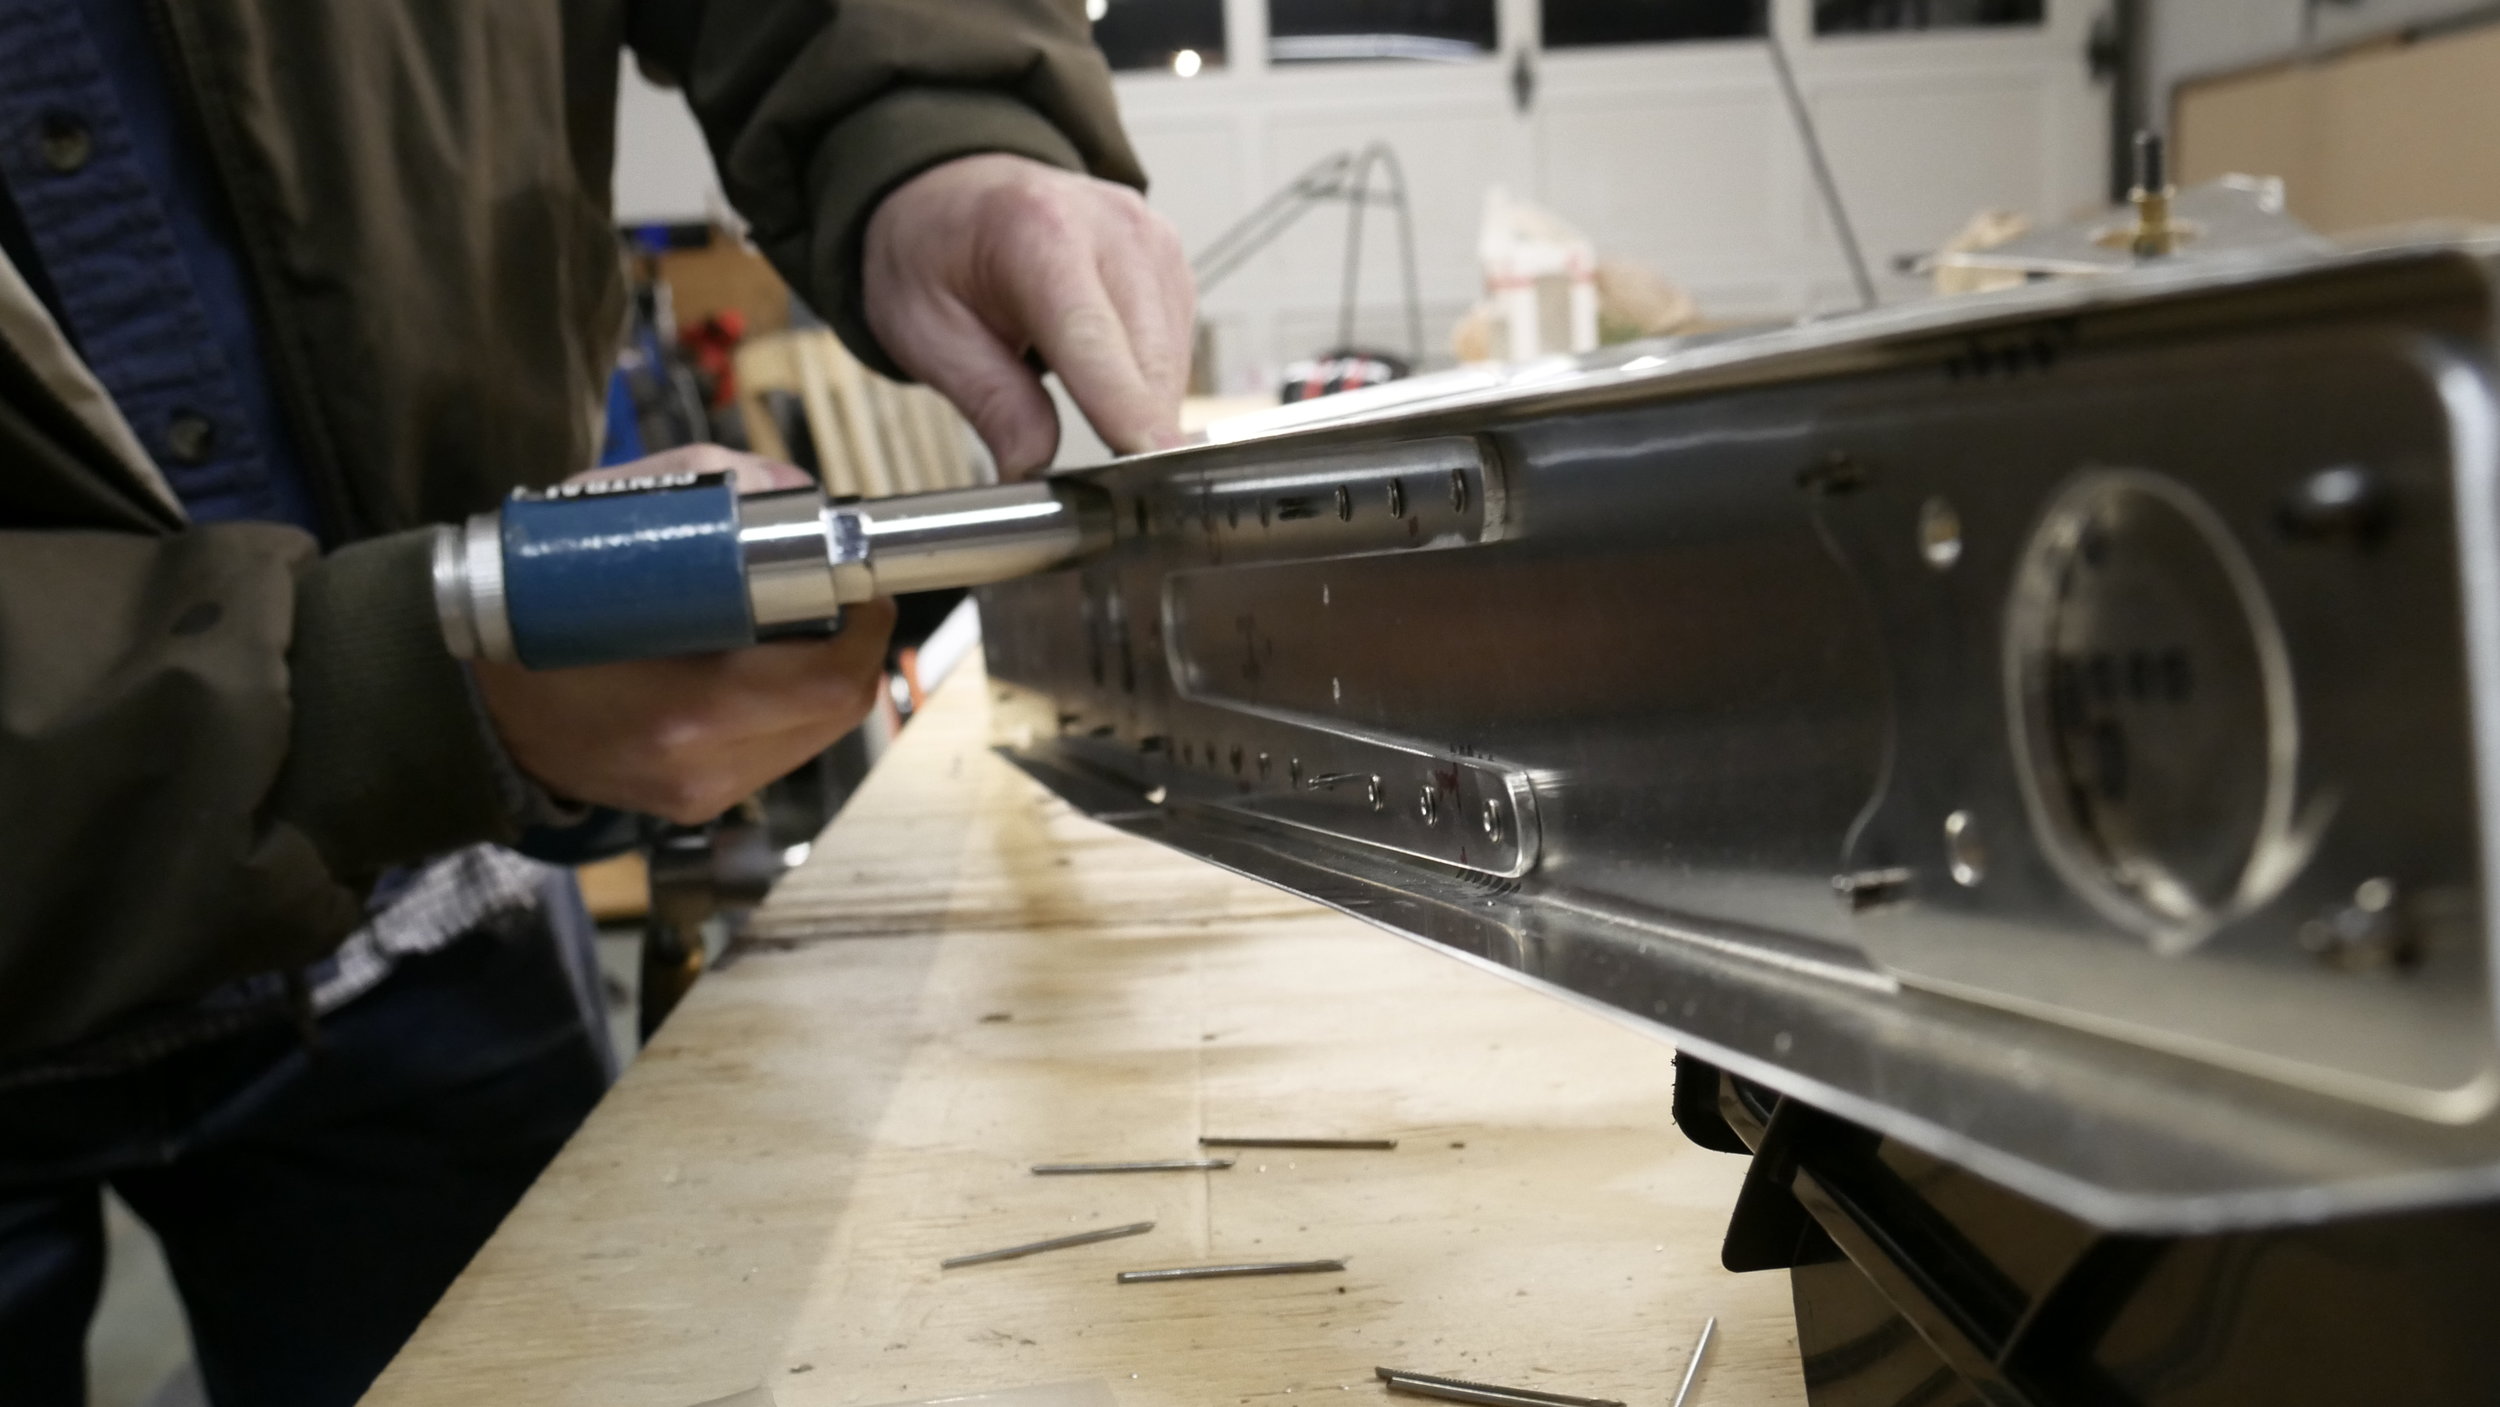
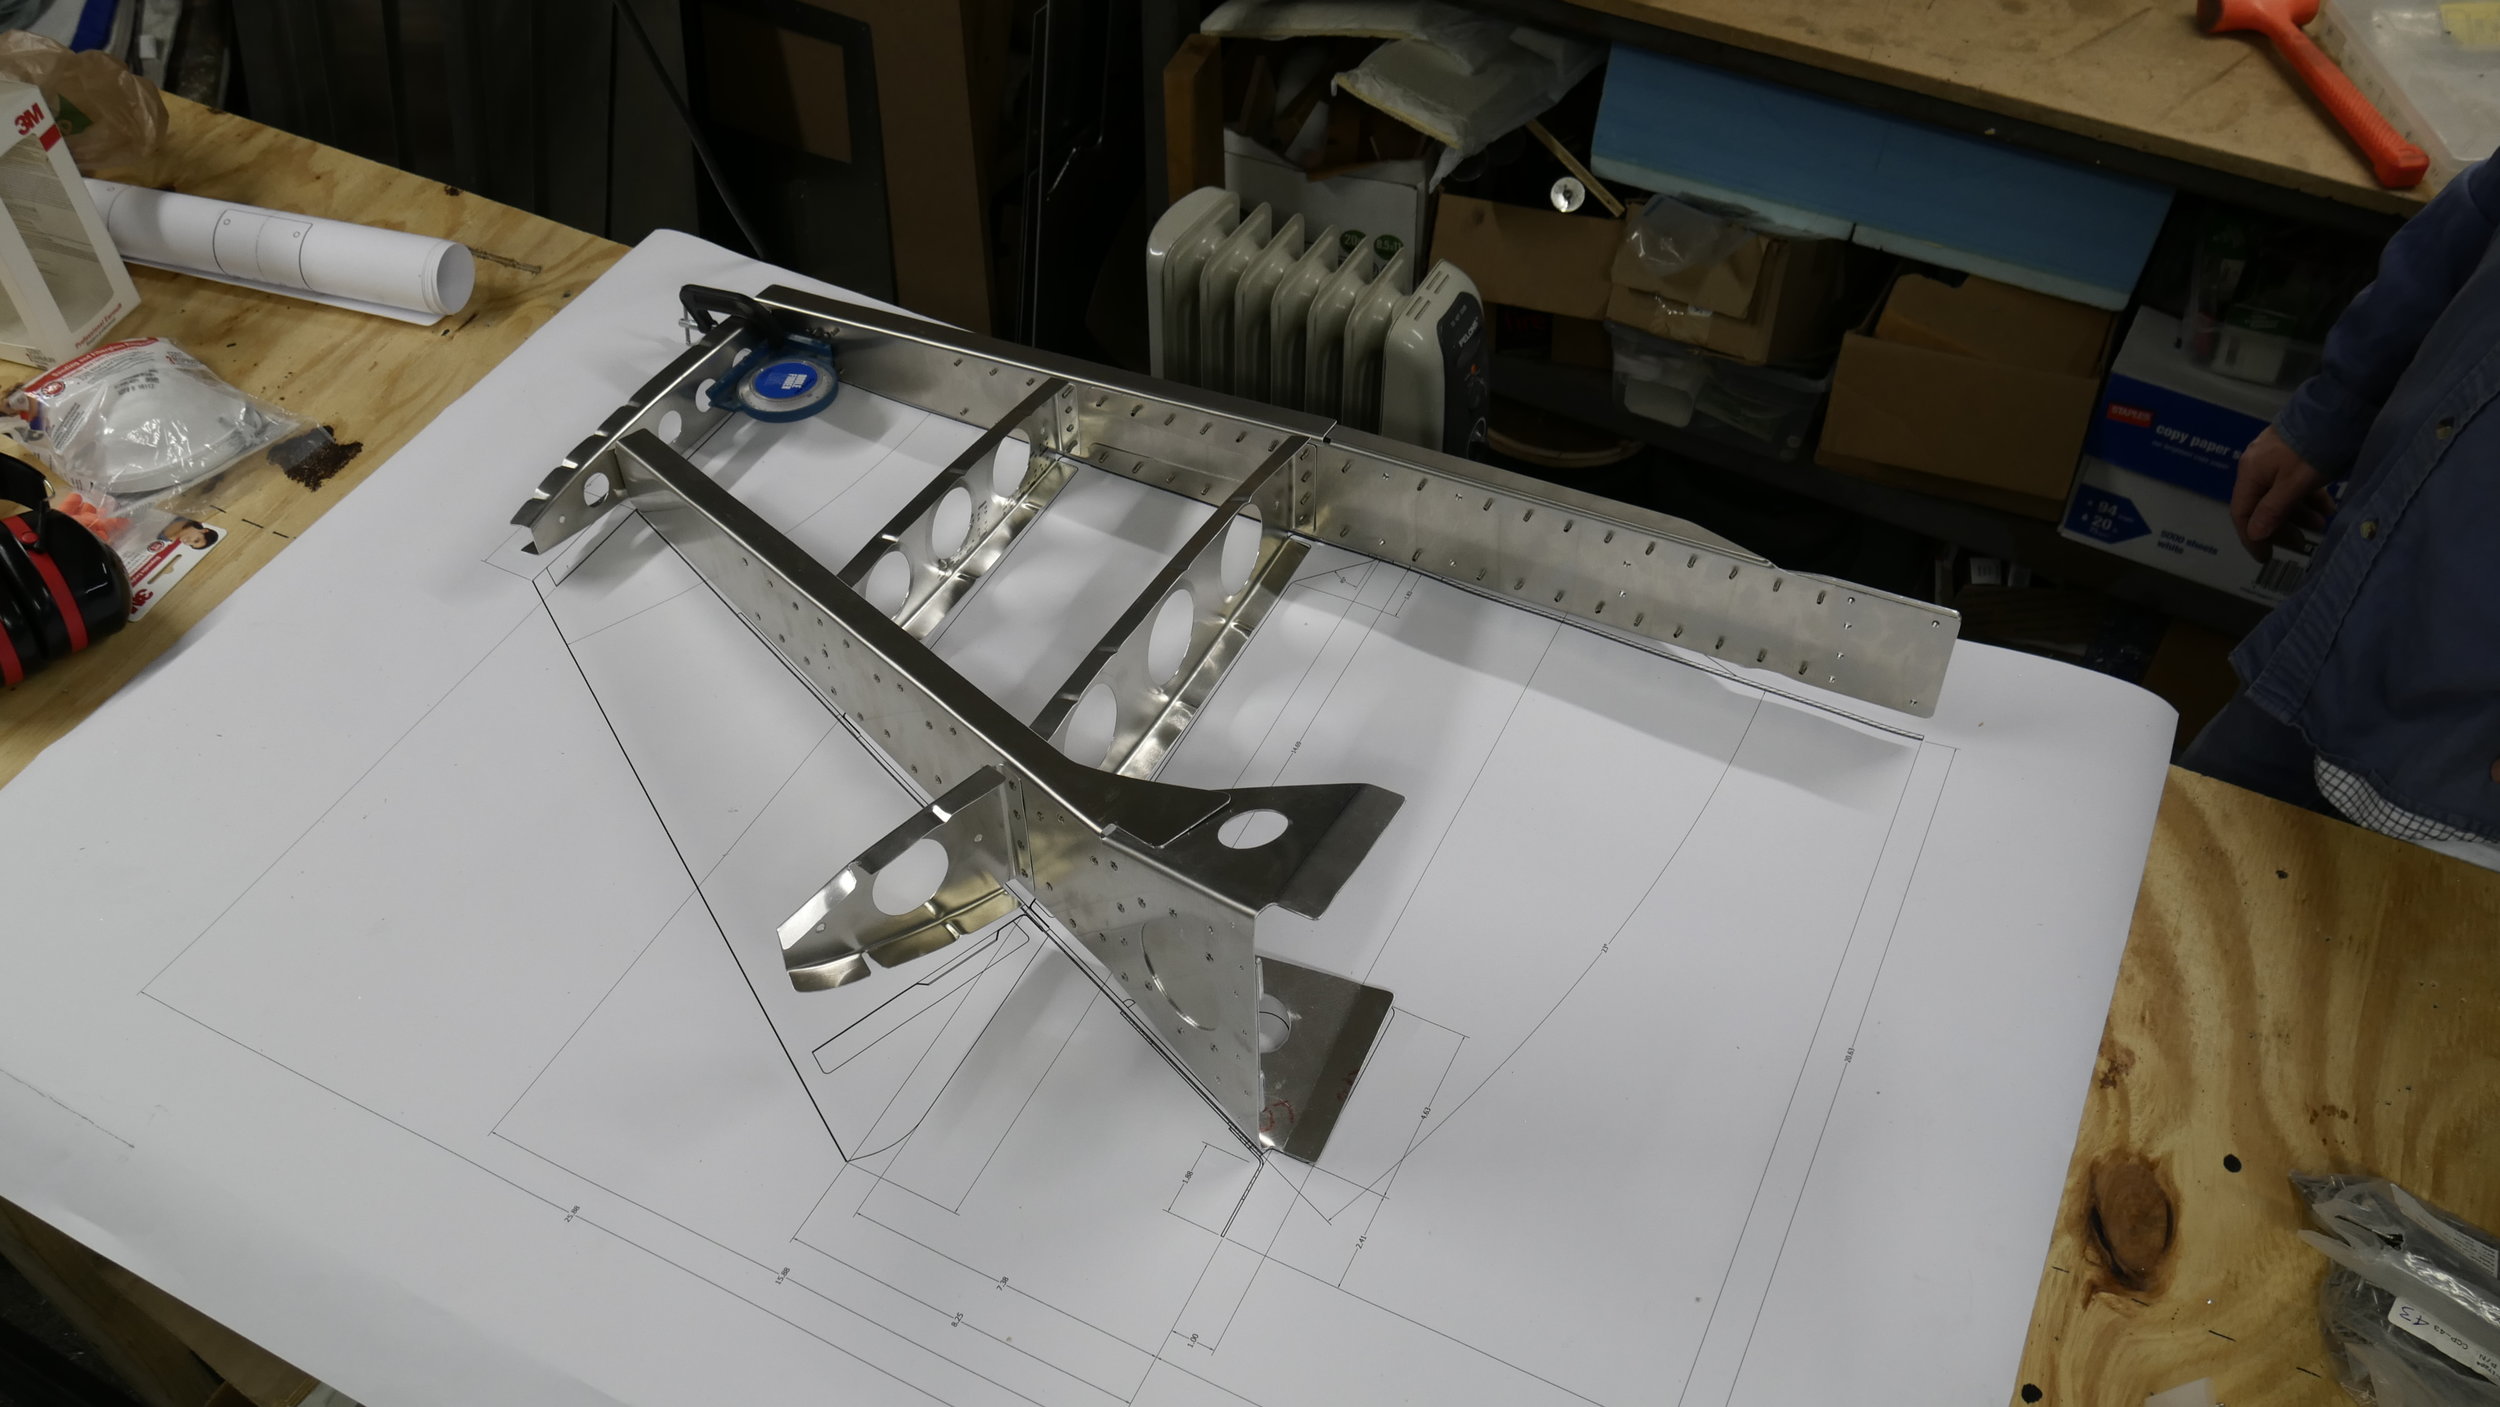
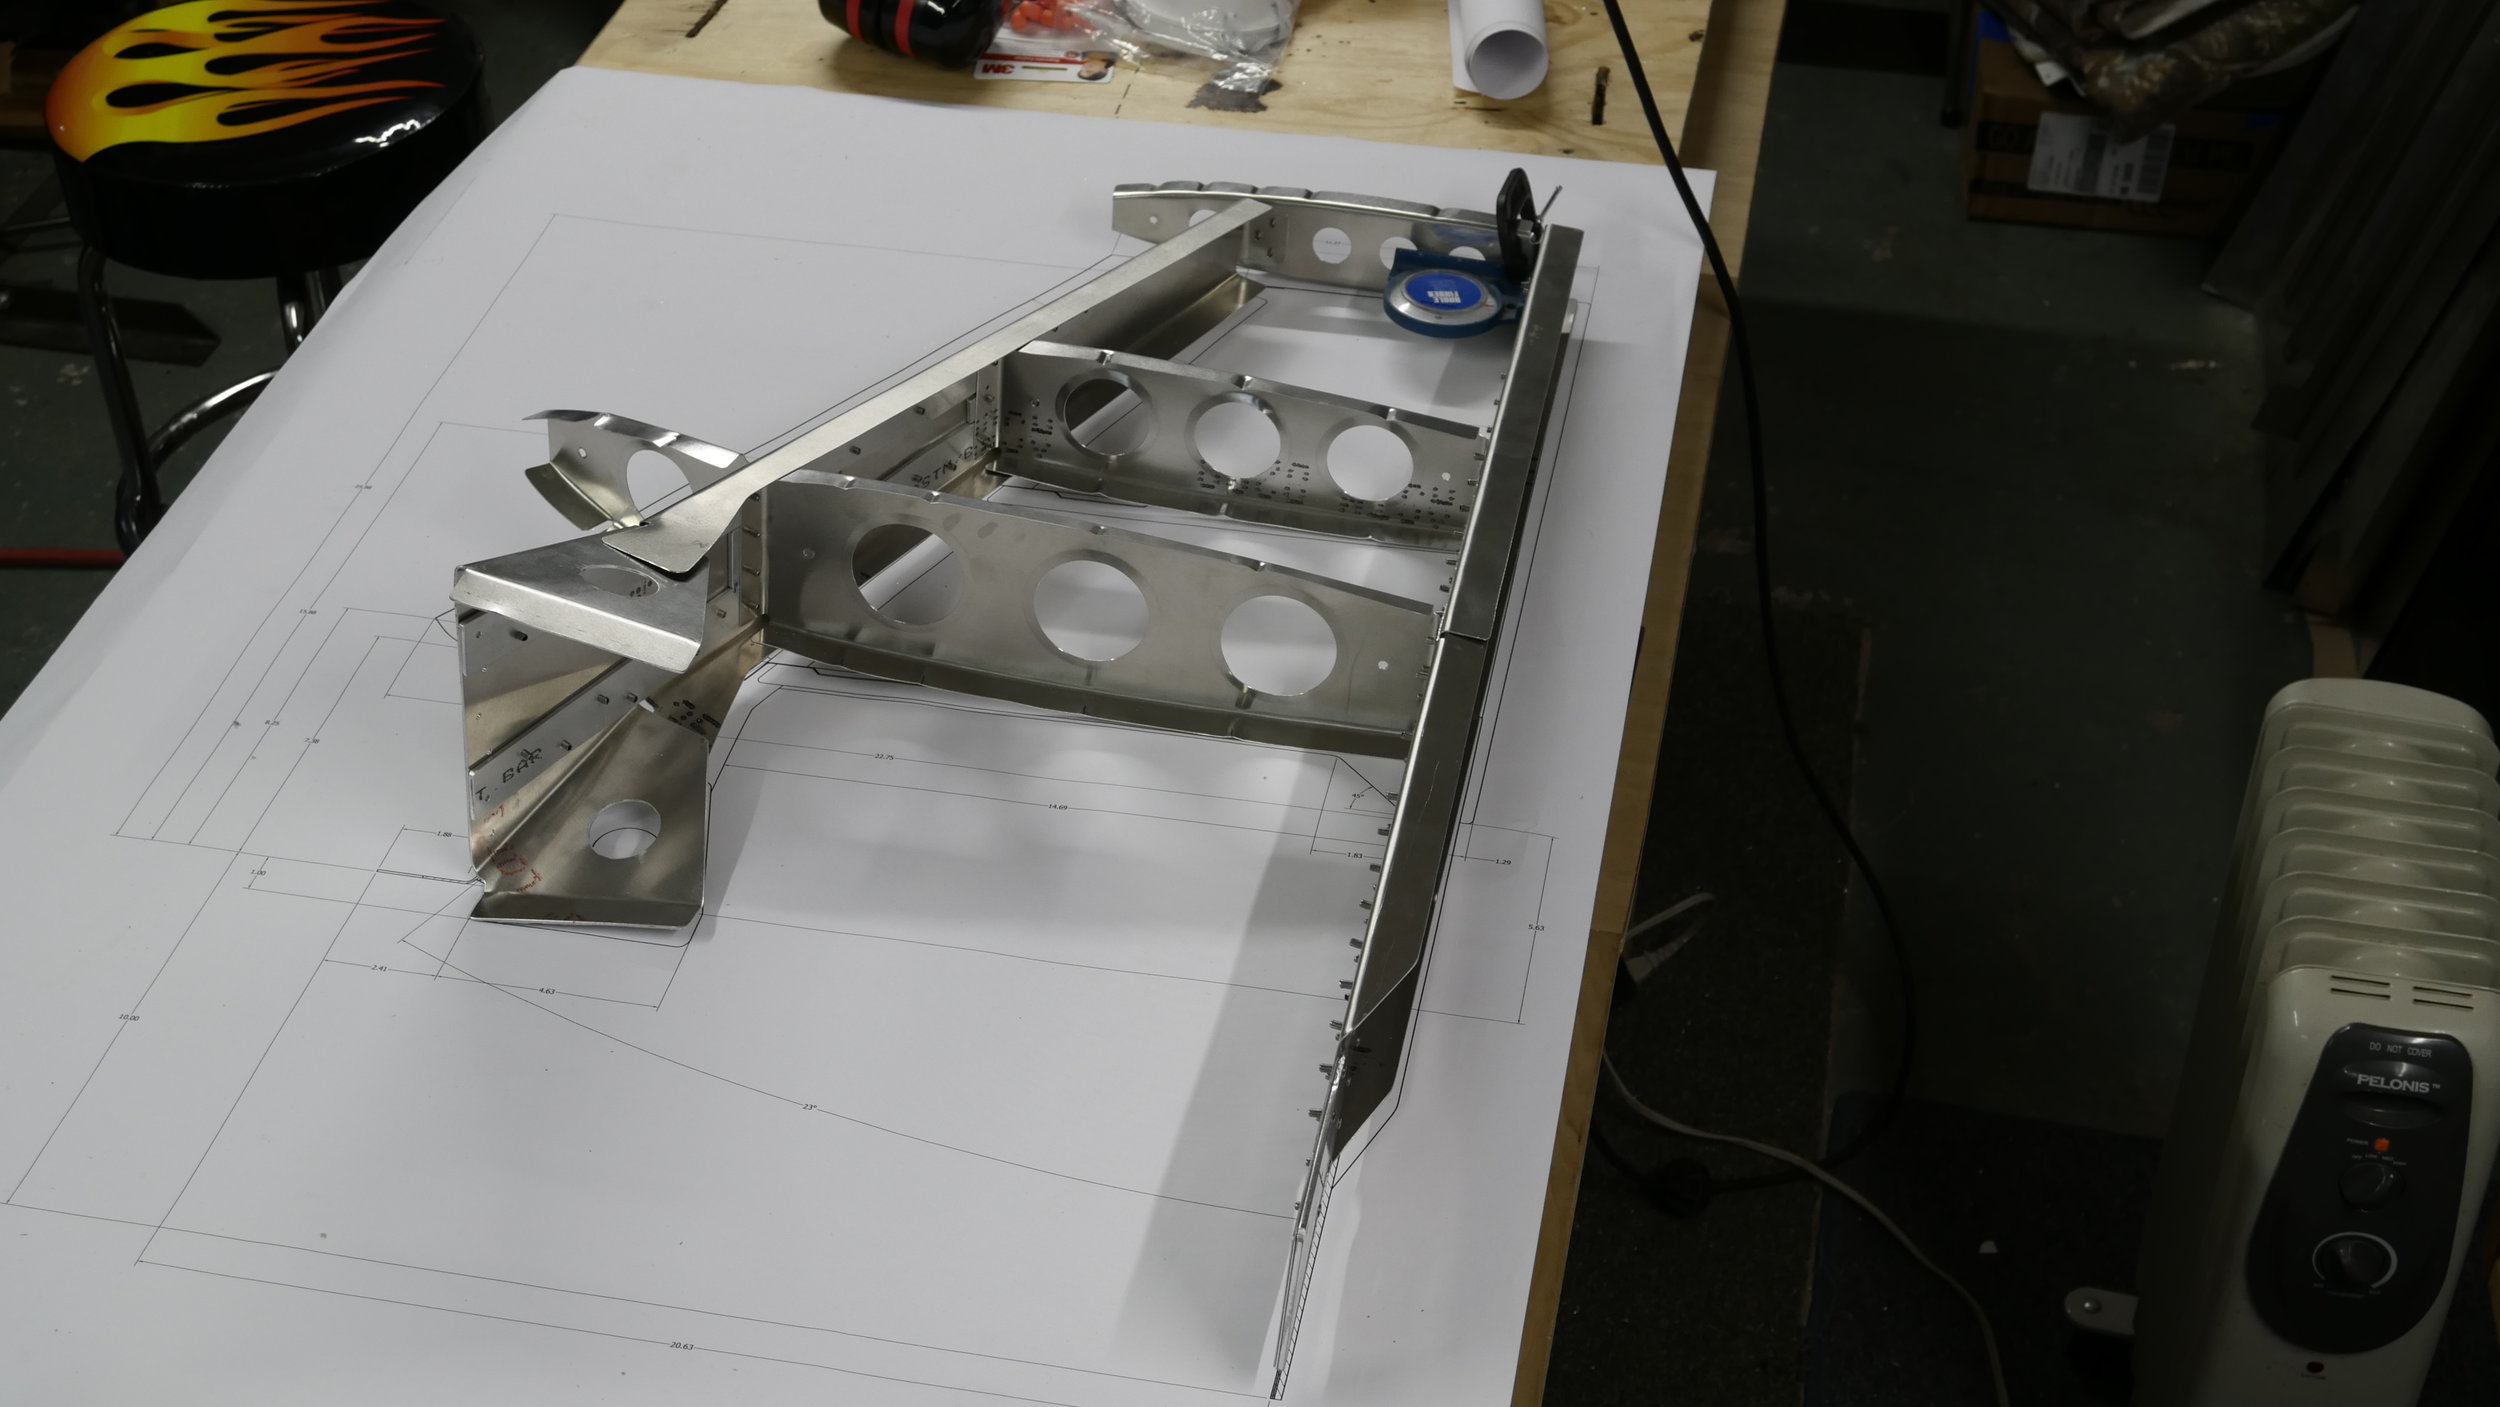
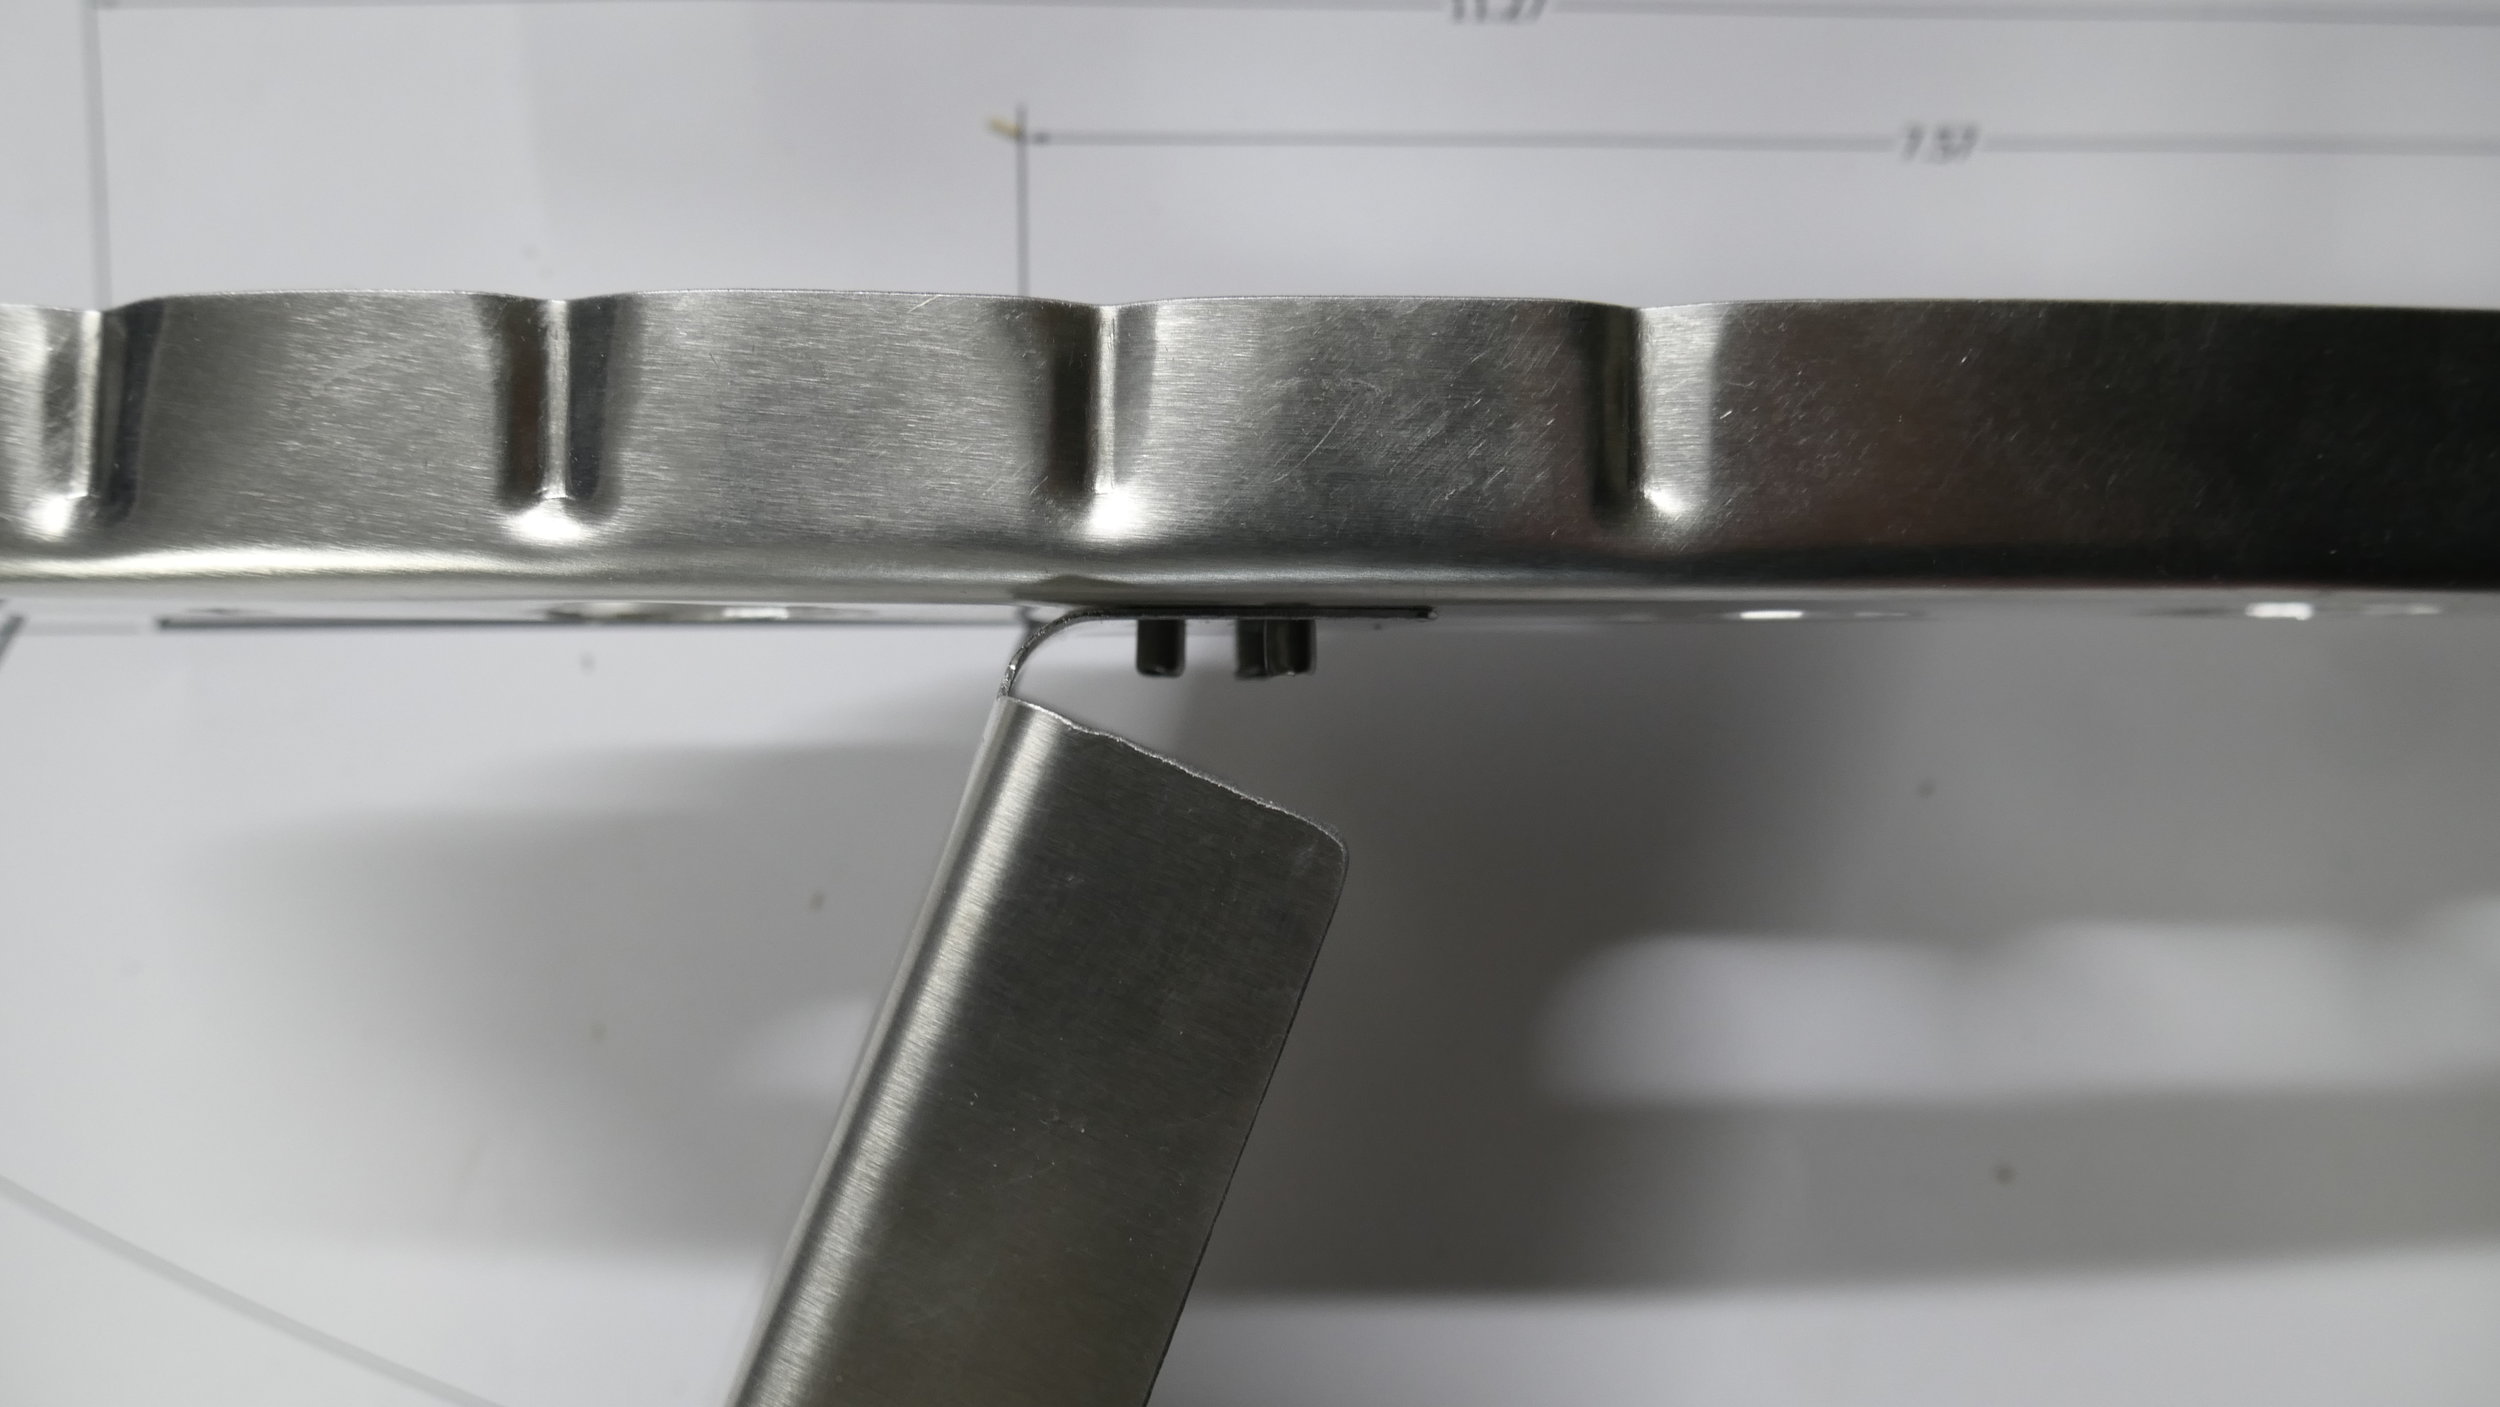
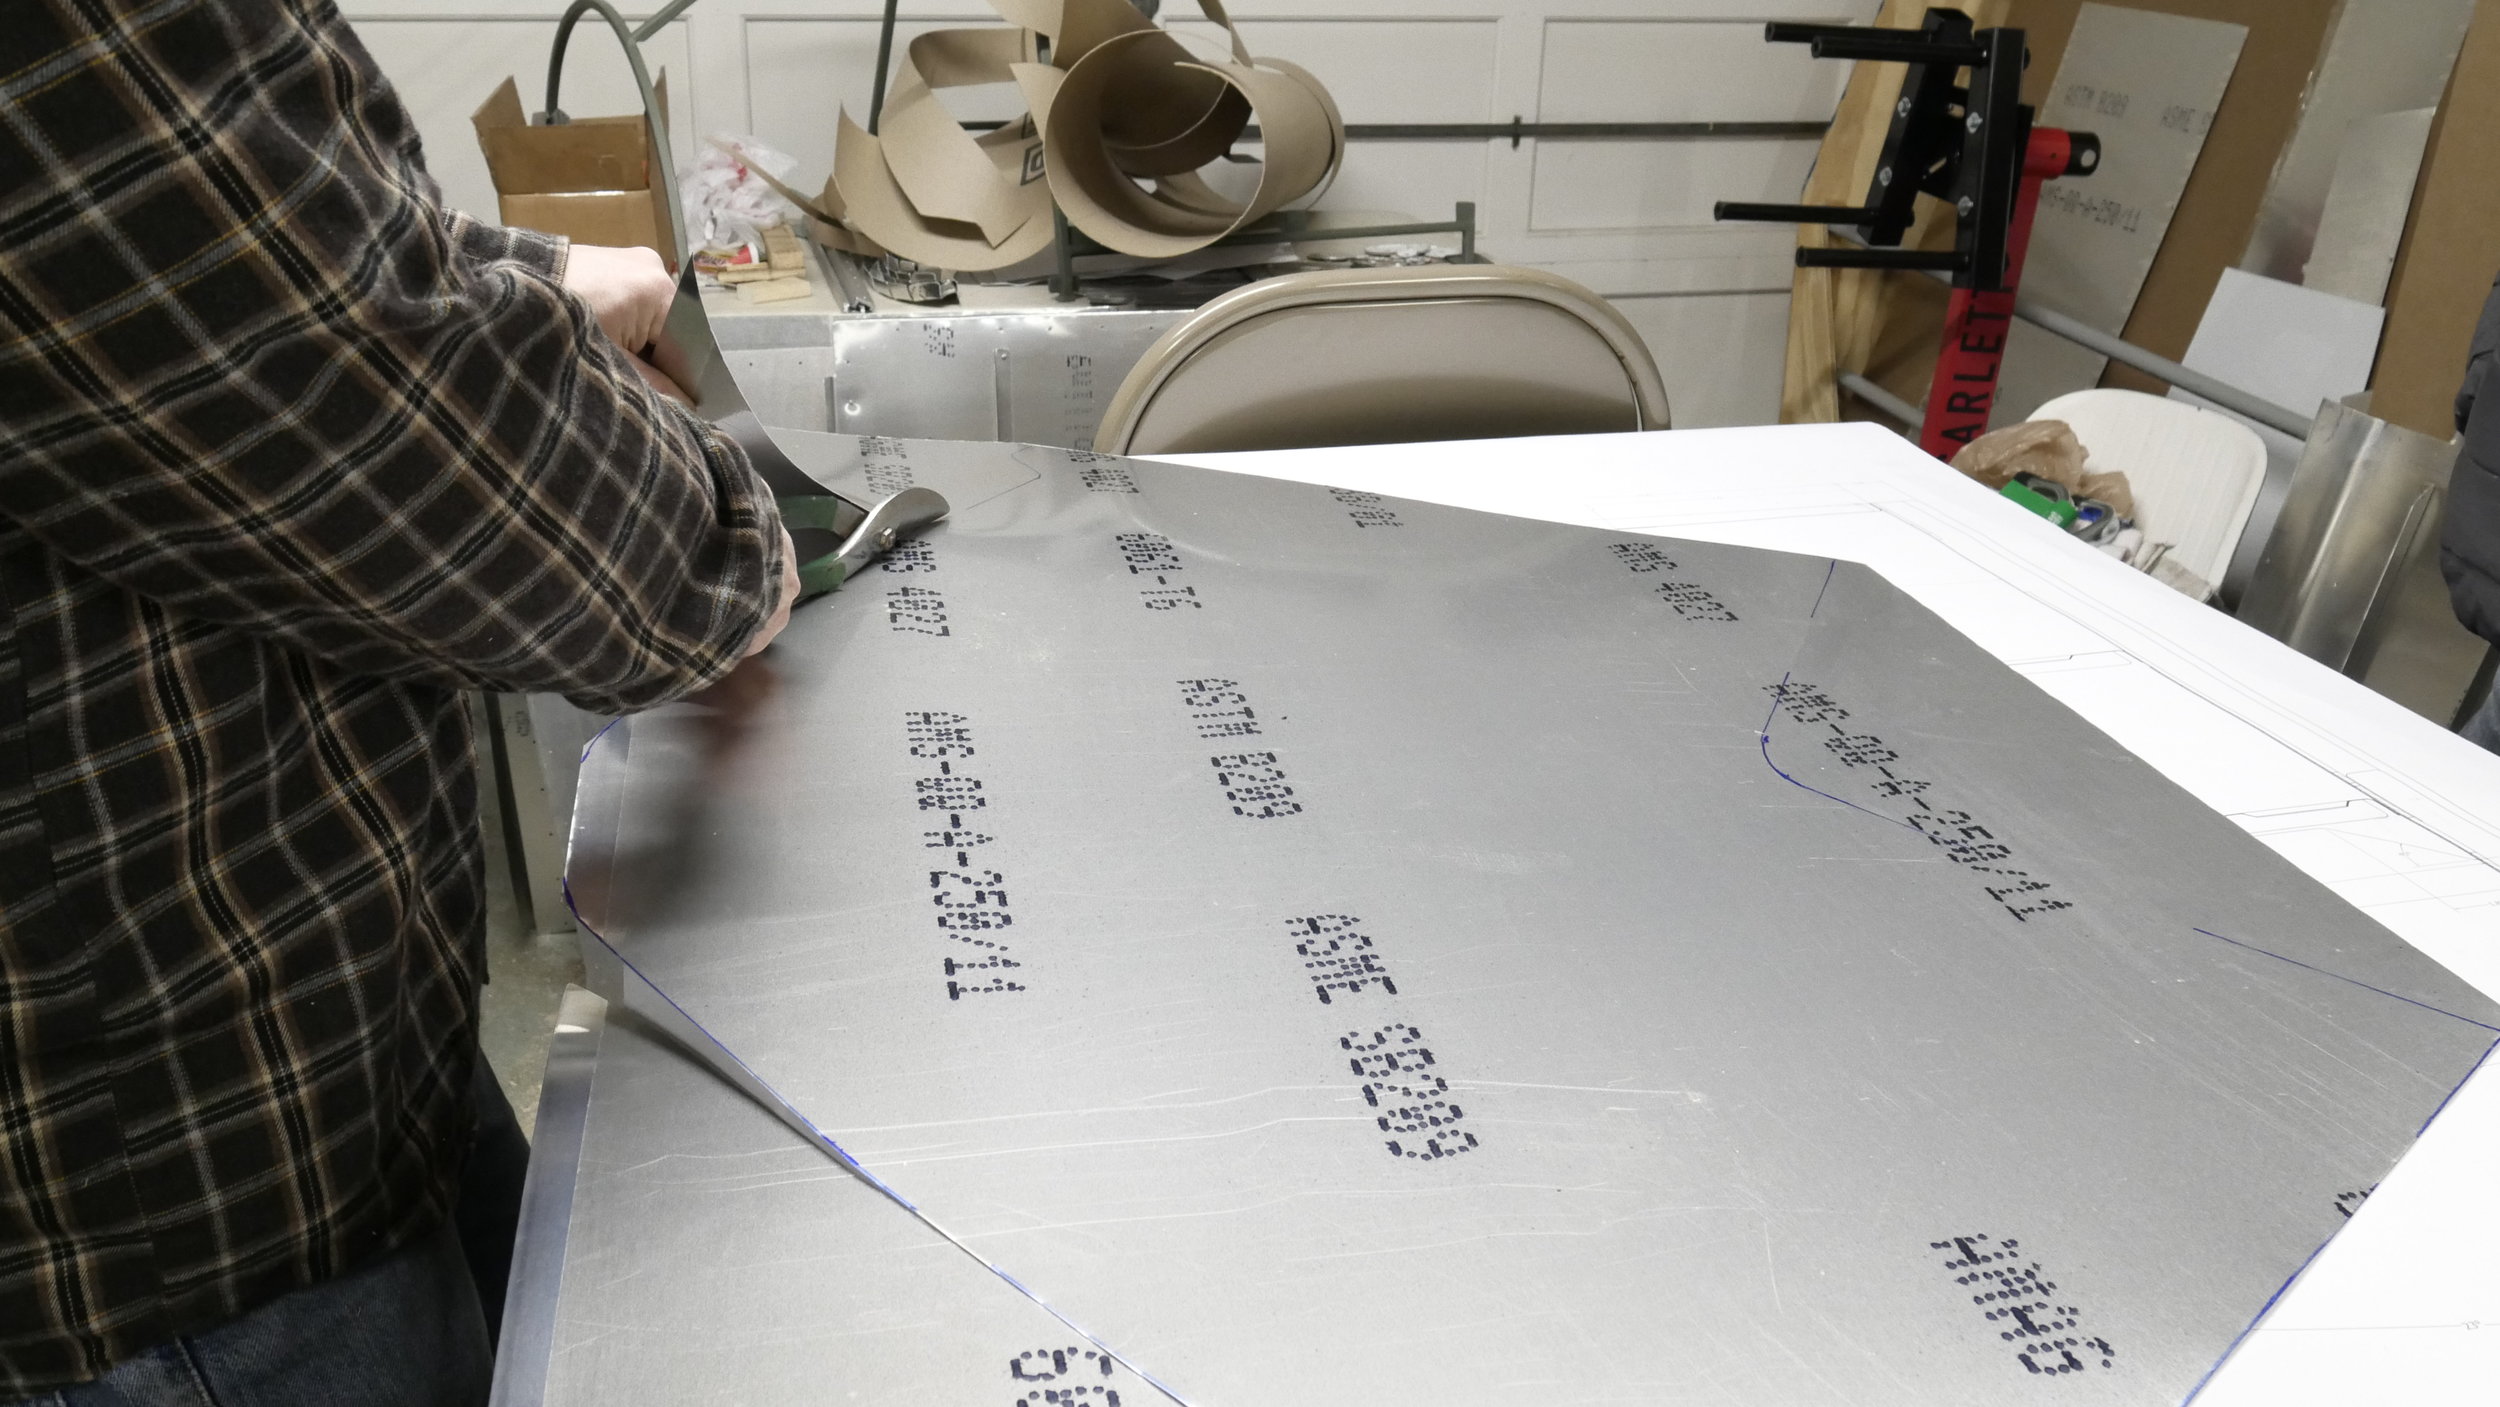
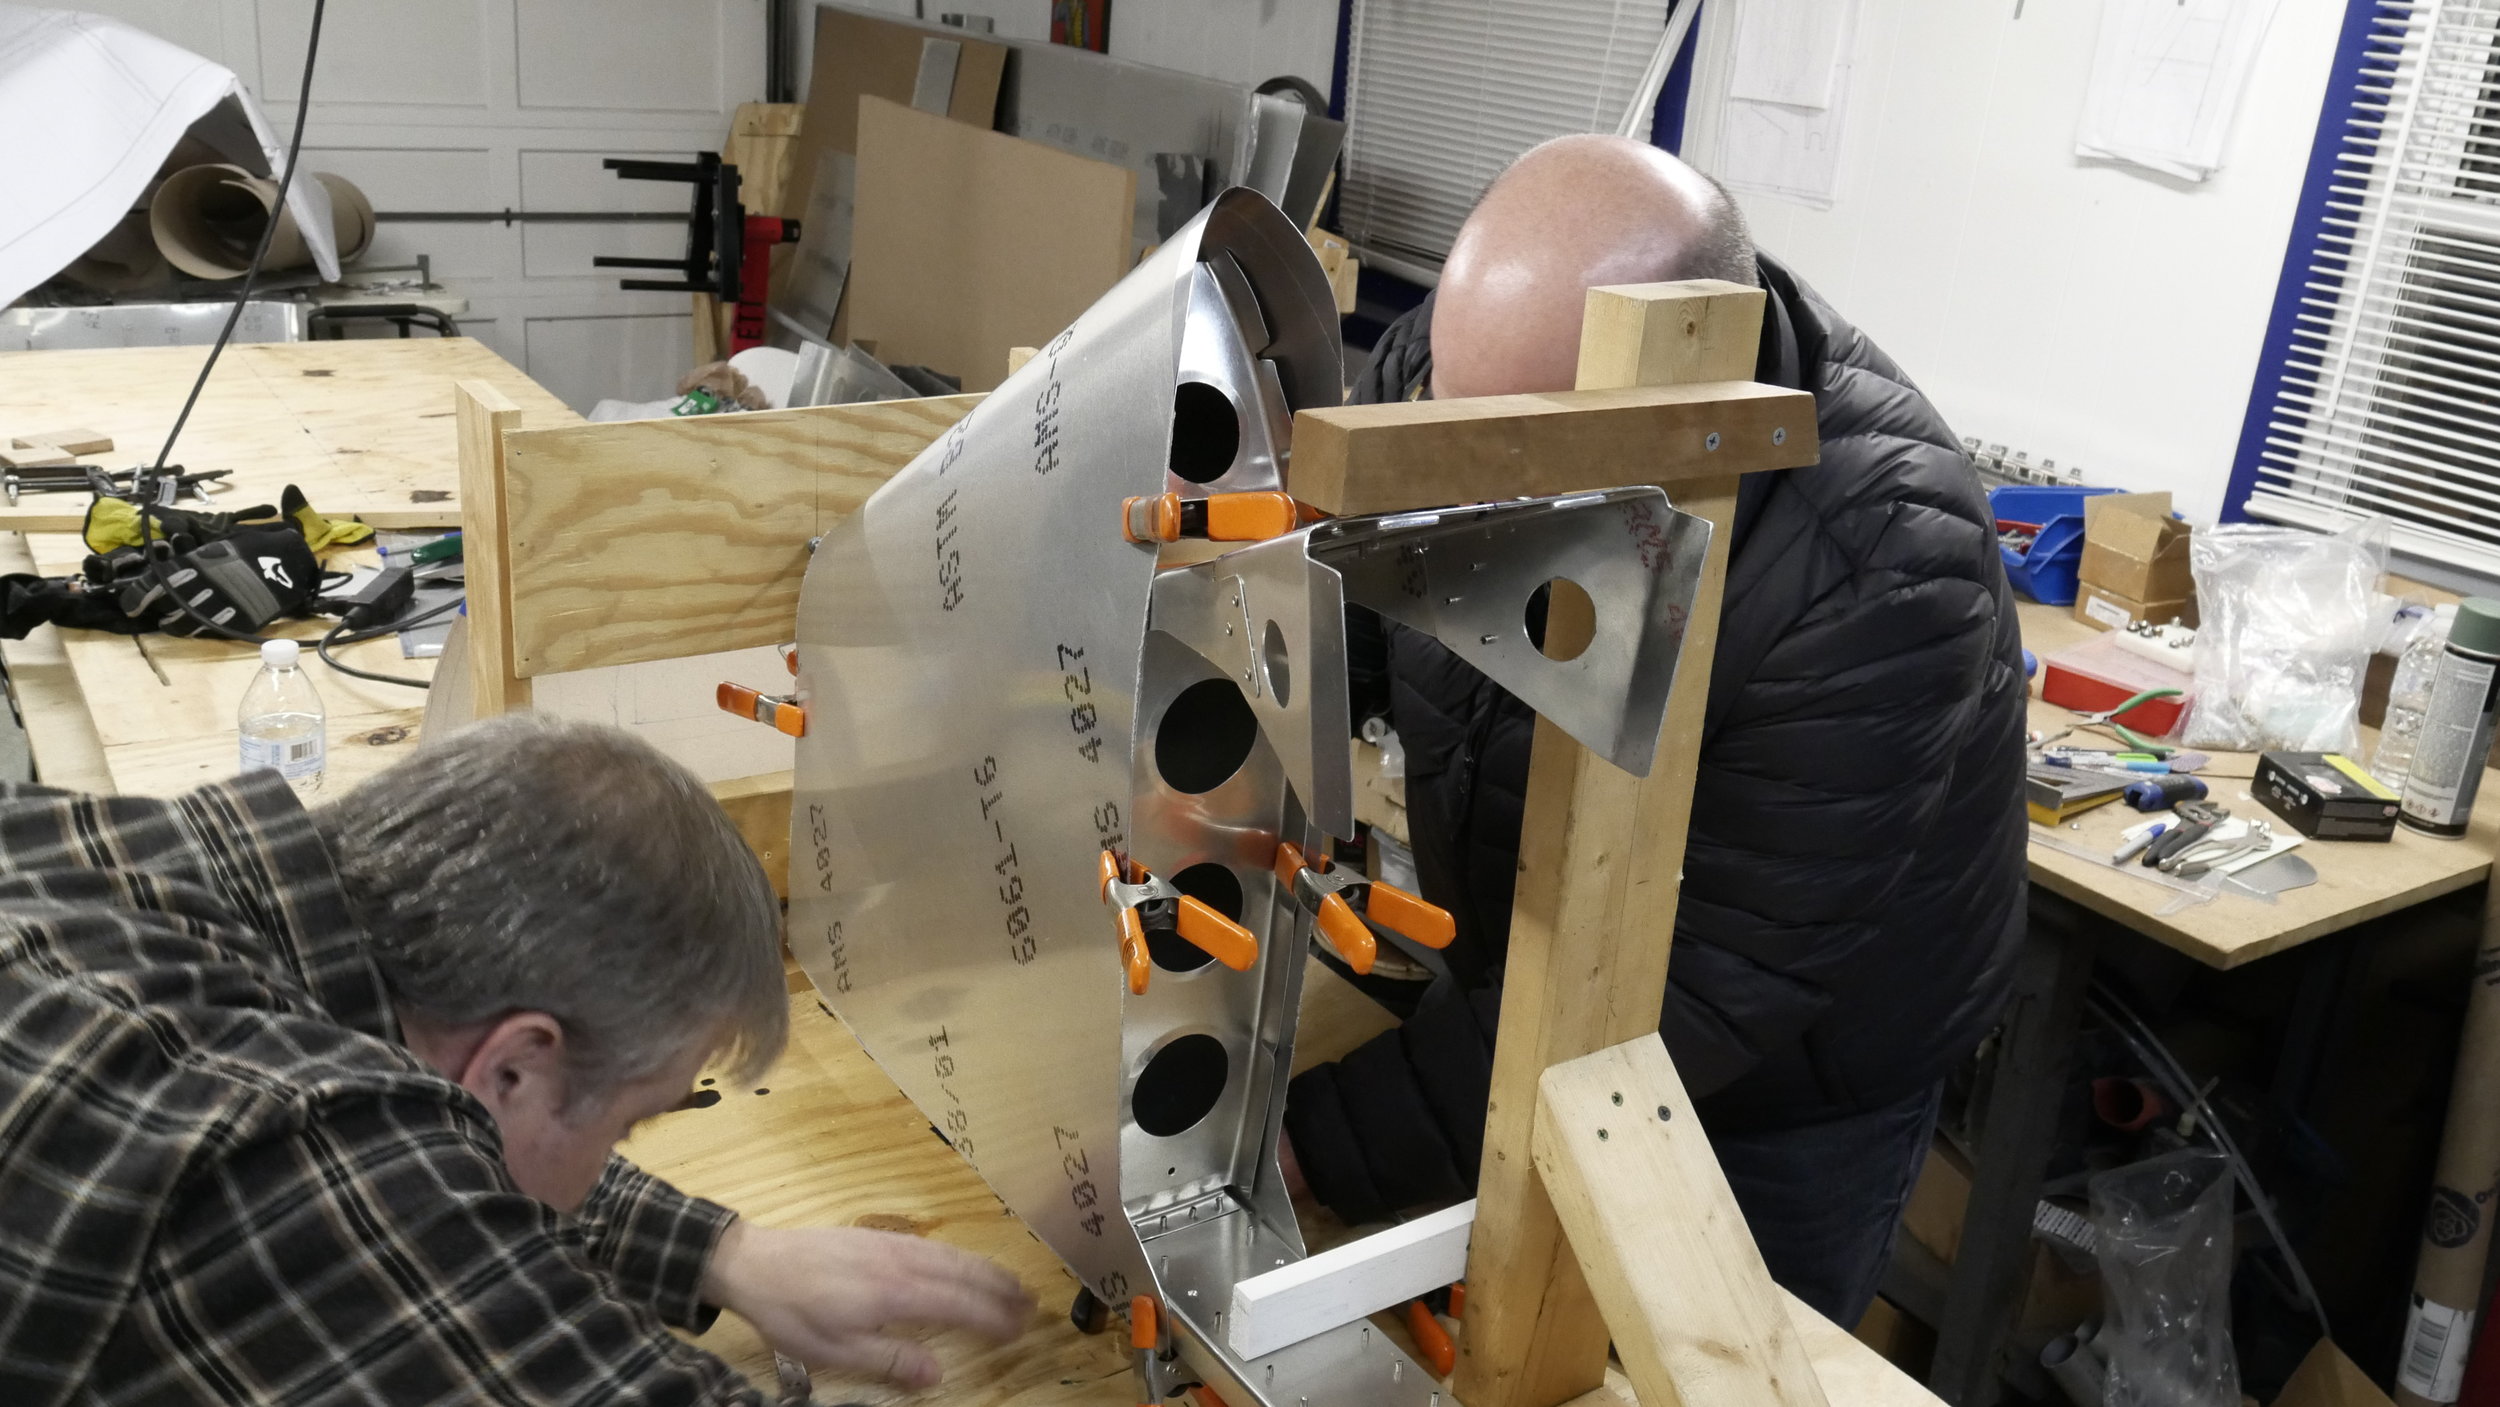
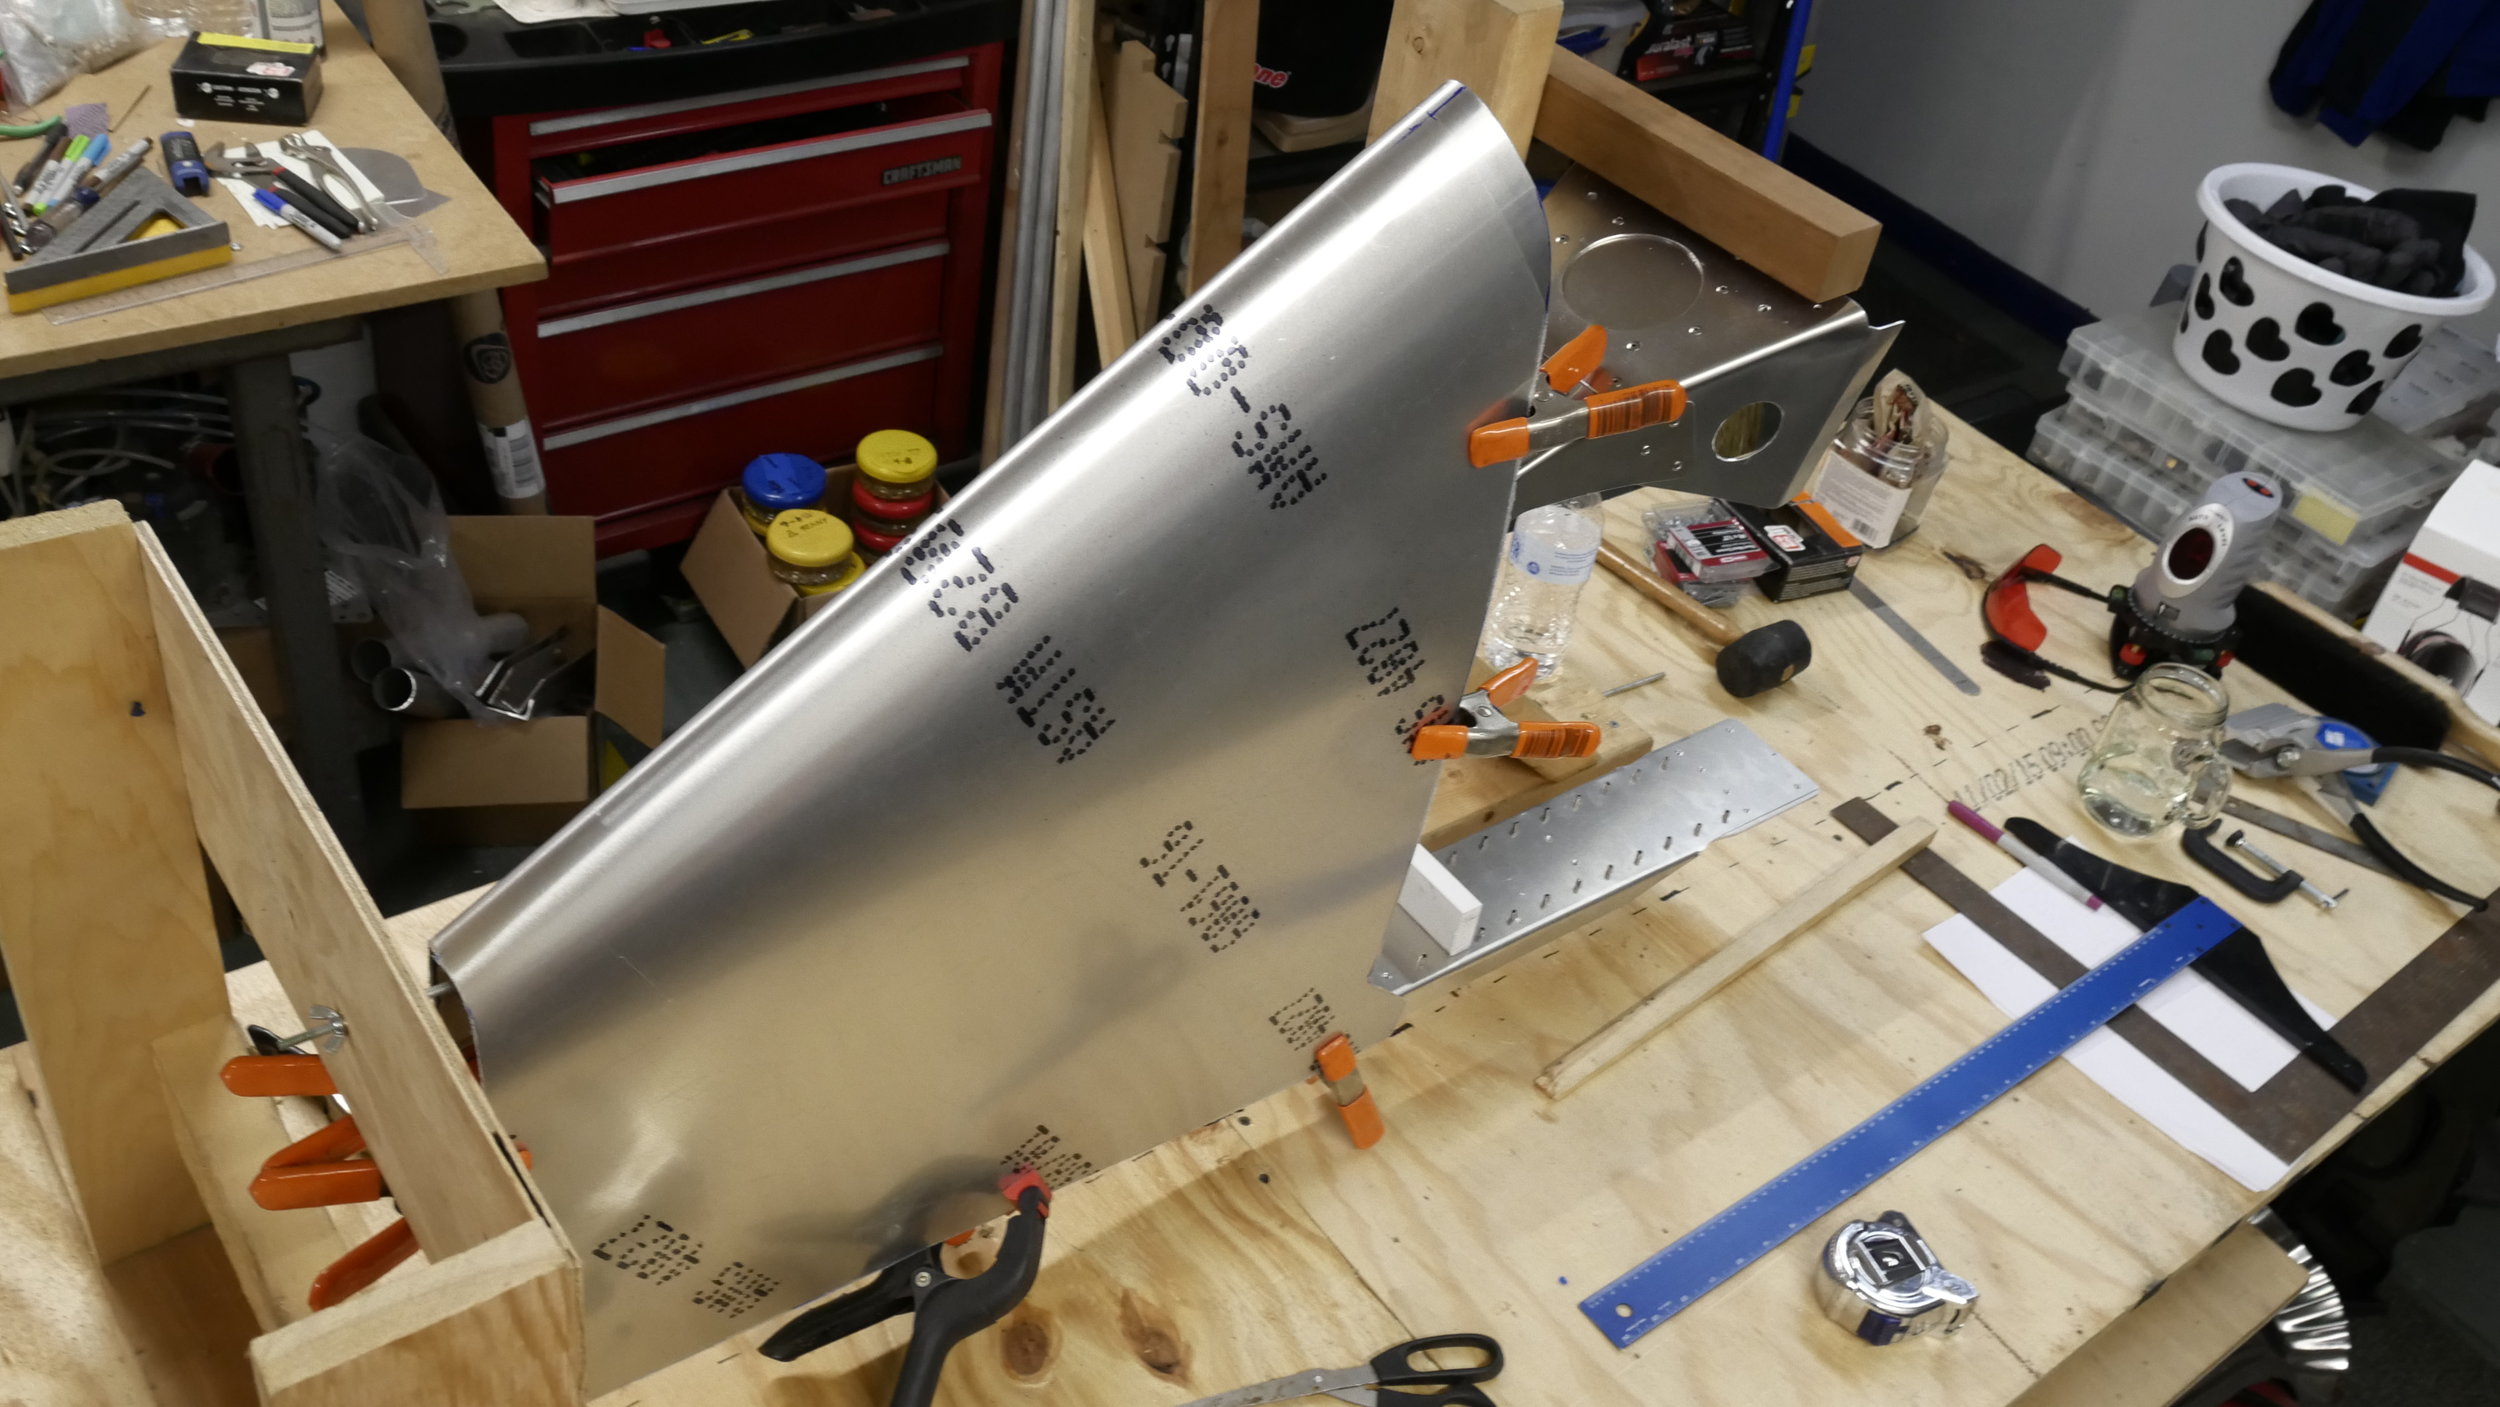
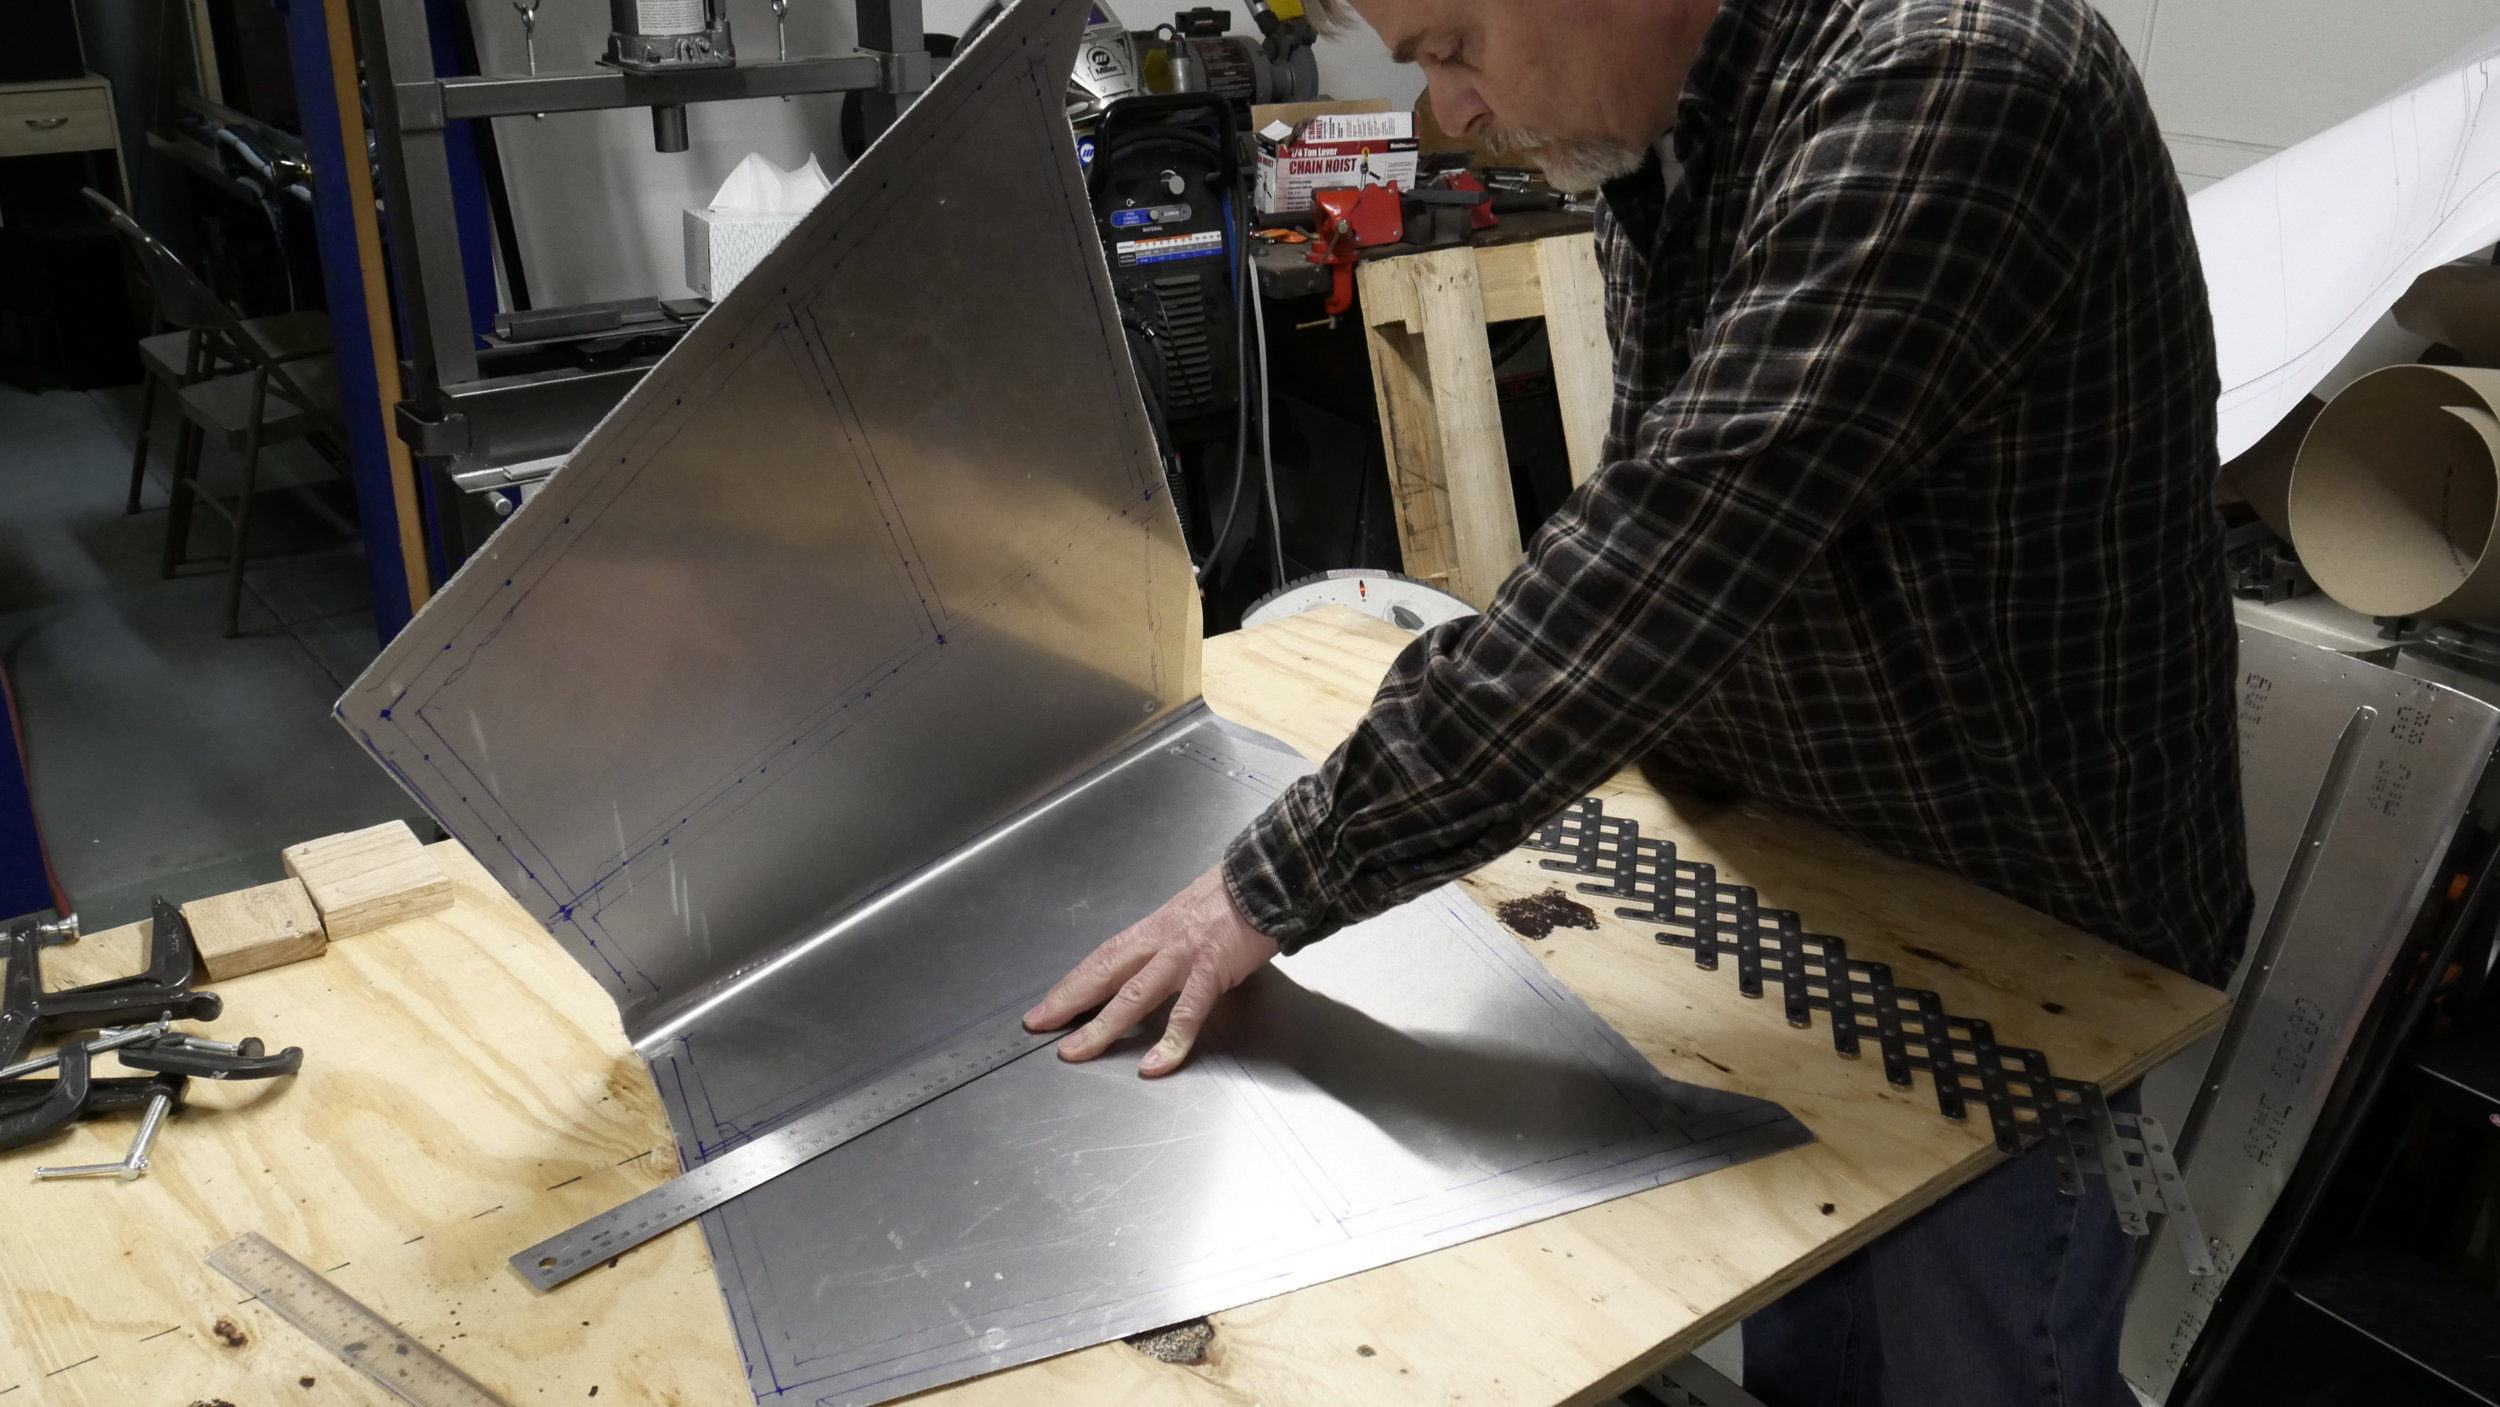
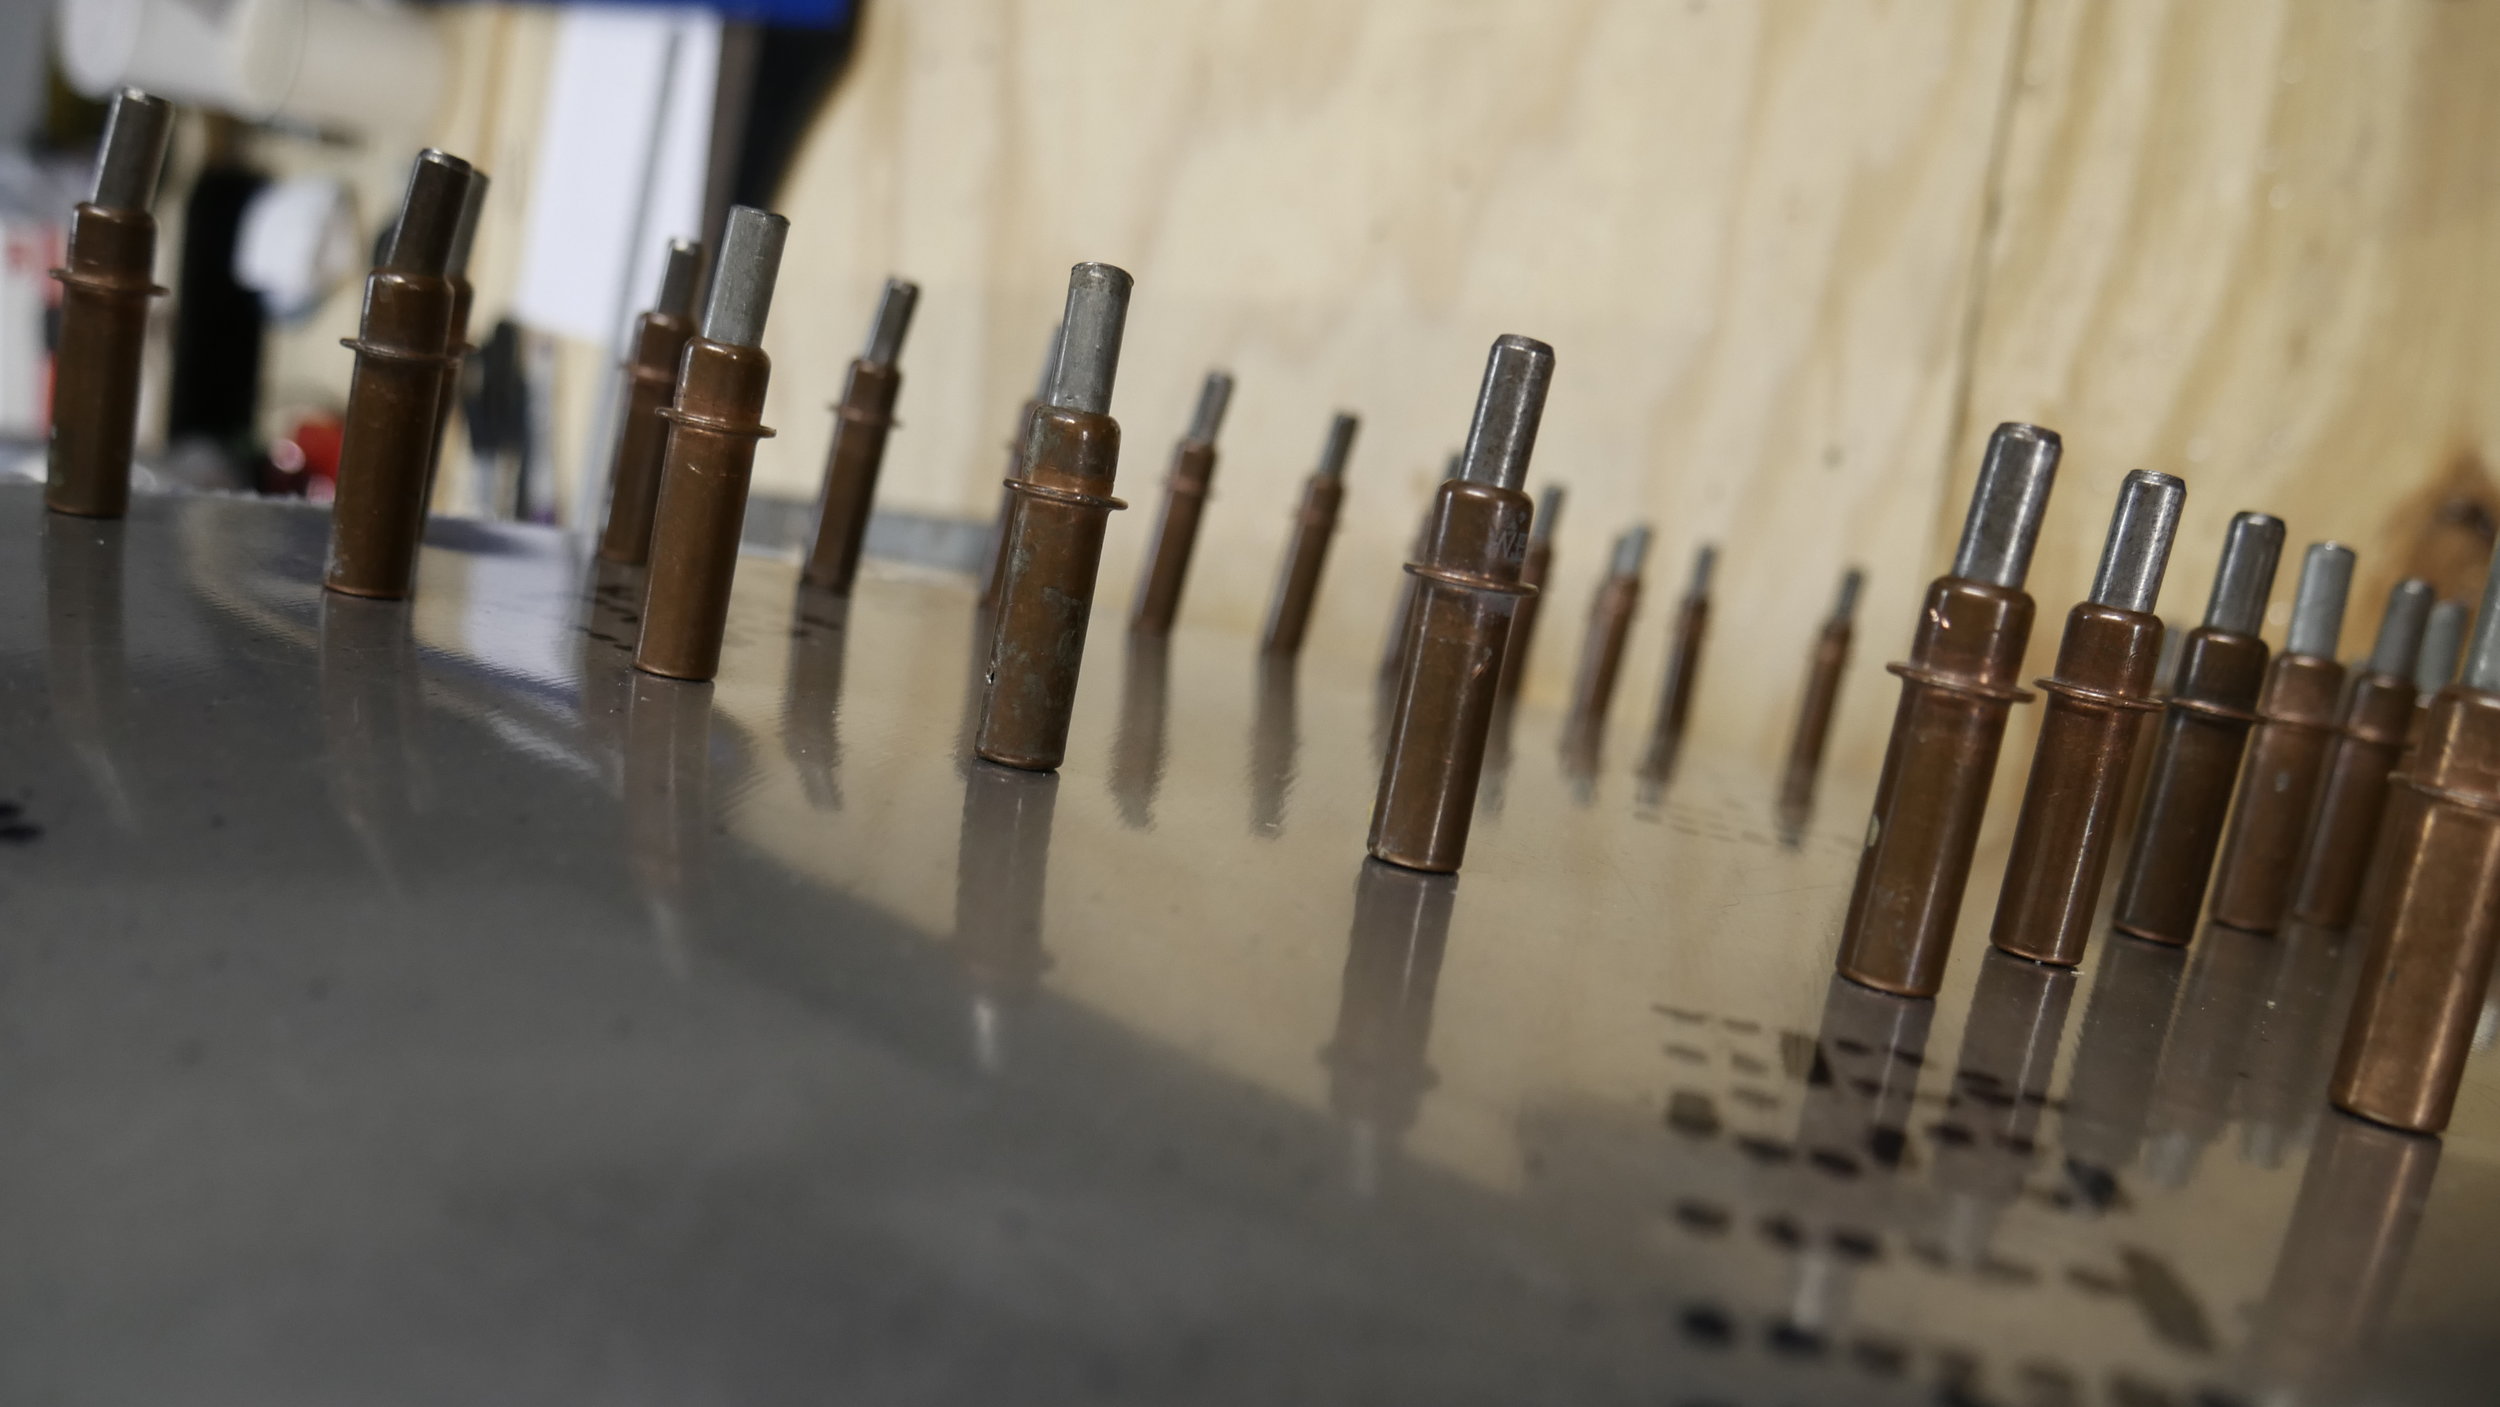
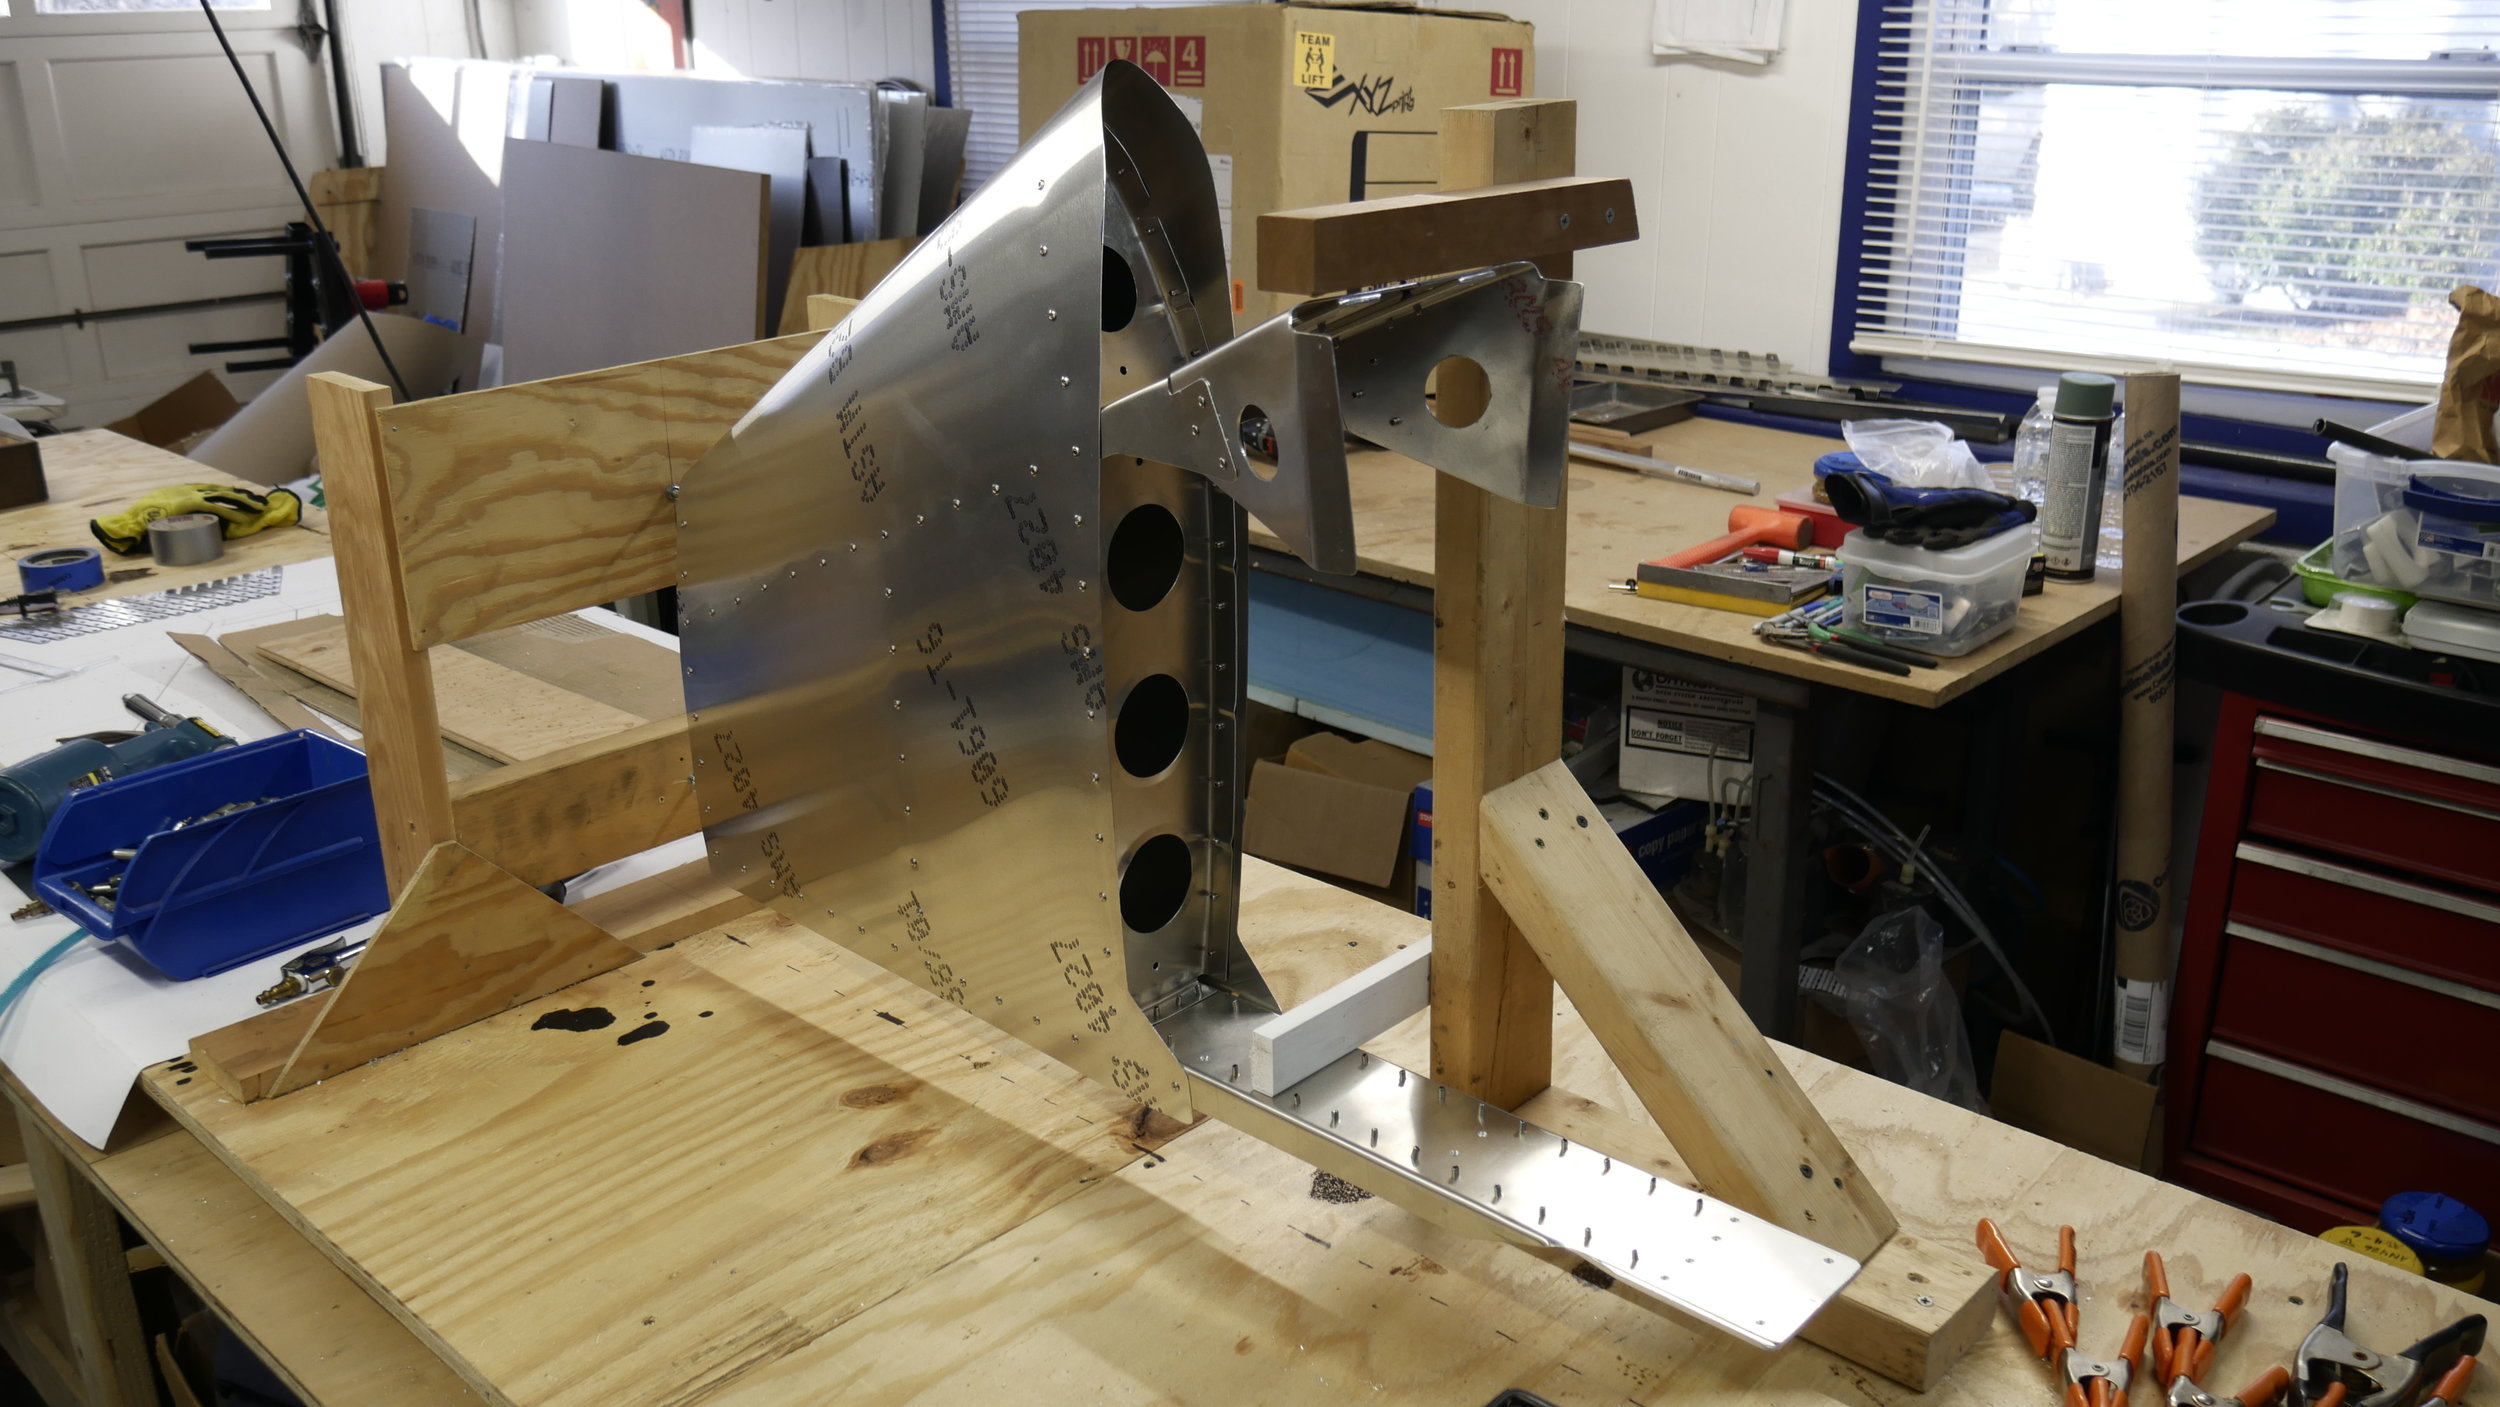
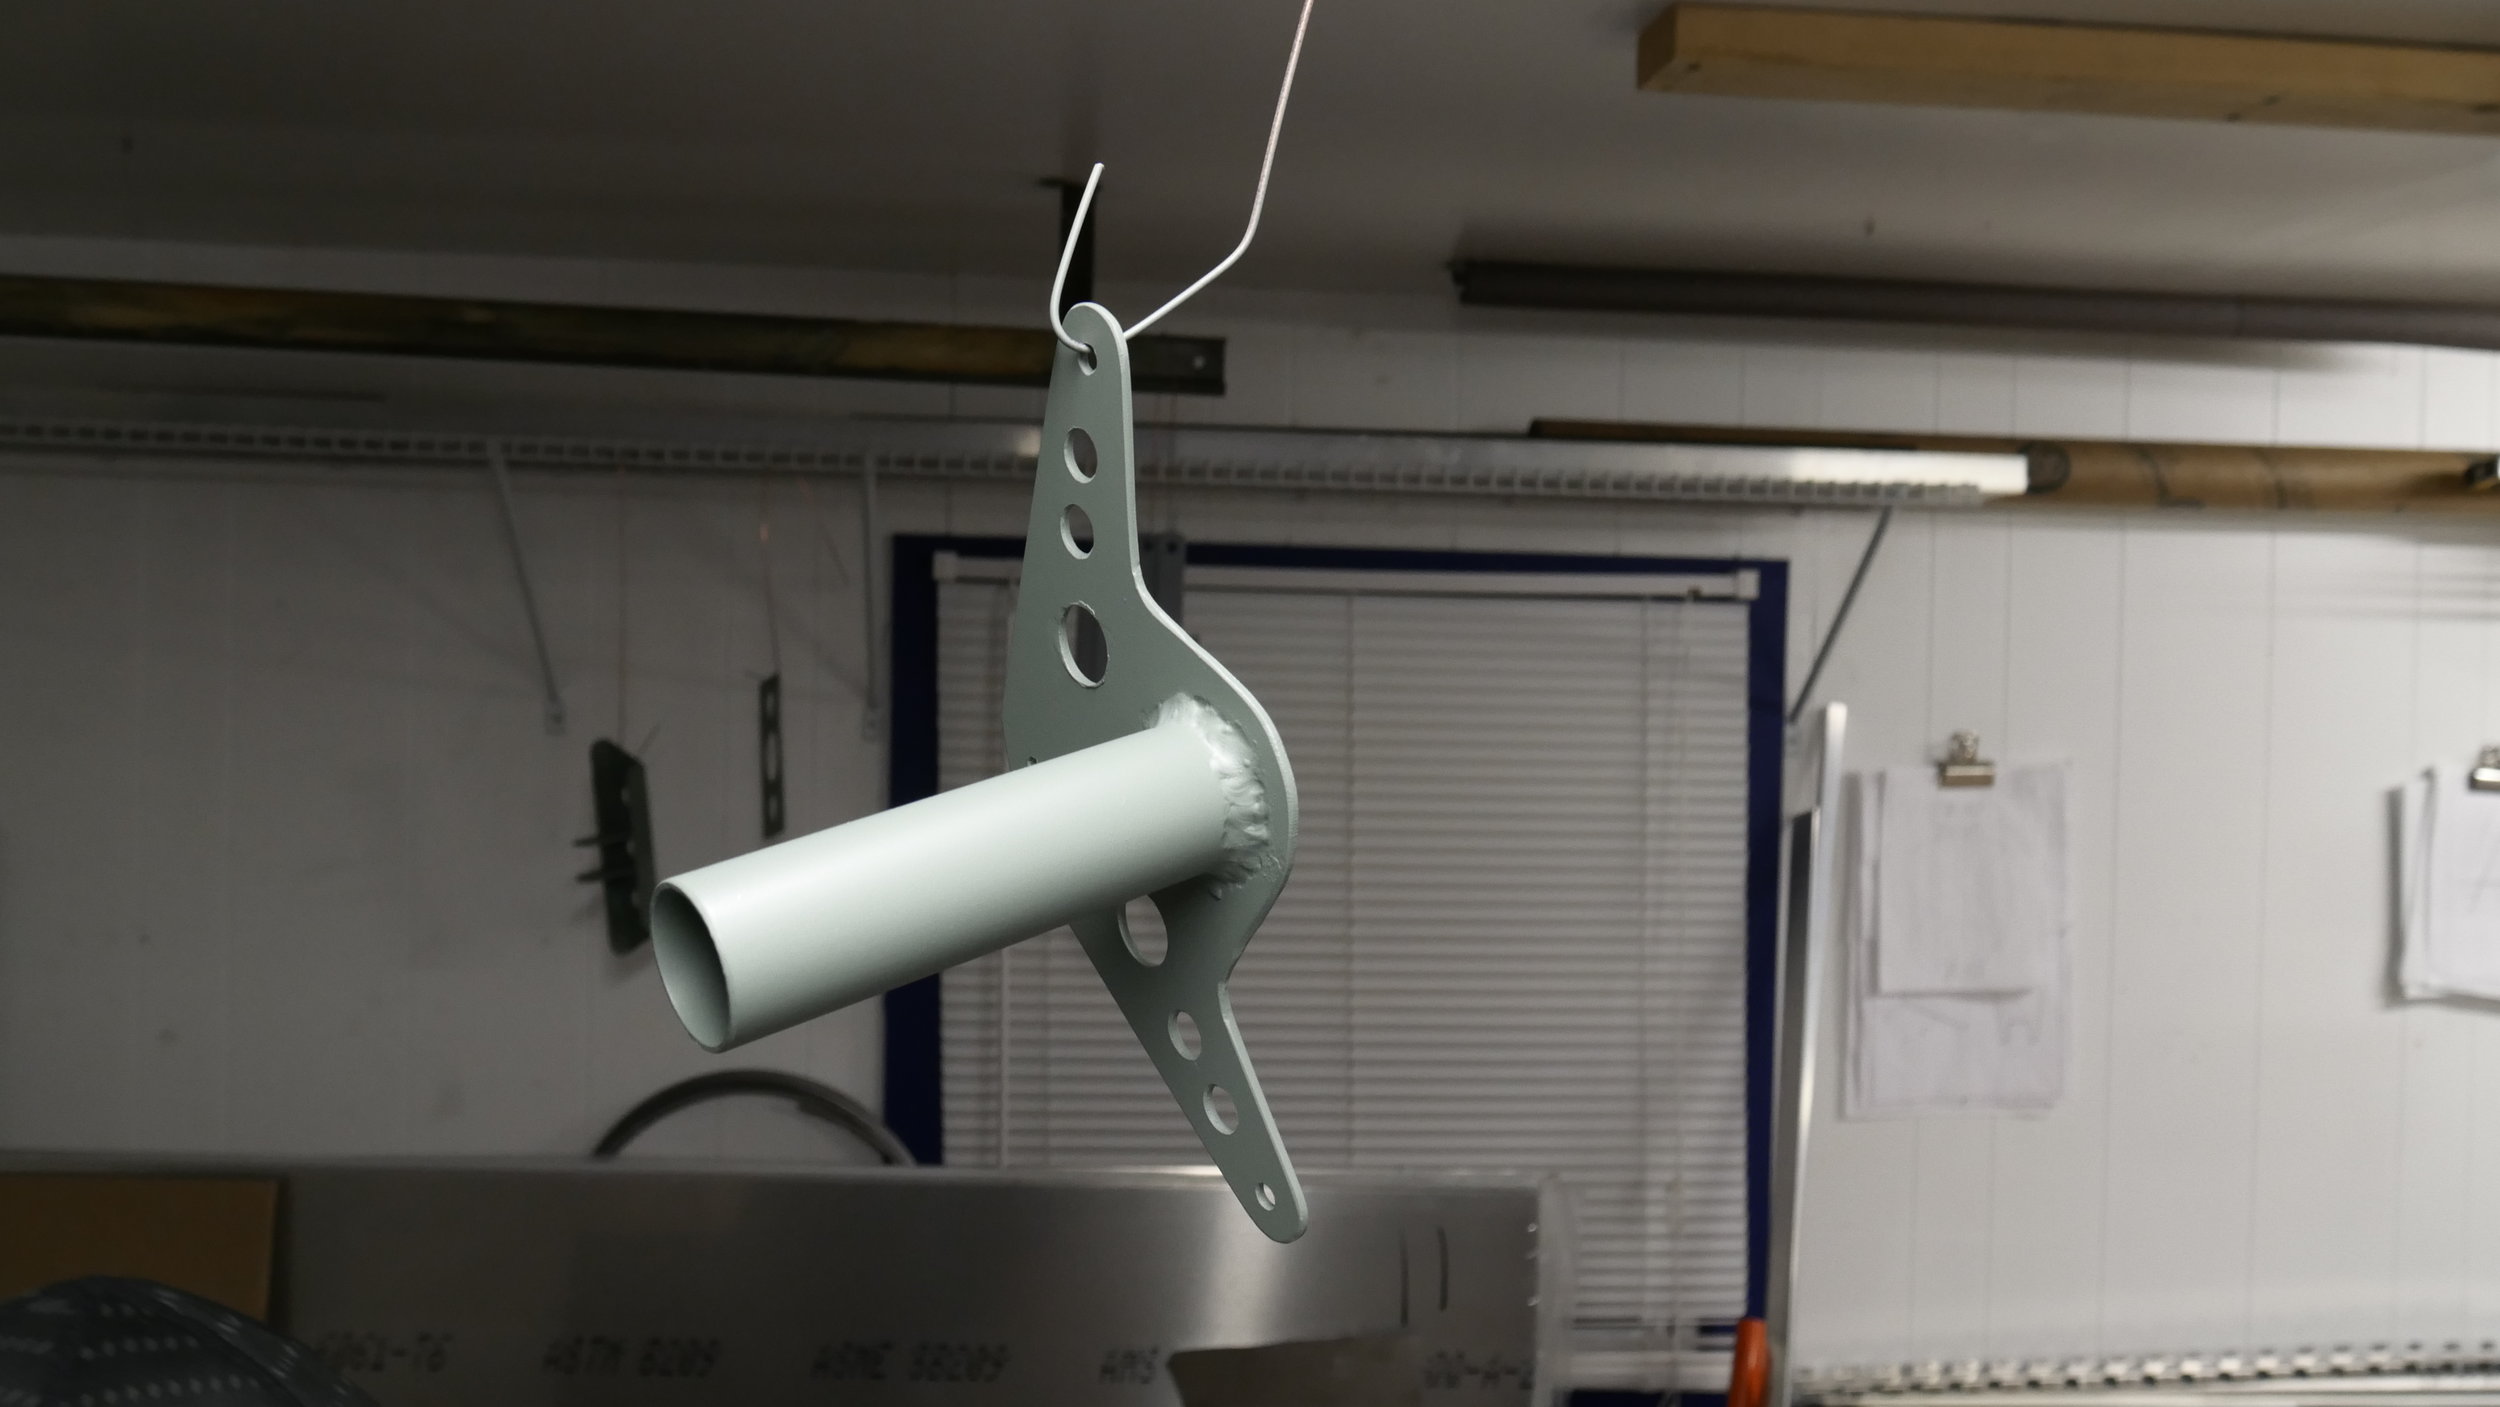
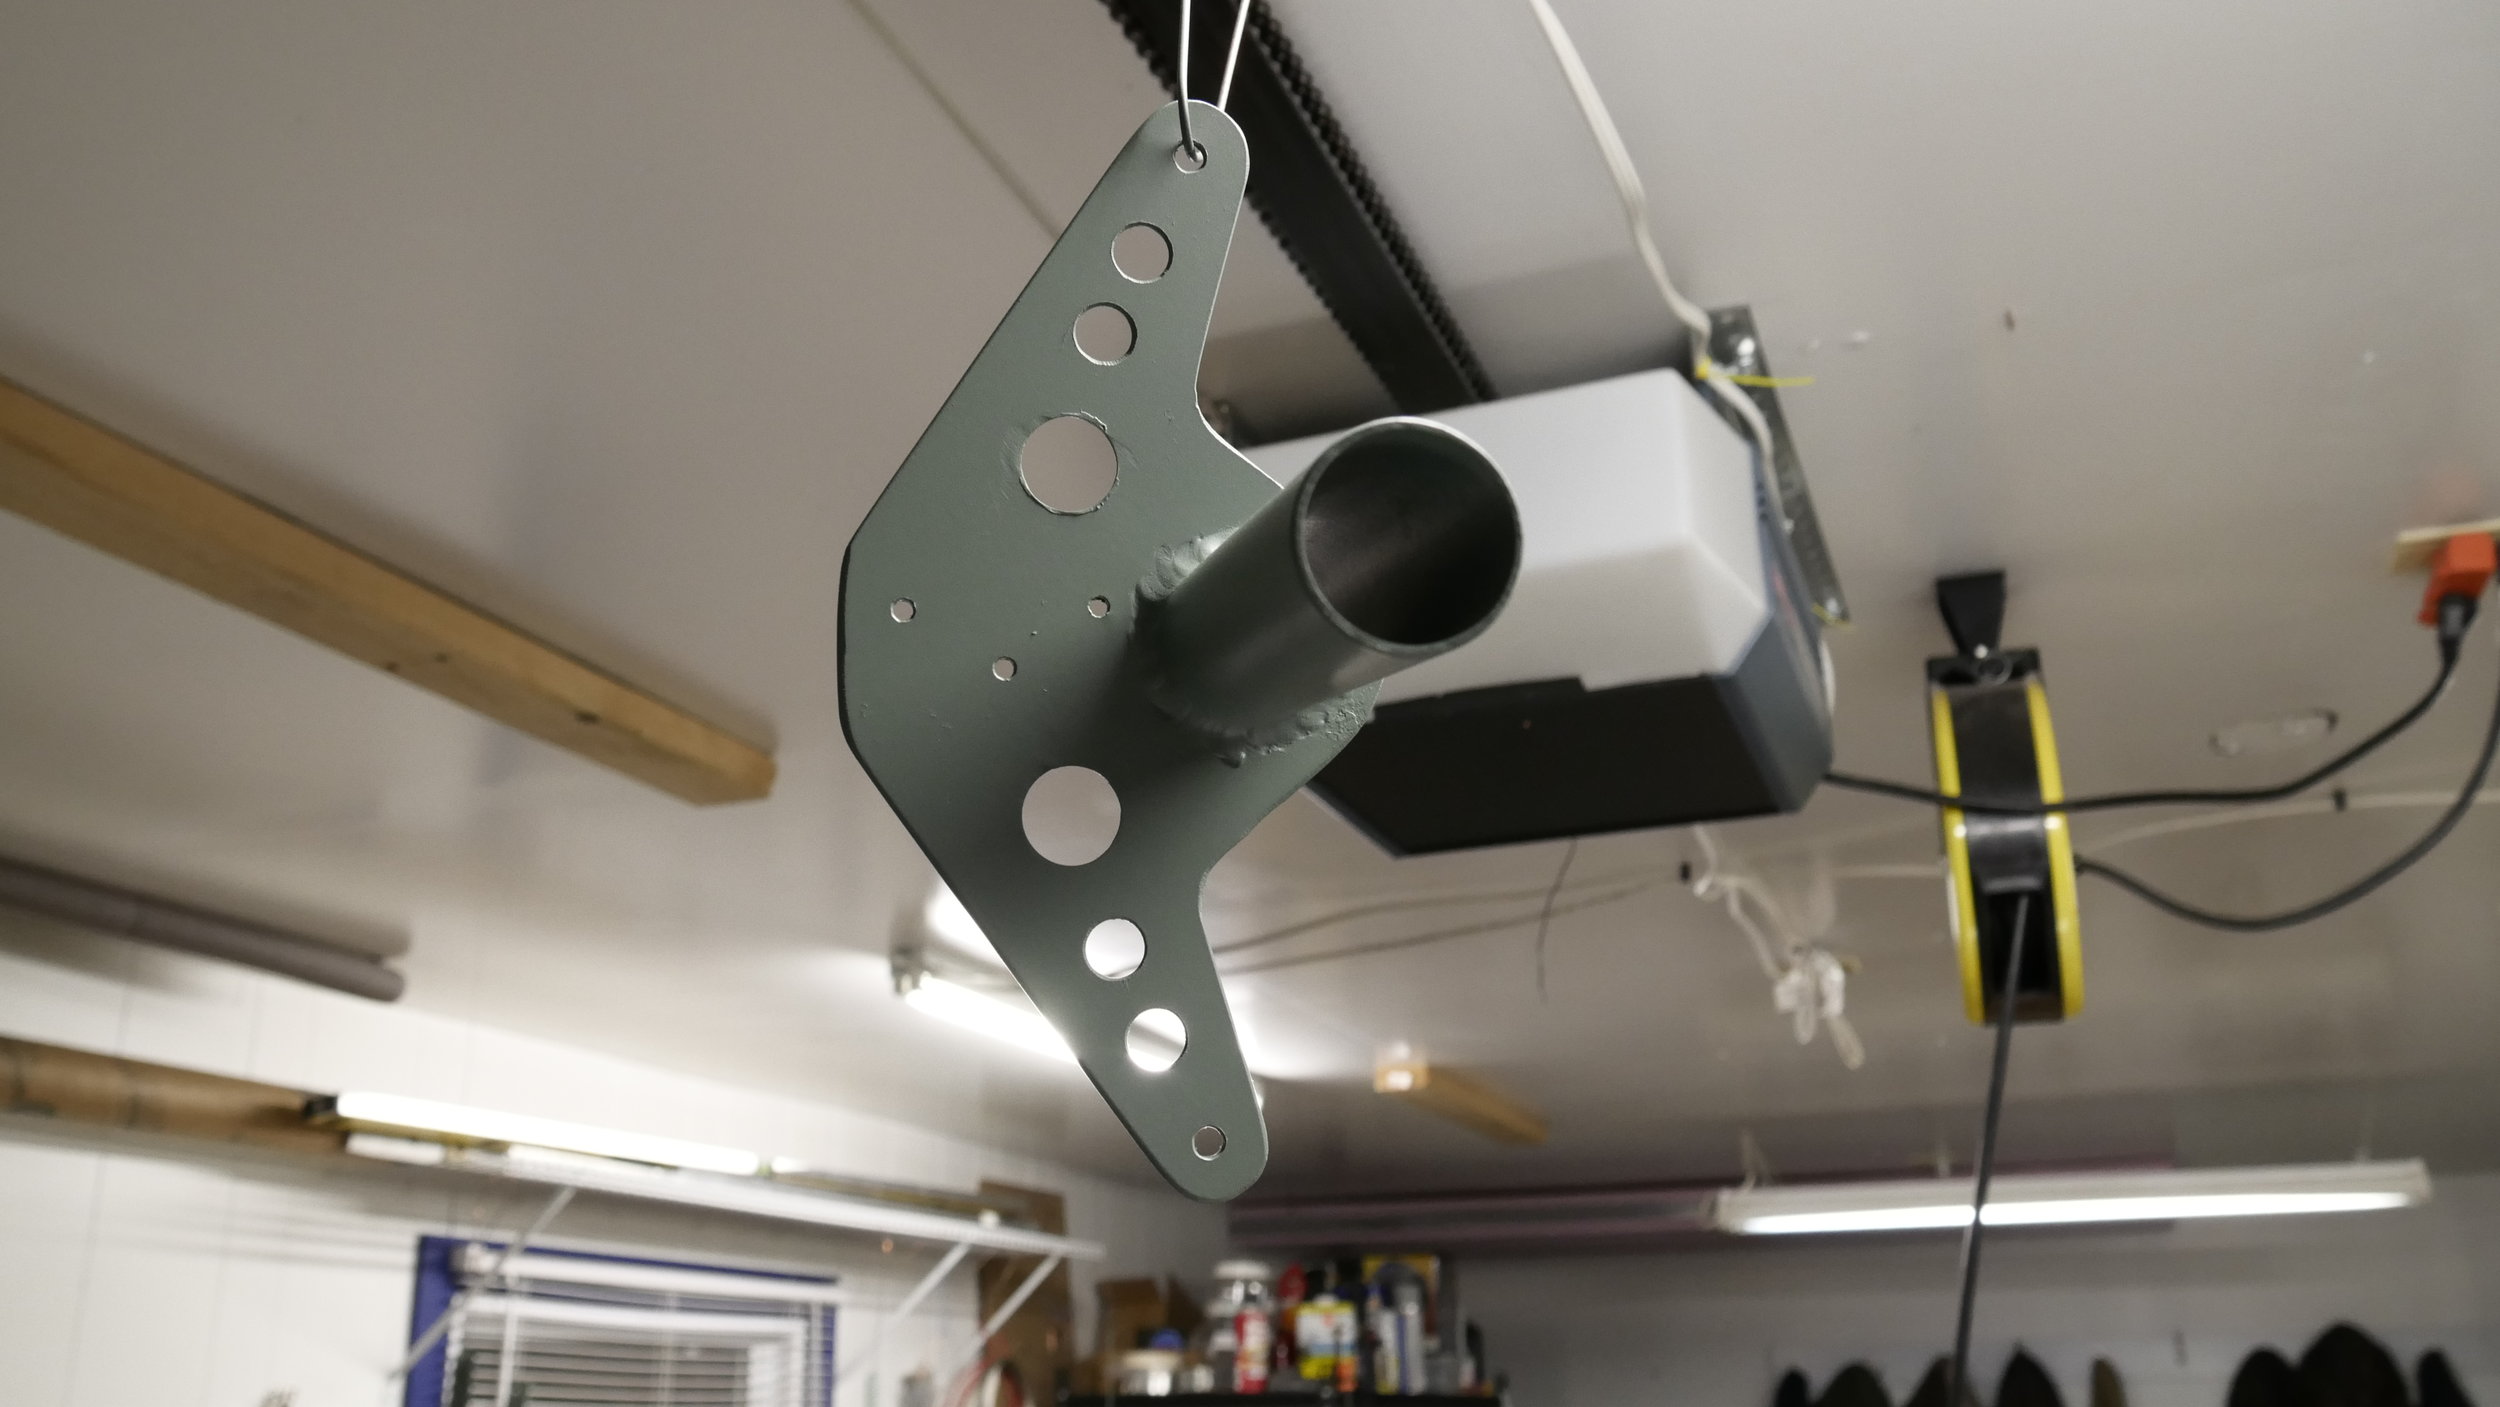
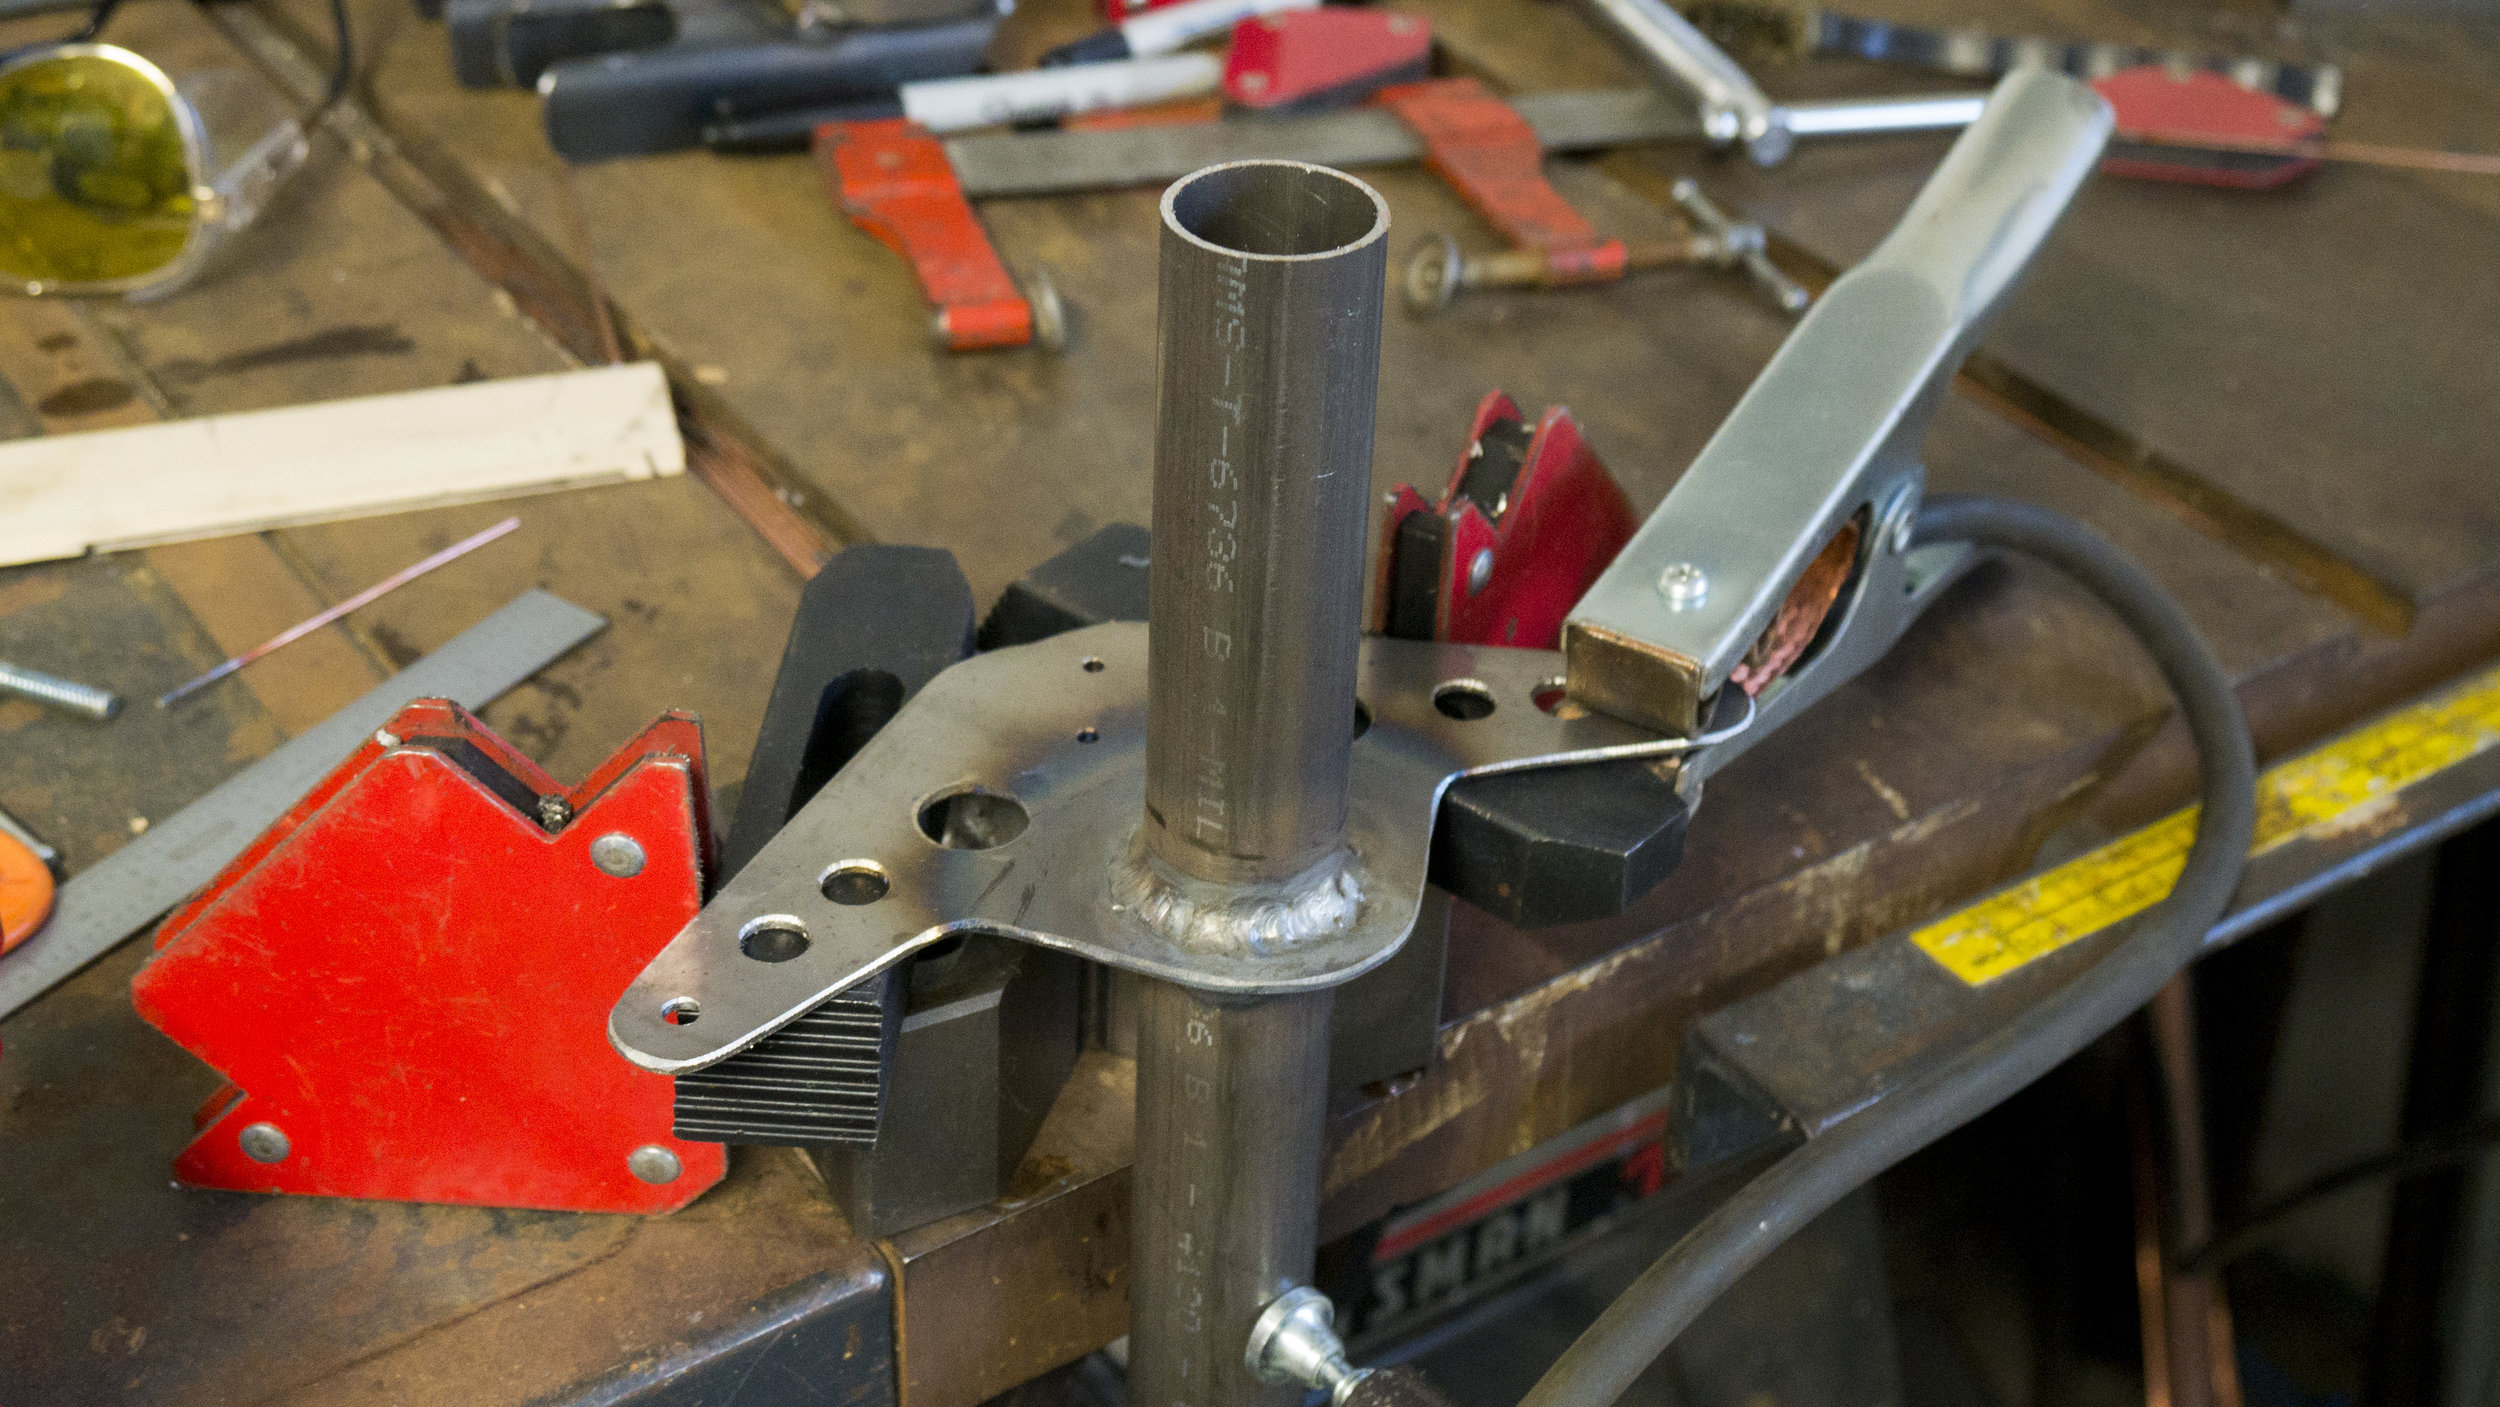
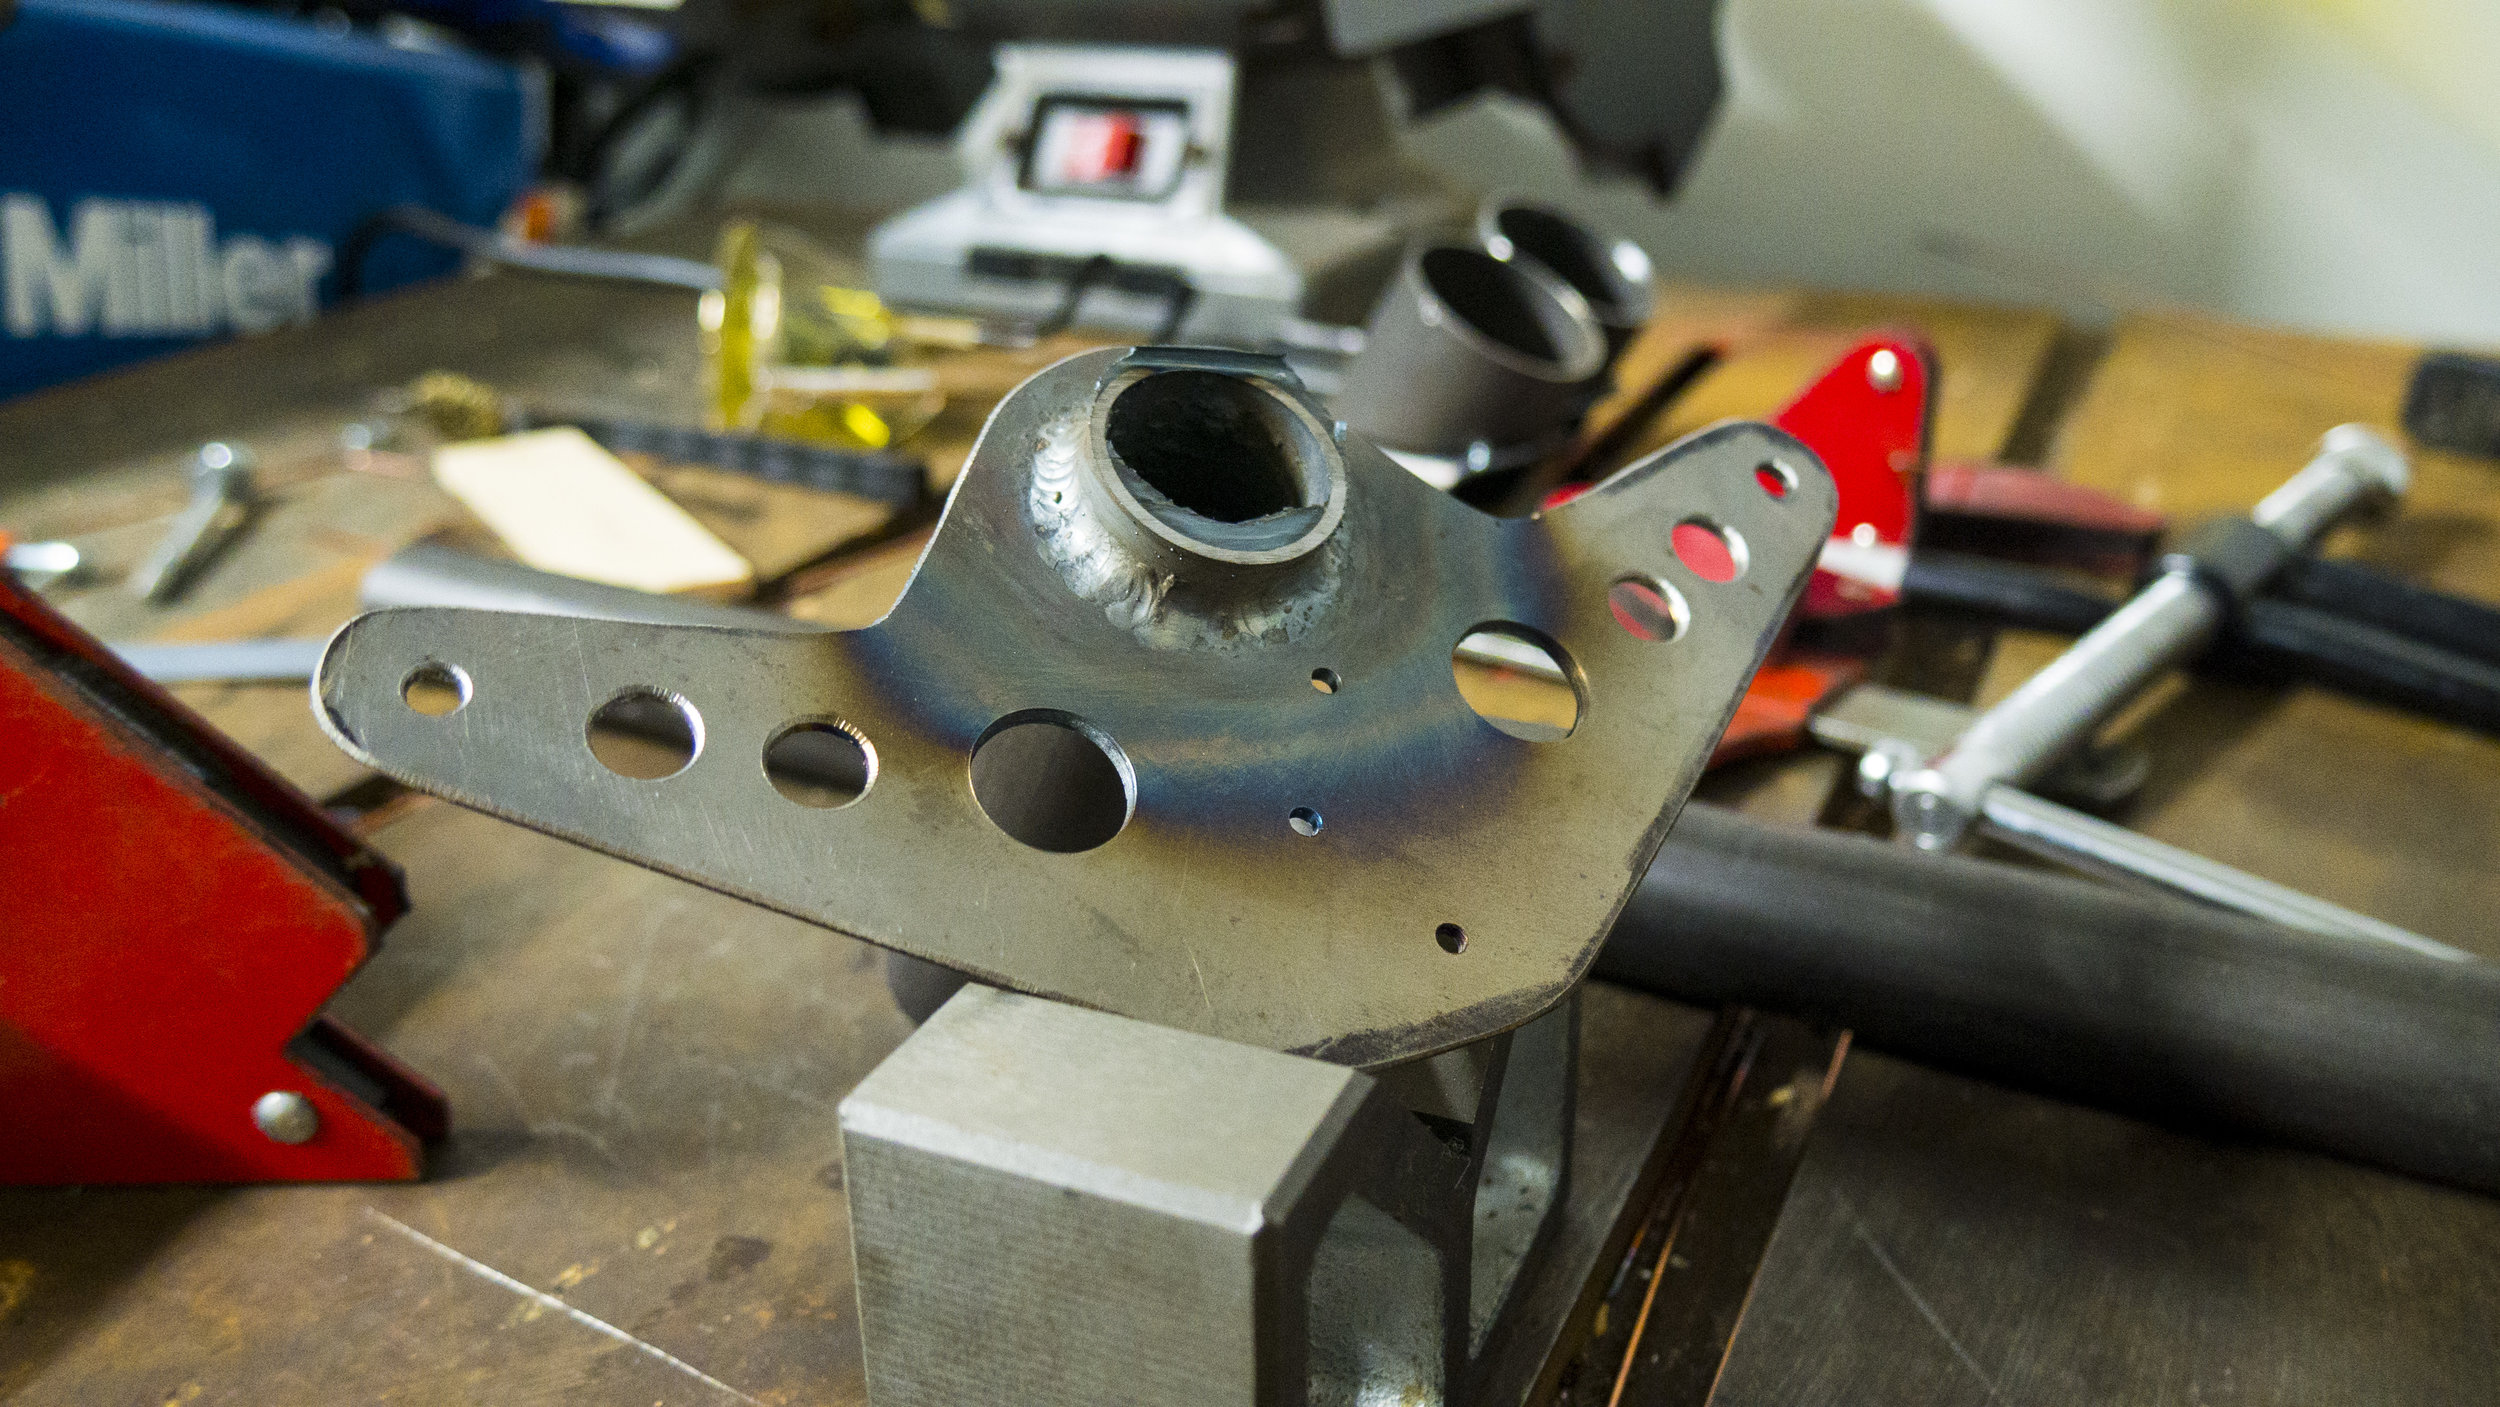
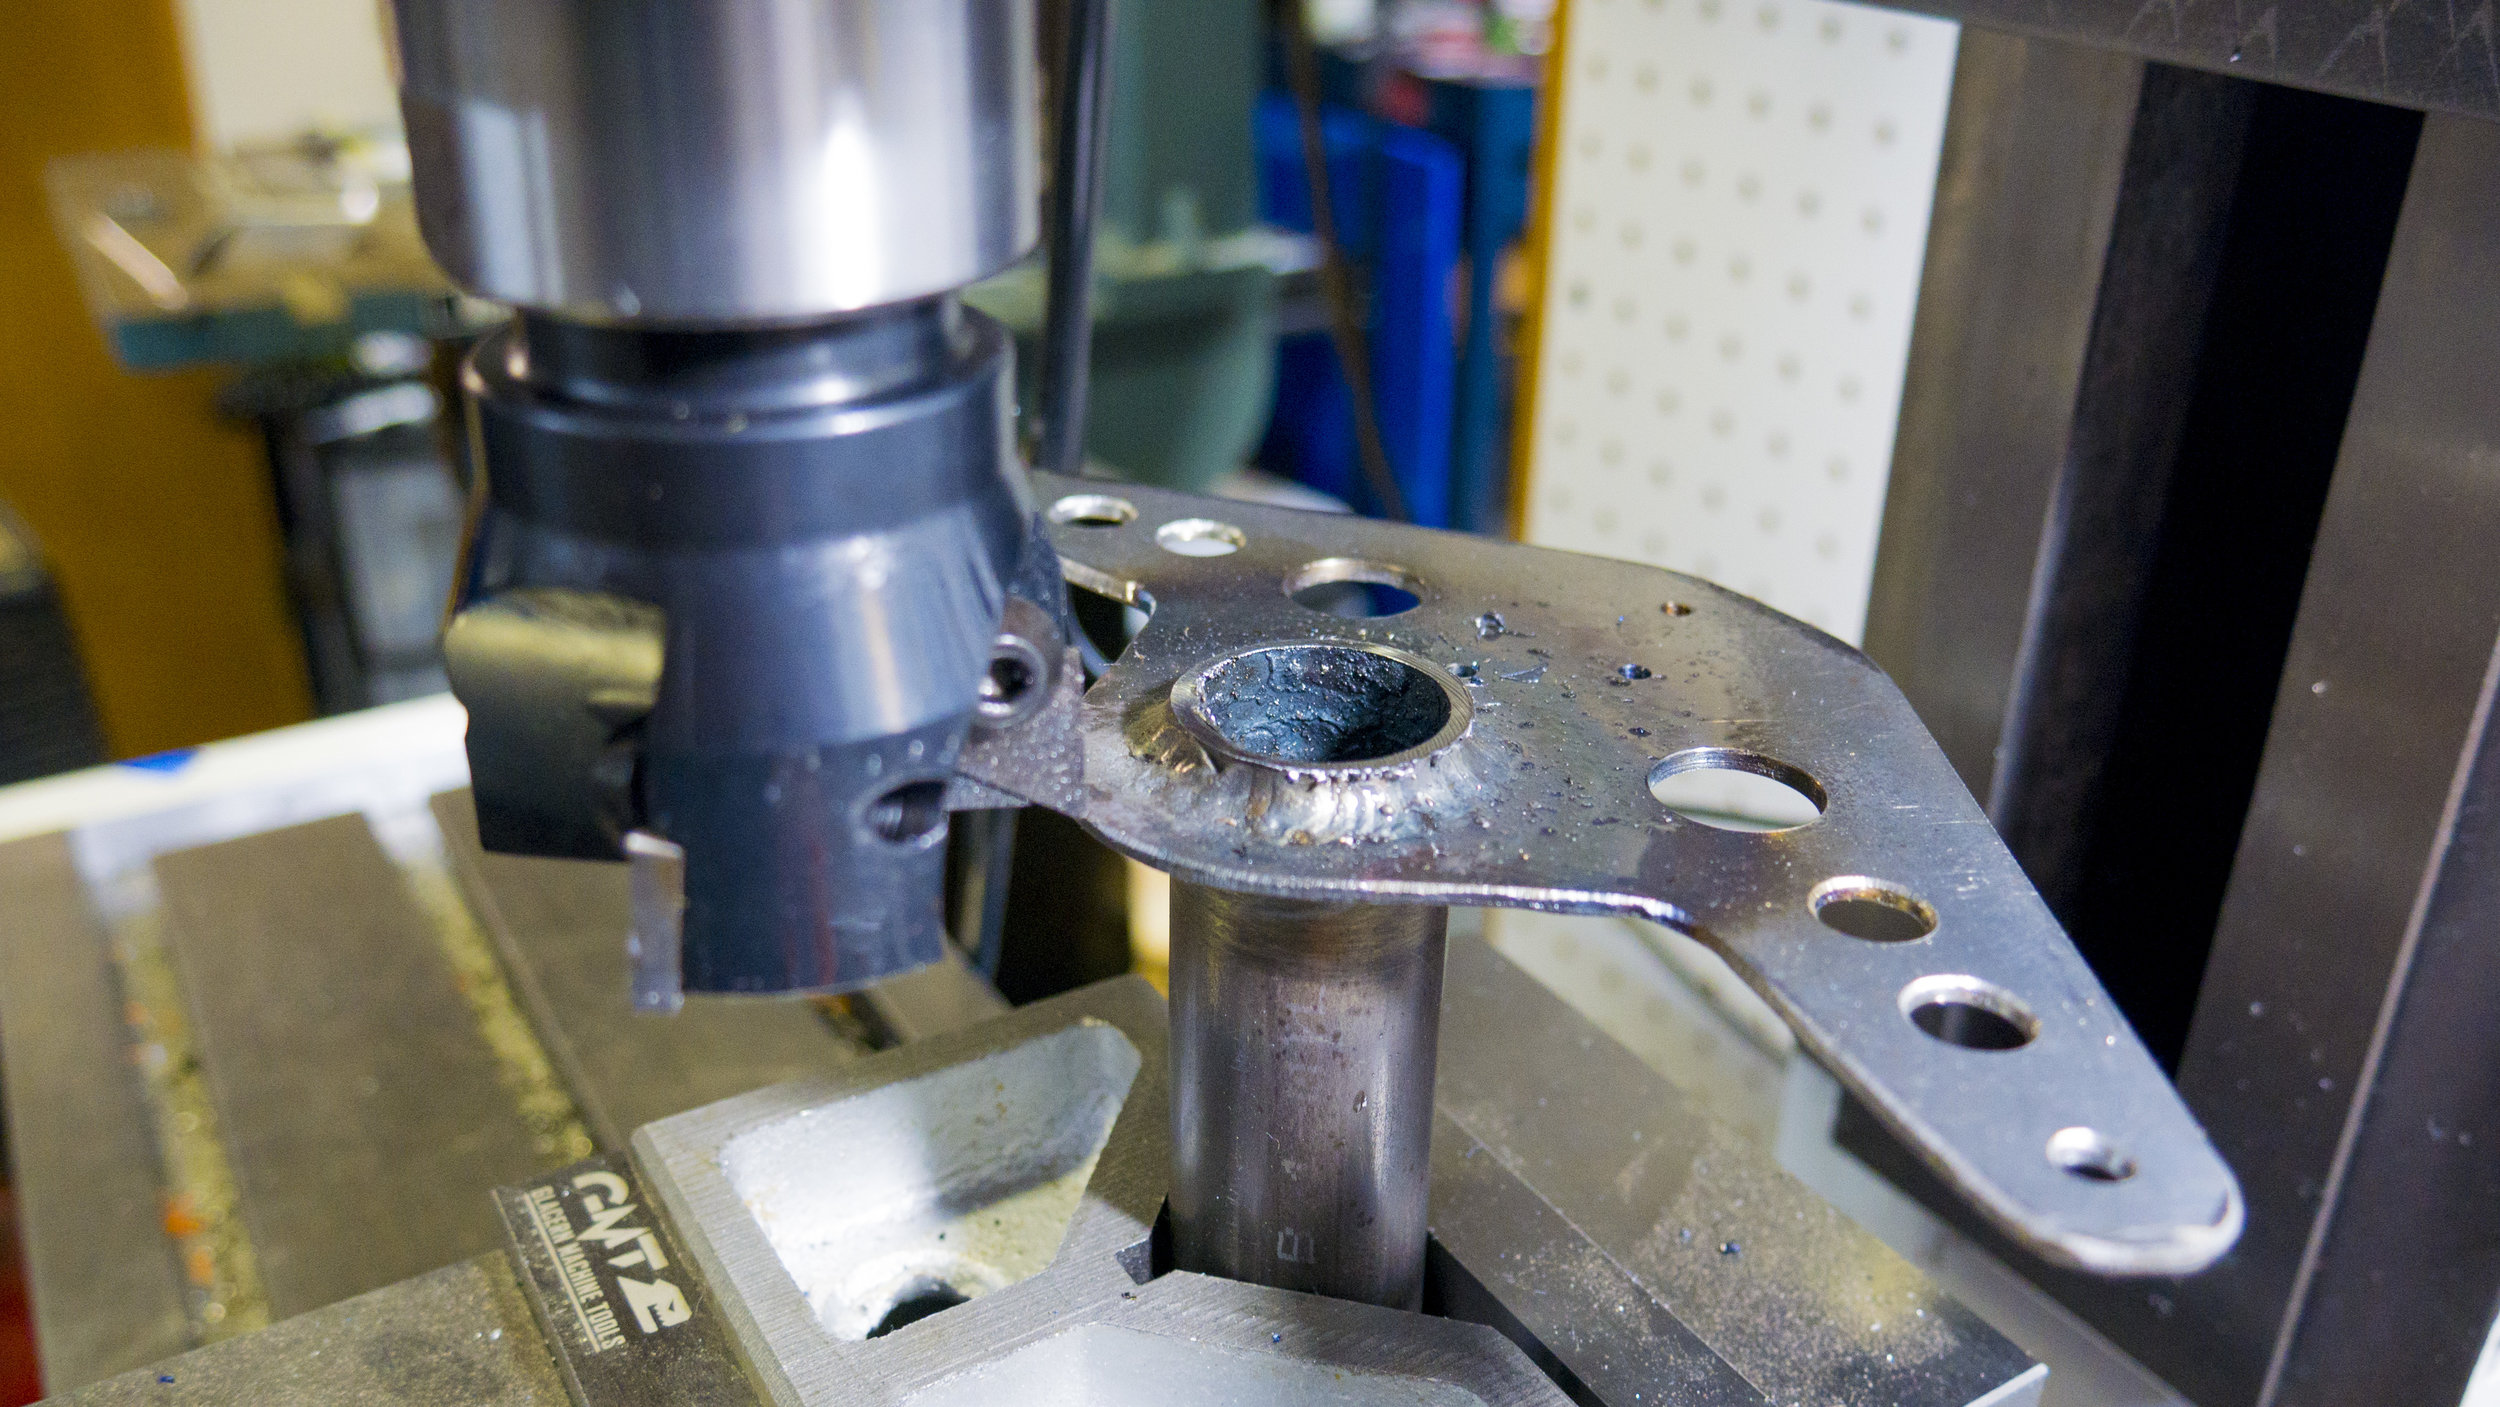
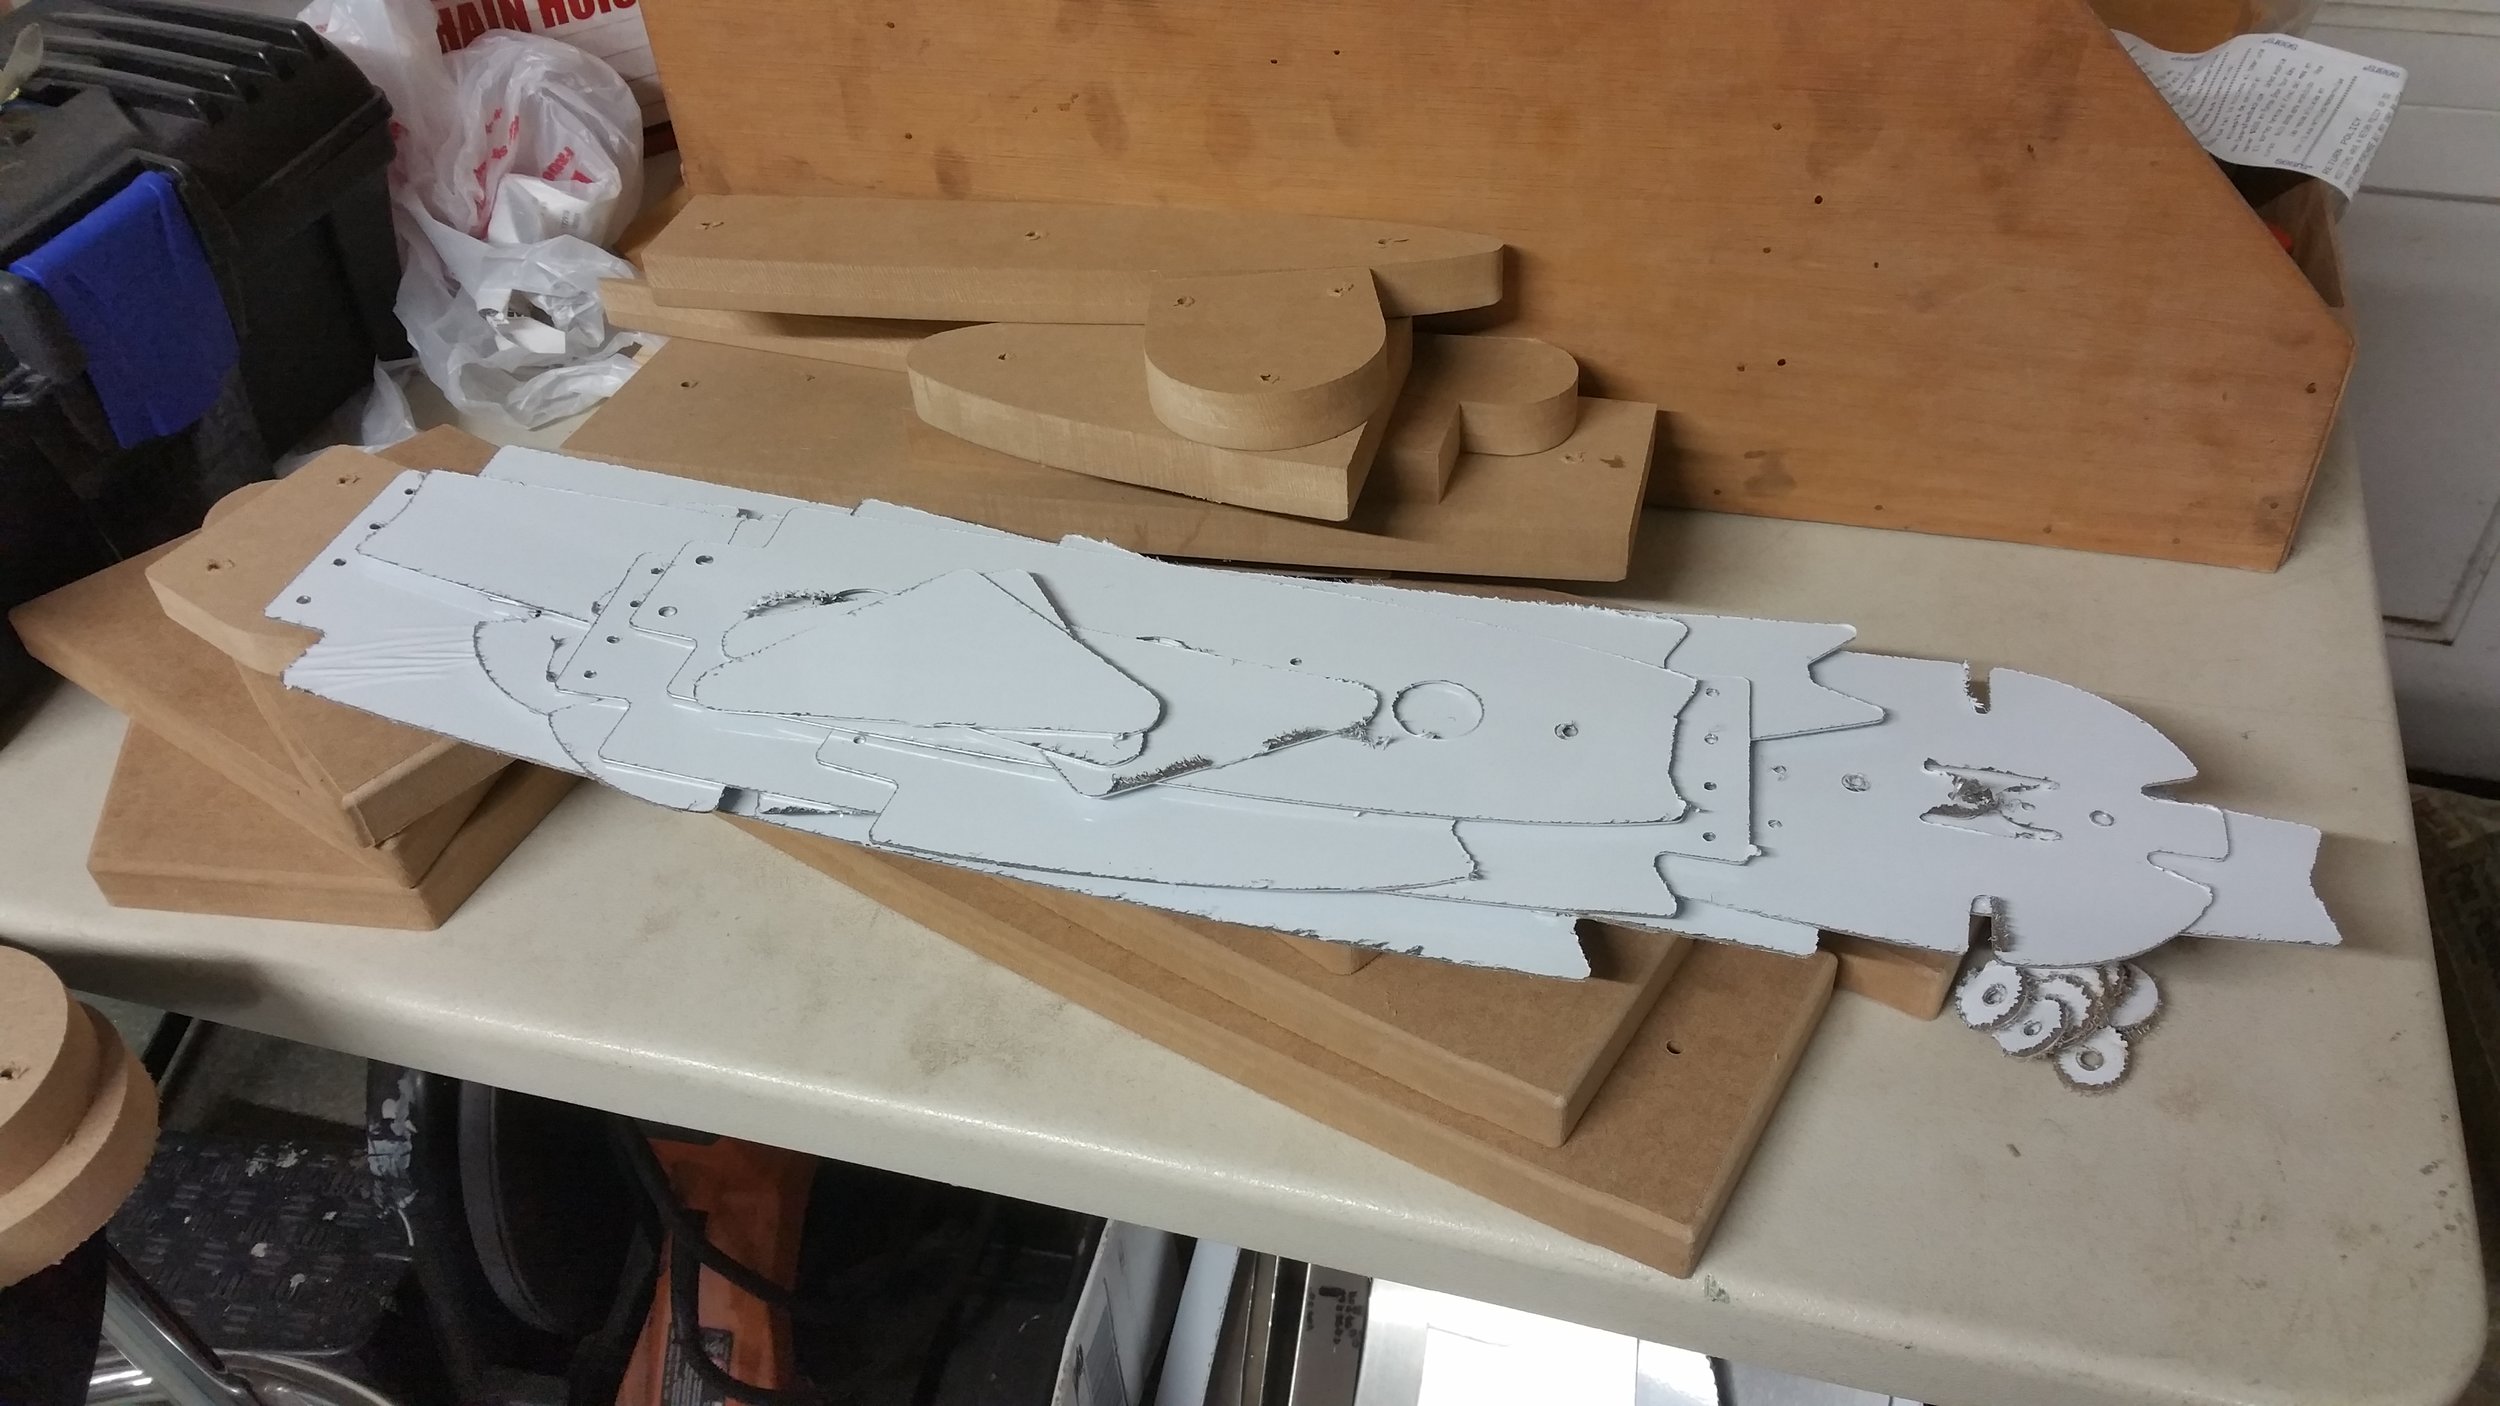
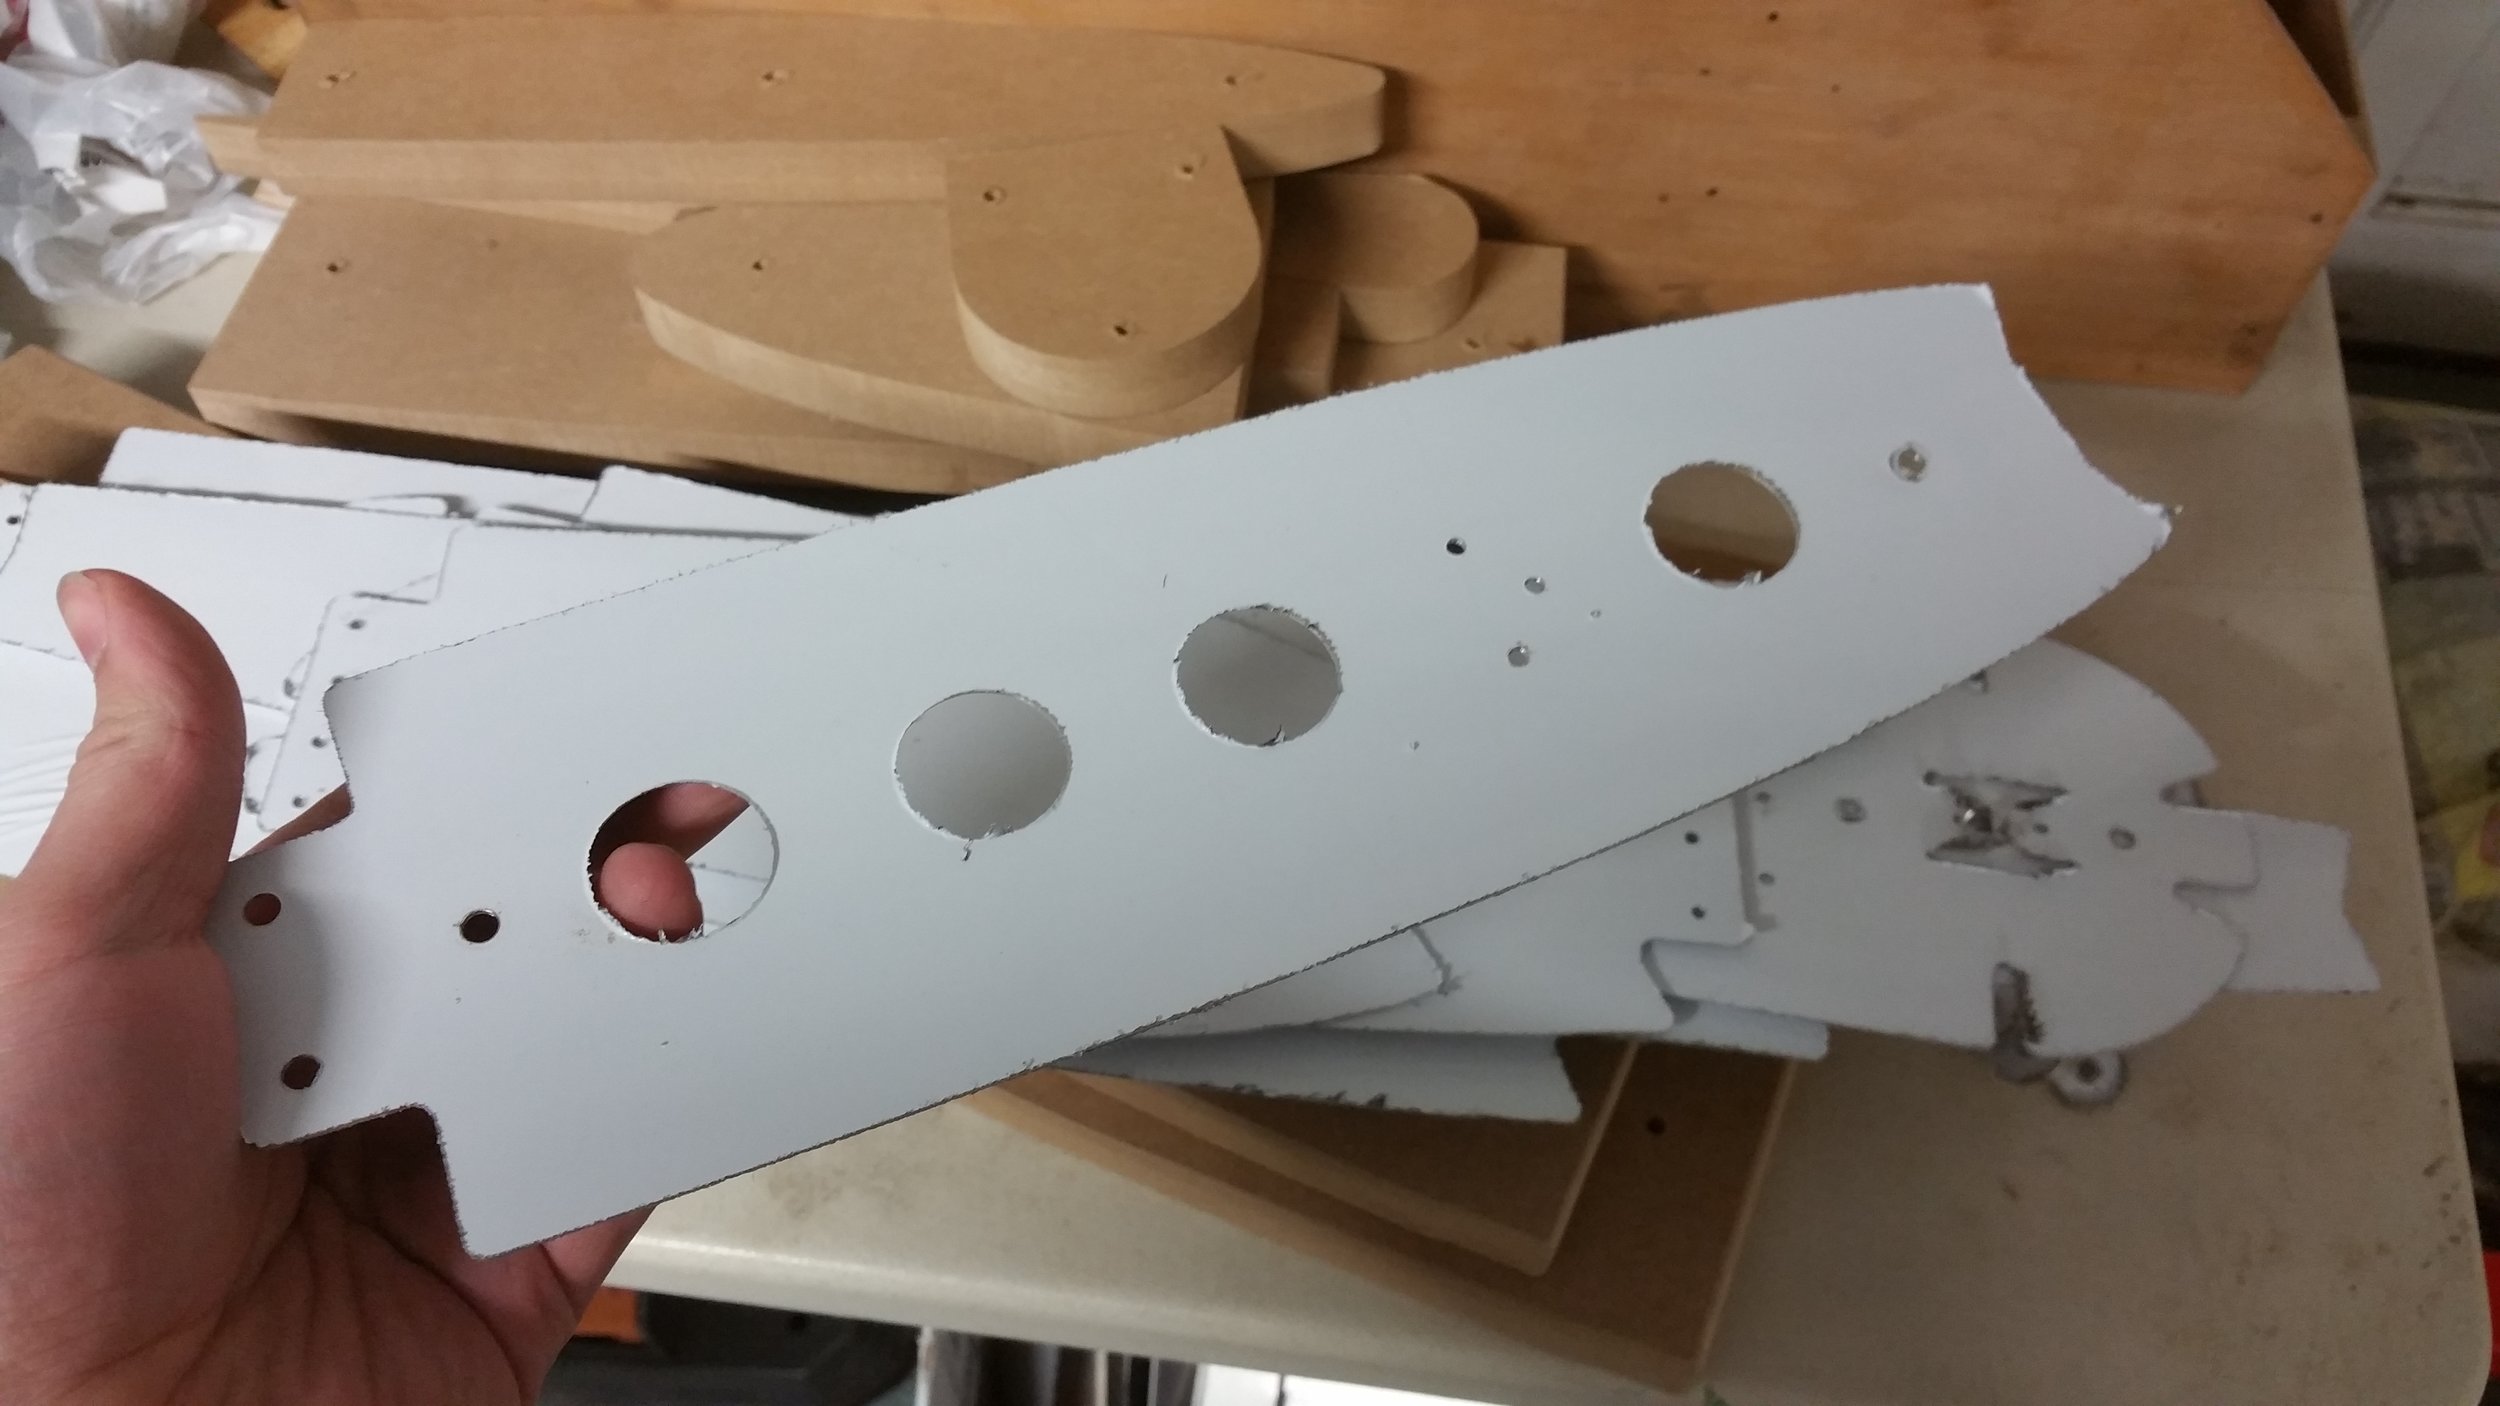
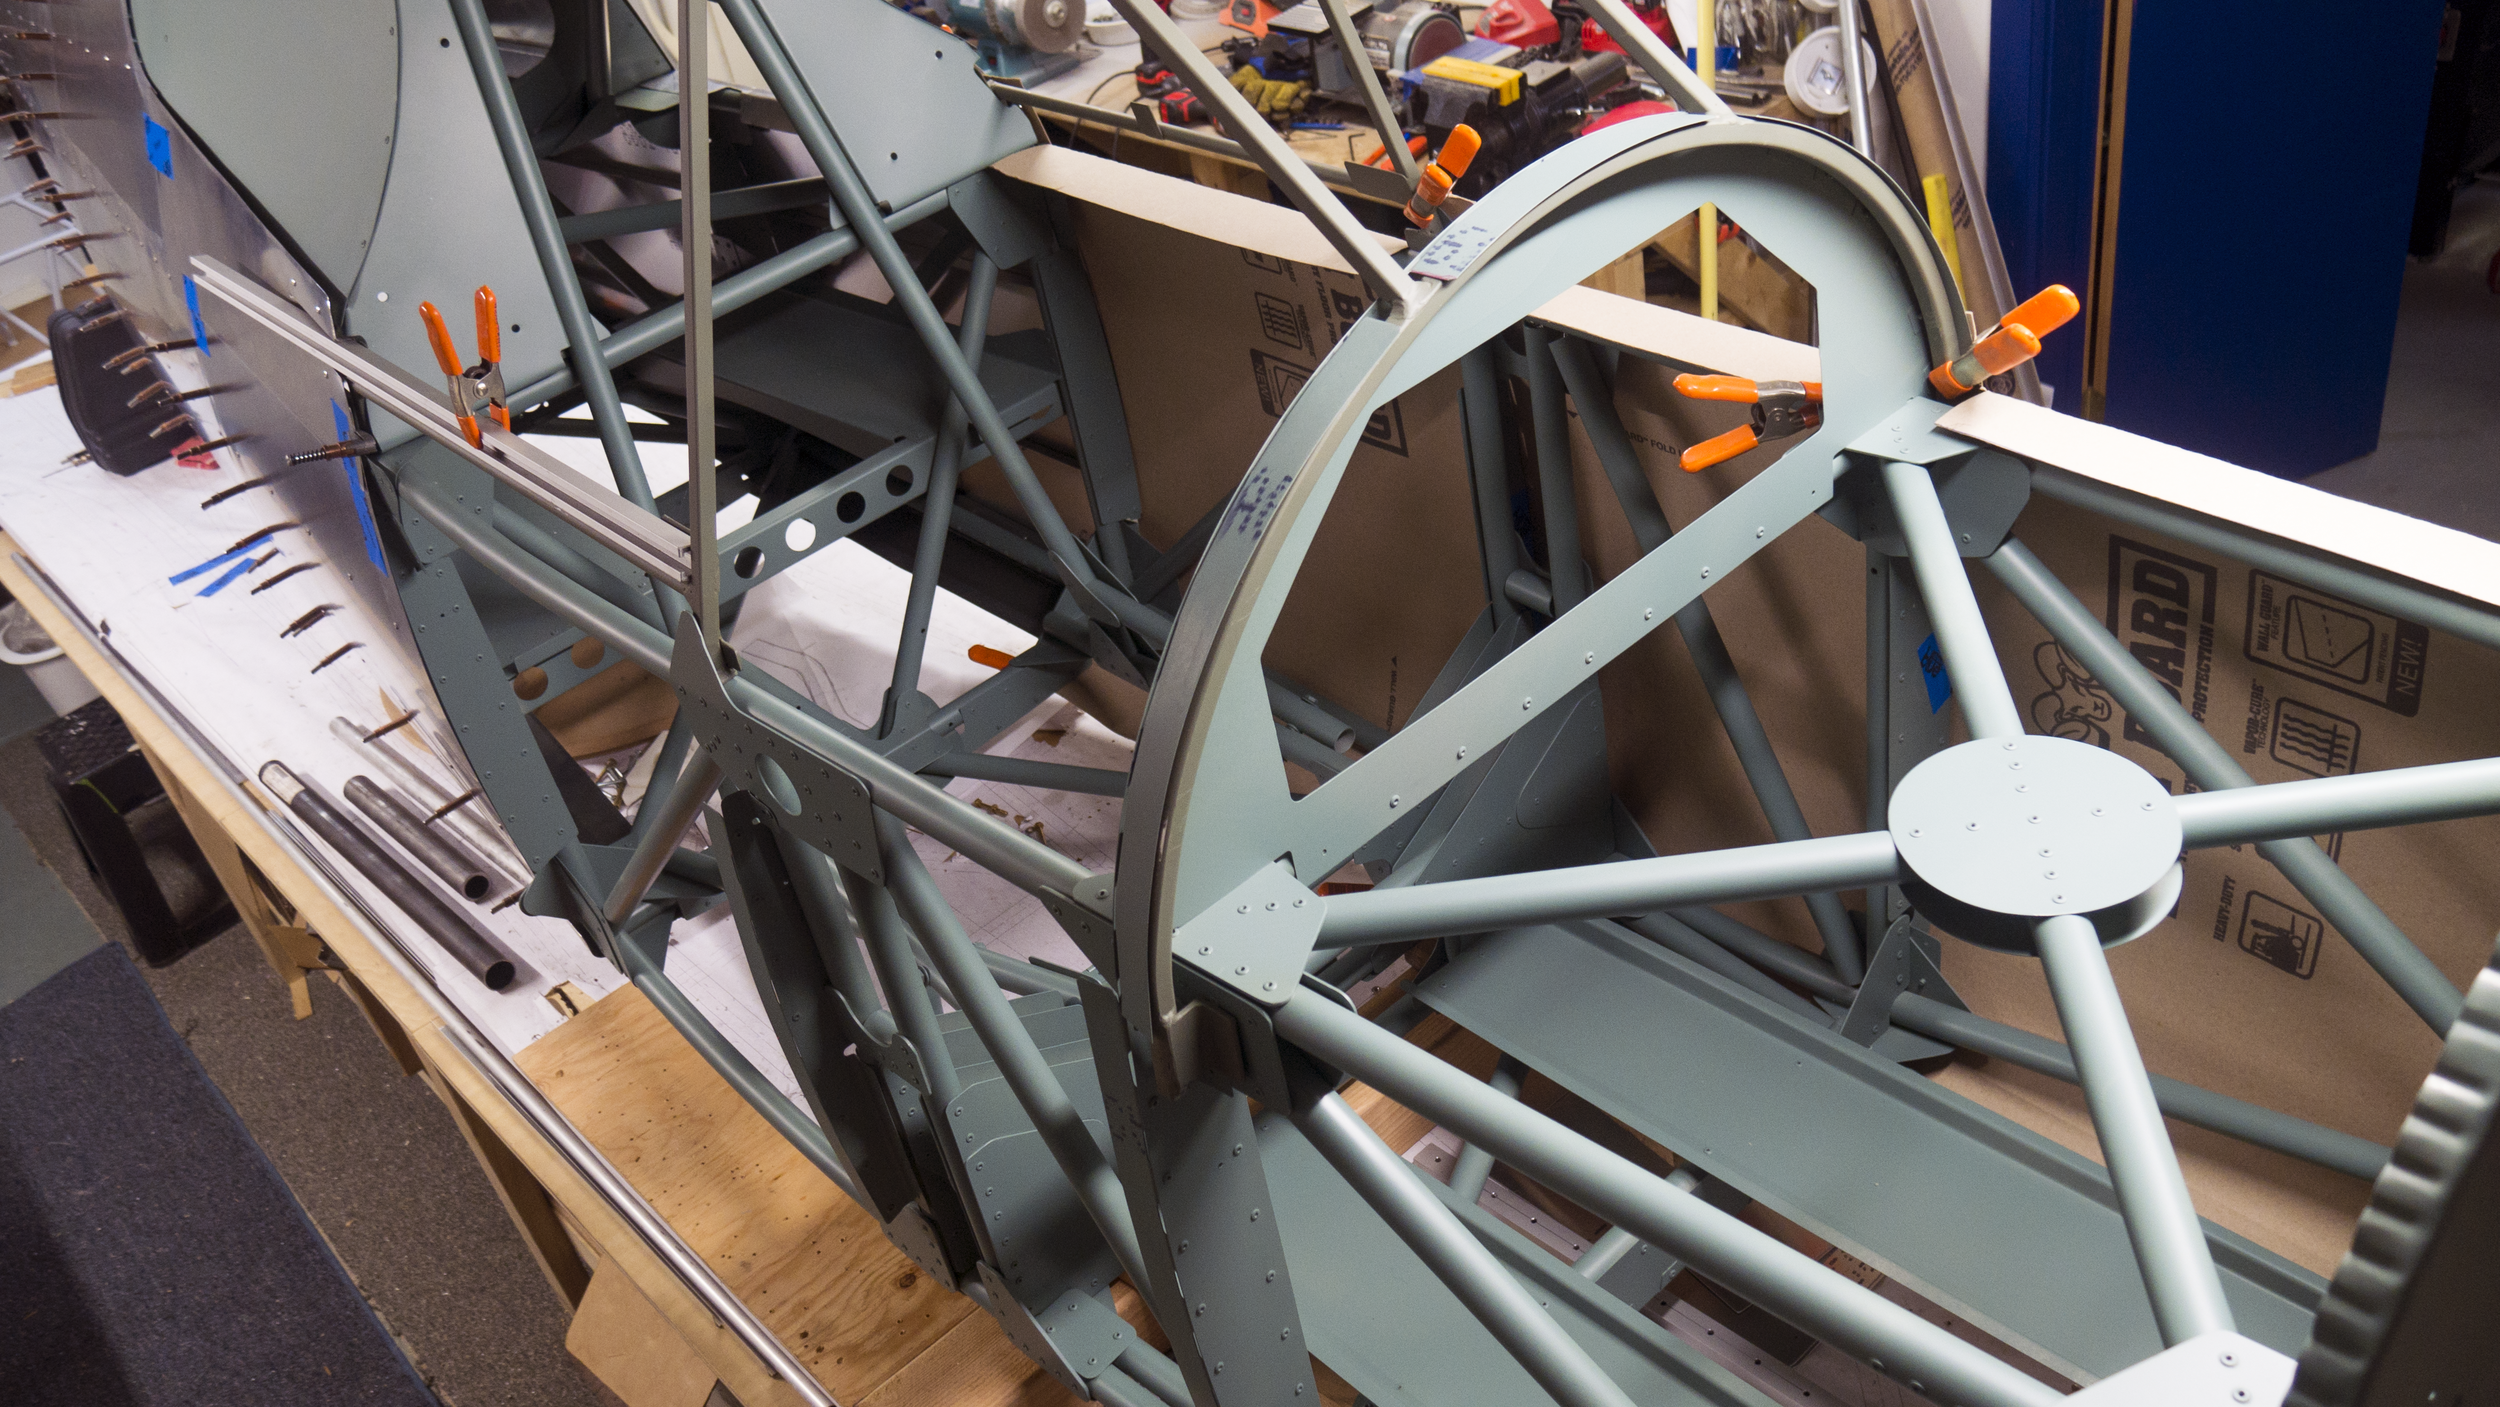
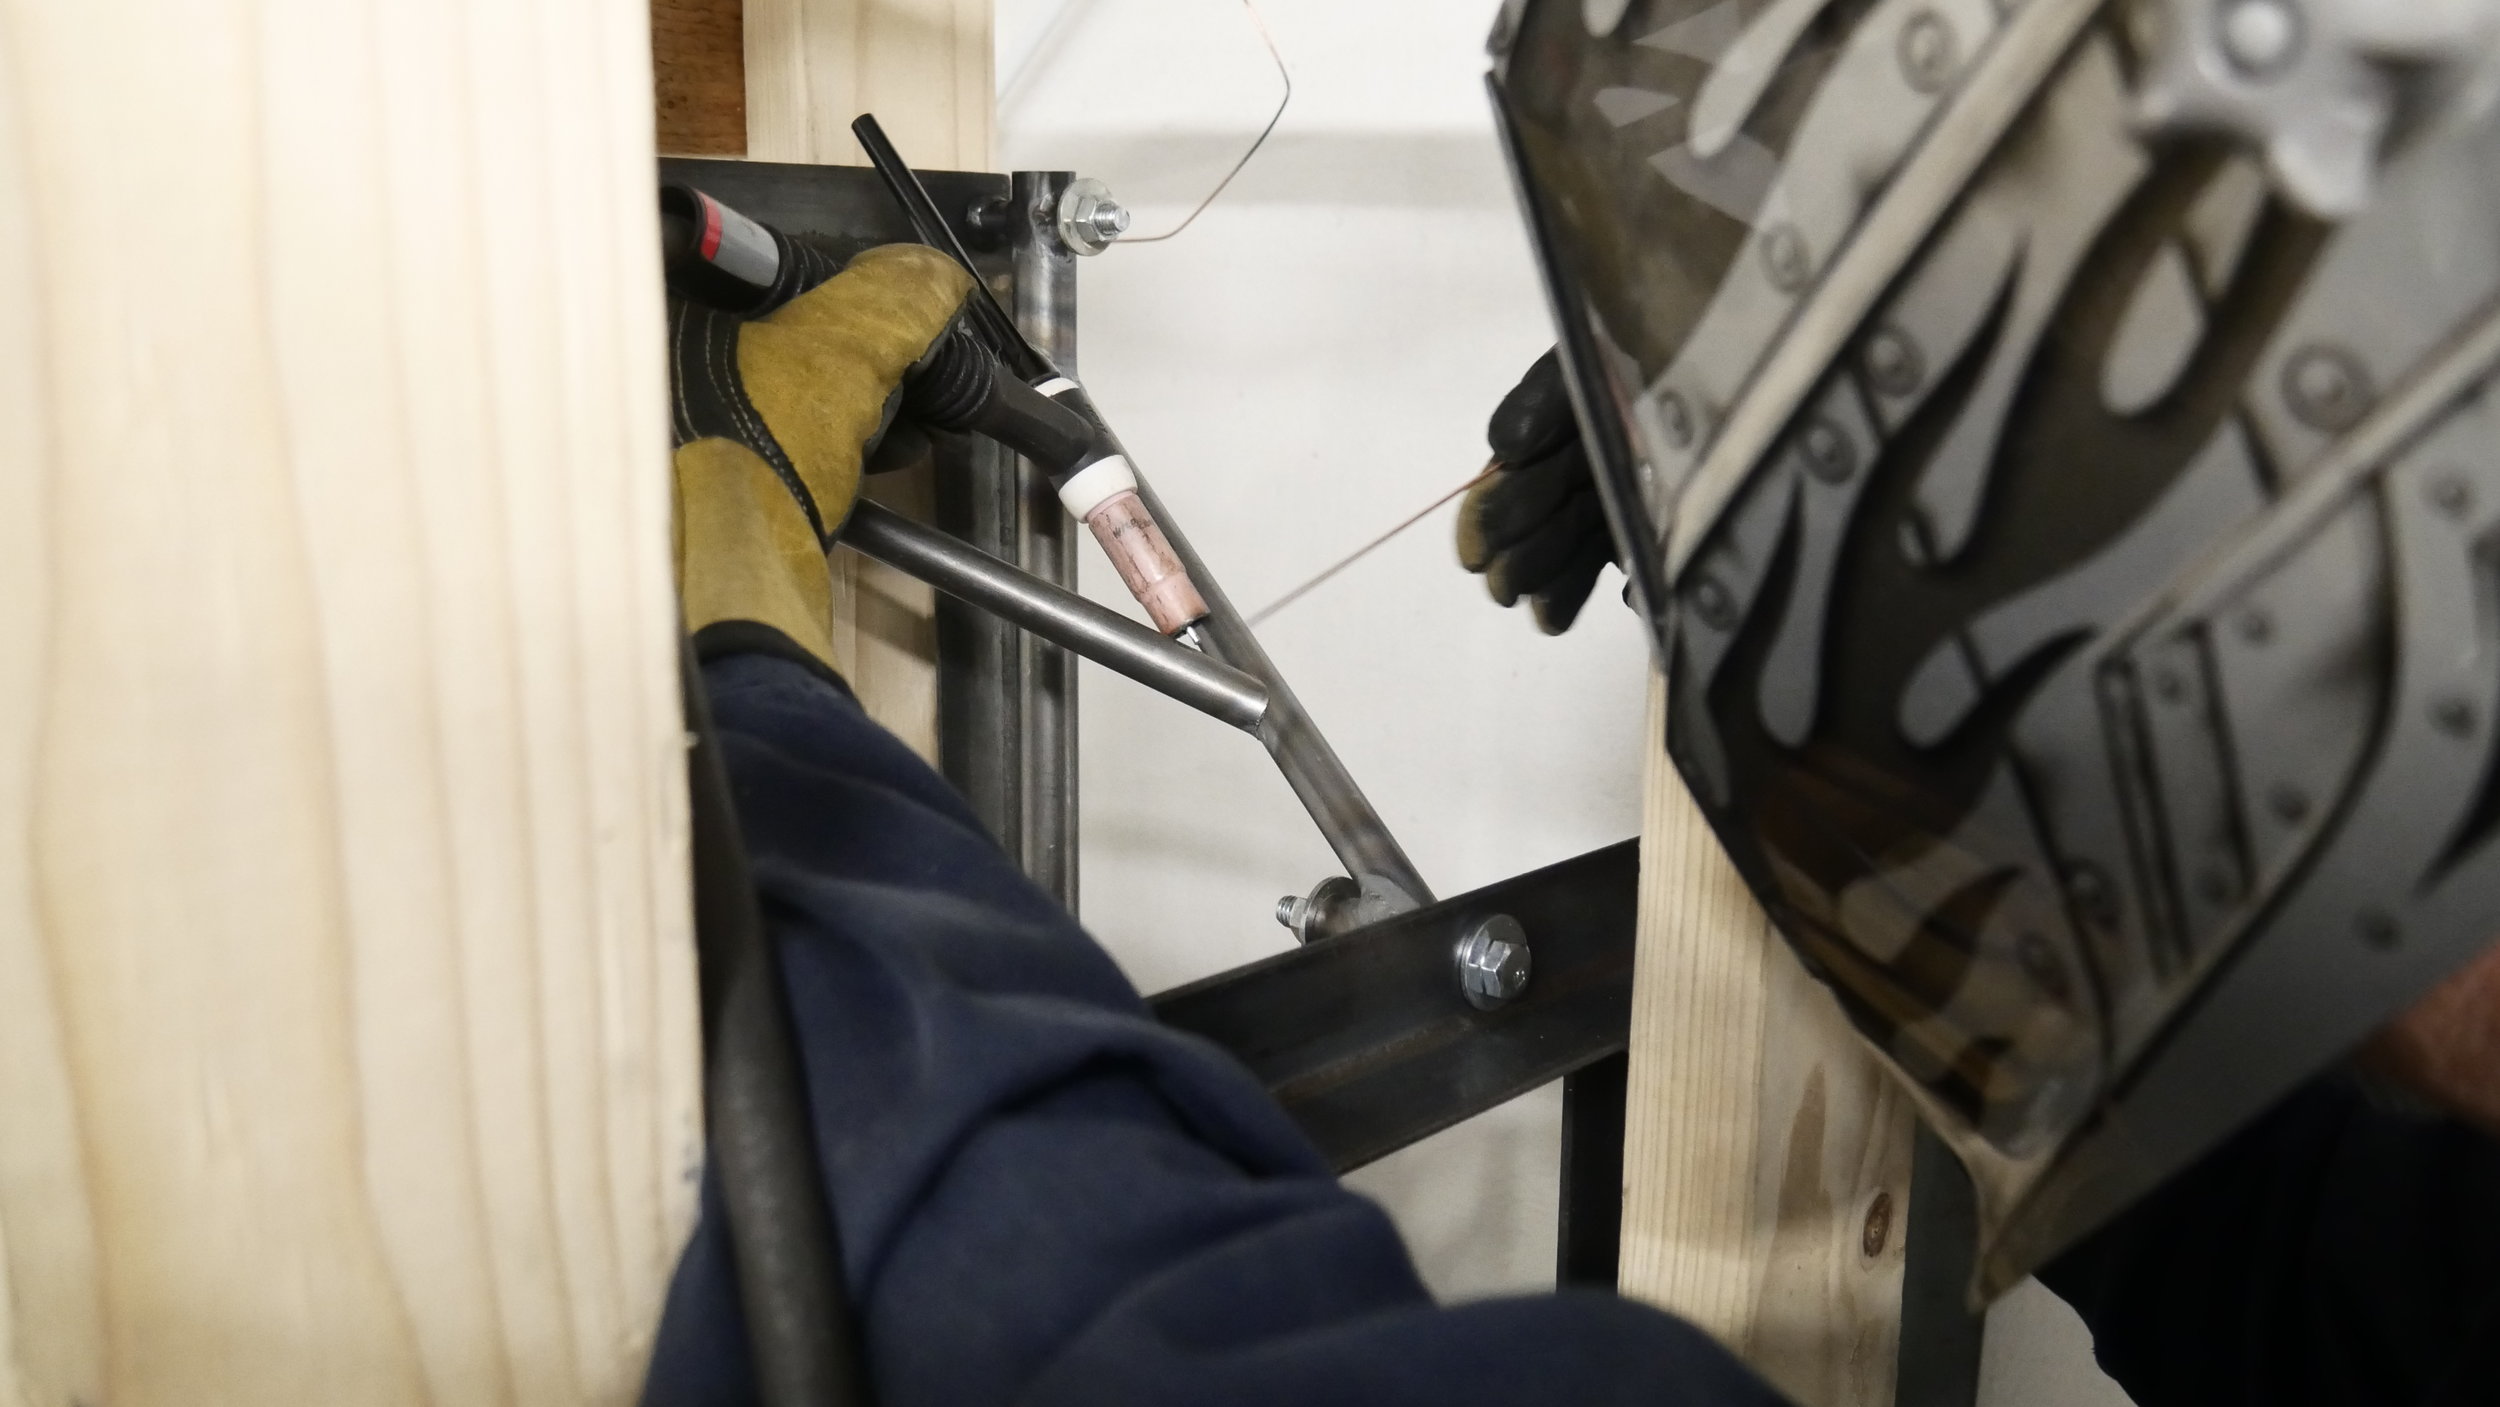
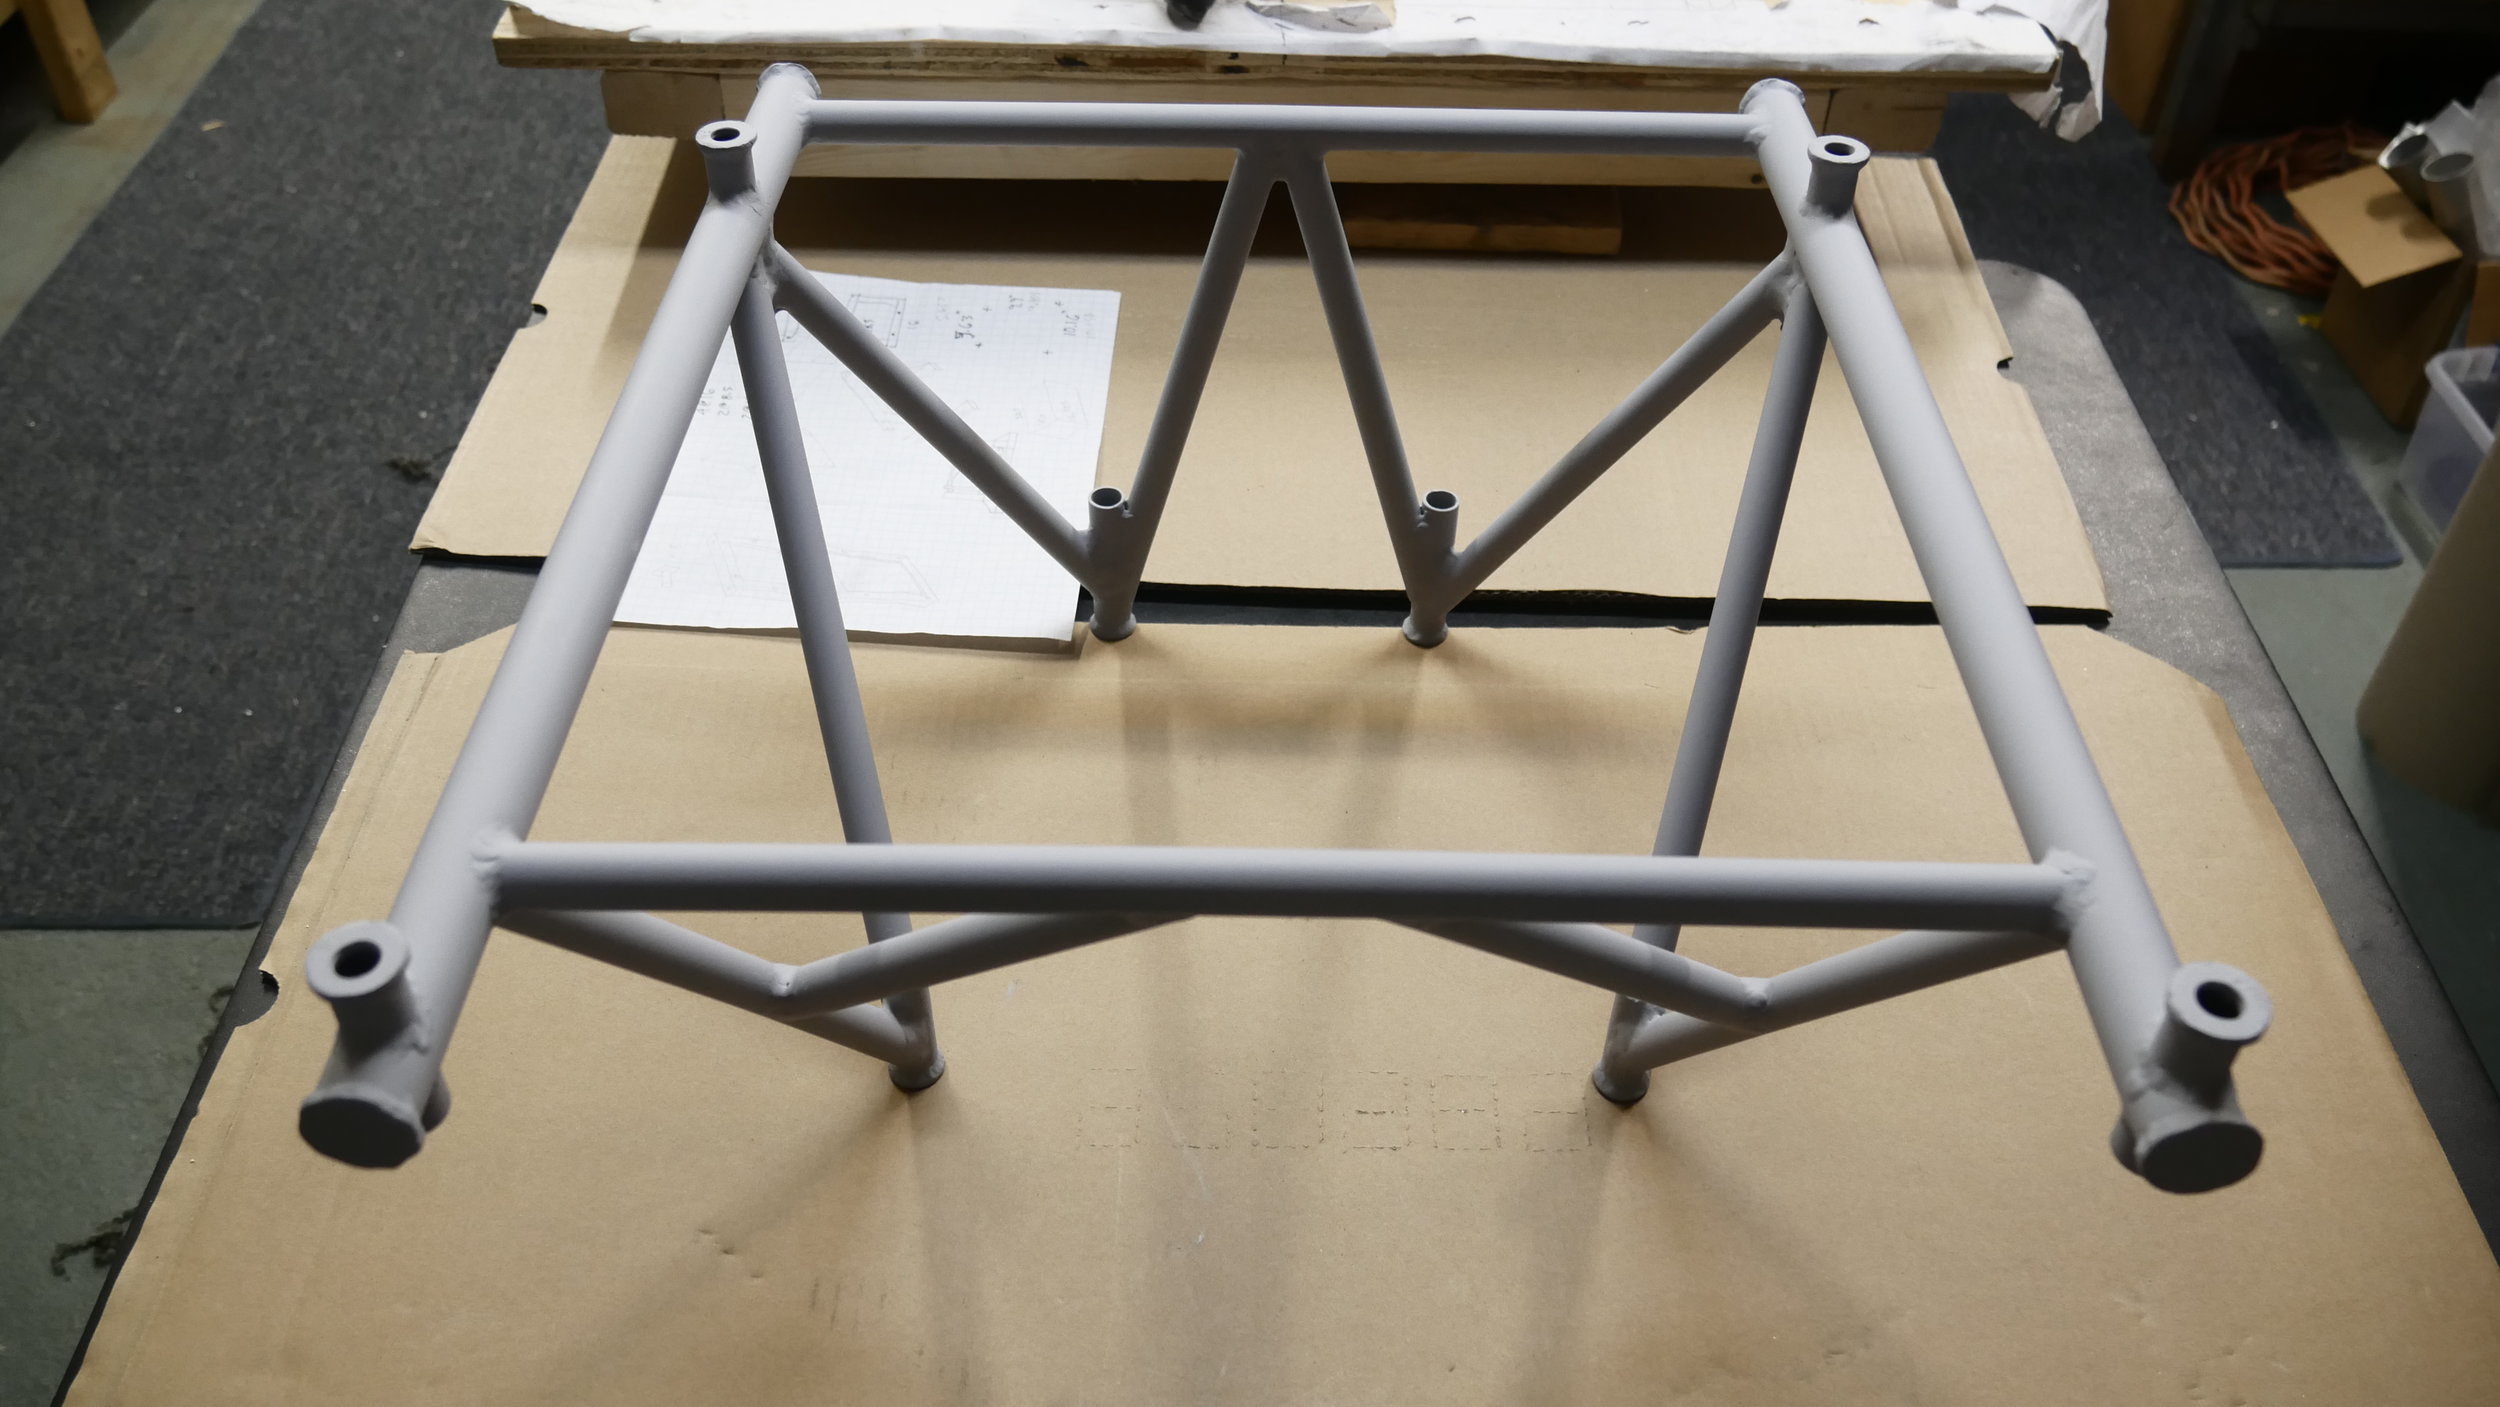
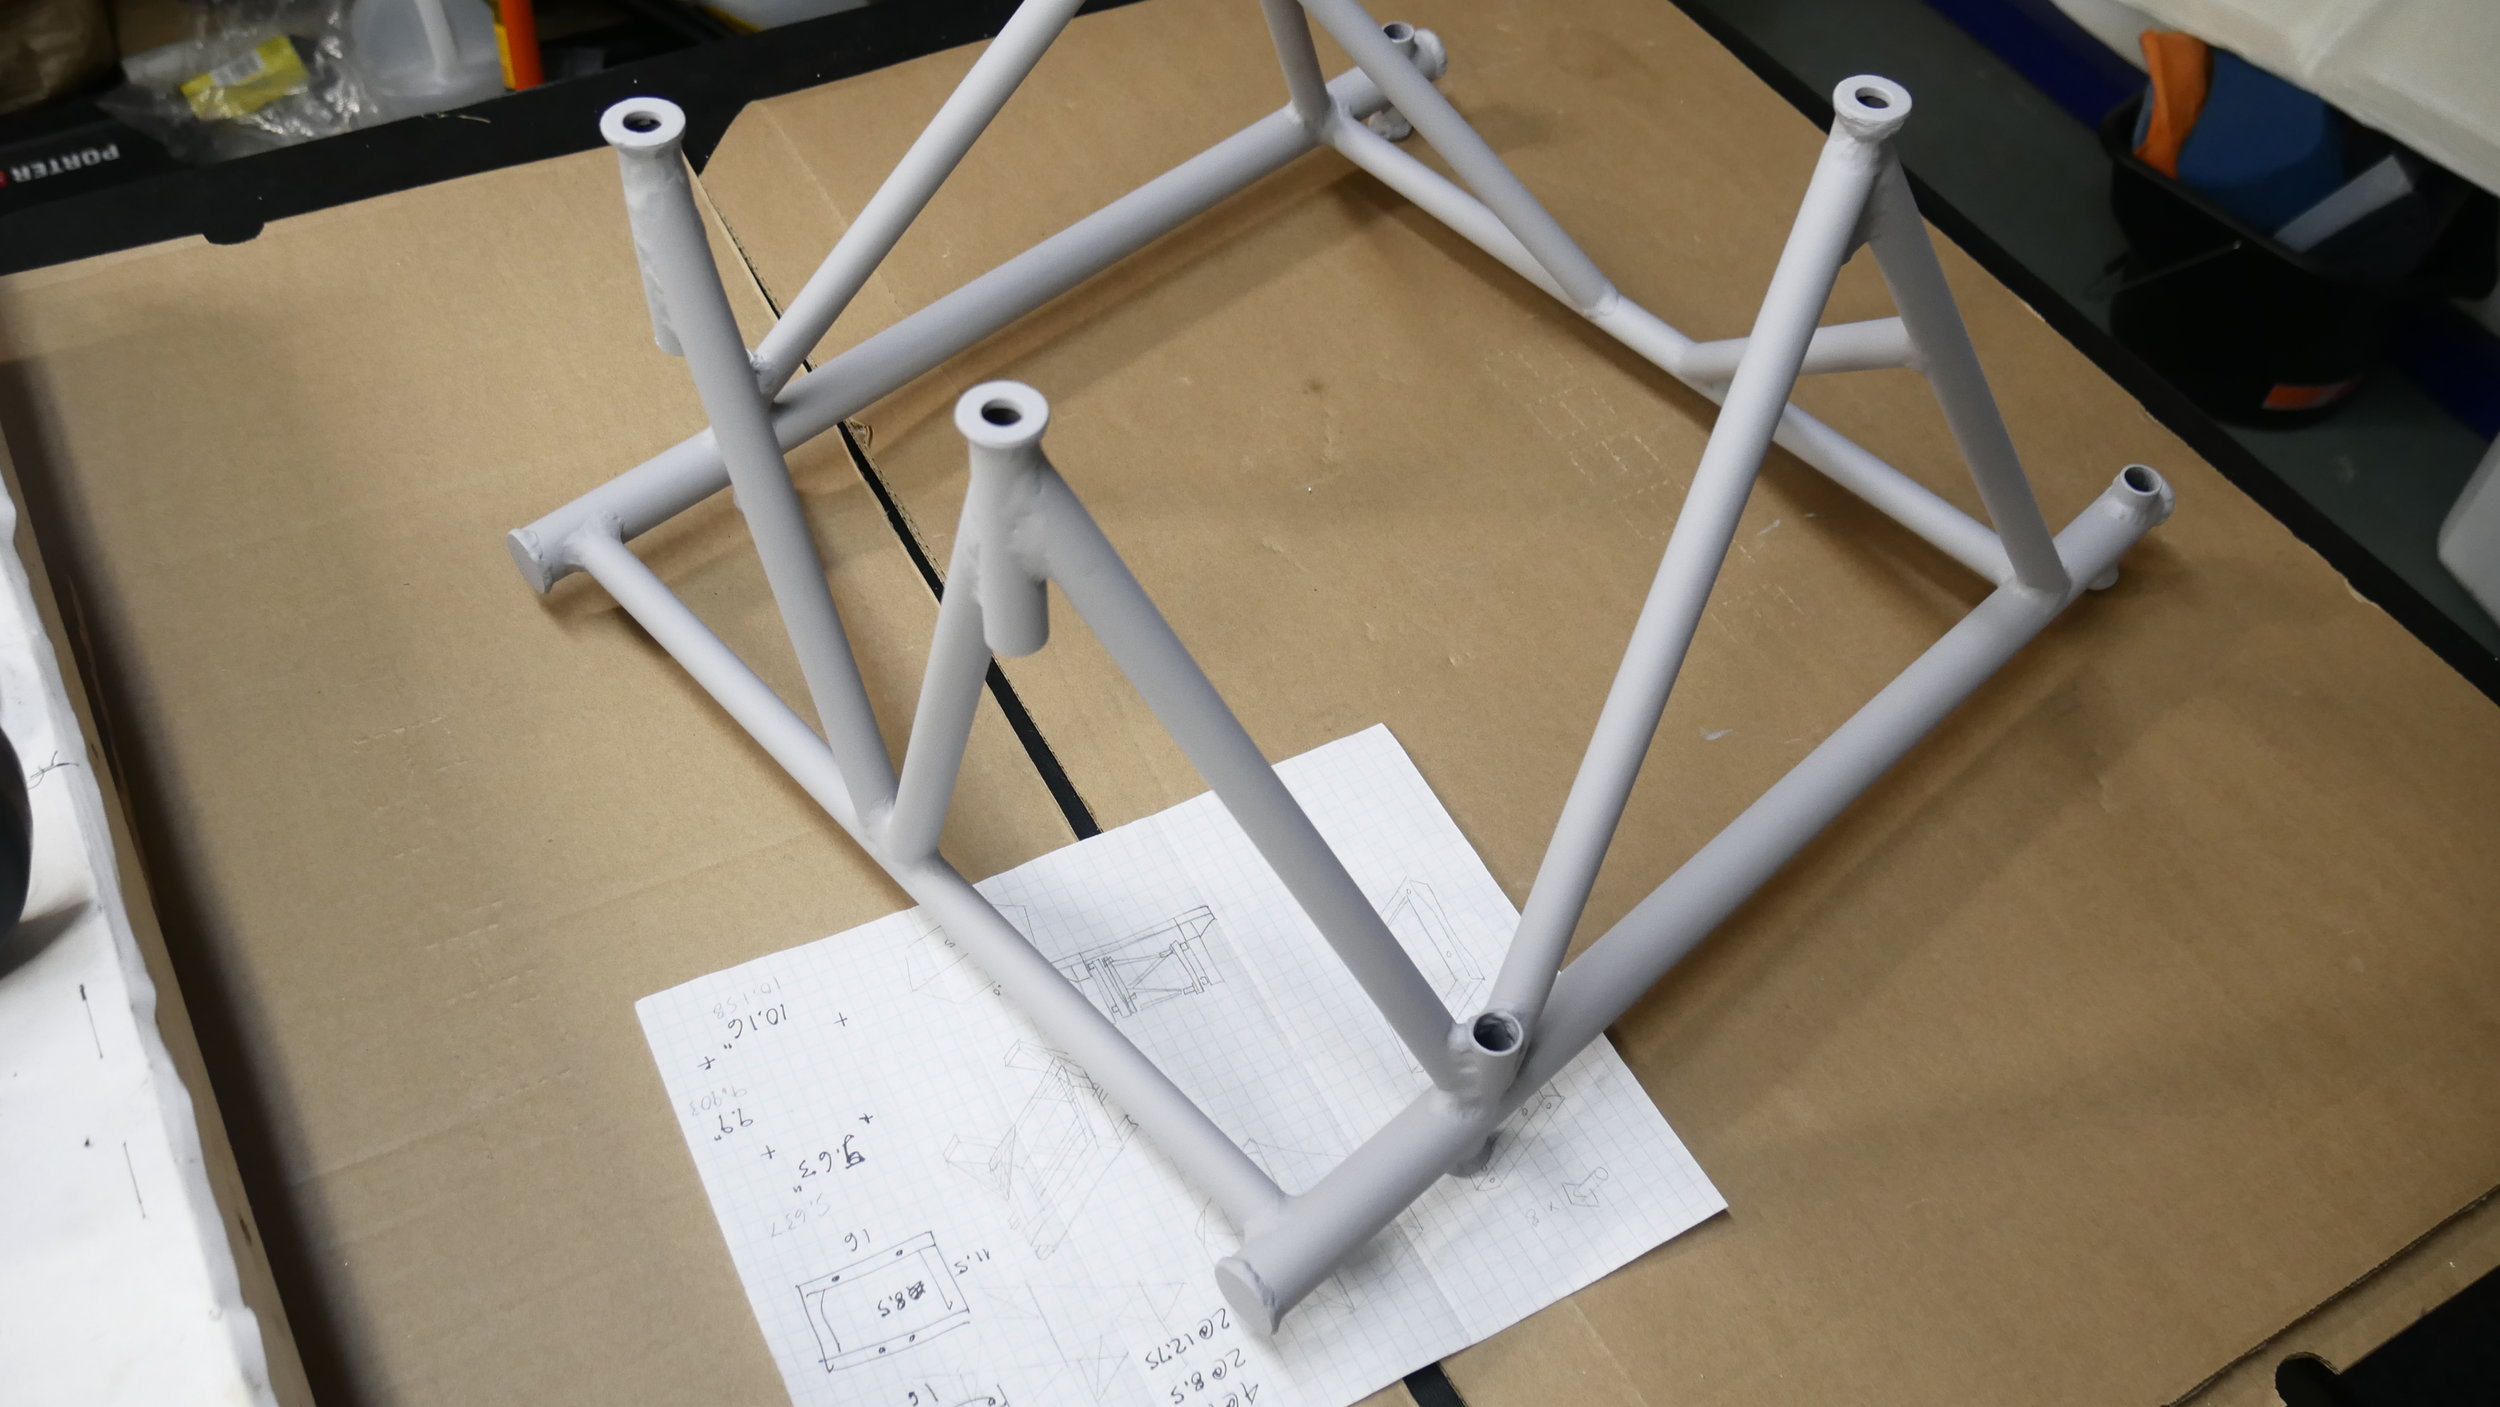
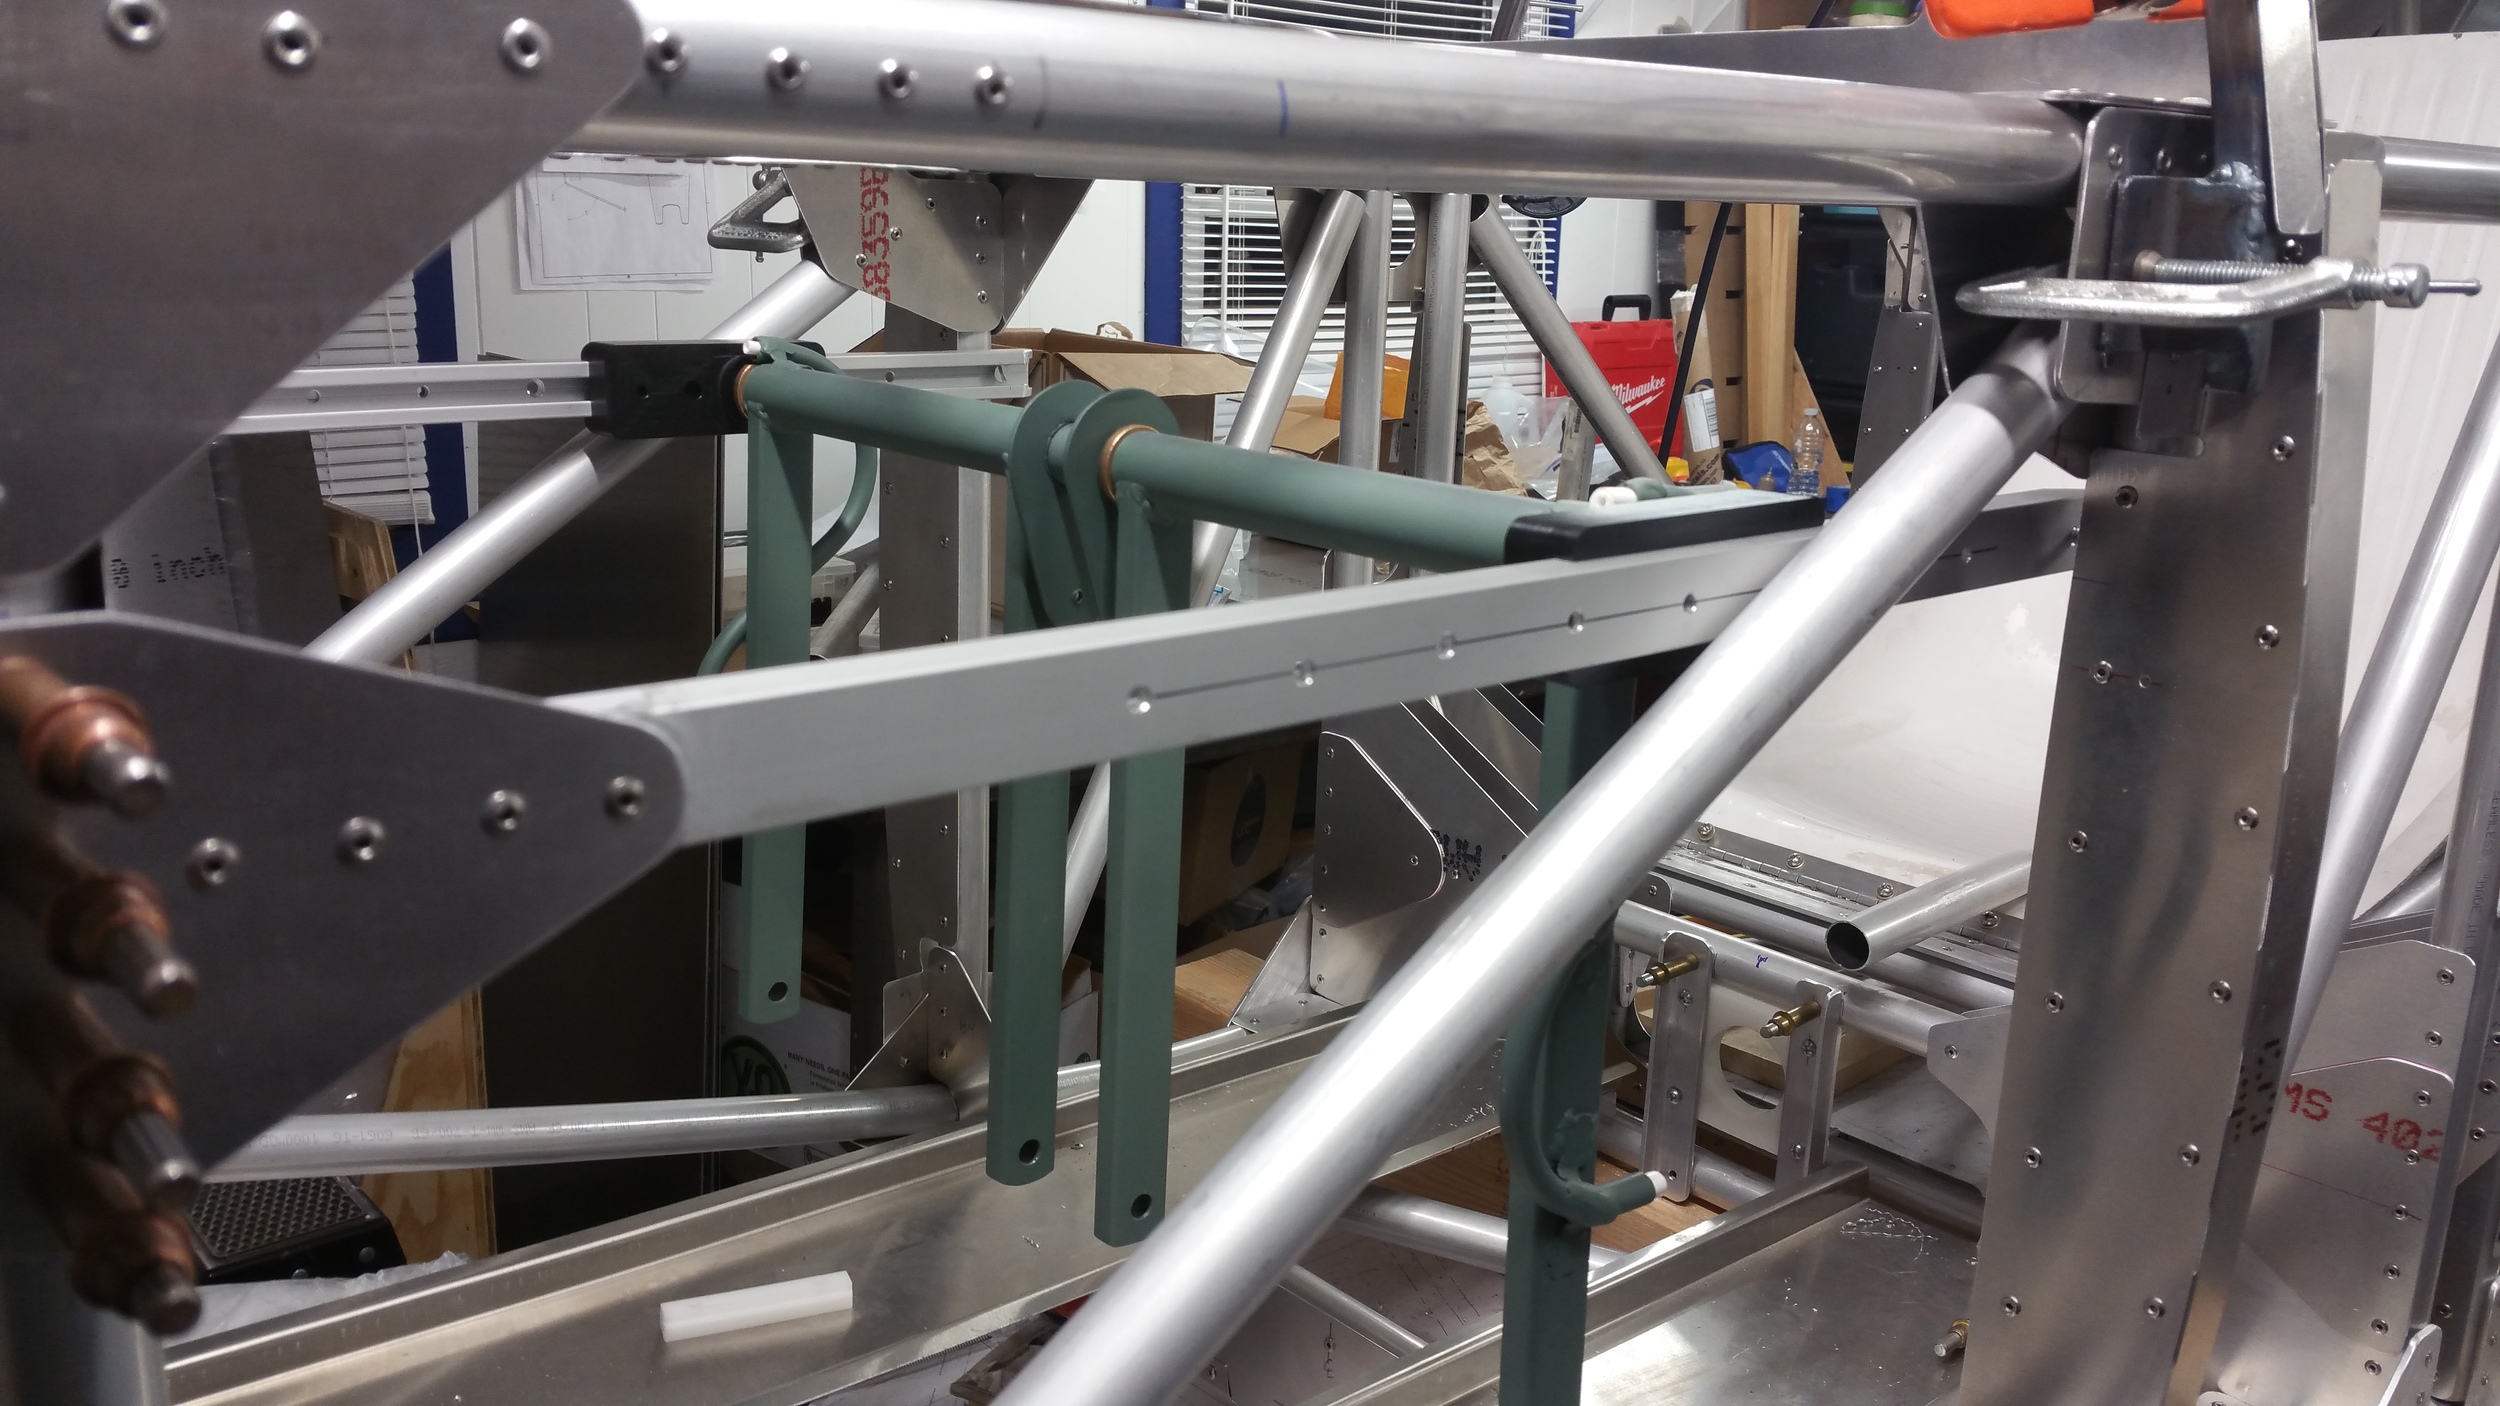
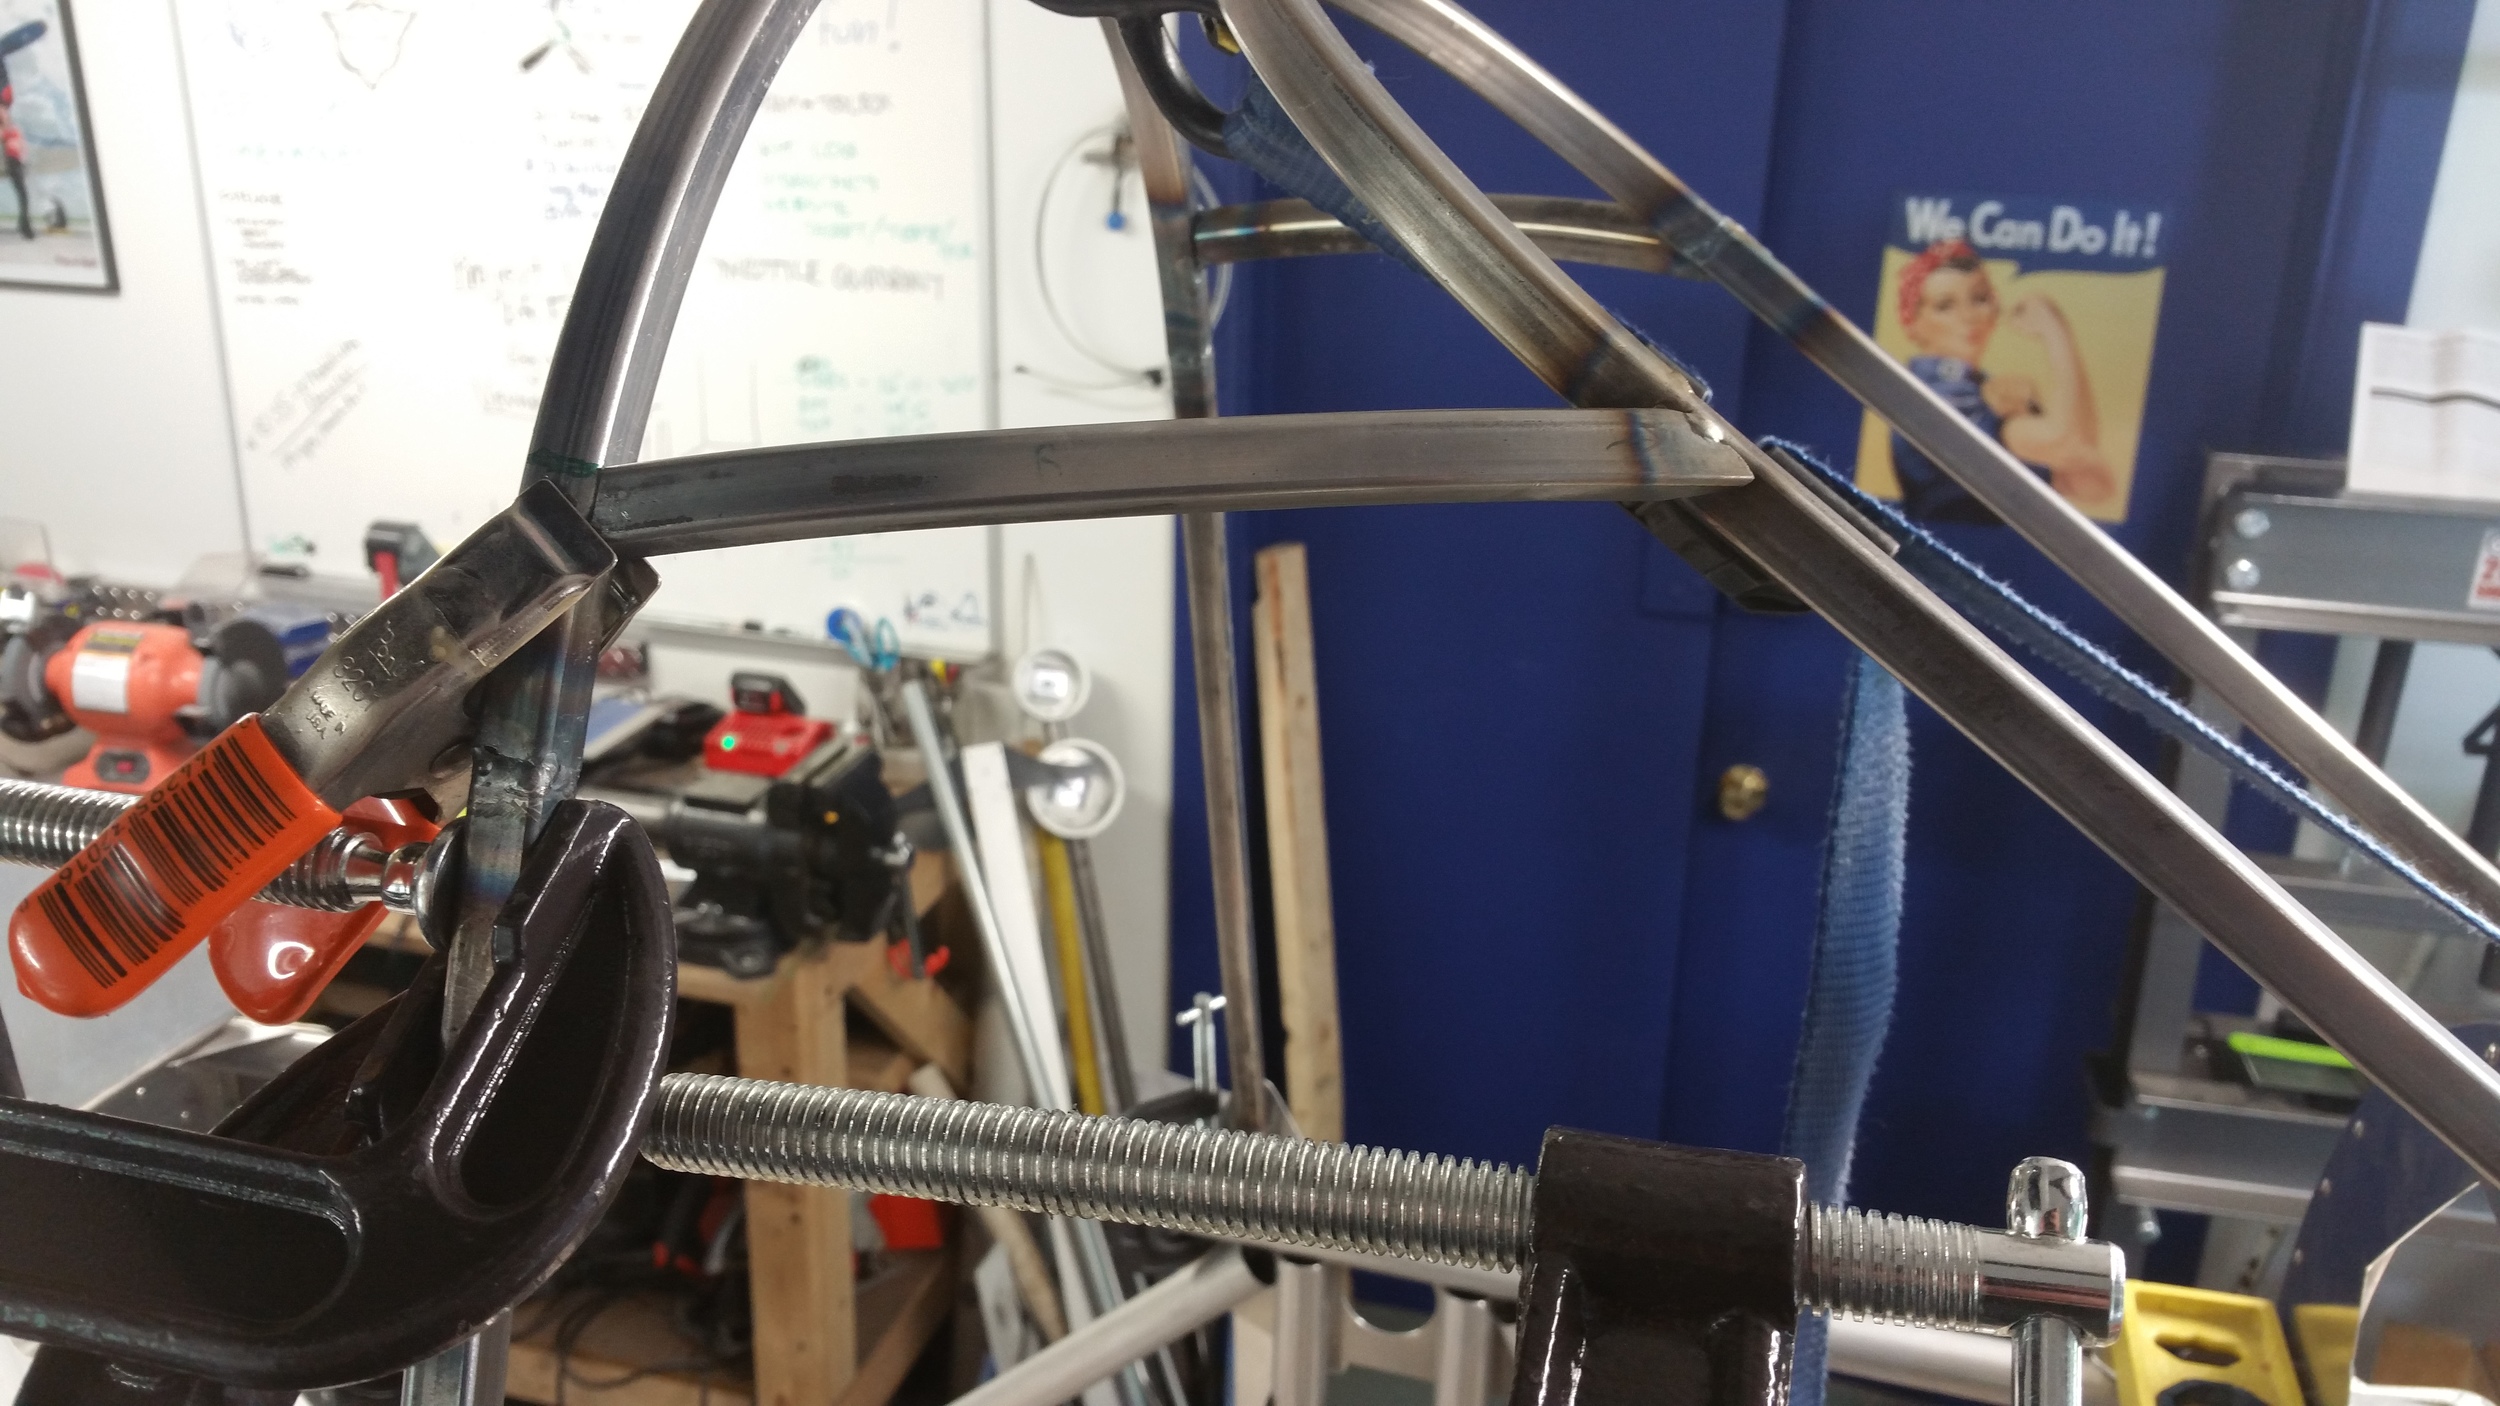
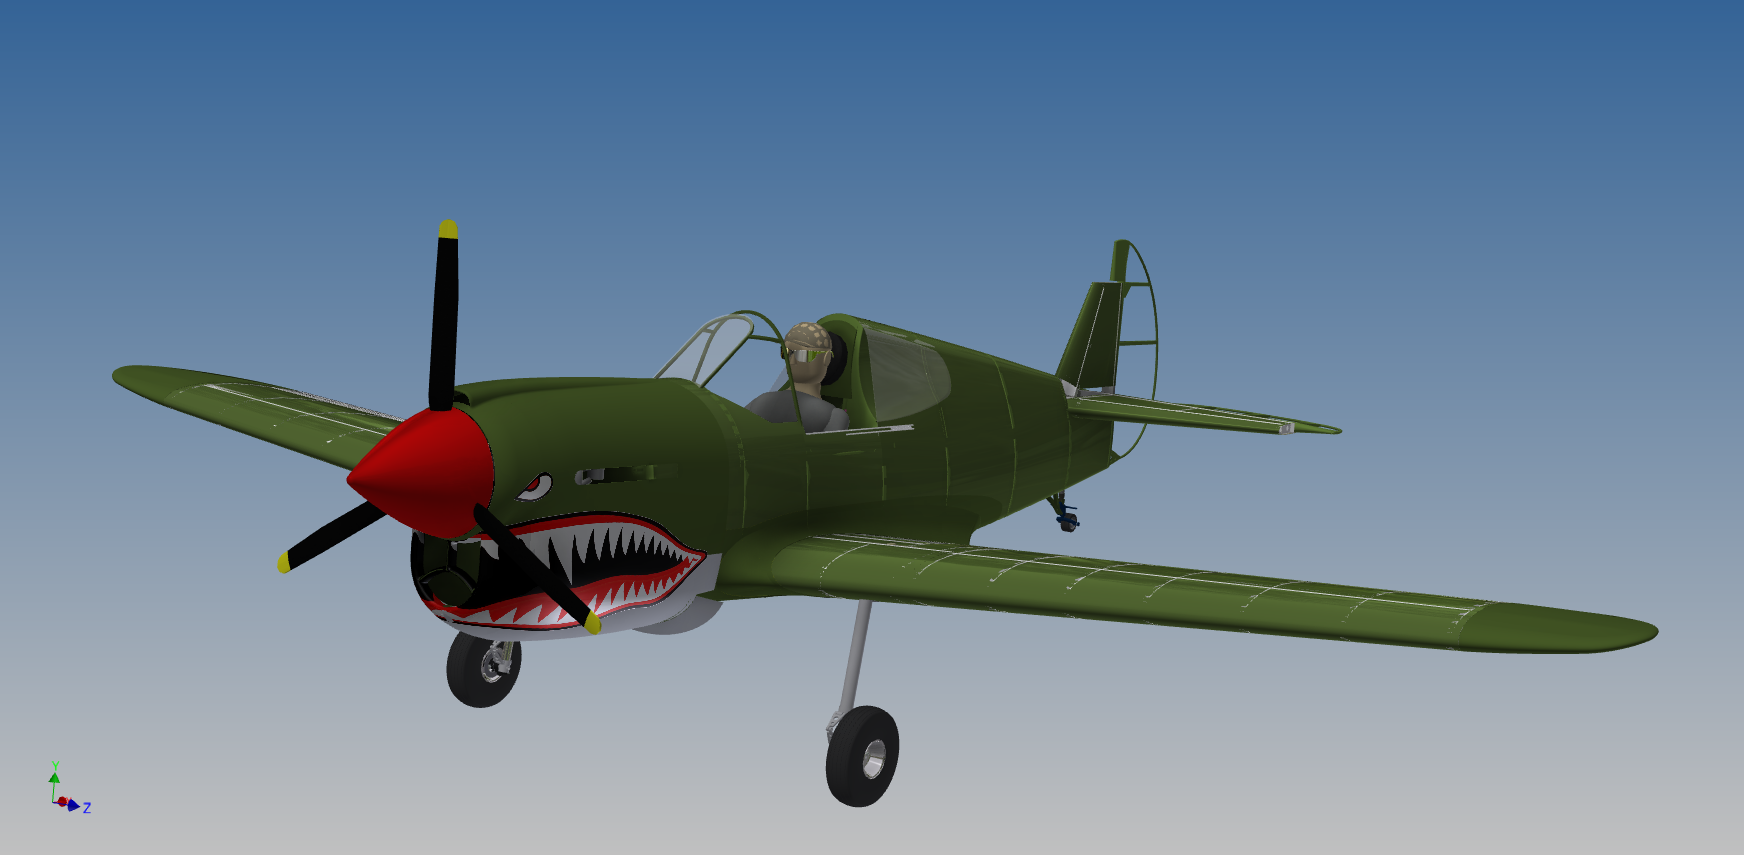
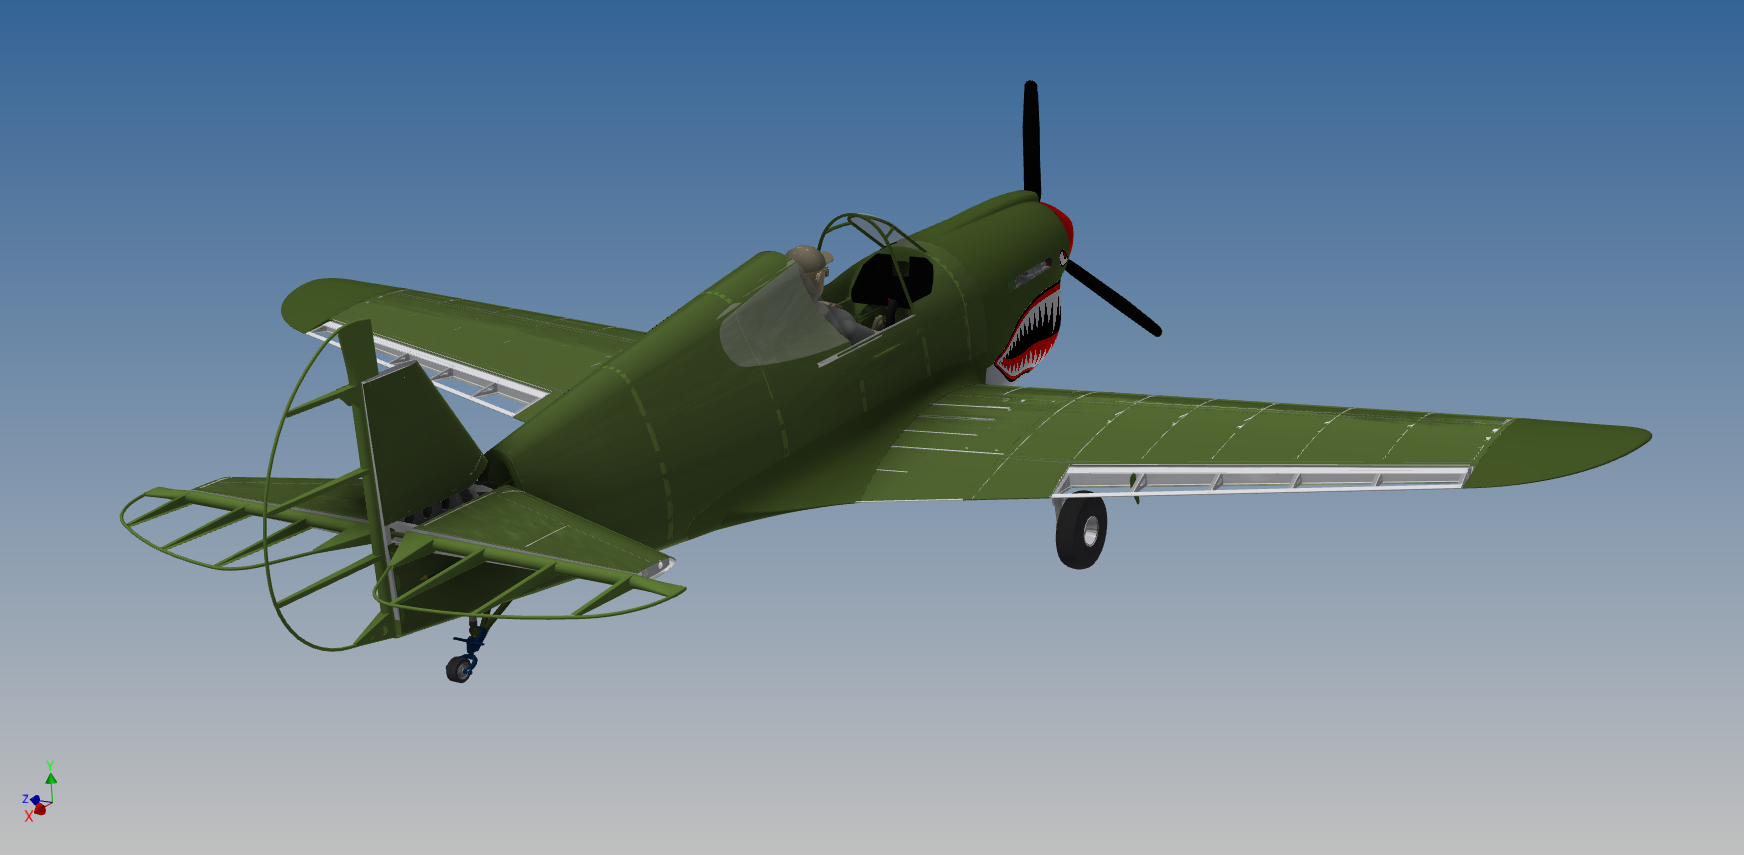
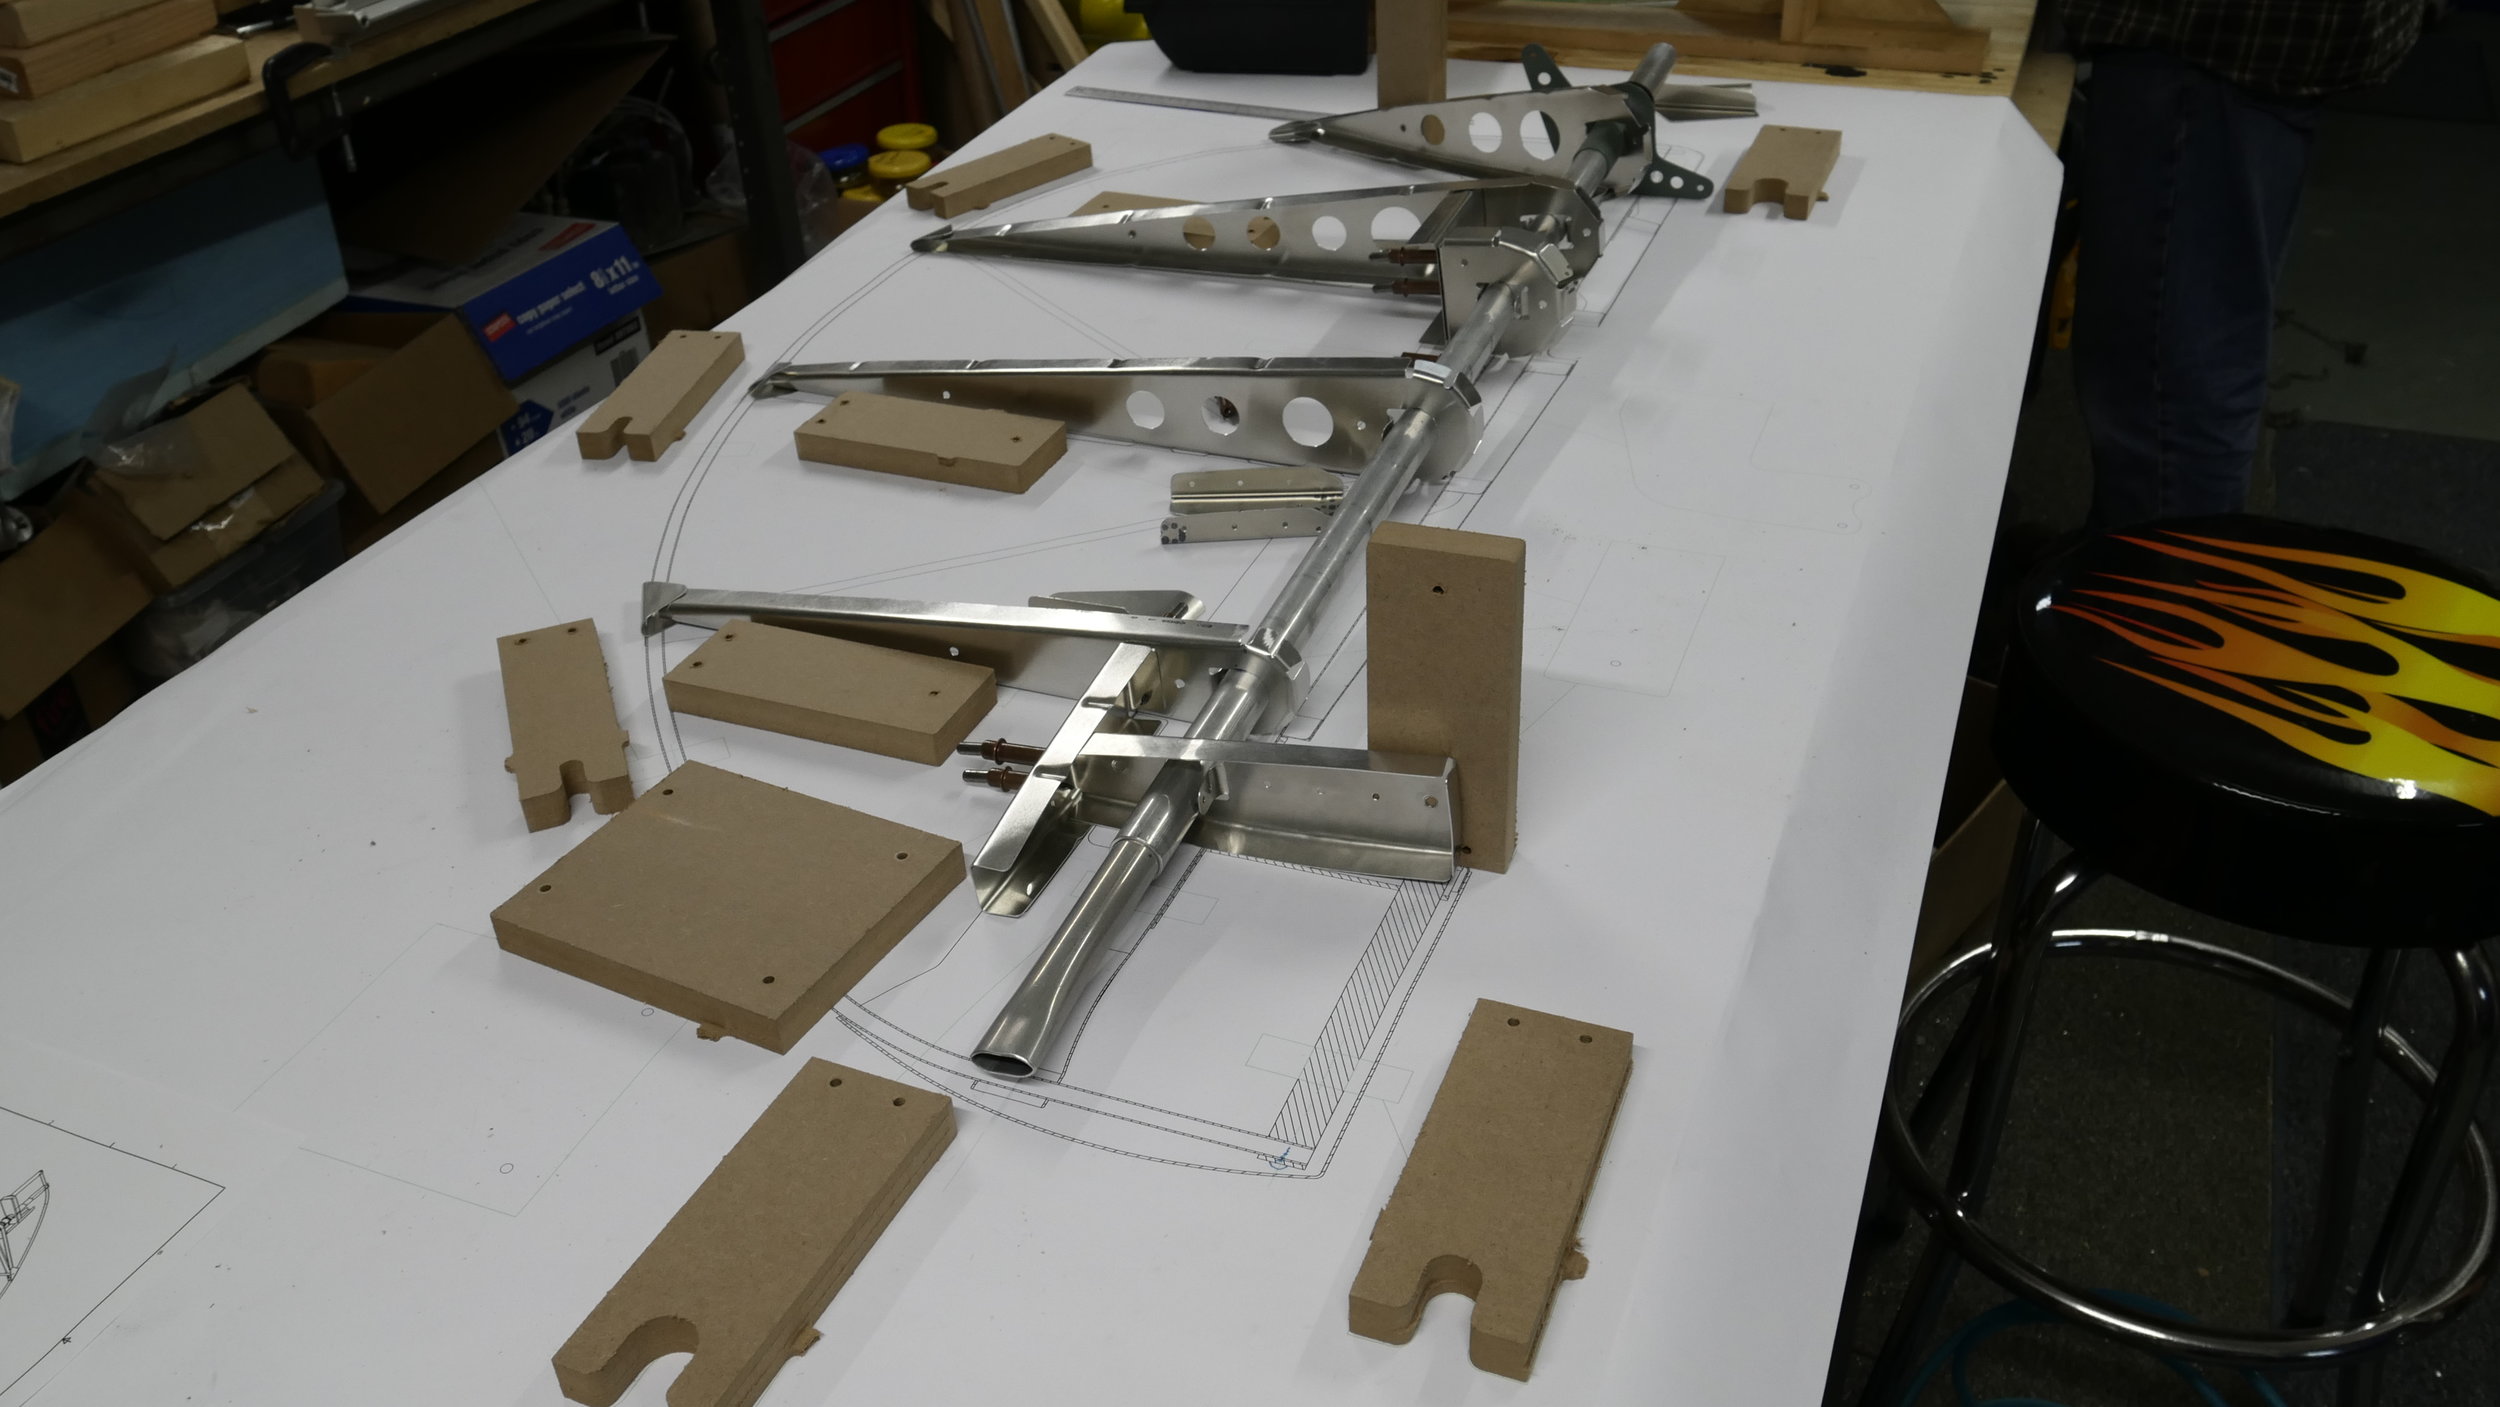
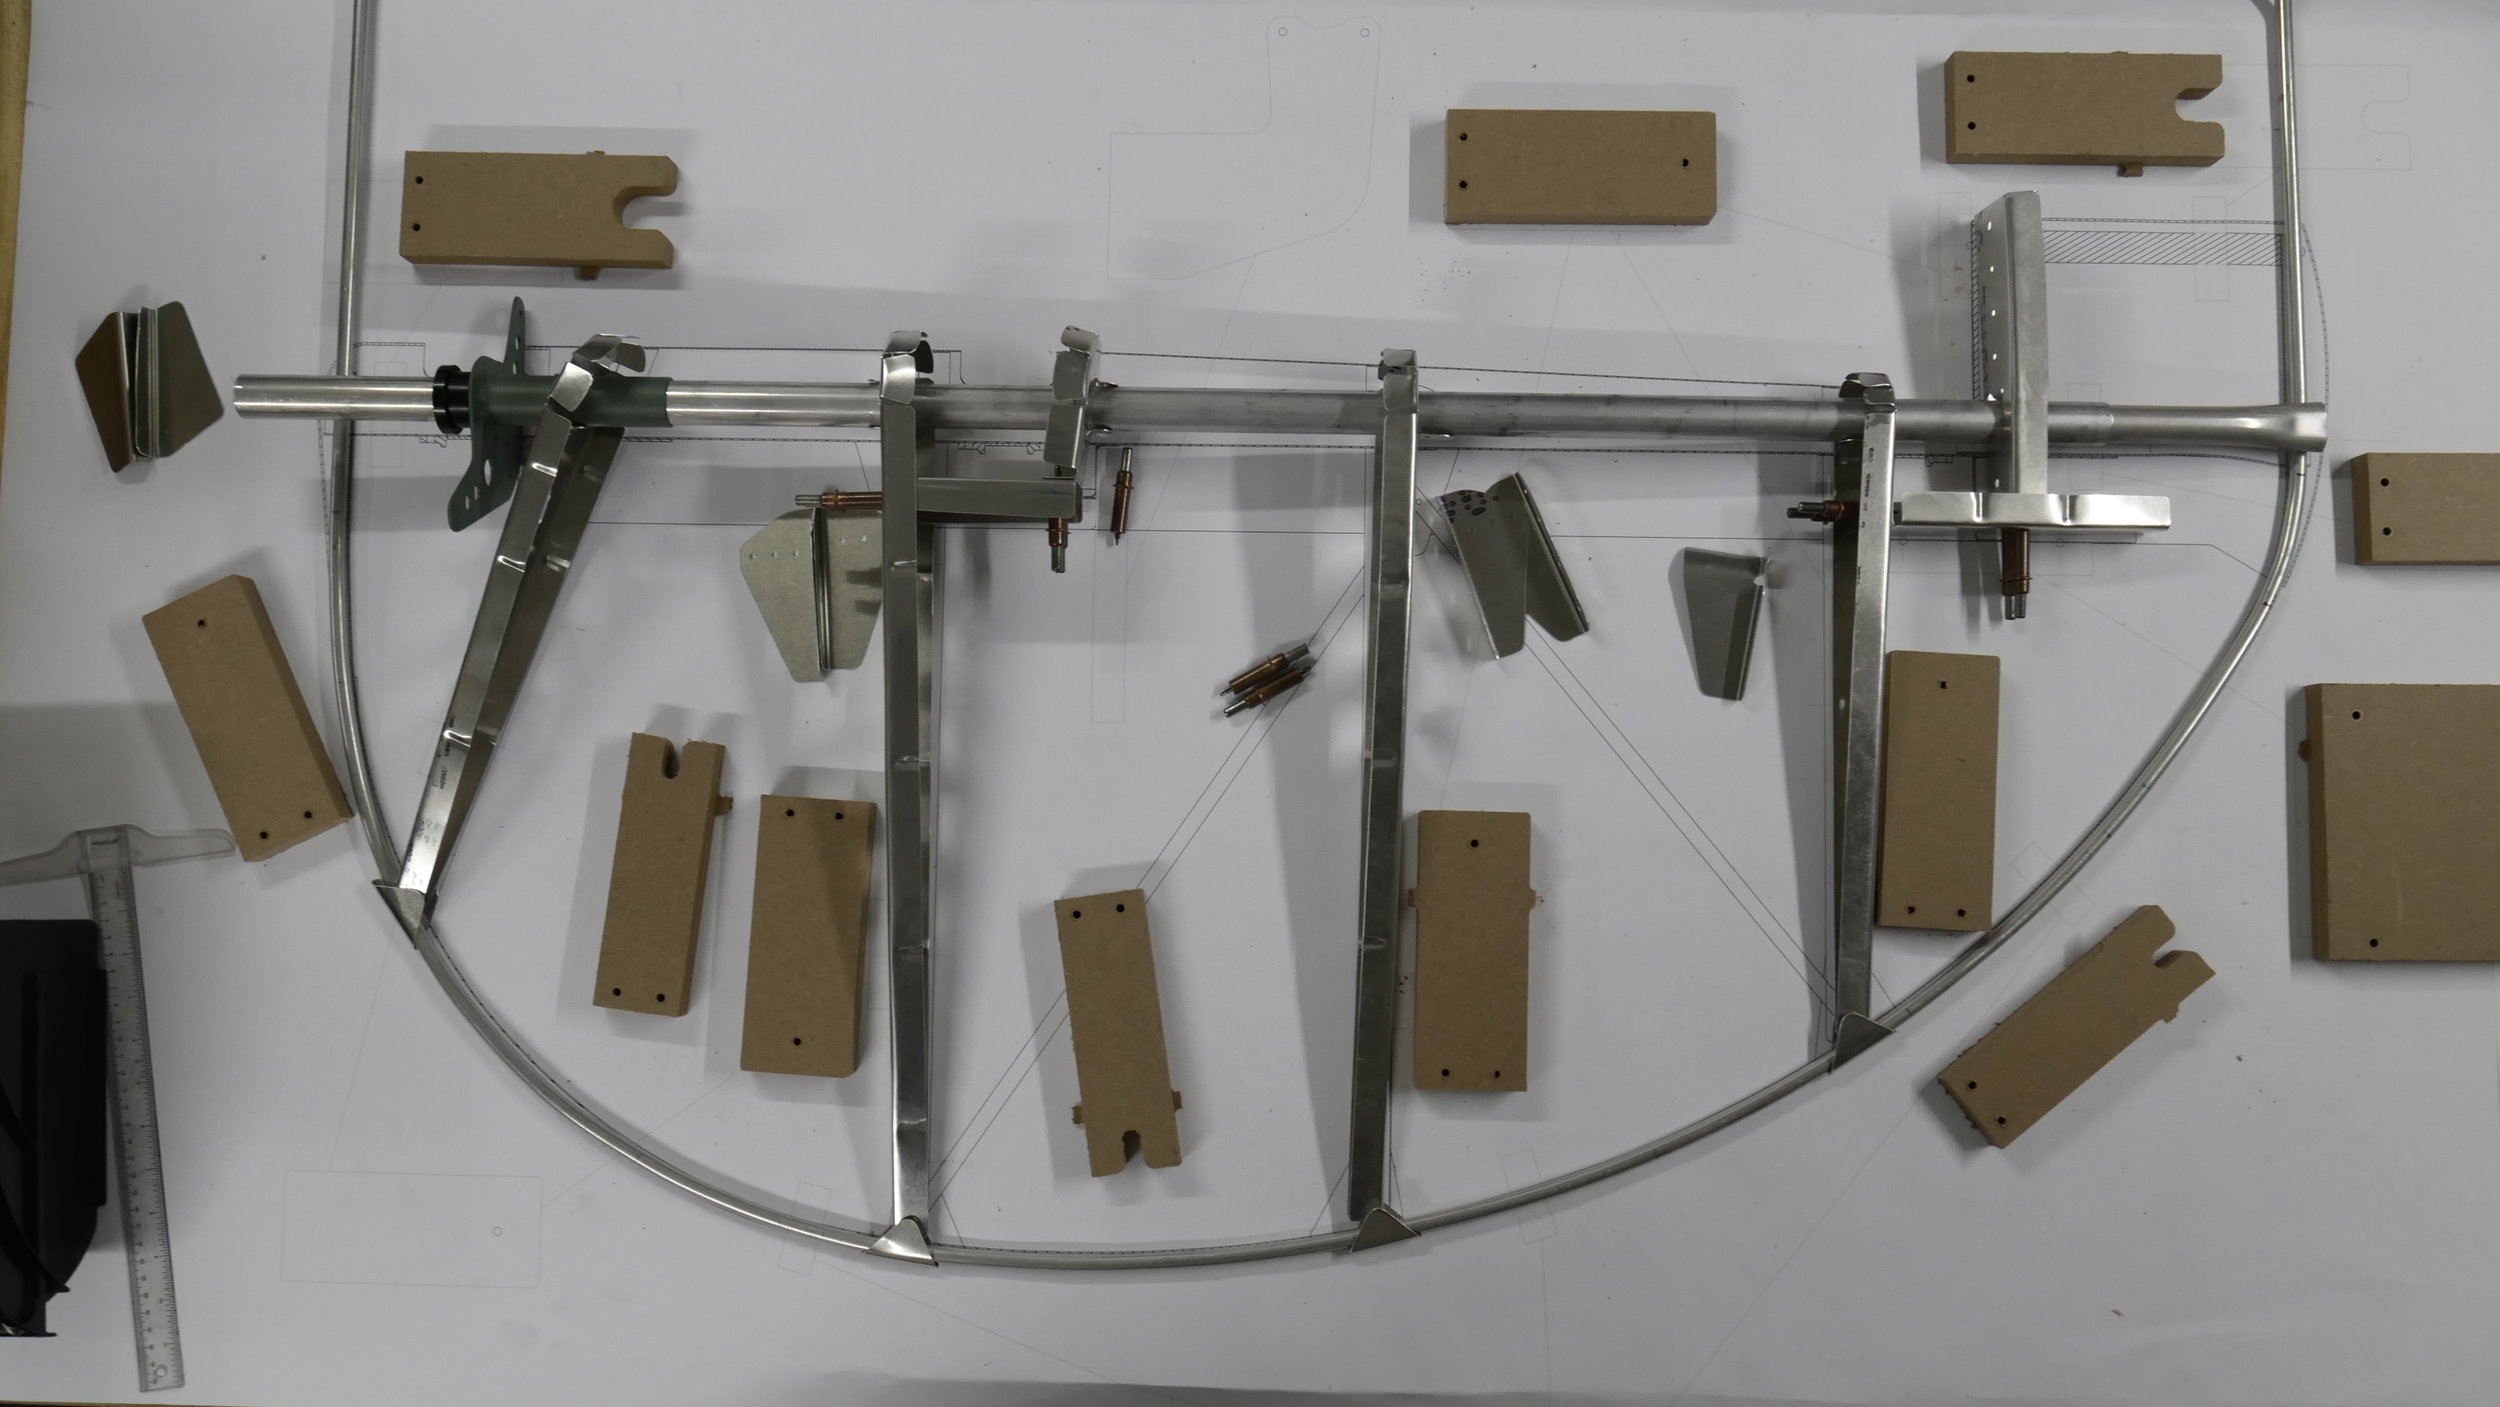
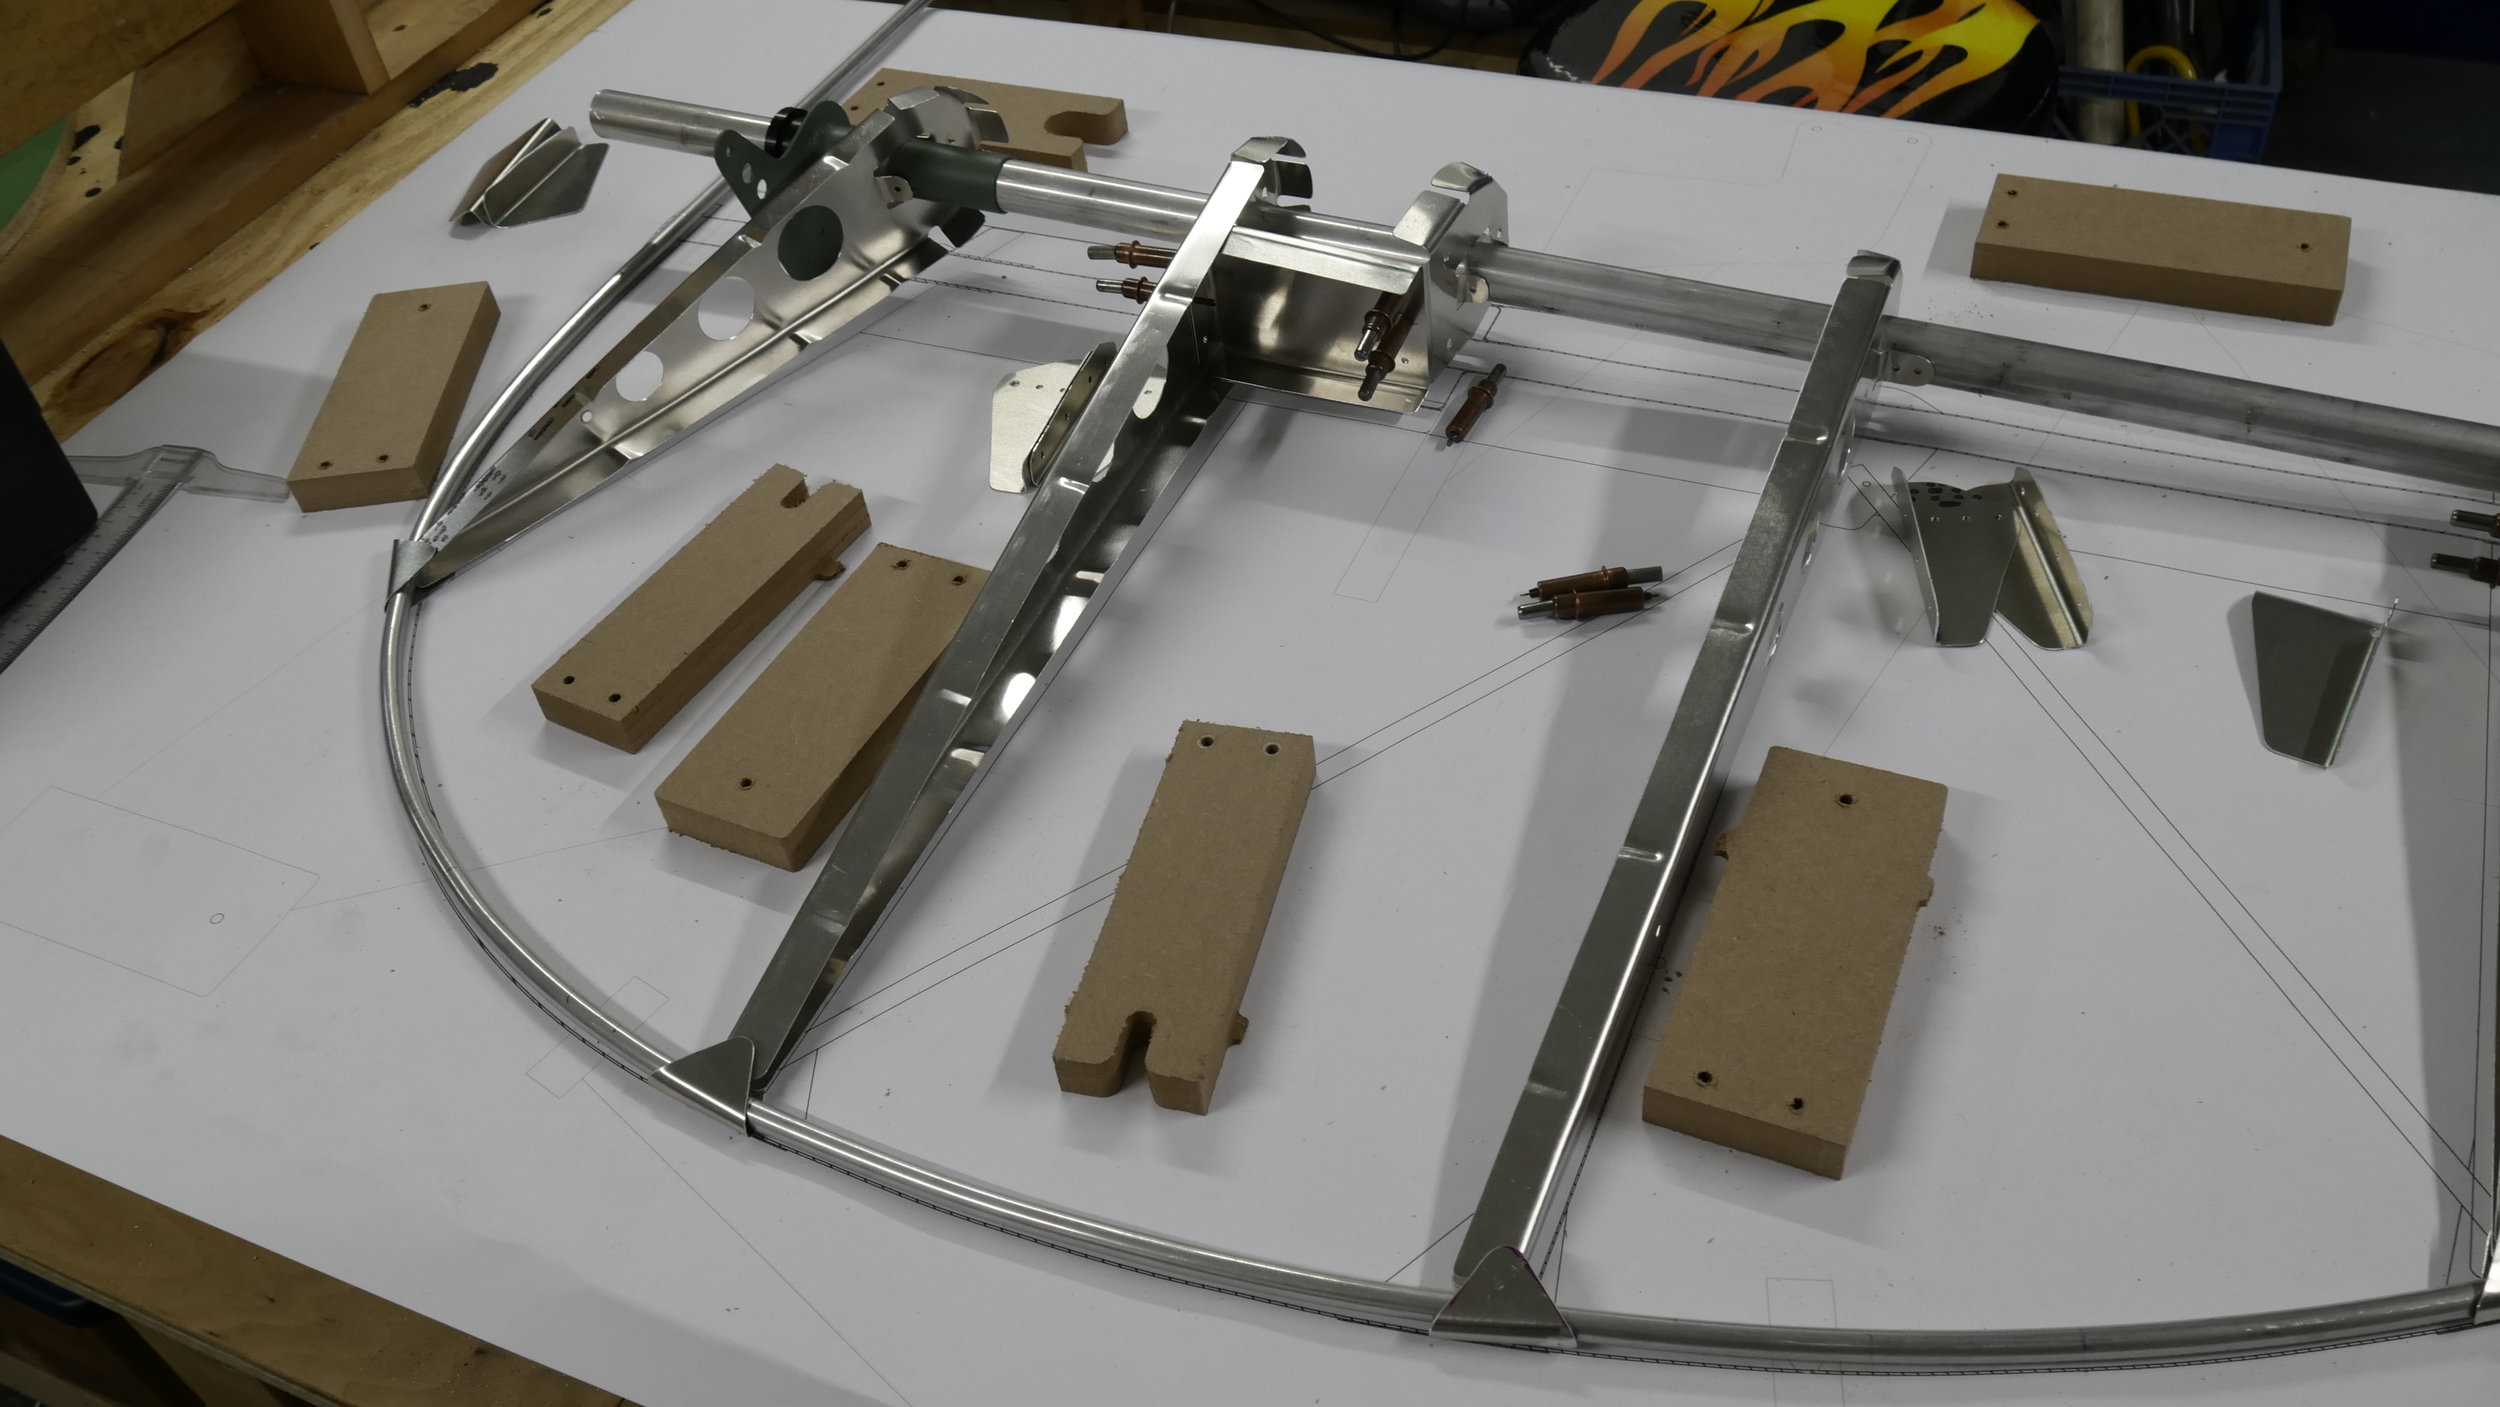
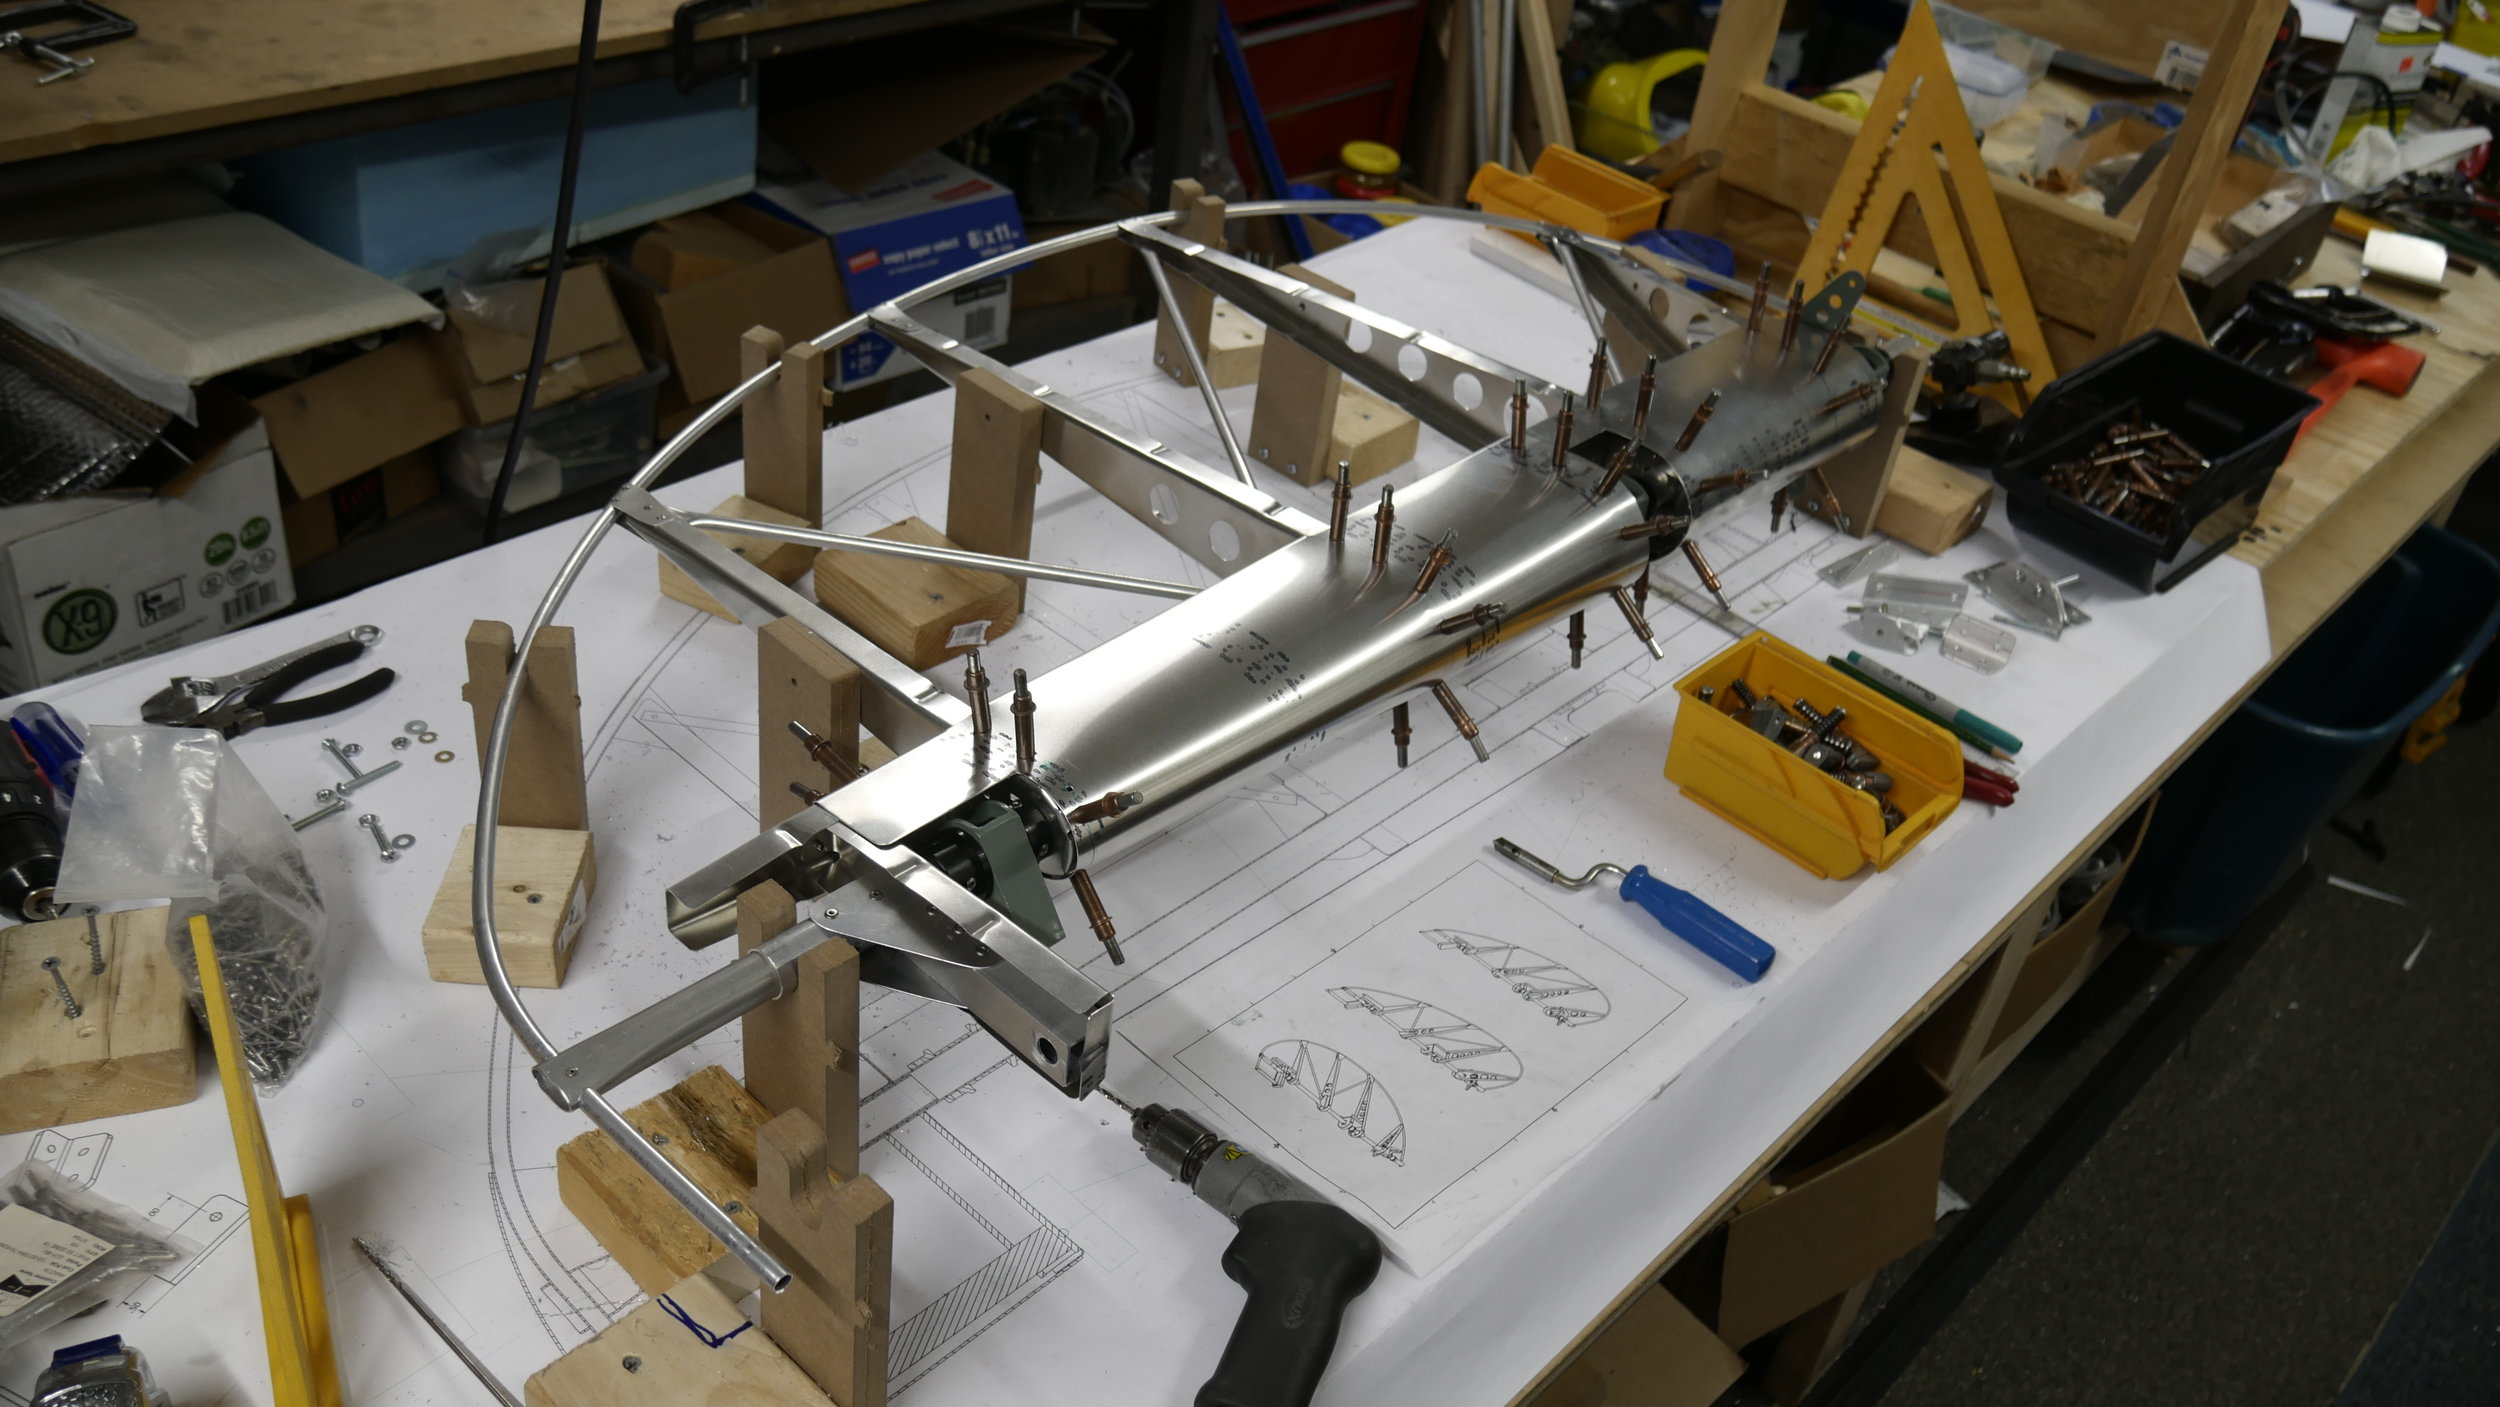
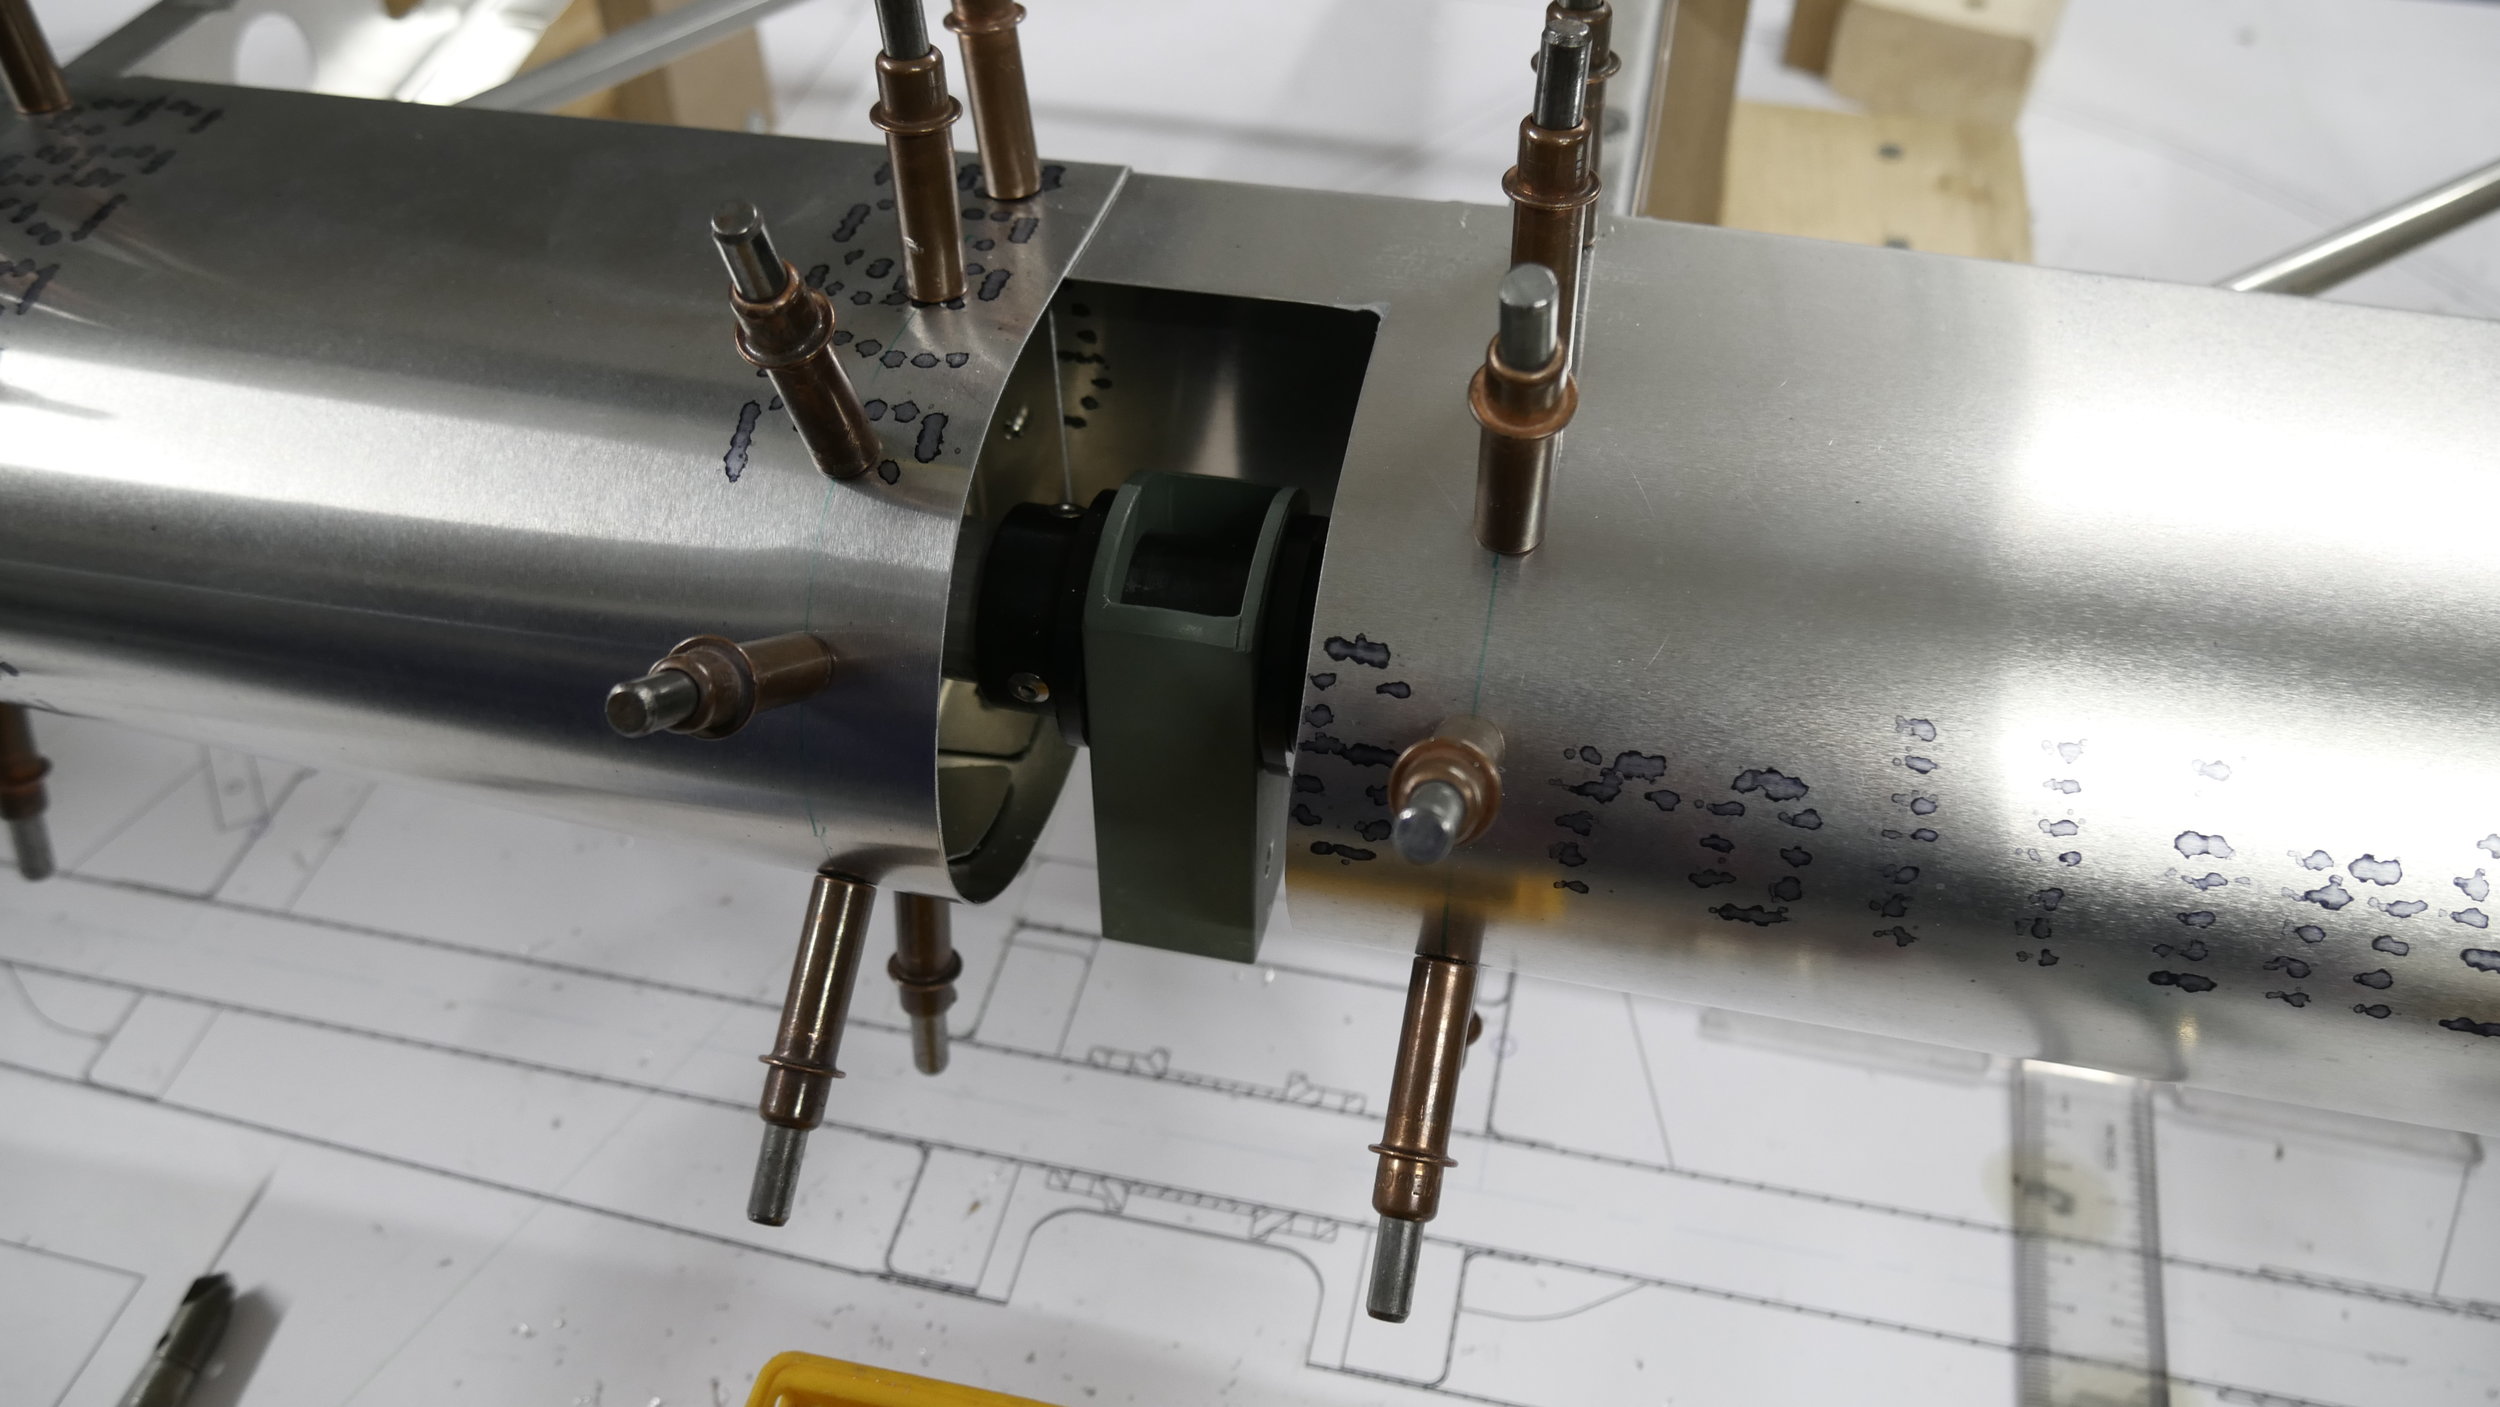
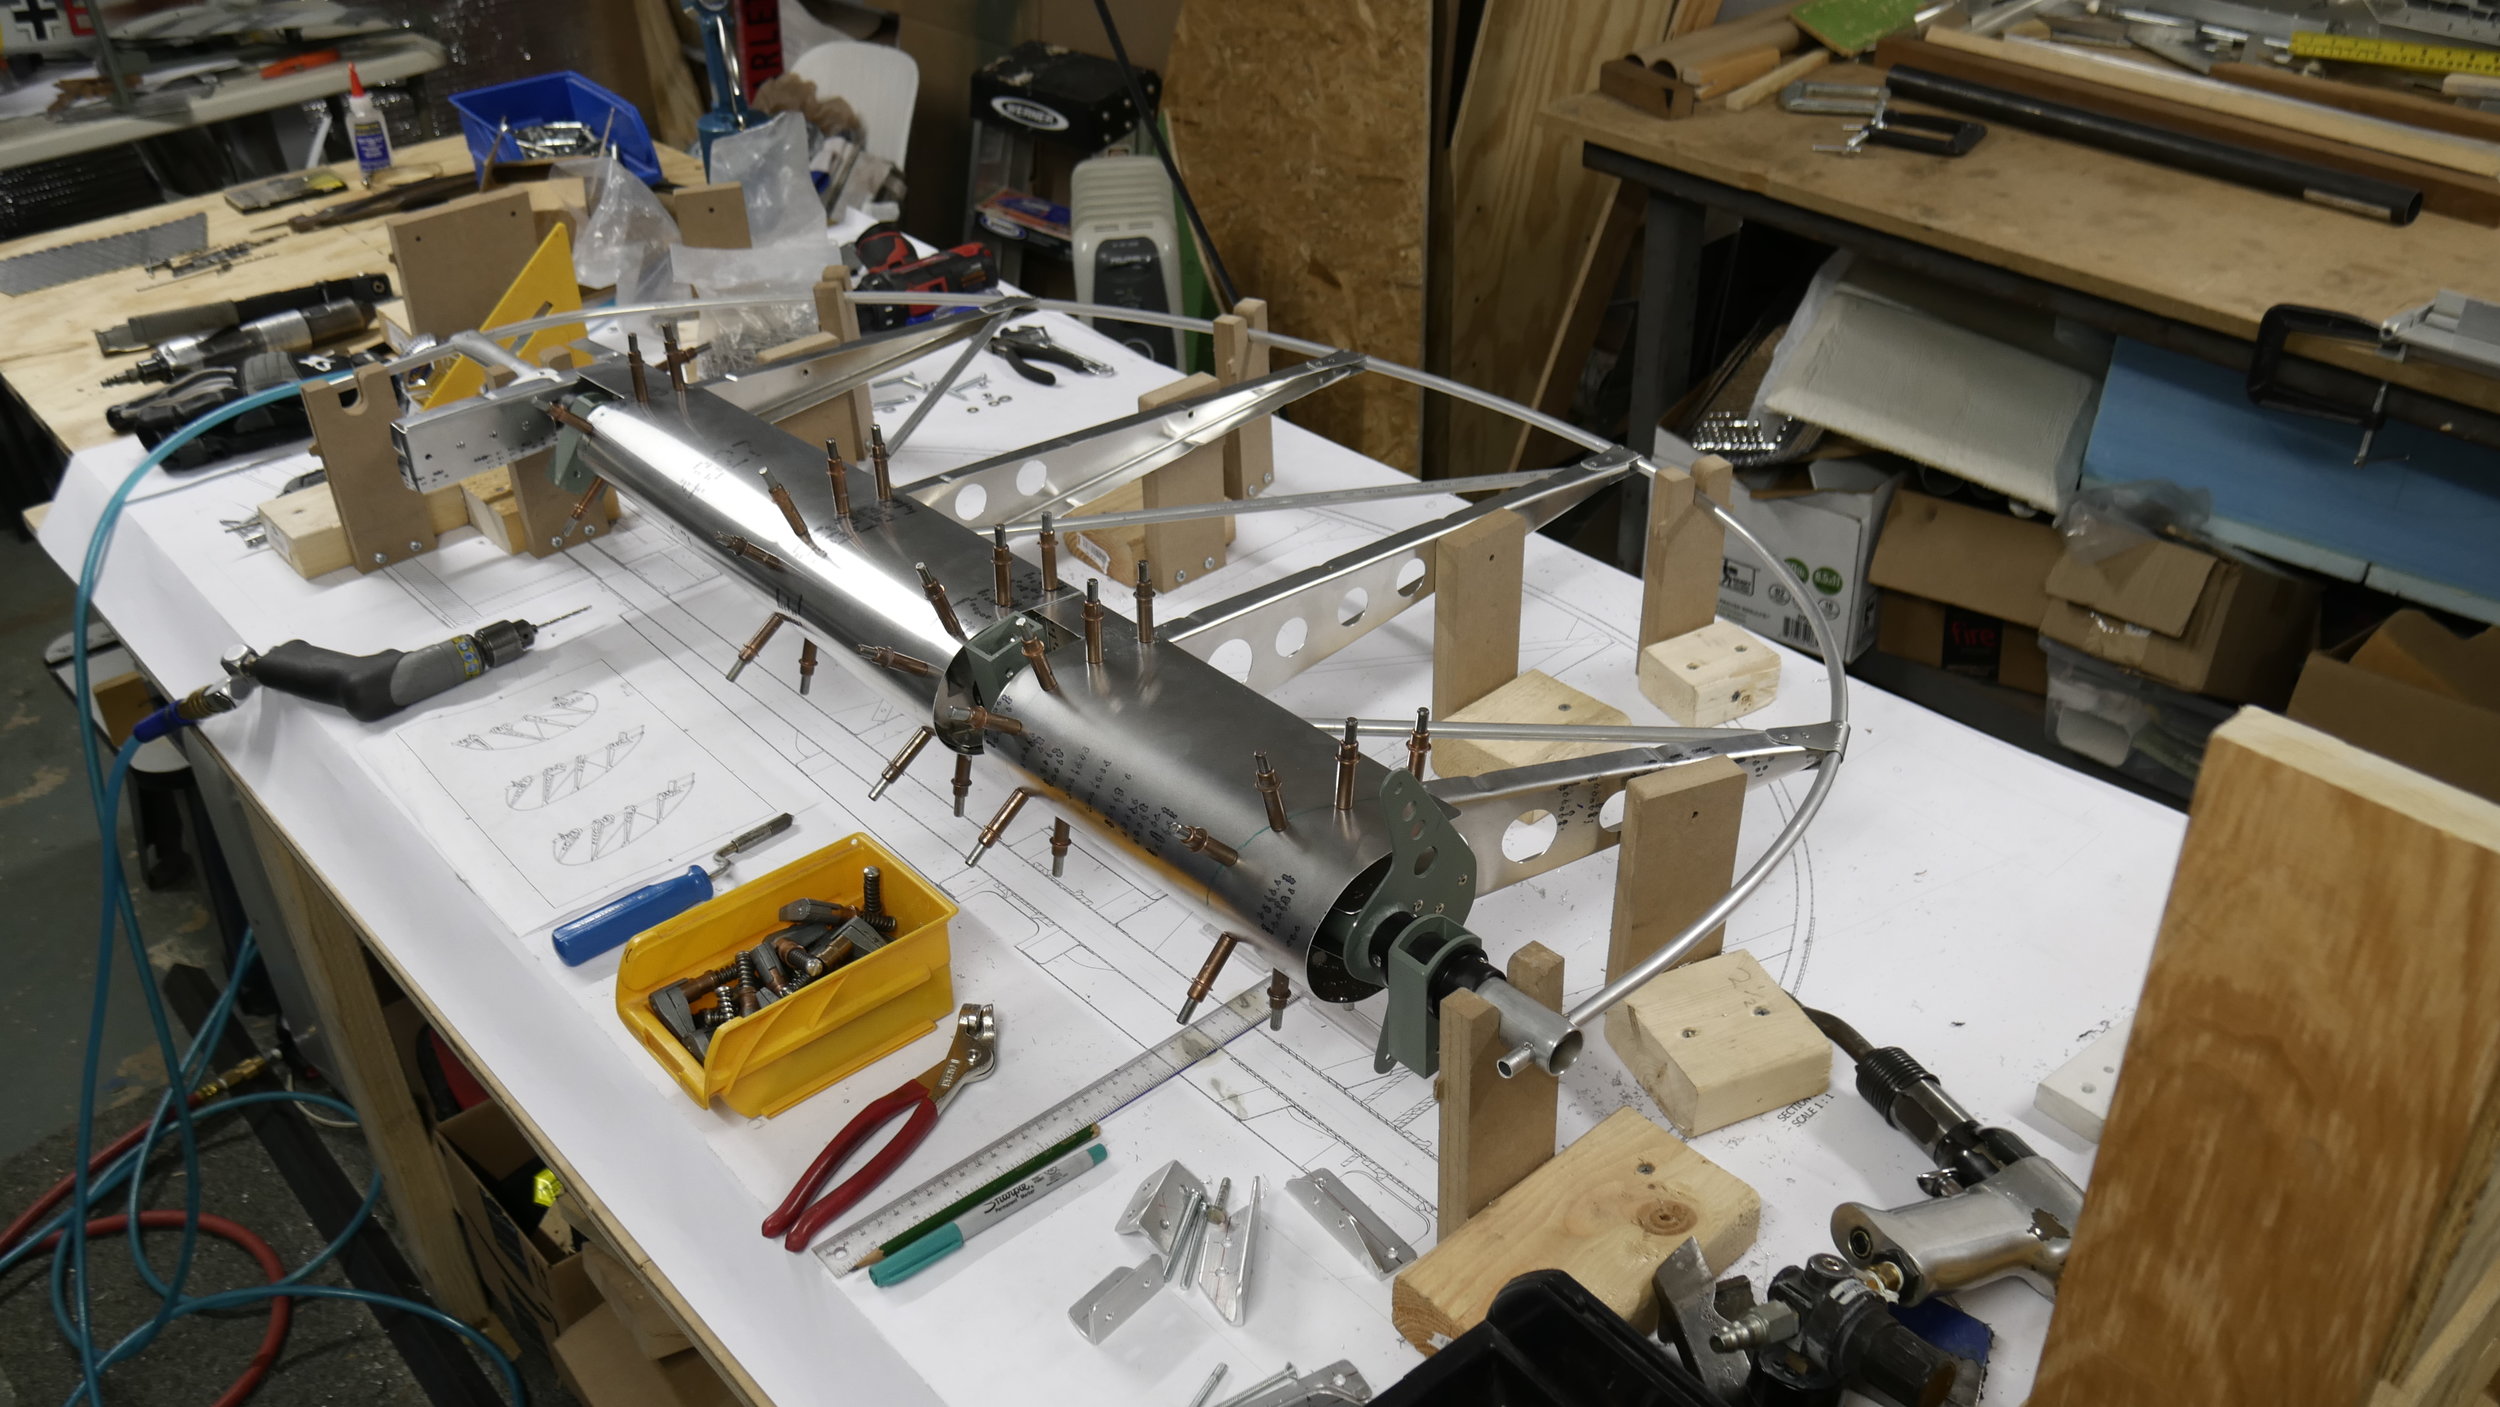
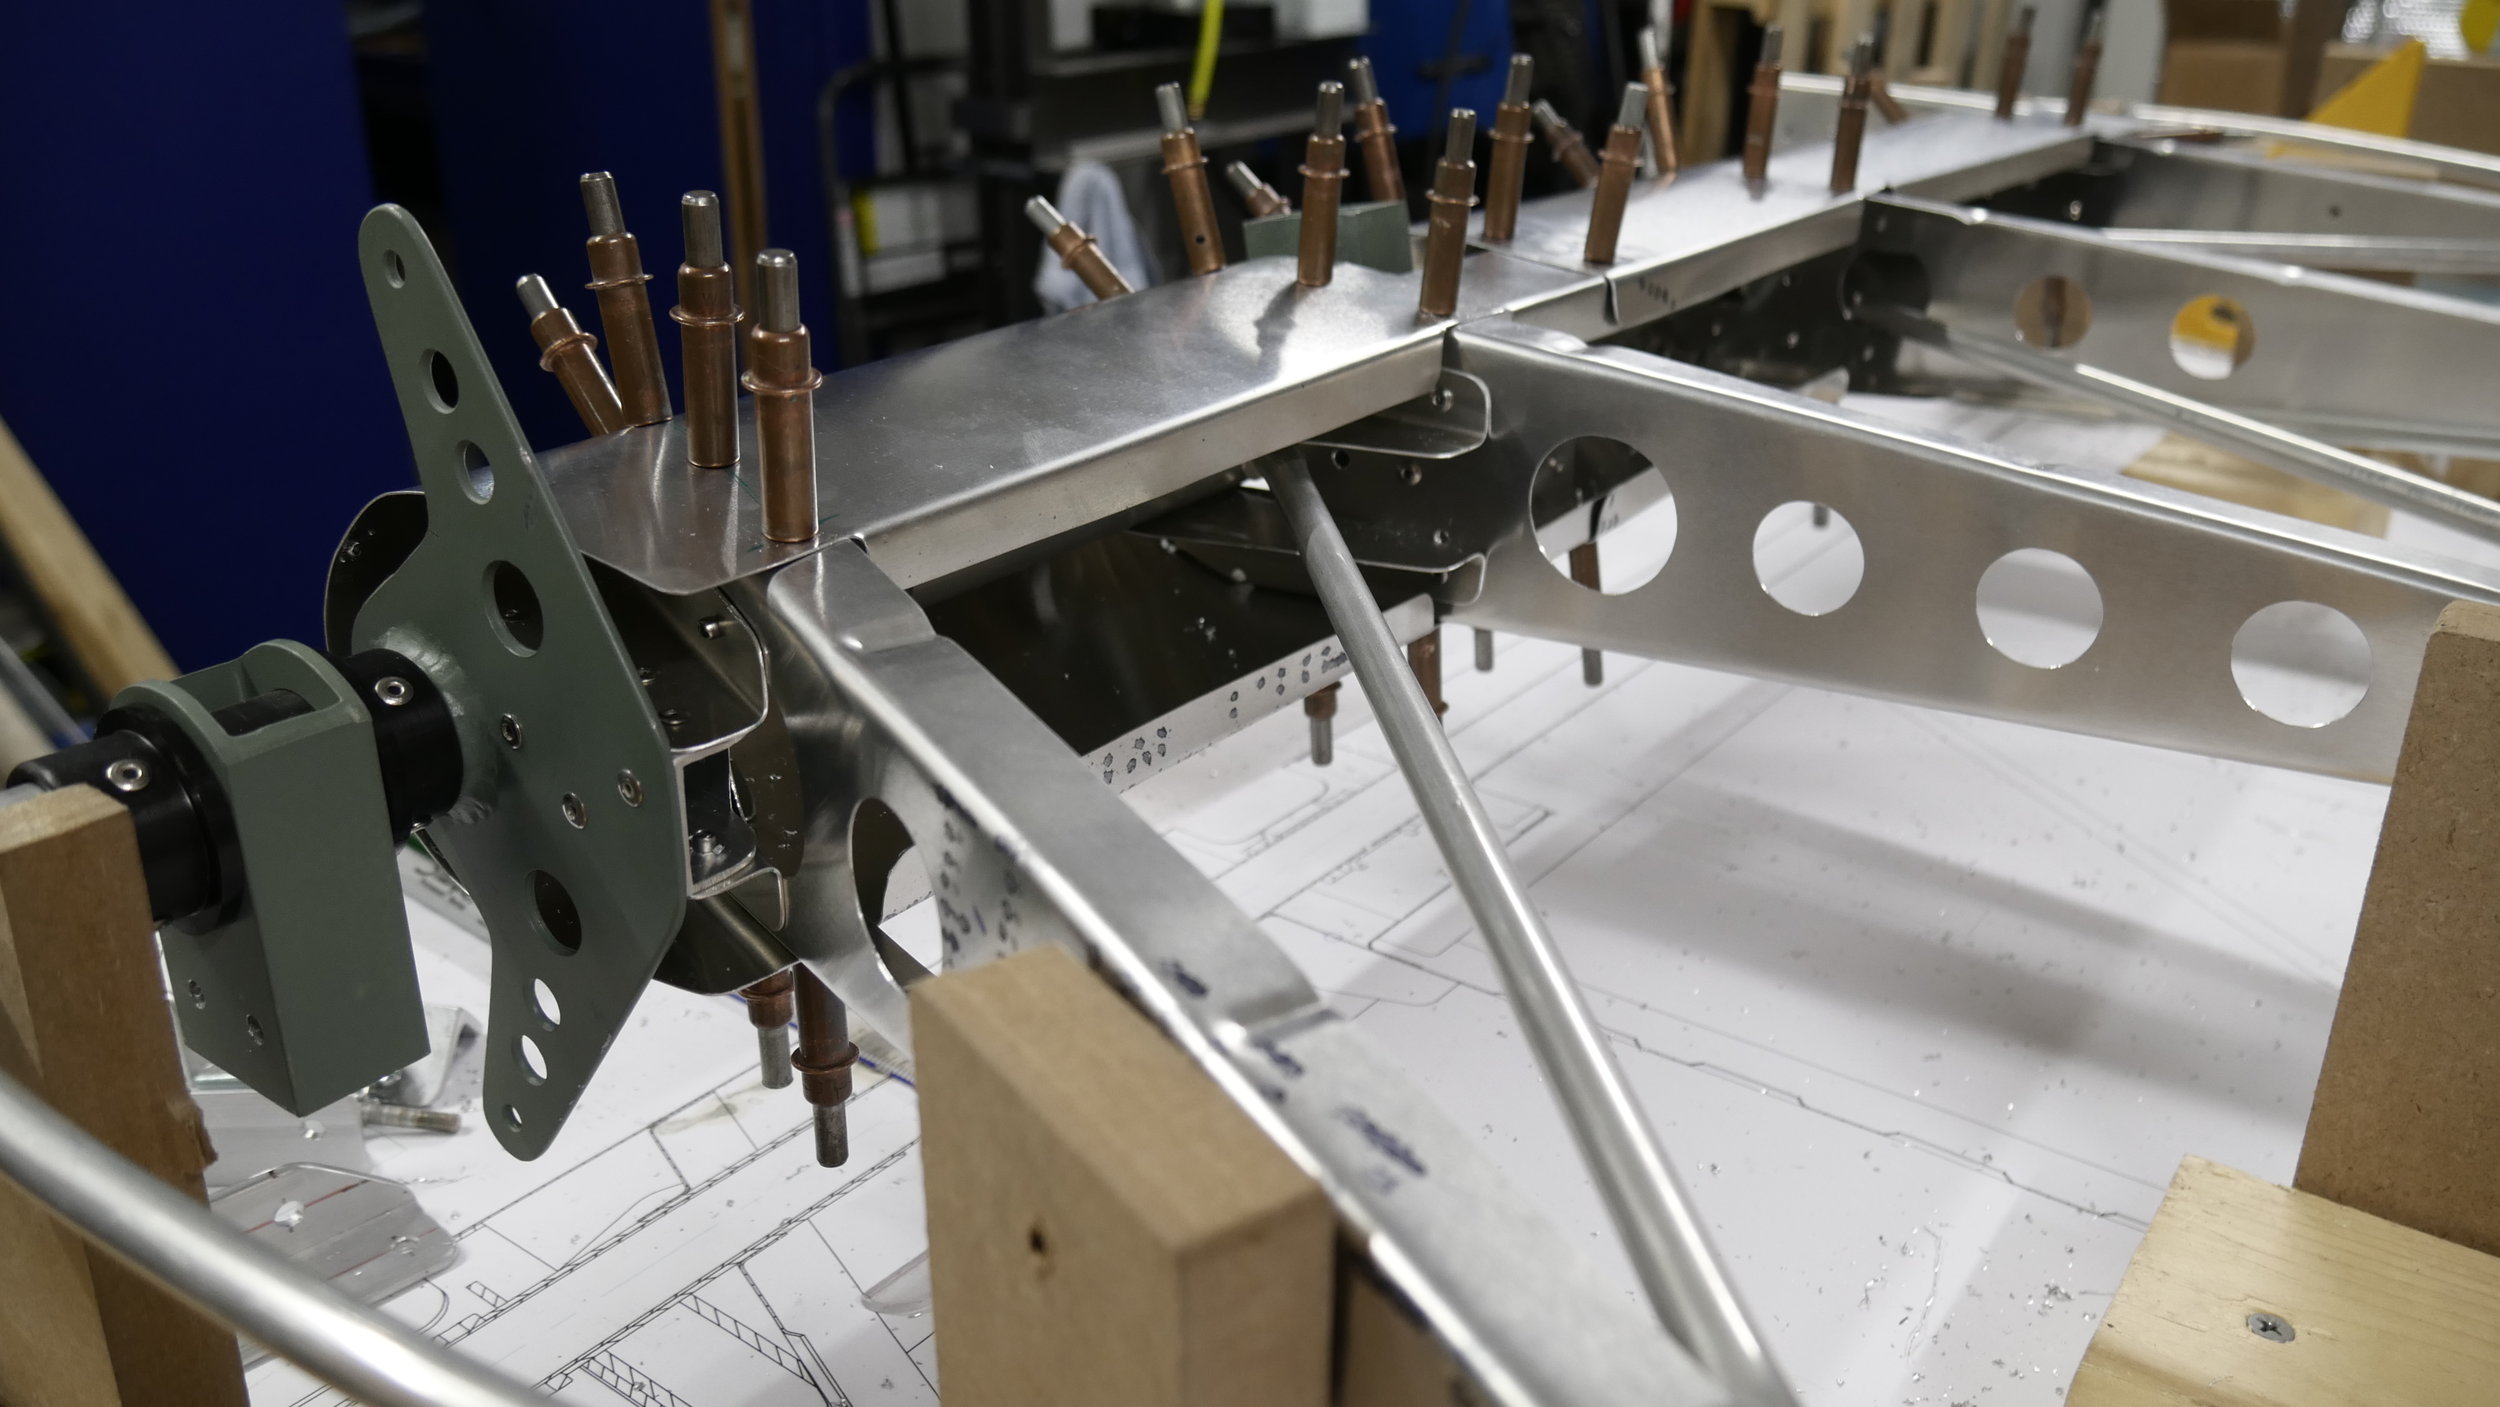
We are just about complete with the rudder - the metal parts of it.  The Top and bottom compound curved parts will be fiberglass that we will jump on when the elevator is built.  The front counter weight bar is also not made yet but we will get that installed shortly.  It went together nicely.  Even though we have it modeled in detail in CAD, it still took a few iterations of fitting up the parts before riveting it all together.  We had to invent the sequence for installation/assembly.  For instance, the steel parts had to be drilled for rivets while in the fixture, then removed, de-burred and the holes primed.  Re-installed and not riveted until the delrin bushings and hinge brackets were installed and fitted.   This meant several iterations of putting it together, working on a part and pulling it all apart again.  It was all fun and interesting work and we are very happy with the way it turned-out.  We are going to be repeating this build twice more to make the elevator.  The elevator design is going to be very similar to the rudder except for the inboard pass-thru and center-line hinge.  Will likely jump onto working on the Horizontal stabilizer next and then do the elevators.  


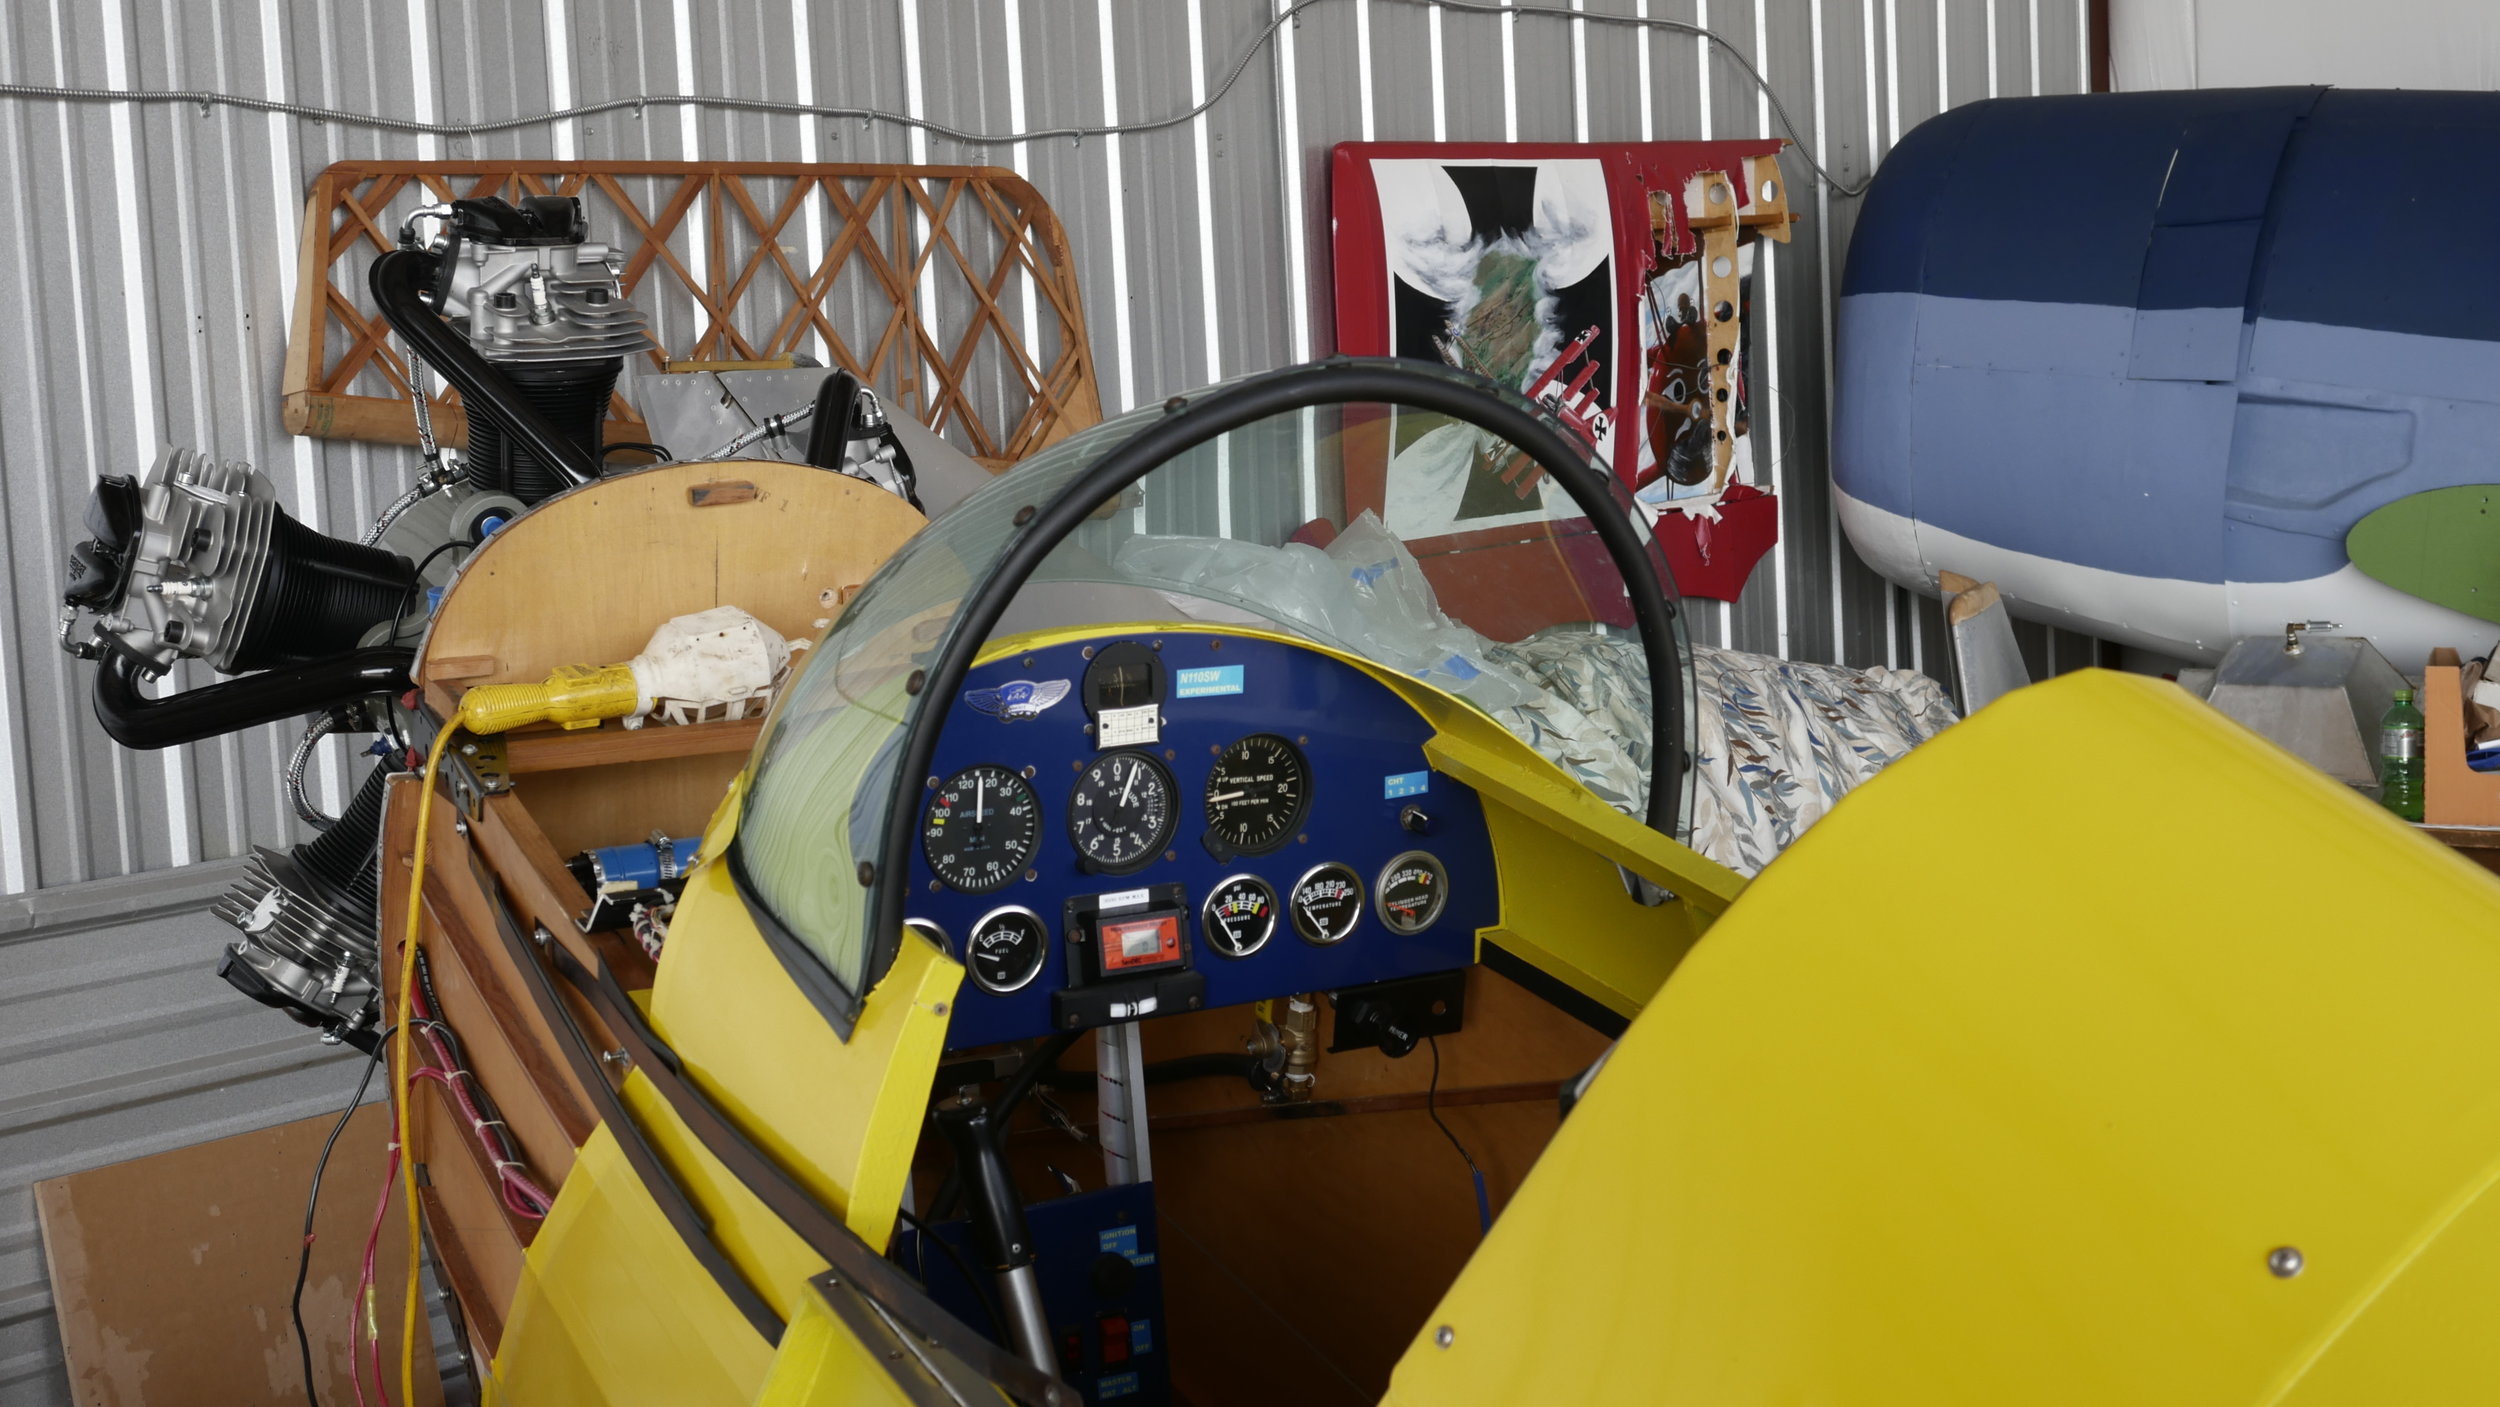
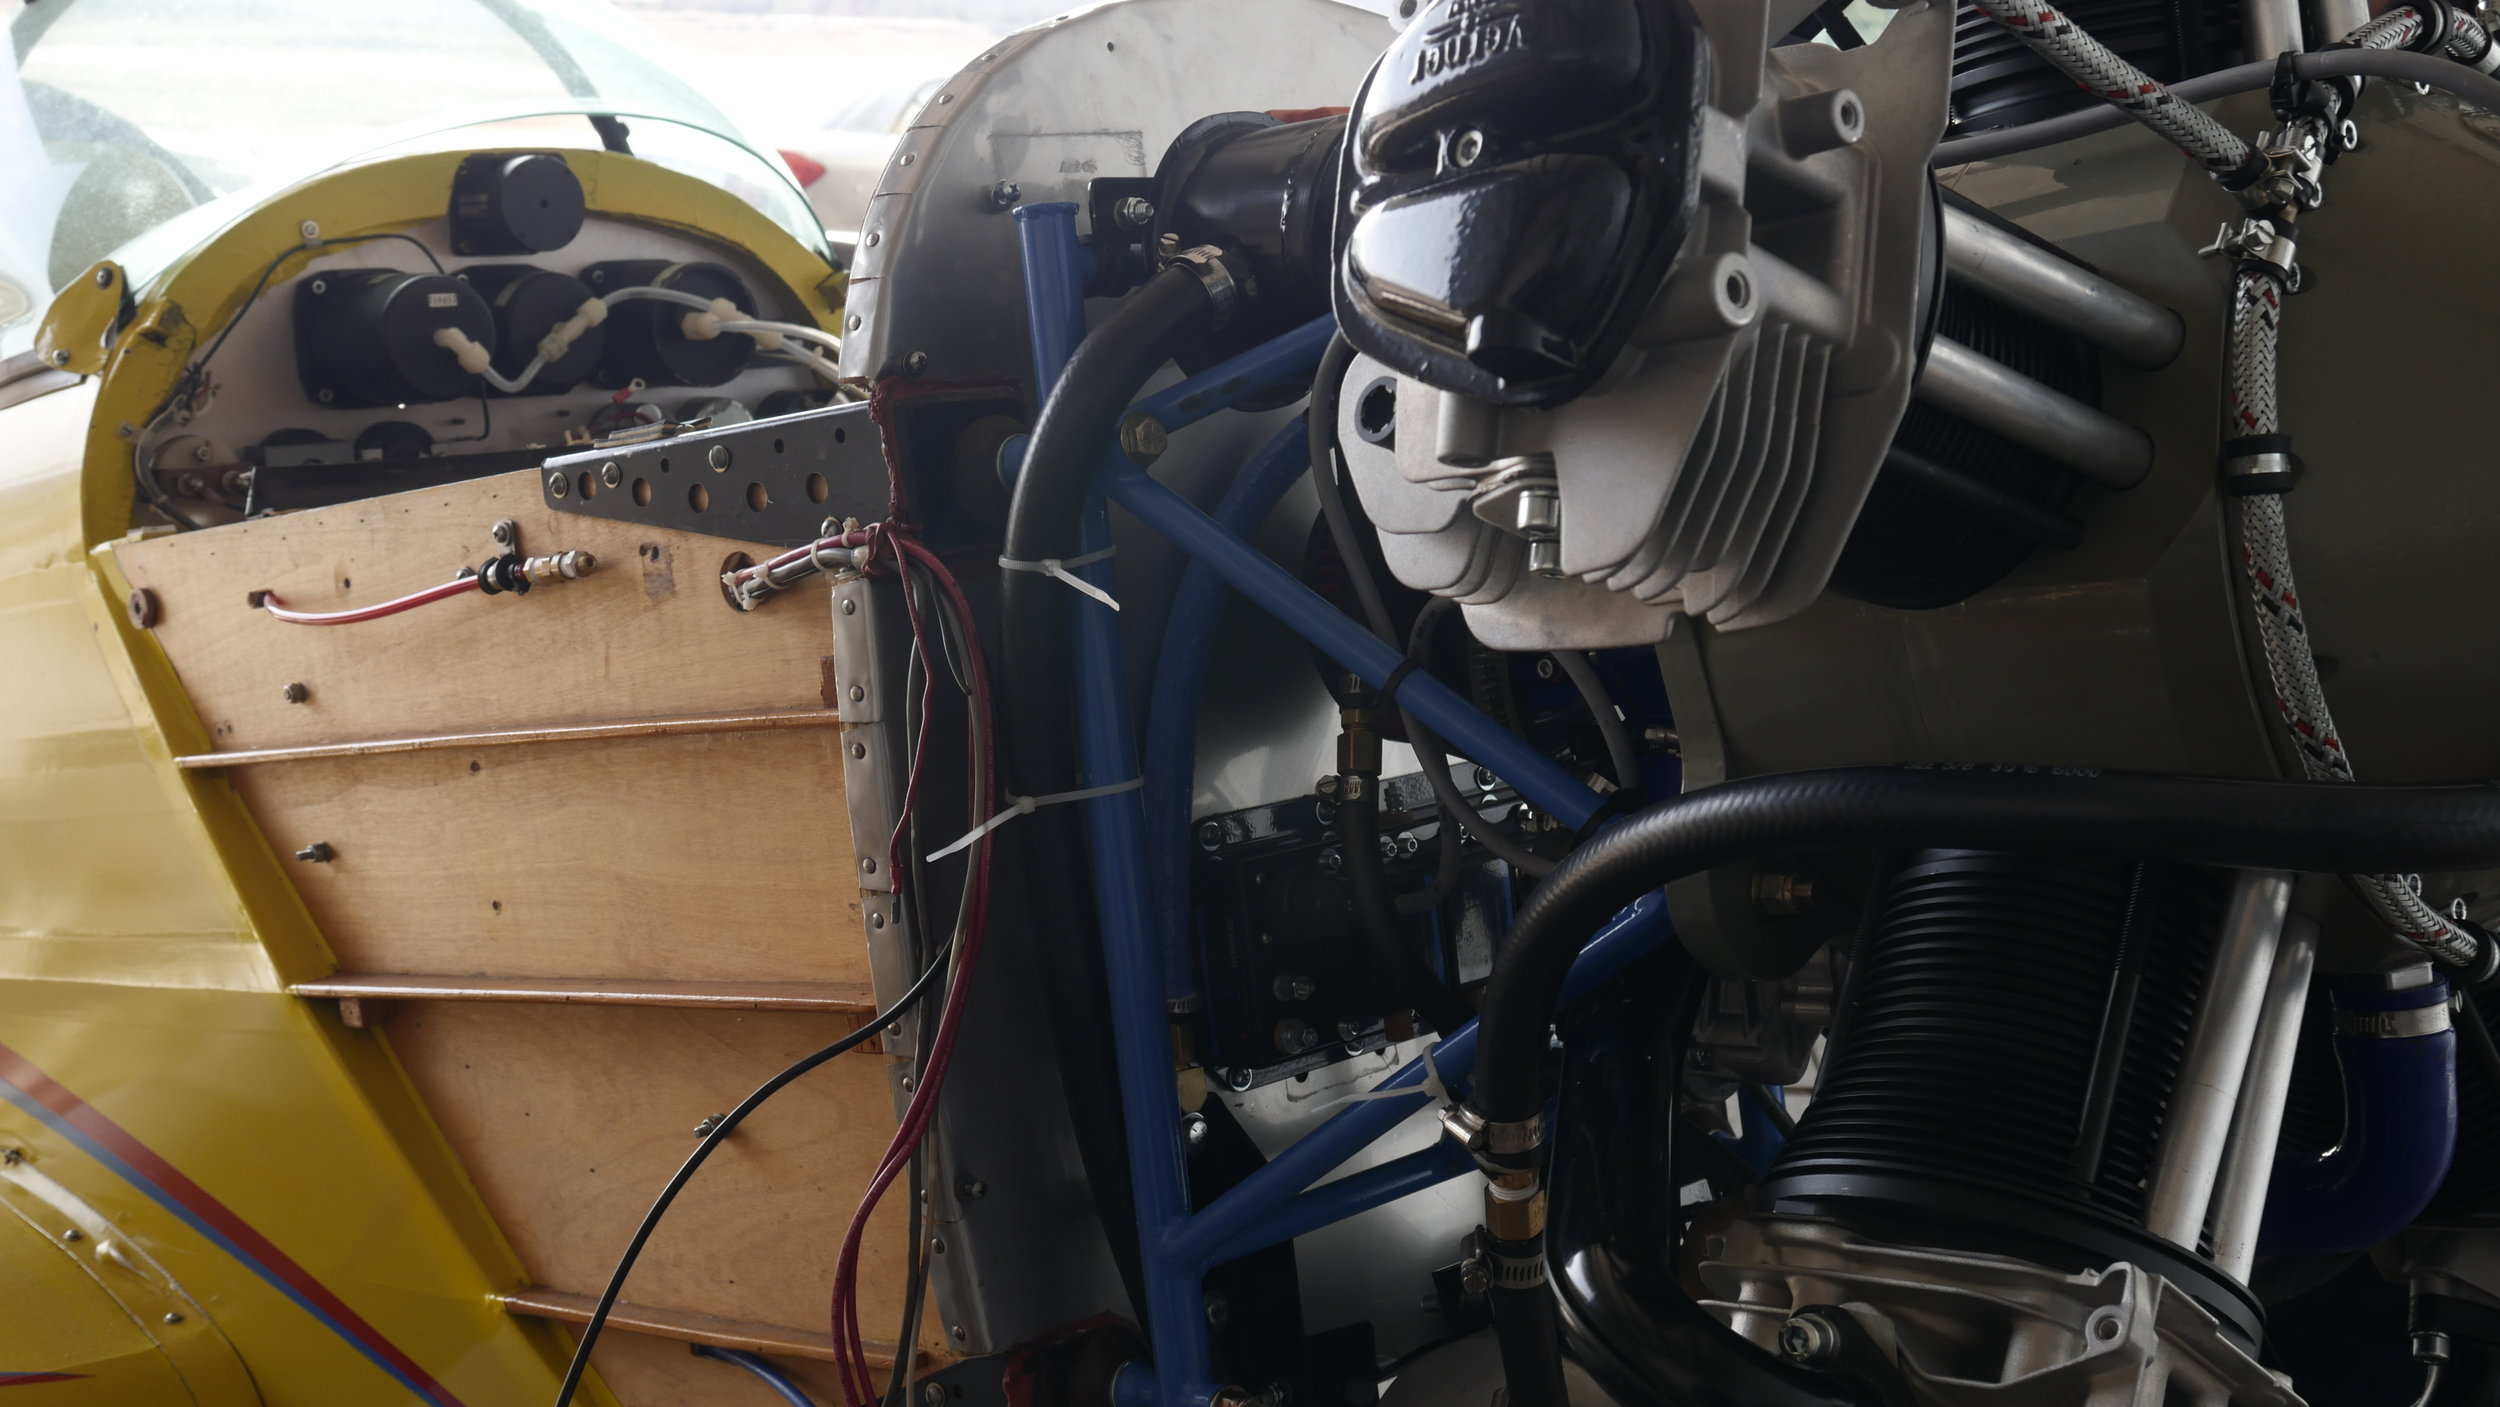
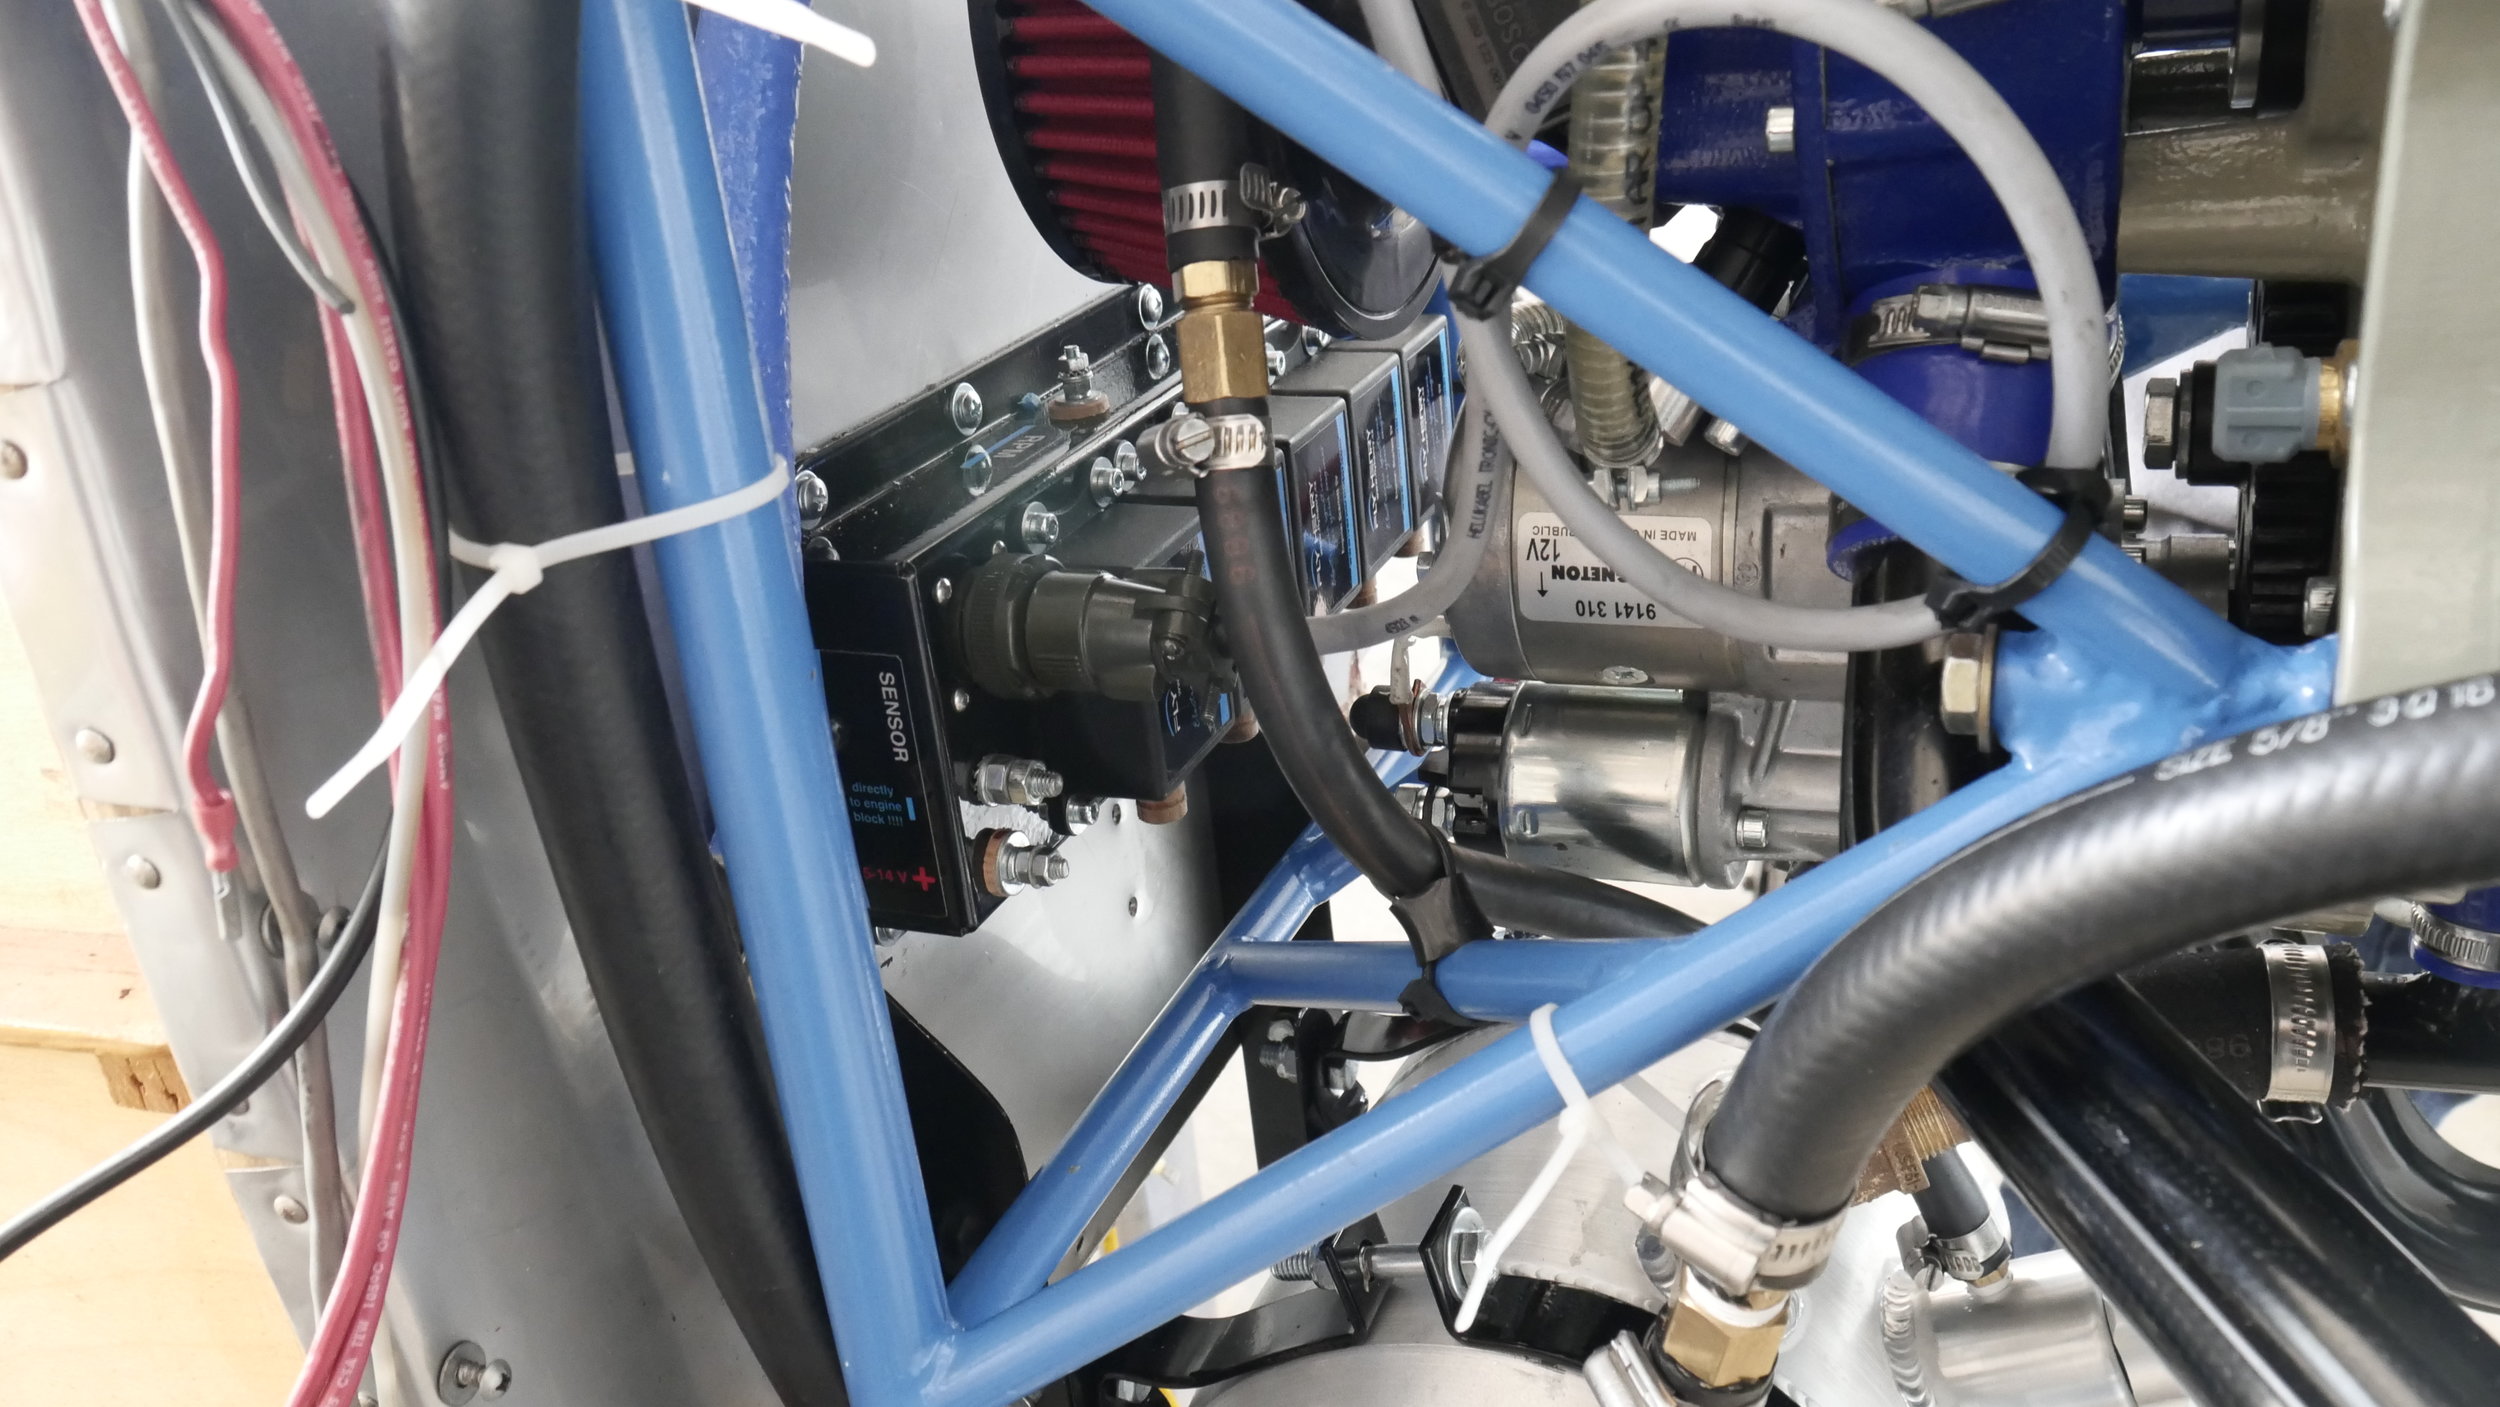
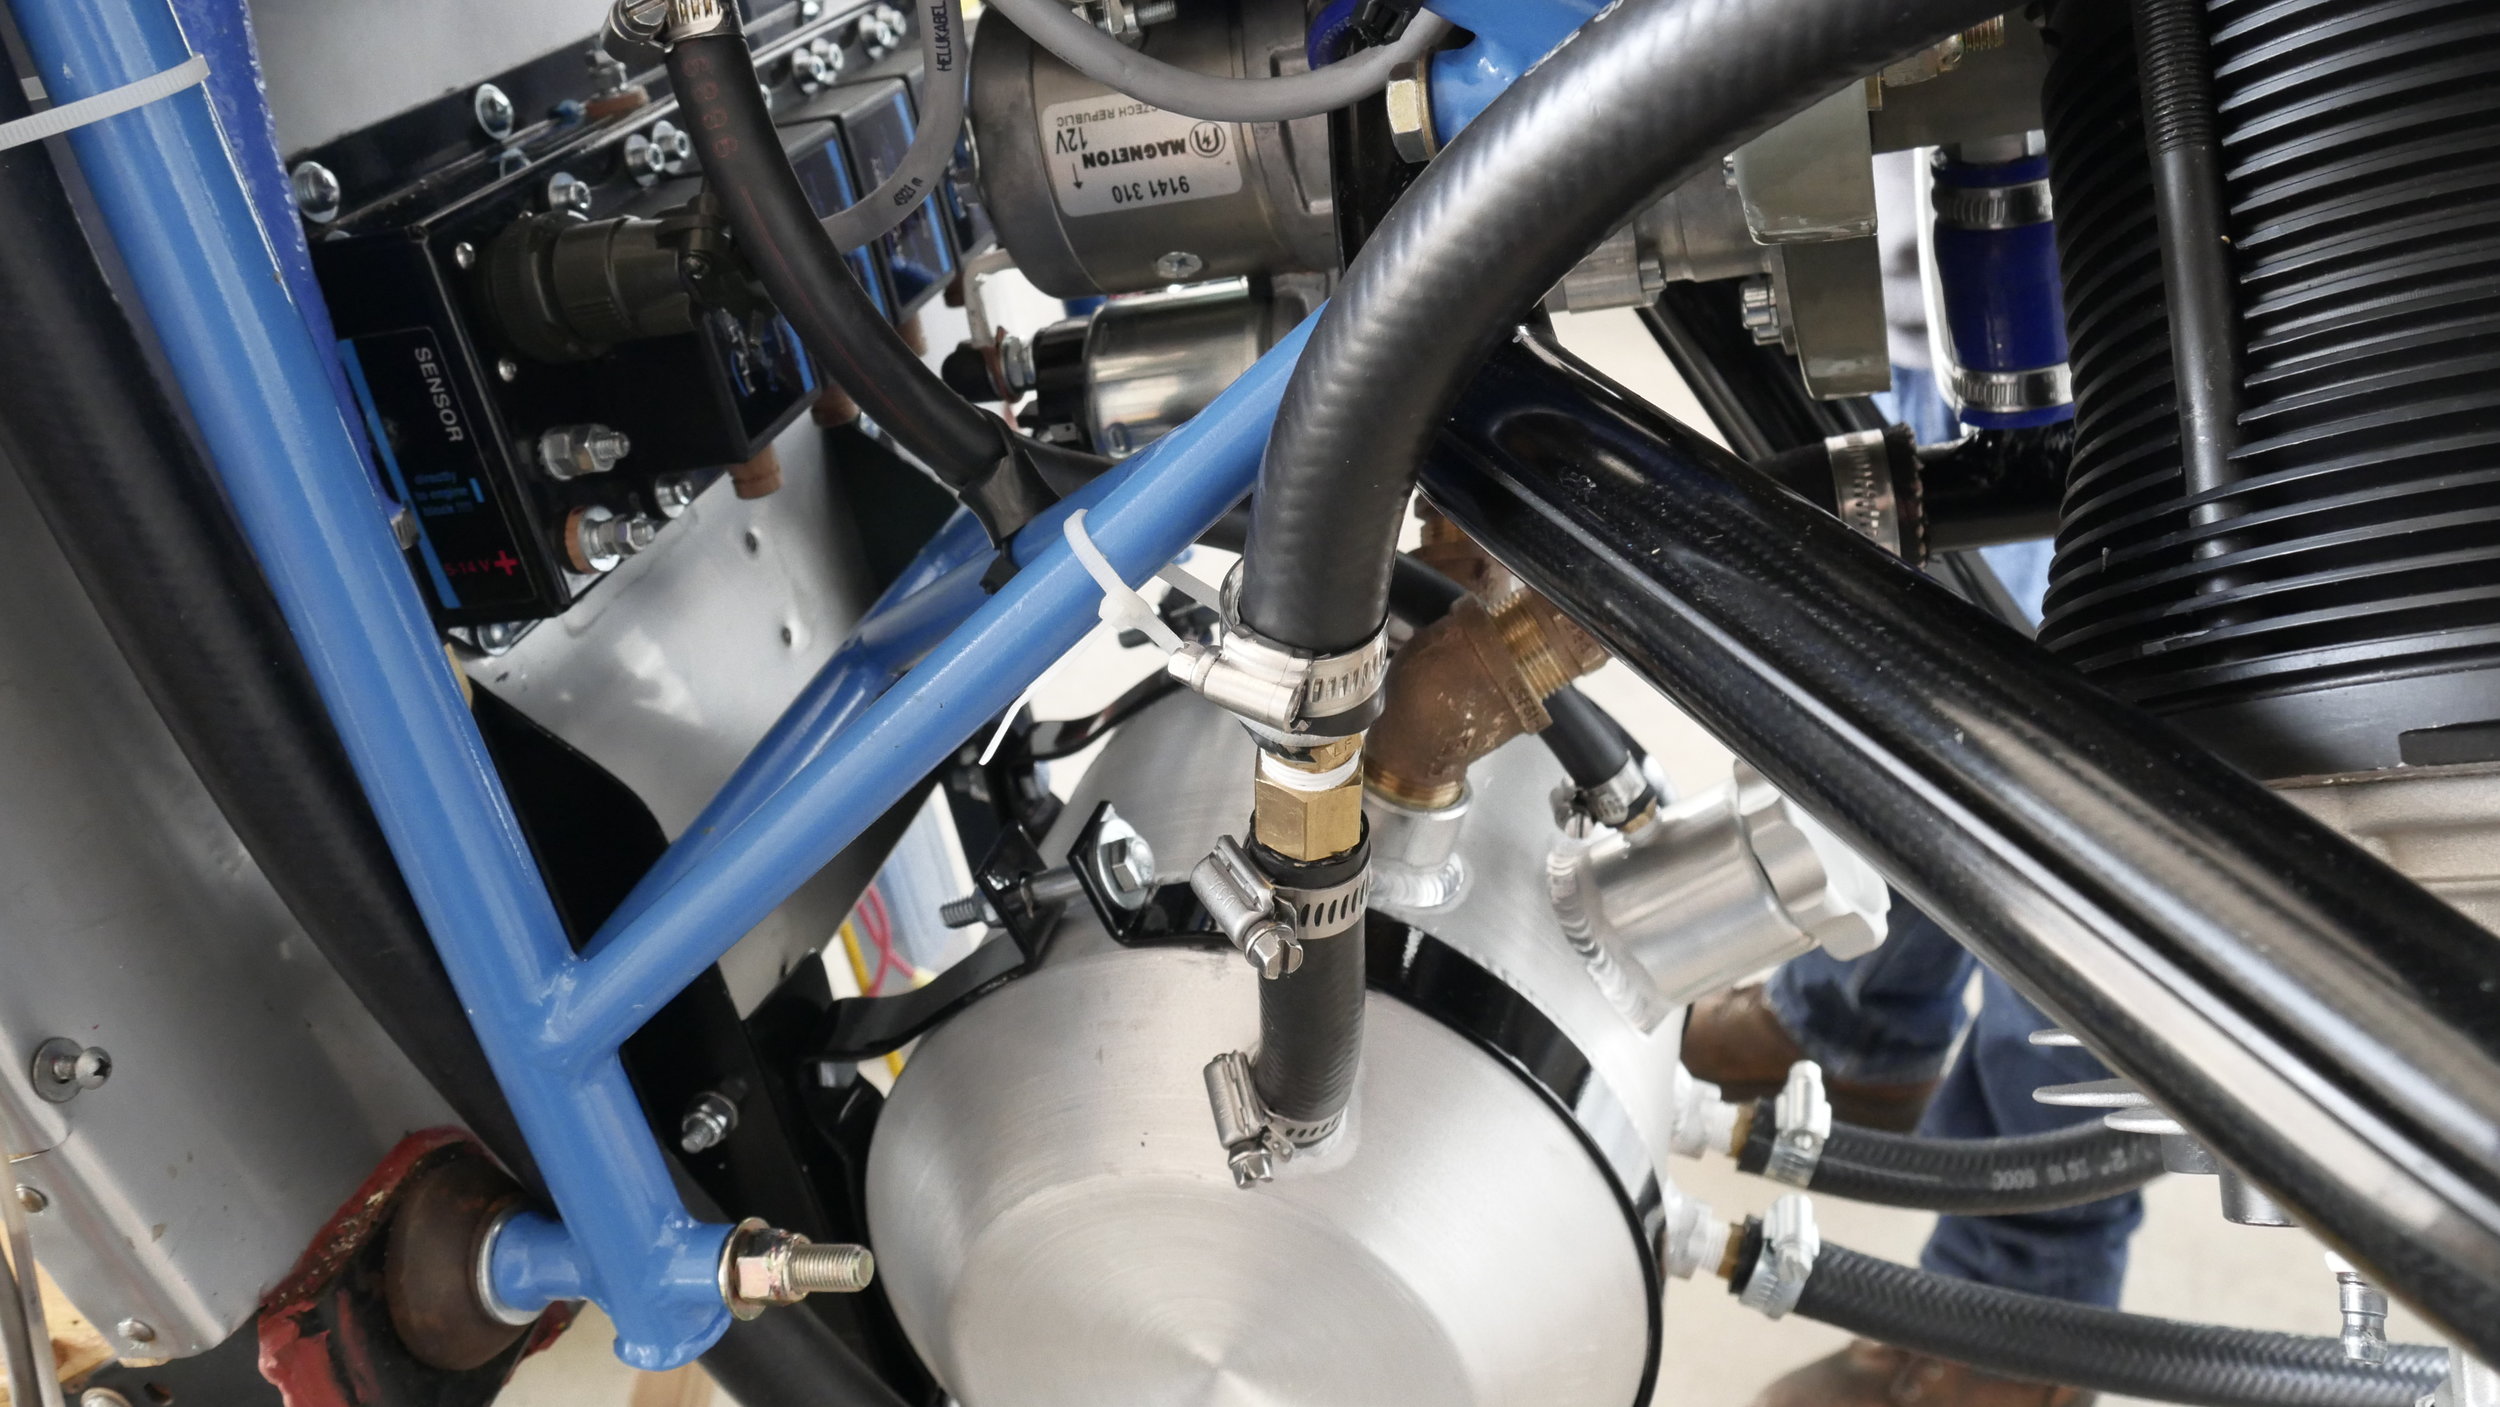
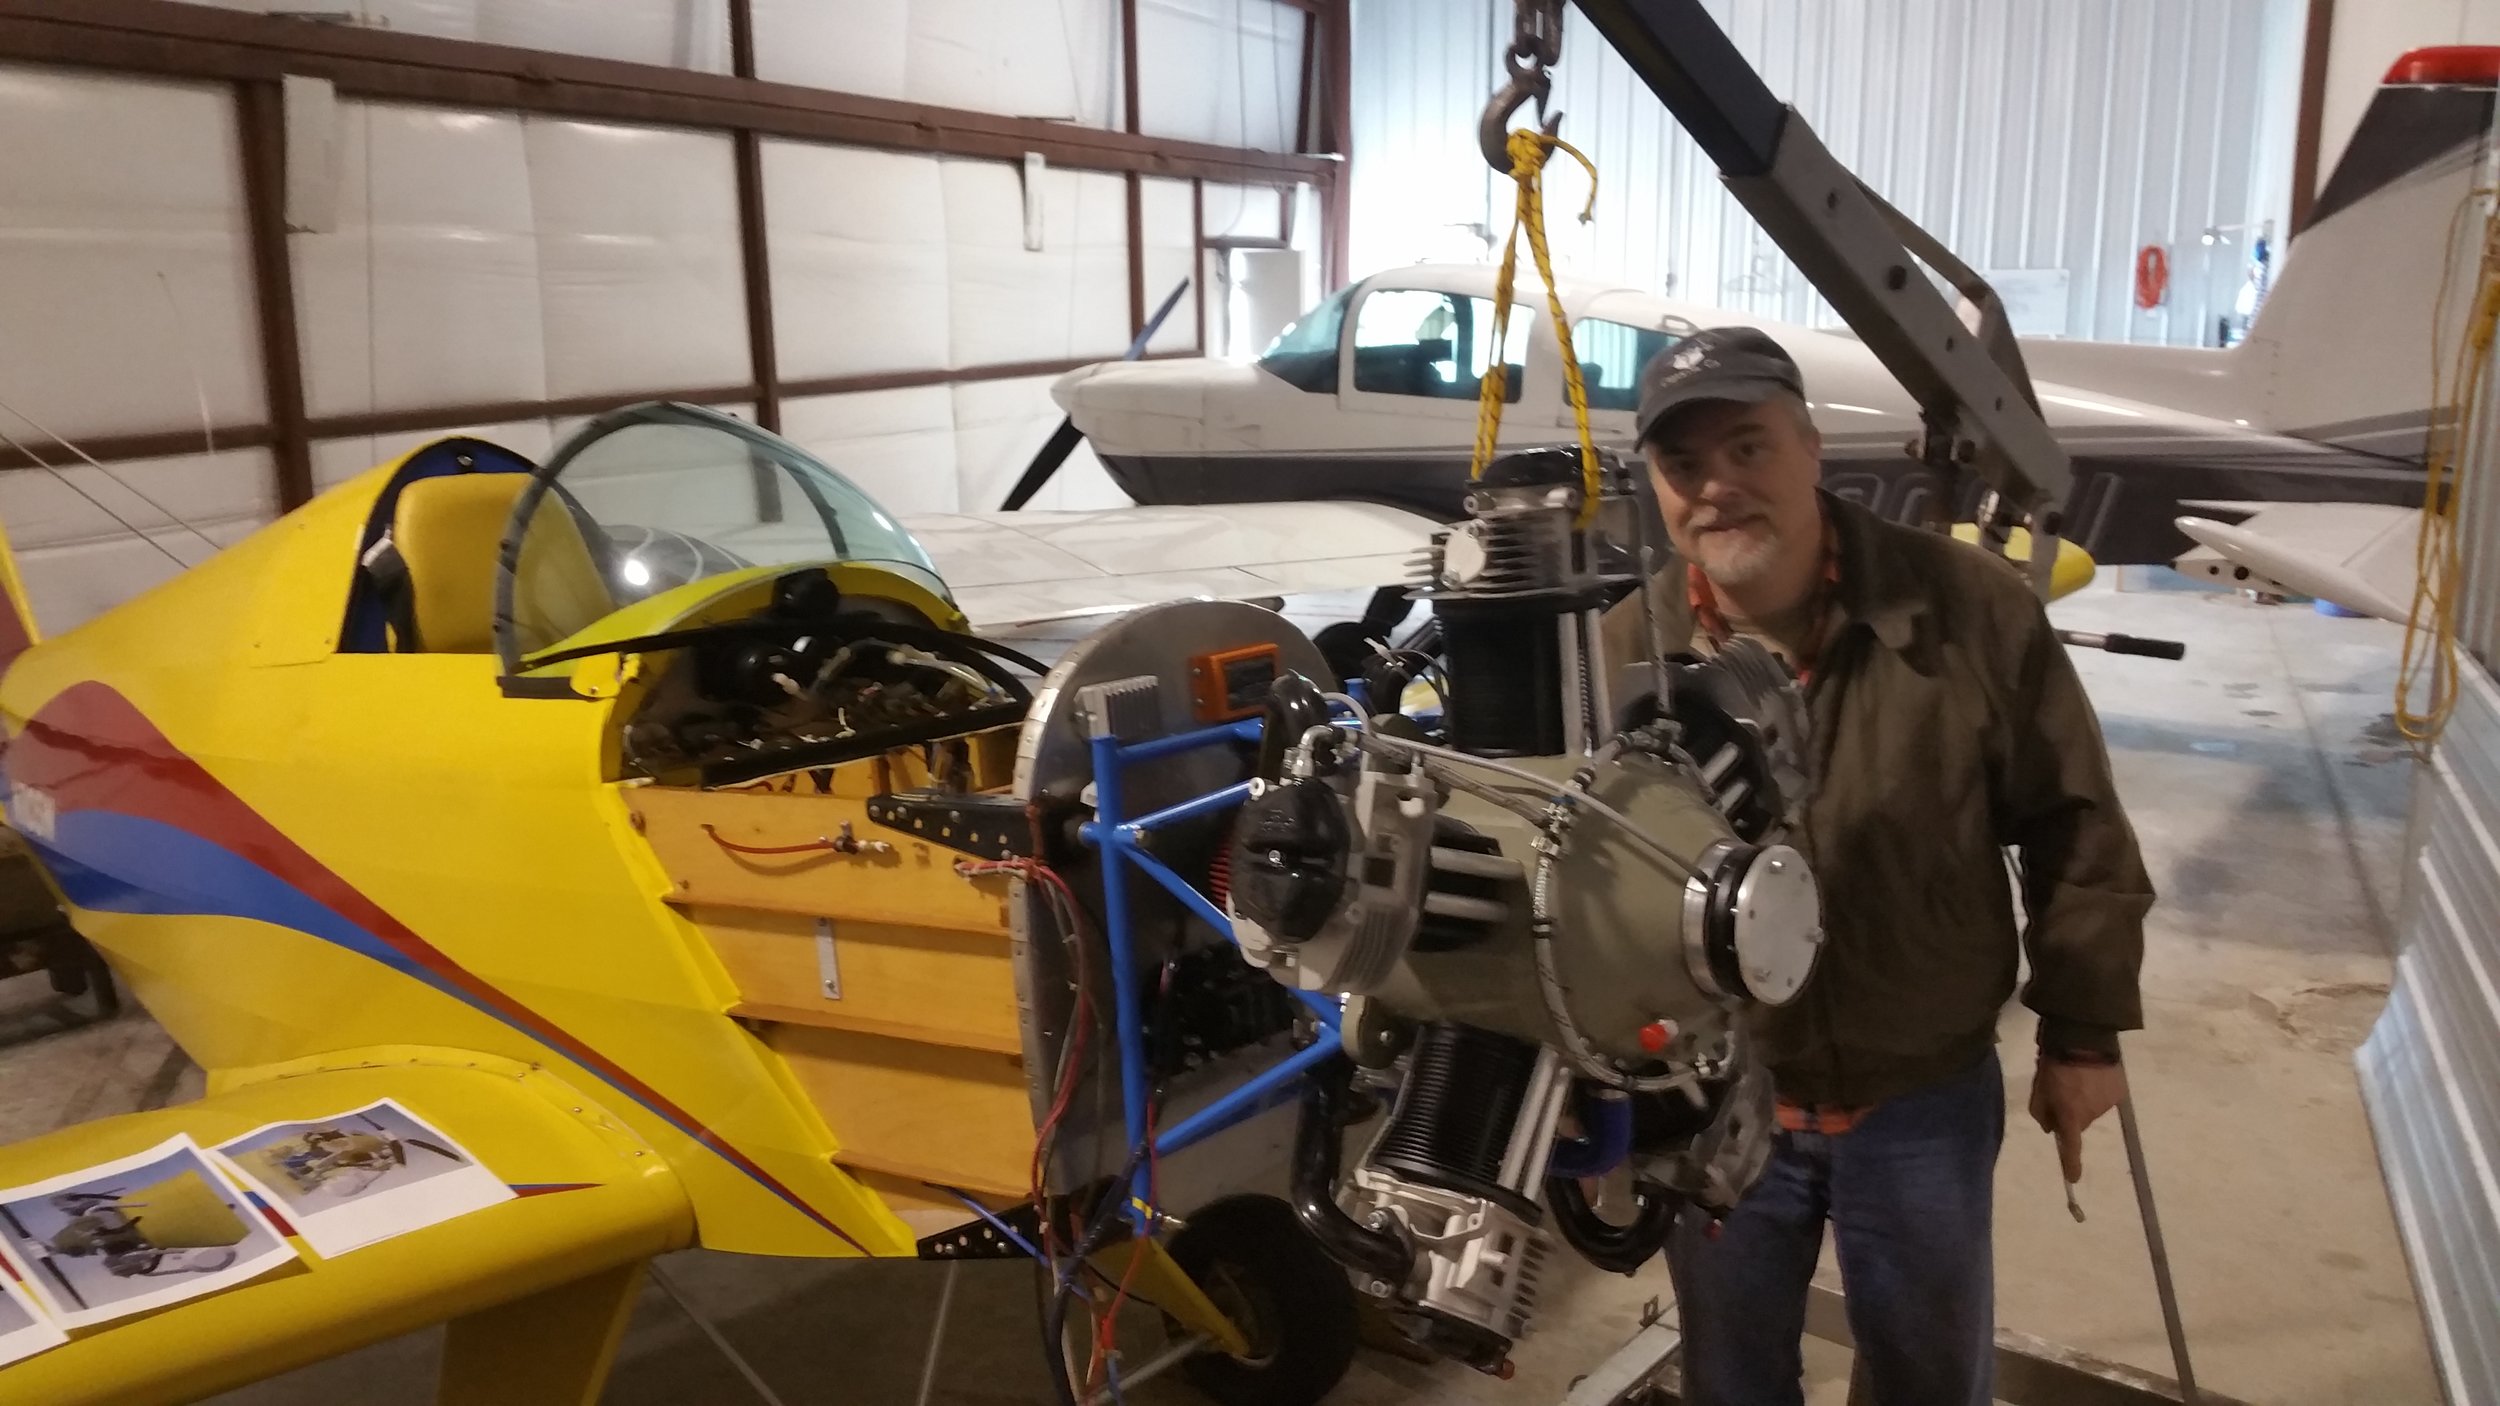
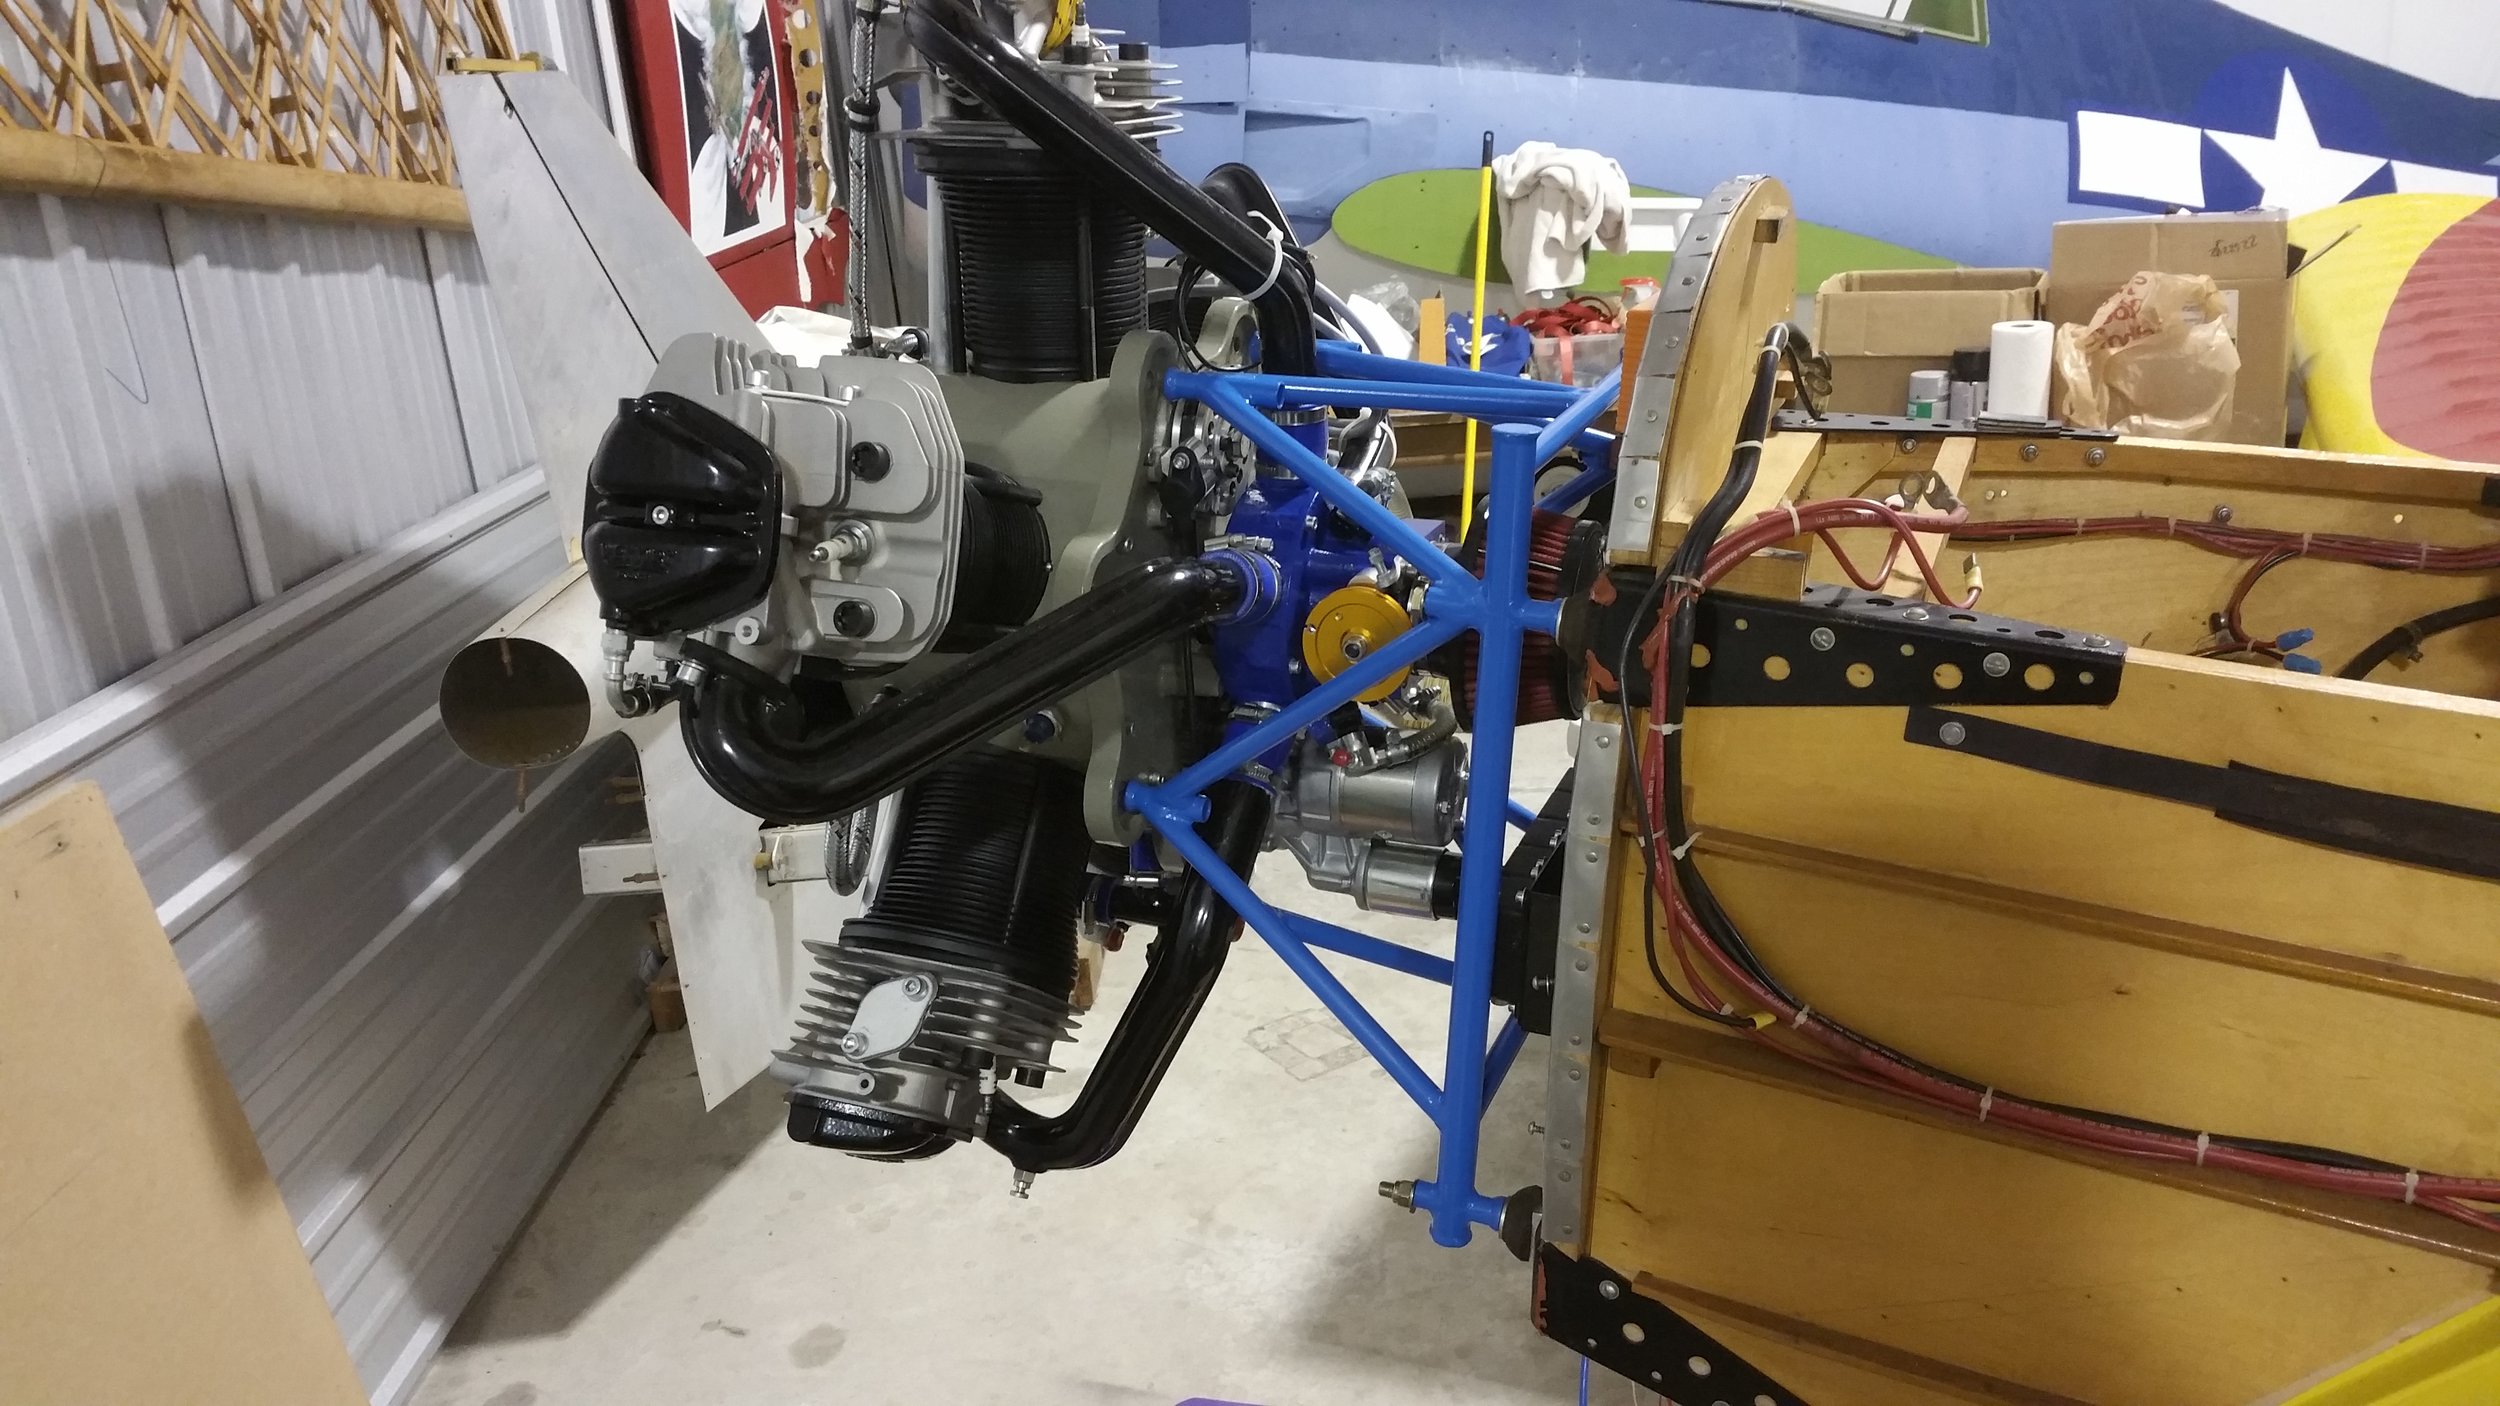
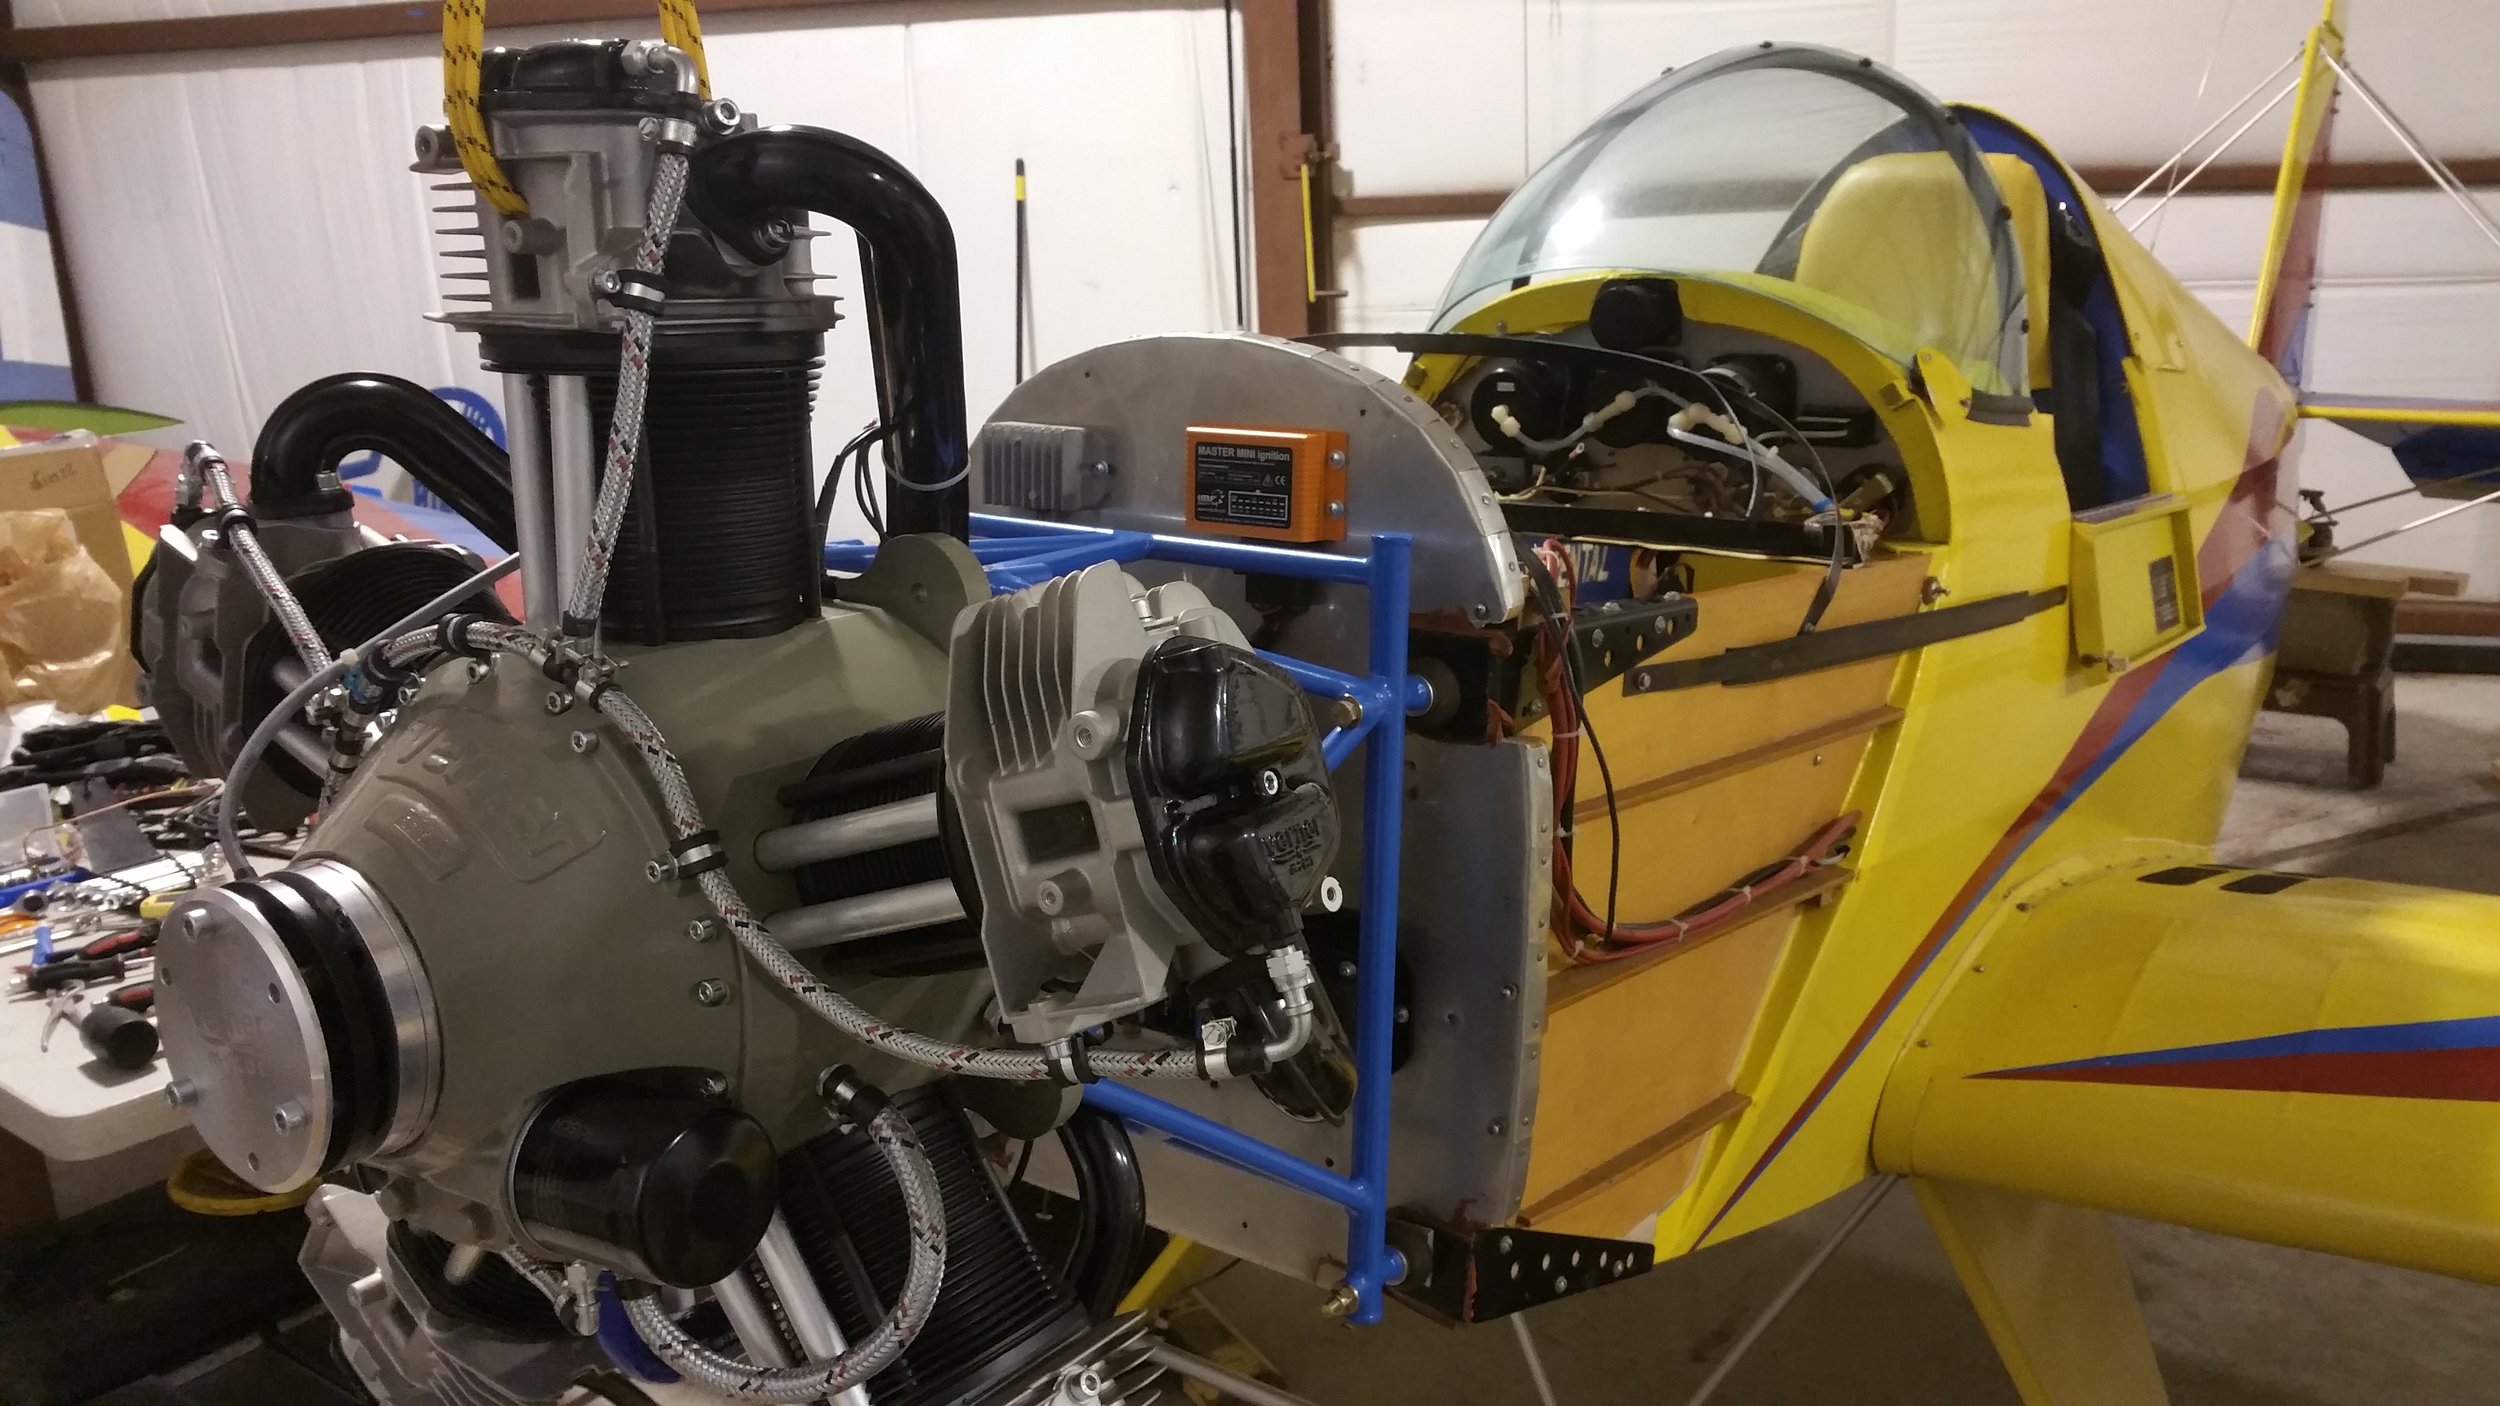
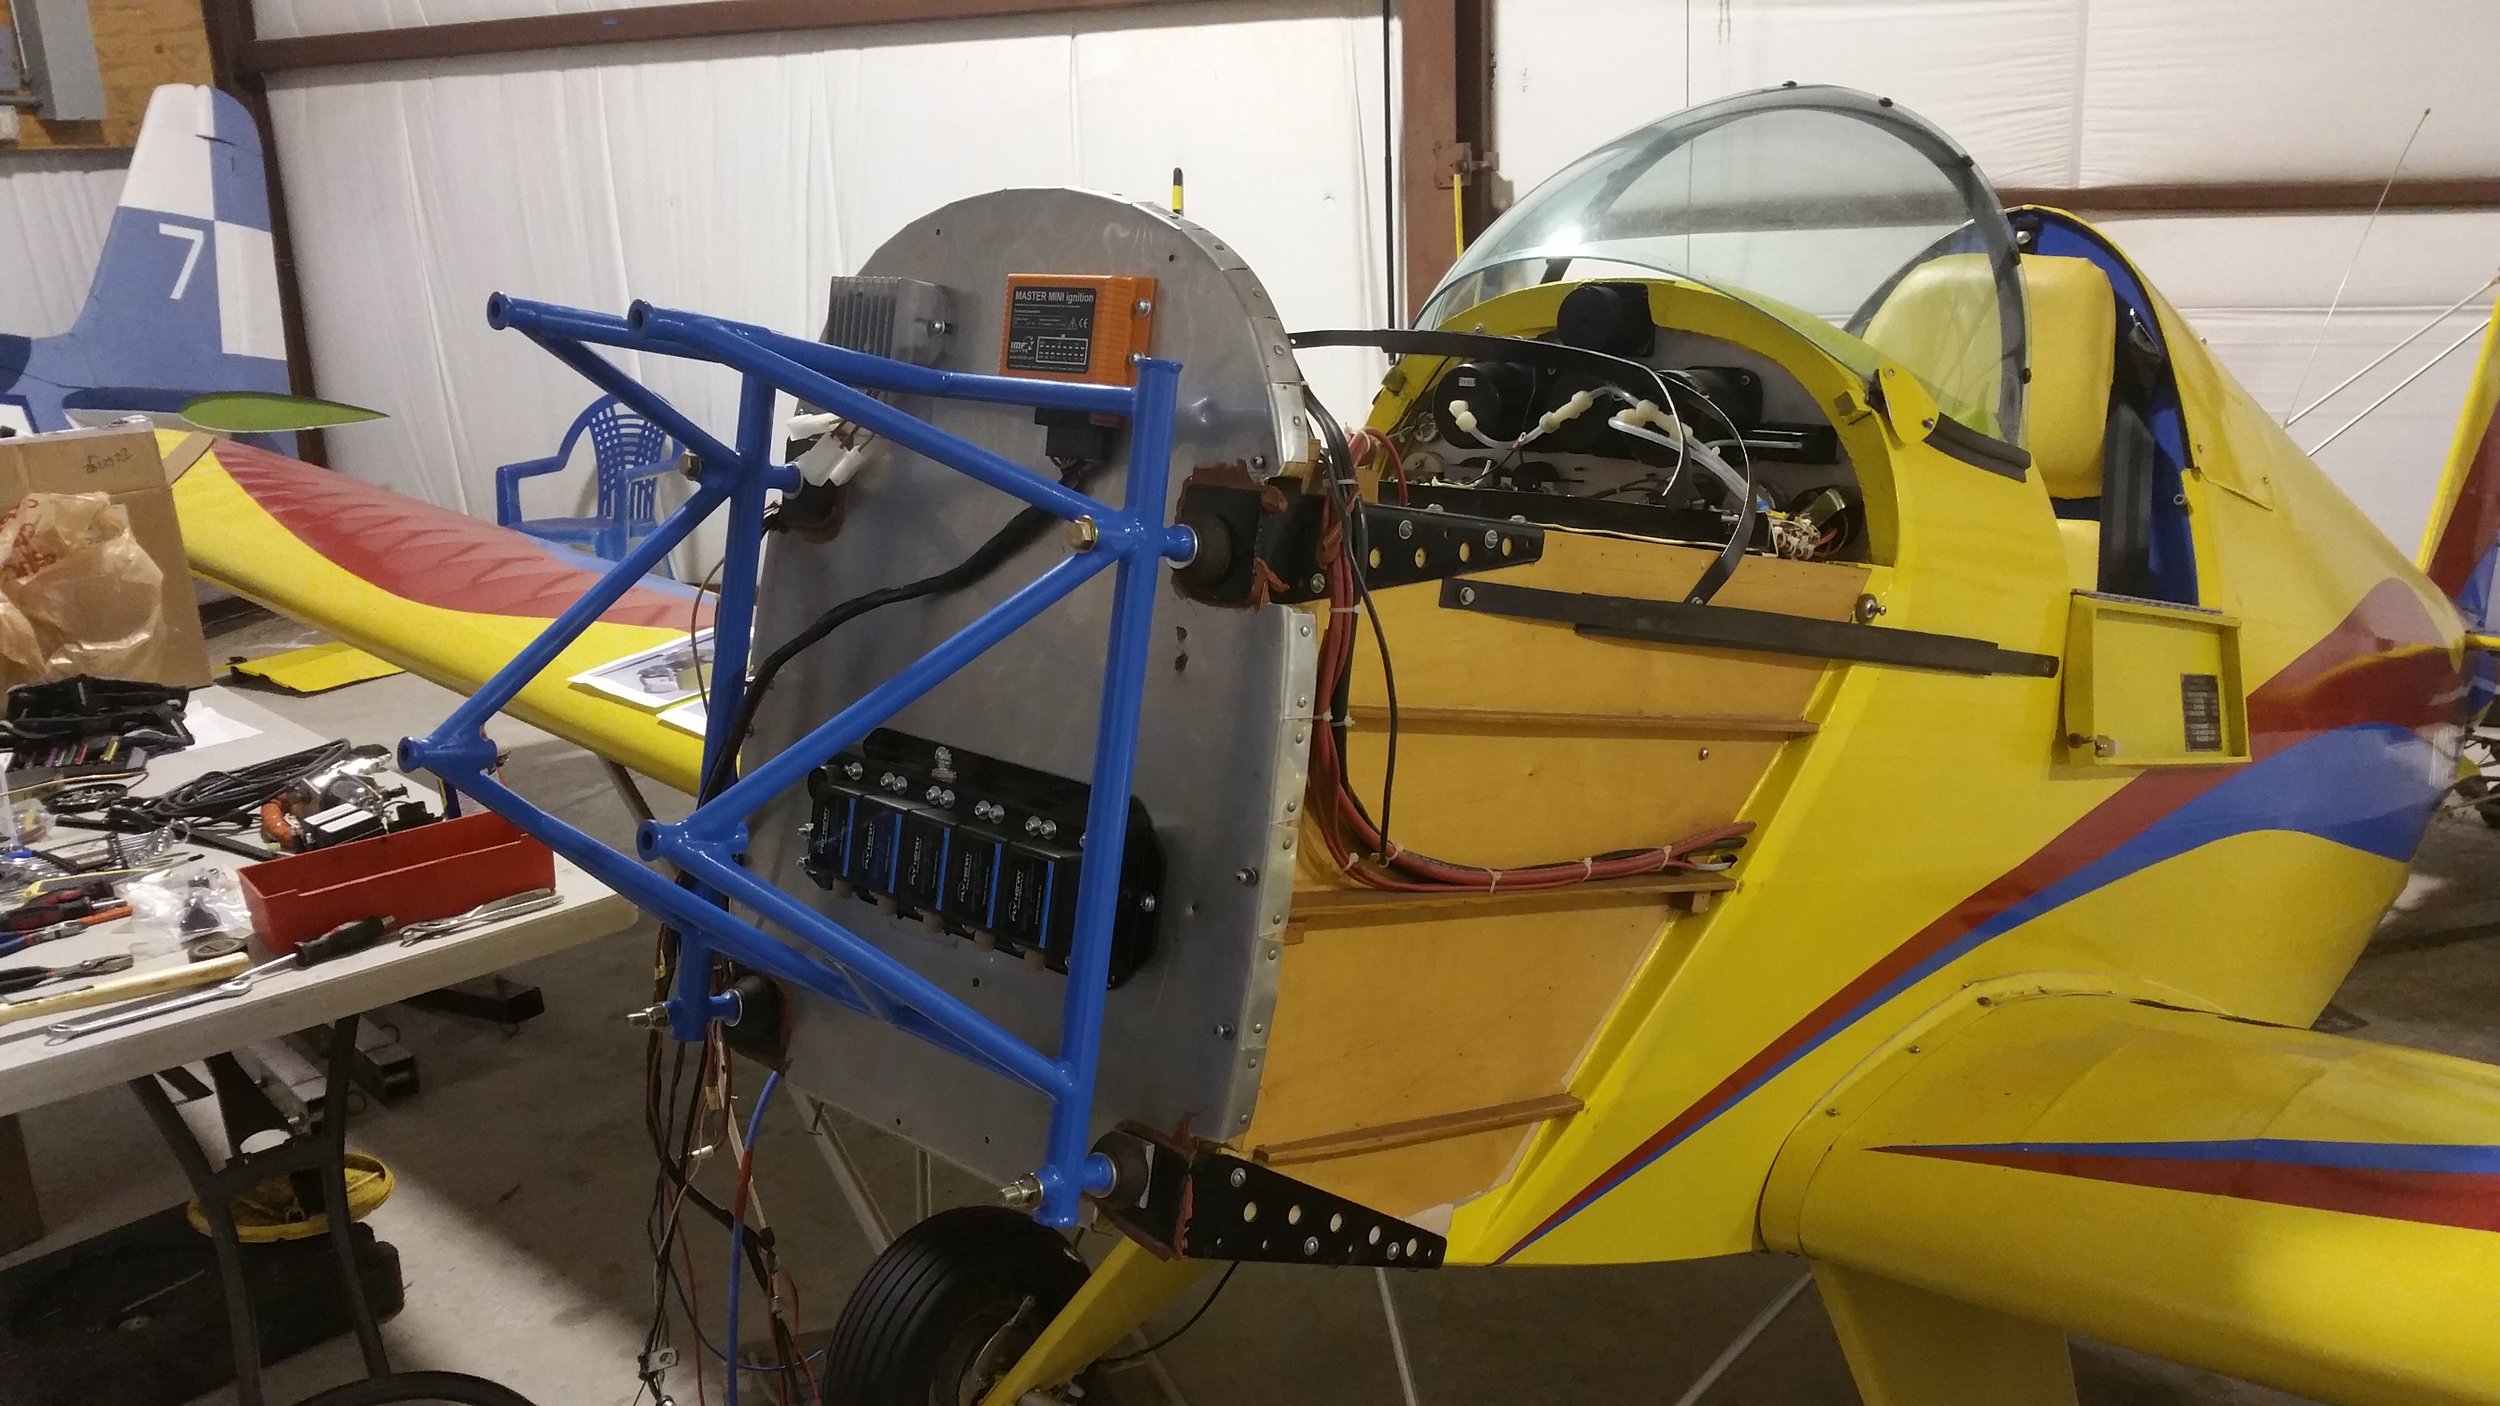
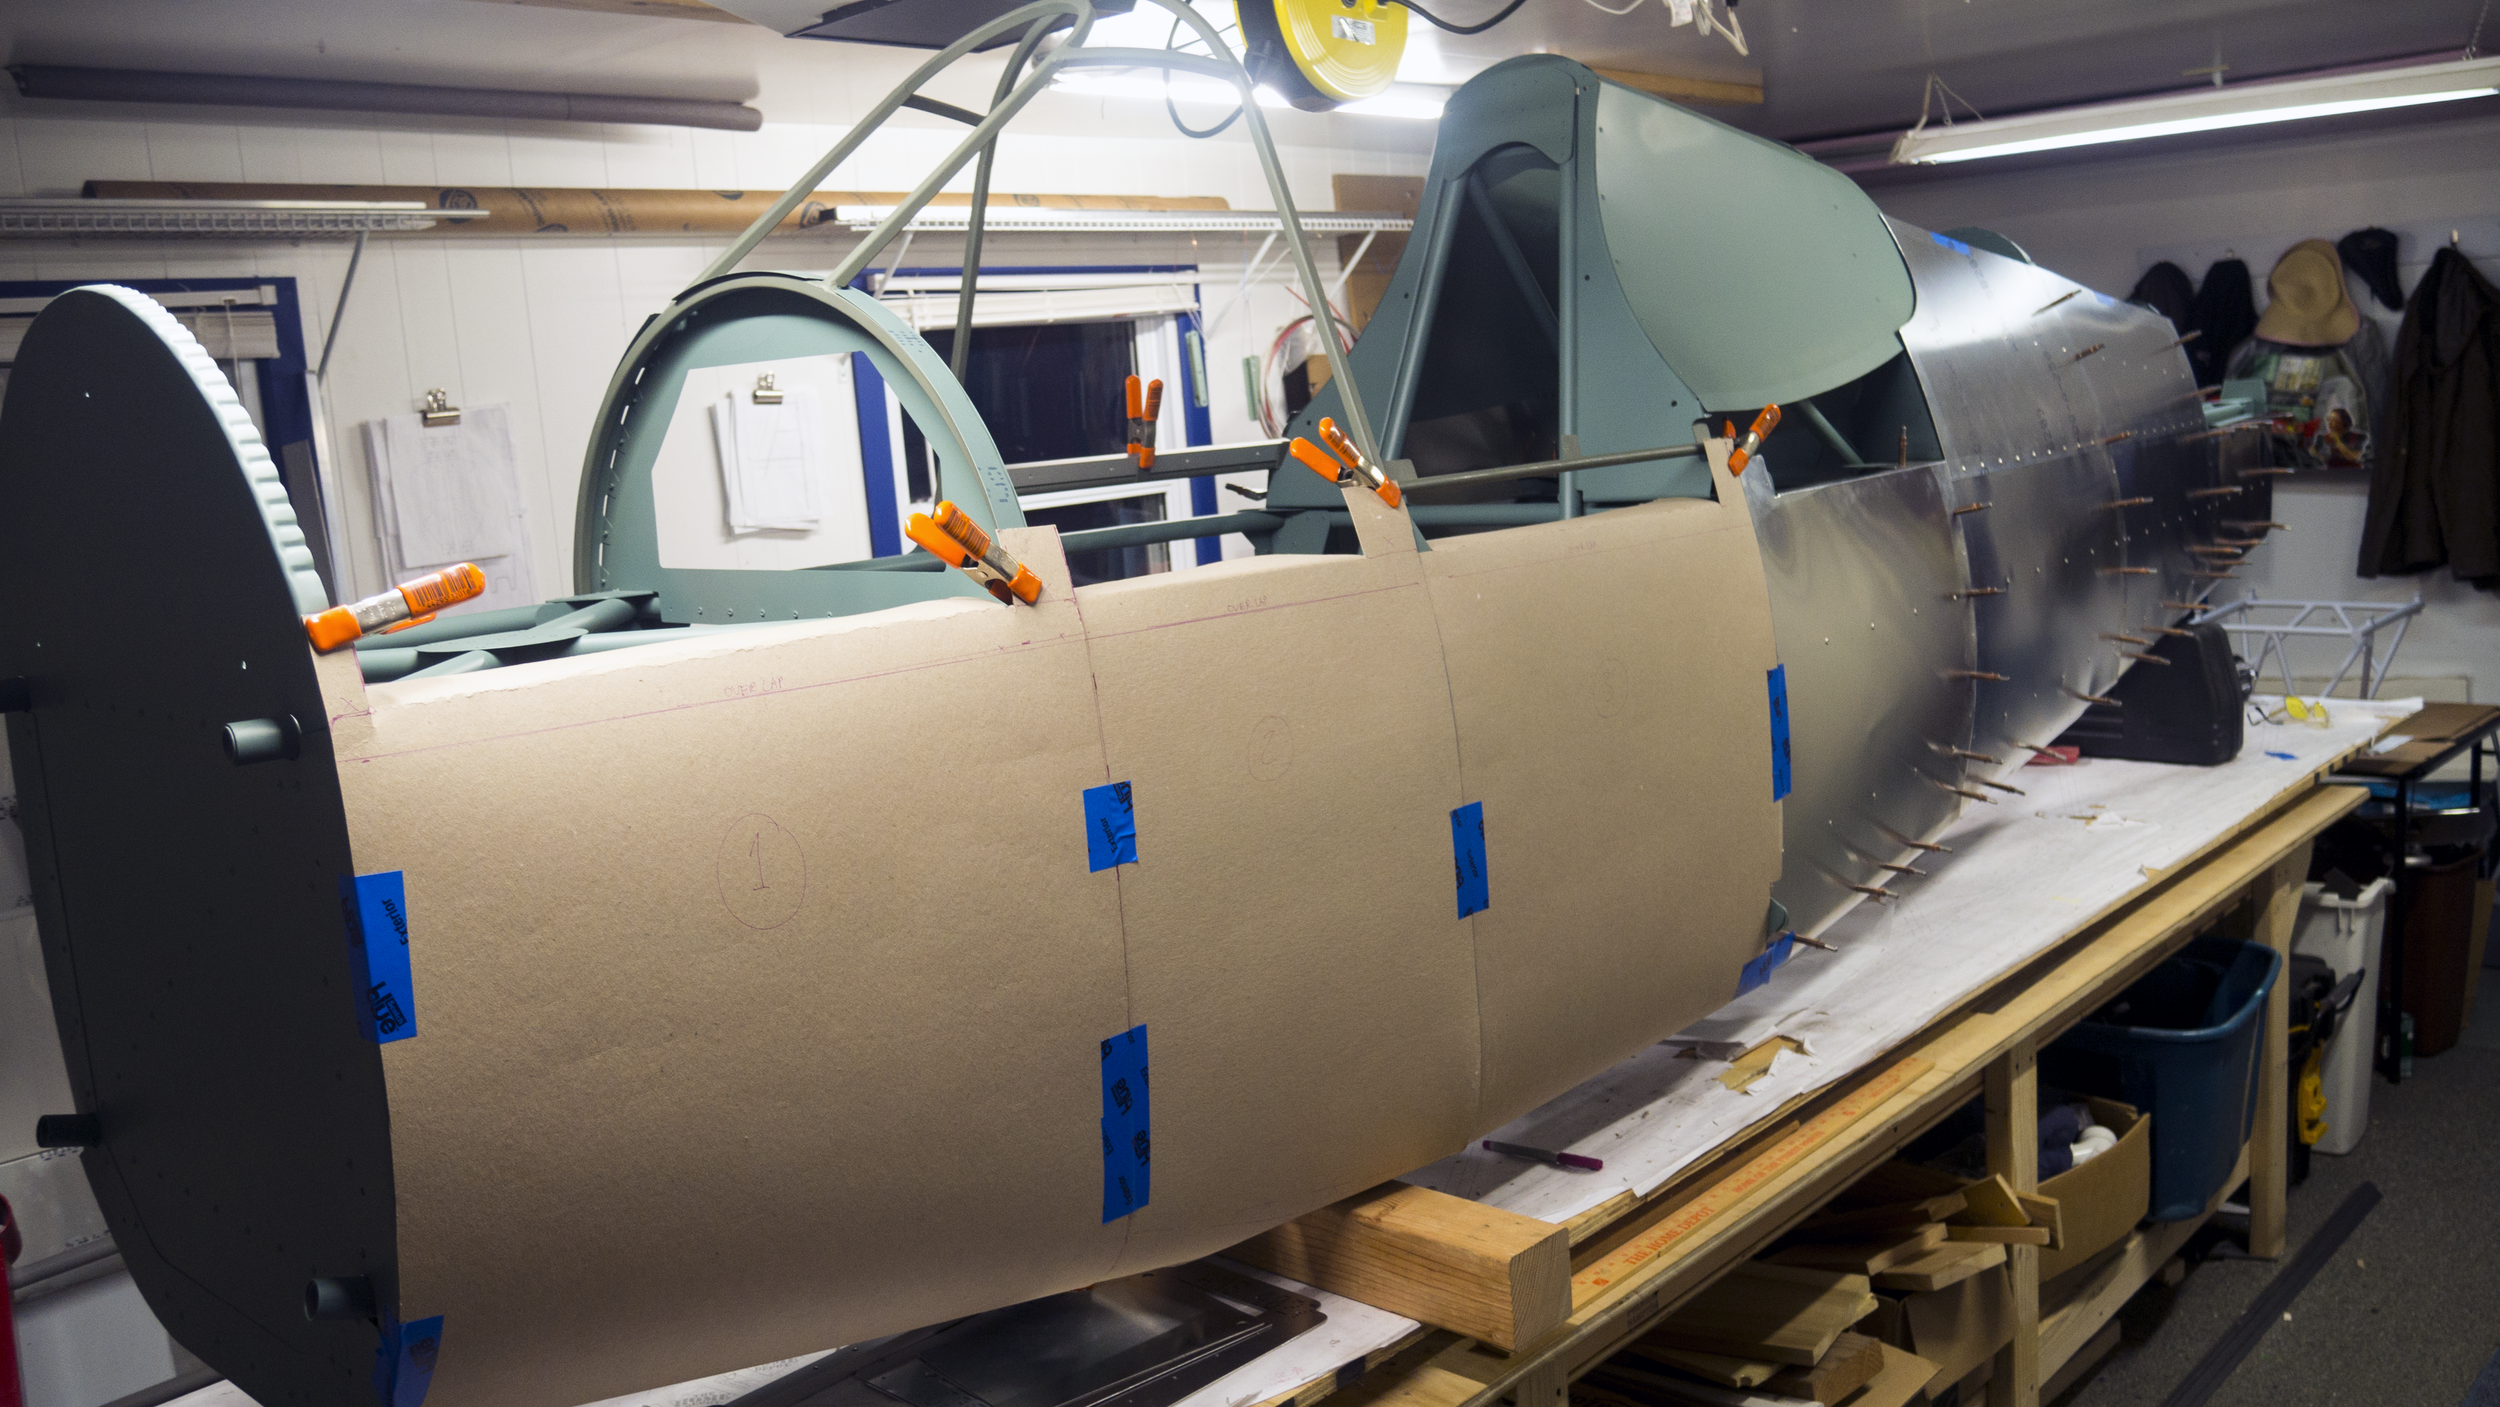
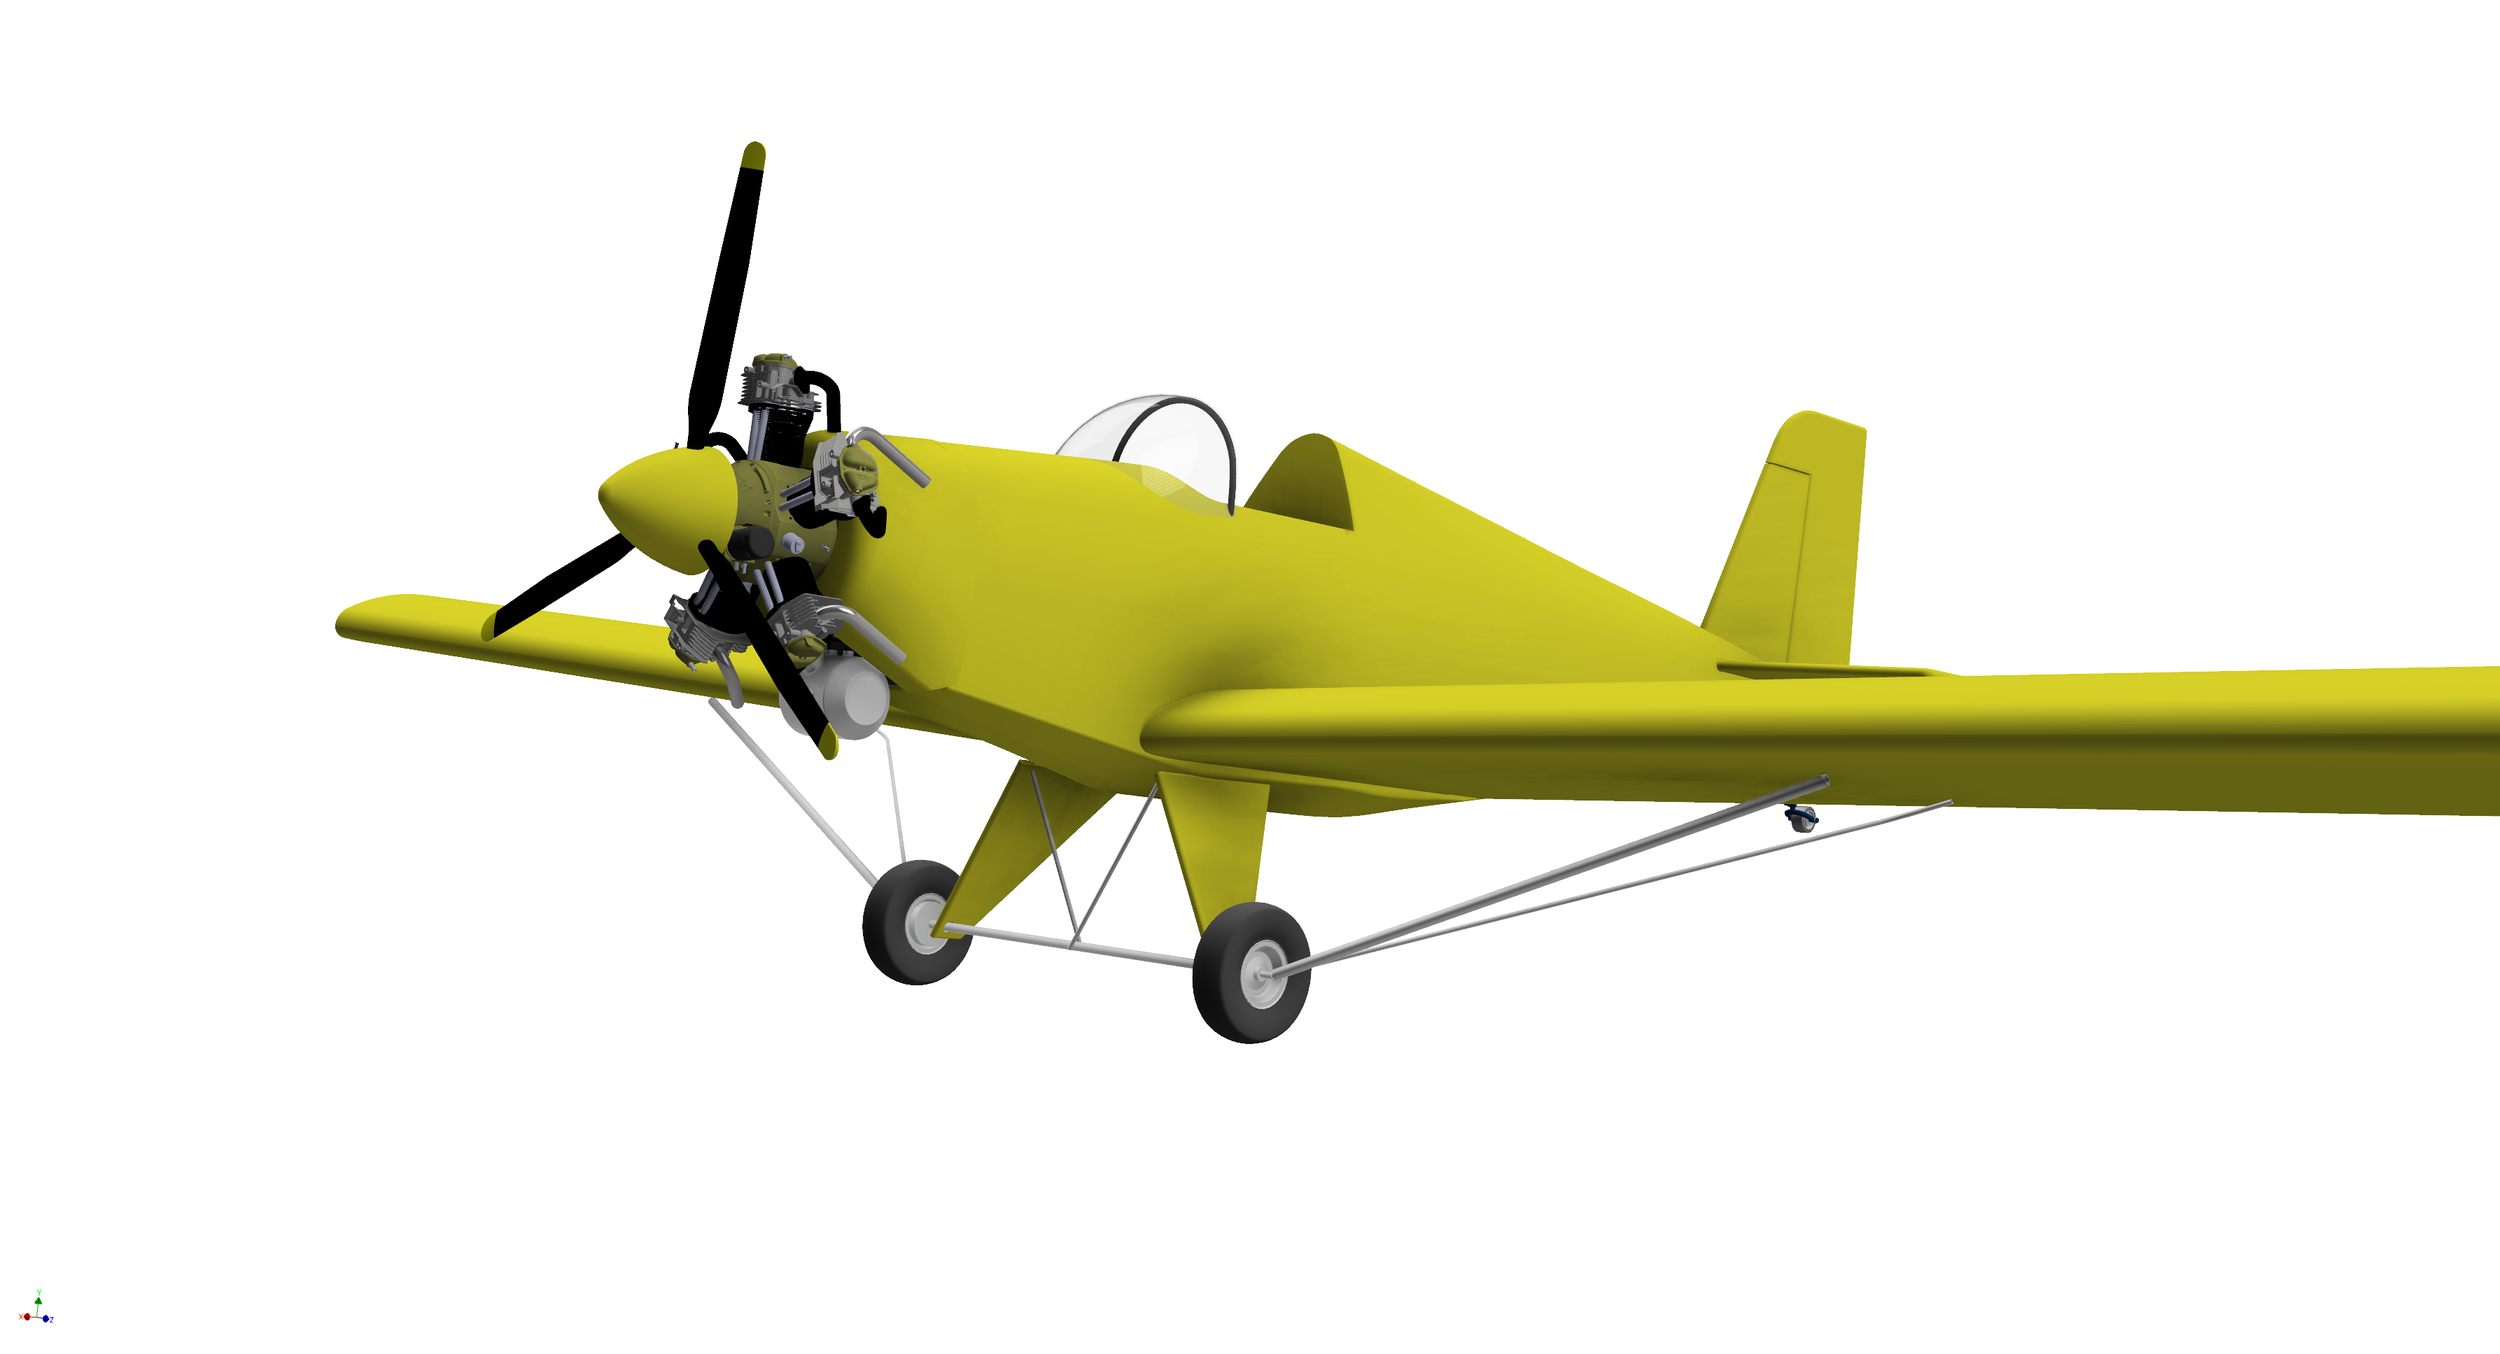
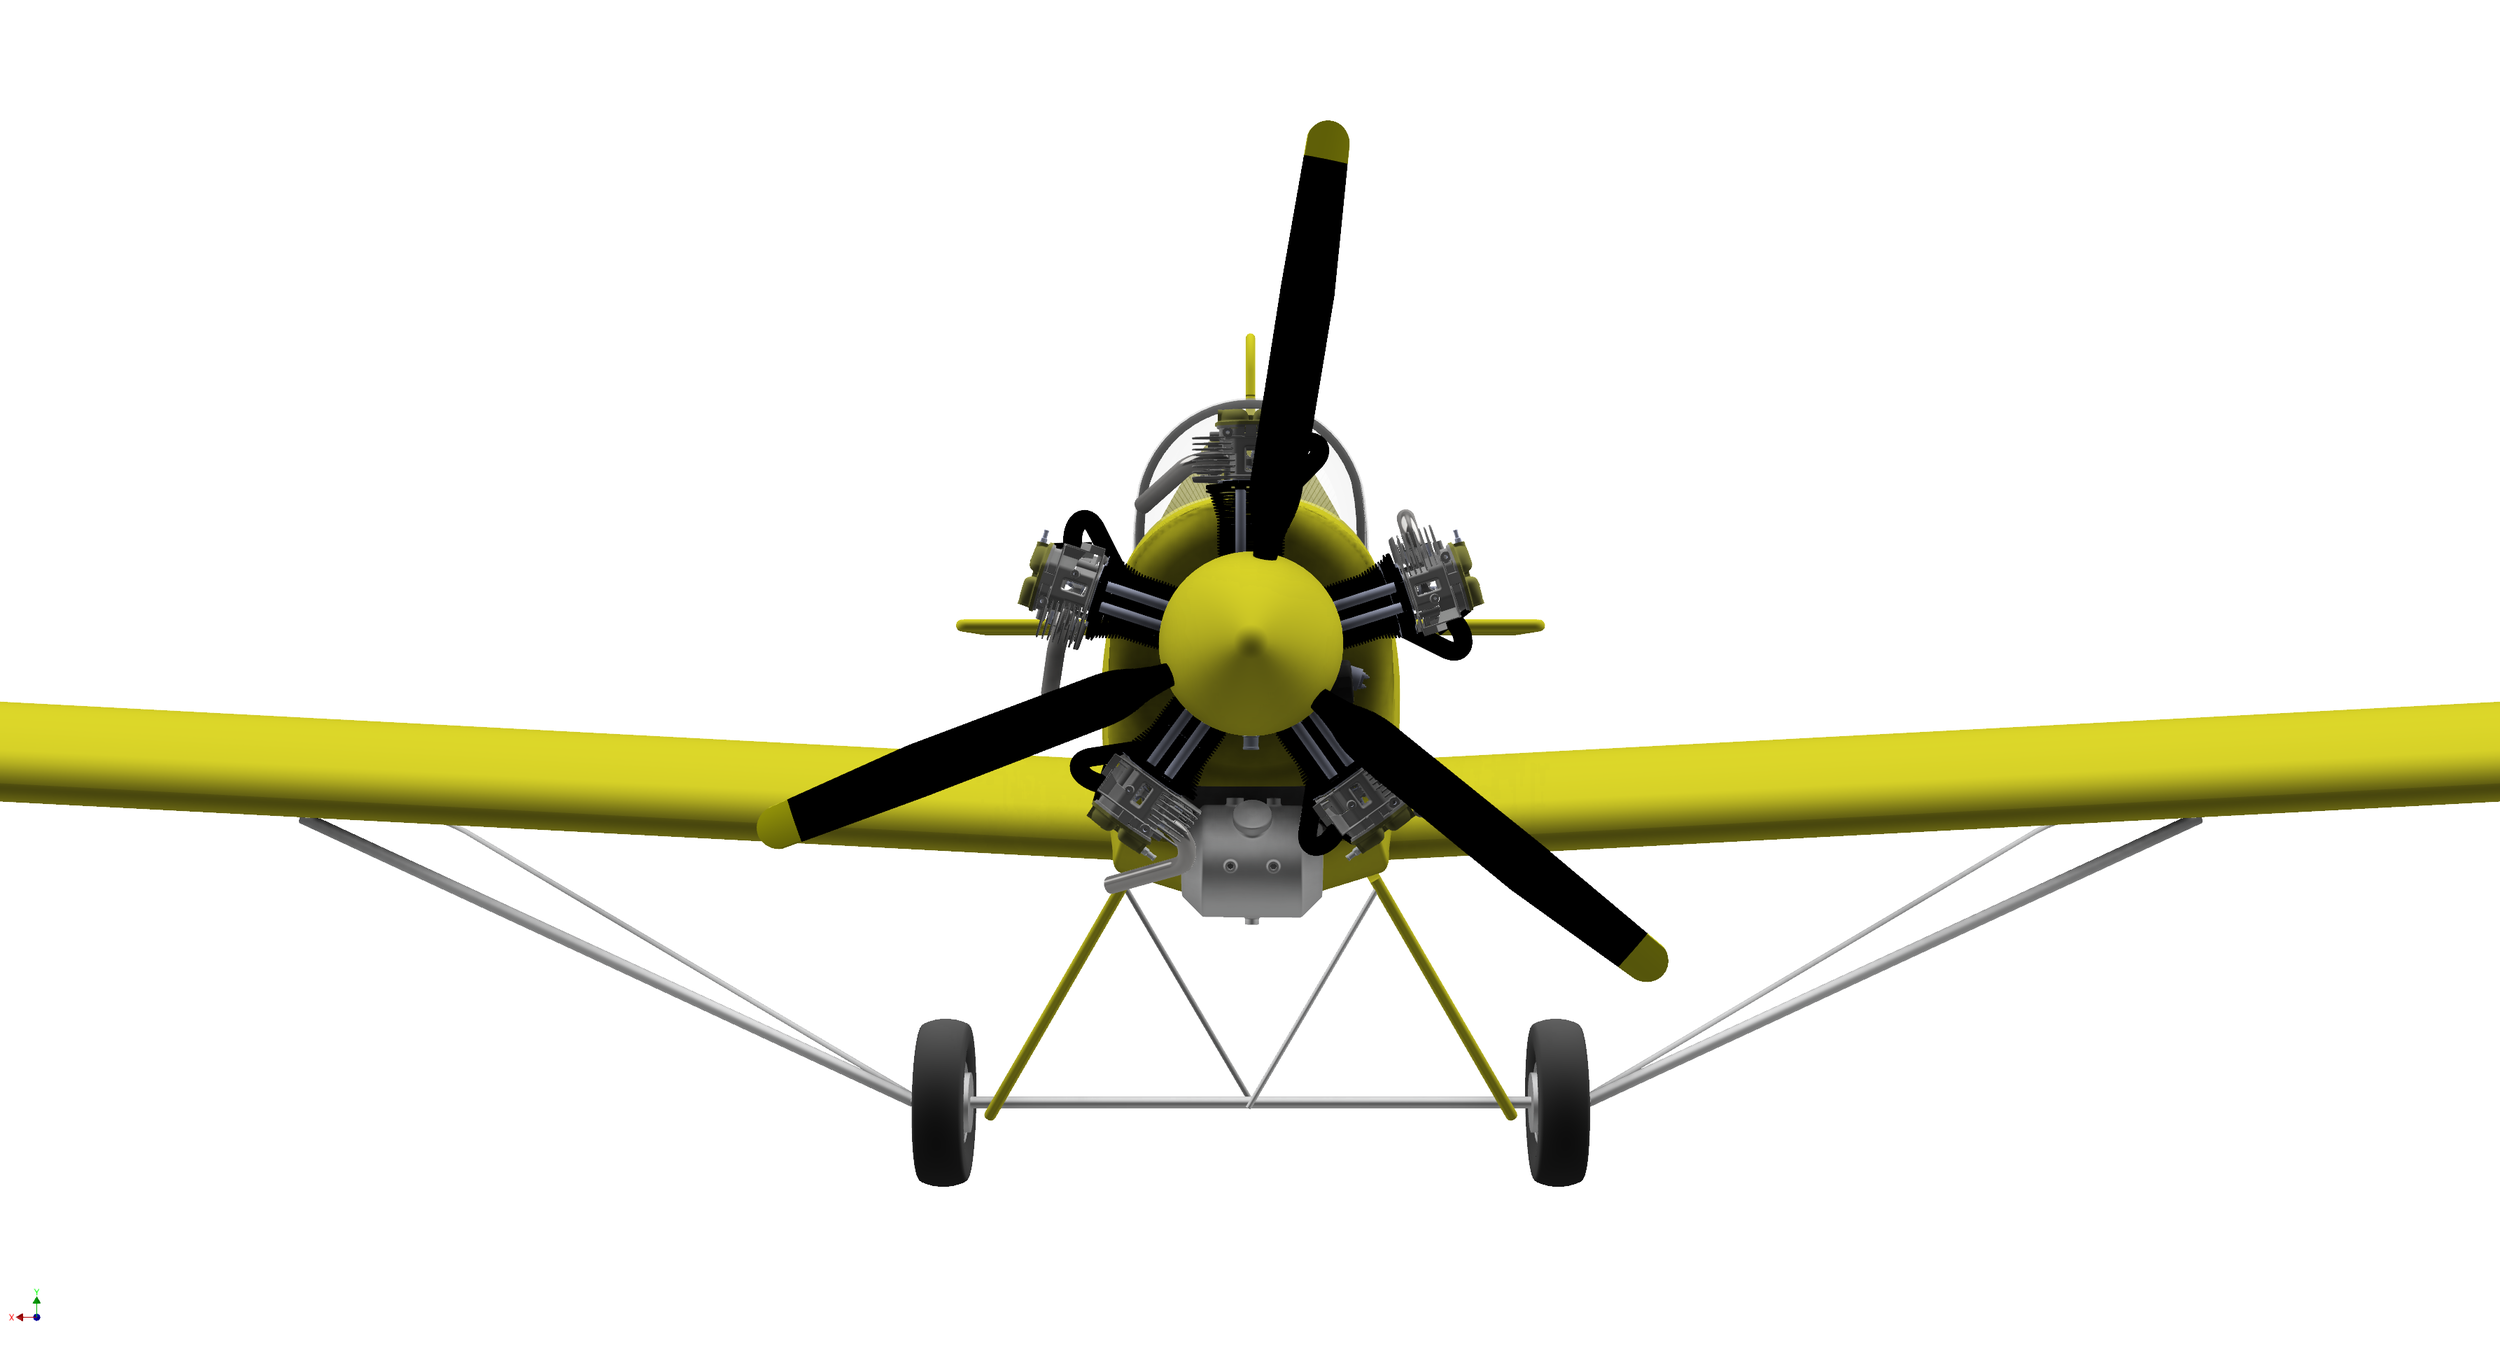
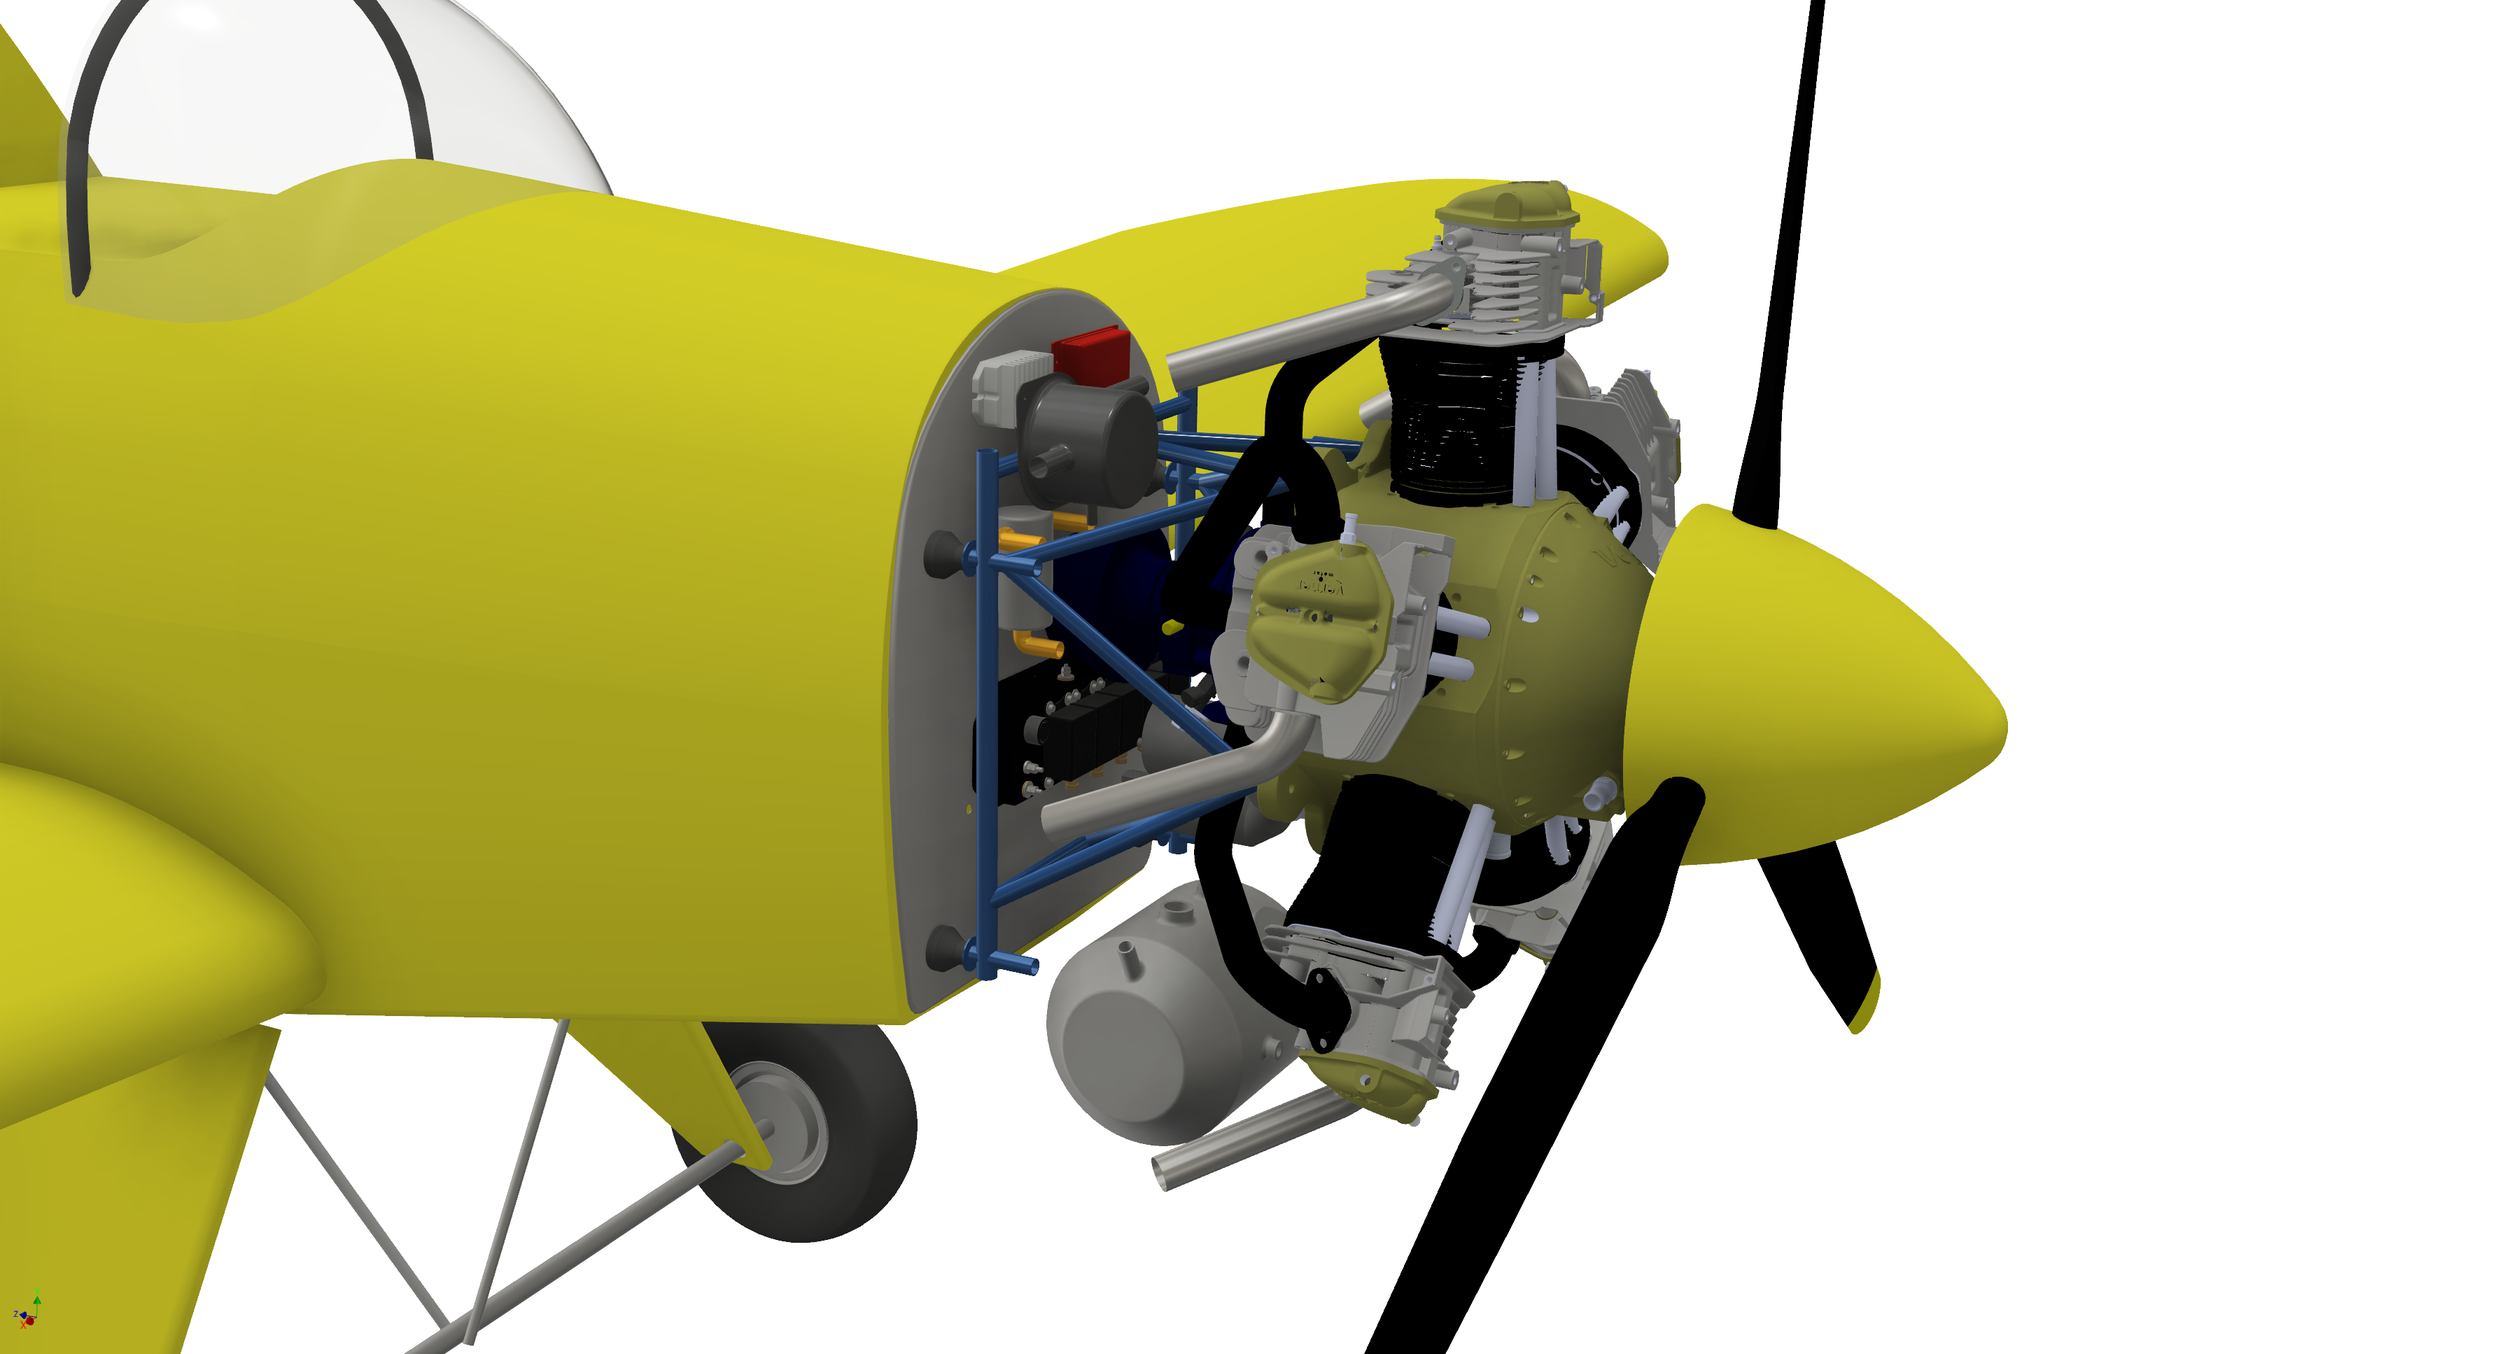
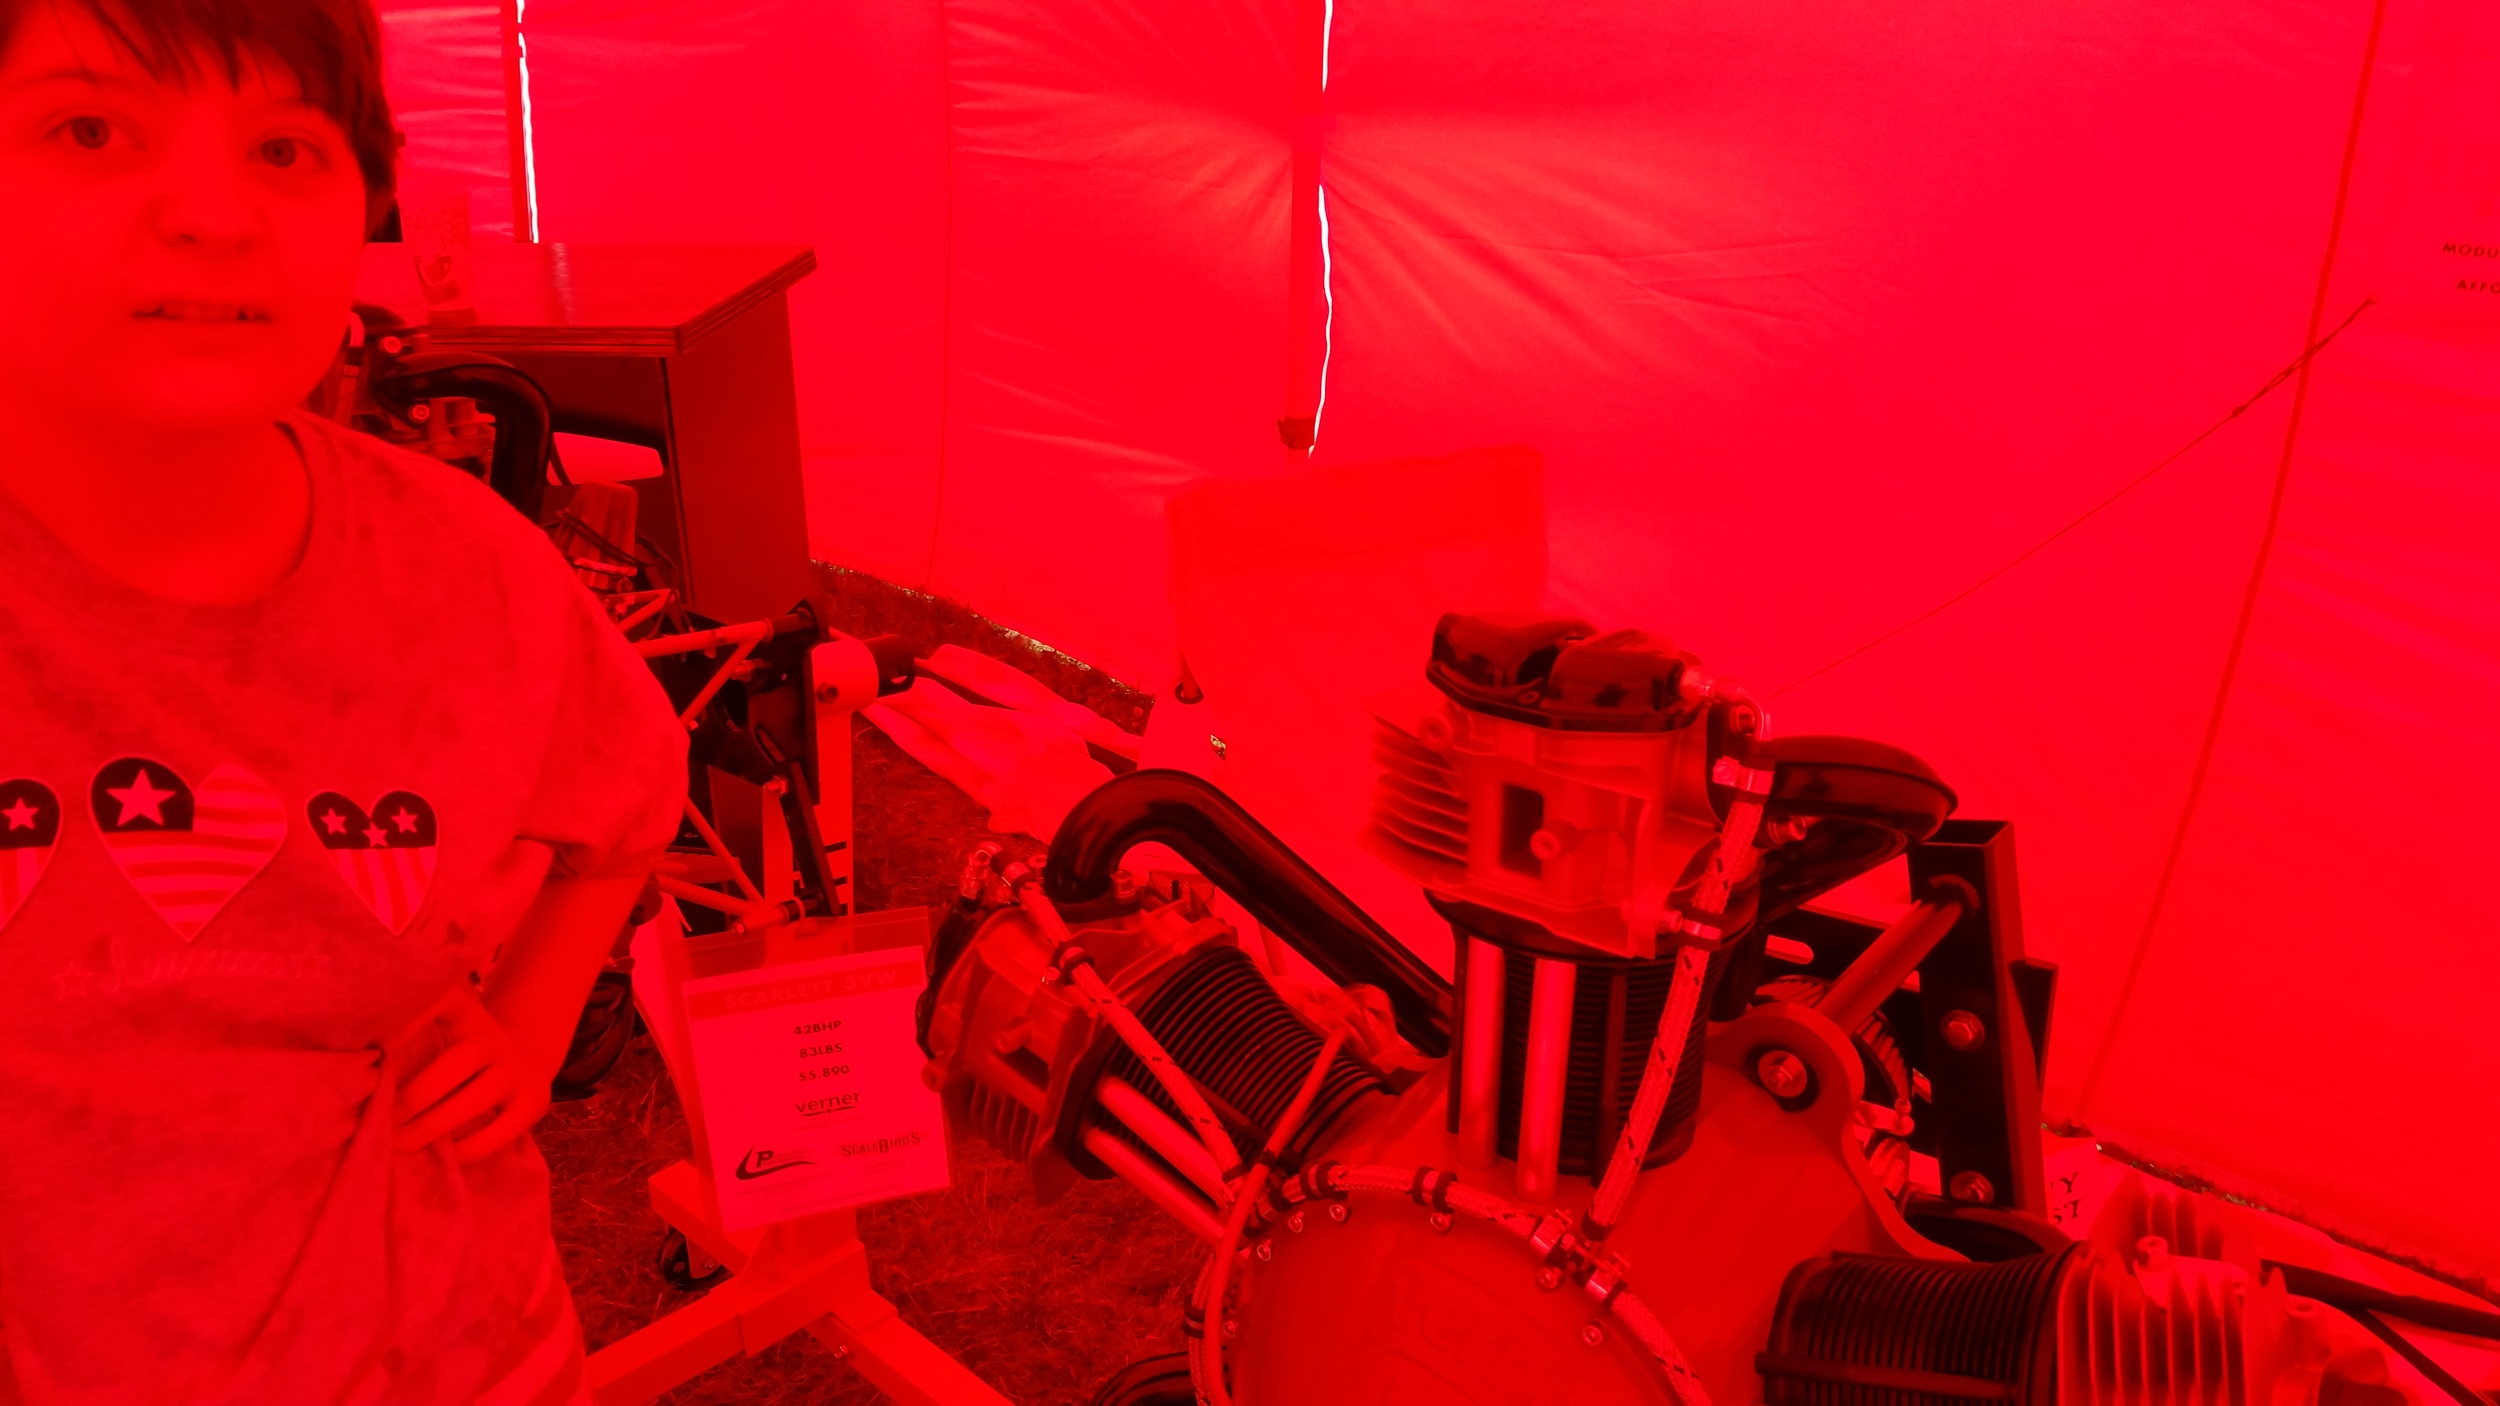
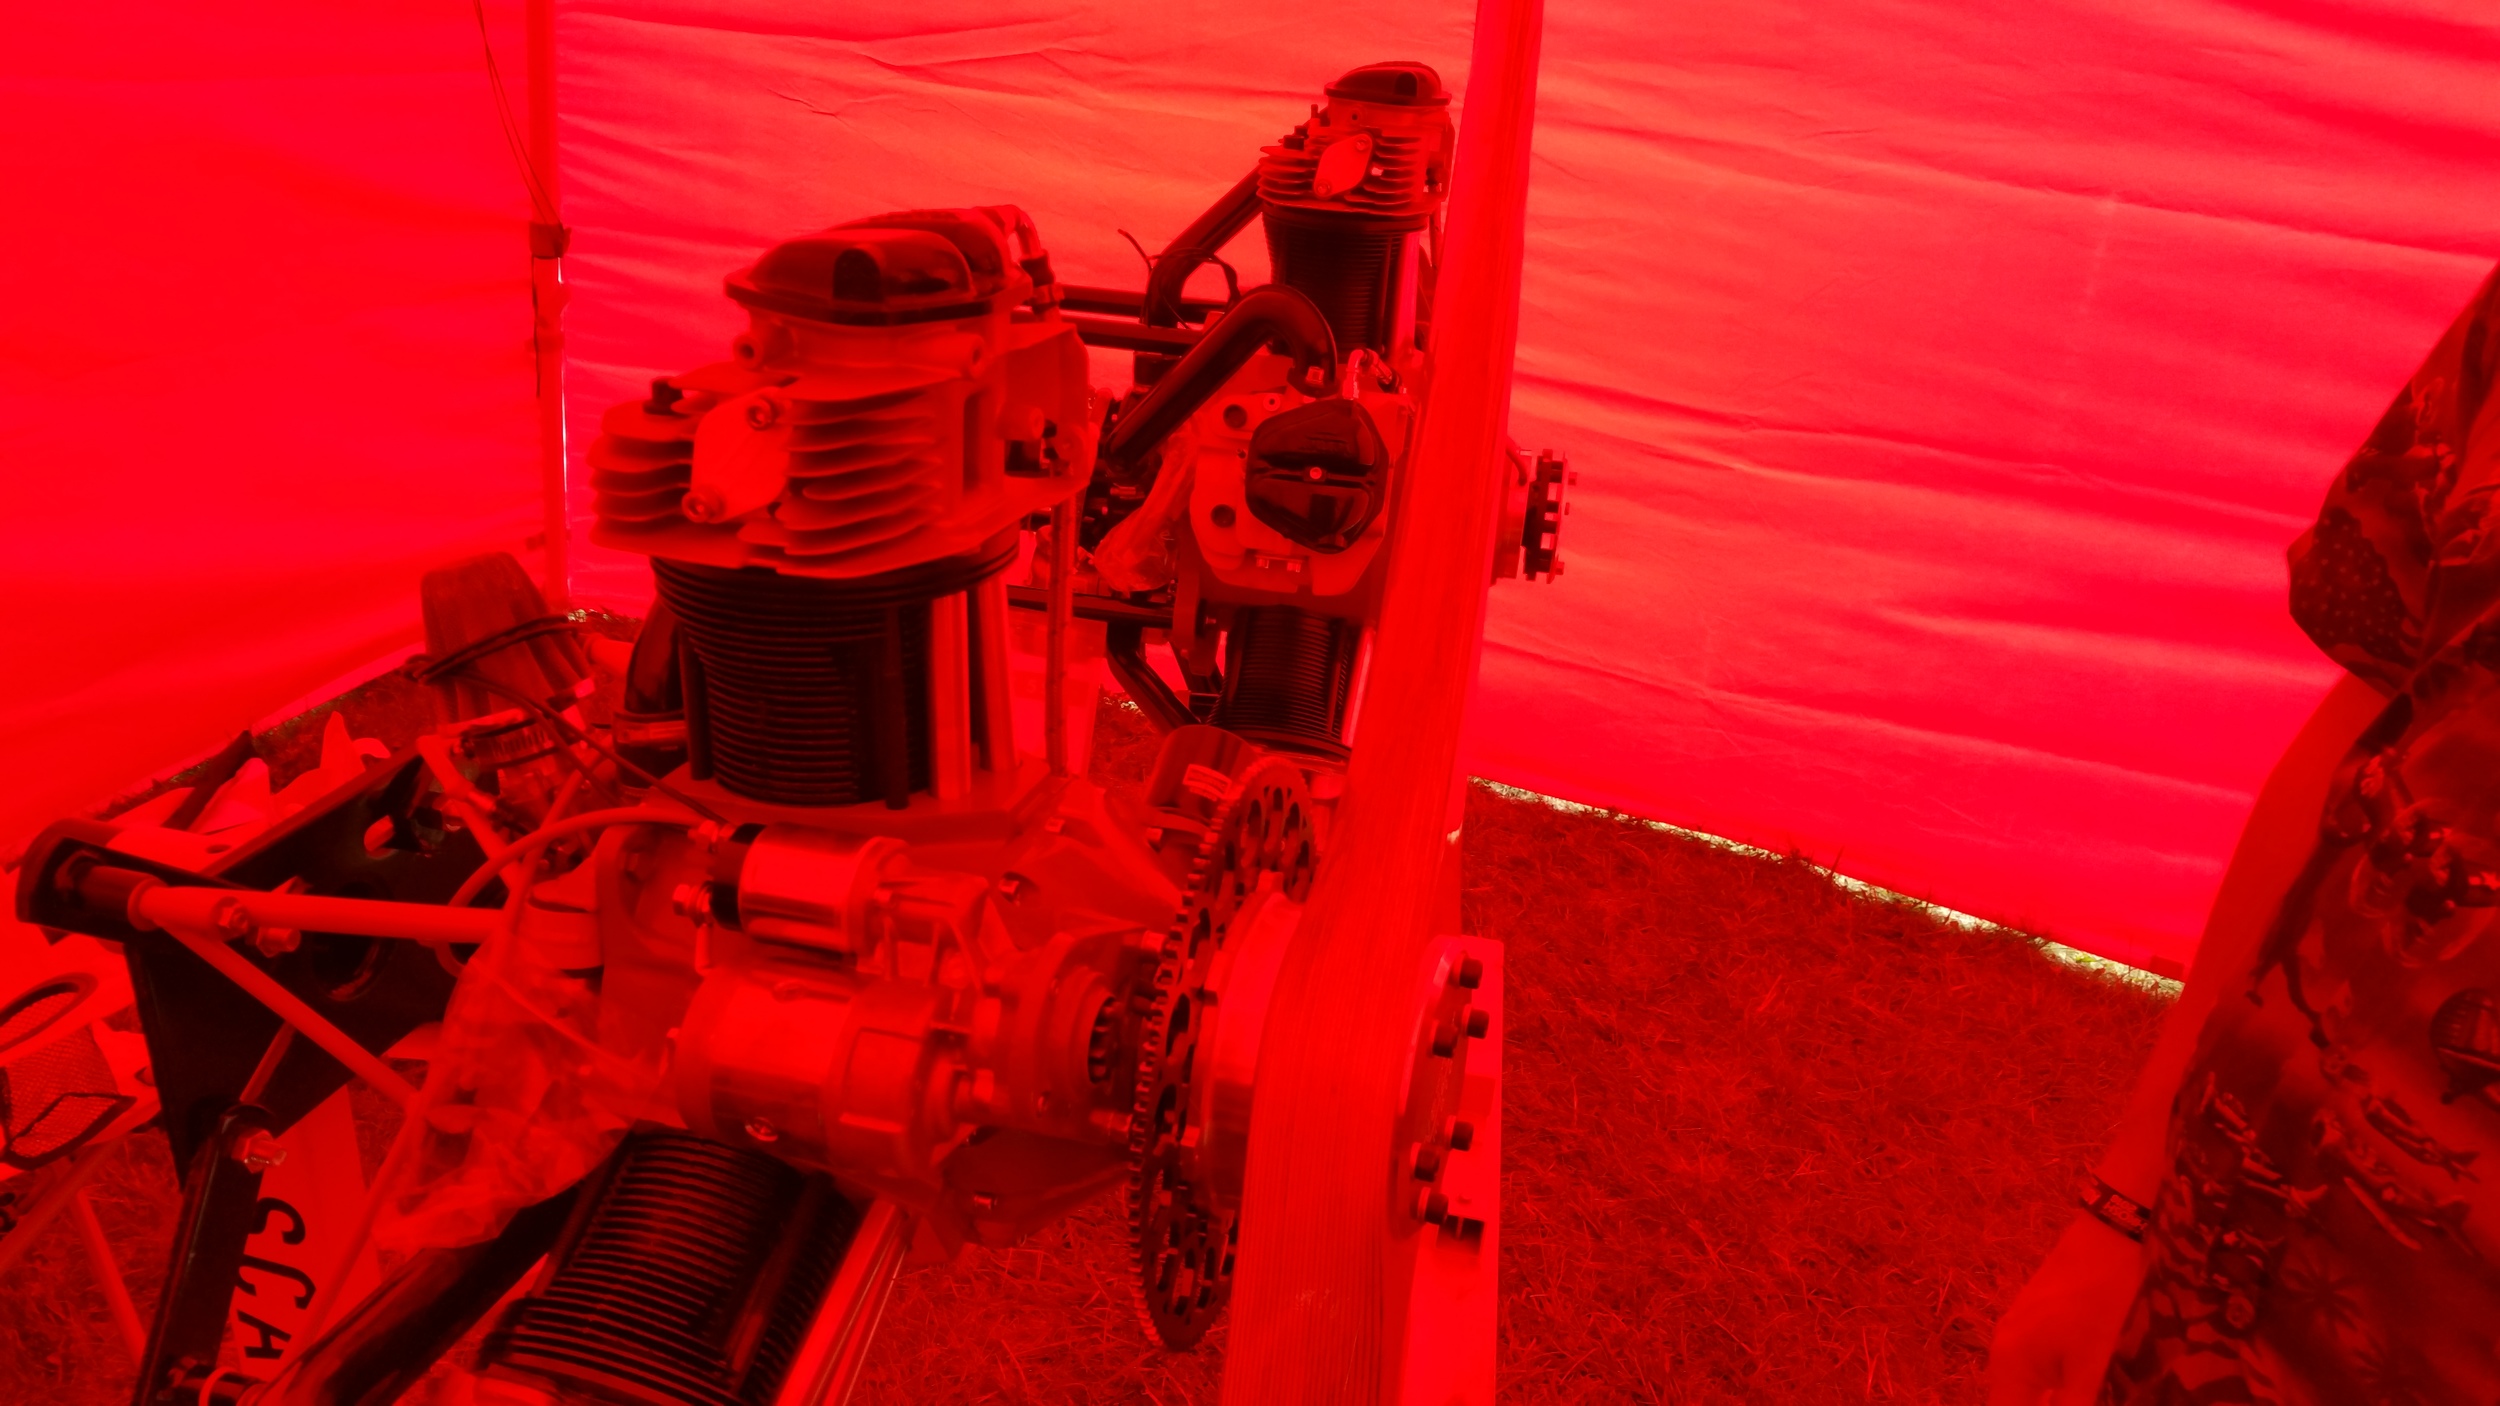
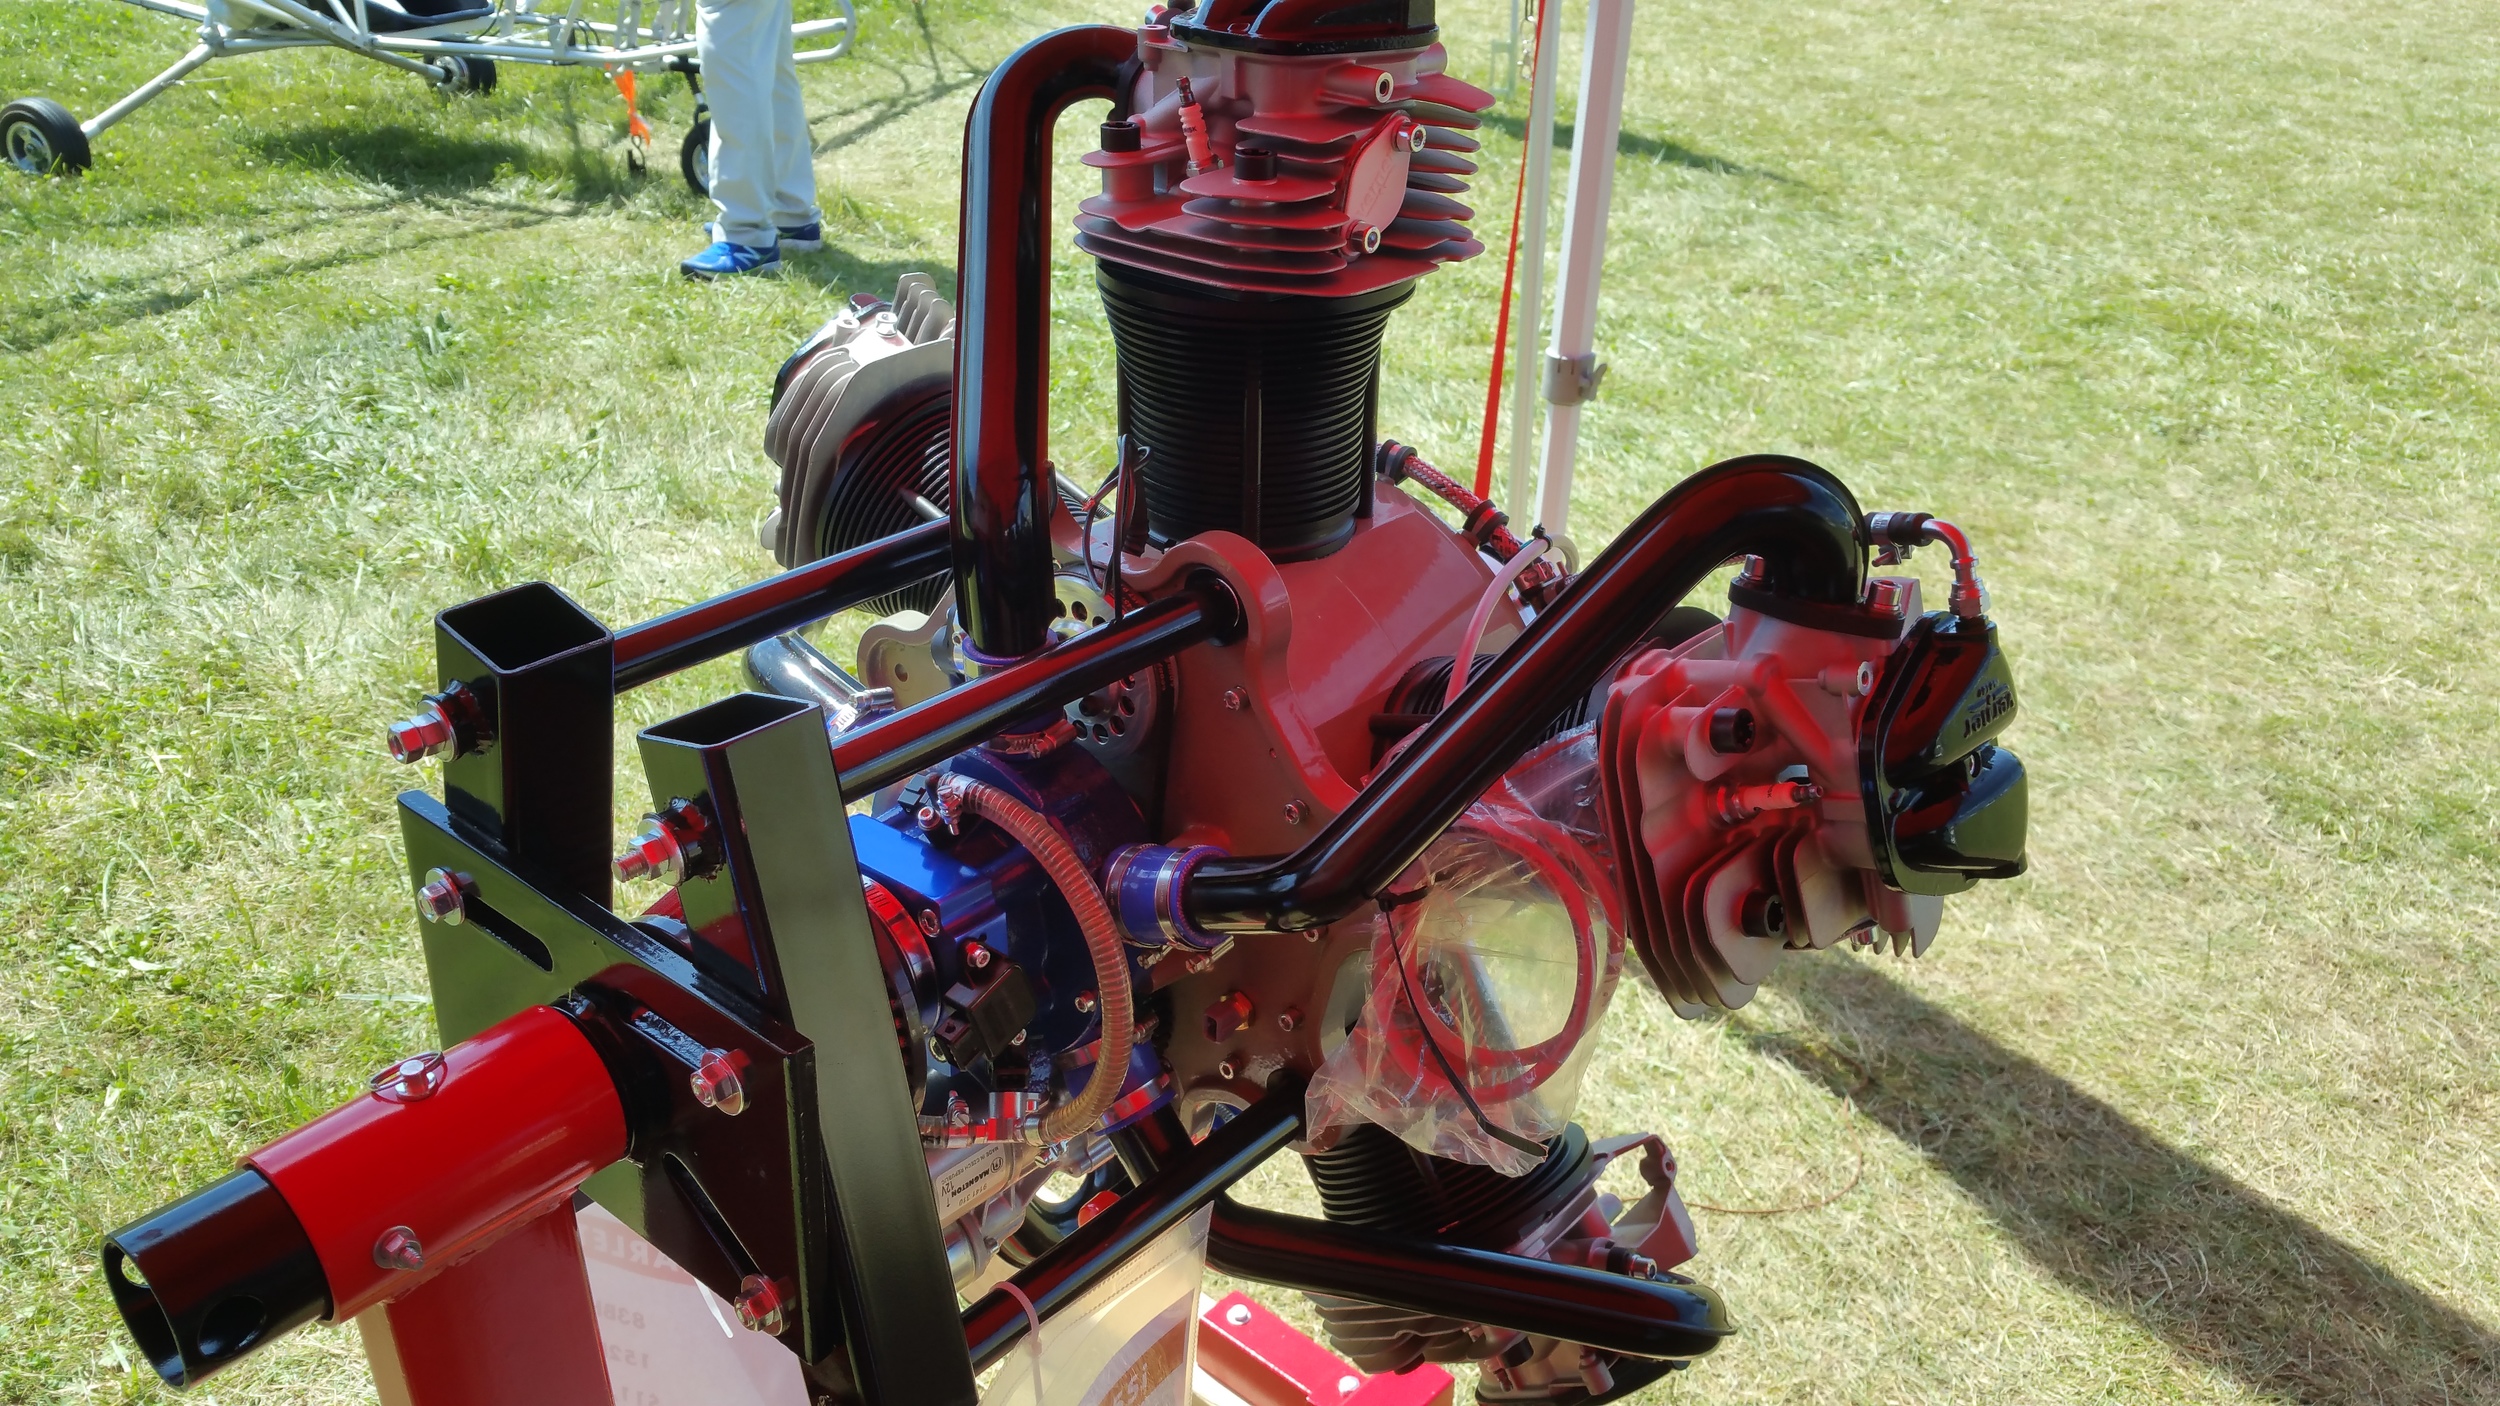
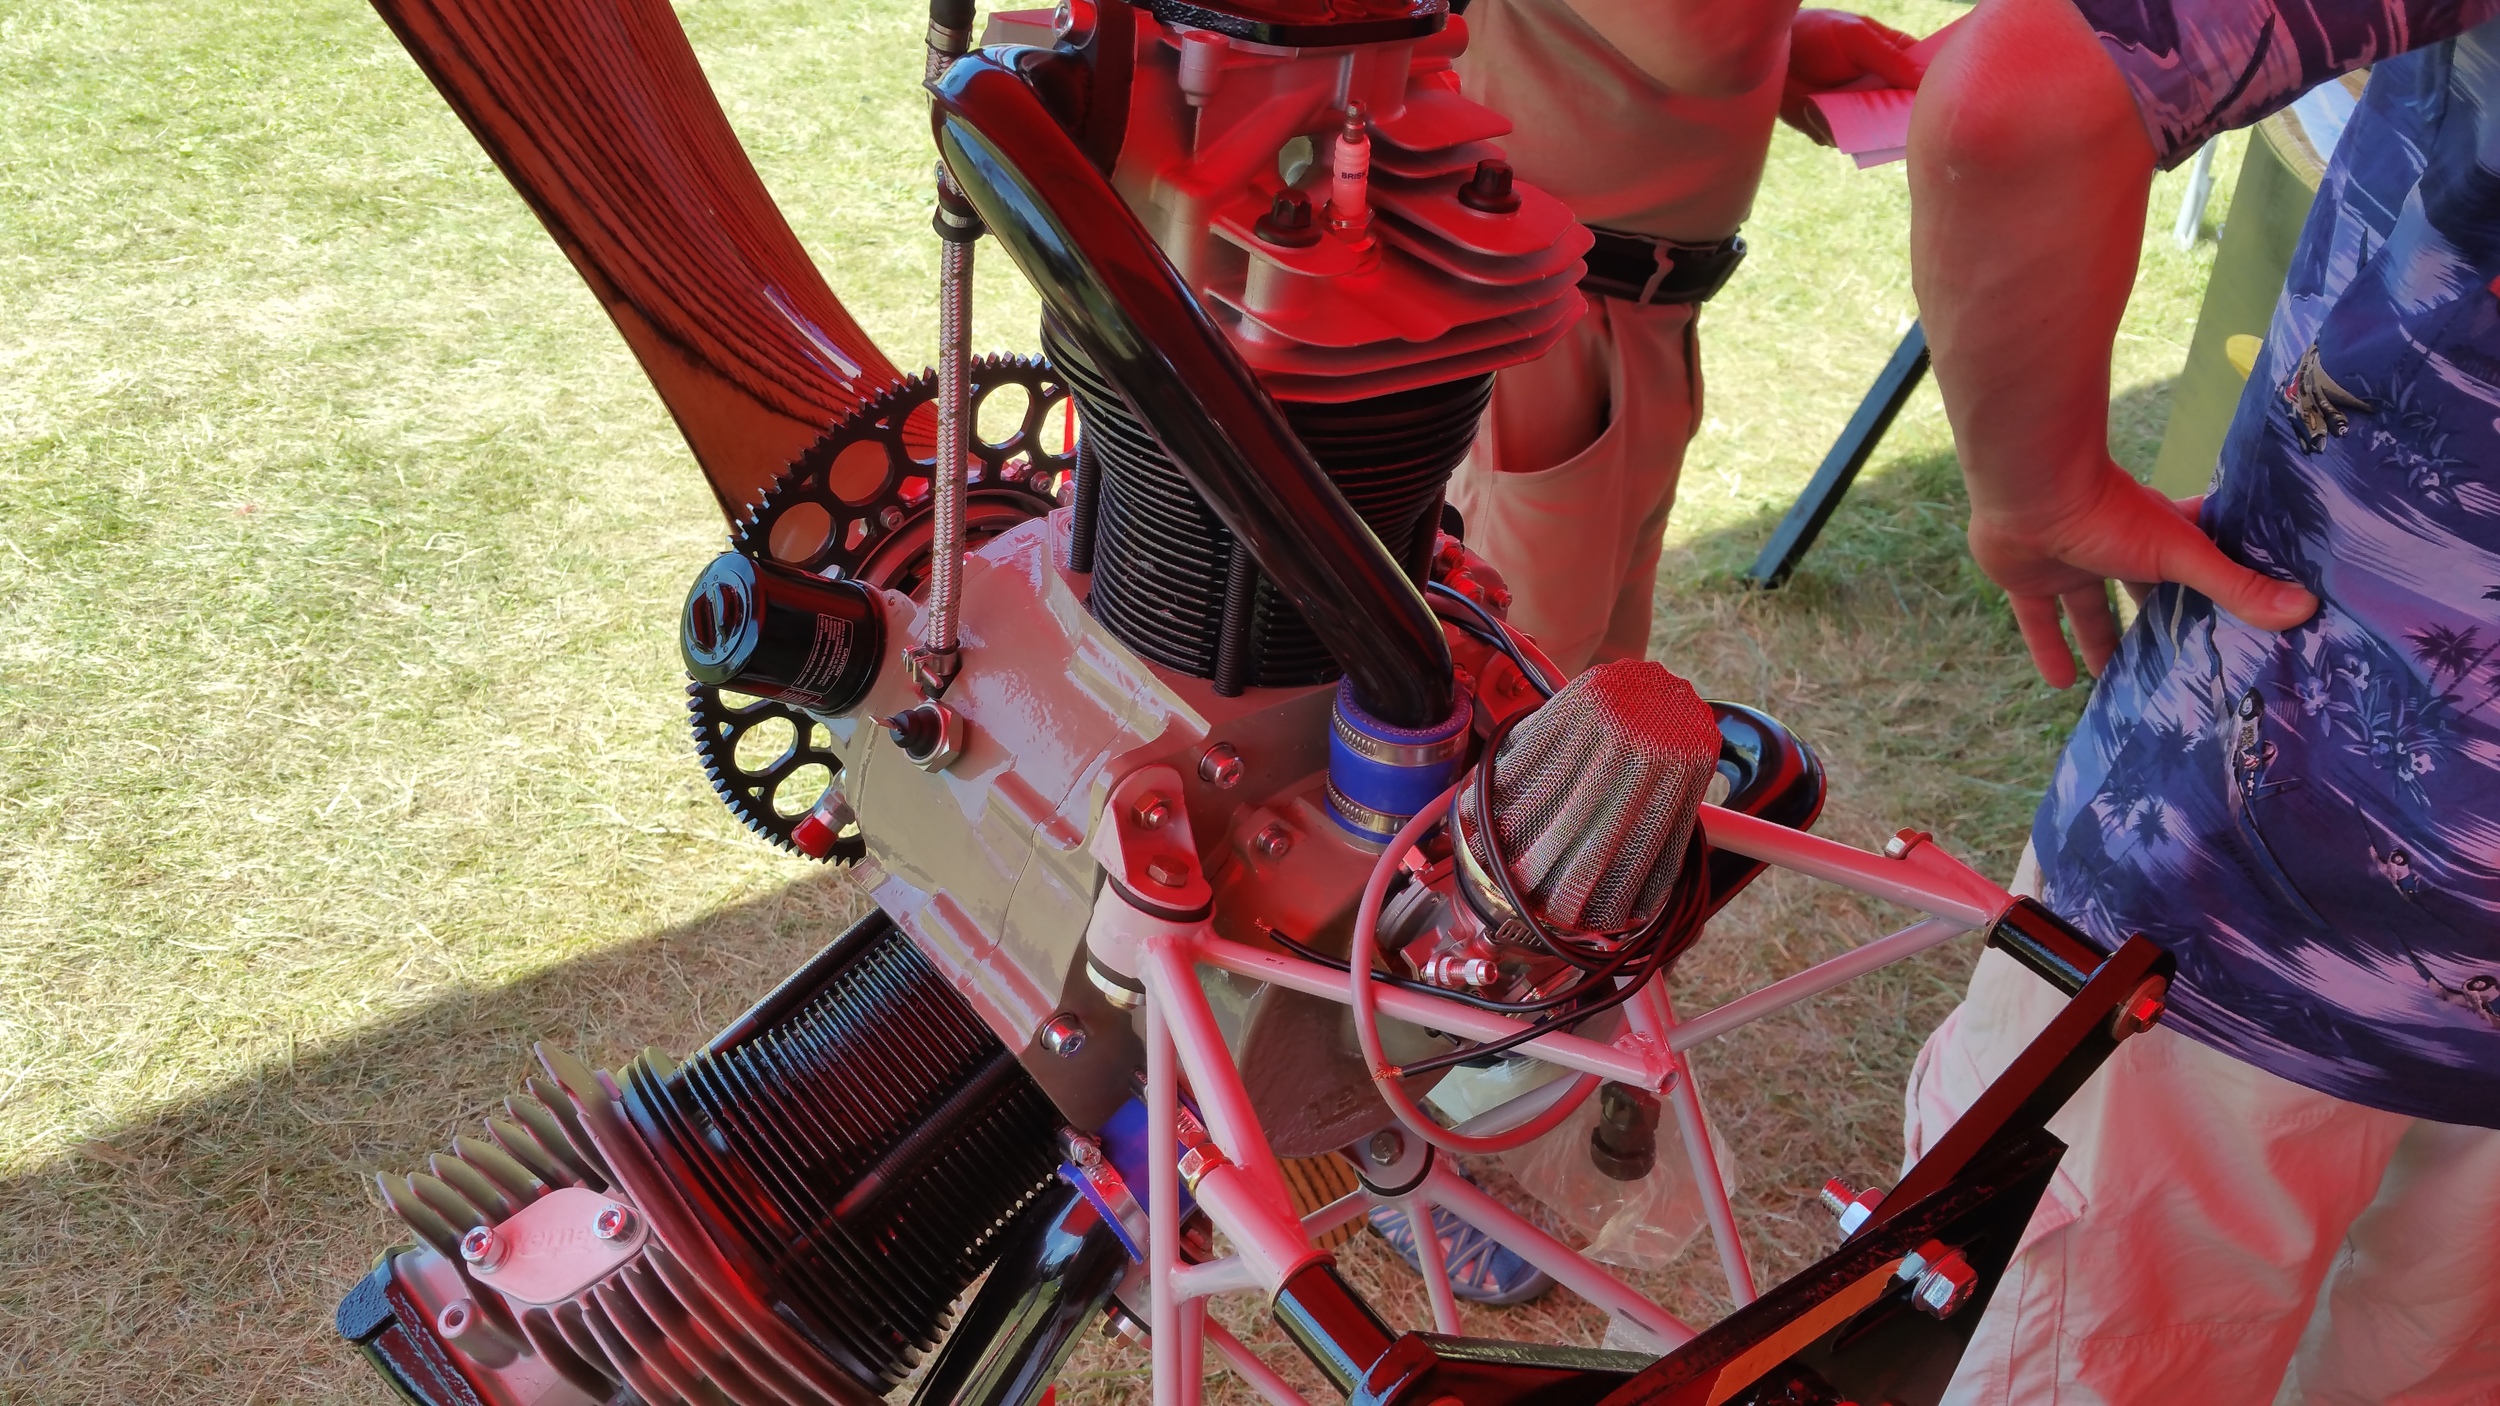
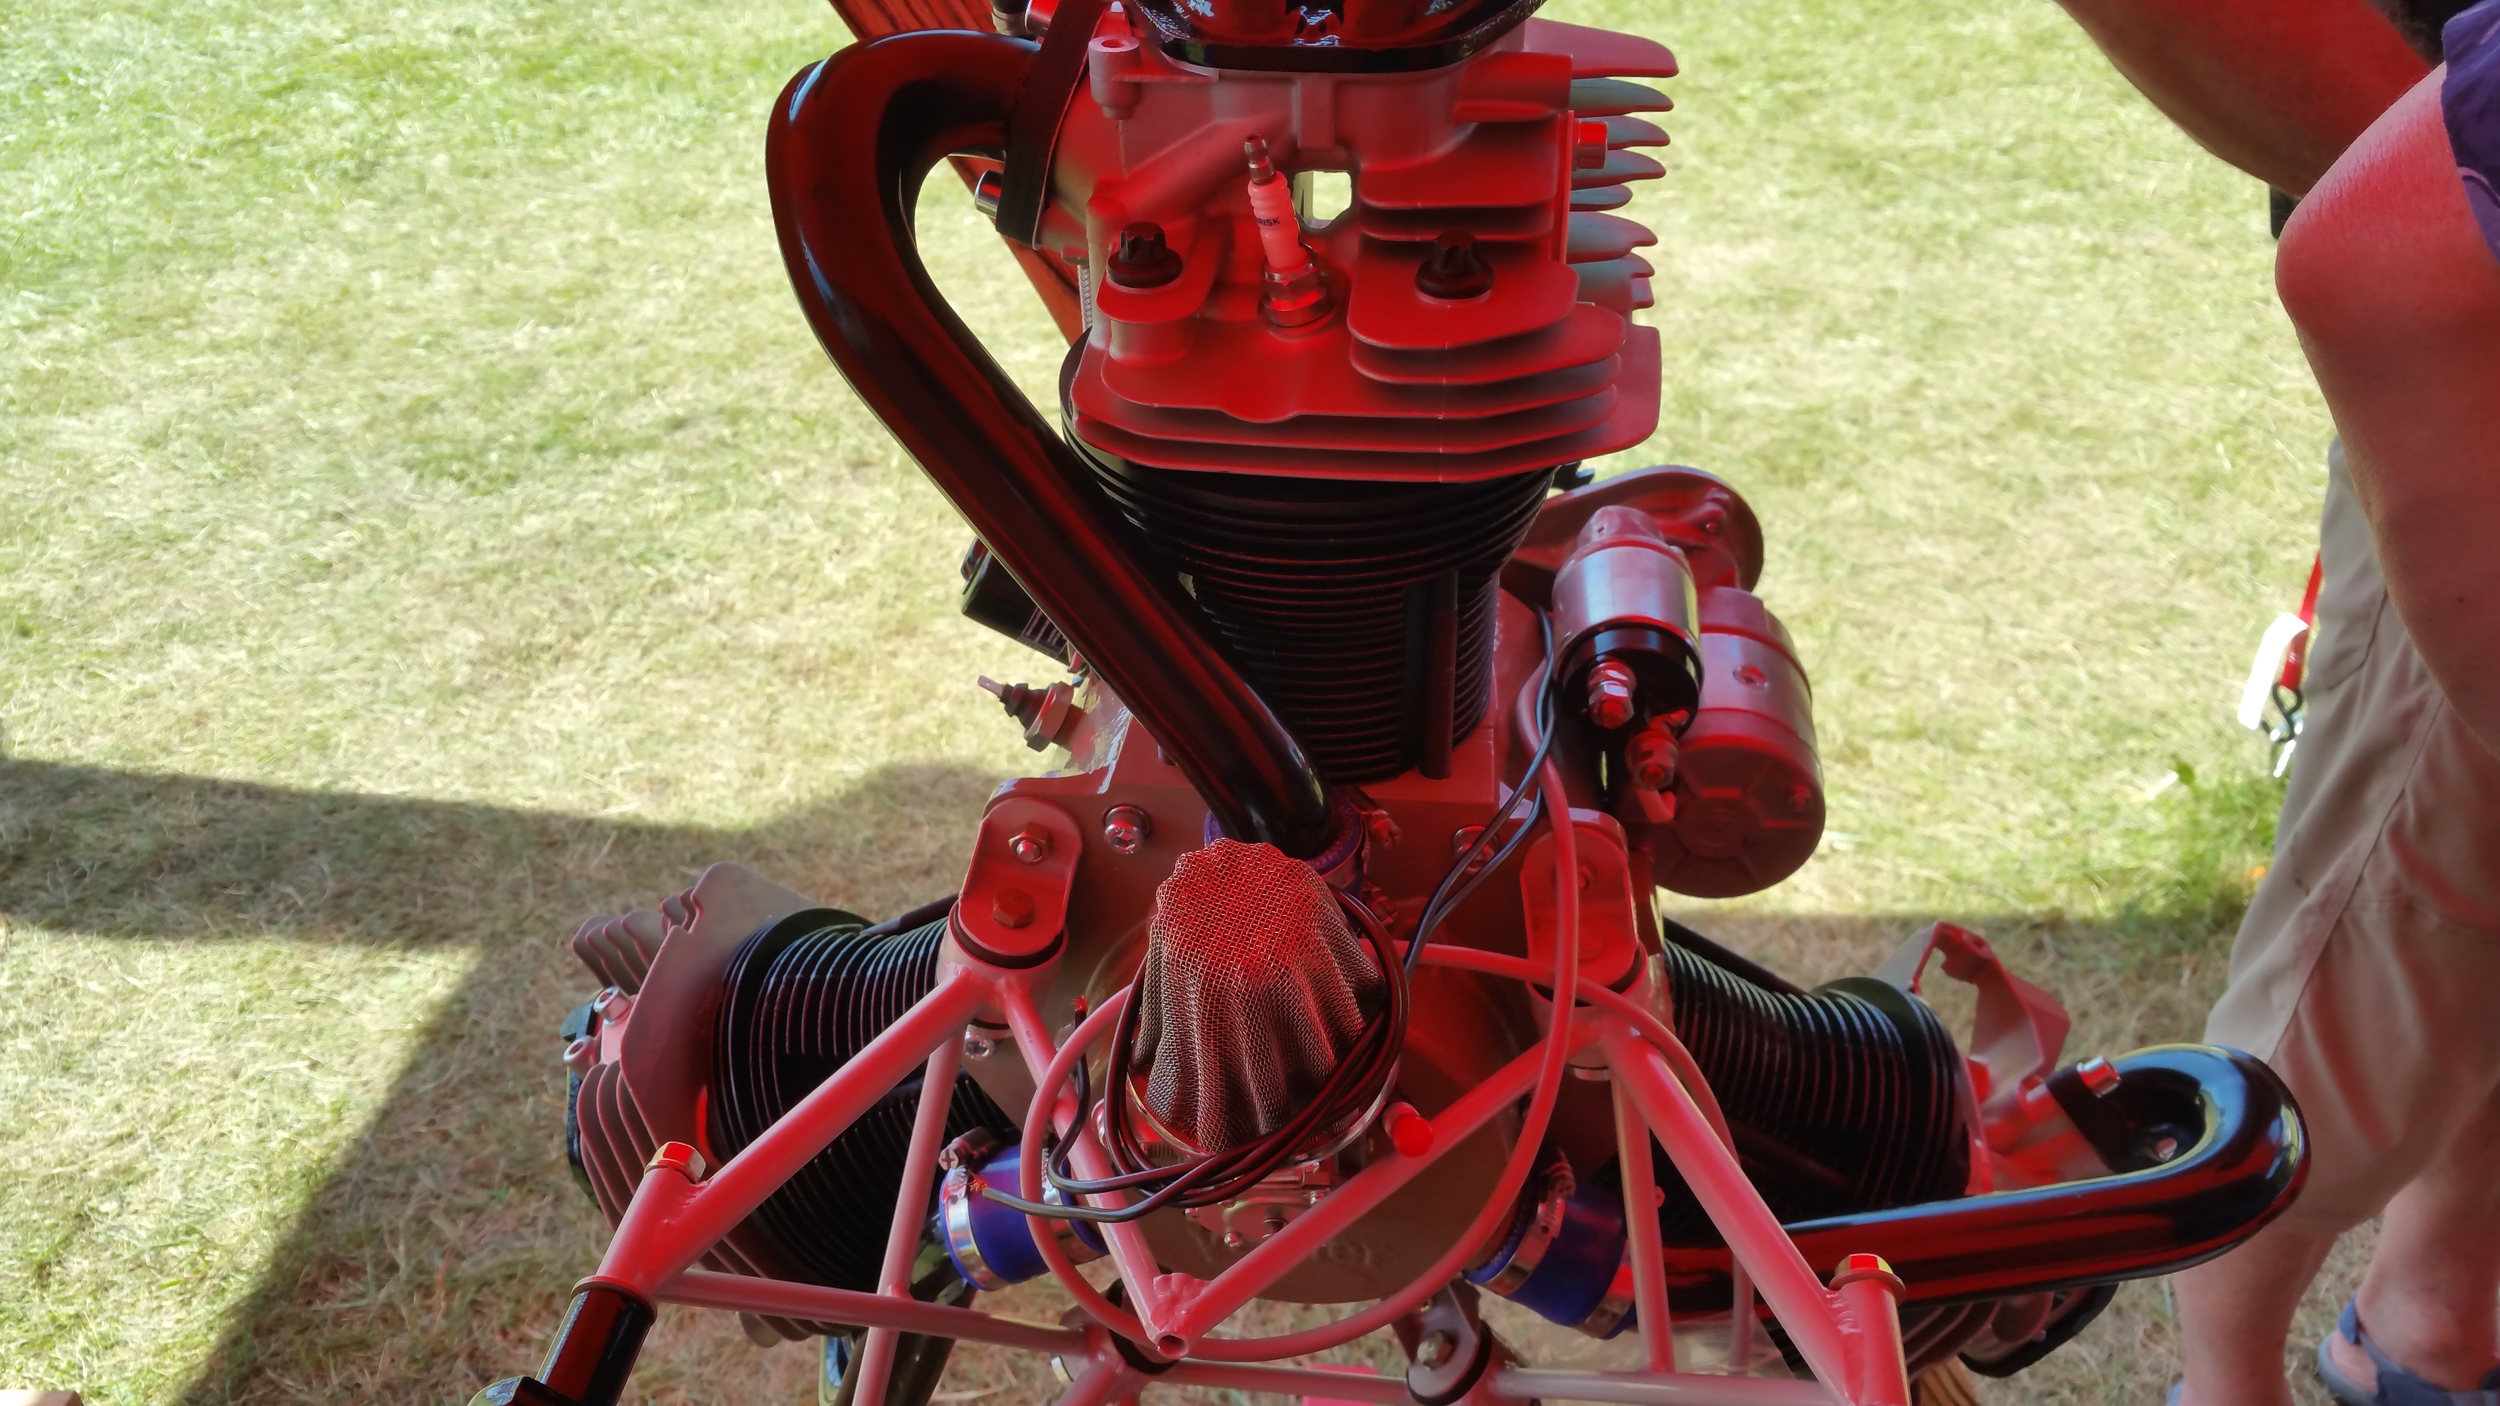
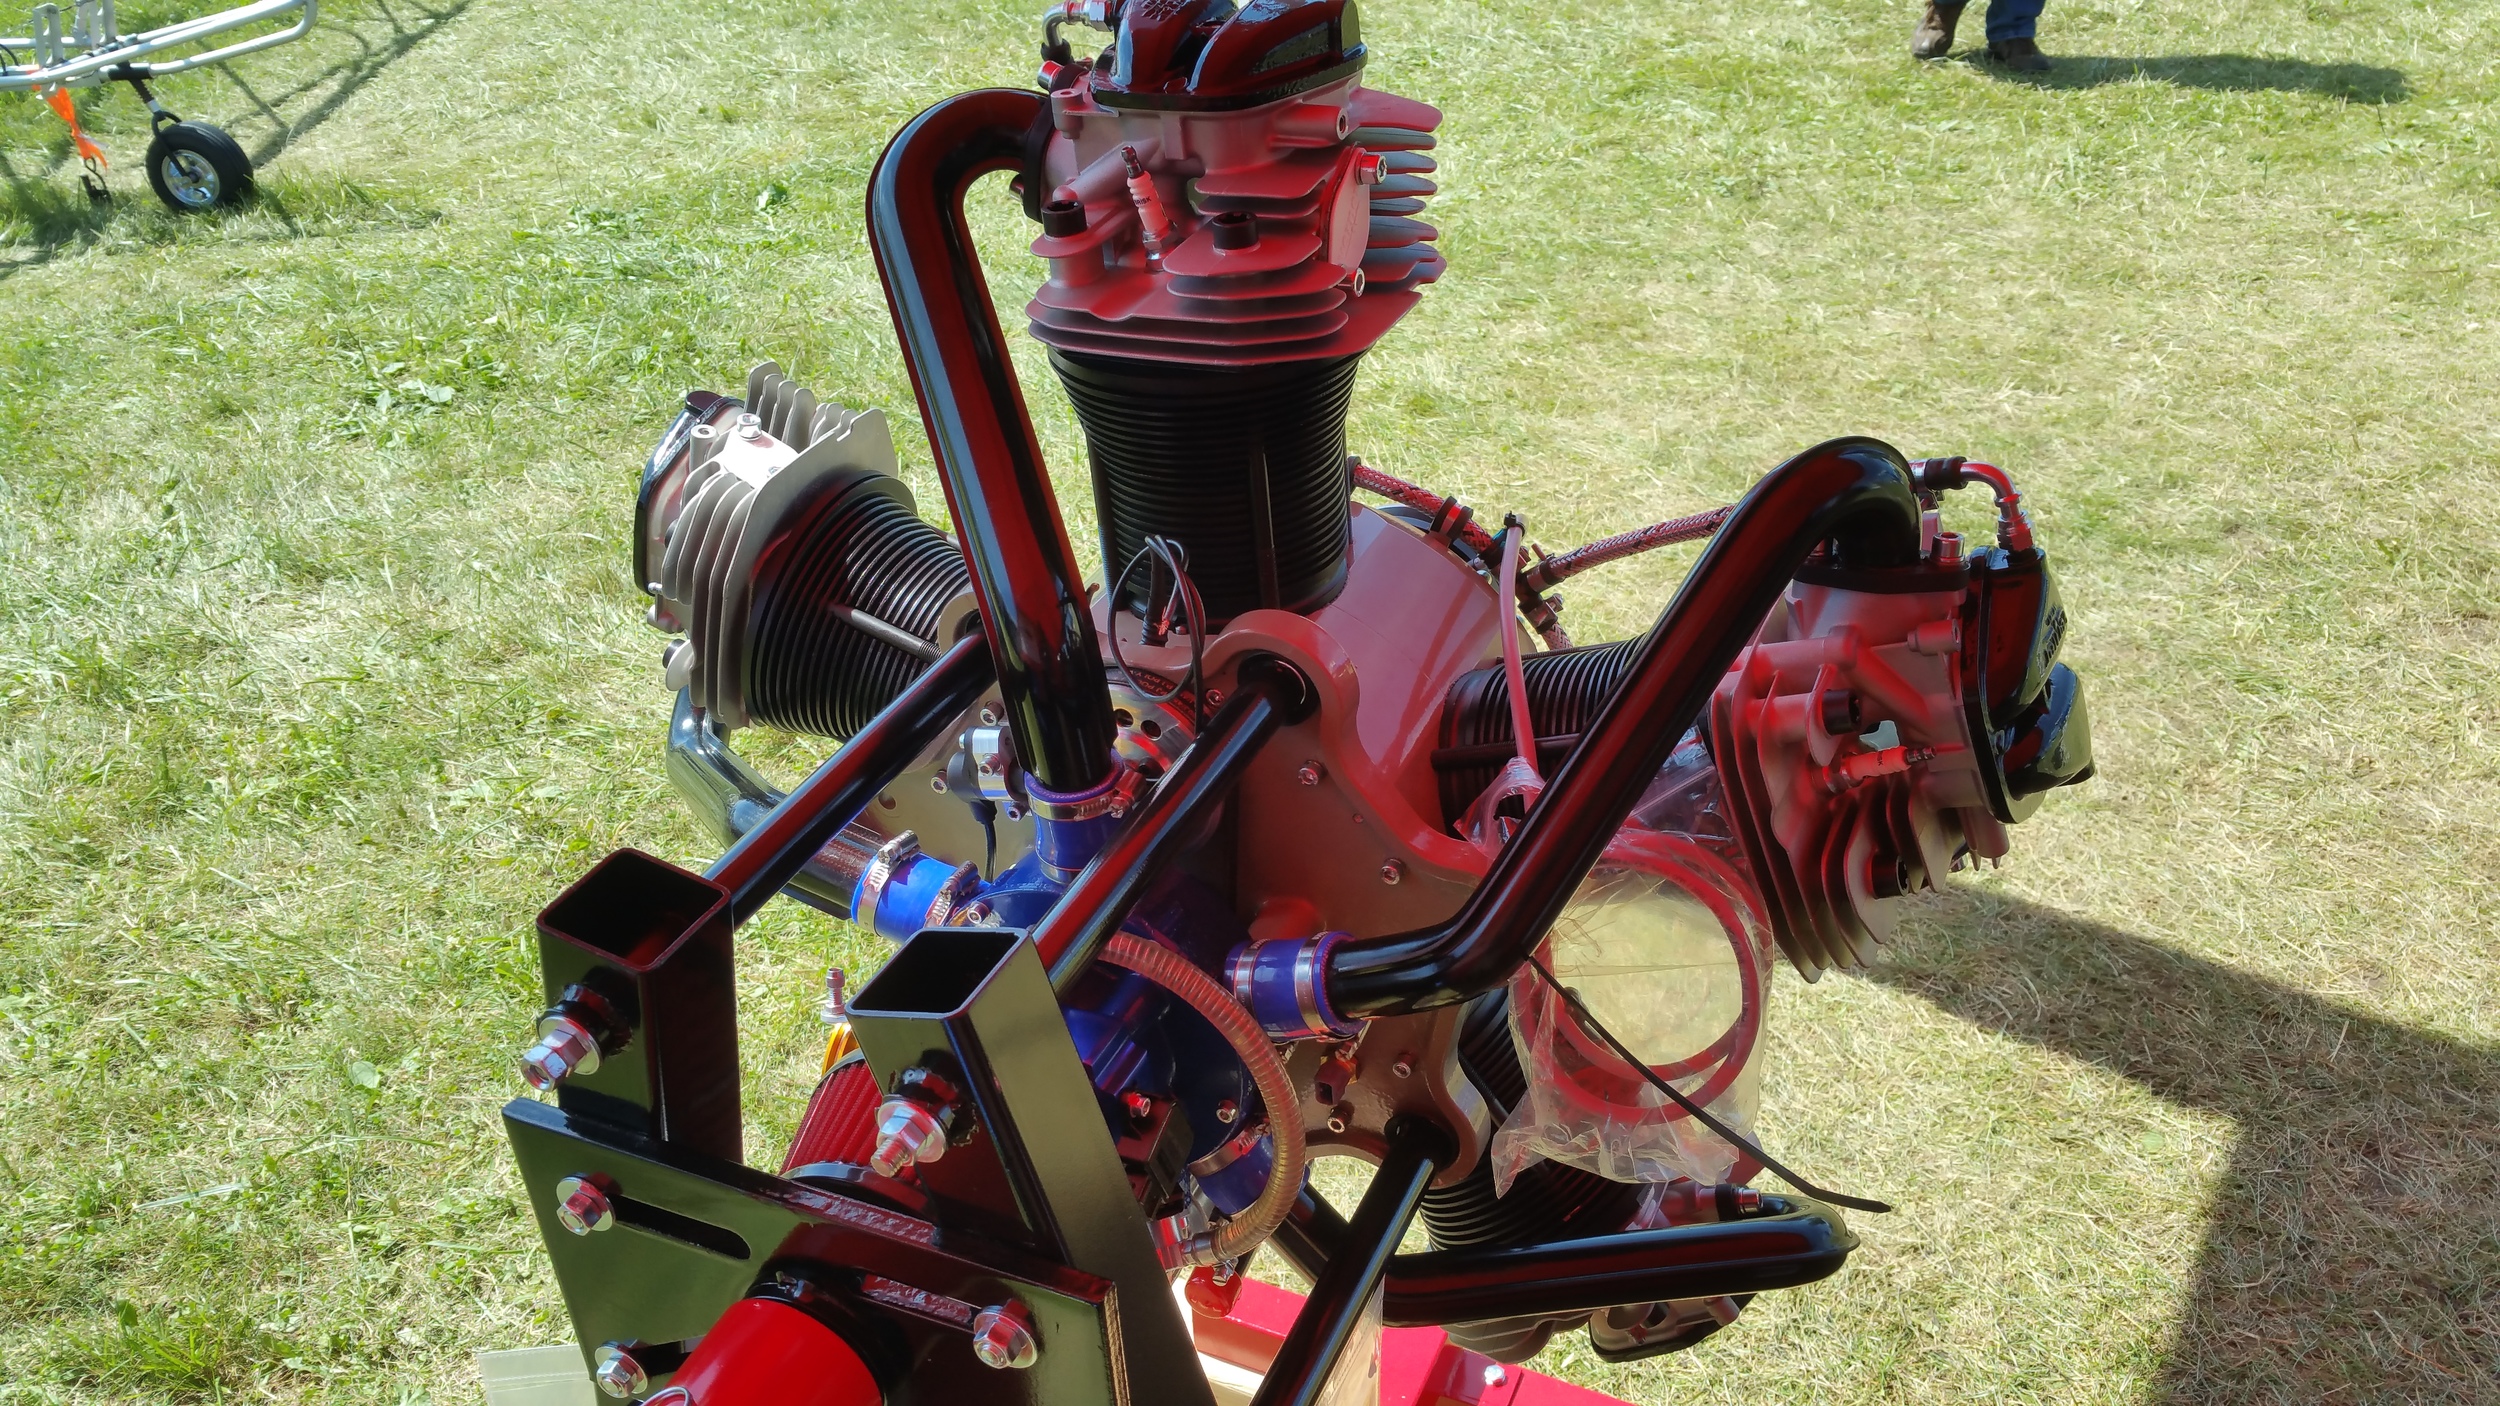
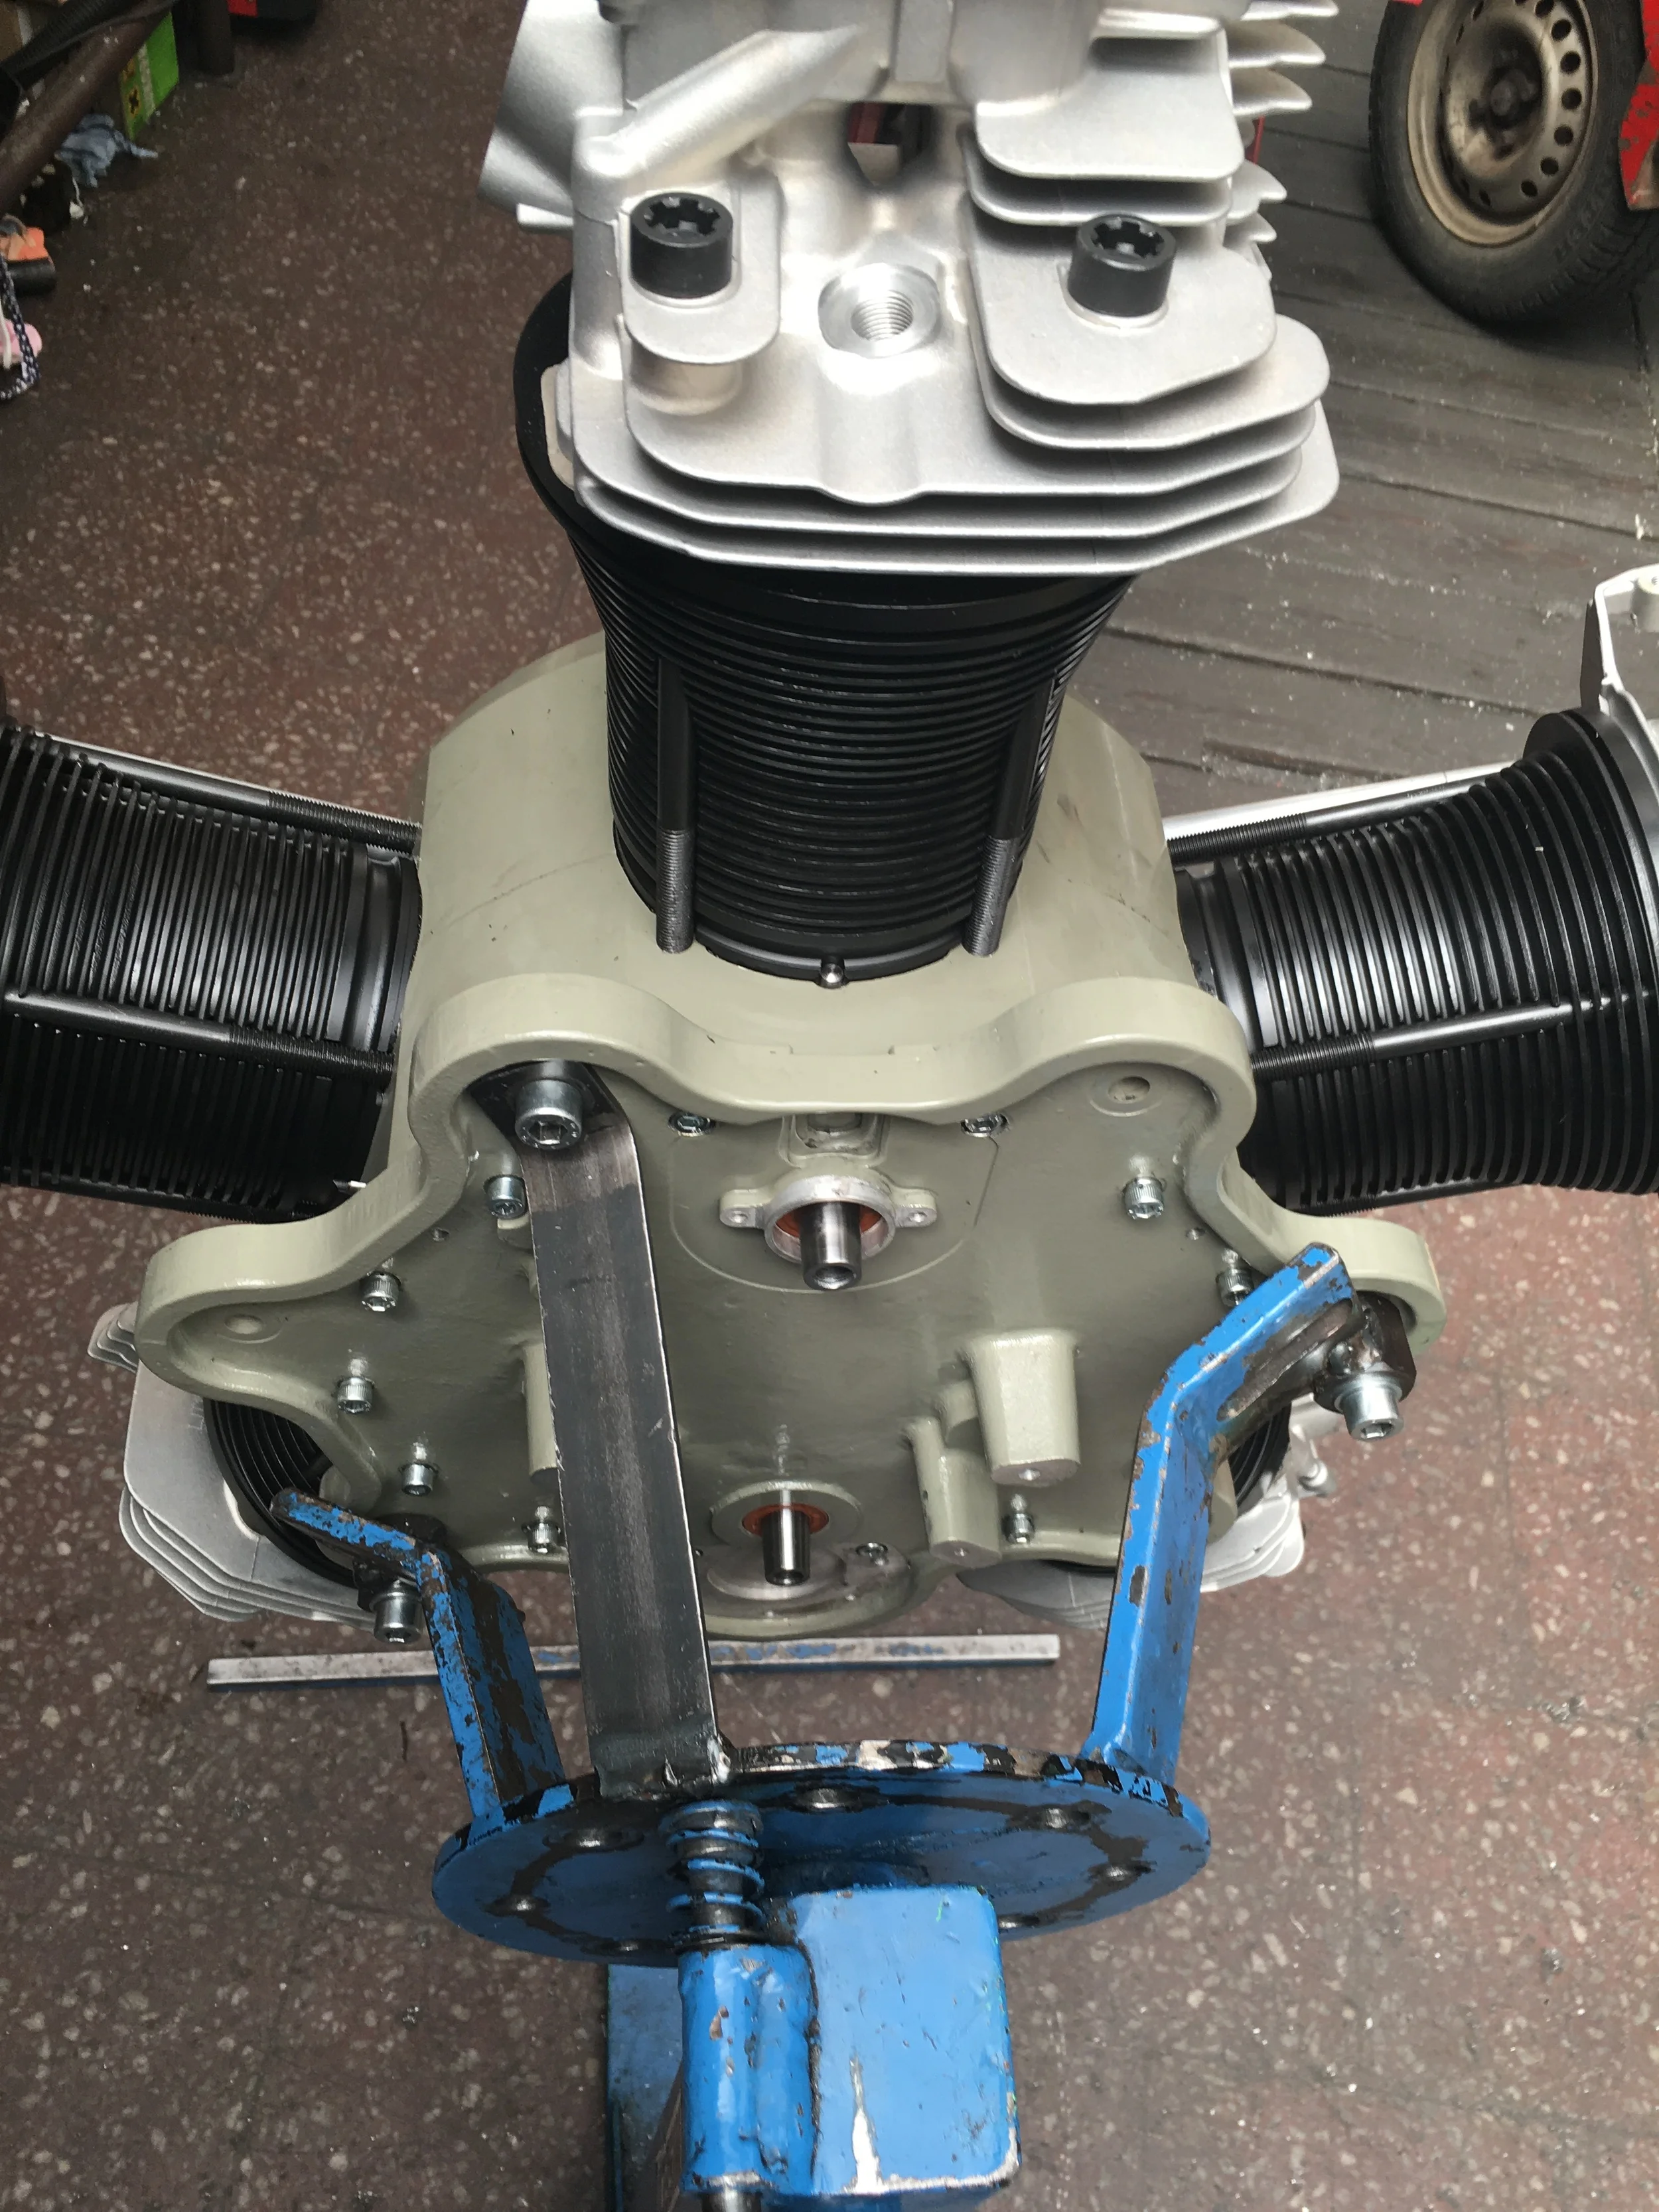
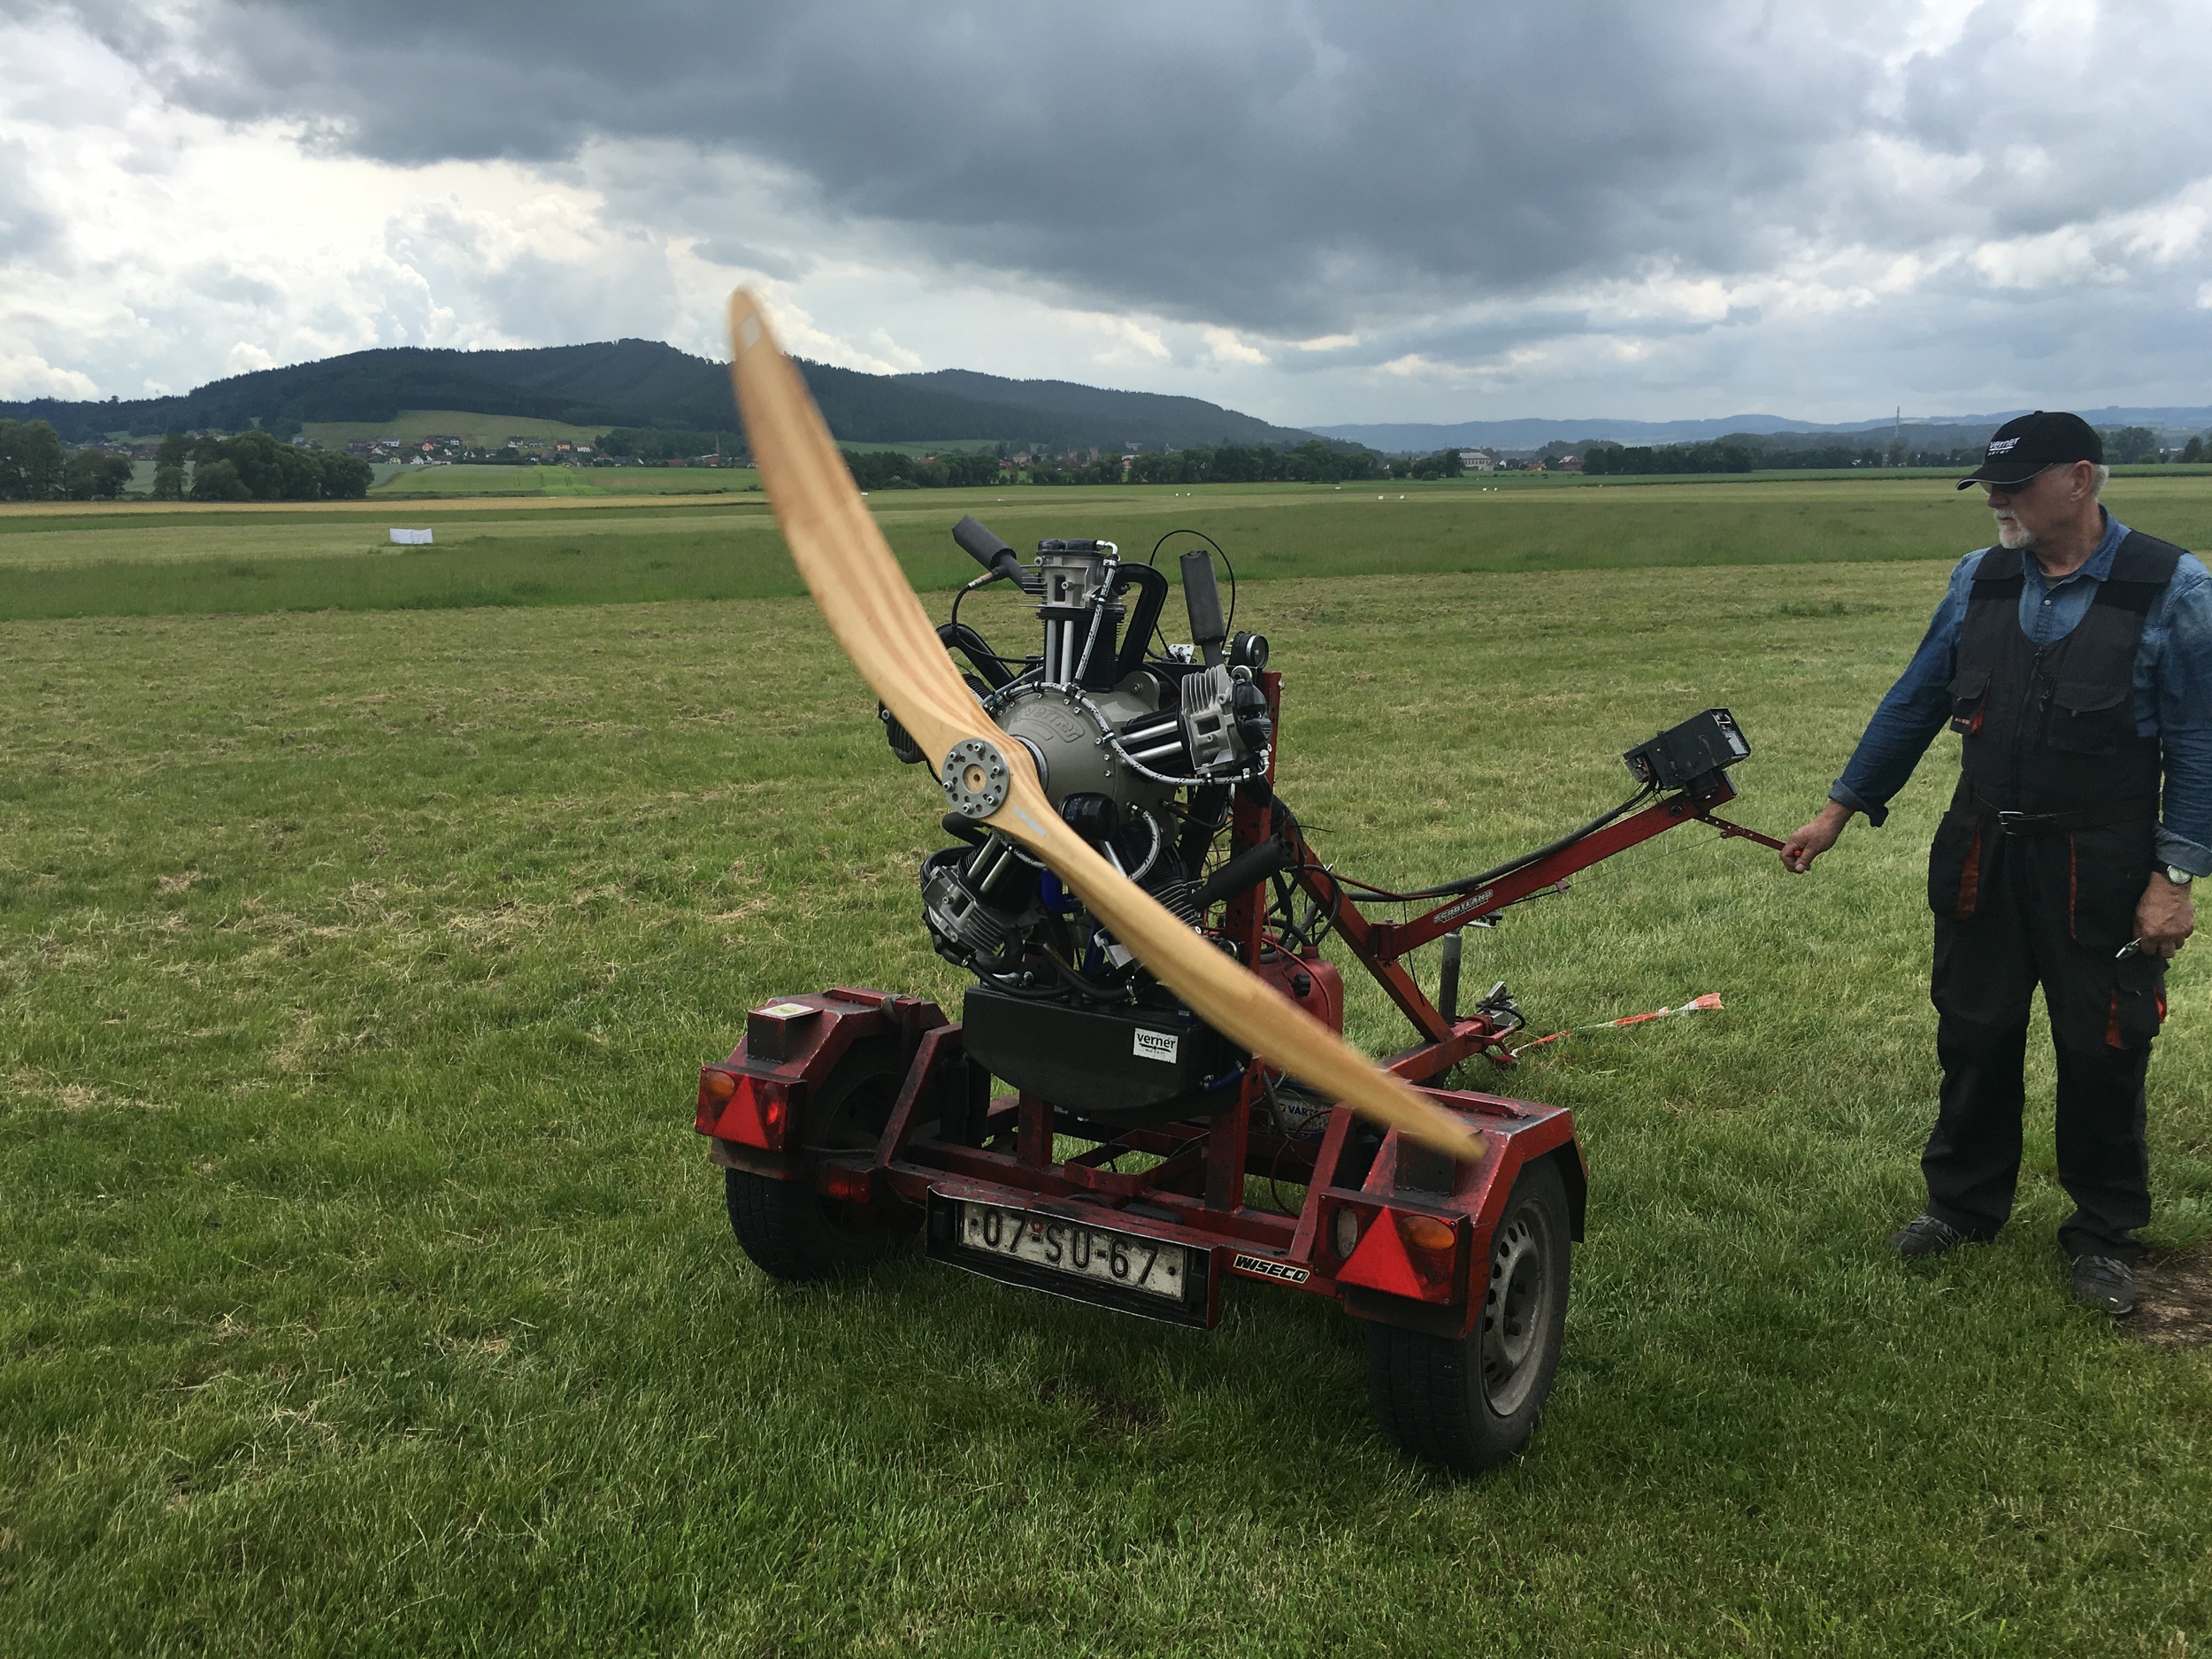
Also, making good progress on the Verner 5Si installation.  Scott used the 3D router to actually cut foam in 3D to make the cowling ring.  We sanded it up and glassed it.  Its coming out great and we are looking forward to firing up the beast!  Plumbing is done, except for installing the fuel tank - waiting on that until we finish the electrical connections.  I ordered new oil pressure and temp gauges from Verner and they should be here any day now.  Their tachometer is 3 inch diameter gauge and does not fit my panel space so I'm keeping with my Tiny Tach digital for now.  The throttle quadrant needs to be re-installed and throttle cable cut to length.  Then install the prop and fluids.  Won't be long now!

Vertically Challenged

So last time, we finished up the fuselage skins for the P-40/36. Right after, I then moved the fuselage out of the shop space and into the new garage bay I had mentioned.  With the bench cleaned-up we jumped right into building the vertical stabilizer.  Scott cut all the sheet pieces and forming blocks on the router table and our intern Roger Jr. and I hand formed the ribs for both the vertical and rudder.  We used the typical homebuilder mallot on the forming blocks method to bend the flanges, with fluting pliers to straighten the ribs from the curl imposed by bending the flanges.  Since the main router bit doesn't make an undercut on the sides of the forming blocks, we still have to manually bend the flanges to get them perpendicular to the rib face.  This aluminum has about a 10 degree spring-back that needs to be removed with a little english. A proper mold could counter this but we're not there yet.  Cleco's held the entire vertical sans skins for the test fit-up.  Everything was as expected - fantastic!

To start actual assembly we went and finished deburring all holes and riveted the spars together, then ribs went to the spars.  This frame for the vertical was fairly stout to begin with, and being pre-cut the pieces all fit up just so; but it needed to be held absolutely square and straight.  So next was a vertical stab assembly fixture, which was made from some braces I had made for welding the canopy frame, and these got squared to the table with a laser.  We could have made a nicer looking fixture on the router table from MDF but Scott was working on other stuff, we didn't want to wait, and it works just fine doing it by hand this way. With the frame screwed to the table its very stiff and secure.  

Riveting the spars went quick enough,  just pull and go, the skin had yet to be made so that is what takes most of the time.  The skin was templated out using chip-board, and fitted several times to get all the curves just right. Then lines all got transferred to the .020 thick skin.  We cut that out by hand and filed the edges smooth and straight.  It went well and was quick and easy to do after working on the fuselage skins which were similarly hand-cut.  With a sharpie, the centerline for the leading edge bend was laid-out on both sides of the sheet skin.  A 3/4" solid aluminum rod was duct taped to the skin and and trailing edges got folded around and matched up, then clamped to the bench; almost like making a paper airplane.  Hand forming the LE bend was done by one guy pulling each end the rod, keeping the skin tight, and another pressing down on the skin with a flat board to tighten the radius.  It's by no means a machine-formed bend, but that method does work well on small parts that need a tight rounded nose.

After fitting and clamping the bent skin onto the stabilizer frame, we un-clamped one side at a time to mark the frame onto the inner skin surface.  The rivet lines and spacing were then marked onto the inner skins and drilled.  Re-clamping the skins in place on the frame and drilling through the rib and spar flanges.  Cleco's are installed to hold the skins tight as it was drilled.  Then deburred all the new holes, and re-clamped the skin to the frame.  The pull rivets are fun to do and so easy it is, well, anti-climatic to a degree.  Another major airframe part done just as it was getting started!  

Next up is the rudder build!  So far laying the groundwork. We made the rudder ribs already, need Scott to turn some bushings from delrin for the hinges, and I made the rudder horn from 4130 steel by way of hand tools and drill press.  Our CNC router table can't really do steel, (Spindle spins too fast for the machine and the bits just burn up. Good way to let the smoke out)  Even so, I just did it via the old school method in about an hour.  With the trusty Miller, welded the horn to the torque tube adapter with some fillet welds all around on both sides. Then on a critical surface Scott used the mill to flycut the end down square and true. a little primer and she looks right proper!  Now we are designing an assembly fixture for the rudder and will get you that shortly.  Take a look at all the build pics, please let us know how we're doing, and have a great day!

Holiday Homebuilding

Hey everybody, long time no see!  

Hope you all enjoyed the Holidays of 2016!

We've tried to make the most of ours, without going too crazy.

Onto the P40 (P36?) build: 

So I've recruited a high school intern into helping us out now.  He has been helping me with fabricating the fuselage skins and adding stiffeners.  Its fun to watch him learn new stuff and build skills, and fun to watch the build come together at the same time.  With his help all the skins for the fuselage have now been finished up and are ready for primer coats.  

Scott just finished cutting out all the metal ribs and spars for the Vertical and Rudder as well as the corresponding MDF forming blocks and jigs.  We are ready to start on the tail build.  I will have the intern (his name is Roger Jr.) form all the ribs and save me the hammering. I think with some guidance he will be building the entire tail group.  OK, I'll do a little bit more than guide. At least the first one. 

And as far as the Verner goes:

We are in the middle of installing the Verner 5Si radial engine on my Fisher Aero Corp Avenger V as a test bed. The Avenger R? Avenger R5? Still havn't figured out a name. The design phase is mostly complete, parts made, and everything more or less has been ordered. As of Wednesday, the engine is hung and looking great as you can see:

We are ready to install the major systems - fuel, oil and electric. Some stuff is already mounted but not hooked up, other things are going to mount to the engine mount. Scott's been gumming up the works by making a time-lapse video of the install, which means waiting to start while the camera gets setup; but once it's started it just hums along.  Should be fun to watch though, and hopefully helpful for those interested in Verner motors and how the install goes.  

According to the schedule I've been going on, all of this work should have been completed a while ago. Wanted to fly the Verner while it was still warm out!  What's the hold-up?   Well, my excuse - poor as it may be - is early in November, my car garage/storage tent decided to self destruct.  It was an older model but the codes checked out. Well, guess it diddn't.  The tent was a temporary solution for the normal stuff that the airplane parts have been displacing from the real garages.  On a project like this space is at a premium and airplane parts tend to take priority.  So looking at my options, I decided to build an addition to my separate two bay garage.  It already had a concrete pad ready to go (which was seen back when we were load testing the Hellcat horizontal.)  Piece of cake right? Right. Well it took 6 weeks to finish.  I was thinking "3 weeks - no problem."  I used to be able to do something like that easily in three weeks anyway.  I don't know why things take so much longer to finish now.  Anybody feel my pain?!?  Then, after that, I got the flu which took me down for two weeks.  When it rains, it pours!  

Well, we are back on the project and rolling.  Yesterday I had four guys working on parts, machining, CNC routing, designing.  It was a thrill to have that much production going on.  I think 2017 will be a great year!   

LiteFighter One: A ScaleBirds Story

Hey there everyone!  Sorry its been so long.  I just finished the update for the RFA magazine and sent that off - I wont copy that, just might hit some of the info.  

We painted the frame in primer and made some of the internal components.  We are back at the sheet metal work again - making fuselage skins and clamping them in place with clecos.  Cant rivet yet - need to install some stuff and also paint the inside of the skins first. Although we did rivet in the inter-bulkhead stiffeners on the aft fuselage skins.  That really worked well and was easy to do.  We made the firewall bulkhead and capped the turtledeck skins - quite the ordeal with that!  Ruined several pieces until we figured out the strap method to bend them and hold them in place to drill and cleco.  In the midst of fabricating the forward skins right now.

Trying to work a little every night and get back up to full steam on the project.  We had a lot of distractions in September and it is tough to get over the inertia all over again.  The project seems to ebb and flow that way.  Get going real great then bam slow down for a holiday or an event, then arrgh!  Everyone becomes busy doing other stuff for a while and then we have to push on it  till it starts going again.  Momentum!!  Gotta keep it!

We are completing the engineering on the wing and the CAD models for the tail.  We are planning to start the tail feathers next in hopefully a couple weeks.  I want them and the fuselage looking great by Christmas - that would be a fantastic gift!  I think it is realistic but a challenge.

After Oshkosh, I decided to swap the engine out on my Fisher Avenger V for the Scarlett 5Si we have waiting on the Hellcat.  Having the Avenger flying with the Verner will be a great way to get operational experience with the engines.  It will be temporary but a good way to get going.  For this swap, I designed and fabricated a new engine mount and the fixture to hold it all in place for welding.  It came out great and I just painted it today - Blue!  One of the trim colors of the plane.  I also designed an oil tank and have a shop fabricating it out of aluminum.  We will sell them to Verner owners as a great solution for the larger 5 and 7 cylinder engines.  The 3 cylinder and small 5 need a smaller tank.  We can do that too when it becomes an issue.  I also bought the WarpDrive three blade prop that will go on the Hellcat to power the Avenger.  It will be interesting to have the test data from both aircraft of this engine and prop combo.   

Well, back to work!  Gotta keep the Mo!

Back From AirVenture 2016

Well, we are home in one piece. Without a lot of time to prepare, we packed up our Scarlett 5Si and took a trip out to Oshkosh, WI for EAA AirVenture. Those of you who saw us there, thanks for stopping in and saying hi! For those who missed us, we don't blame you. Situated in the Ultralights section, in the Performance Propellers USA booth with Frank Johnson and his Verner 3VW, you had to just be there and see our engines shining in the sun to know we were on the scene. But yes, Performance Propellers and Scalebirds both brought our motors to promote the word that Verner radial engines are finally here in the USA! Tons of good response, tons of questions, and while I personally have been a vendor at events before, none are like AirVenture. It was a great experience and gave us great exposure to what the rest of the community is thinking. 

Here's some pics of the Performance Propellers booth:

Again, thanks to Frank Johnson for sharing space with us and putting up with our little project. If anyone is looking for fine, hand-made wooden propellers custom to their exact needs, Frank can do that for ya', check out his site at: 

http://www.performancepropellersusa.com/

Anyway, now that we're settled in and things are put away, I'm finally back and able to start working on updating our site, which so far has only a bare mention of the Verner radials and almost nothing on the LiteFighters. That will be changing soon. Real soon. Exepect updates to go over it but in general we'll have more thorough information on the Verner engines on offer, FAQ's, technical documents for download, plus pricing and order forms for the engines if you decide round is for you.

Also coming: Youtube channel, better Facebook presence, and real airplanes. 

Shooting for having at least one flying LiteFighter by Sun N Fun 2017. Think we can make it? 

The Frontal Assault

Working on parts again, we have been working on the canopy frame and the controls for the last couple of weeks. The tracks for the rudder pedals are installed directly to the frame, and the pedals hang on a bar that slides along the tracks. The acetal slider blocks and T-nuts that connect the ends have been fitted, and Scott did a great job machining them to an ideal fit. Once we get the pins and hardware we can have the rudder pedals fully installed and start planning the lock-pin mechanism.  The forward skins need to have the canopy frame in place for proper fitment. So we cut, bent and welded it all up.  I am pretty happy with how it turned-out.  Its starting to look like a fighter now!  Now we can get the forward skins and firewall cleco clamped in place and all fitted. Our buddy Chris Collins has access to an auto paint booth and we intend to paint the frame shortly.  Then we can permanently install the aft skins and controls.  We are getting there!  Making forward progress!

On the CAD design front, the modelling of the wing root fillets has been redone to conform to the latest fuselage, while the track slides and windscreen frame is now part of the model as well. It really adds something when you have the full frame.

On another front, we ordered a Verner Motor Scarlett 5Si engine to put on one of these planes, and it is shipping soon!  Verner sent us some images of the build on our specific motor, so we'll share some here for you:


The original intent of this motor was for the LiteFighters F6F Hellcat, but it would be just as home on any radial-powered replica. Now, the P-40 is designed for a Rotax 912, and we don't yet have one. And so, the idea of testing a radial on the P-40 is, well, compelling.  We would basically be making the P-36 Hawk. And so we could fly it with a radial and then, just like Curtiss did, convert the airframe to a P-40 with a Rotax once we source it. By then, the Scarlett will be already well proven and ready to go on the Hellcat as the interfaces will be identical between the two planes.  Plus, if we were to do this, it would be a very interesting way to get comparison data for our engineers to crunch. Scott did a quick mockup in CAD, so check this out and let us know if it seems like a good idea:

Furthermore, we have been invited to become a Verner dealer for the U.S. market. We are thrilled to be involved!  We have needed a small economical radial for our models, in order to make a good number of them really shine, and the Verner seems to be the ideal fit for our size of plane. This deal ensures a consistent supply and support for our future kit customers - as well as those with other projects looking for a radial.  Now, I still appreciate the Rotec radials and we will support our kit builders who want them for the Sport Fighters. In fact, we've been inspired by the success of the Radial Conversions RV-8R, I invite you all to go check that out if you have not yet. We've talked with the builder of that Hellcat-inspired RV, and I think there is a lot to learn from his experience. 

We are planning to make changes to our web site to feature all that ScaleBirds will offer: LiteFighters, Verner Motors and the continuing adventures of our Two-Seat Design and Build.  Stay tuned for the changes and updates!   

Designing in CAD

Time is high for a little update, so lets get right into it. 

Progress on the LiteFighter development drives on, with the immediate goal to get the fuselage for the P40 fully clad in aluminum and ready for the next step. It's a multi-front effort to get there, CAD is being done at the same time as parts are being made and fit. Since this is an initial build prototype, there are a lot of things that are being figured out on the model first, then worked back to the computer. I suppose the best way to cover what's going on is to dive into each aspect and go to brass tacks.


CAD design: 

Being a CAD guy, I enjoy dealing with the 3D modeling on this aircraft project. And I enjoy taking a design from the screen to the workbench. But having gone through plenty of design over the years I'm getting to be more pragmatic with what needs detailing and what doesn't. In some cases its quicker and just easier to cut parts out by hand. But there are still a lot of parts on this thing where the accuracy, complexity, function, or visual detail of the parts, really do justify the time taken to make sure everything is fully realized in the CAD model first. 

As the 3D model was originally made when we intended to have a fabric-covering, some stuff has been done in the real world and then I've had to backtrack those parts into the CAD model.

As things progress, the windscreen frame and tracks are likely the next parts to be fabricated so I've had to spend some time coming up with a decent set of geometry. Actual construction of the windscreen structure was a subject of discussion, and while there's undoubtedly some great ways to do it, we settled on a method we already knew and liked from the Hellcat mockup; using 1/2 inch steel square tube. It's easy to bend and form, and to weld into a single structure, so while we can revisit the concept in the future, for now it's simple and its strong and it works.

Copyright © 2024 ScaleBirds LLC  |  All Rights Reserved