ScaleBirds

ScaleBirds, Home of the 63% Scale Hellcat replica kitplane project.

Some Progress!

Hey everyone. Sorry its been a long time since I did a blog entry. Been very busy with design, engineering and engine sales work. Also, with the winter weather getting closer and closer - its here now, I had to do some scraping and painting on the house and some chores that I was putting off. Did I mention raking leaves? Aargh!

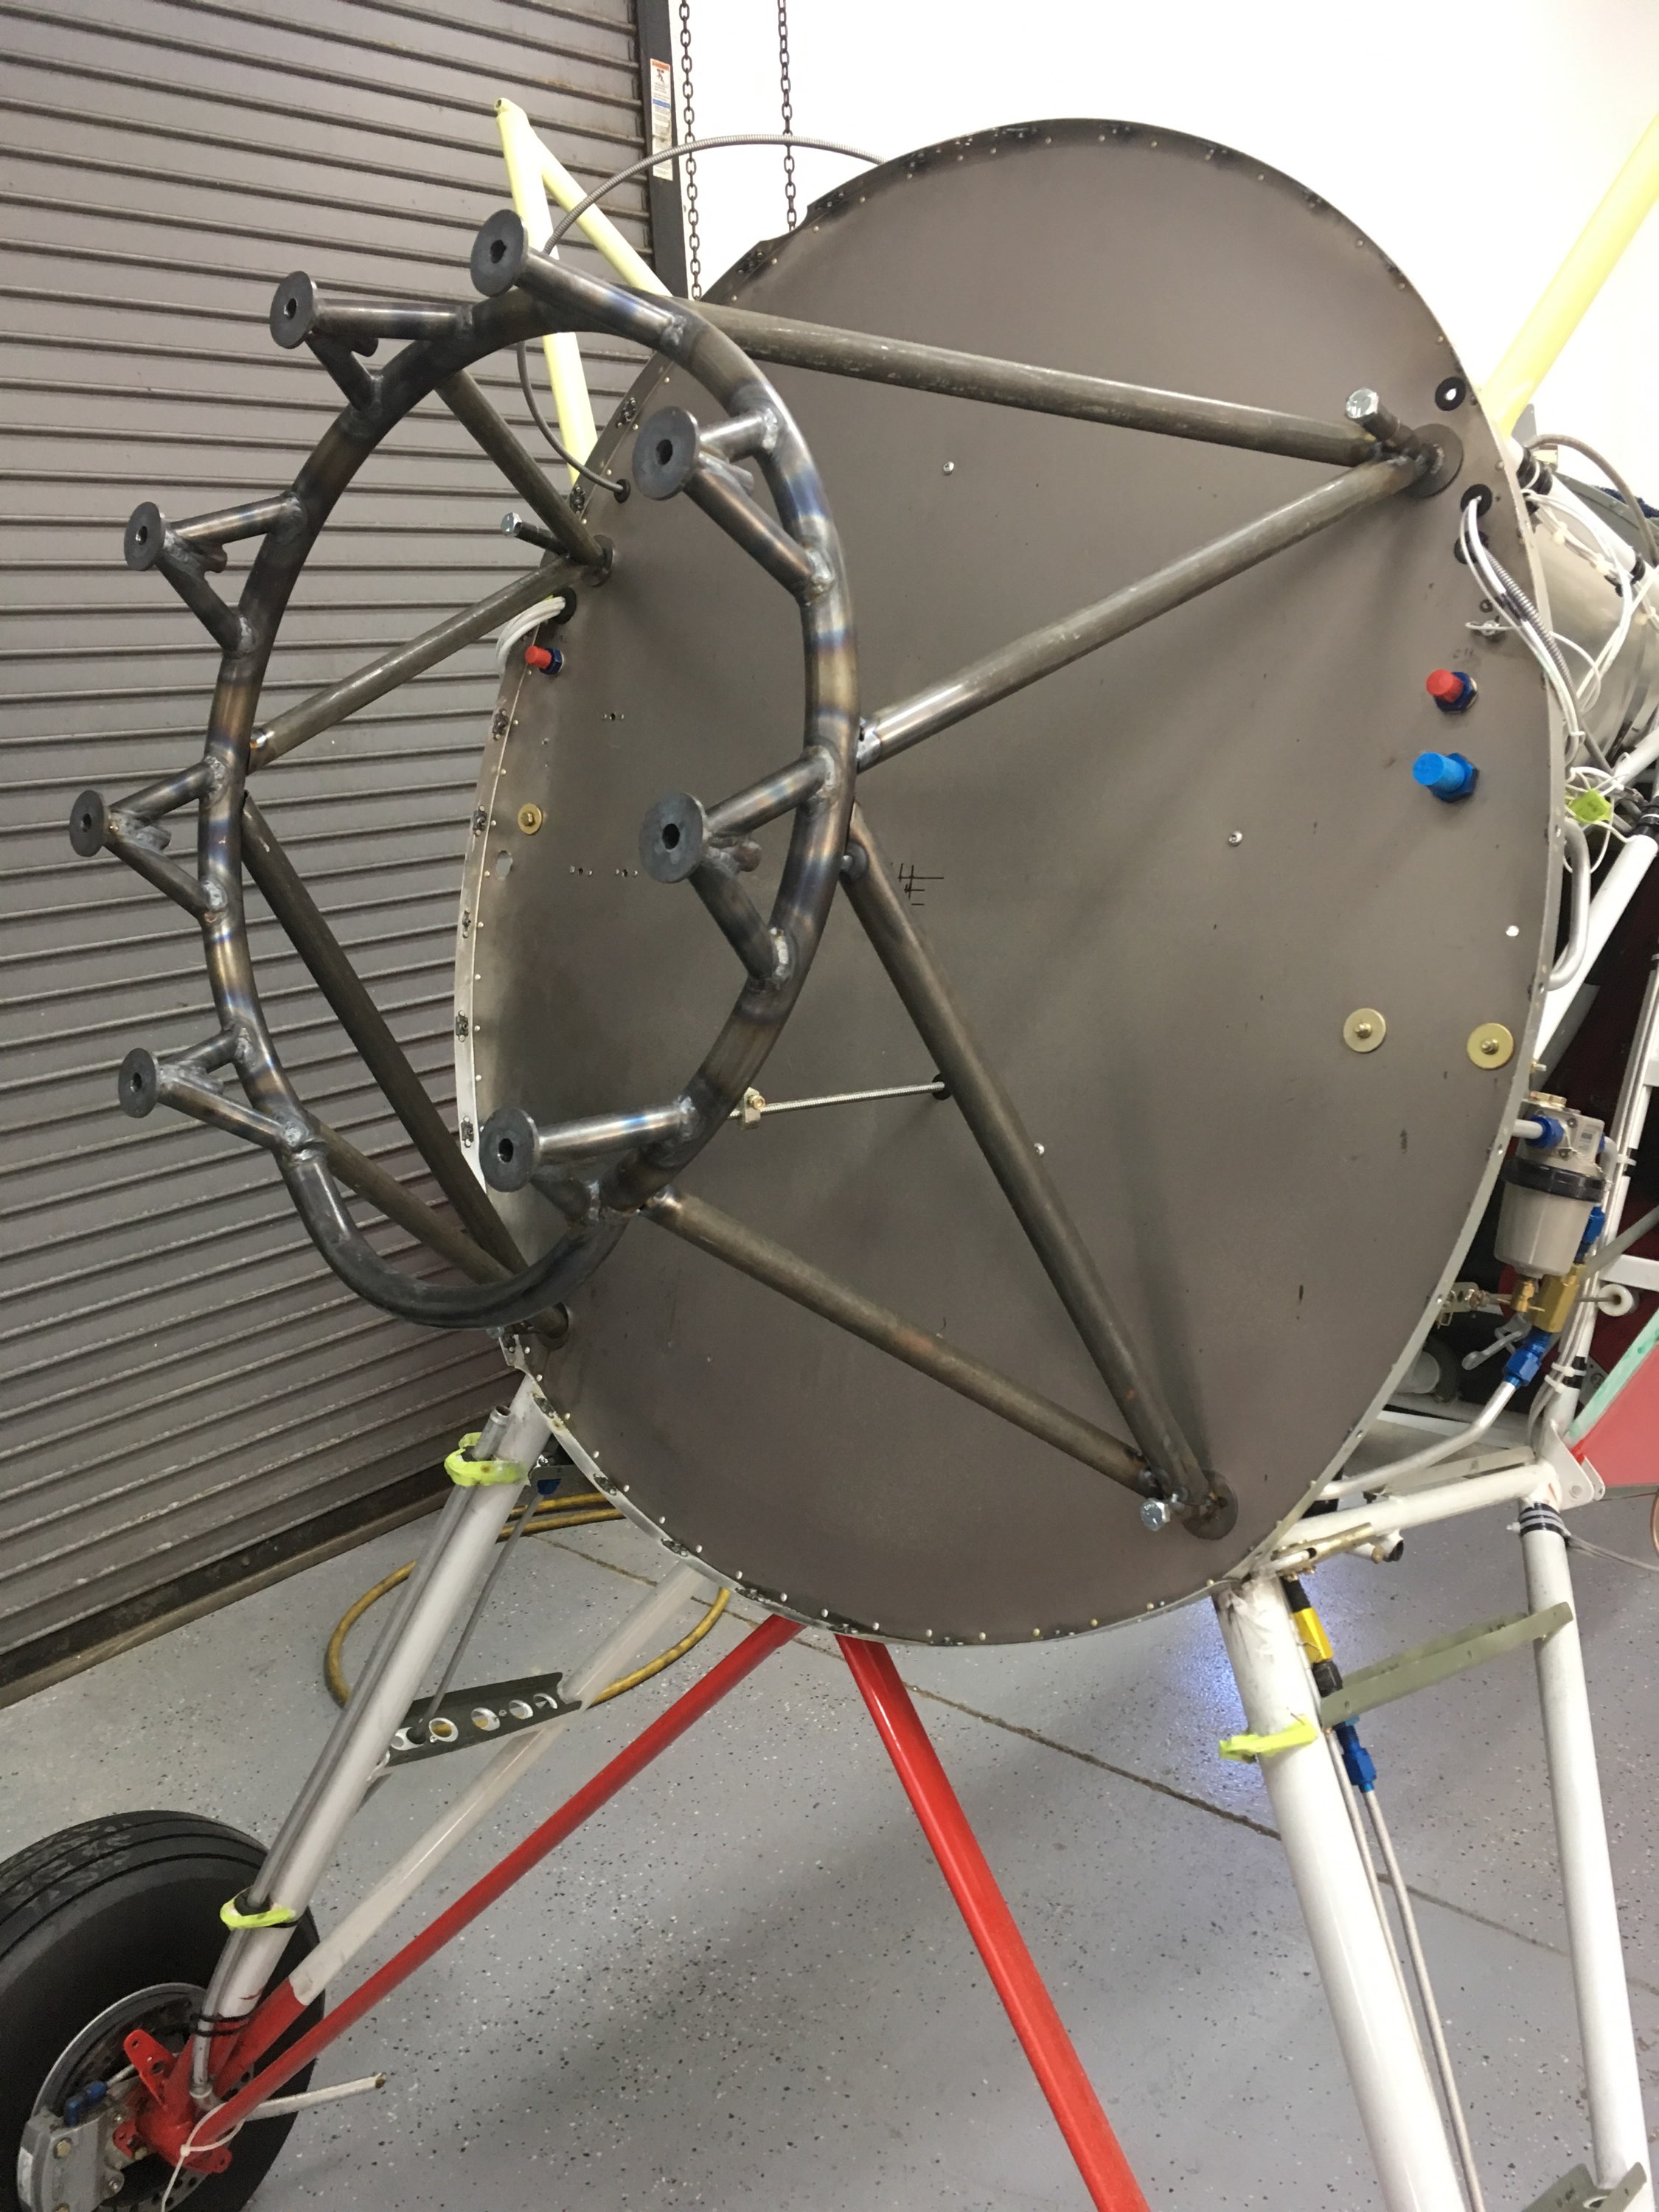
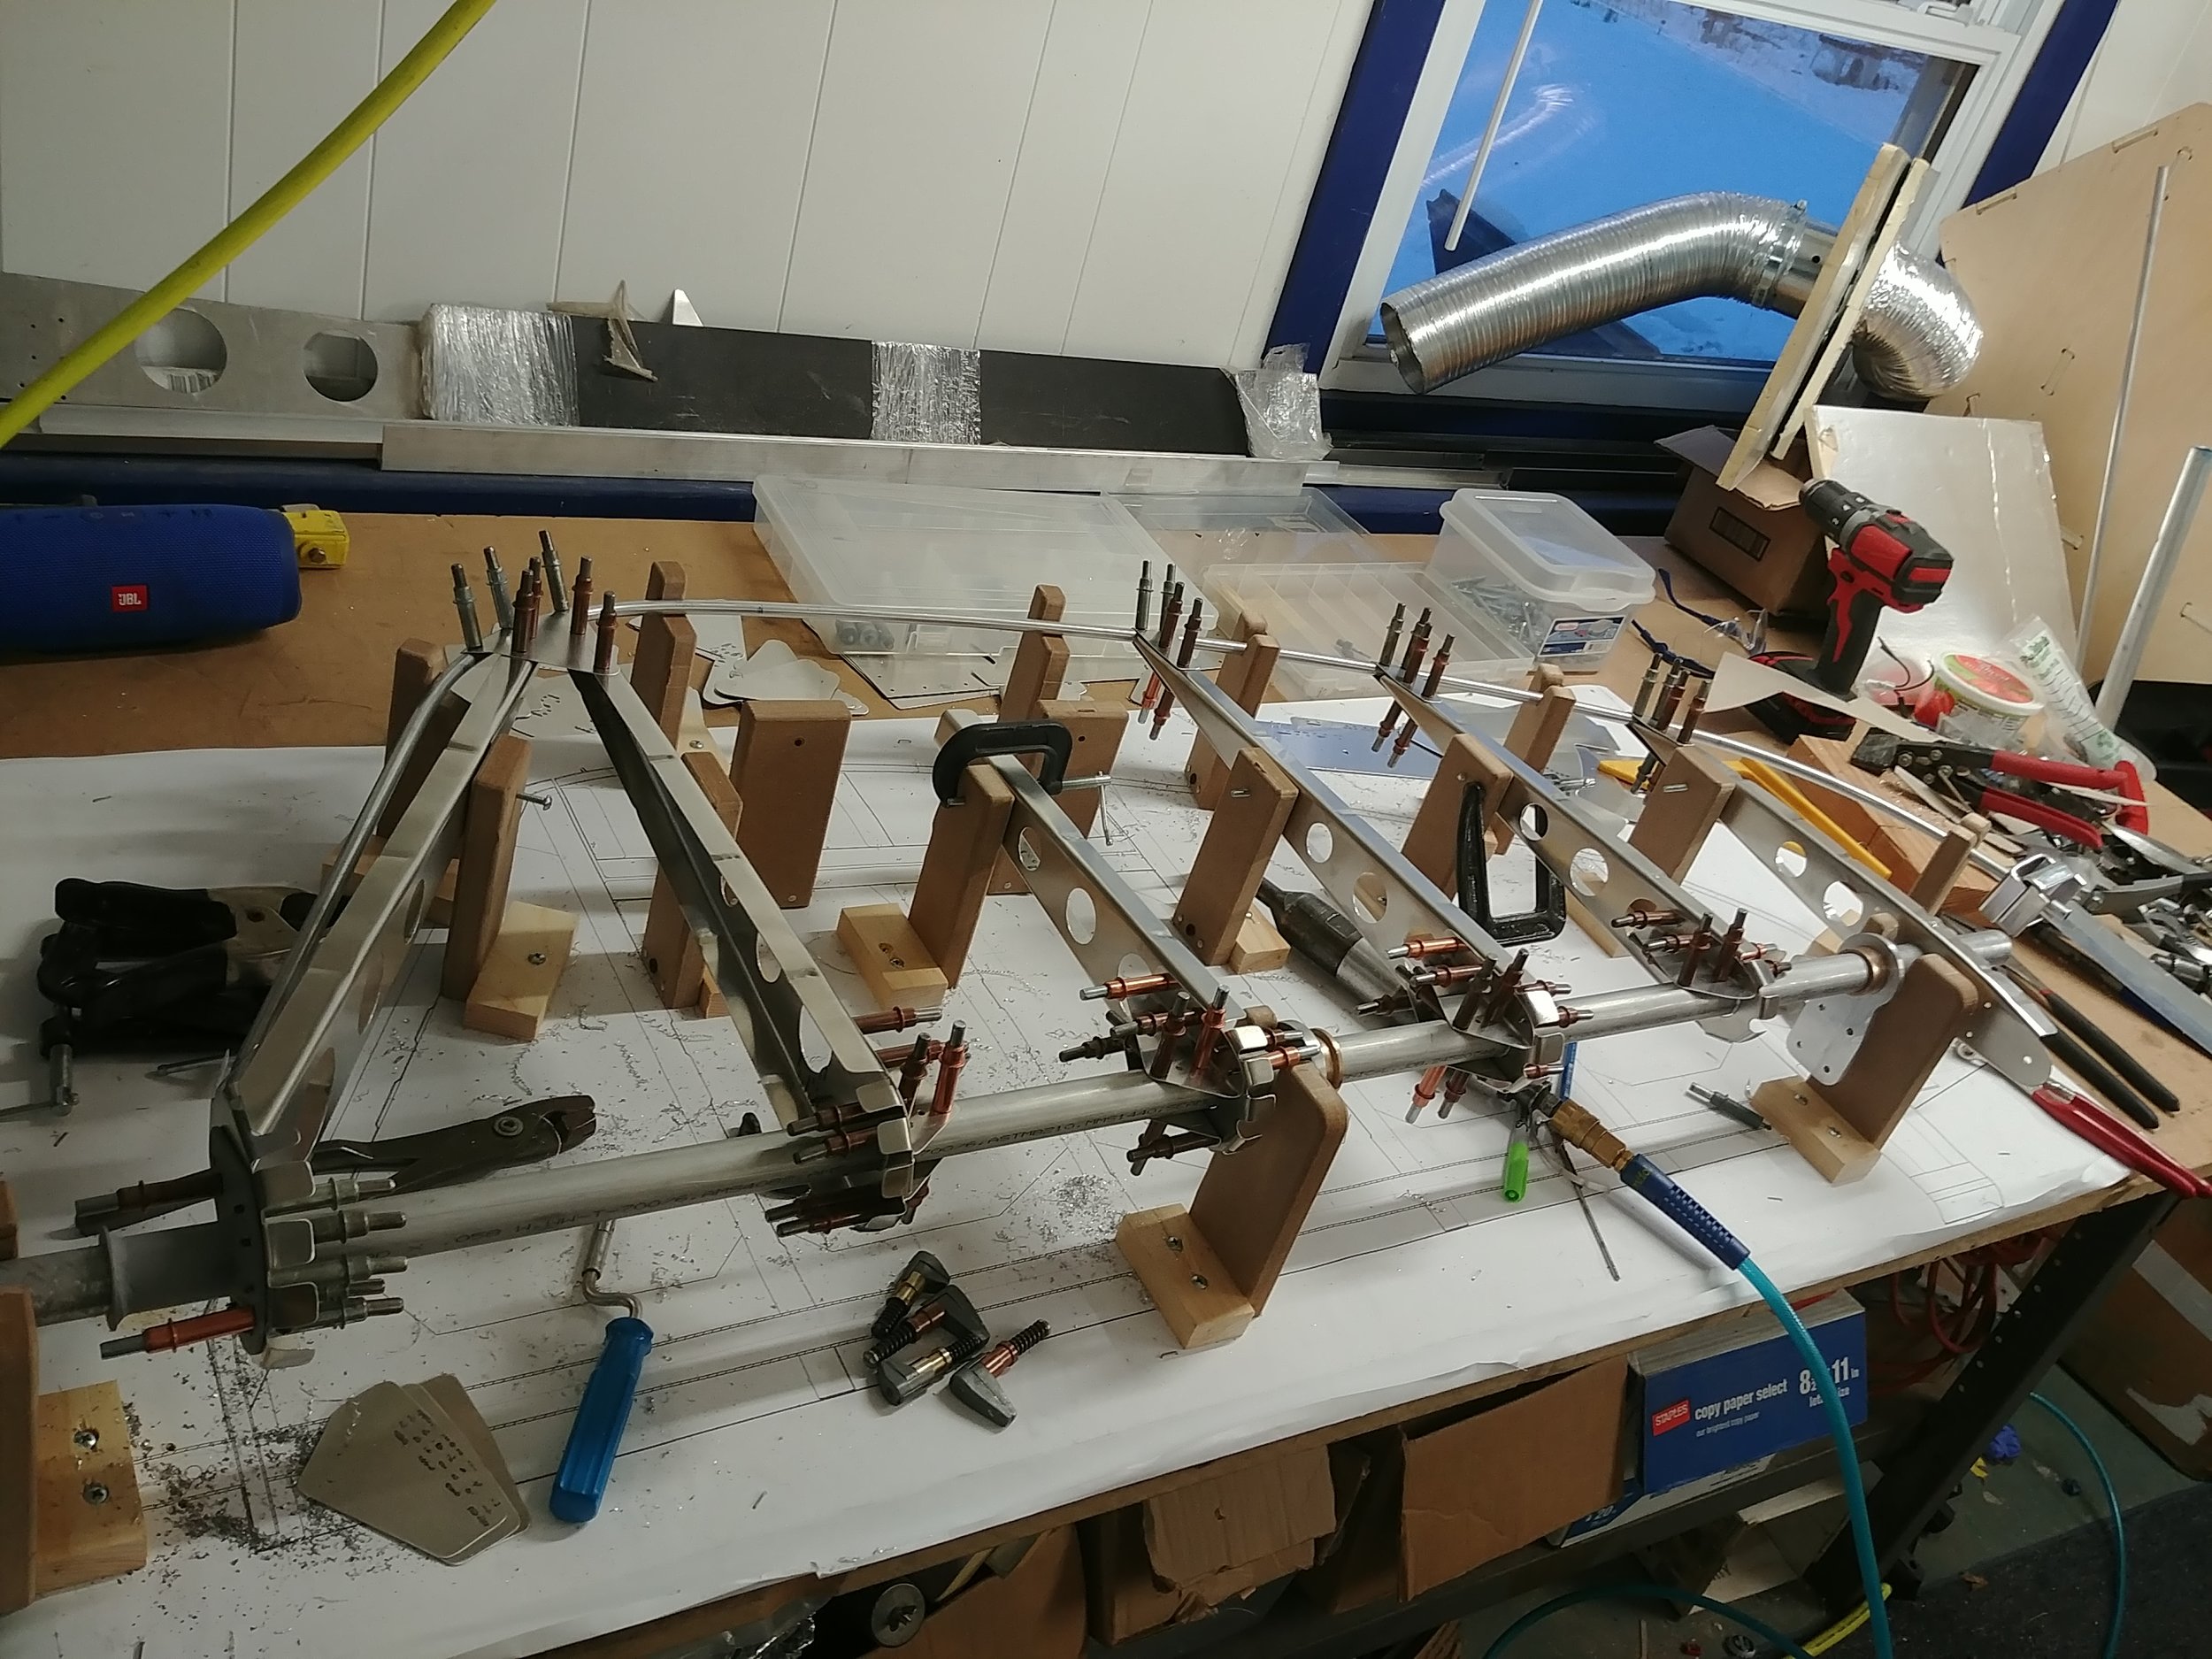
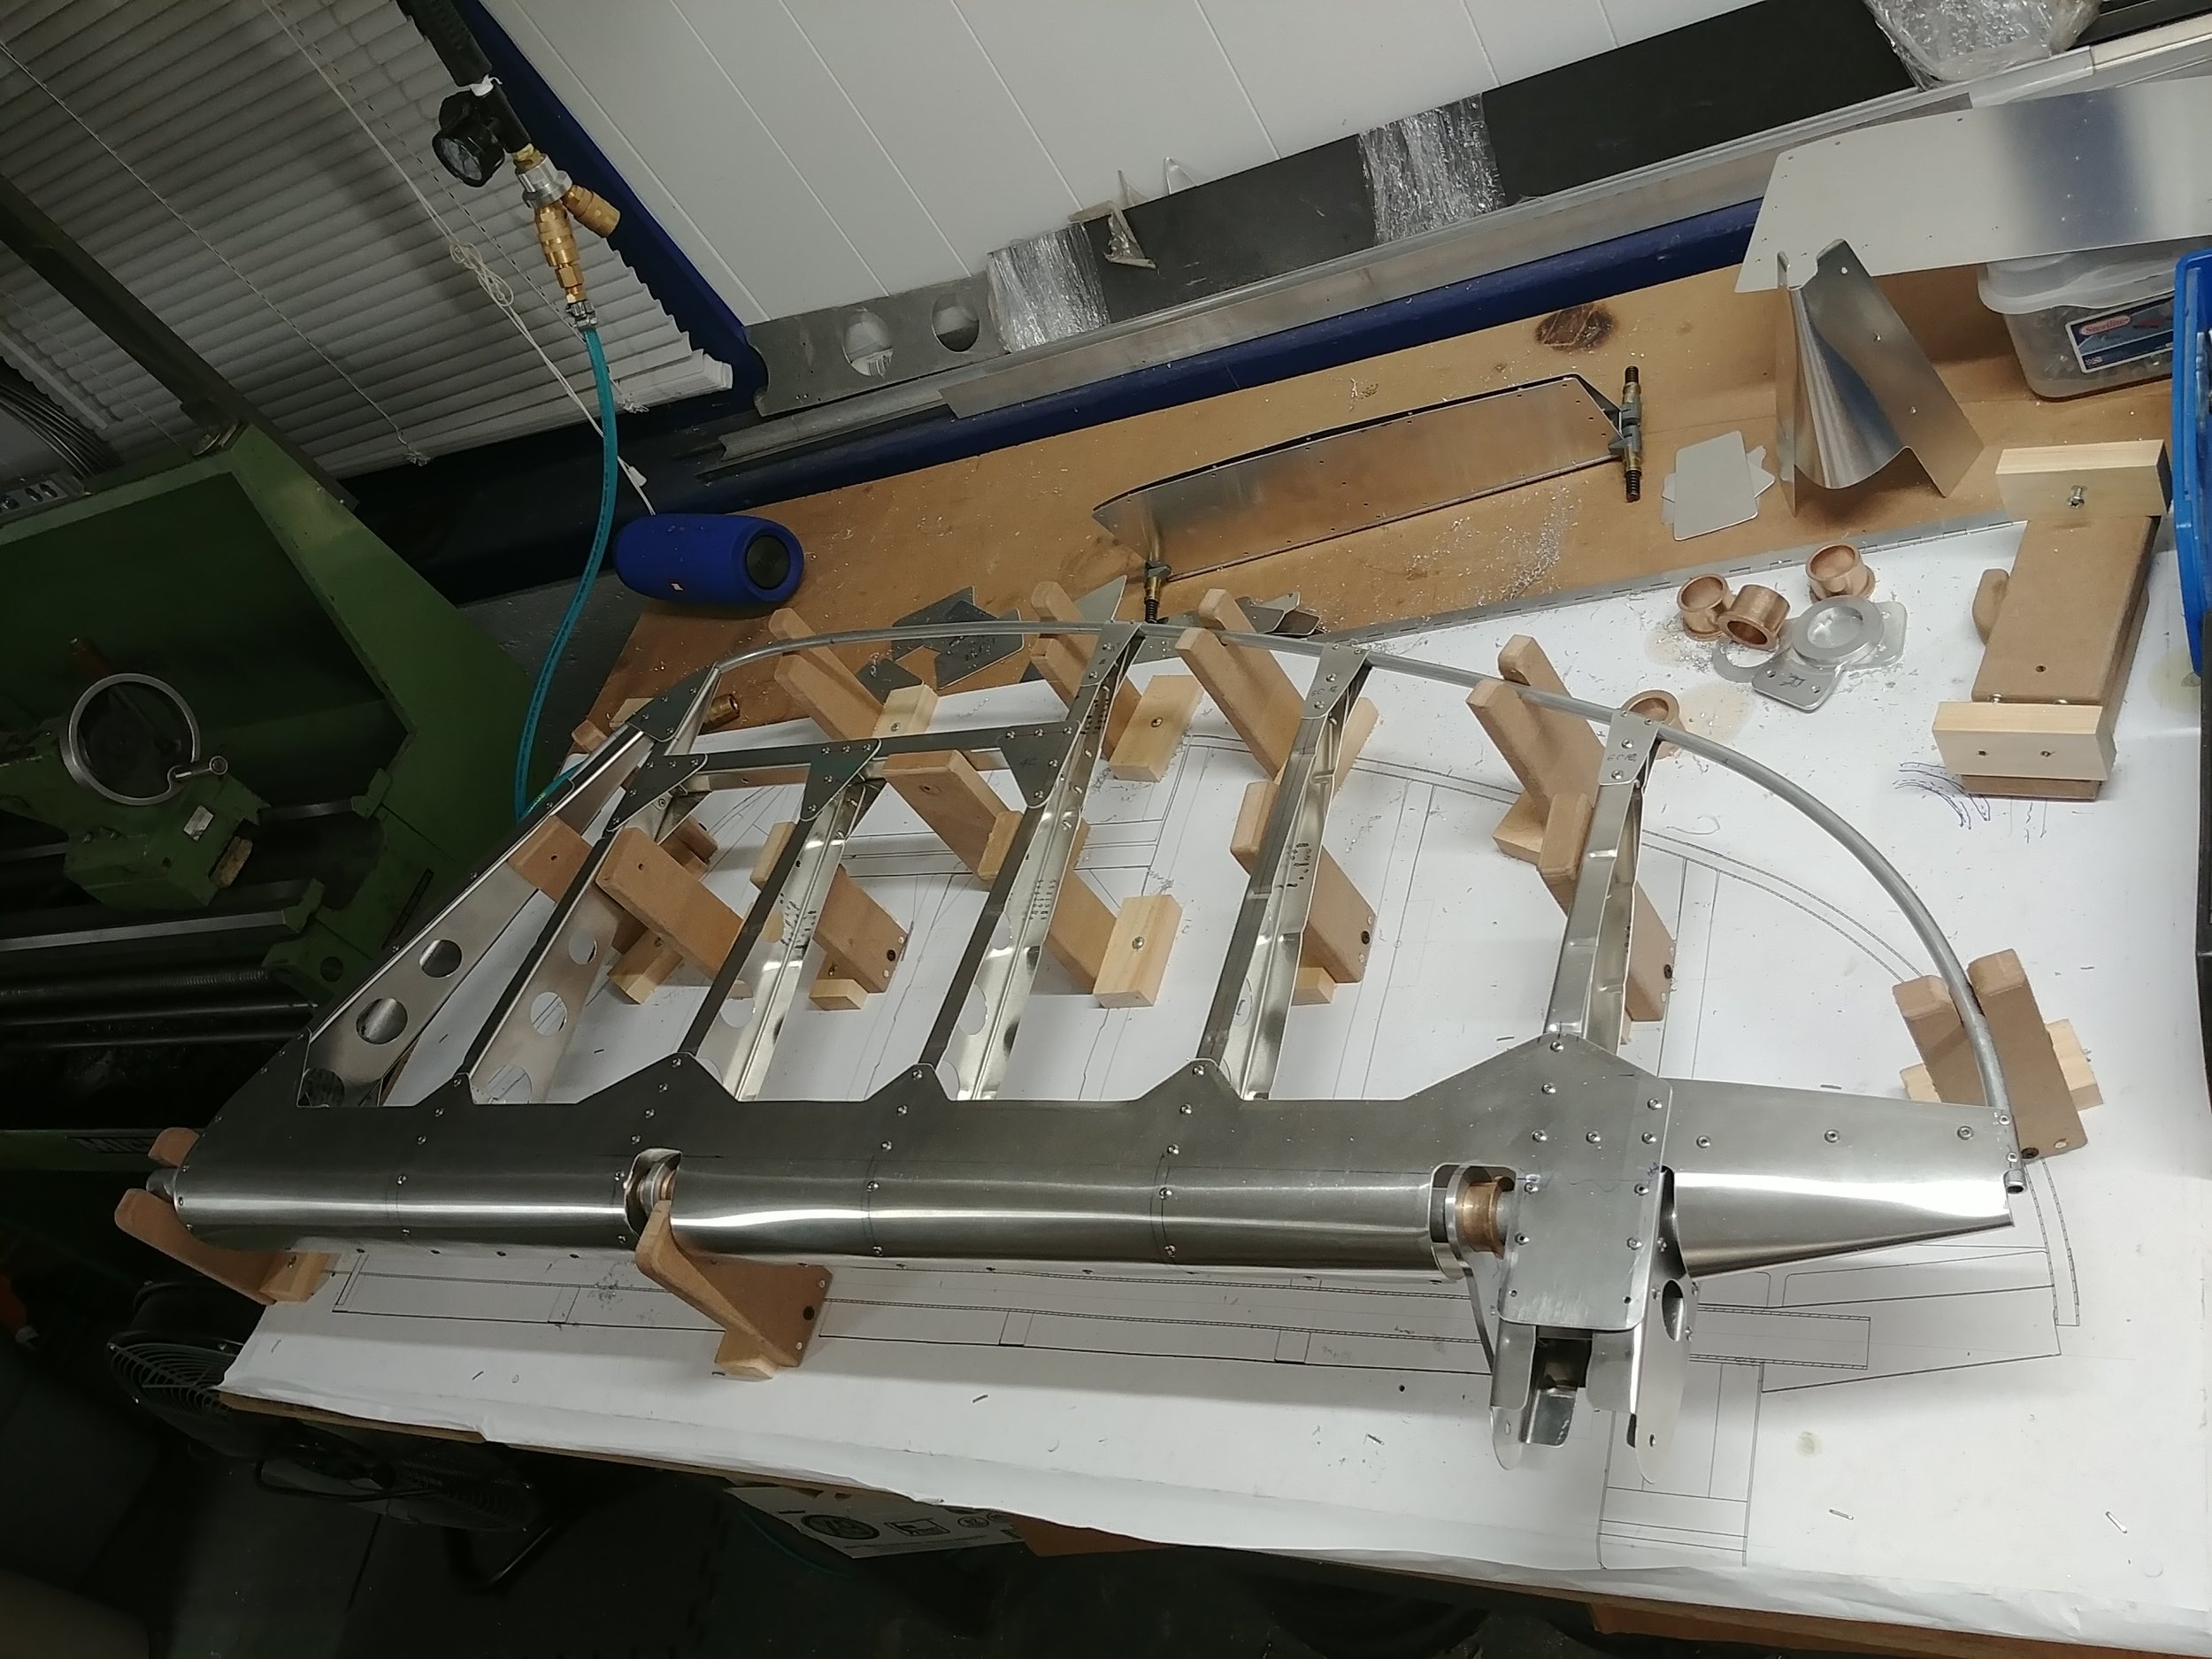
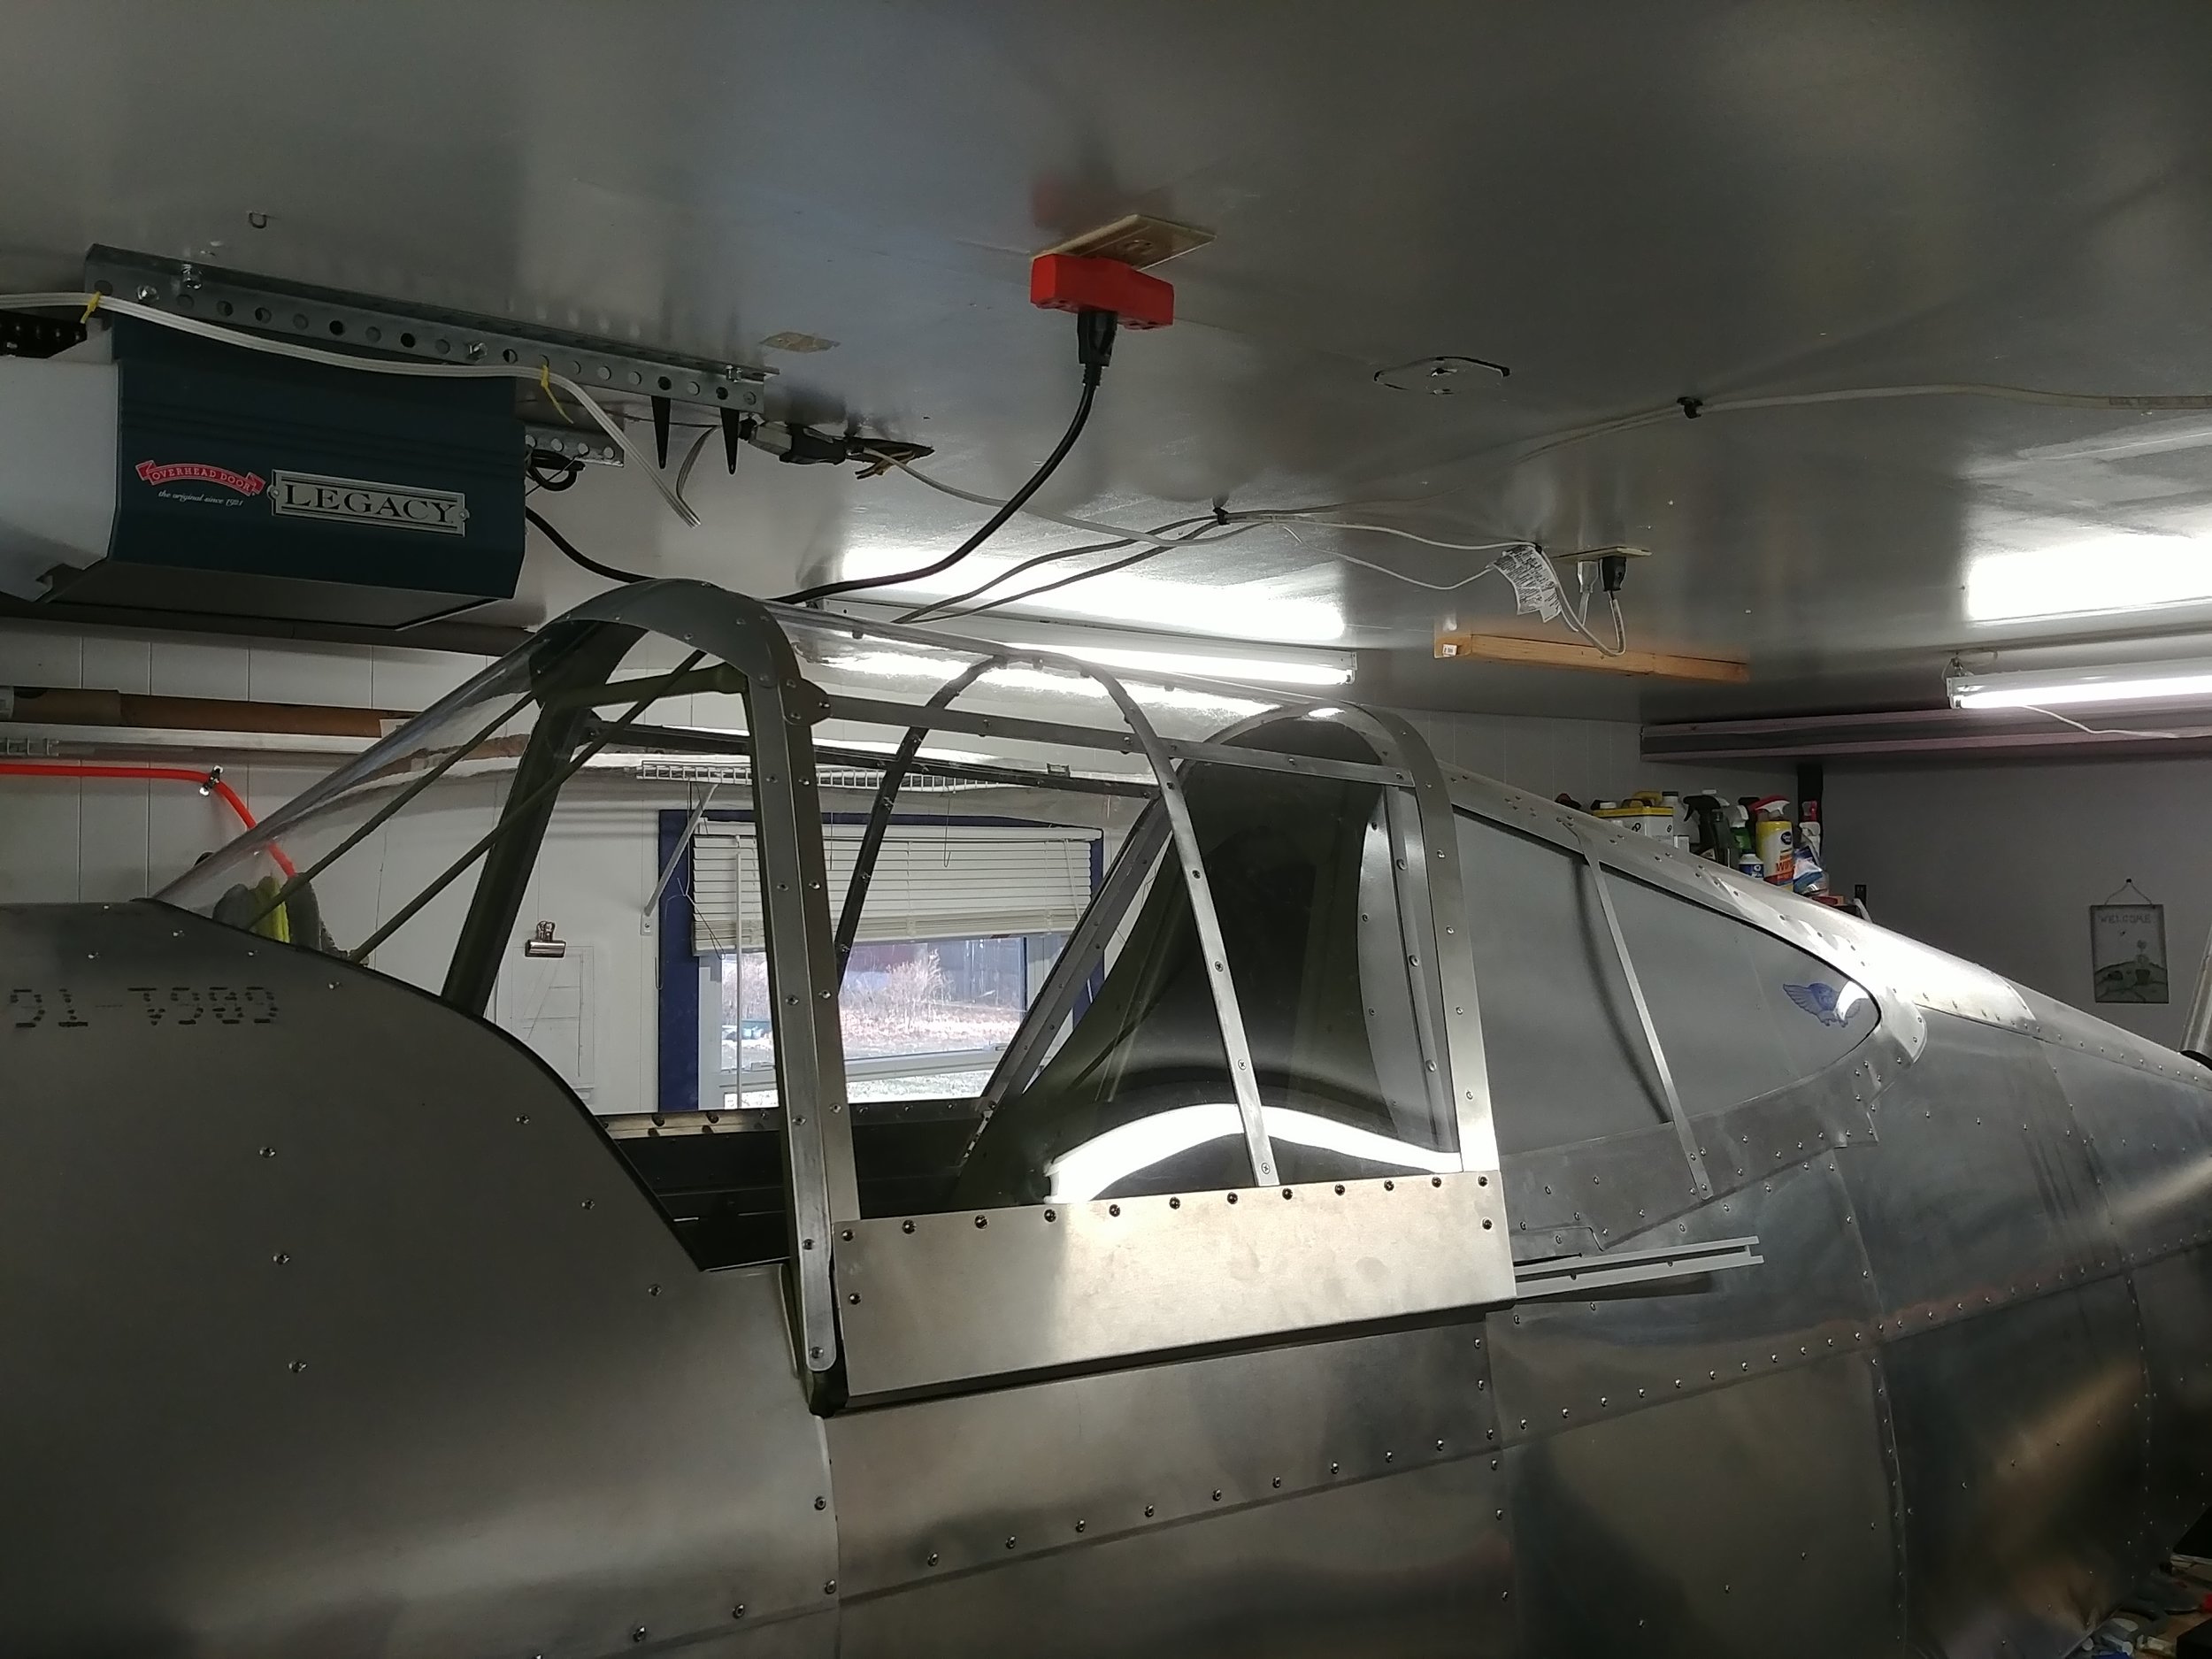
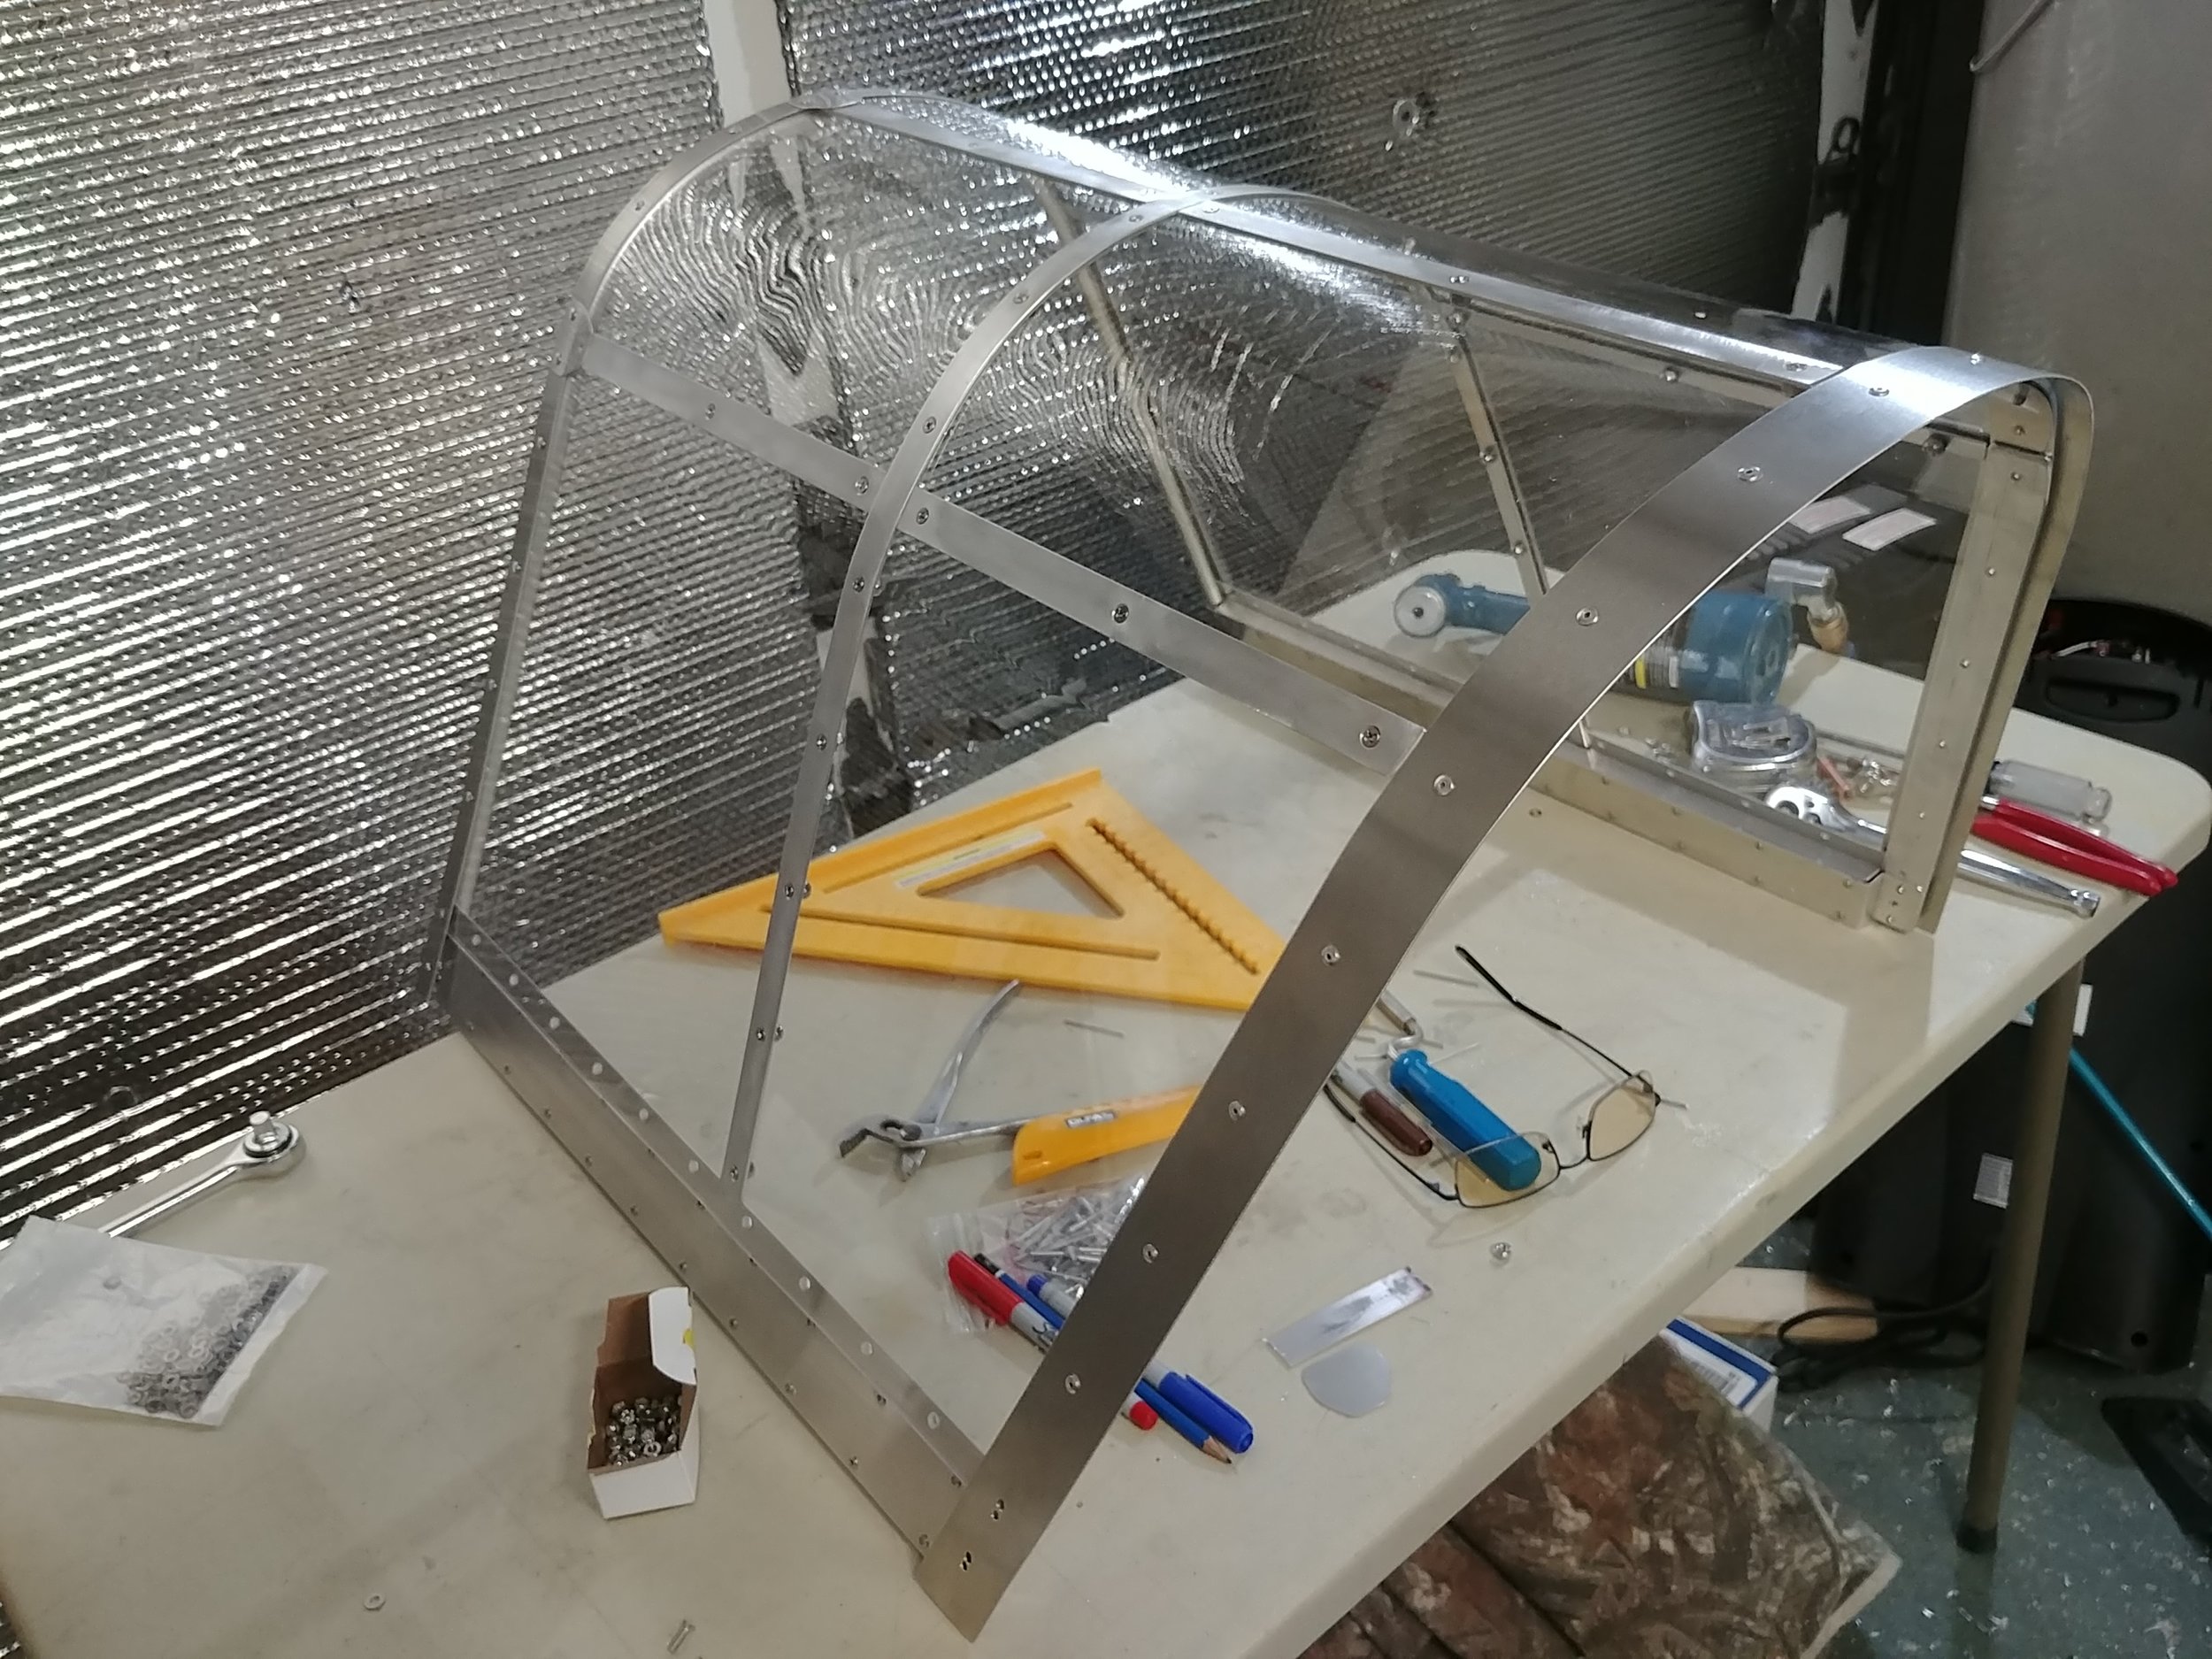
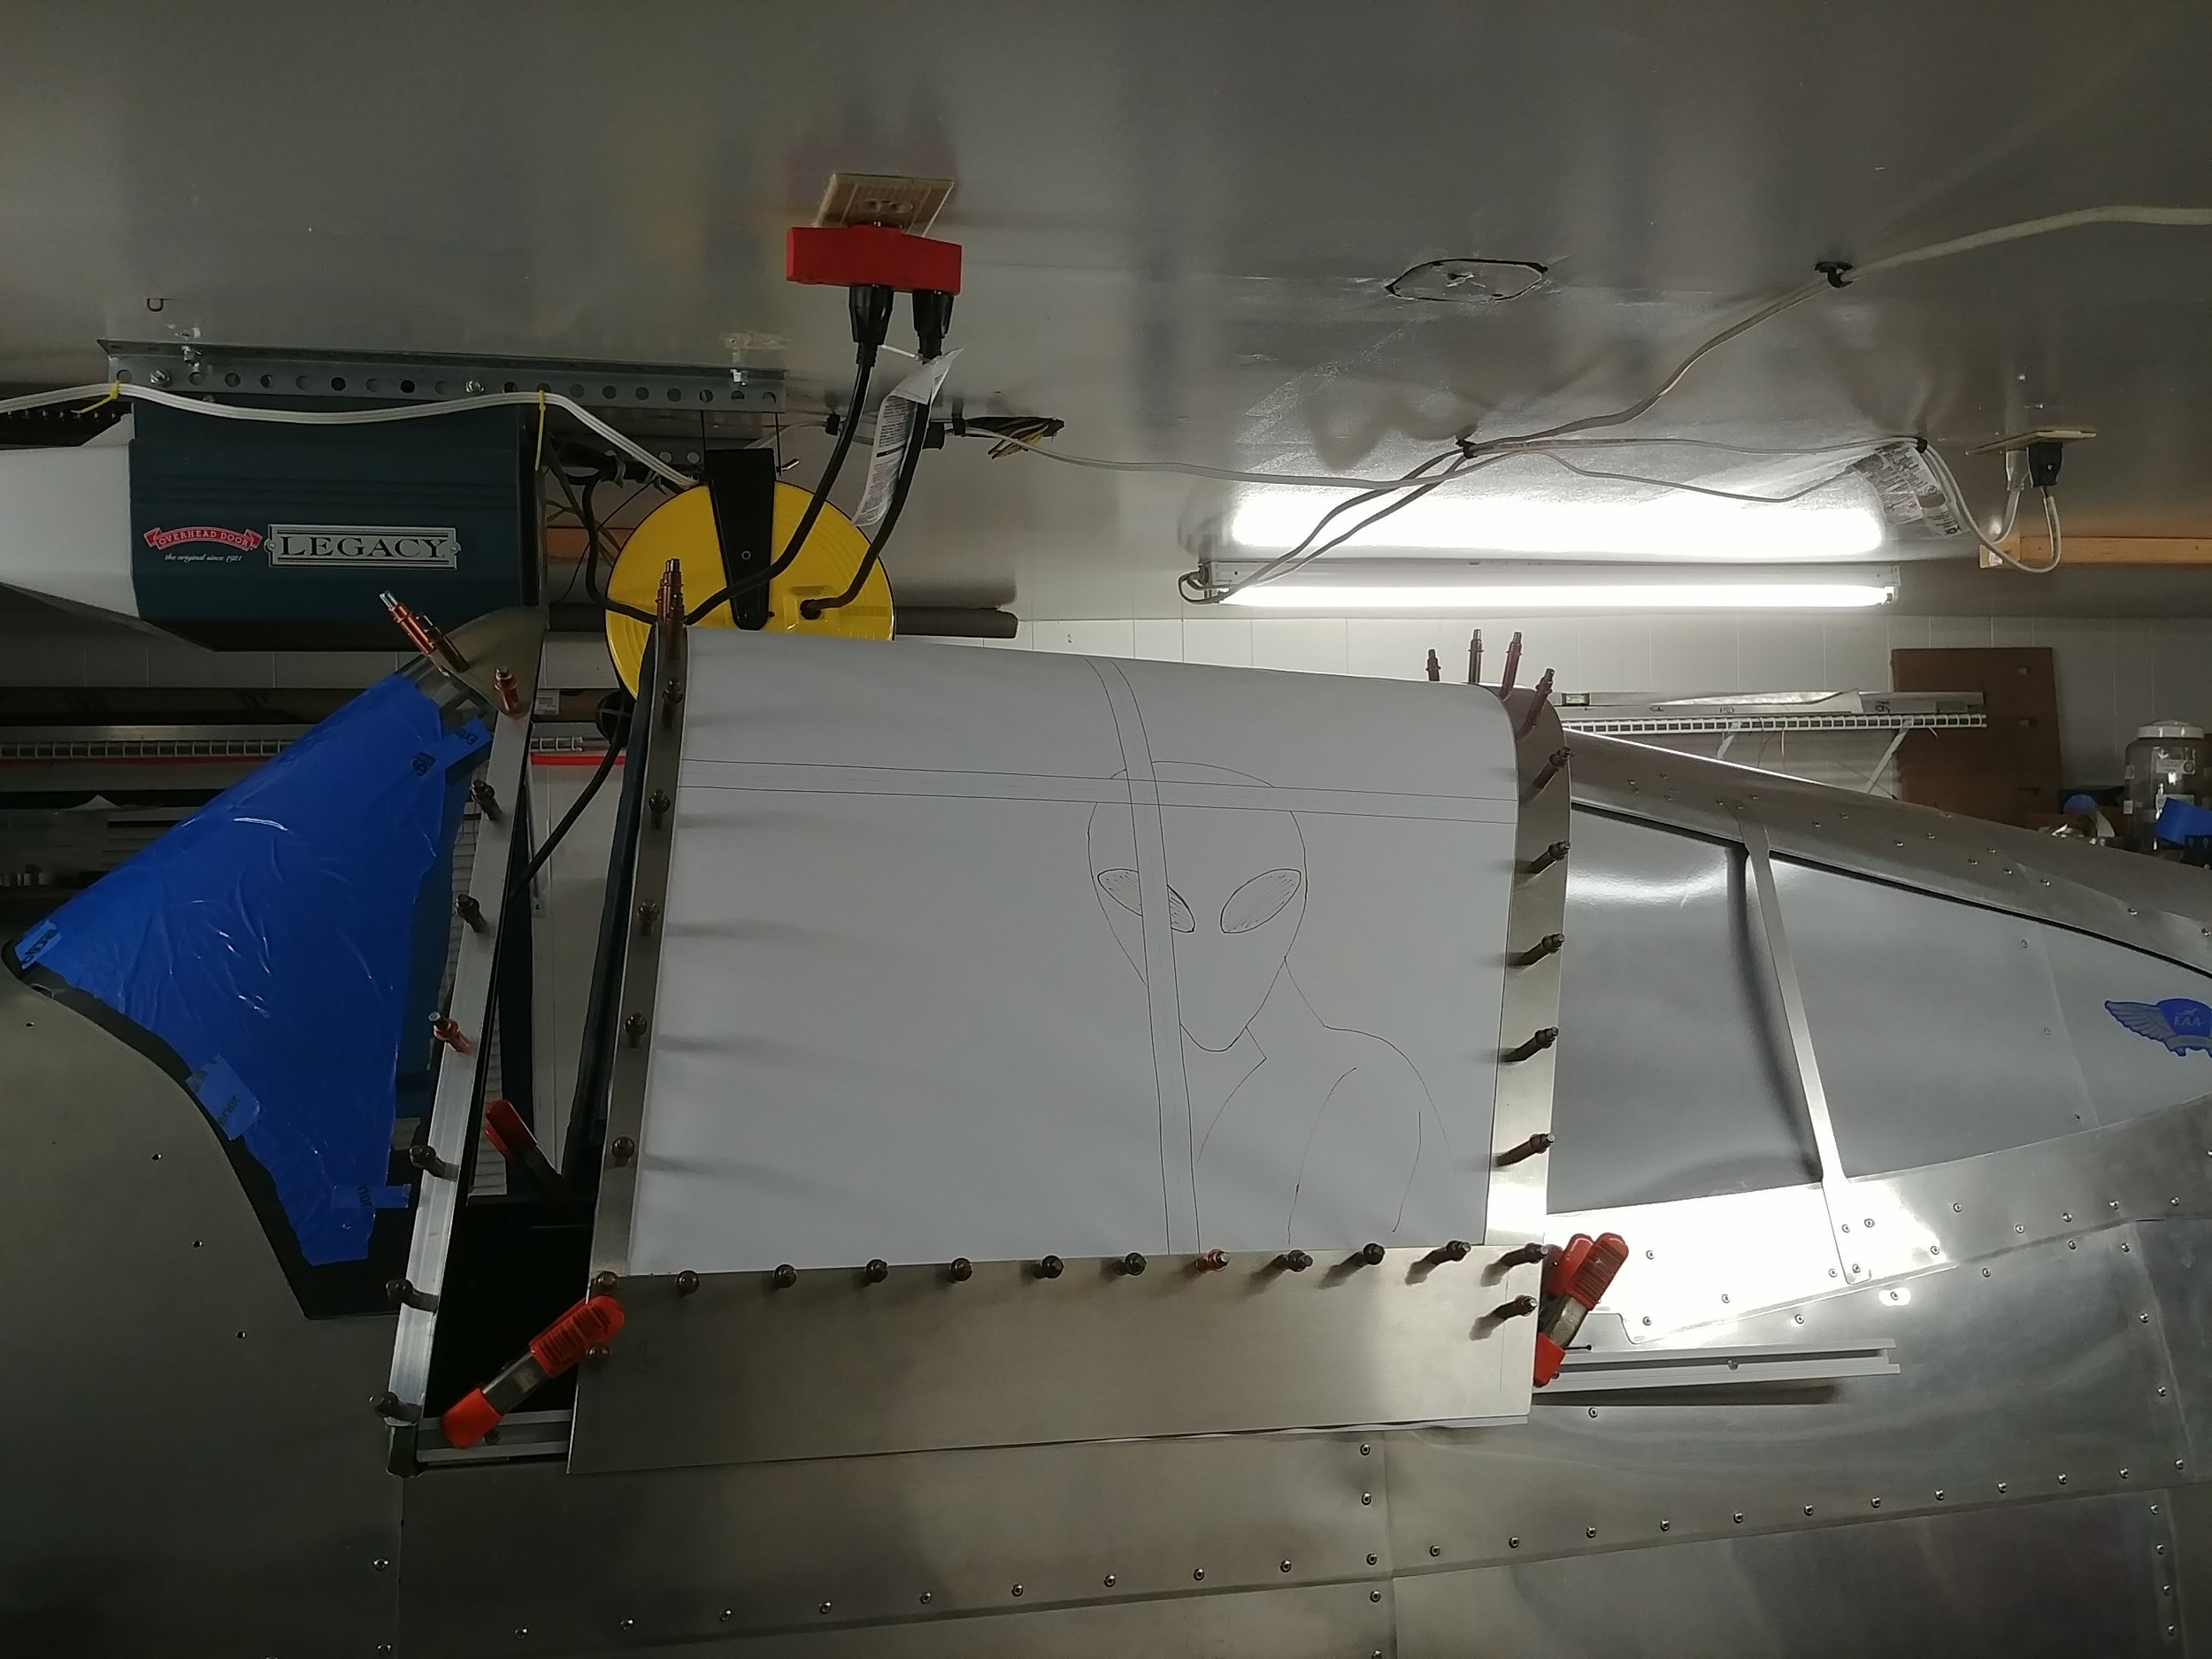
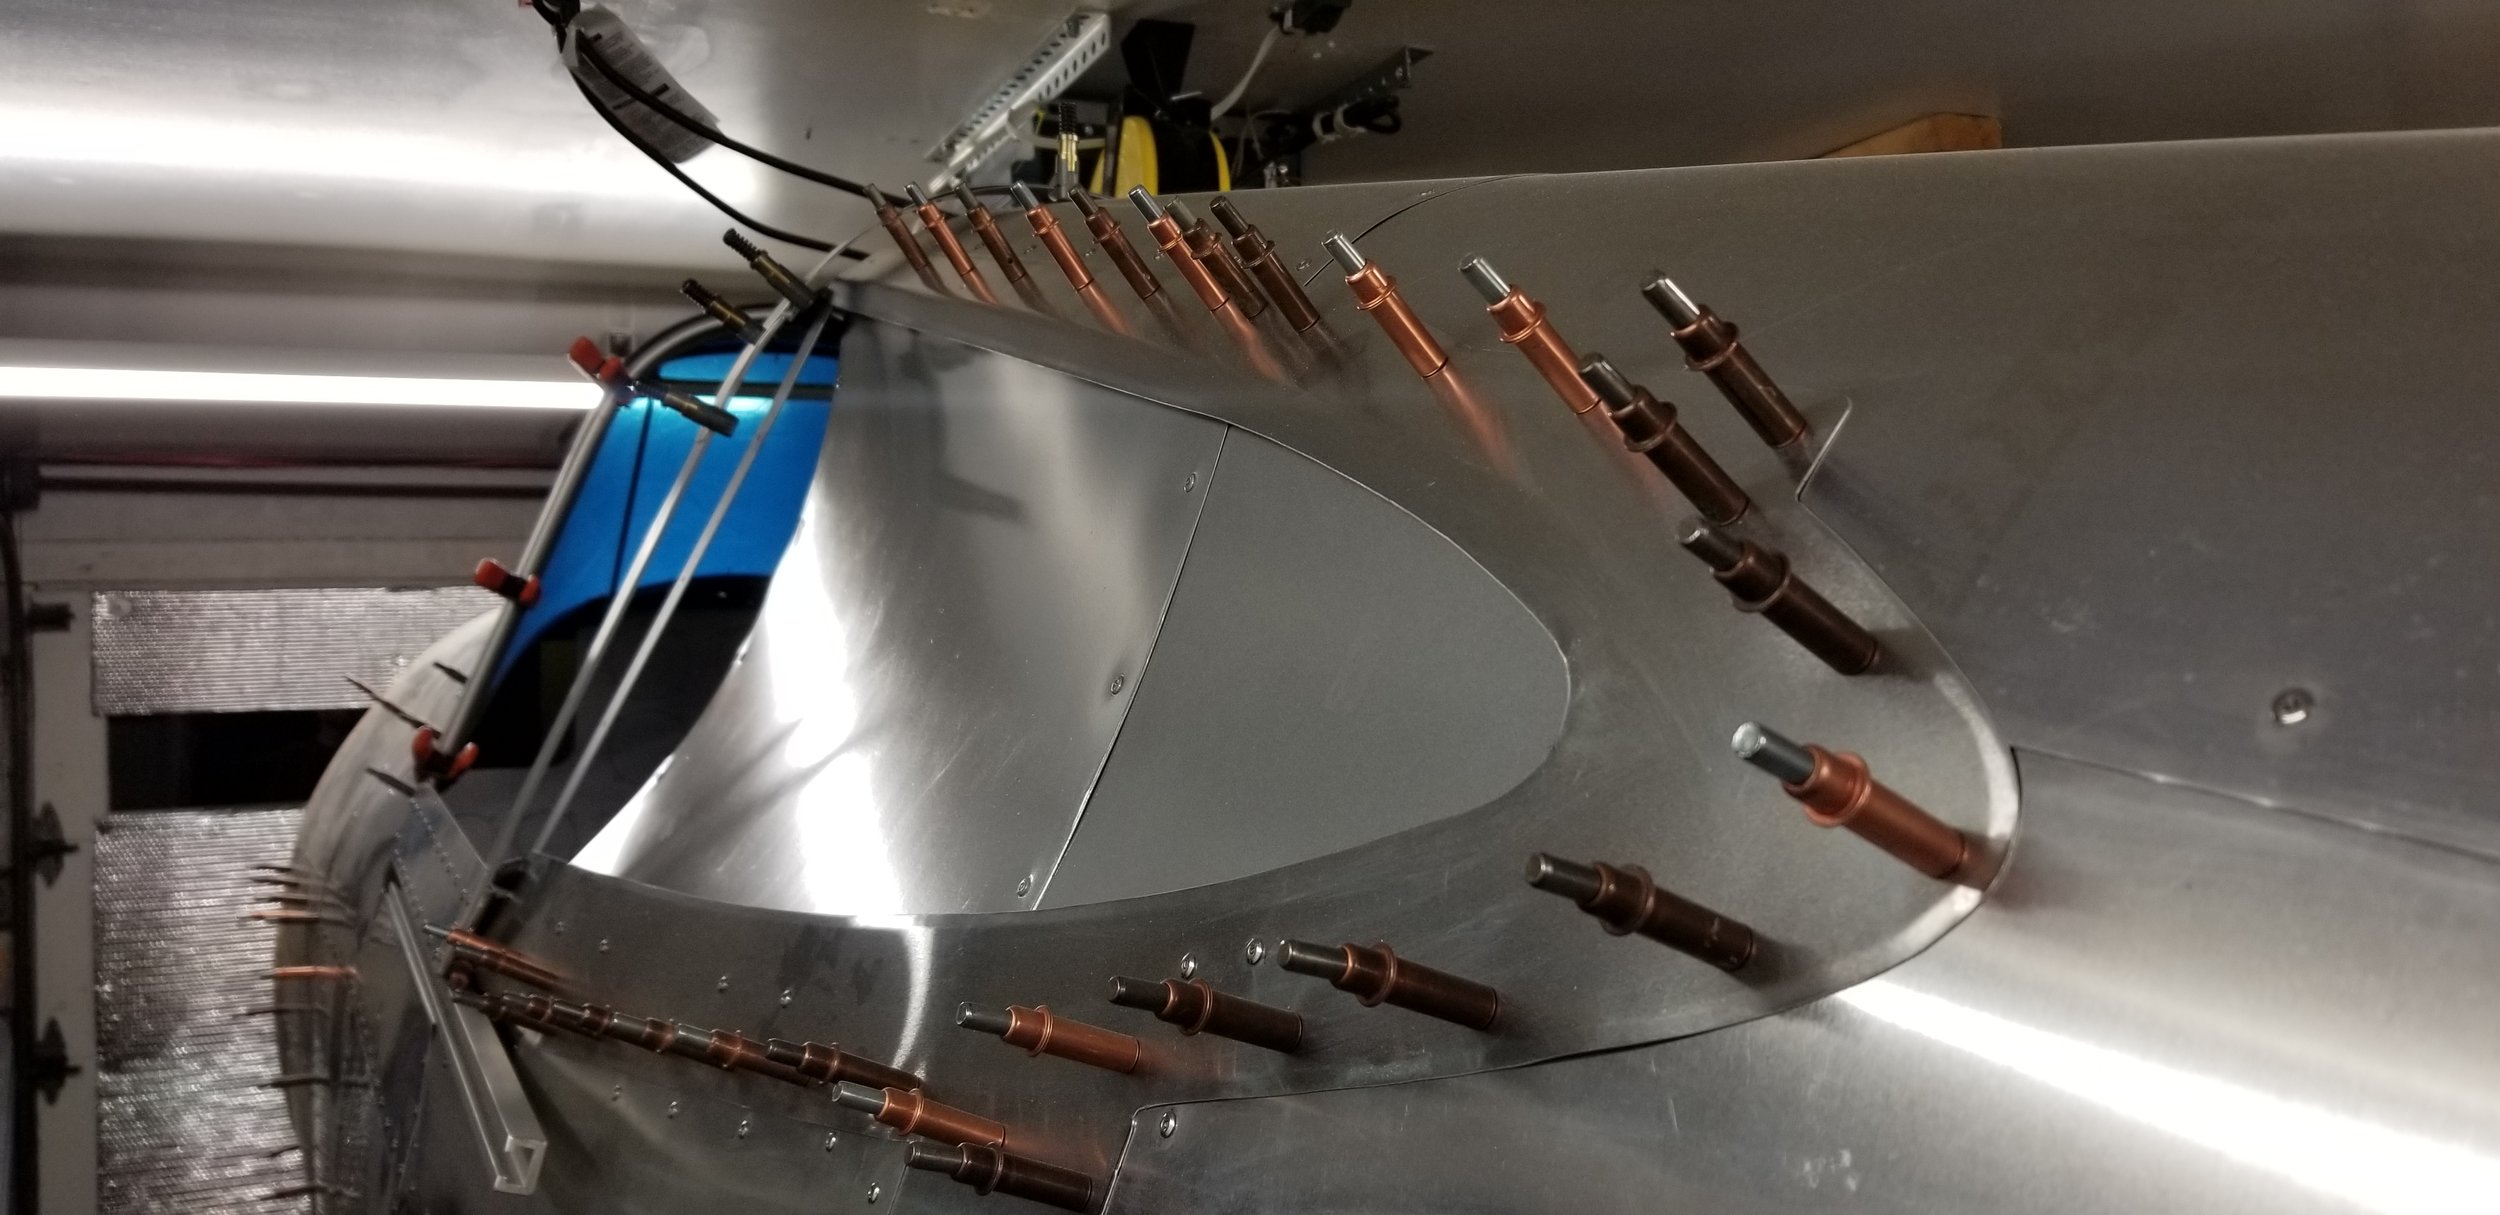
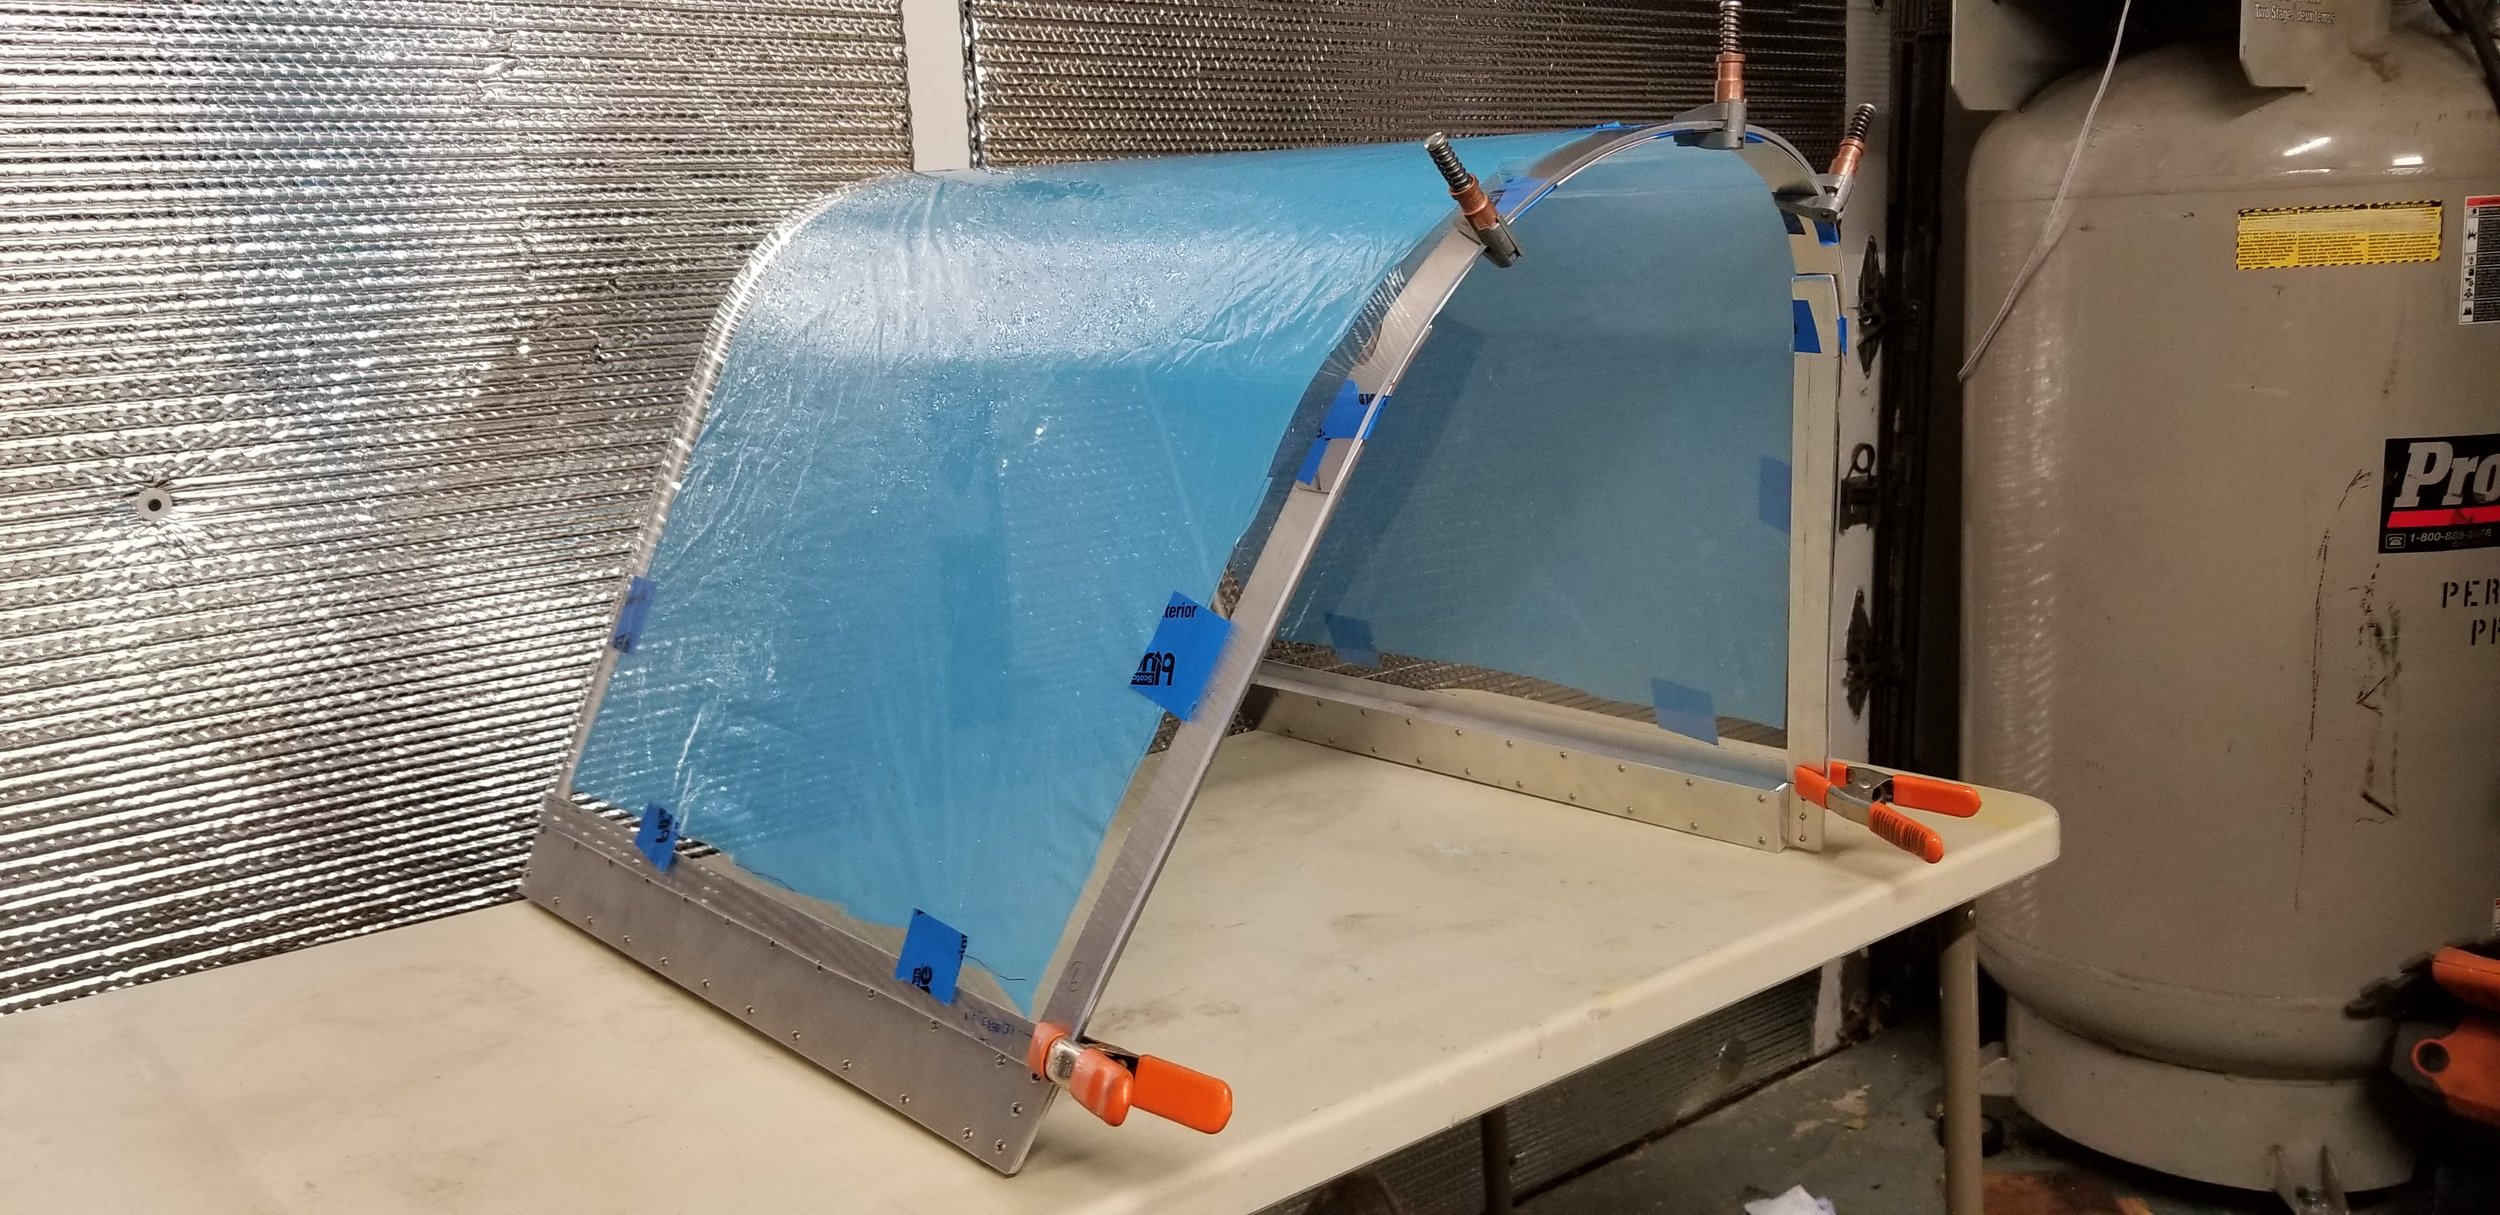
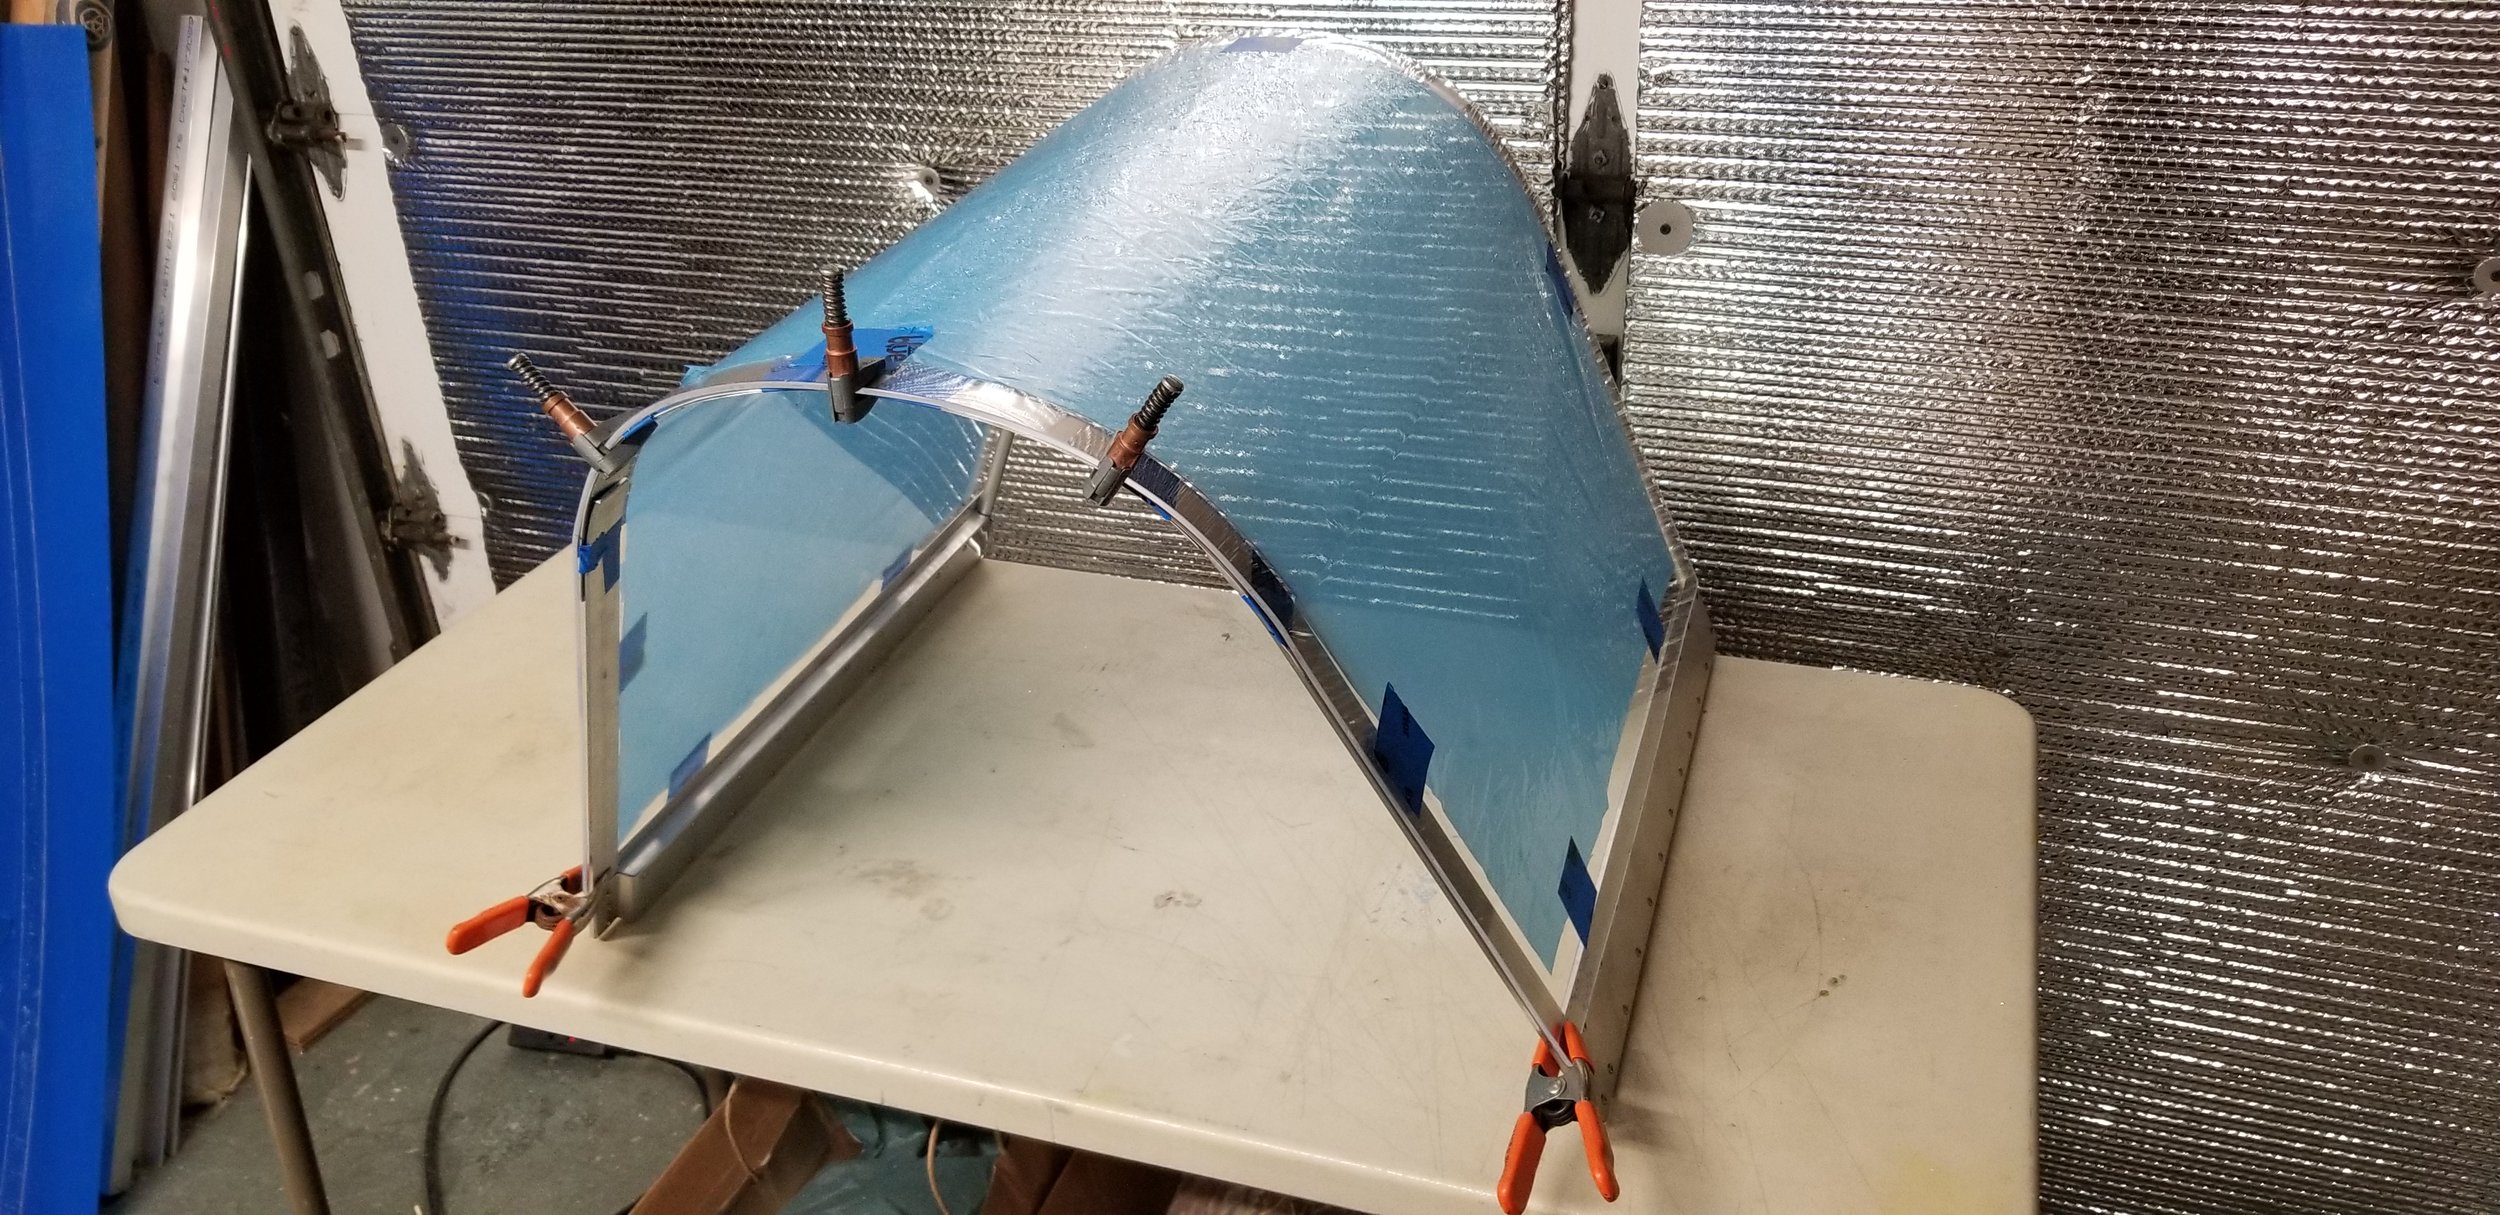
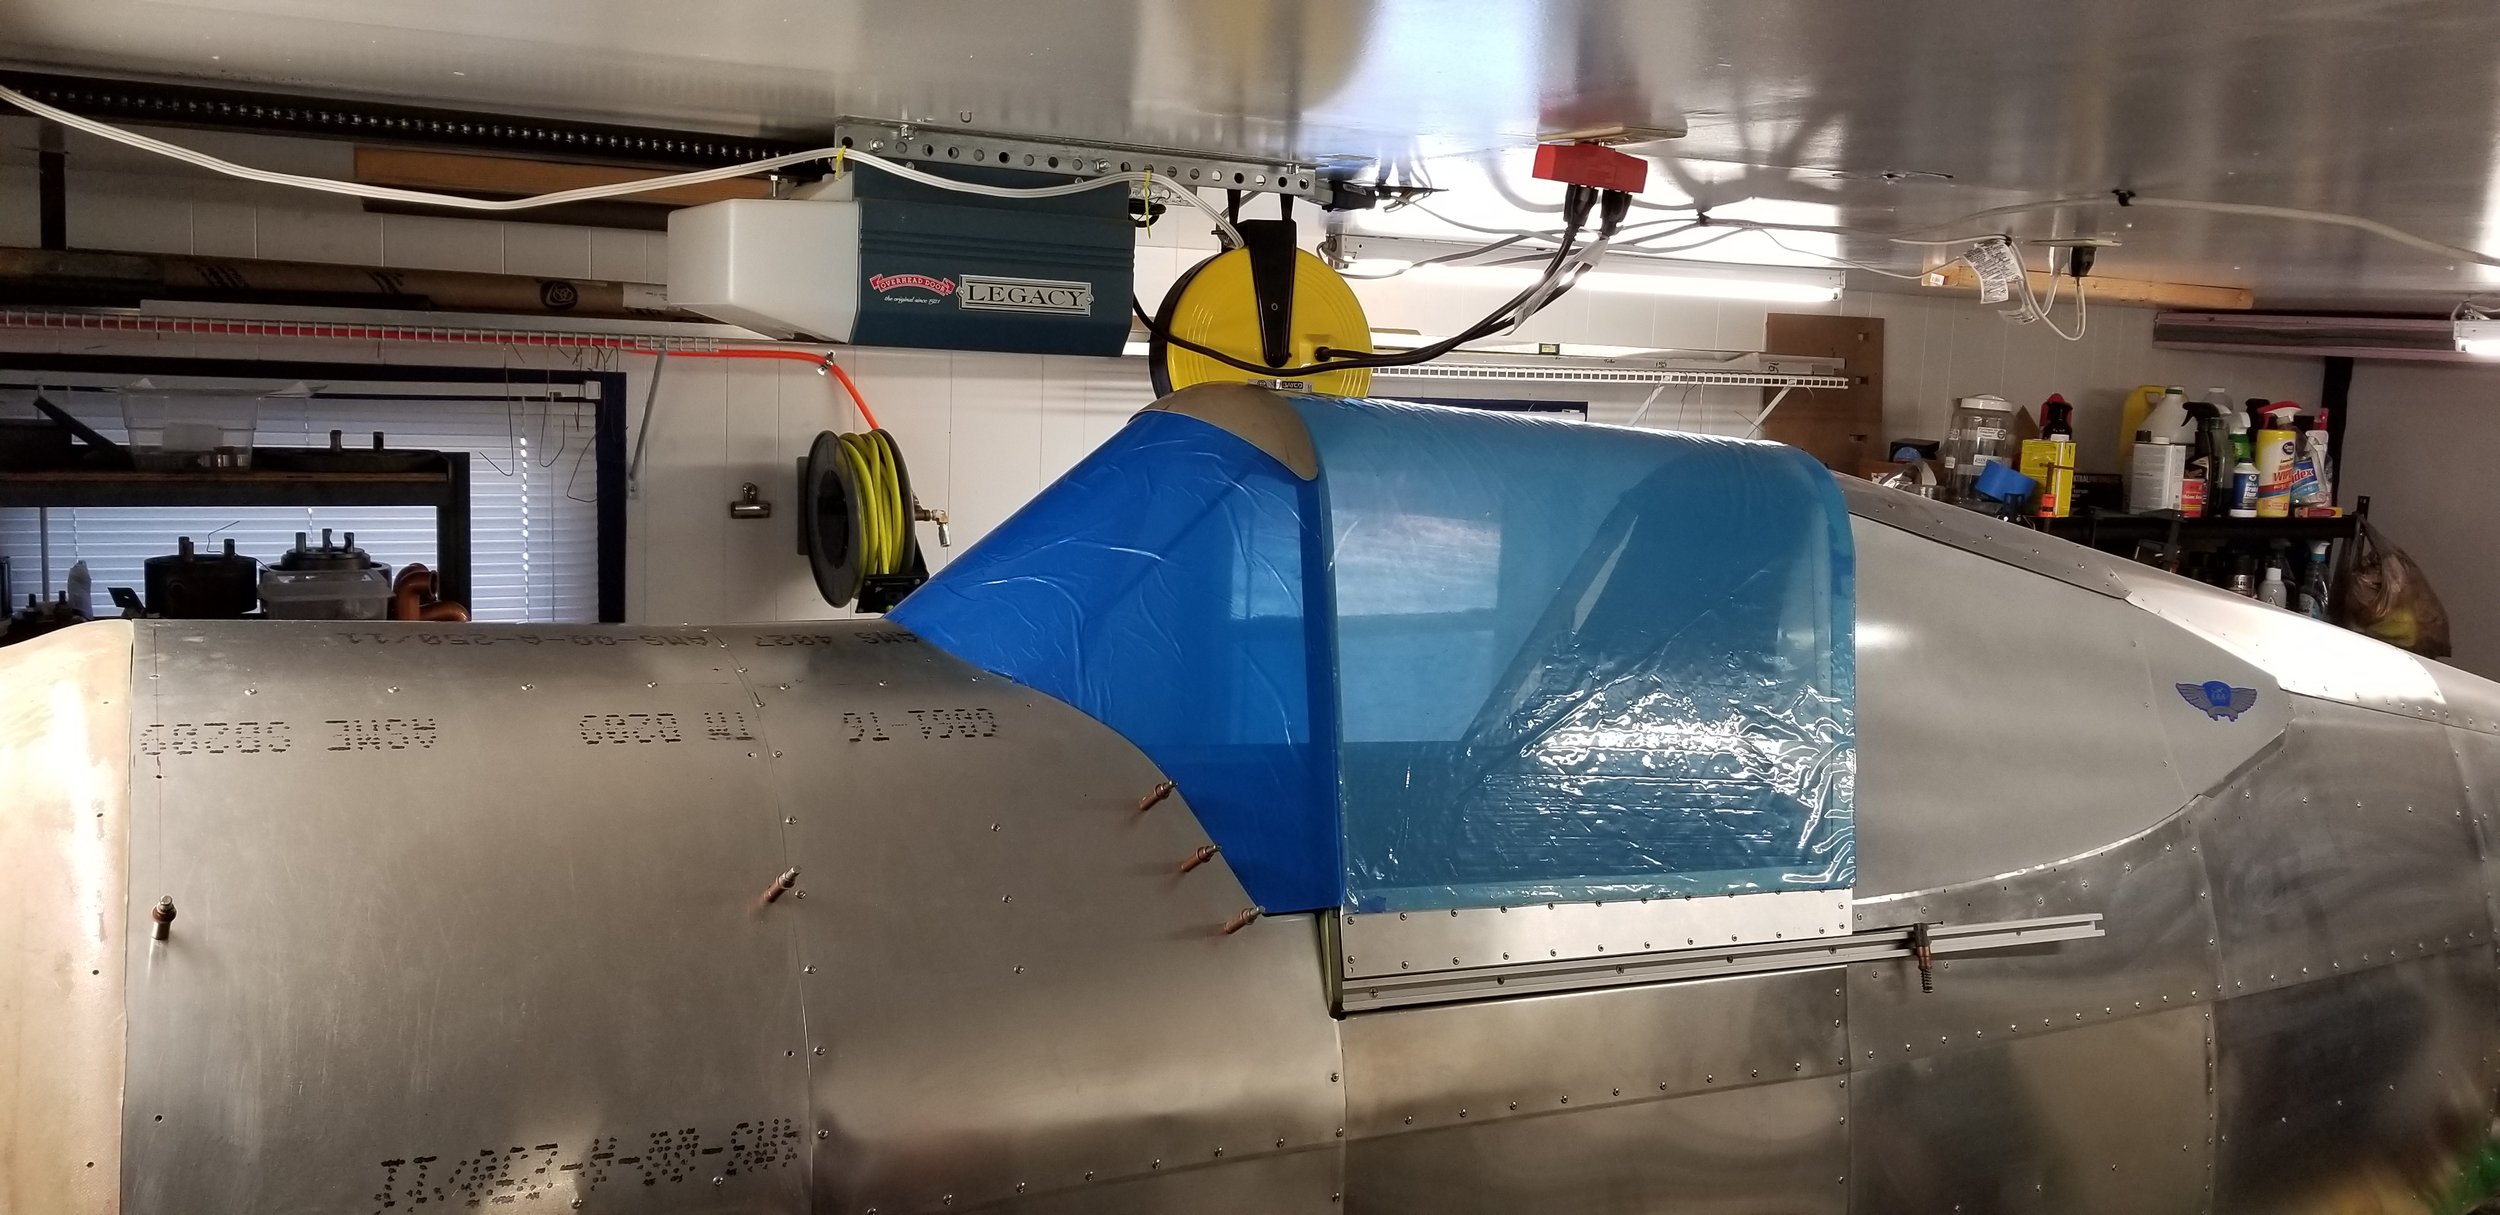
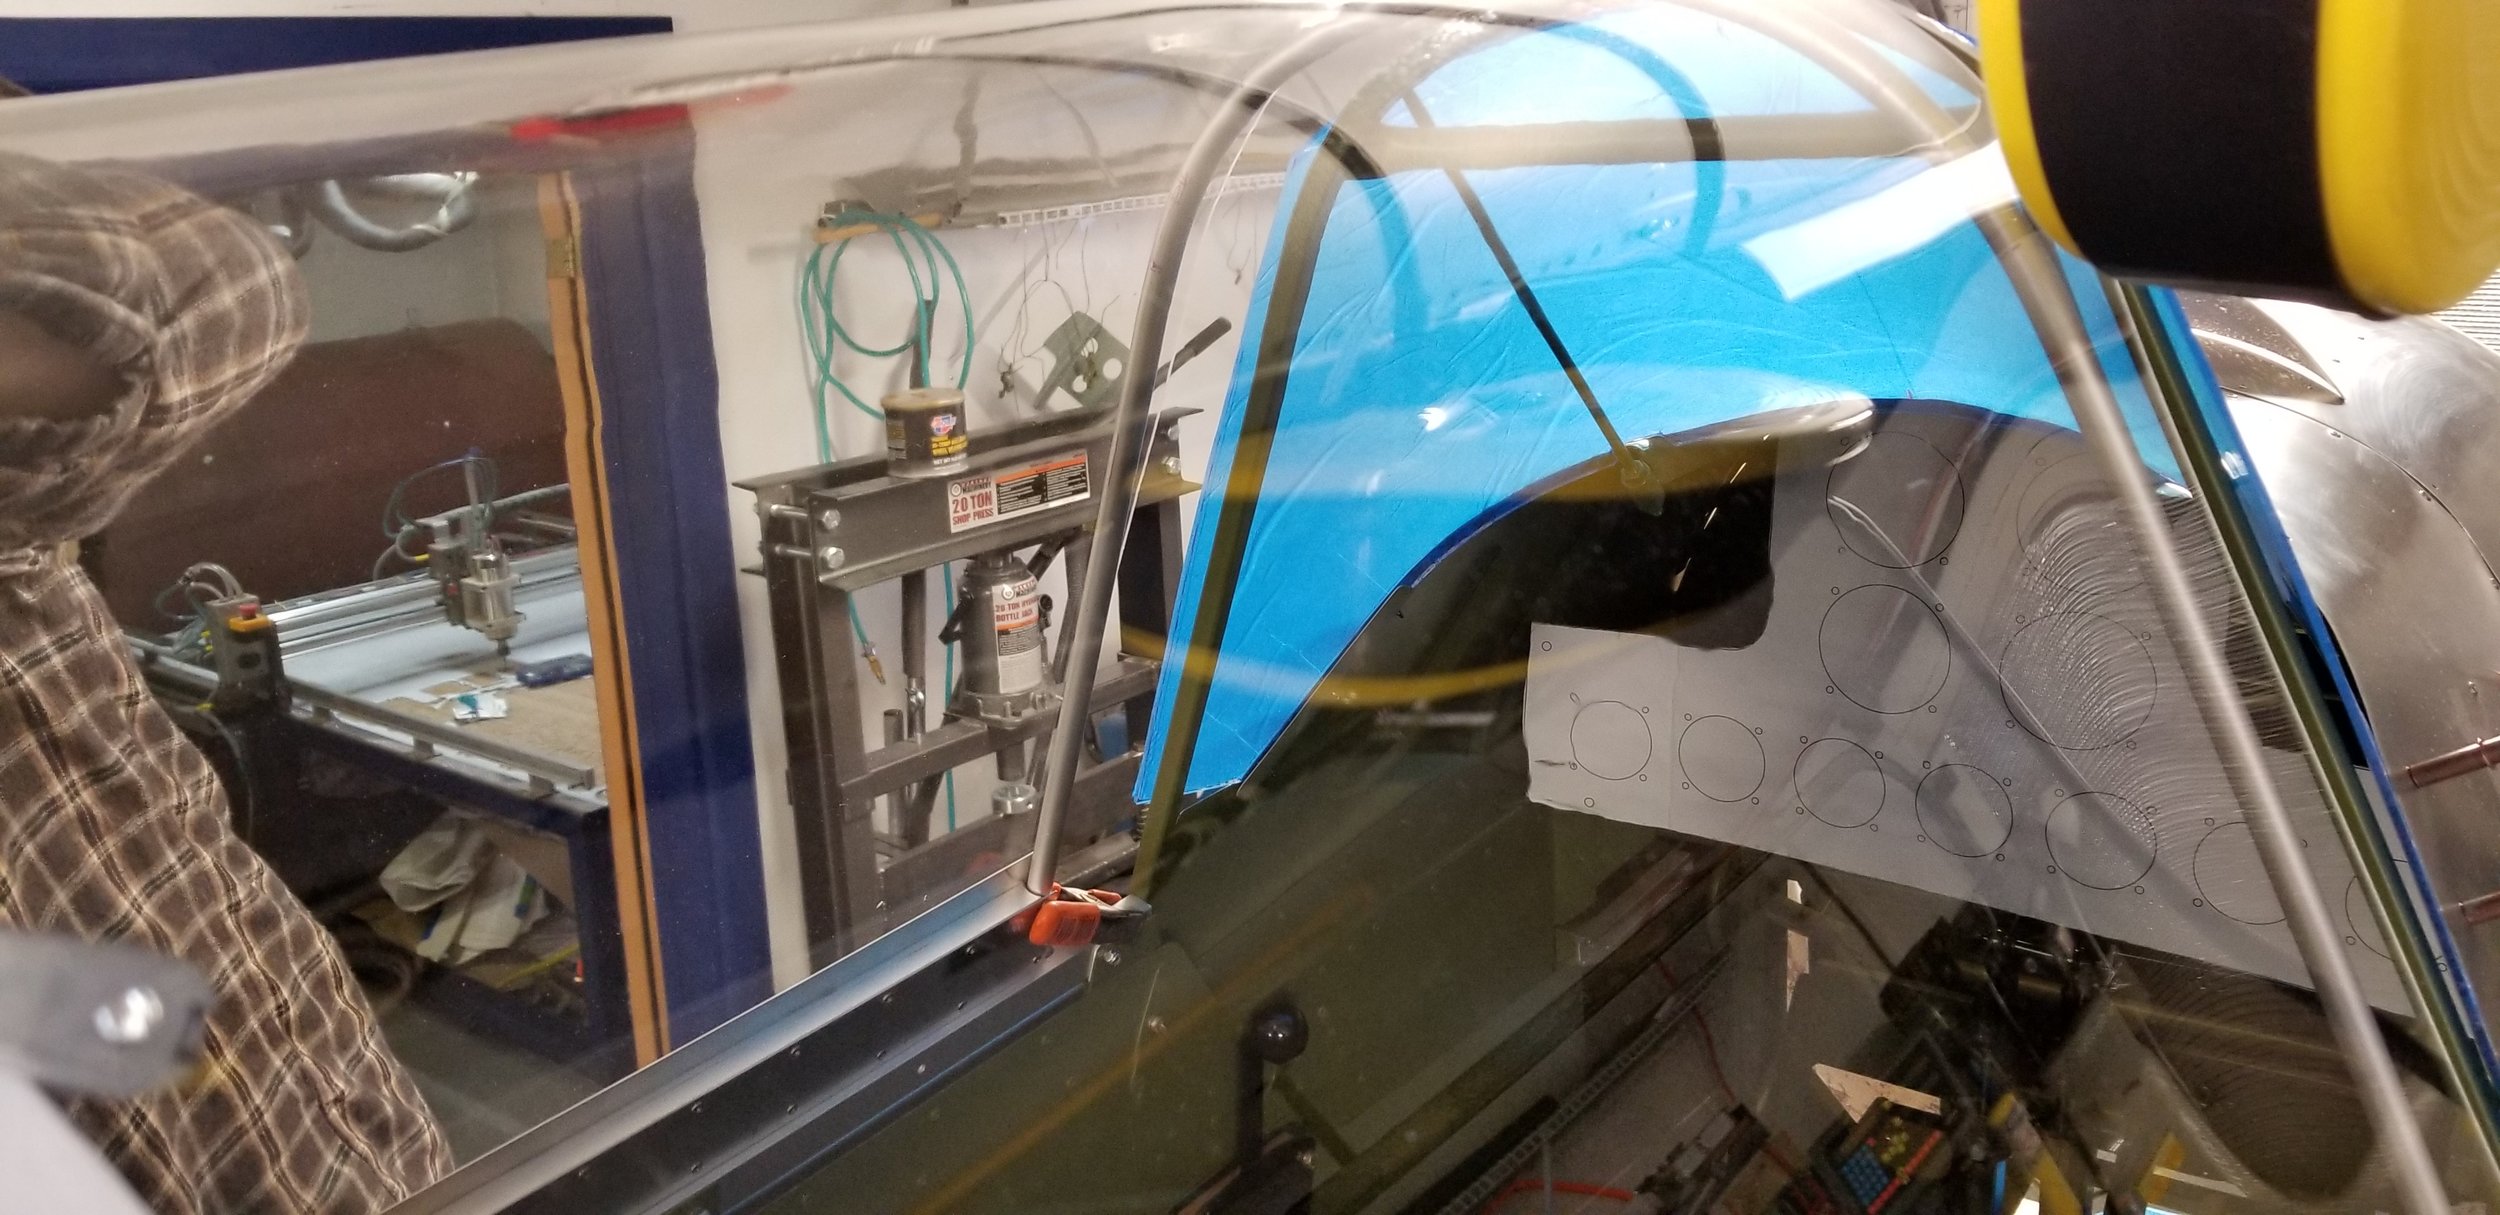
The engineering effort has been in full swing. Centered around the structural loading and design of the main spar, aft spar, ribs and mounting points for the center section of the wing and the outboard wing panels. Paul made a great report for us and has been cross checking every number. This just takes time. Paul has had to figure the material and thicknesses, rivet patterns, bolt patterns and sizing for all of it. So we have been patient and keeping busy with other parts of the project. Over the next few weeks, we will be adjusting the CAD models and getting ready to make wing parts. I will be finishing the last bit of work on the tail fairings effort.

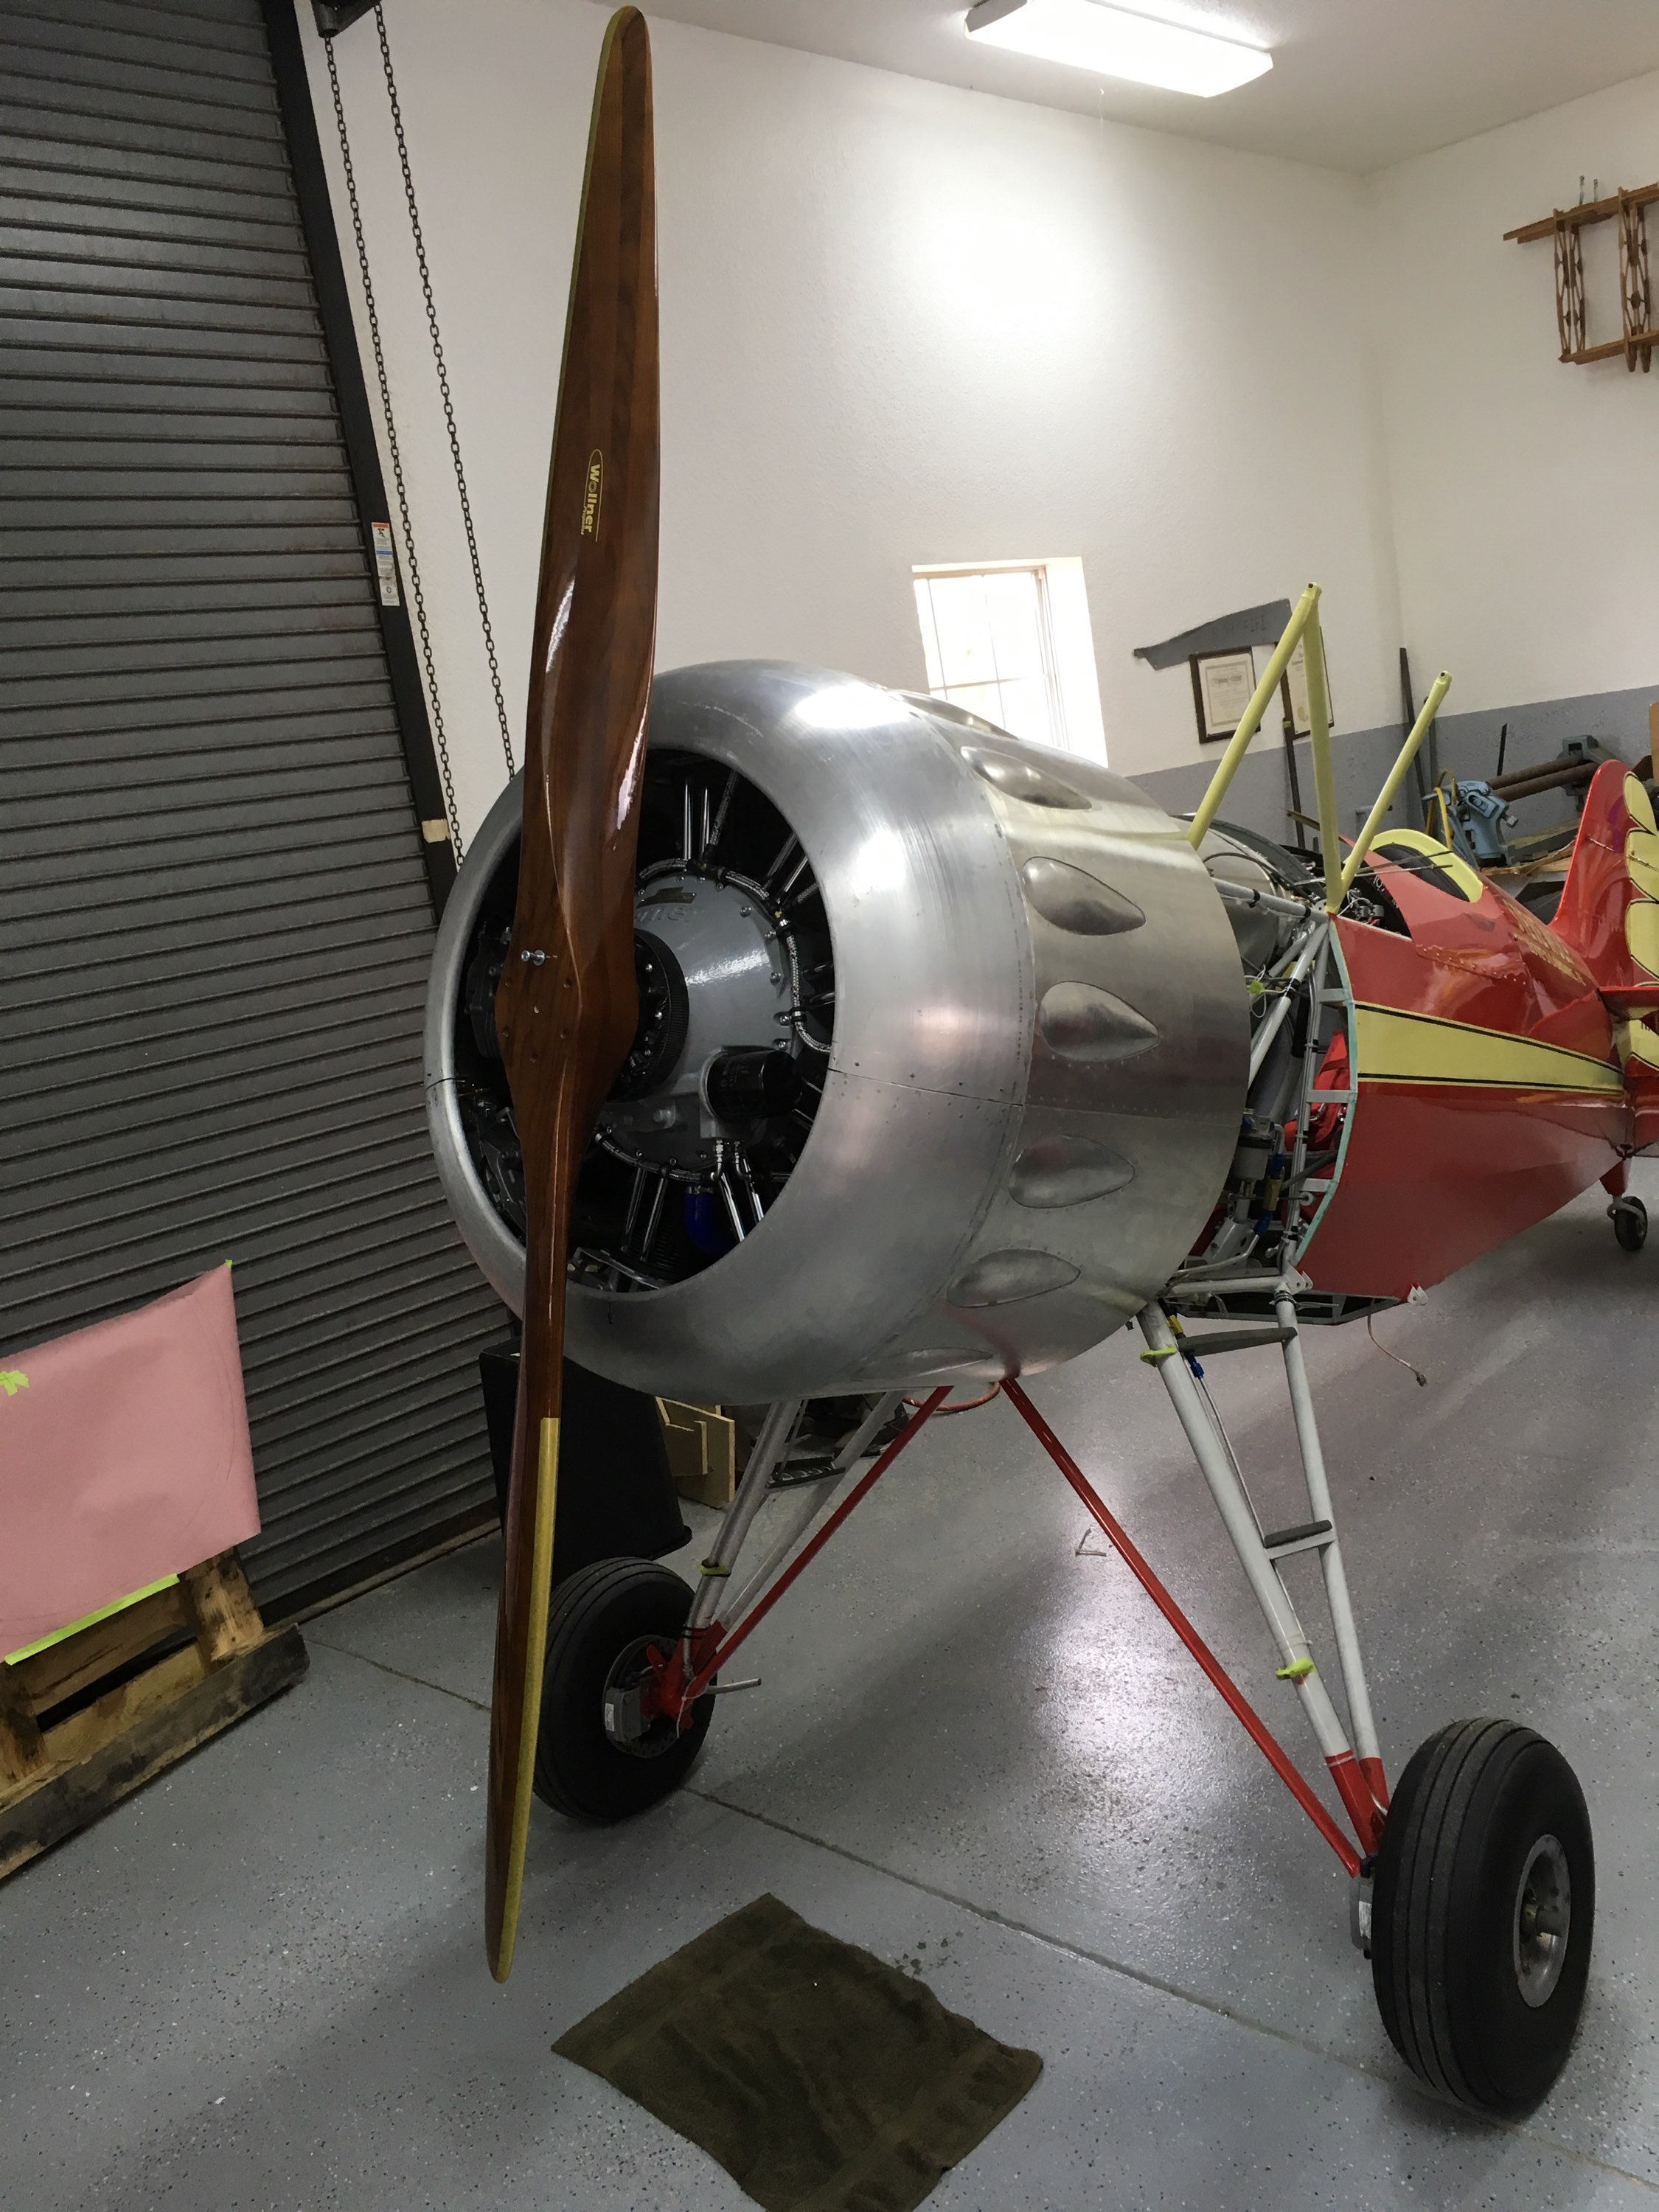
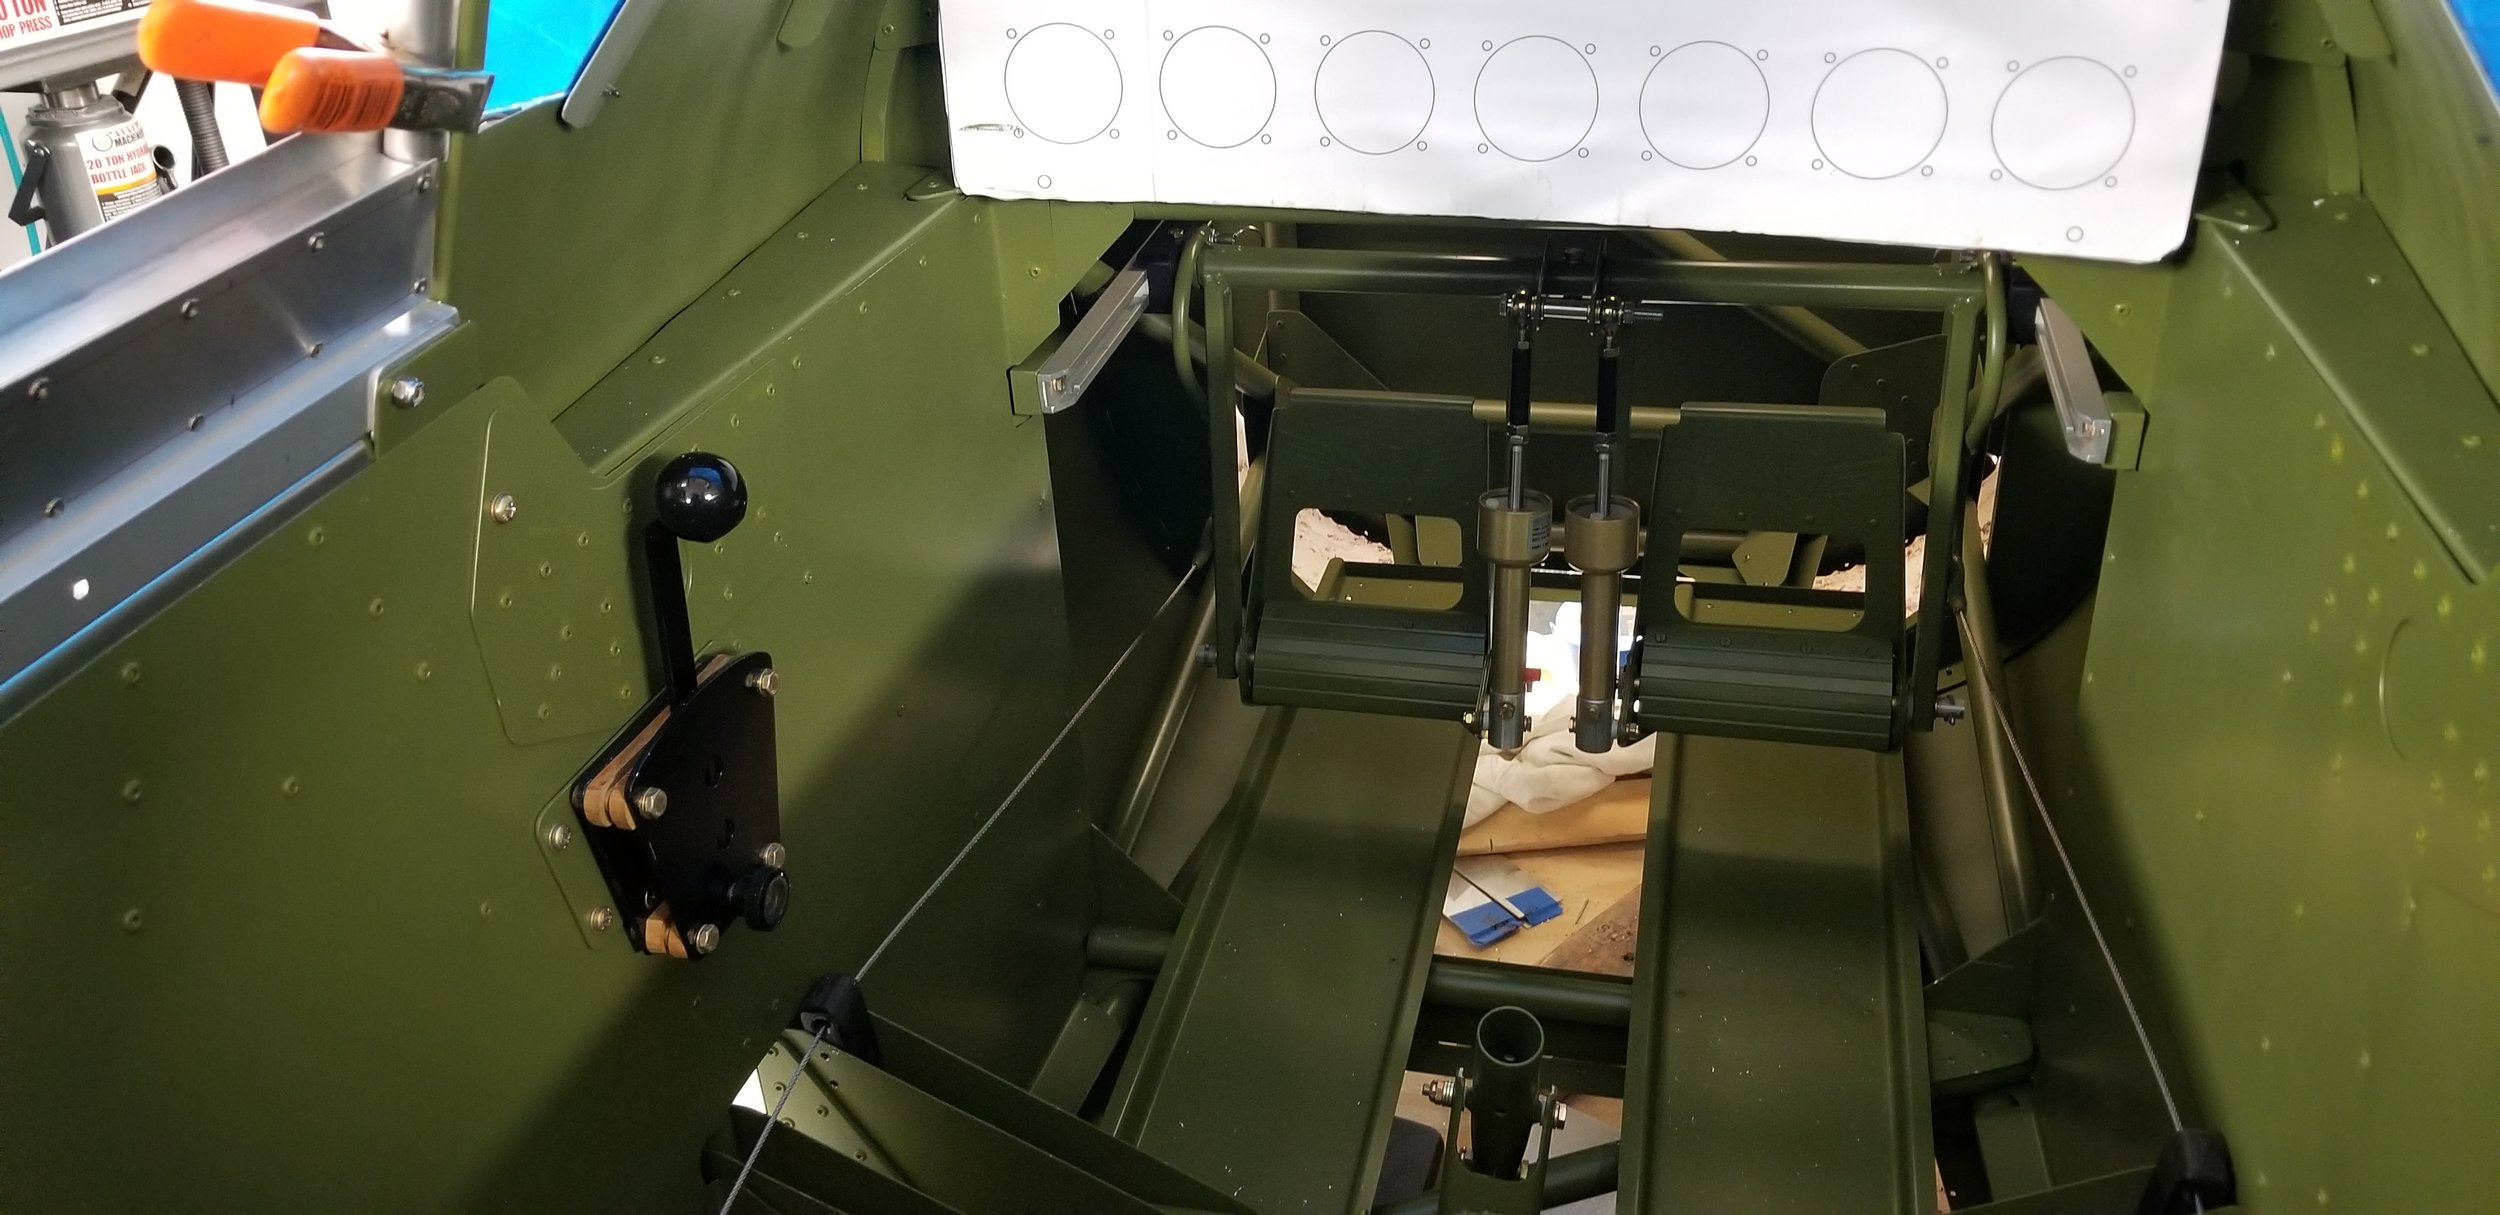
Design wise, Scott has been making progress on the prototypes’ fixed landing gear. Our approach is to make their mounting and components as much of the retract design as we can do. The down-links will likely be long fixed bars instead of articulating. Some of the swivel assembly will not be installed and the retraction/extension motor and brackets will not be installed yet. We will get it going with that and then after the flight testing is done and we have some time to work on it, we will modify the wing and gear to retract and swivel like real deal P-36. Then see how that affects the performance and make any adjustments as needed.

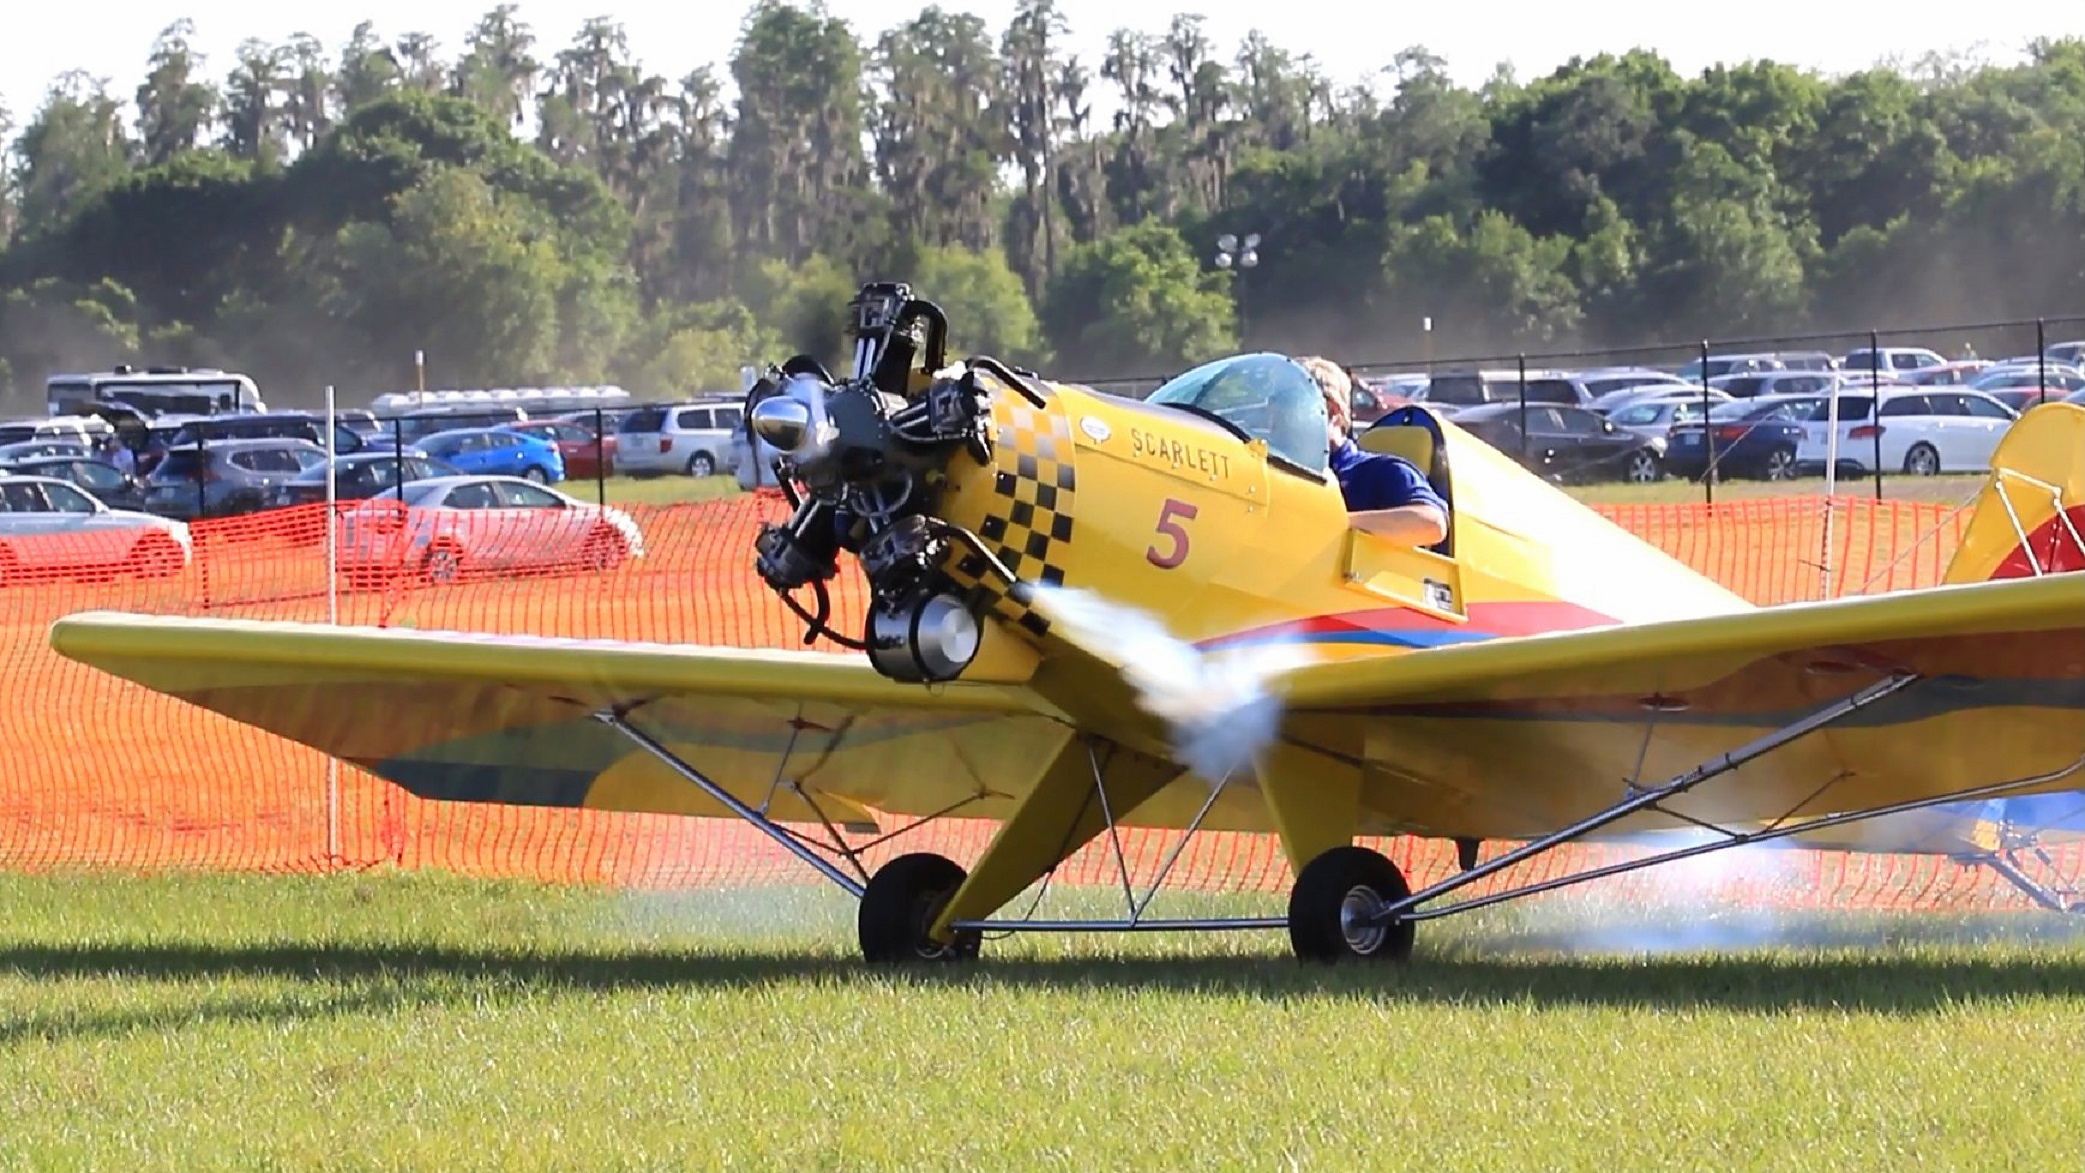
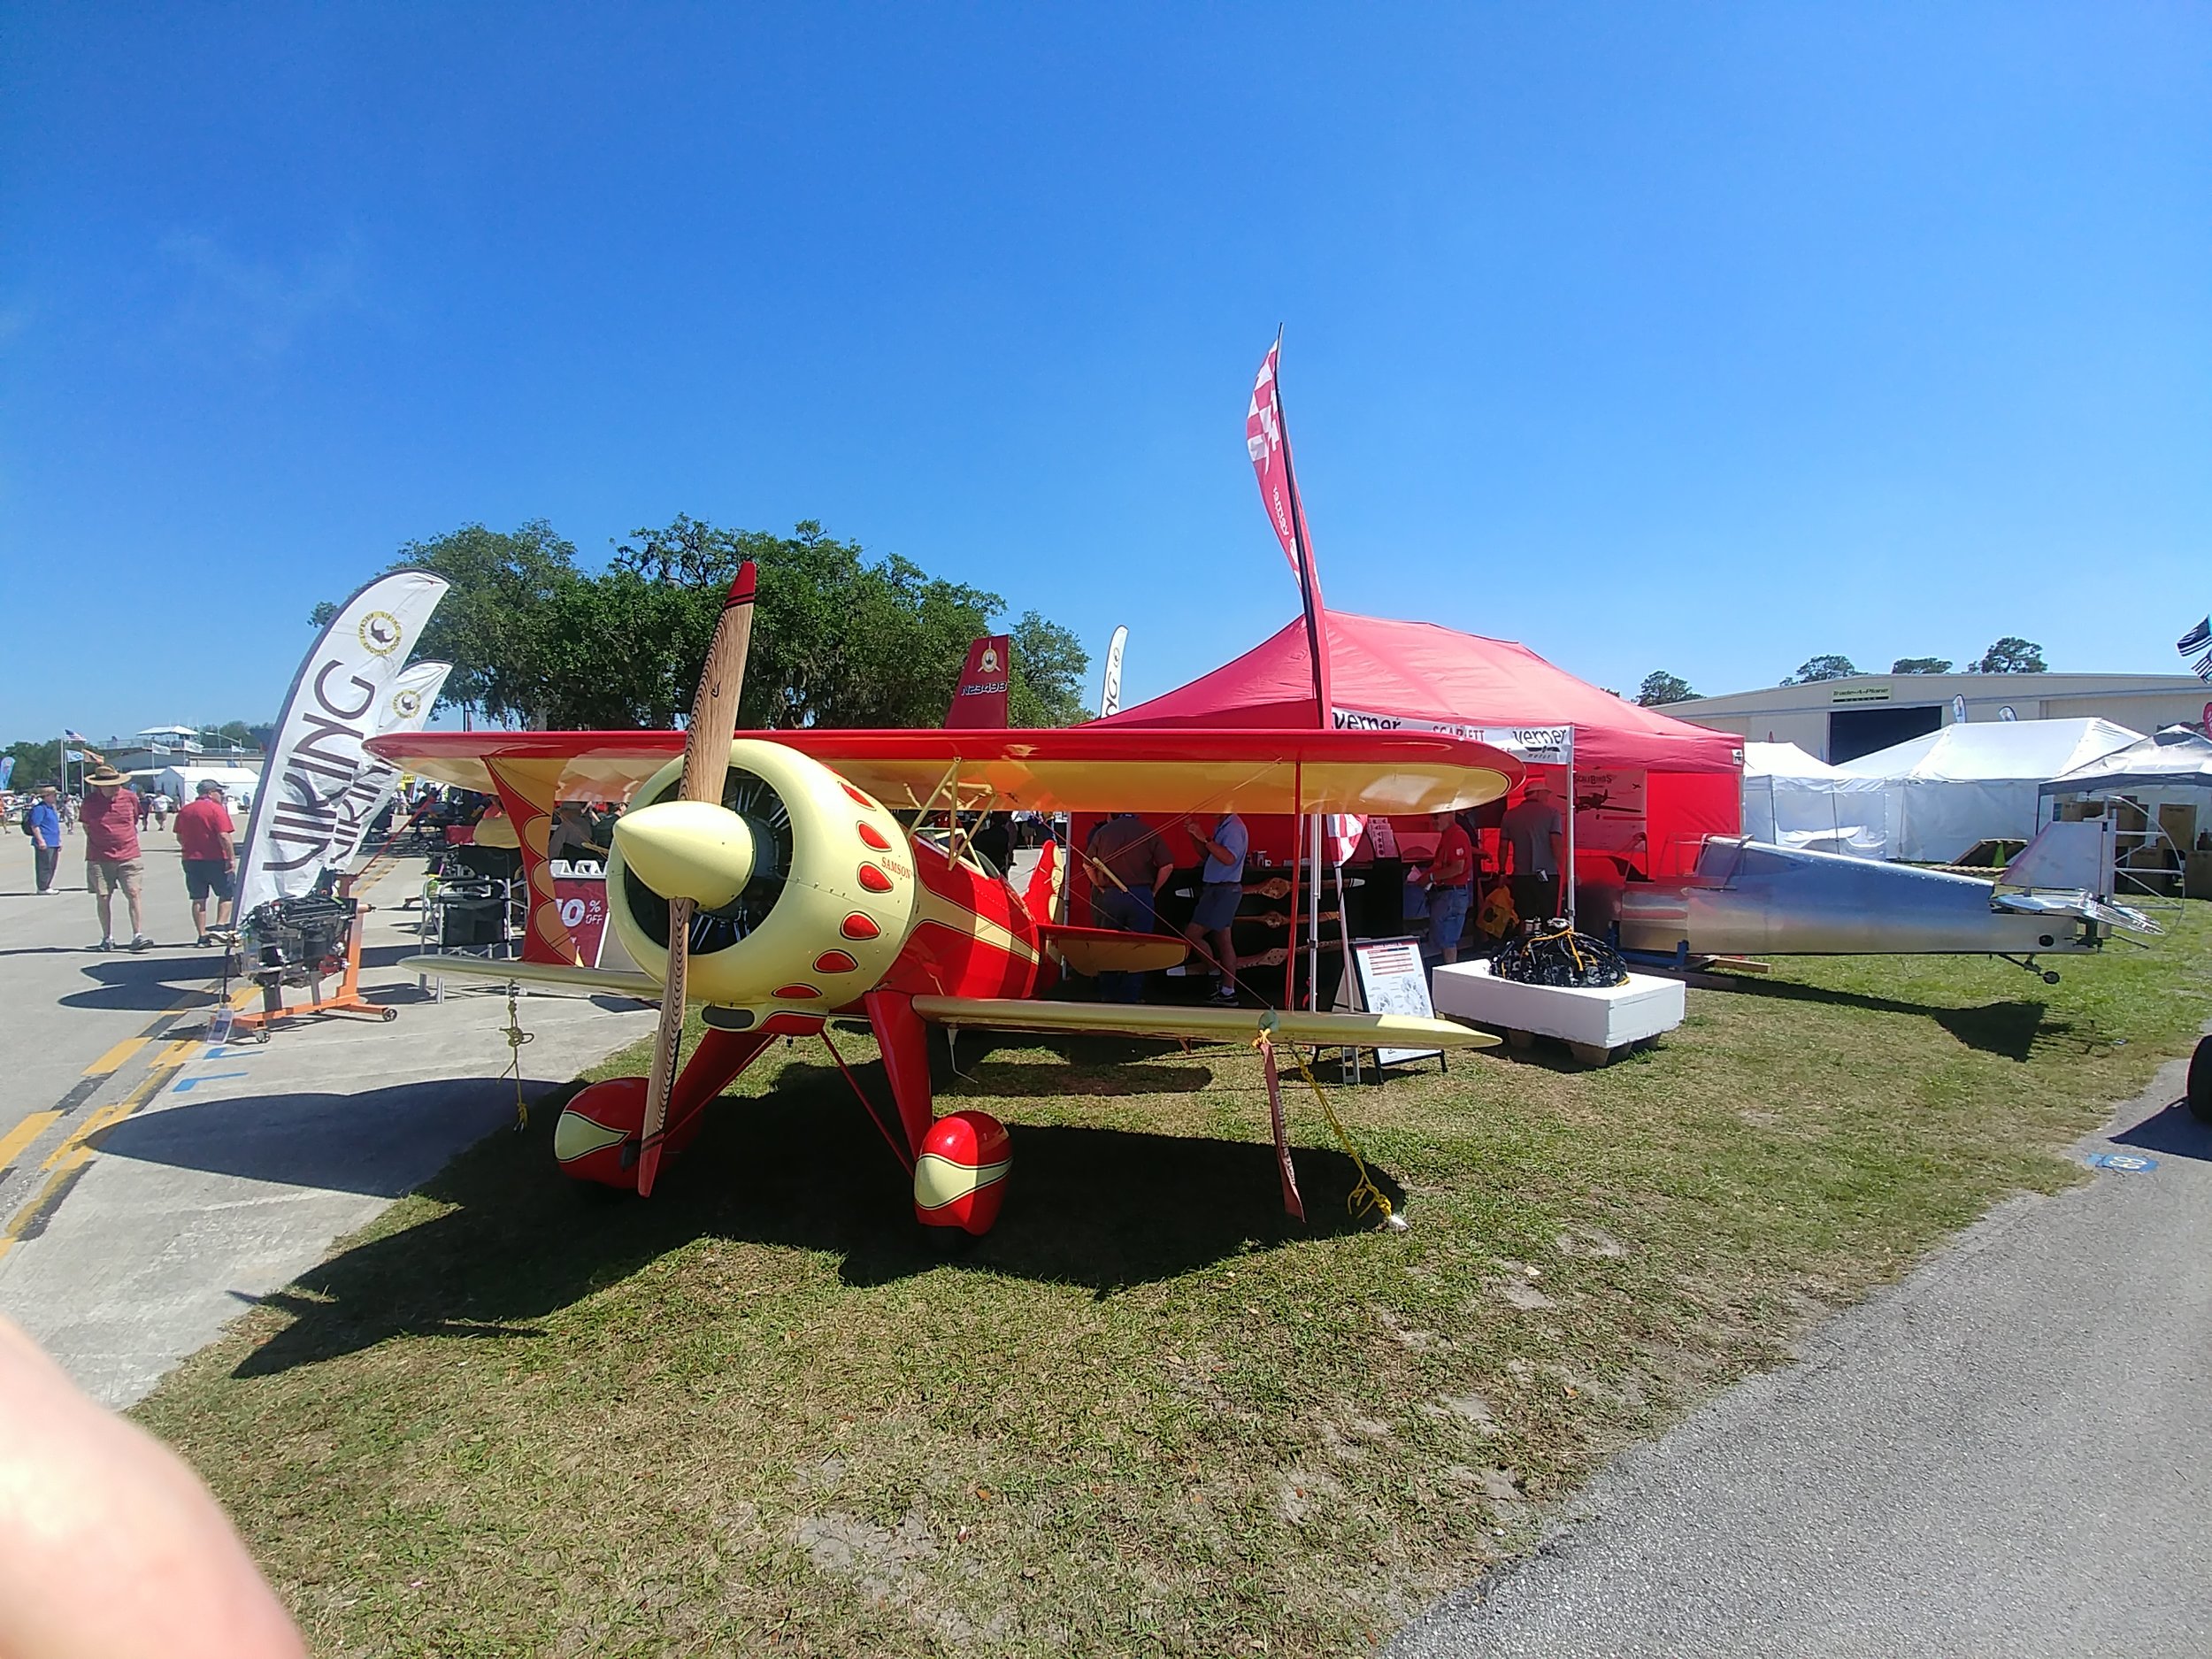
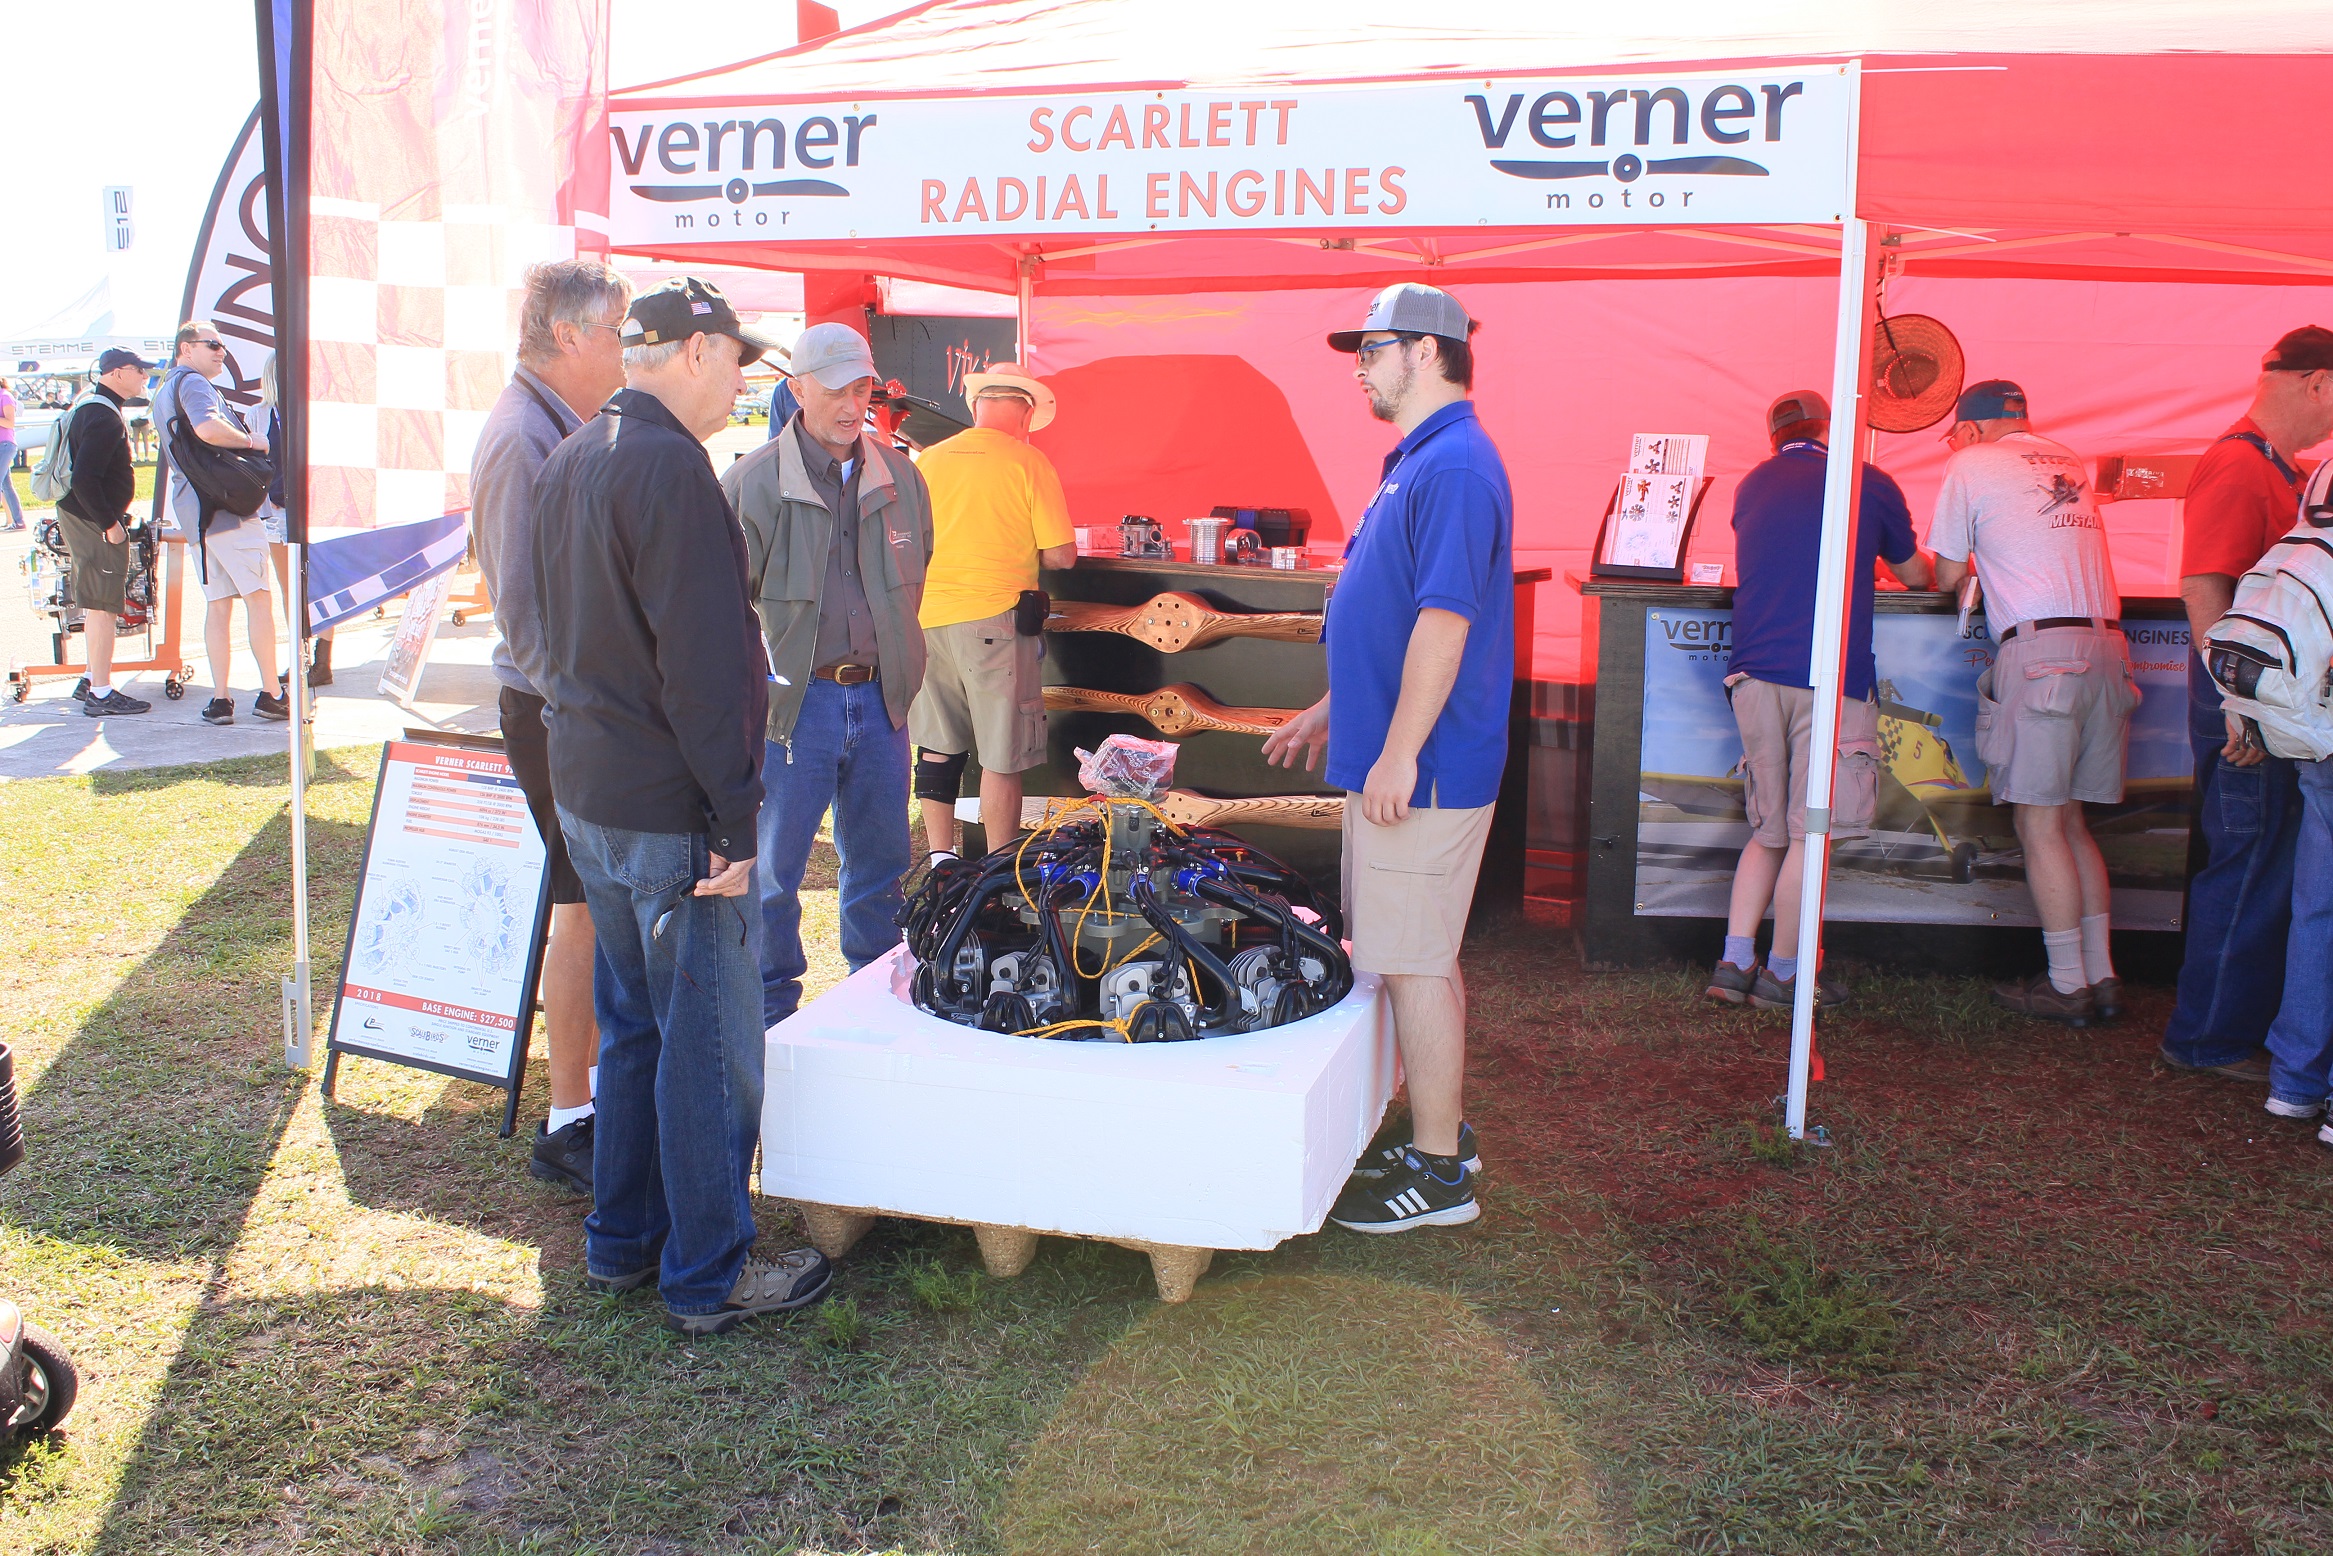
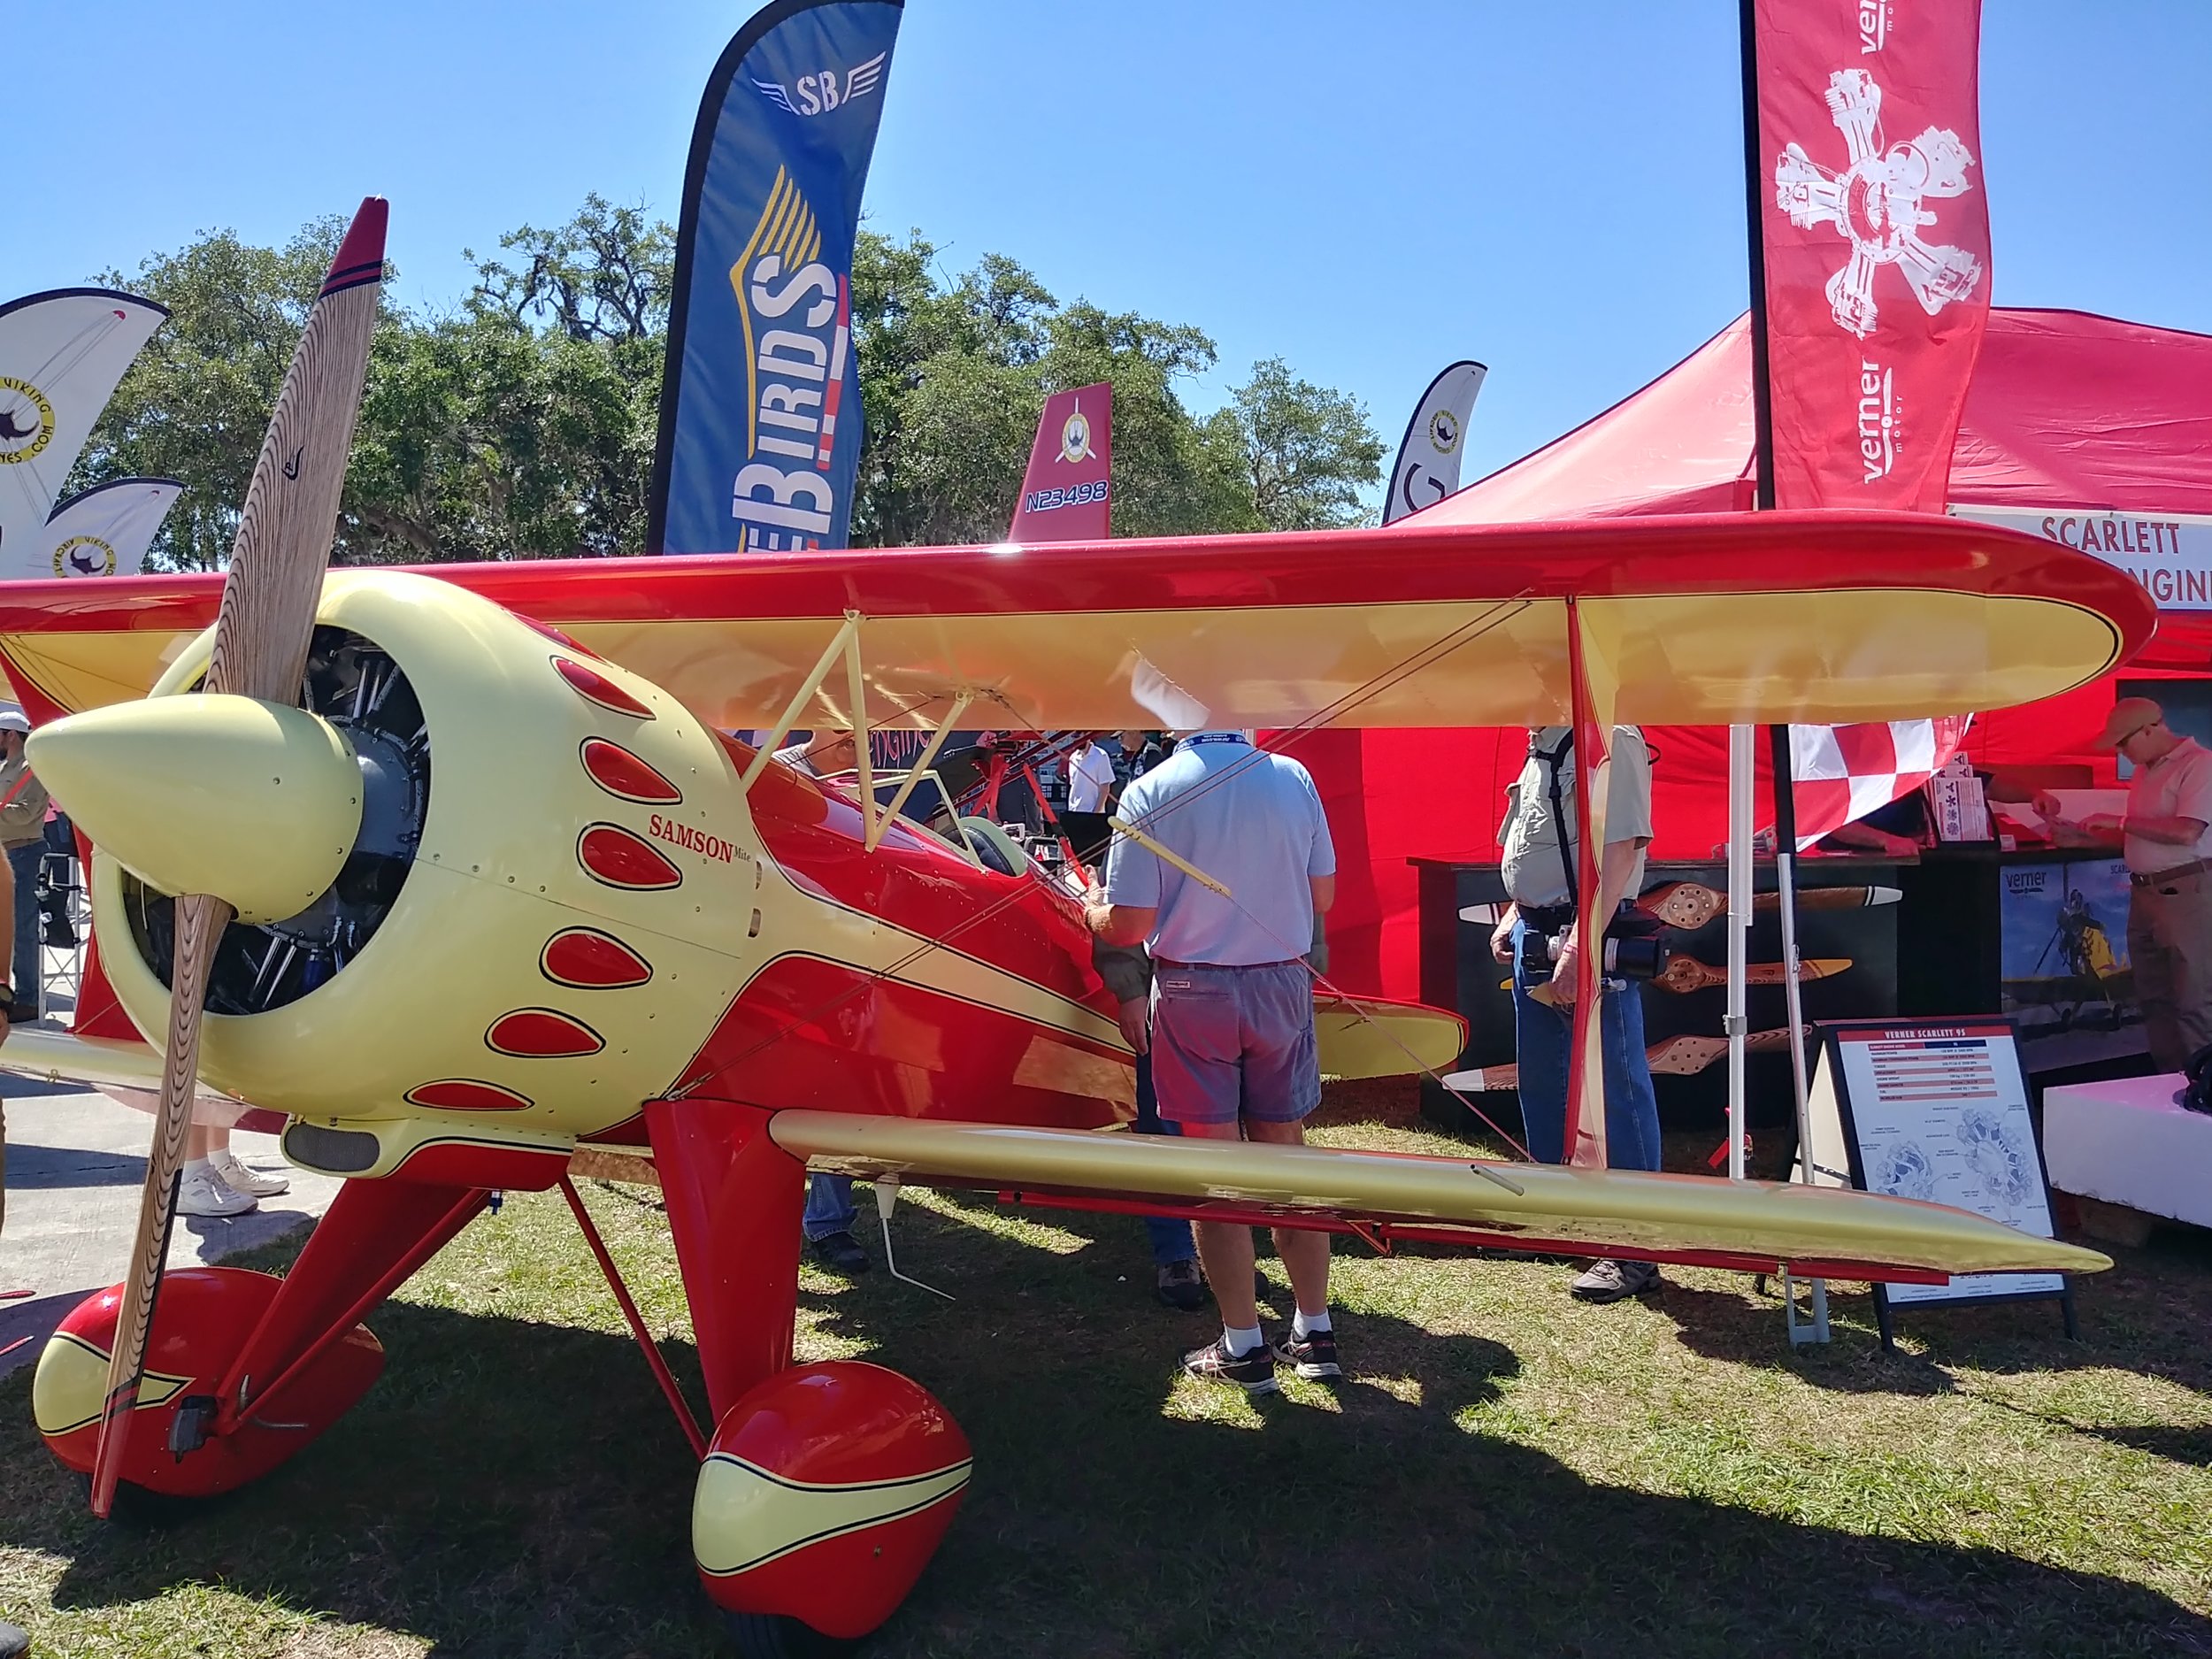
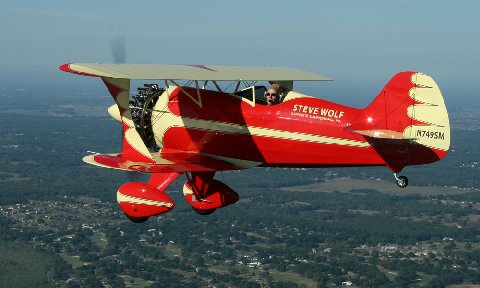
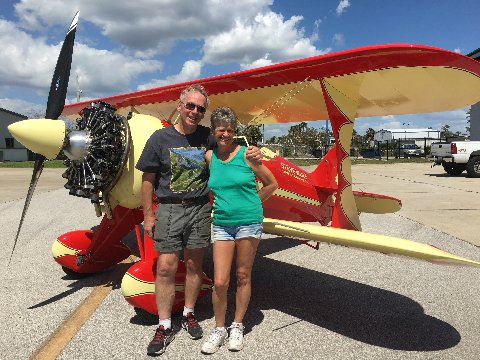
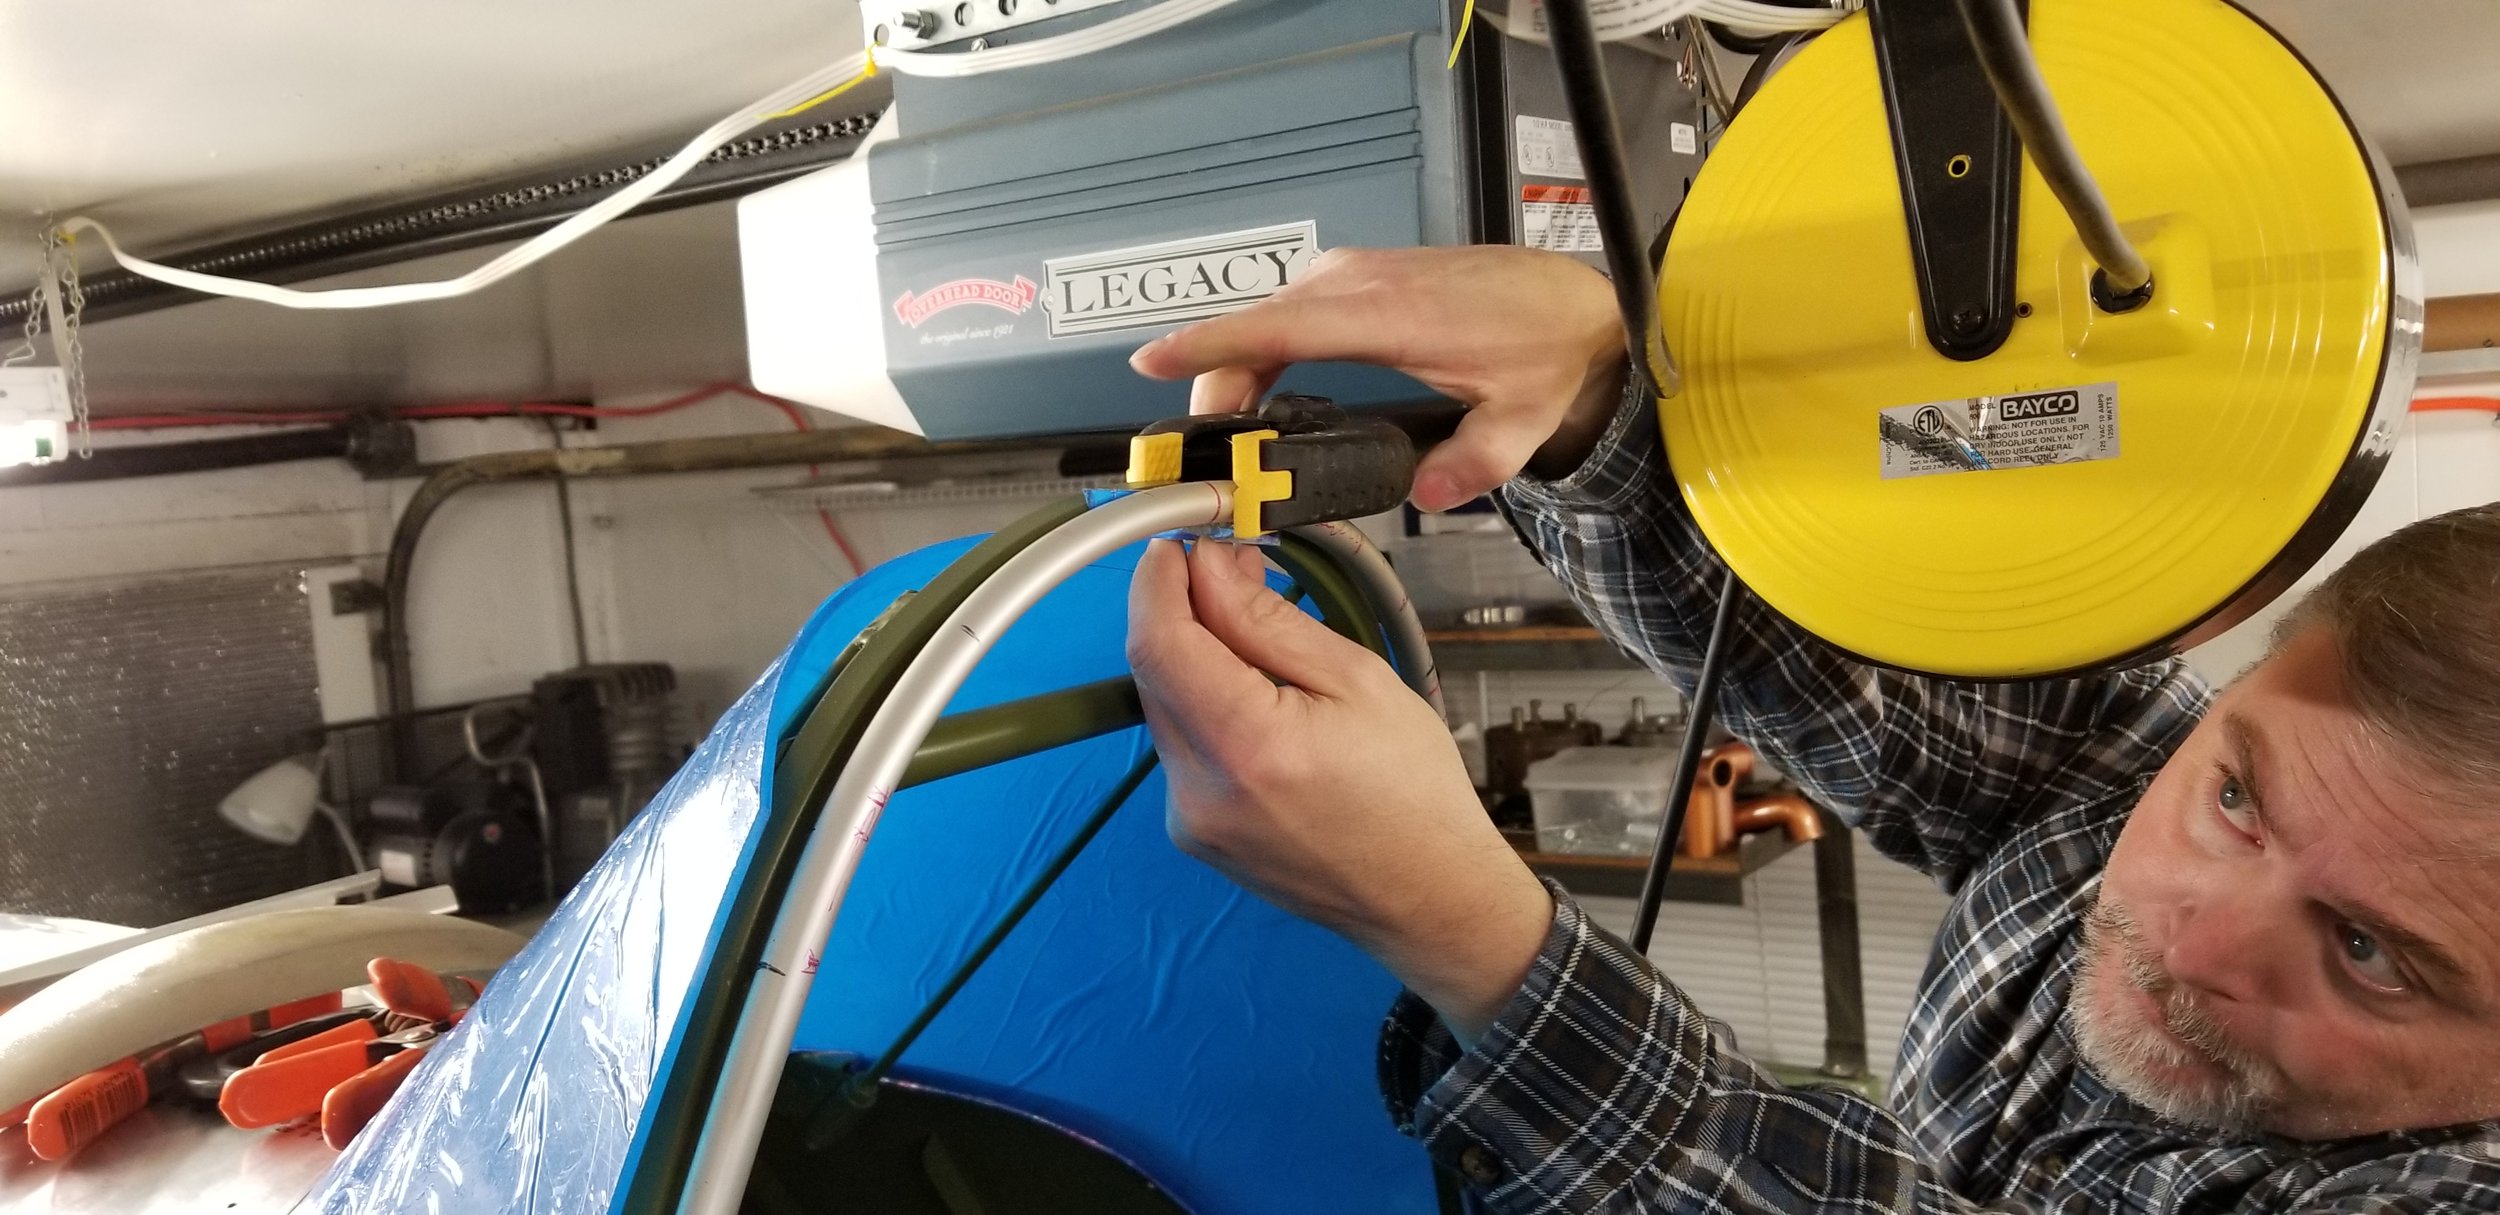
During late September, Scott and I went to Florida to visit one of our nine cylinder customers - Steve Wolf. We took a lot of video and still imagery of him and the Samson Mite biplane. We even bought the new GoPro Hero 7 camera and Steve made camera mounts. That arrangement worked perfectly on the wing strut for views of the fuselage. We have a couple of the easy to edit videos posted already on our YouTube channel (ScaleBirds). The harder ones to edit are going to take a bit longer. Mainly the air to air stuff. We had a lot of vibration and auto-focus adjustments that happened. Scott was riding in the second seat out in the open of an AirCam twin engine aircraft while Steve was flying formation and rolling off. The constant air blast was moving the camera a lot more than we figured. The engine and air noise was deafening too - so the audio is not likely to make the final video. We can dub in some good radial engine sounds or music. Or like some Hollywood movies, we could dub in some jet engine sound for added realism! Haha, or something crazy. We are trying to recover as much of the video imagery as we can with stabilization software. So we will be posting more videos and I promise you will like it!

Getting Back at it

Hey everyone.  We've been back now for a few weeks and getting back in the groove.  To be honest, had to take a couple of weeks off and regenerate.  Oshkosh was a fantastic experience for our team!  It was an ordeal as well.  The straight-through drive to the show .  The non-stop work to set-up, arrive early each day, work the booth, stay-late each night and then tear-down the booth, load the trailer and drive straight-through to home was rough.  Our team did get to experience the excitement, energy and enthusiasm for our project first-hand.  That was super motivation!  We met so many people who are interested in the engines and also our replicas.  We also gave two well attended forums at the Replica Fighter Association HQ building during the week.  We then had to get in on the RFA bbq on Friday after the show.  That was fun!  

Getting back into the game now.  Since getting back, I made the fairings for the tail surfaces from composite e-glass.  Hand shaped the foam and glassed them.  Coming along nicely.  Paul and Aaron are busy crunching numbers to finalize the wing structure.  We will be ready to make a test wing - thought we would be done by now but the summer got so busy for everyone that it just didn't happen.  Scott is busy with some paint-ball design projects he is involved with.  Very cool stuff!  He will be getting back into the landing gear and wing cad to finish those up.  We have several engine mounts to be fabricated for customers and for our prototype.  I will be adding some images to this post so hit it again in a few days.

Heading to Oshkosh 2018

We finally secured a booth space at AirVenture 2018.  Booth 917 is in the Ultralight area - also known as the "Fun Fly Zone".   We were there in 2016 and got a good amount of traffic.  The Homebuilt exhibits area was full so we took the spot we could get.  A mixed blessing, the North exhibits (Homebuilts) get more foot traffic, but the Ultralights exhibits puts us next to the action.  It allows us to fly the Avenger and keep it in the booth.  There is a good chance that two Legal Eagle ultralights with Verner 3VW engines will be there and flying.  We also will bring our 9S and have it on a display stand in the booth.  IF we can arrange a good trailer, we will bring the P-36 as well.  We may display it in the Replica Fighter Association area.  The RFA hq building is near the Warbirds, but closer to the Forum Buildings.  If you are going to AirVenture 2018, please stop by our booth and the RFA!  

Since Sun N Fun, we have been working on the landing gear design and calcs for the wing structure.  We designed an engine mount for putting the 5Si onto the P-36 firewall.  I'm ordering material to make that.  We plan to add some more detail to the fuselage of the P-36 and make it nicer to display.  Meanwhile, I've been repairing some damage to the Avenger from trailer rash and some things I wanted to change out.  I'm about ready to fly her again and plan to get some good video for the site and YouTube.  We are also working on securing a good trailer and a truck to pull it.  Talk soon!

At the Show!

We were all set up and running at Sun N Fun 2018!  Located at booth space N68 in front of the exhibit buildings, we were getting huge interest and great comments from the attendees.  Many unsuspecting people were snagged by the shape of our P-40/36 tail hanging out the tent.  Then were impressed by a closer examination of our prototype.  We had a brand-new 9 cylinder engine on display and  we also had the sharpest biplane I've seen at our booth.  It is a work of art!  I can't wait to see more and more of our customers aircraft installations.  Each is it's own work of art.  Then, to add to the spectacle, we also had my Fisher Avenger with the 5 cylinder located at the LSA Mall in Paradise City flying field.  I was flying the pattern there most evenings and letting everyone hear the sound of the engine and see some of its performance.   We took pics and video and will post shortly!  

SNF2018 Wed 4.jpg
IMG_3180.JPG

Sun N Fun 2018

Hey everybody.  We have secured booth N68 at Sun N Fun 2018.  This is a great spot and along the main avenue.  We are delighted to represent Verner Motor and ourselves at Sun N Fun!  We are also super privileged to show Steve Wolf's SAMSONmite aircraft at our booth with the new Verner Scarlett 9S radial.  Steve is getting the engine installation ready at break-neck speed and its looking fantastic!  It will be a stunner!  He is a professional aerobatic aircraft designer and builder and airshow performer.  Though he is semi-retired now, you wouldn't know it by how quickly he is working.  He is thrilled to show his plane and he will be making kits of it.  The SAMSONmite is a 75% scale replica of his famous airshow airplane SAMSON.  The original had a Pratt and Whitney R985 and was a huge Pitts styled aircraft.  He thrilled crowds with that plane and was featured at several Oshkosh AirVentures in the late 80's.  The SAMSONmite replica was first flown and shown with a Rotec R3600 installed.  His engine experienced a major malfunction and he was lucky to get it back to base safely.  During a trip to Italy, Steve took a flight in a Verner powered aircraft and knew that he wanted one on his SAMSONmite.  The sound was perfect, the thrust was impressive.  We informed him that the 9 cylinder was in development and he and Kathy jumped on it.  Verner worked with us to get custom paint and chrome to closely resemble a Pratt and Whitney per the original.  I LOVE the color scheme - we will likely keep that for our ScaleBirds replicas.

At this year's Sun N Fun, we are concentrating on the Verner radials as our focus for this event.  We are planning to have Steve's 9S on display at our booth, then have my 5Si powered Fisher Avenger R flying off the Paradise City grass strip.  Also we will have Frank Johnson's 3VW powered Legal Eagle either flying in Paradise City too or in on display in our booth.  That depends on whether he can complete and fly it before the show.  I think he has a good shot at it.  I can't wait to see both aircraft!  If we can find a trailer large enough, we will bring the P-40/36 to fill up our tent and show it off - even though it has a long way to go before first flight.  But we still need to find a trailer big enough for it and the Avenger.  Flying the Avenger down is not a good idea - weather.  Just no way of knowing if the way will be completely clear and I'm still a working slug who doesn't have all the vacation time in the world saved-up to wait out storms and fog to get there just whenever.  So the Avenger gets priority in the trailer this time.  So we have a rental set up for a 7' x 16' with extended V nose.  I'm looking for something wider and a bit longer.  8.5' x 20' would be ideal but not easy to find up here in CT or RI.  Still looking though.  Either way, we will have a nice booth put together and will be making a big splash!  I hope you can make it and please stop by and let me get to know you.  We value your input into what we are doing and always willing to listen.  

Meanwhile, back at the ranch, Scott and Sam are working like mad to finish the elevators.  The first one is complete.  Lead counter-weights will be later - prior to covering with fabric.  The second elevator will go fast as I made two sets of parts and fitted them.  Will write more about the build shortly.

Bird Cages

Hey everyone.  We have been working on finishing the canopy and making elevator ribs, jigs and weldments.  Not to mention surviving a bad head cold - luckily not the flu.  I got busy making the bird-cage framing that the real P-36A Hawk has.  I made a template of the frame to give Scott some dimensions to go by.  We back engineered the template into CAD and added the framing lines.  Then made a full size plot of the 2D pattern.  I put that back on the canopy to check for fit.  Perfect!  the front and rear bows with the router table.  I marked the frame lines onto the canopy.  Then I bent the vertical divider - inside and outside pieces - on the plexiglass bending form.  This gave me the correct curves.  Had to hand tweak that a little to compensate for the spring-back that aluminum has.  The other parts of the bird cage are straight-unbent pieces that are fit after the vertical divider goes on.  Drilled all the aluminum pieces and de-burred prior to taping in place on the plexi and drilling thru.  Cleco's were used to keep everything tight and stable.  The birdcage framing was attached with Stainless #6-32 flat heads and lock nuts.  Trying to keep a WW2 feel to the cockpit.  Looks cool to me!  

  So Scott machined a set of track slide blocks for the canopy so it can slide.  We had made some months ago but they didn't fit well.  It we easier to CNC machine a new set than to fix the old ones.  I made some brackets to mount the slides to the canopy and then had to make another set of those as well.  The second set fit much better.  Oh well, we are learning and improving along the way. We then added the skirts on both sides that cover the track and brackets.  I also cleaned-up the fiberglass windshield fairing and painted it.  Installed, it looks pretty good!  I used the AeroPoxy Light filler to fill the weave.  I didn't know it takes 5 hours to cure - I'm used to Bondo that is ready in 10 minutes.  So progress is slow and boring sometimes.  


We hand bent the elevator ribs with the forming blocks Scott had routered.  This makes them bow like a banana.  So I fluted the flanges to straighten the ribs out.  The trick is to know where the rivets might hit the rib.  These are fabric covered surfaces so I didn't have to worry too much about that.  I kept a standard spacing.  I've been working on making weldments for the elevator horn and torque tube hinge.  4130 steel tubing and plate.  I hand cut the patterns with a disk grinder and finished them up on the bench grinder.  Tig welded them and Scott trued up the flanges on the lathe.  They act as stops for the hinge bushings and needed to be smooth and true on the ends.  So far so good!  I'm always behind my planned build schedule, but not too bad yet!  

Meanwhile, Scott has been modeling and remodeling the landing gear mounting to the spar.  Our original idea was good but we figured out a nicer way to do it.  It just adds time to the CAD modeling.  

Next step is to build the elevators and fit them to the Horizontal and the elevator controls.  Should be a couple of weeks of fun stuff!  Talk soon.

Holiday Homebuilding


Hope all of you had a wonderful Thanksgiving and are preparing for a Merry Christmas and New Years. 
I know it has been way too long since the last blog entry.  So let me catch you up on where we are and what we have been doing.

On the Verner engine side we have our first 9 cylinder coming soon, we expect it to ship shortly after New Years, and this engine is destined to be installed in a special airplane.  It's a little early yet but I'm sure you'll hear of it soon.  We're looking forward to seeing it at Sun N Fun 2018, which will be available for you to check out in person.  We also recently sold a 5VW engine to a gentleman building a custom Ragwing Special which I think will make an awesome combination!  My own Avenger is being flown when possible (though it seems every possible thing has been preventing me getting to the airport lately, all the while it gets colder.)  Having finished the test regime I can say it is getting awesome fuel consumption – in part becuase I have to retard the throttle as soon as I get to altitude to keep from over-speeding the airframe.  Right now I'm averaging about 3.4 gals per hour on the 83 hp 5 cylinder.  

One of the lessons learned during the test phase was running into a stuck starter. The Verner being experimental and made using a many auto parts, it uses a common car starter. In my case, I went to go for a flight but I wasn't getting any action when turning over the engine. I've had batteries go dead which was my first notion; but after swapping batteries, and contactors, and checking my wires, we reduced it down to just the starter itself. So after pulling the starter to inspect it, we were able to simply tap it back into working again. Wish I had thought of that before pulling it. At any rate lesson learned with that, but also that if it happens again we'll need to look at a replacement part.  

Counting the delay from that starter issue, I have now flown the plane enough hours that I've satisfied the steps to take it from its Phase 1 test period and back to Phase 2 operations.  There's still things I'd like to change, (is a homebuilt ever perfect?) but for now I can say it's good to go.

On the fighter front we have permanently riveted on the fuselage top and side skins.  This depended on many things being done in certain order but we finally worked through that maze.  We had to finish the control stick assembly and elevator push tubes, rudder pedal installation needed to be completed,  rudder cables were run and swaged, vertical needed to be fitted and bolted into place with the horizontal; tail wheel assembly had to be modified with the shock mounted farther aft to get a better angle to the ground so it would work properly.  All of that work needed to be finished in order to get the rudder cables installed.  We modified the purchased throttle quadrant to have a mounting plate that is easy to remove – a lesson learned from the Avenger engine installation work.  Then we had to paint it to make it look right.  The tail is now on – though it will need to be removed again for transport.  We have been finishing details around the cockpit and canopy most recently:  The side windows originally had a P-40E type of look and had to have some changes to match the P-36 Hawk look we are after, which is a longer, more pointed window shape.  The mods required me to drill and cut into already finished skins and splice in some new panels. I almost cried to cut into a finished shape, but actually it came out great.  So no spilt milk after-all.

So as of right now, we are forming the canopy and windscreen. We bought two quartz space heaters that we disassembled to make a very basic thermoforming heat box, which just barely does the trick for heating the plastic we need.  It's not pretty or particularly good in any sense, but it only has to work a few times. The plastic sheets were heated then drape-formed over templates we made from wood and .032 5052 aluminum sheet, one for the windscreen and one for the canopy as they had slightly different overall shapes. The windscreen came out great, the canopy started to warp in spots from cooling but I think it will come out OK. If not I can make another! The windscreen was trimmed and fitted, and I'm in the middle of installing that permanently now. 

The other project that Scott is working on is cutting out parts for the elevators. He spent last month modeling those, and so far it looks quite good. The rudder taught us some lessons and so improvements have been made. The aluminum has all been cut on the CNC but it has to be sanded, deburred, and cleaned up before forming. The forming blocks and the full-scale template have to be made but those things go quick. There are also some  steel pieces that have to be made up, but overall we're pretty close. It seems that making the raw parts is about half the battle with these things. 

The latest CAD work involves the center section of the wing and the retractable gear mechanism. We've decided for sure to add retracts to the design as everyone says it really needs it and we can't really disagree.  So we have been working on making that a complete design so the center section can go forward.  The rotating gear leg to bring the wheel flush with the wing is an interesting challenge but we think we can make it work. 

We are pushing this to get the elevators after Christmas and then work on the wings and landing gear through the rest of the winter. 

As we prepare here for Christmas and New Years we hope you all are able to enjoy the holiday season, Happy New Year! 


Copyright © 2024 ScaleBirds LLC  |  All Rights Reserved